Home photography ideas: Use a shift lens for sharper food and product shots
Put your tilt/shift lens to work and master depth-of-field for your best ever food and product images
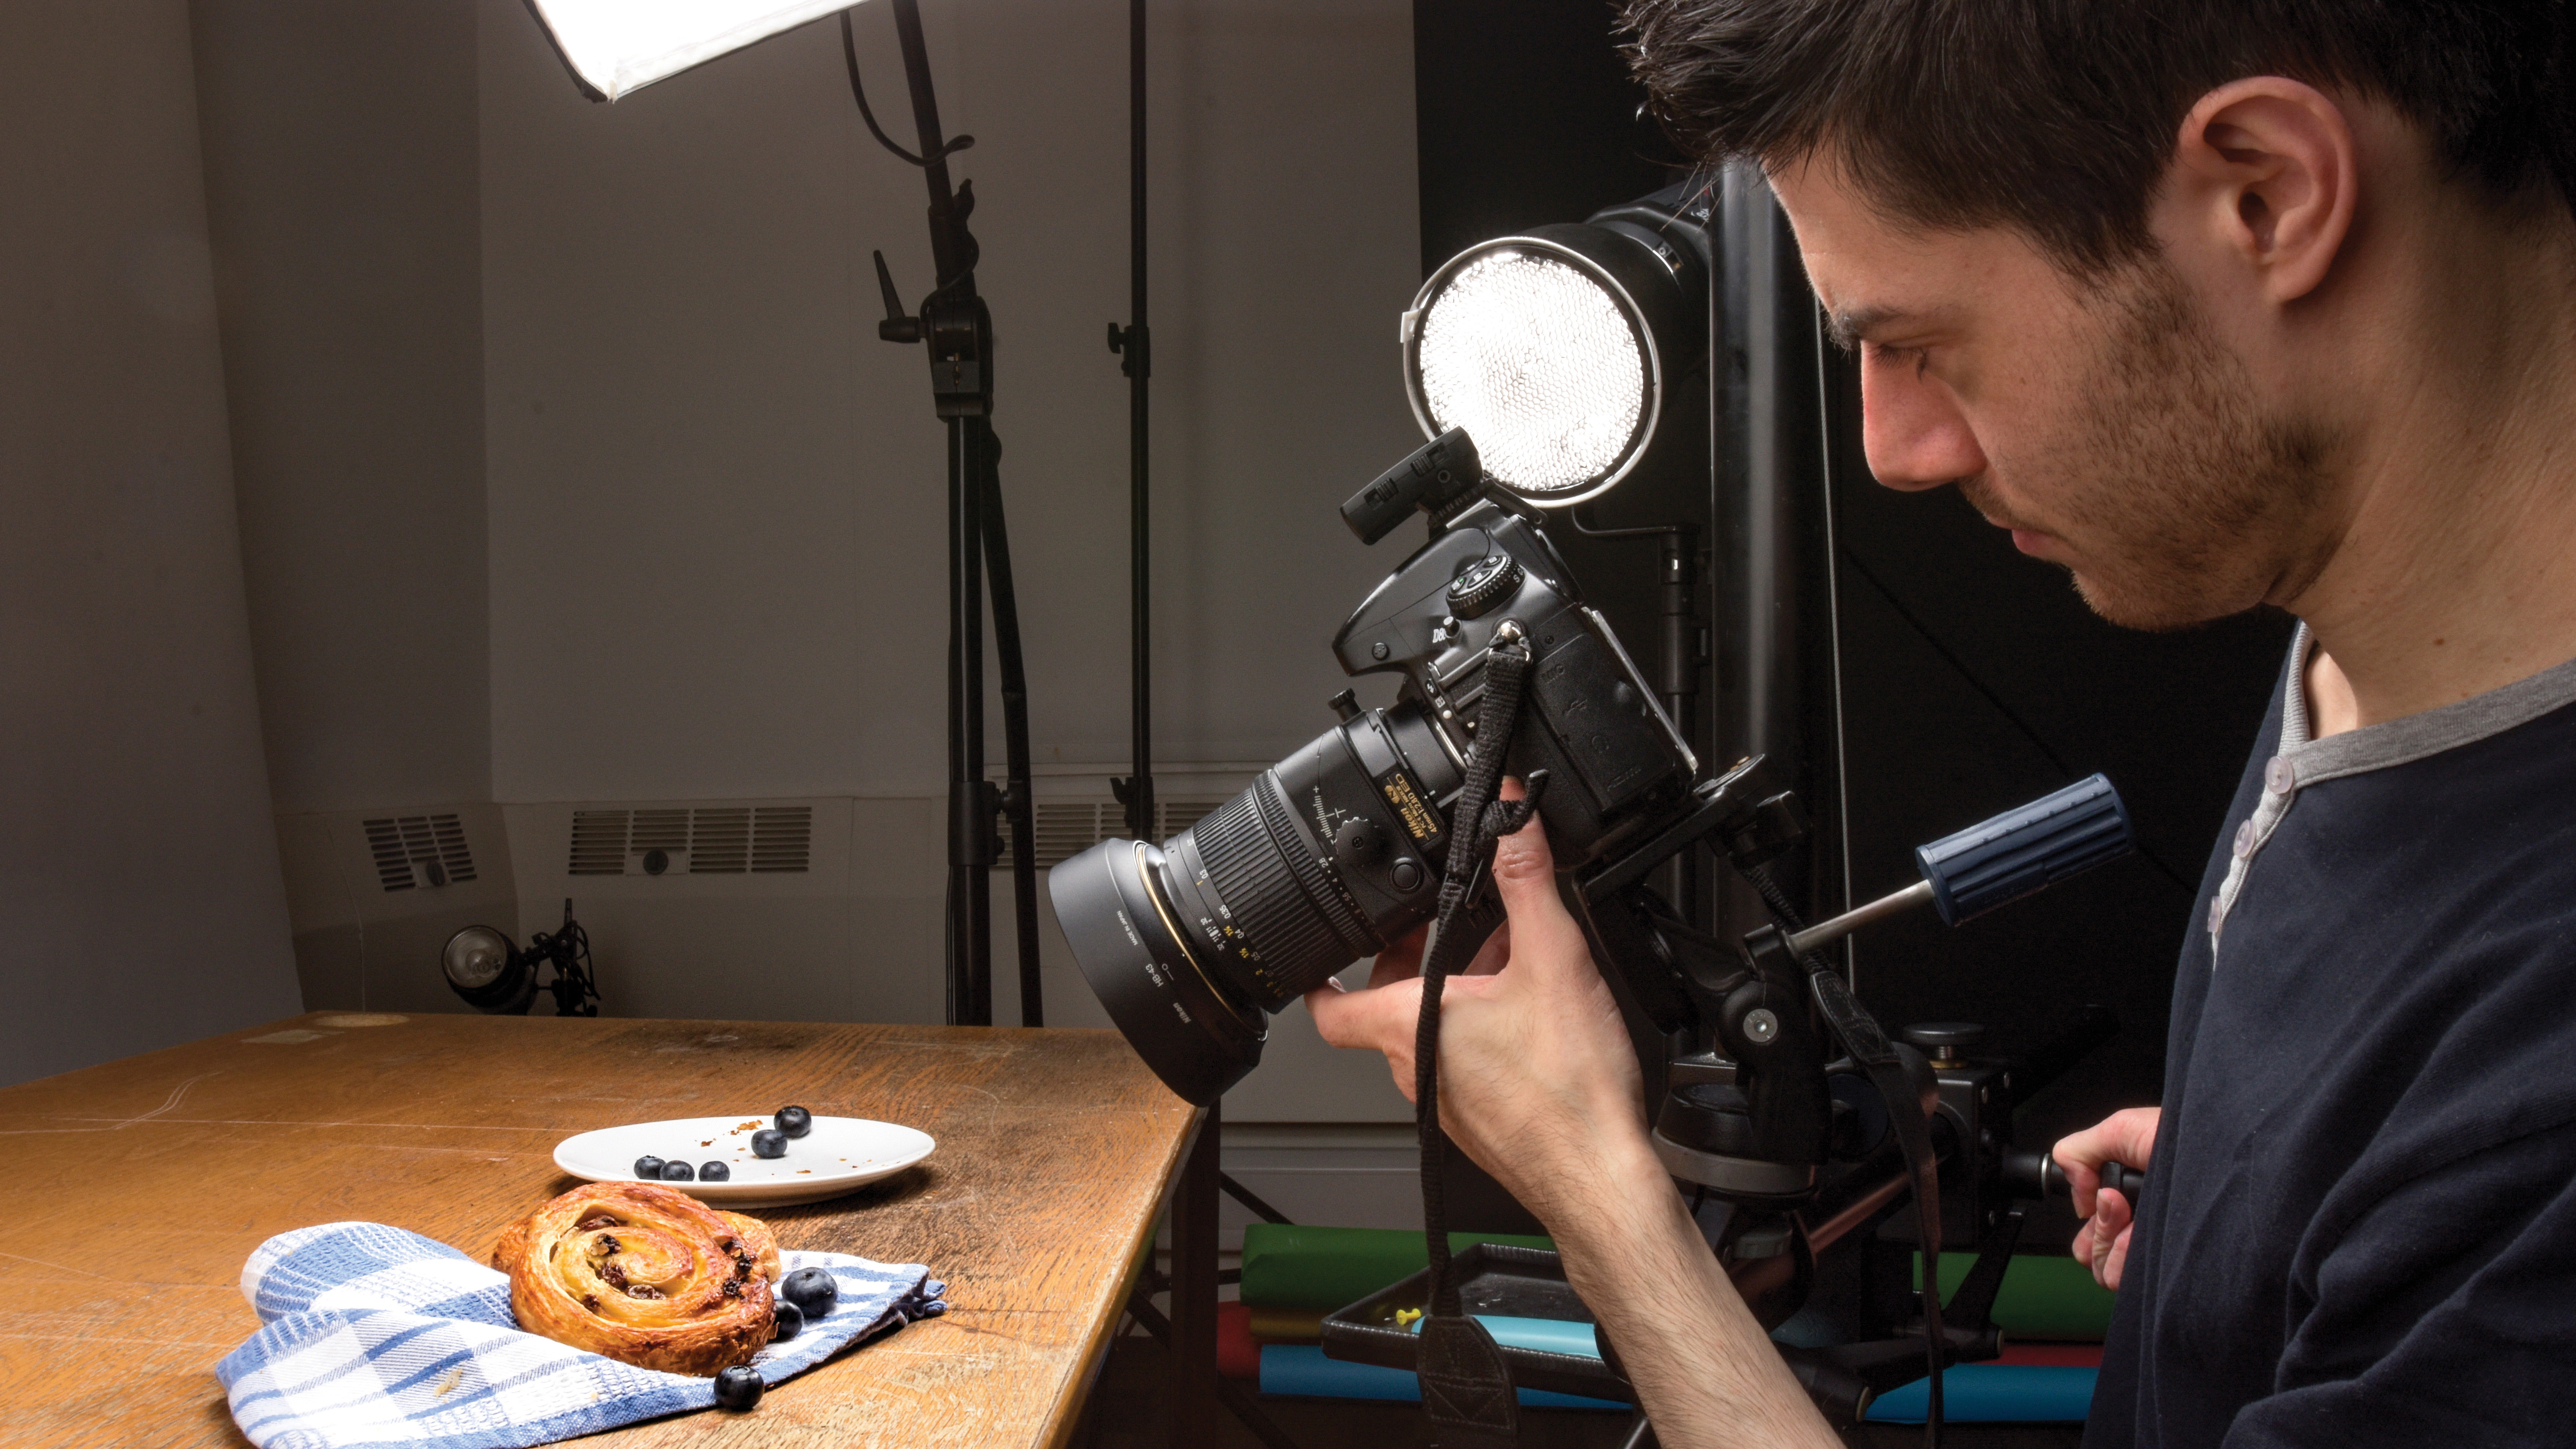
With all the time we're spending indoors right now, this is a great opportunity to dust off your tilt/shift lens – and these optics are perfect for fantastic food photographs and tip top product shots.
Close-up photography is all about capturing detail. Whether the image is a macro shot of a plant in a natural setting or a magnified product image, the goal is the same – to depict elements of the subject that are not easily visible with the naked eye alone.
• 10 best online photography courses
• Get more Home photography ideas
A characteristic feature of close-up images is shallow depth of field, introduced by the close focussing distances employed. While this can compliment some subjects, with commercial product shots or scientific record images of natural subjects this fall-off in sharpness is often undesirable.


For this image of a food product, it was essential to render the front item equally sharp across its surface. While it is possible to extend depth of field by stopping down the aperture, the high f-number required would compromise lens resolution due to diffraction.
This is where a tilt/shift lens comes into play, as it is capable of adjusting the angle of the focal plane so that it covers more of the subject without stopping down significantly.
This enables us to make use of the lens’ optimal aperture – which in the case of this Nikon PC-E Micro Nikkor 45mm f/2.8D ED is around f/5.6 – while still achieving the required depth. A macro tilt/shift optic is an incredibly powerful tool, enabling you to achieve high magnification along with perspective and focus control.
01 Arrange the scene
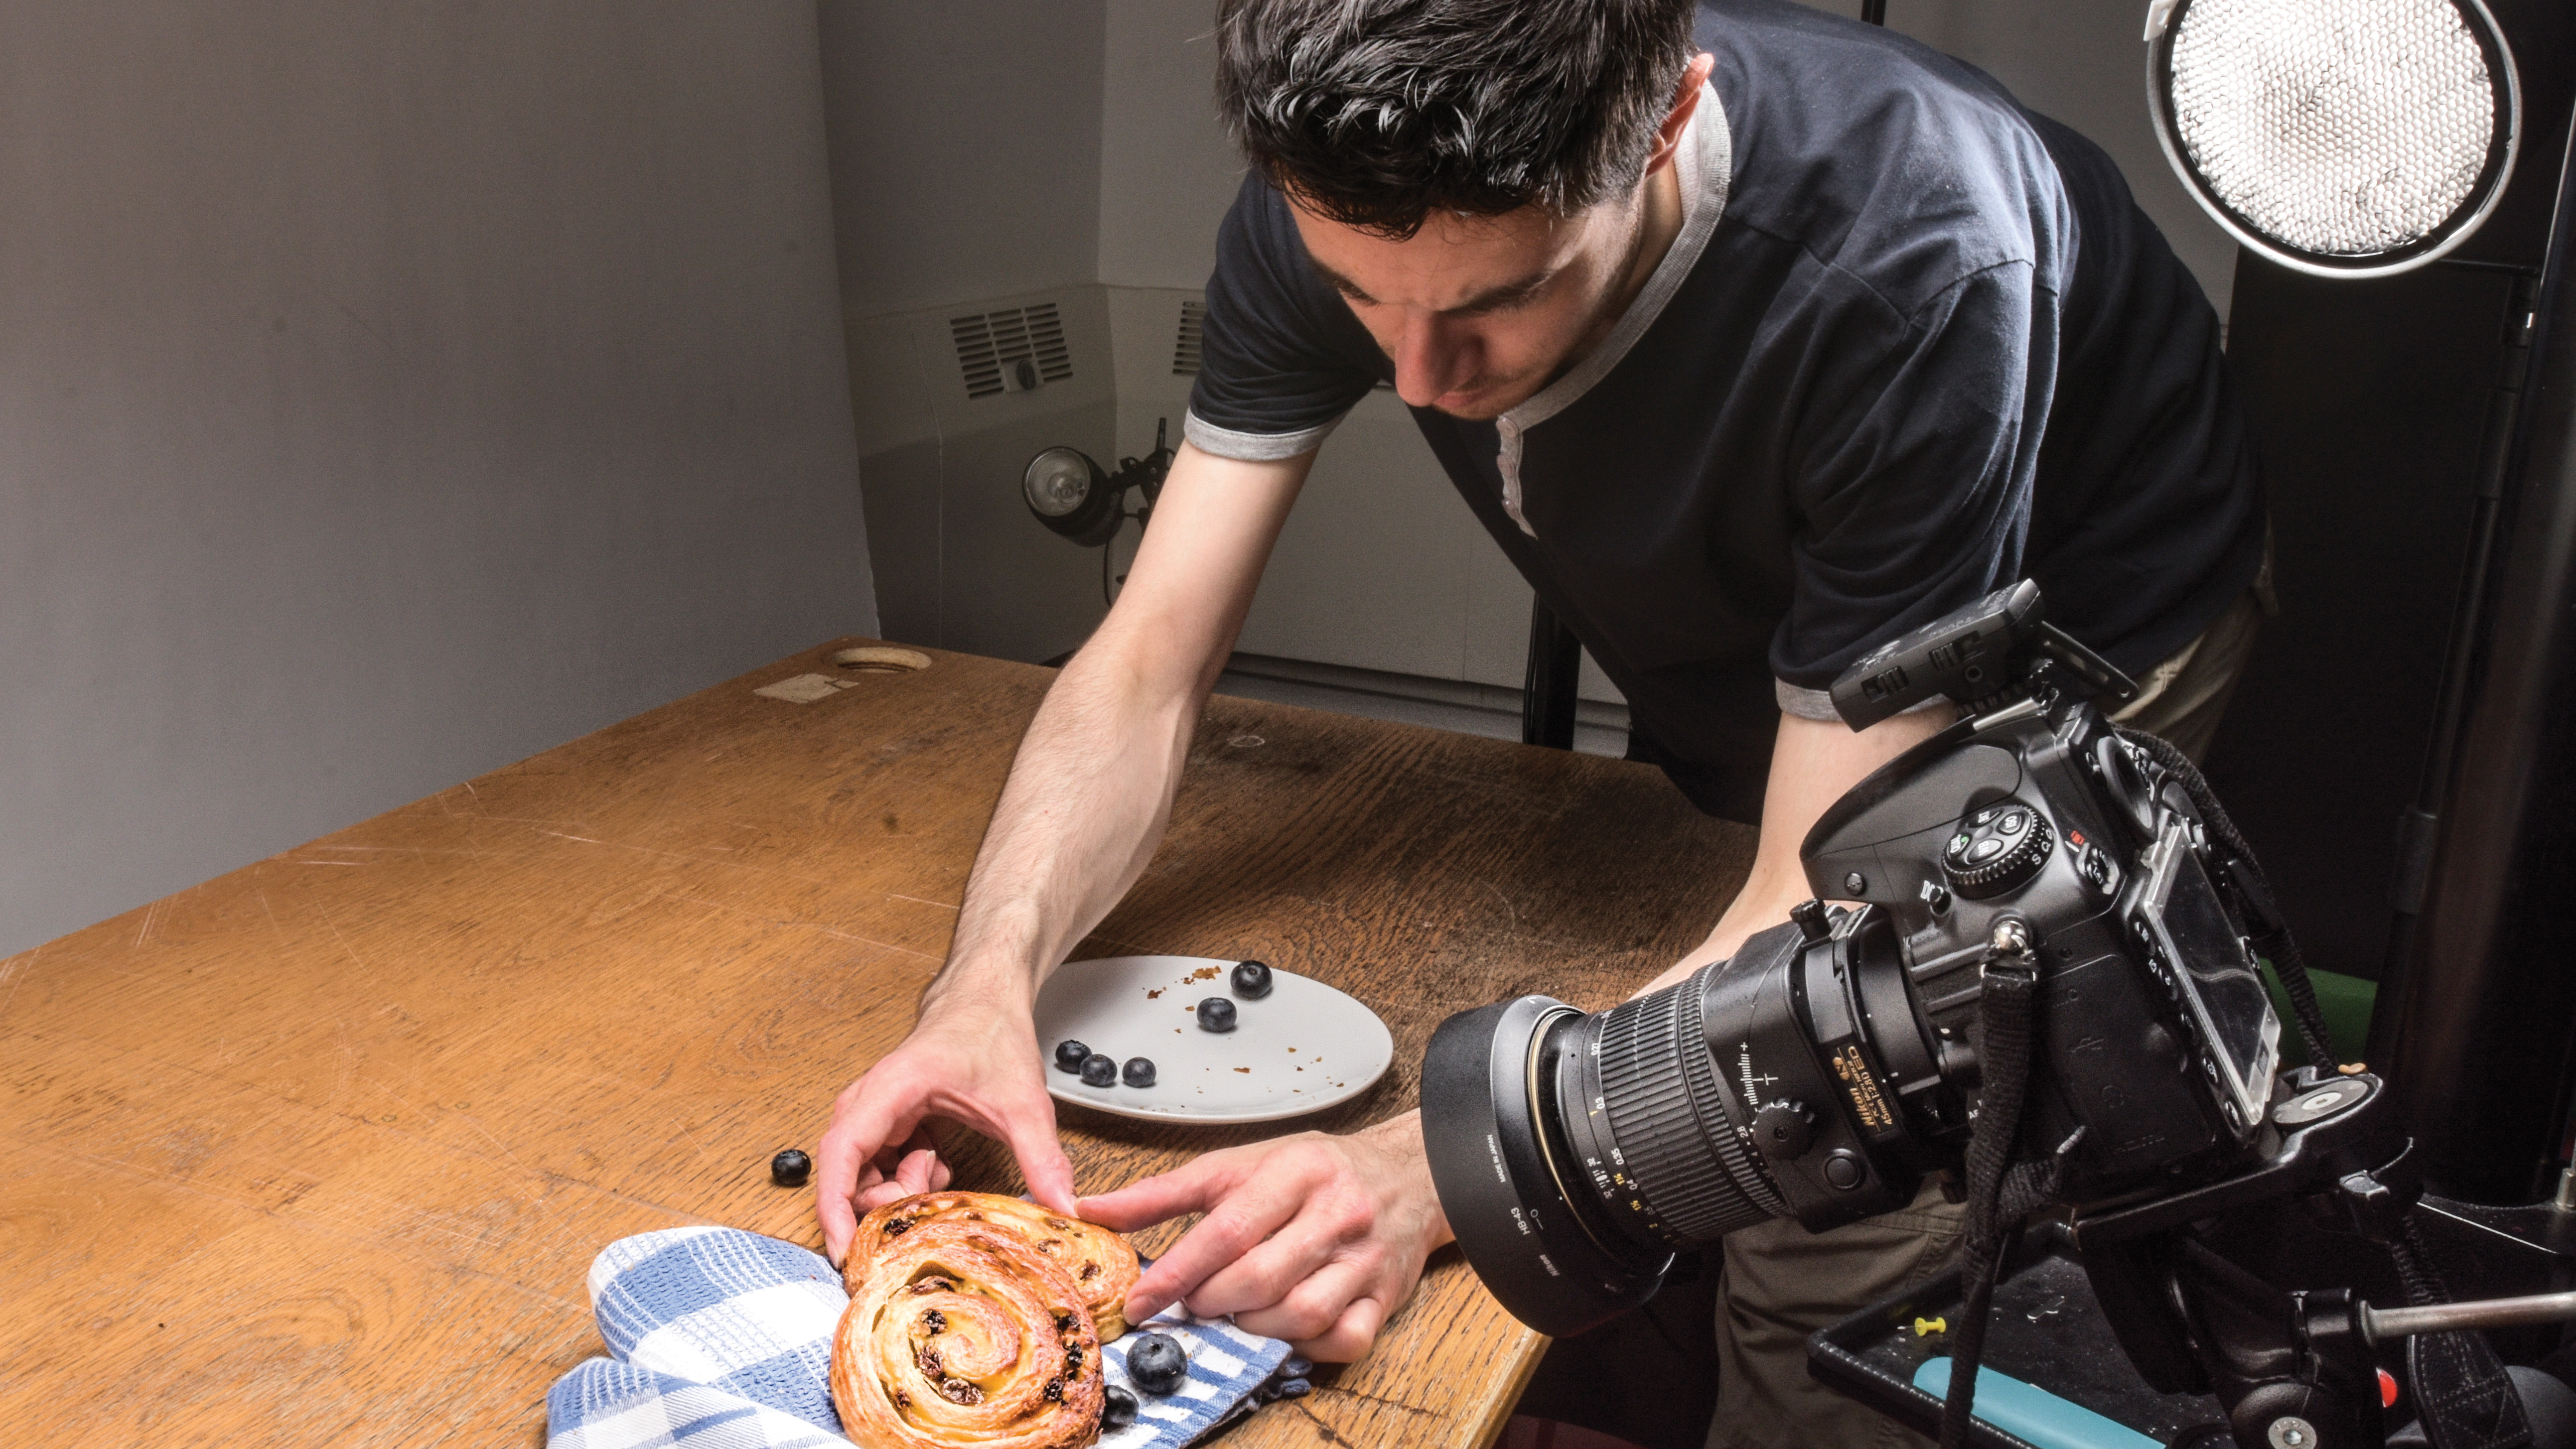
Set out your items, staggering them for added interest. Ensure that there are no distractions. Here we used a large soft light from behind and a focussed strobe from the side.
02 Set camera height
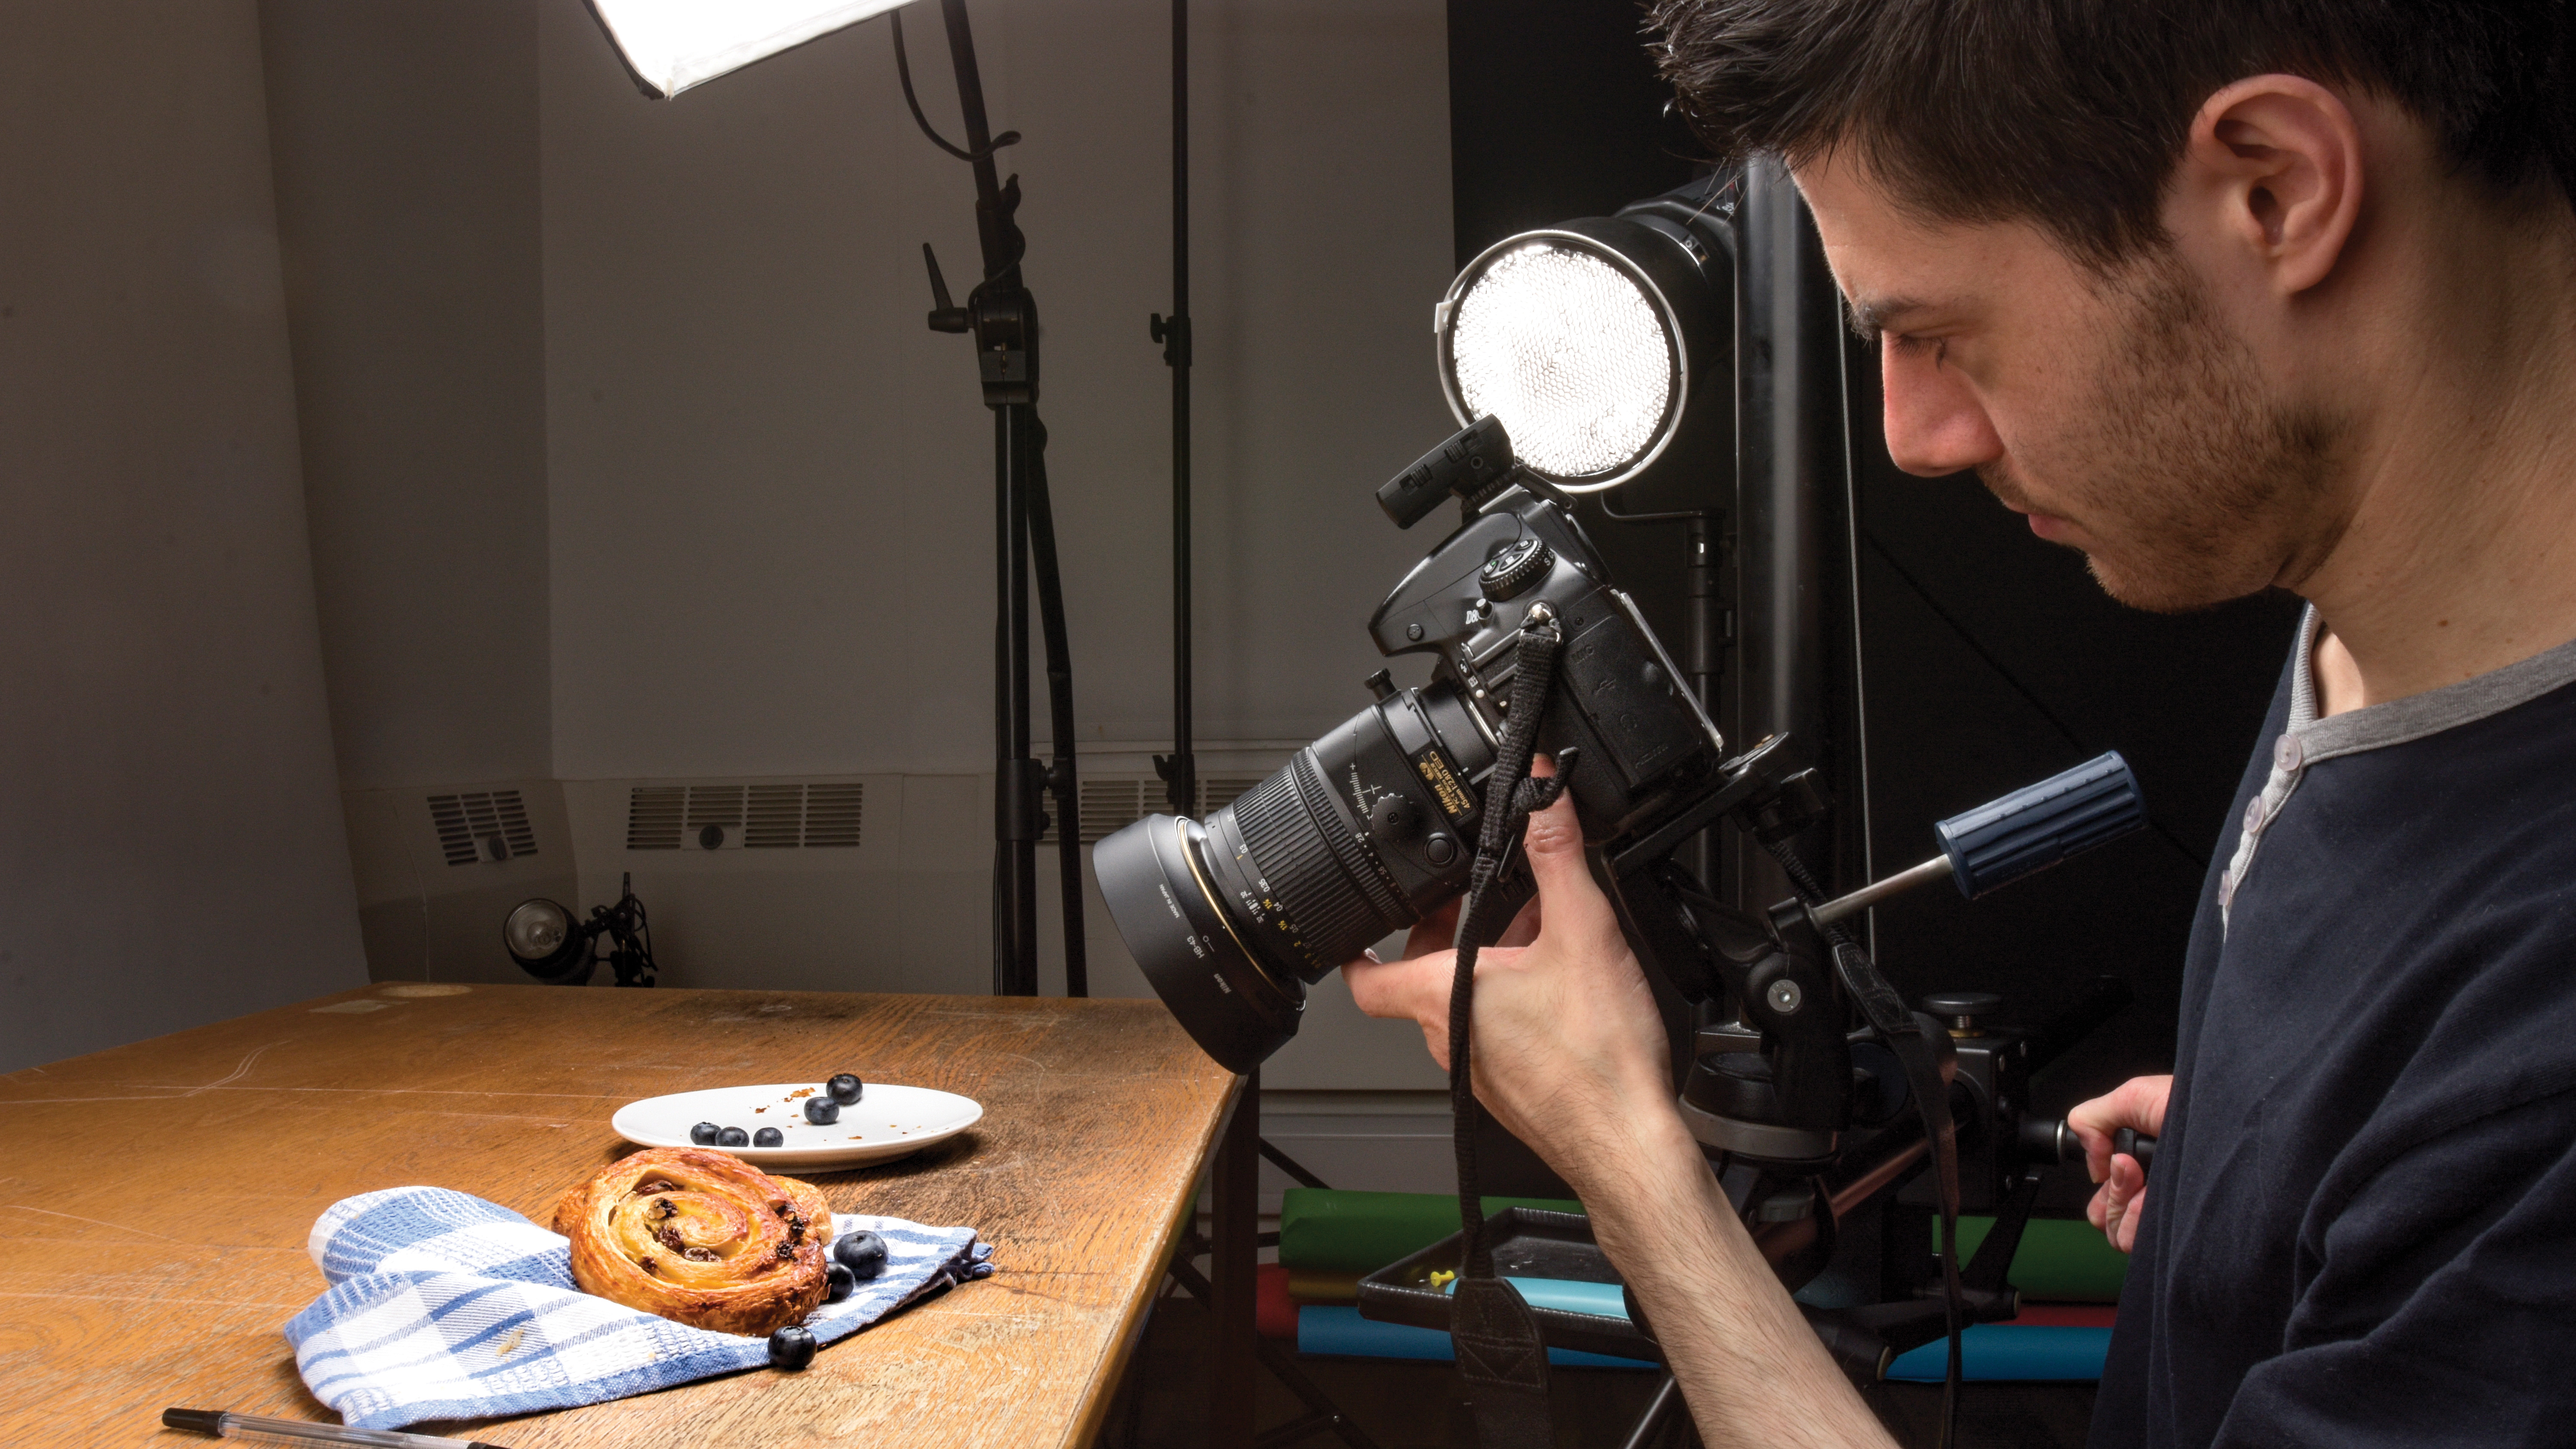
Obviously a tripod is critical to maintaining pinpoint precision. While depth of field is increased by shooting at 90° to the subject, here it was necessary to aim the camera down at around 45° to capture the top surface of the product. This also controls background detail.
Step 3: Calculate exposure
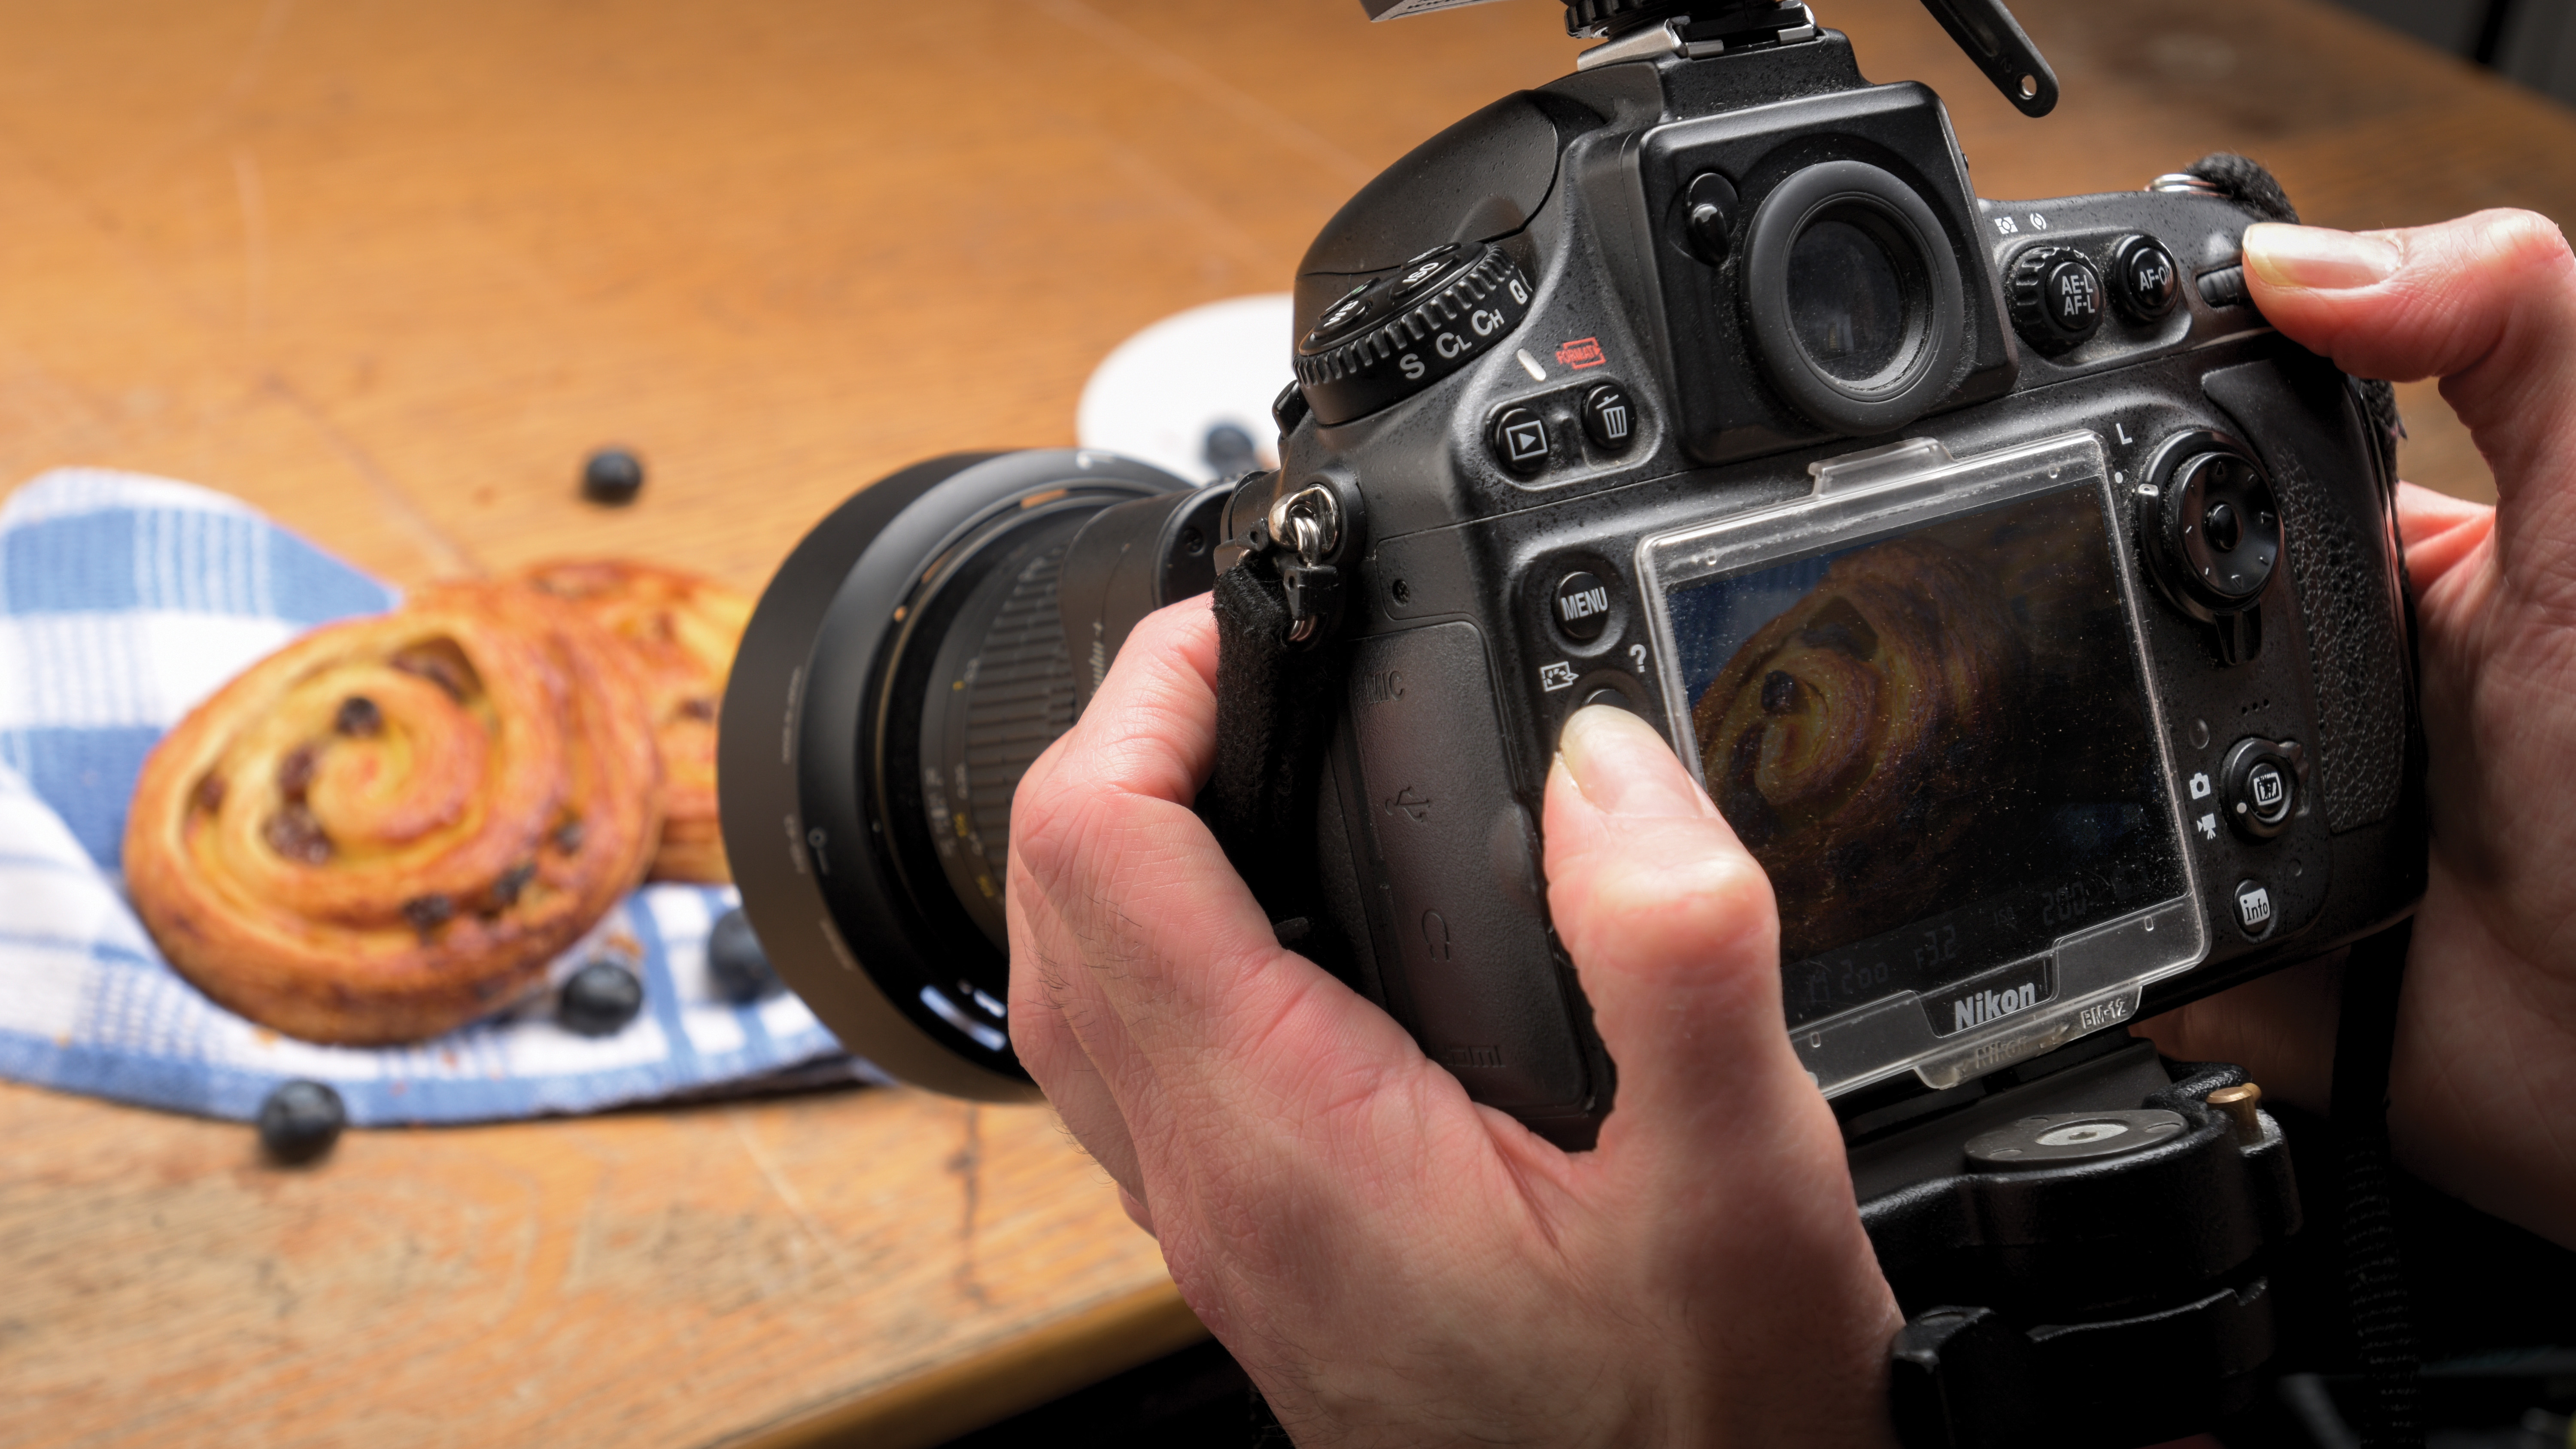
Since we will be avoiding small aperture settings, controlling lighting is essential. Use Manual mode, set an appropriate shutter speed and adjust the strobe output accordingly if using flash.
Step 4: Compose the shot
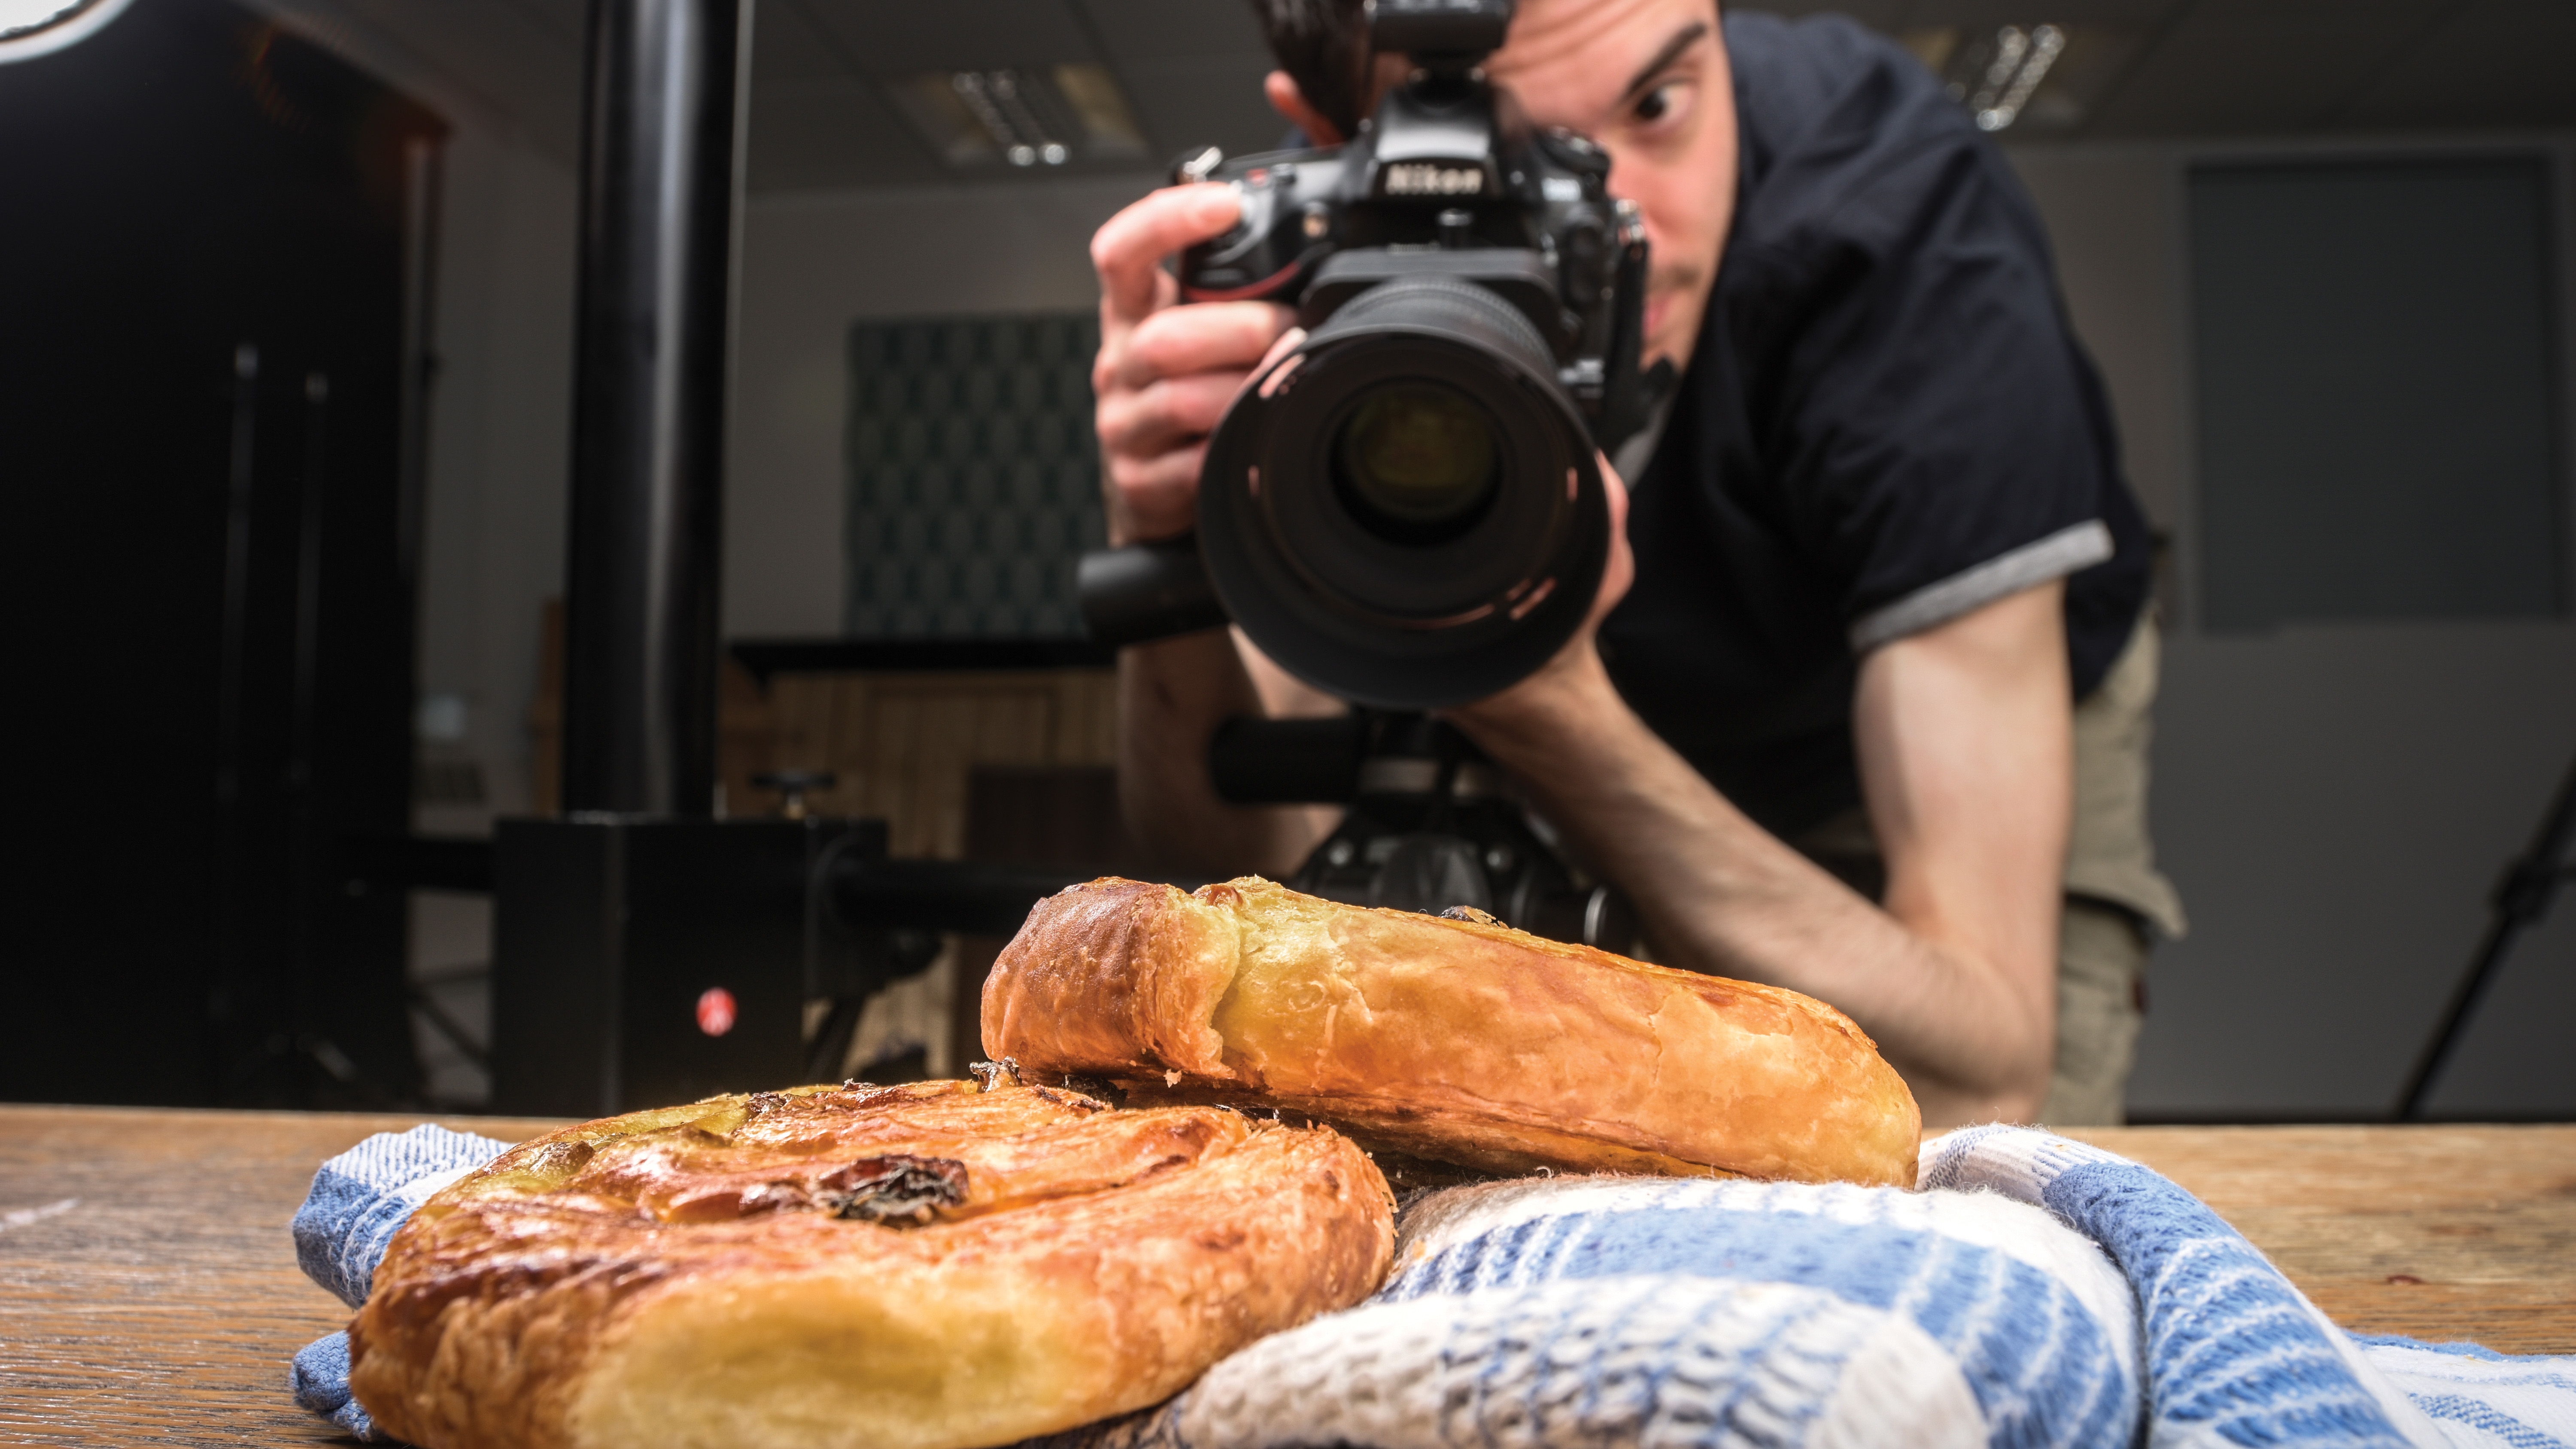
Arrange the frame so that the subject fills the composition, making use of the lens’ macro capabilities. The angle here has restricted context to suggest a bakery setting, but with clear subject focus.
Step 5: Rotate the lens
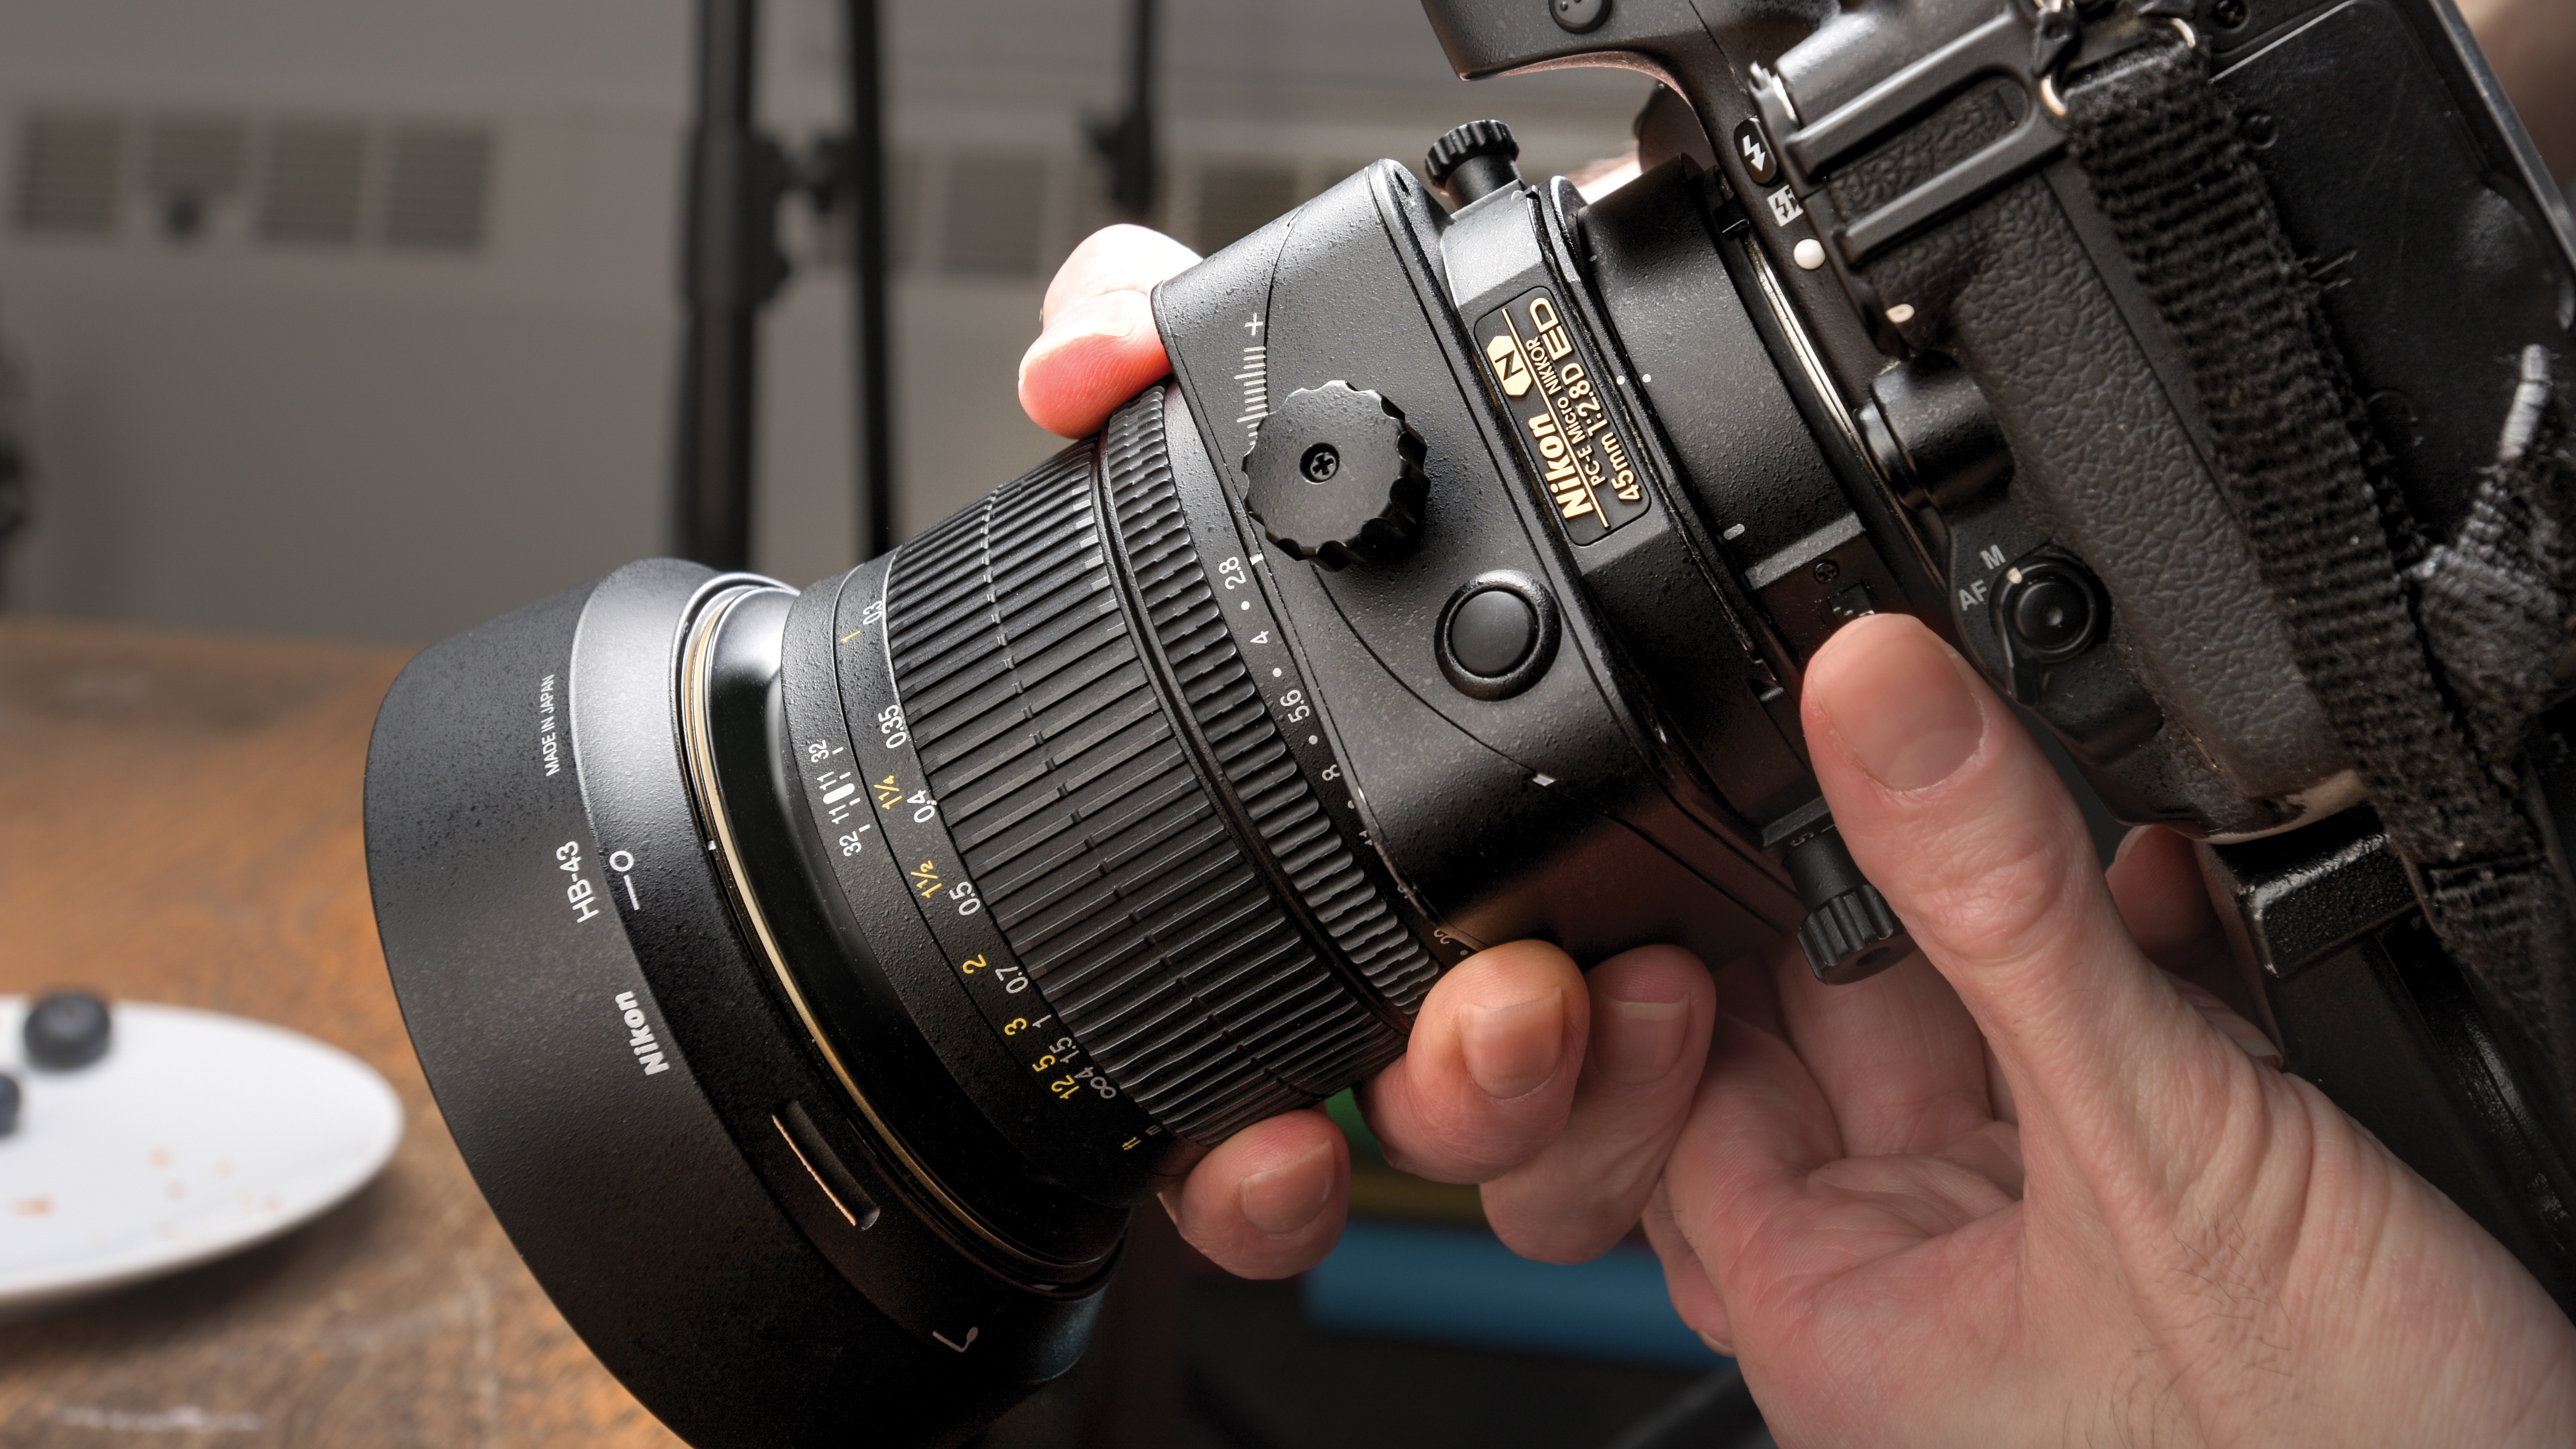
For vertical tilt, first press the rotate lock switch and twist the front lens section to rotate it into the vertical position. This will enable the tilt and shift mechanism to move the lens up and down.
Step 6: Tilt the lens
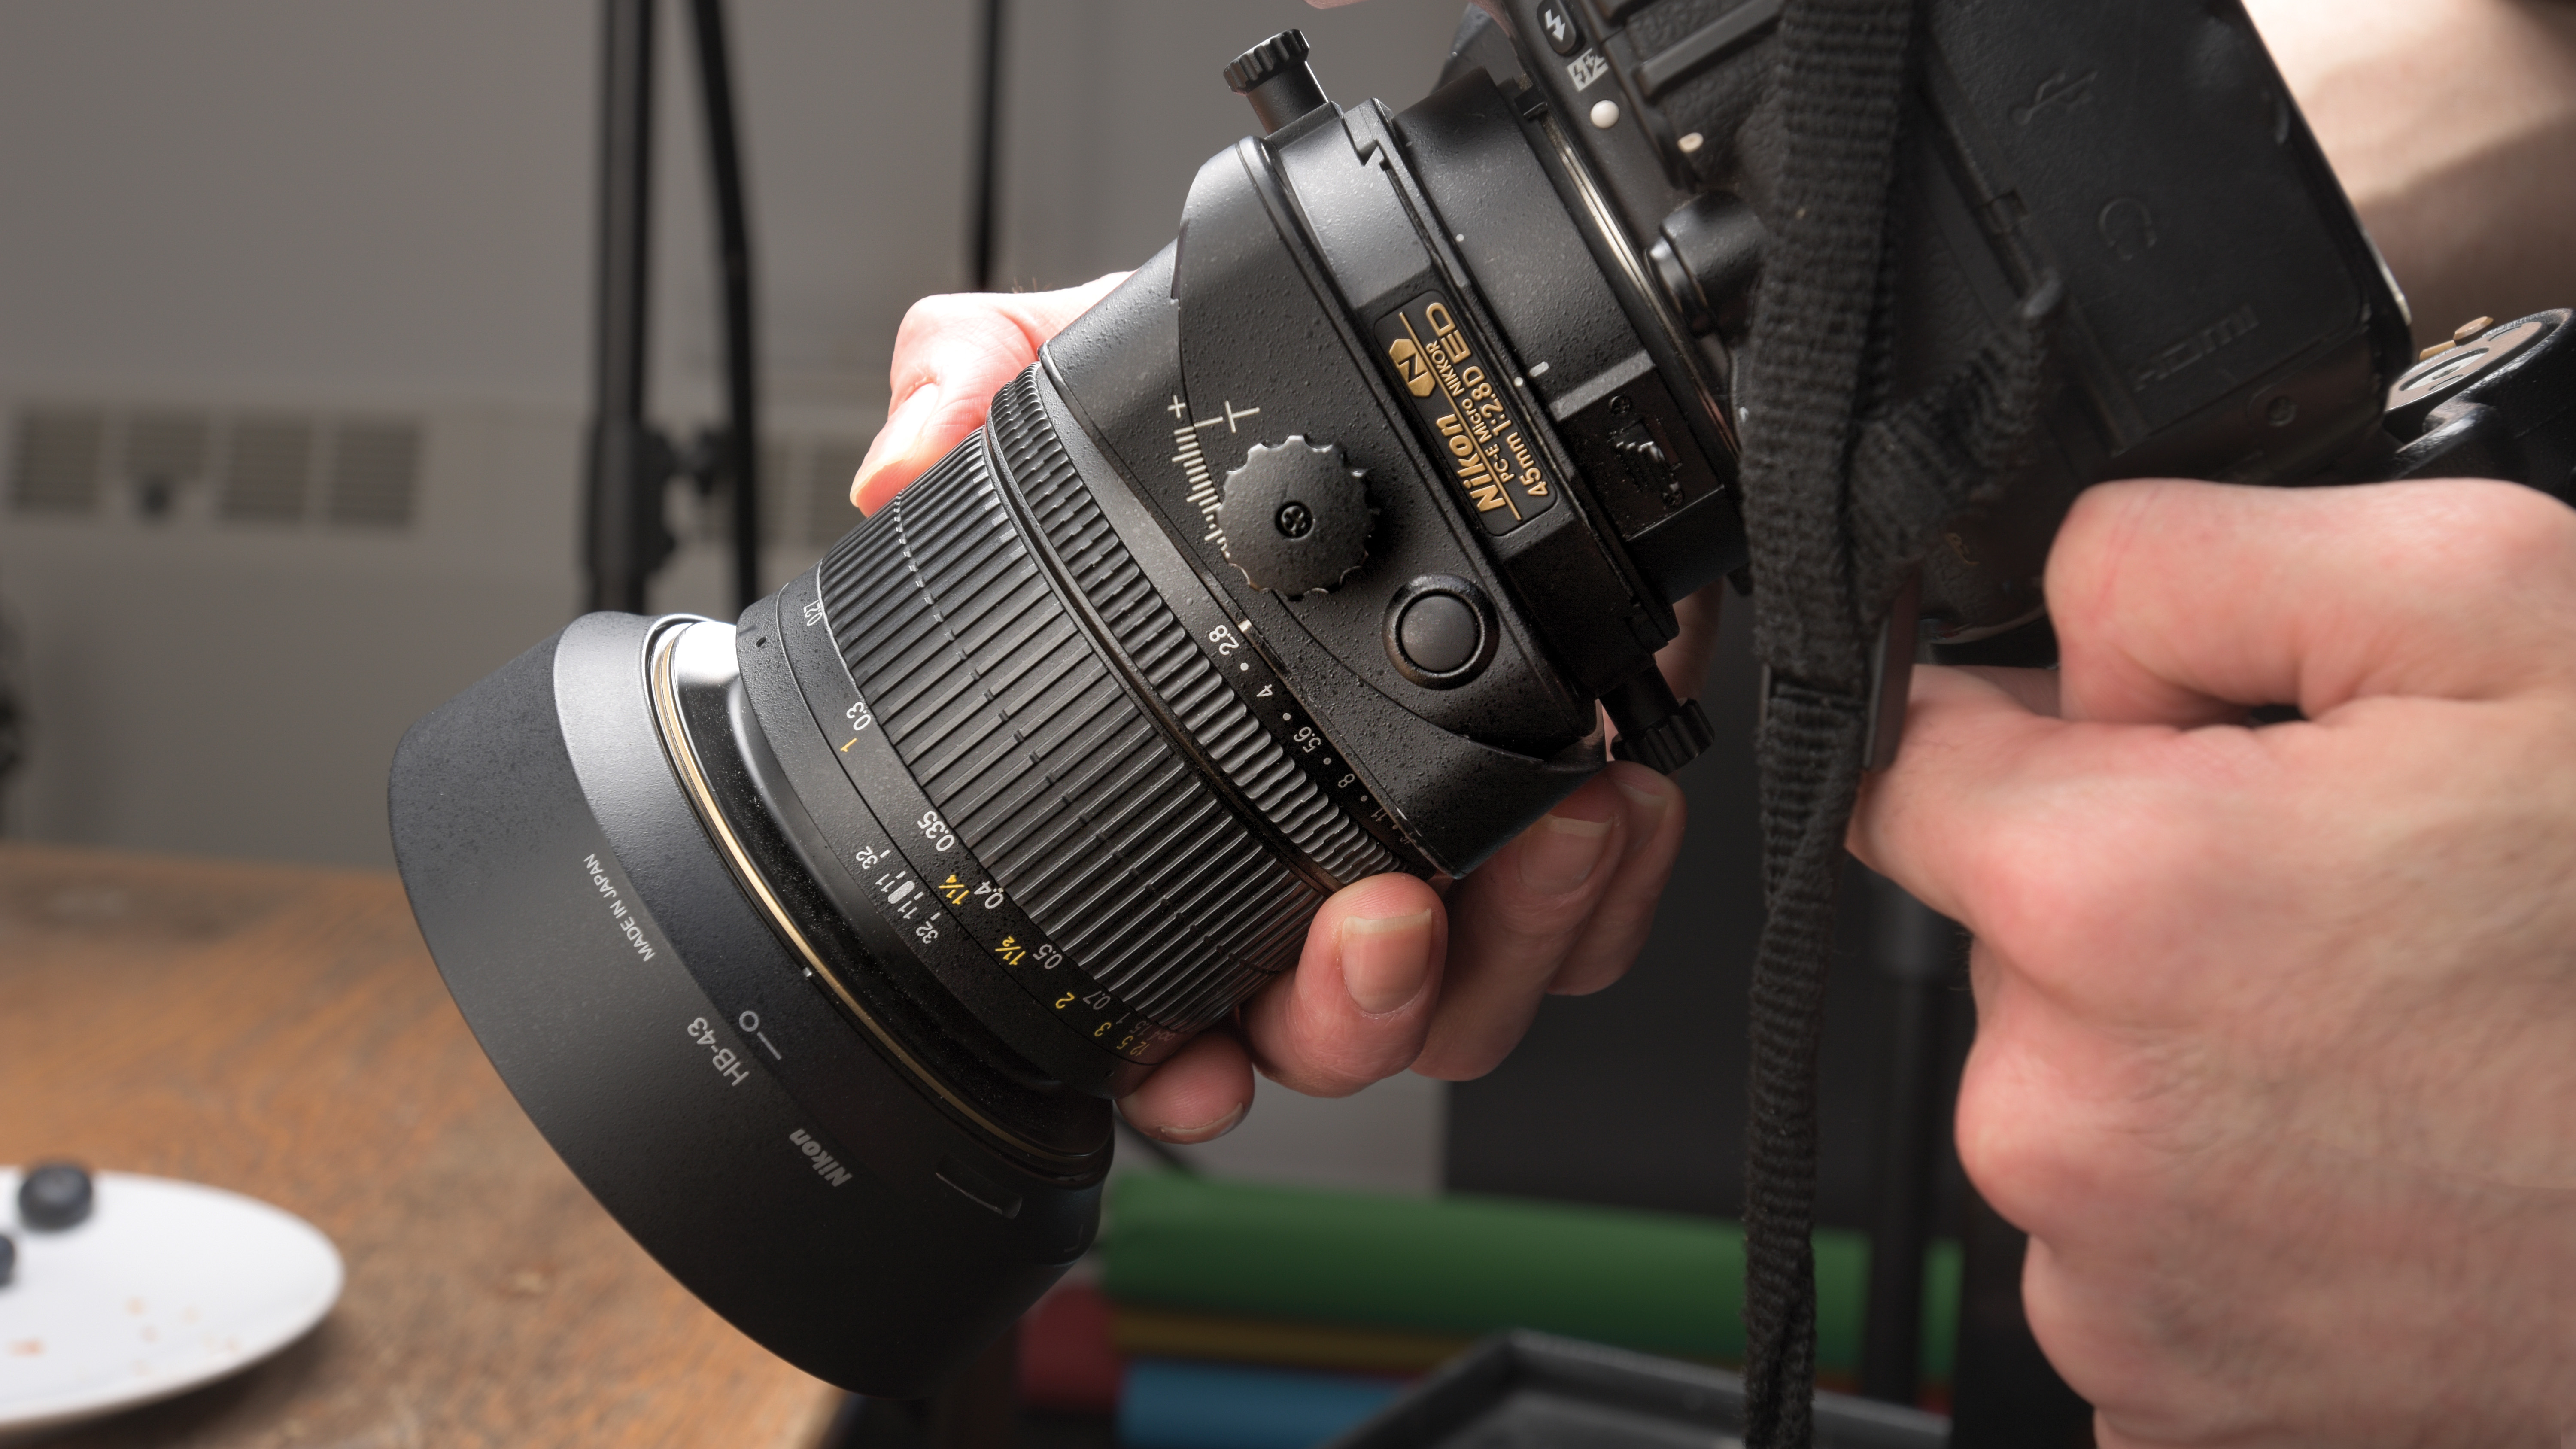
Twist the control knob to set positive tilt and align the focal plane with the subject. Use live view or the viewfinder to monitor DOF as you work. Here full tilt was required for maximum focus across the pastry.
Step 7: Adjust focus
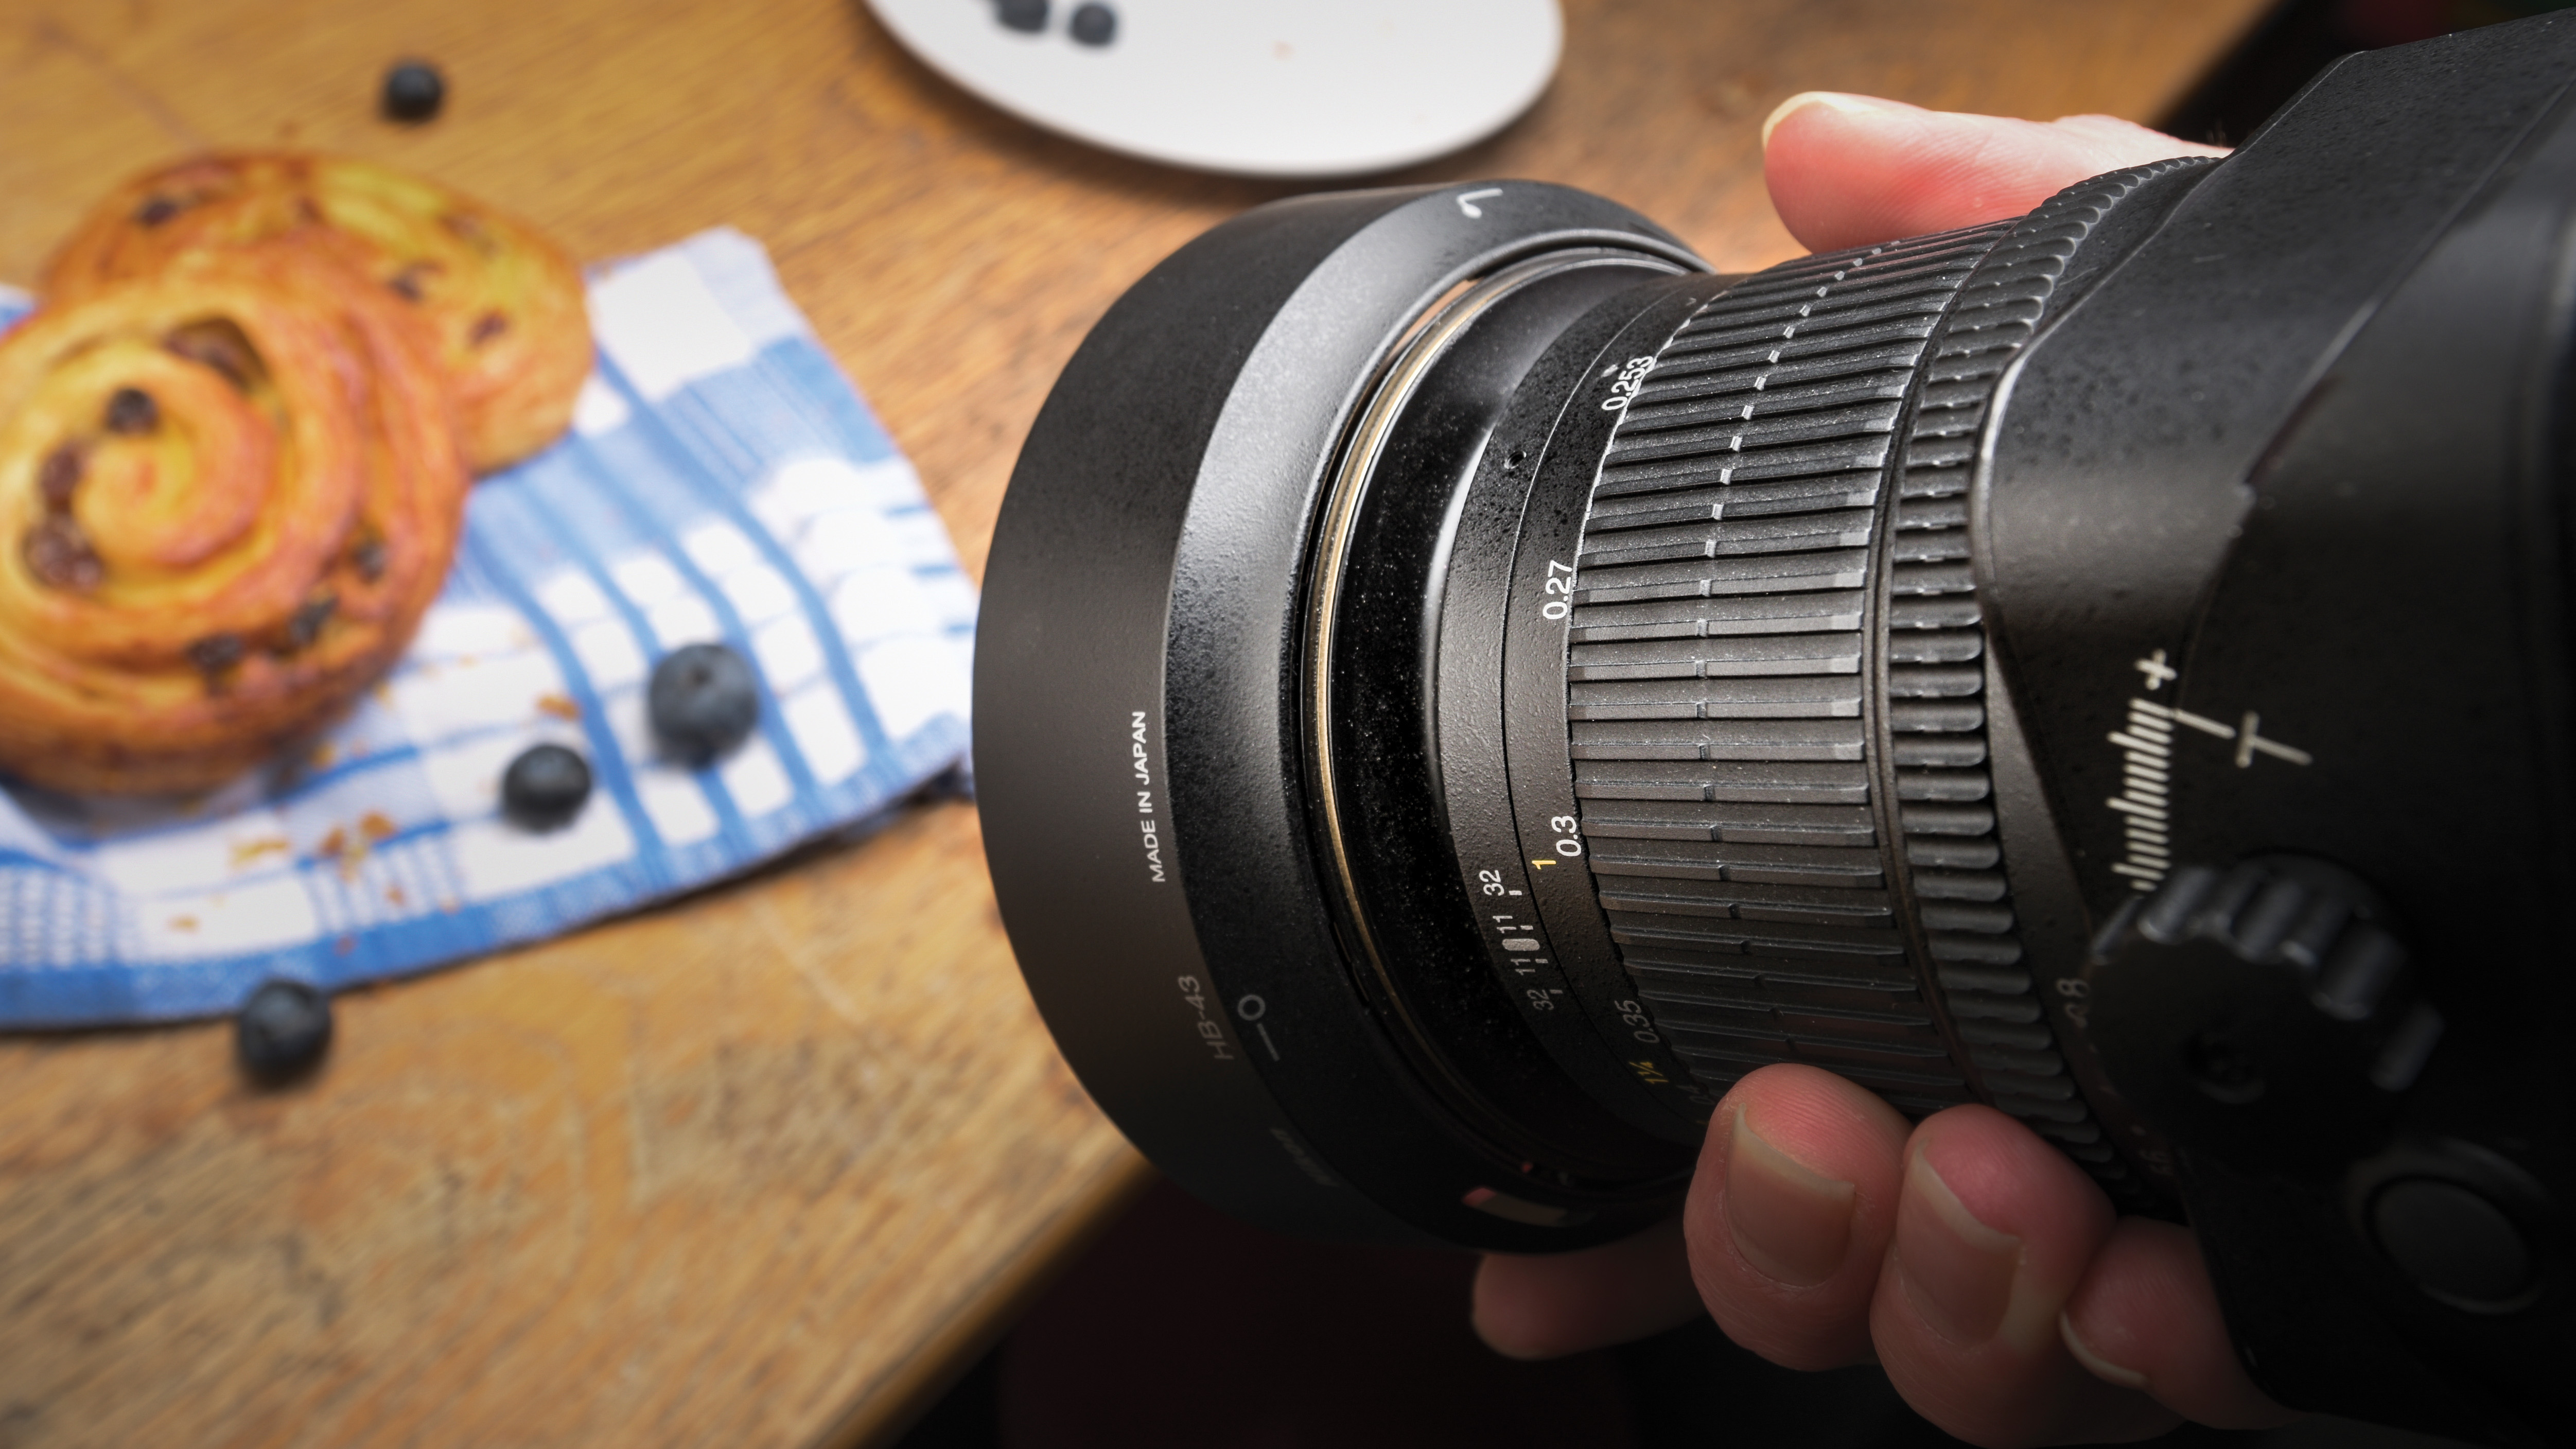
Use the manual ring to adjust the position of the focal plane, to ensure your subject is correctly focussed. Here the front of the forward subject was used as the focal point to maximize visible sharpness.
Step 8: Customize f-stop
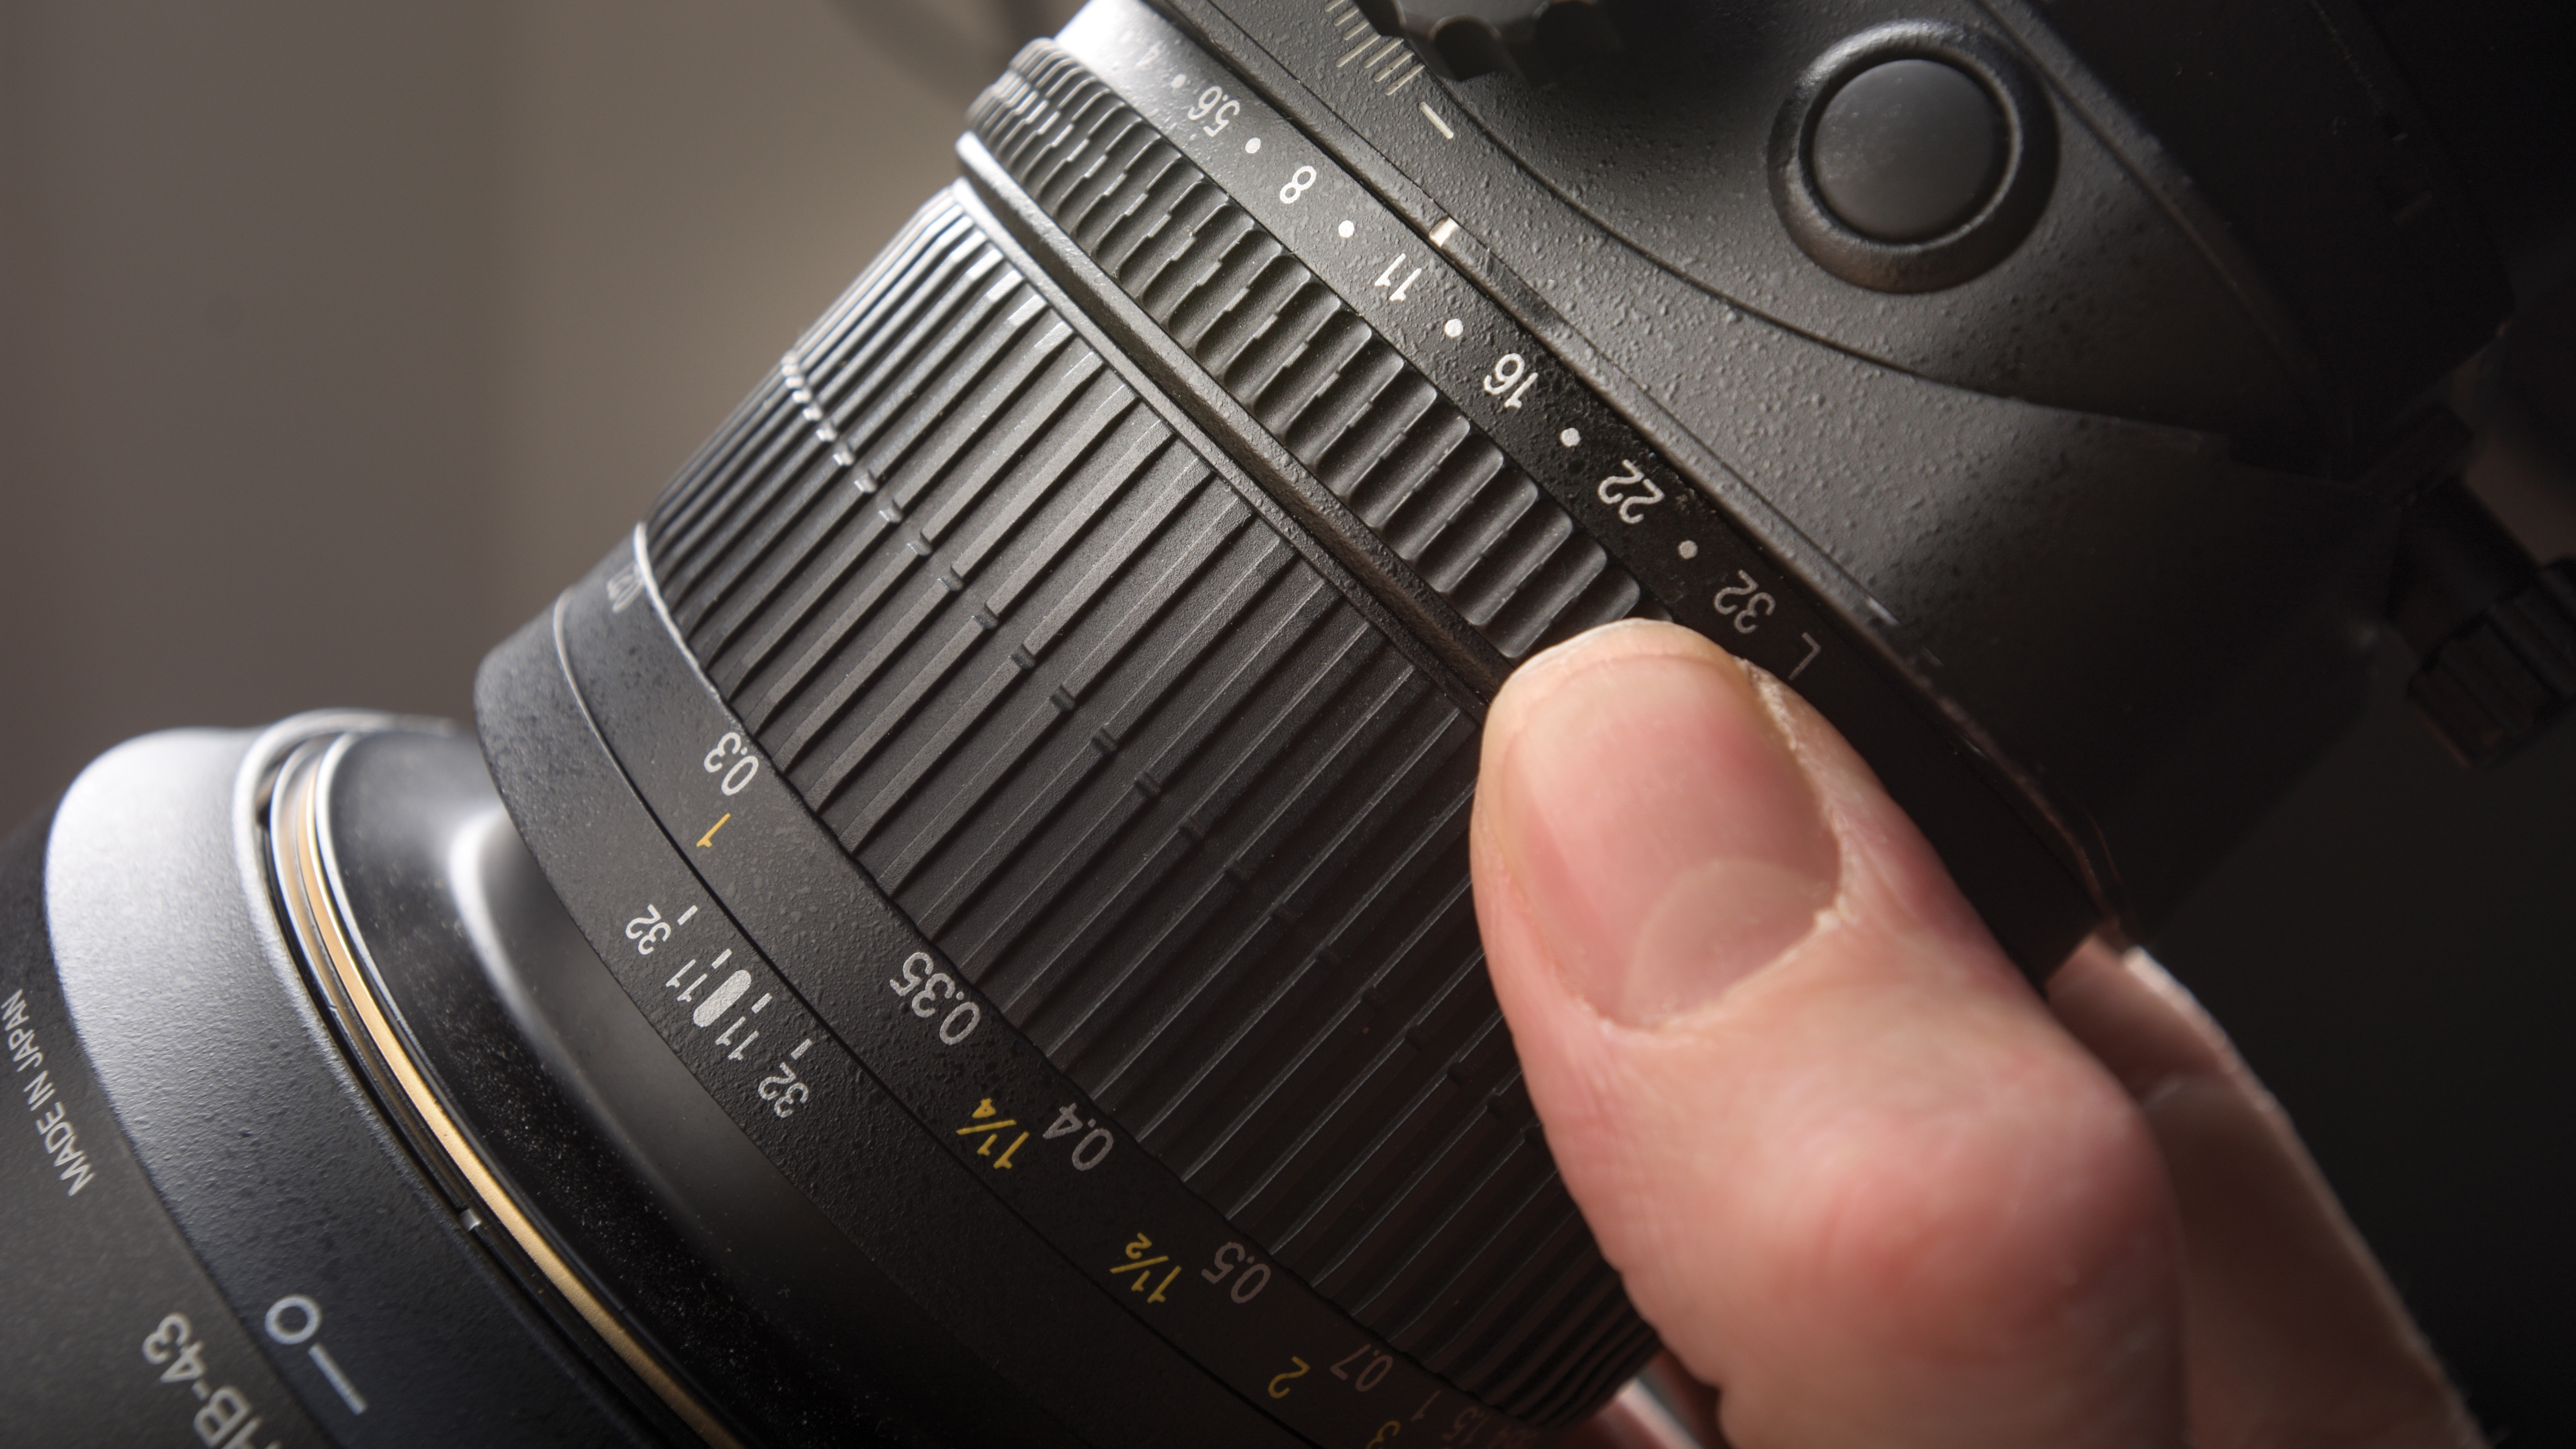
Zoom in on your LCD to check that the front and back of the subject are equally sharp. Adjust aperture to further control depth of field – here stopping down to f11 brought out more detail in the rear subject.
Read more:
How to shoot product photography with single strobe lighting
The best light tents for photography
The best books on food photography
Get the Digital Camera World Newsletter
The best camera deals, reviews, product advice, and unmissable photography news, direct to your inbox!
As the Editor for Digital Photographer magazine, Peter is a specialist in camera tutorials and creative projects to help you get the most out of your camera, lens, tripod, filters, gimbal, lighting and other imaging equipment.
After cutting his teeth working in retail for camera specialists like Jessops, he has spent 11 years as a photography journalist and freelance writer – and he is a Getty Images-registered photographer, to boot.
No matter what you want to shoot, Peter can help you sharpen your skills and elevate your ability, whether it’s taking portraits, capturing landscapes, shooting architecture, creating macro and still life, photographing action… he can help you learn and improve.
