How I created a star trails composite photo at Glastonbury
From importing individual frames to processing them in StarStaX, Josh Dury talks us through the process
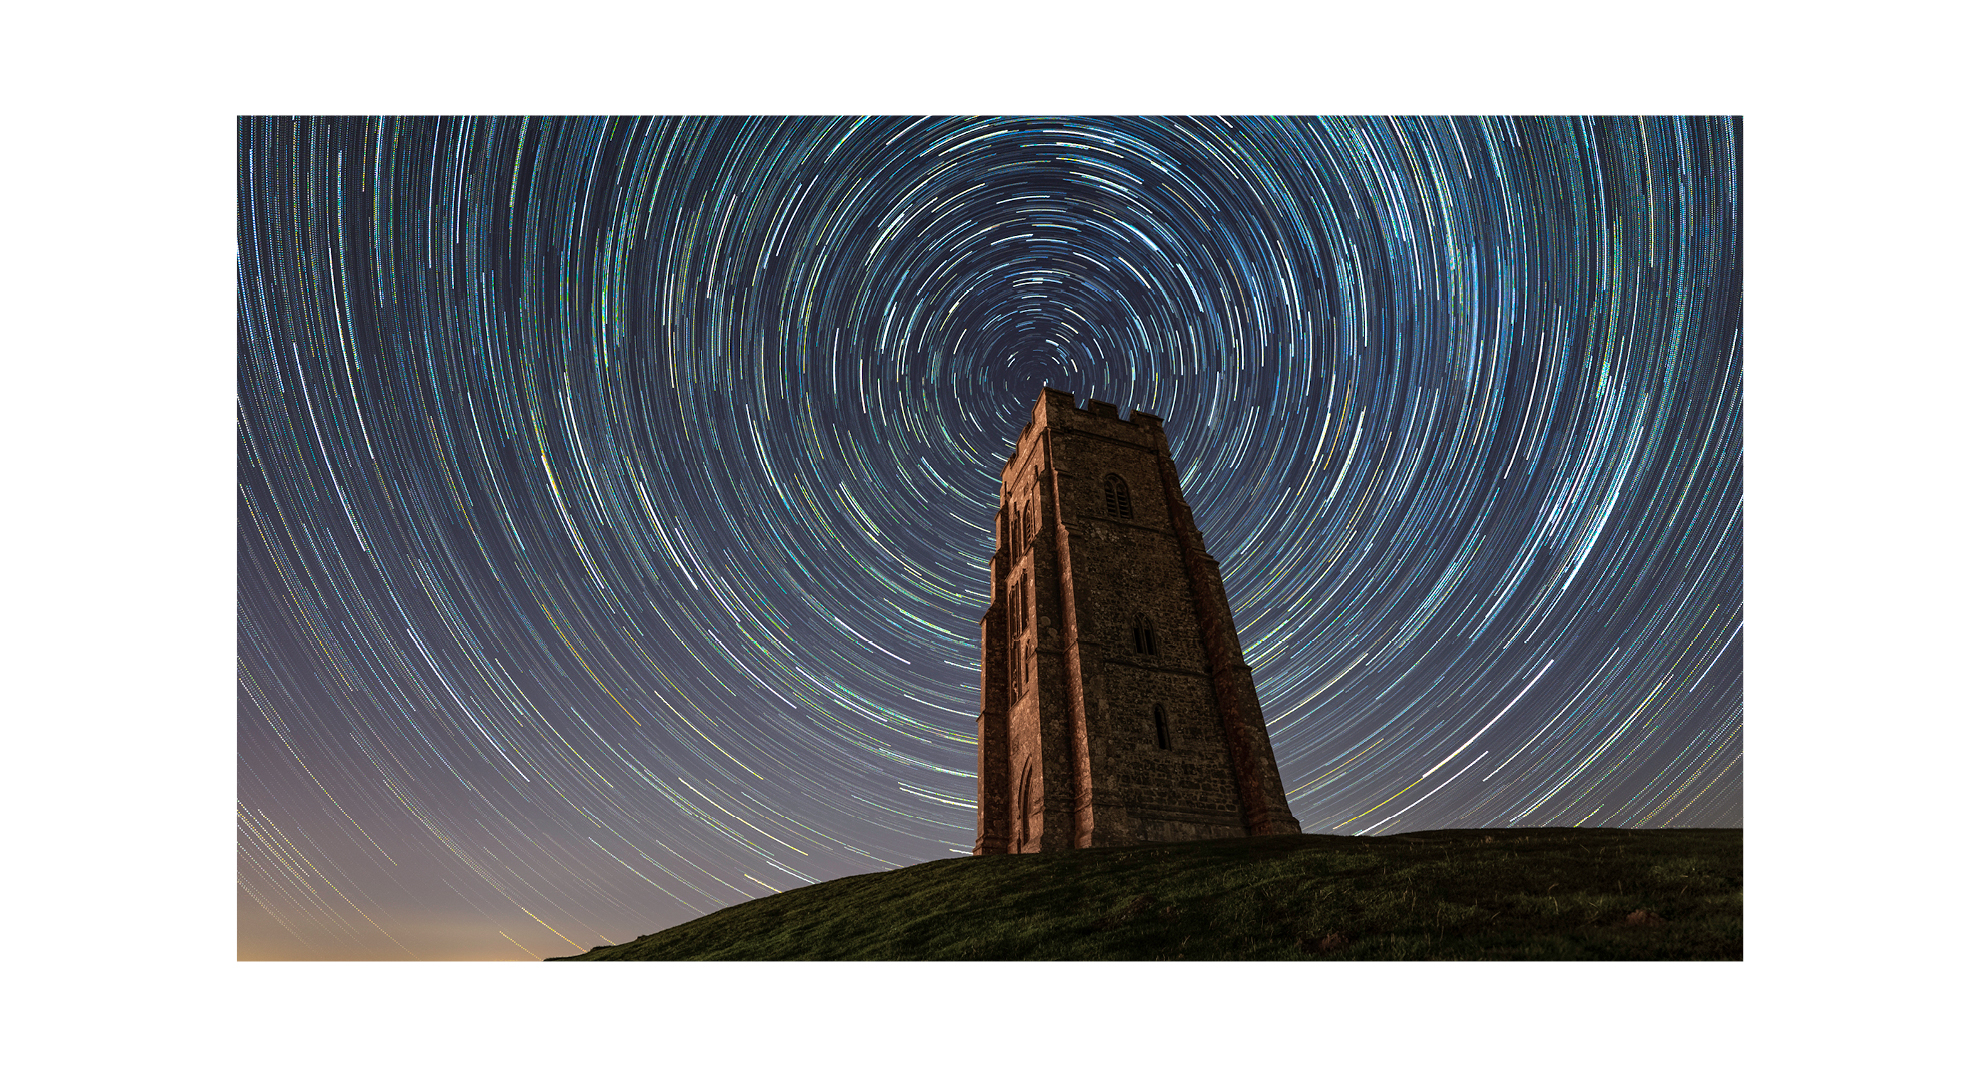
We recently joined astrophotographer Josh Dury on a recent night shoot at Glastonbury Tor in Somerset, a landmark that's visible from the internationally famous British music festival.
Having ascended the steep slope up to the tower while it was still light, Josh picked his spot and set up his camera gear.
Favoring a Sony Alpha 7S II and a Sigma 14mm f/1.8 DG HSM Art lens, Josh proceeded to get ready to capture star trails, composing with the 15th-century tower in the frame, using the pole star (Polaris) as a reference point.
While this would be a pleasing composition for a landscape photo during the daytime, here, the tower isn’t the star of the scene; this will be evident much later, after Josh combines some 20 captures of up to 15 seconds each into a stacked image of the Milky Way.
With the tripod firmly planted in the ground to eliminate any unwanted movement, Josh dialed in the settings to his camera remote’s built-in intervalometer and pressed the start button.
Monitoring progress on the rear screen of his Sony Alpha 7S II, he waited while the intervalometer completed its job.
Typically, Josh feels he can gather the frames he needs in a couple of hours, although he would work for an extra hour if more definition in the trails was required.
The number of frames that he would capture on a given night depends on what he’s shooting: for a Milky Way stack, for example, Josh could have produced 20-30 raw files.
So here’s how he used software to combine the individual Glastonbury Tor frames into an image stack…
1: Download the images

“When capturing star trails, StarStaX is a great piece of stacking software that will turn your raw files into star trail images.”
2: Import them into Starry Landscape Stacker

“Next, I import the images into Starry Landscape Stacker, a paid-for app. Select the background and foreground then process it as a final TIFF and you have the image as a stack.”
3: Import the stack to Lightroom

“Now make any natural adjustments. Some astrophotographers like pushing things further but I do the opposite: keep the image clean, and as clear as you saw it on the night.”
4: Make final adjustments in Photoshop
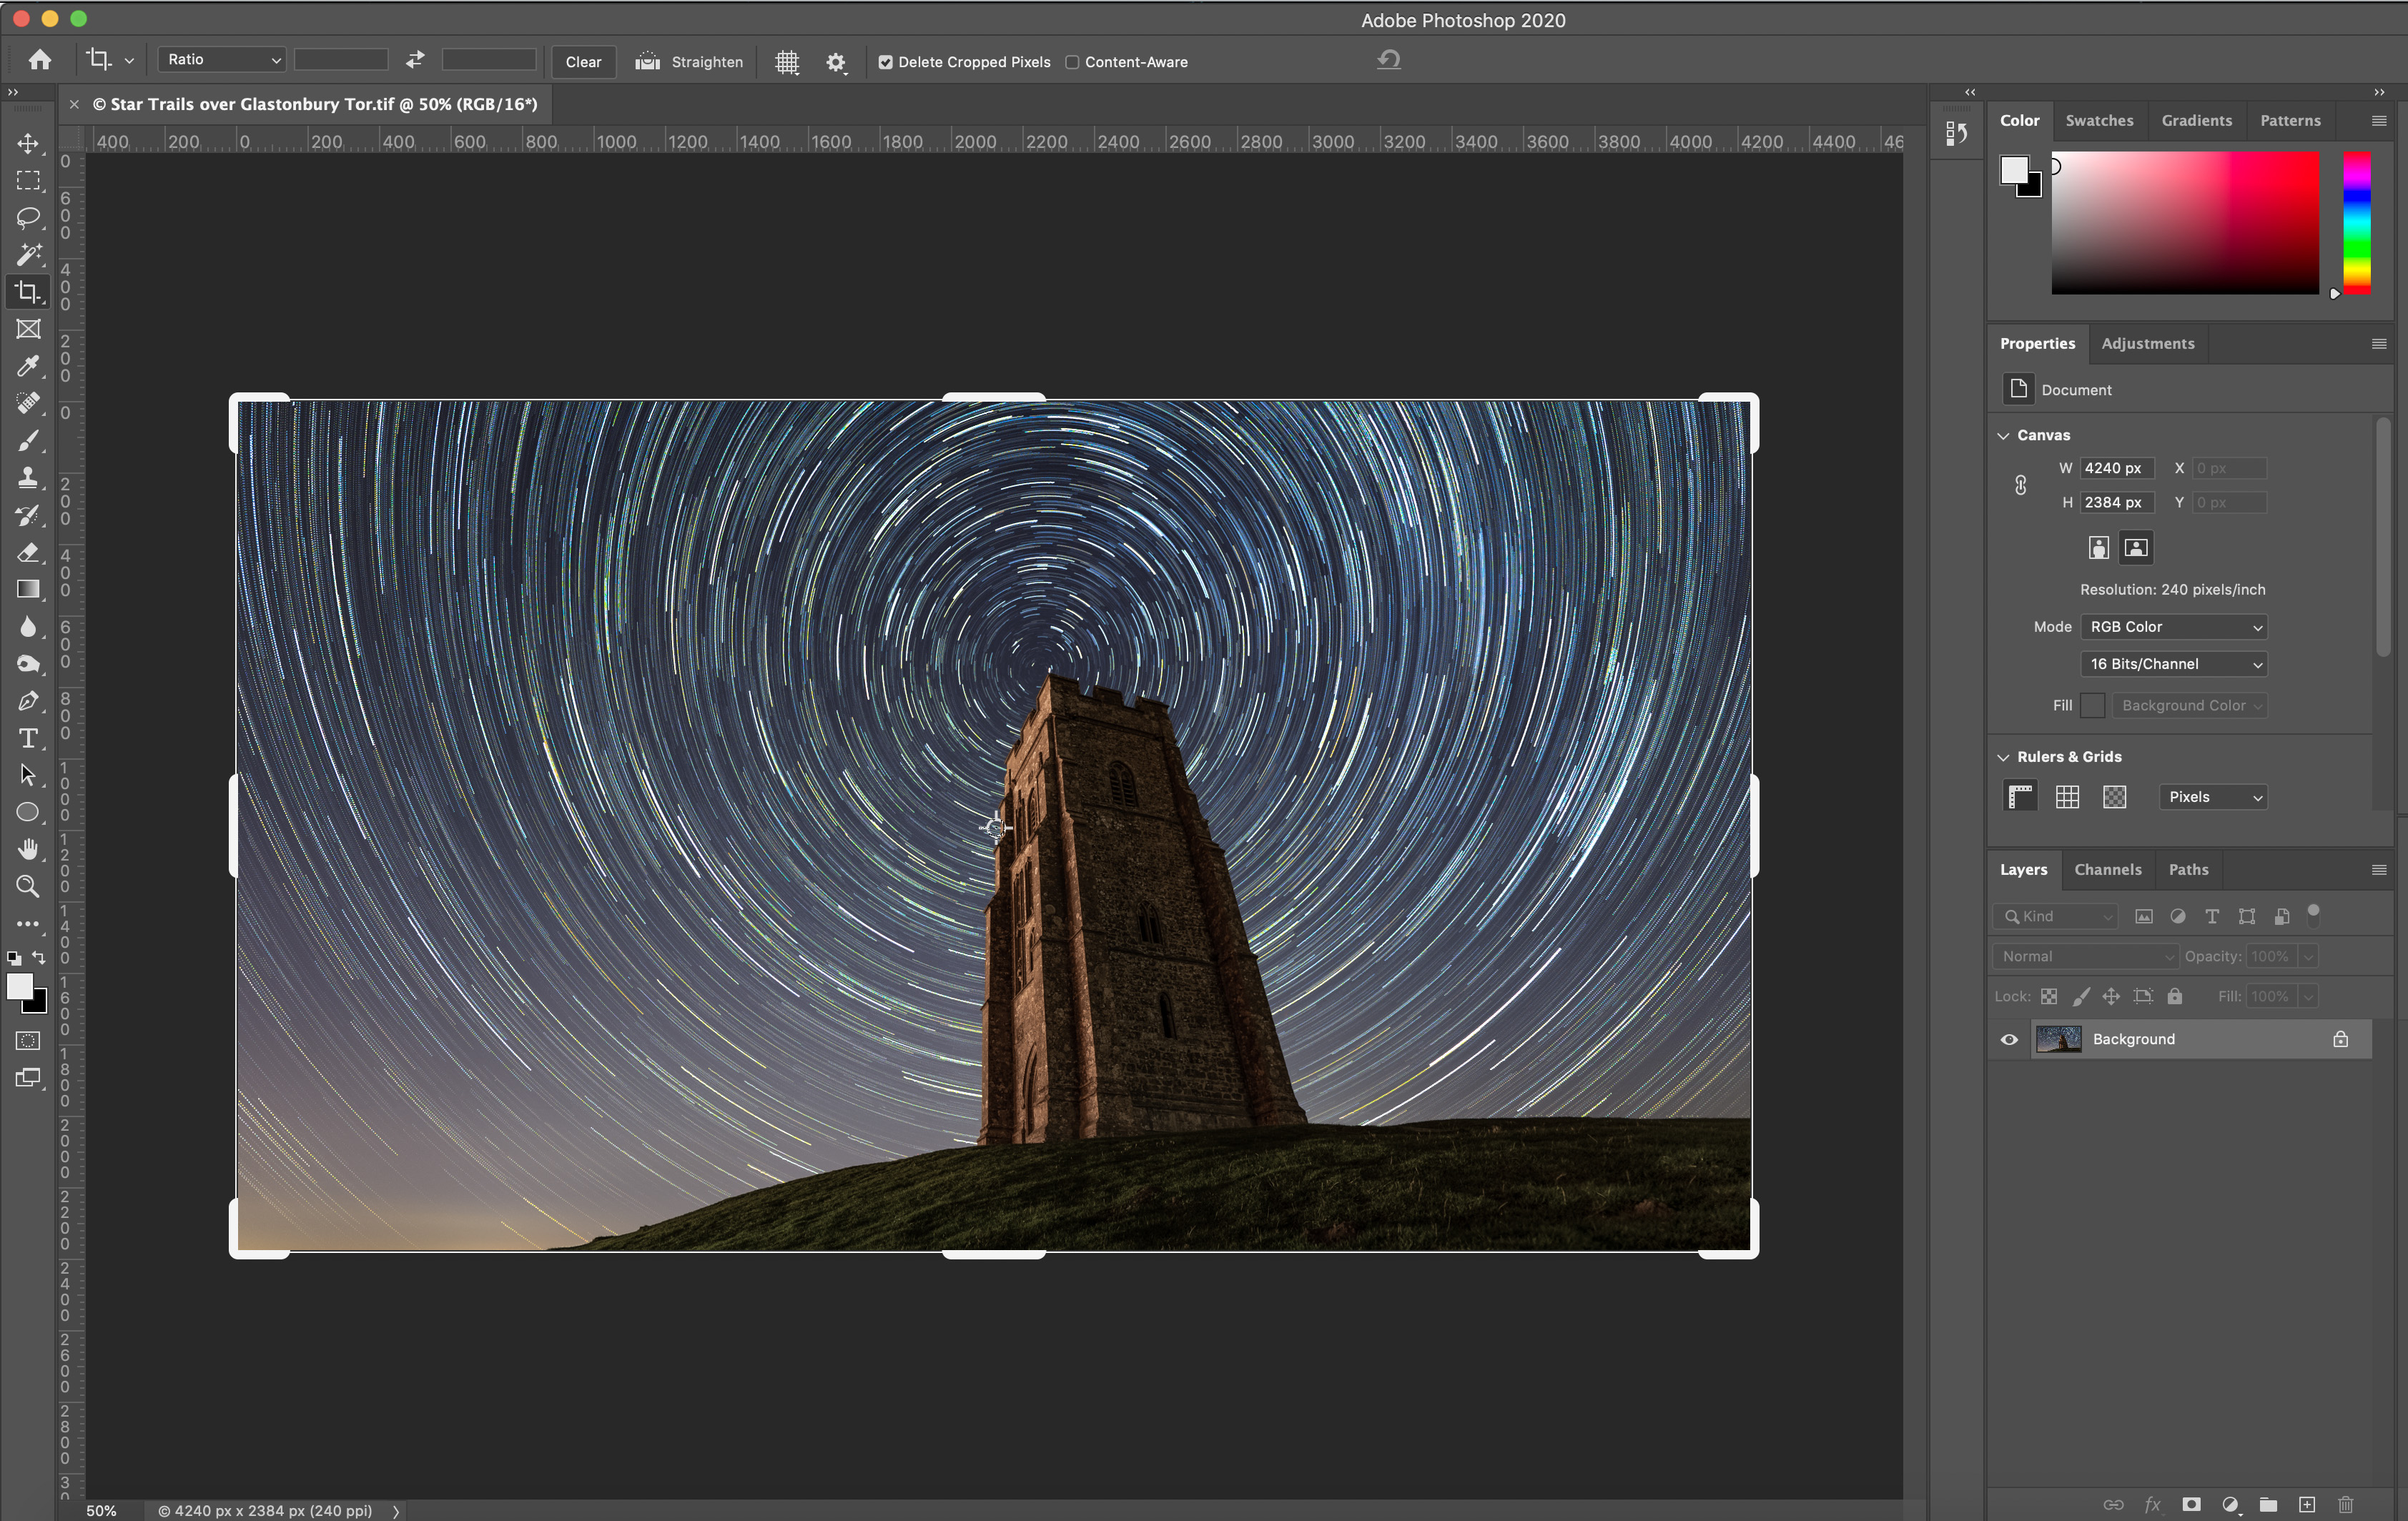
“If necessary, you can take the image into Photoshop for sharpening and denoising. If you need to straighten the image, then retain as much of the capture space as you can.”
5: Export the final image in TIFF format
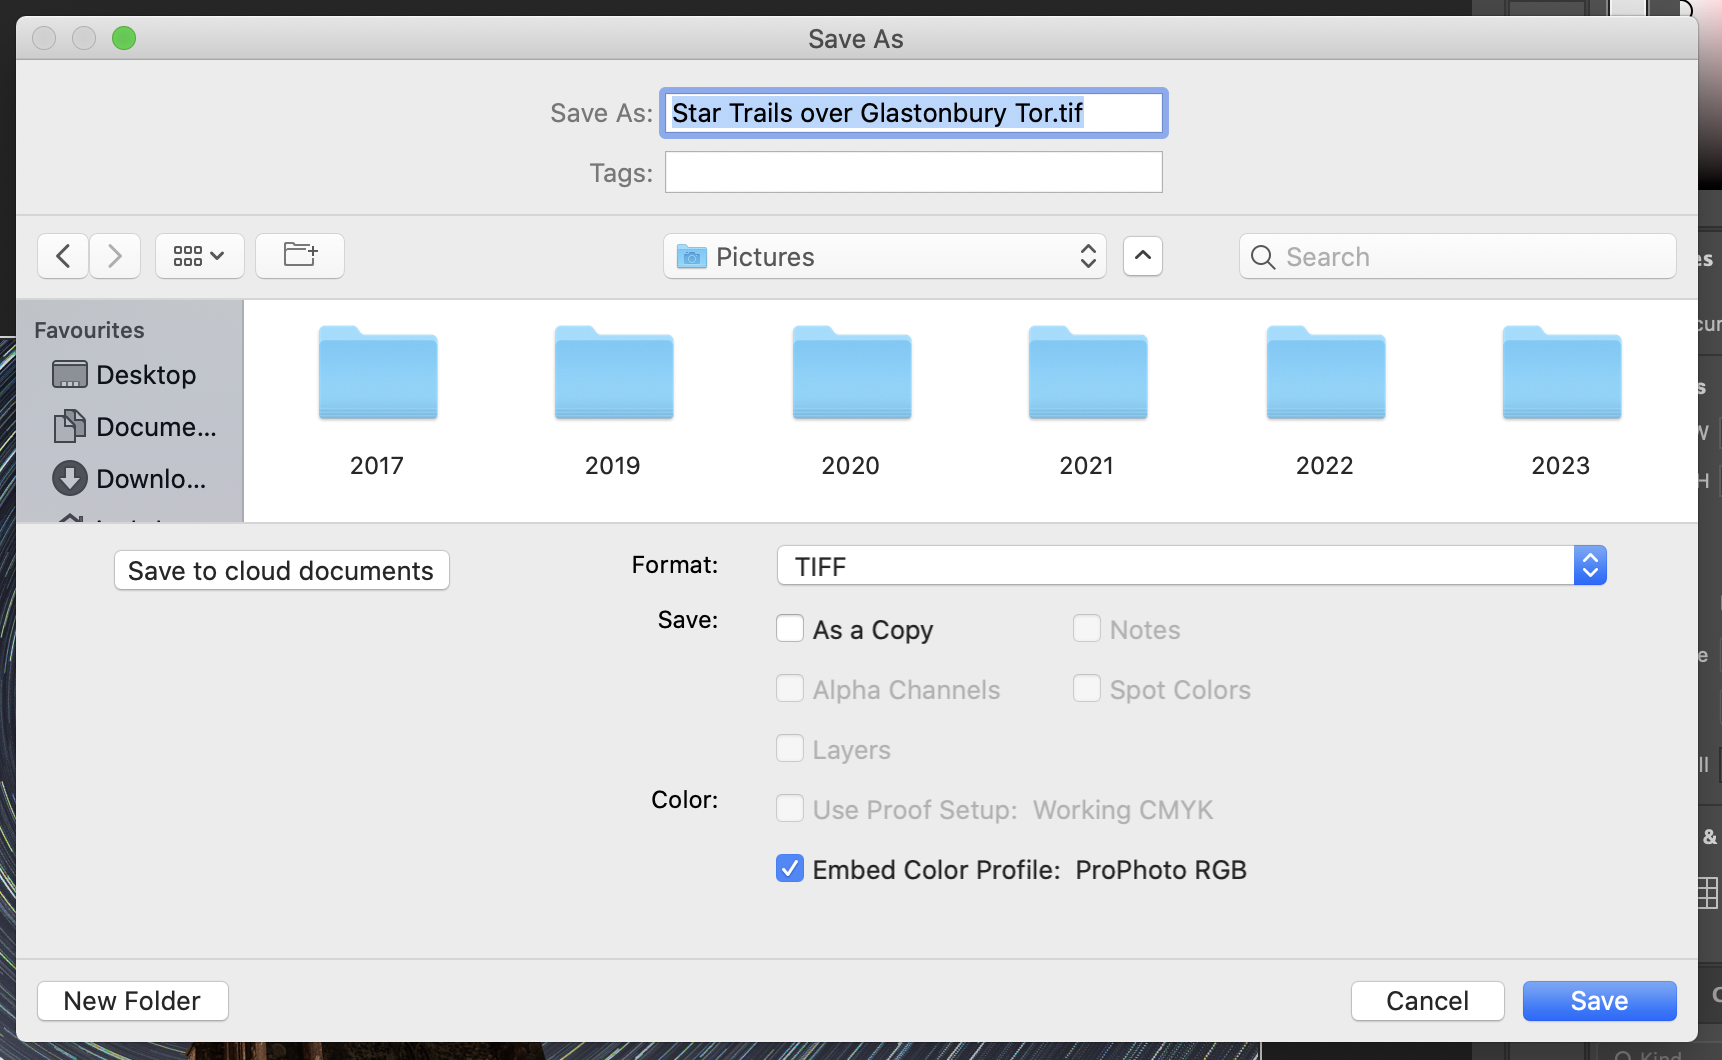
“To preserve everything that you’ve captured, you need the highest resolution. Jpegs are fine for social media and online, but test a file on your phone to verify the quality.”
- The best lenses for astrophotography
- Best star tracker camera mounts for astrophotography
- The best camera for astrophotography: tools, lenses and tools
- Best astrophotography software
Digital Camera World is the world’s favorite photography magazine and is packed with the latest news, reviews, tutorials, expert buying advice, tips and inspiring images. Plus, every issue comes with a selection of bonus gifts of interest to photographers of all abilities.
Get the Digital Camera World Newsletter
The best camera deals, reviews, product advice, and unmissable photography news, direct to your inbox!

Niall is the editor of Digital Camera Magazine, and has been shooting on interchangeable lens cameras for over 20 years, and on various point-and-shoot models for years before that.
Working alongside professional photographers for many years as a jobbing journalist gave Niall the curiosity to also start working on the other side of the lens. These days his favored shooting subjects include wildlife, travel and street photography, and he also enjoys dabbling with studio still life.
On the site you will see him writing photographer profiles, asking questions for Q&As and interviews, reporting on the latest and most noteworthy photography competitions, and sharing his knowledge on website building.
