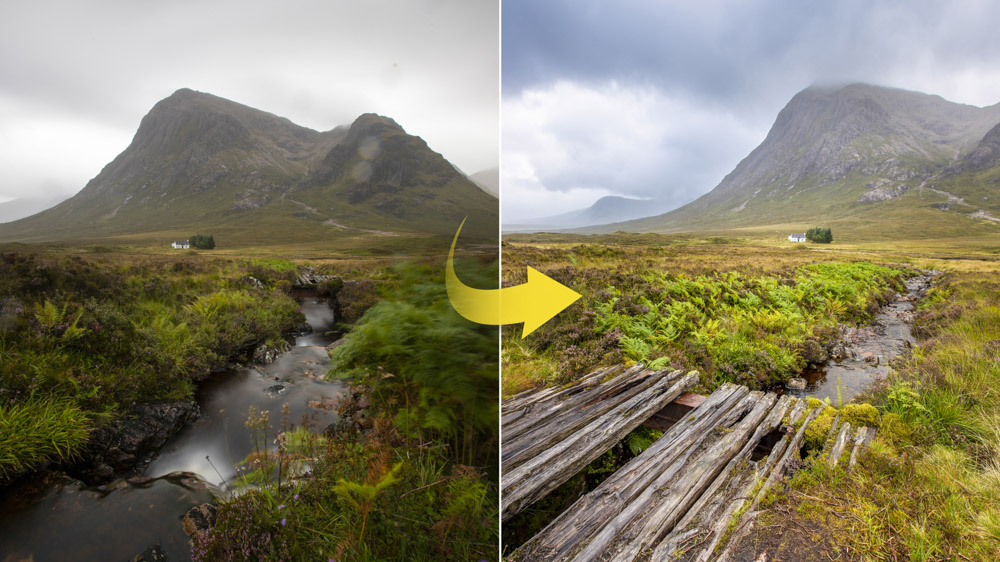
When the heavens open on a wet day, do you feel like staying warm and cosy indoors? Me too! But I also like to venture out with my Canon camera to take stormy scenic shots.
At first it may seem like a crazy idea; however, if you love shooting landscapes, heading out in adverse weather conditions, whether it’s rain, fog or even a thunderstorm, can reward you with incredible pictures that nobody else has taken because they would rather stay indoors! Not to mention, bad weather is often followed by clear skies and opportunities for rainbows which can also make for showstopping landscape images.
Many DSLR and mirrorless cameras will have decent weather sealing that can take light splashes, but in this project, we’ll show you how to beef up its protection from the elements, as well as share our top tips for shooting in inclement weather. Let’s get to it!
Read more: The best rain covers for your camera gear
Above: Watch my video on how to shoot in the rain
1. Check for weather sealing
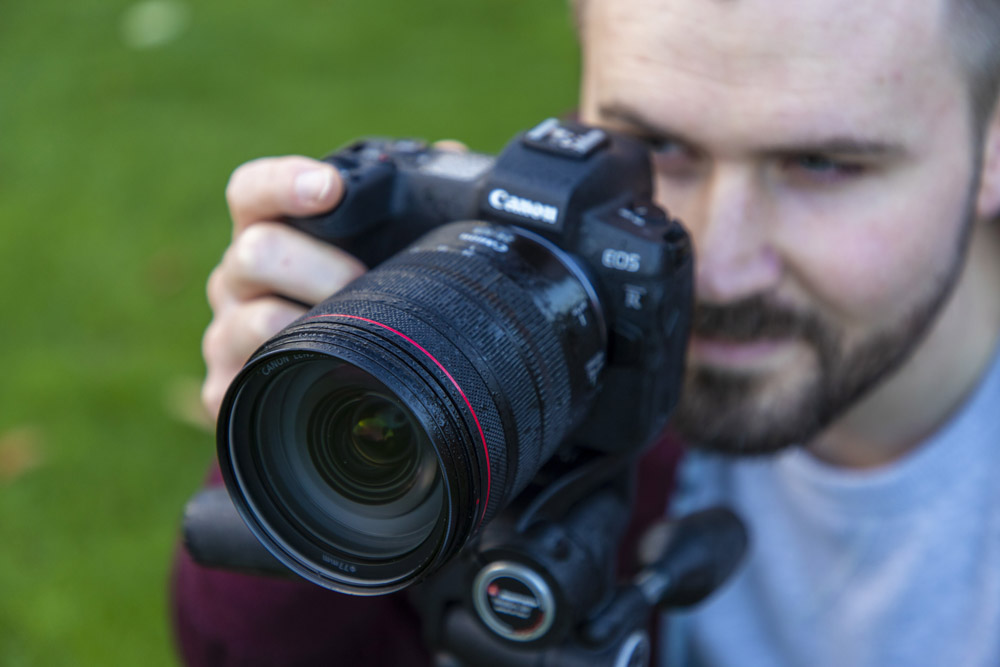
Professional cameras feature weather sealing so they can take a beating in rainy conditions, essential for pros who have to work in extreme conditions to get their shots. That being said, weather sealing isn’t exclusive to the top-tier cameras: many enthusiast DSLR and mirrorless models, such as the mirrorless full-frame Canon EOS R and older Canon EOS 7D Mark II APS-C DSLR, also get the weather sealing treatment.

Check your camera and lens specification to see if it is sealed. You can check to see if your lens is weather sealed as the mount will have a rubber ring around it that seals around the camera mount to help keep out water, dust and dirt from getting inside your camera.
2. Make a rain cover
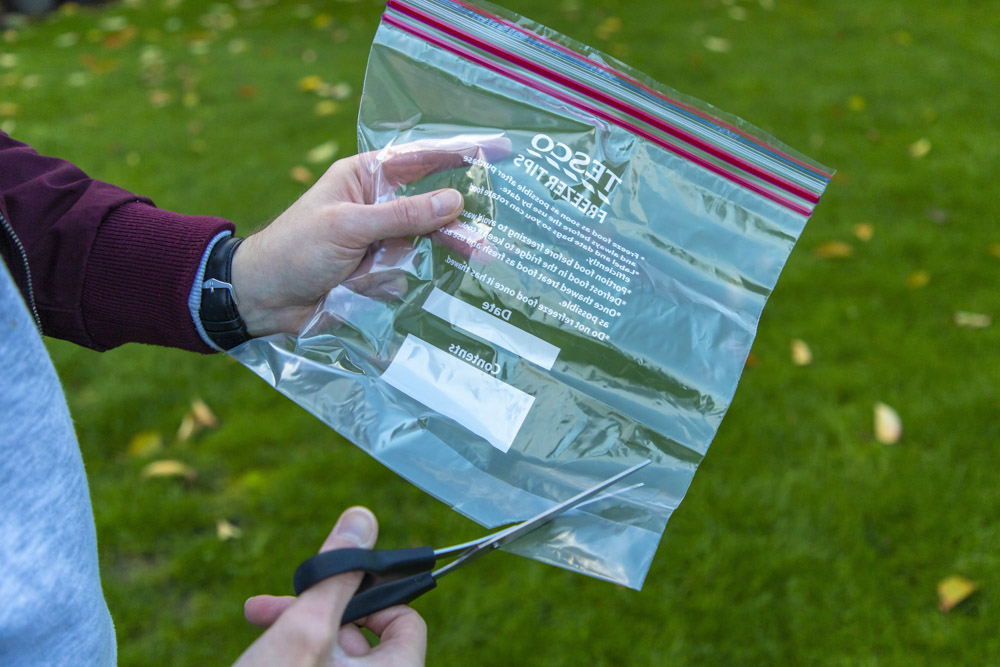
Whether your DSLR or mirrorless camera has weather sealing or not, it’s a good idea to protect it with a rain cover to keep most of the moisture away from getting inside your pride and joy. Professional rain covers can be bought online from companies such as ThinkTank, and it would be worth purchasing one of these if you plan to shoot in poor conditions on a regular basis.
Read more: The best rain covers for your camera gear
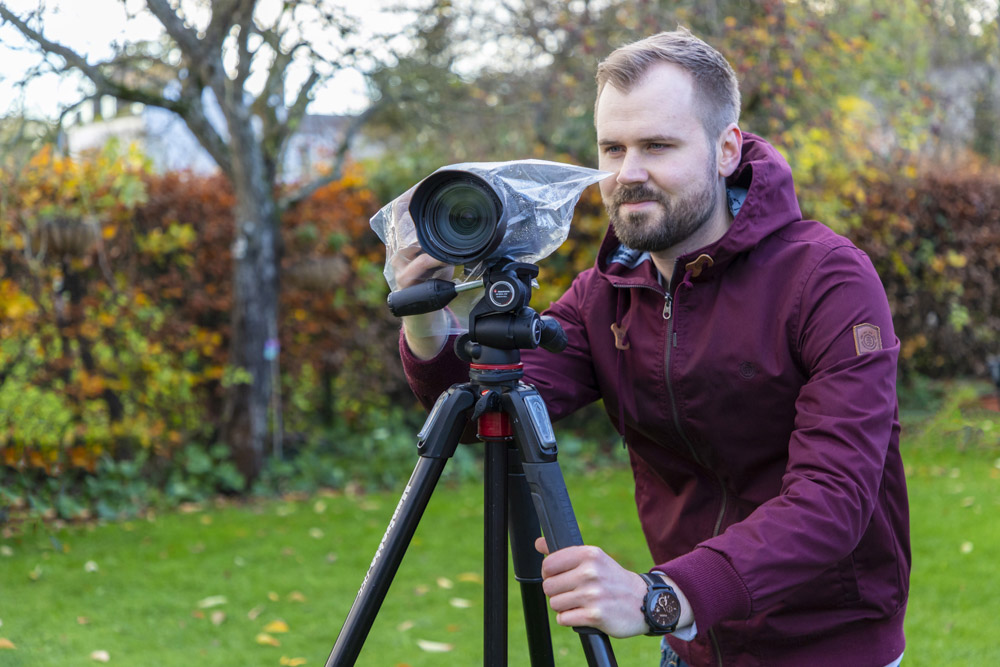
However, for more casual shooters, you can improvise a perfectly functional rain cover by cutting a hole in the corner of a large plastic freezer bag and poking your lens through it, then screw on your lens hood to secure it in place. The lens hood will also help keep falling drops of rain away from the front element of your lens.
3. Wipe water drops away
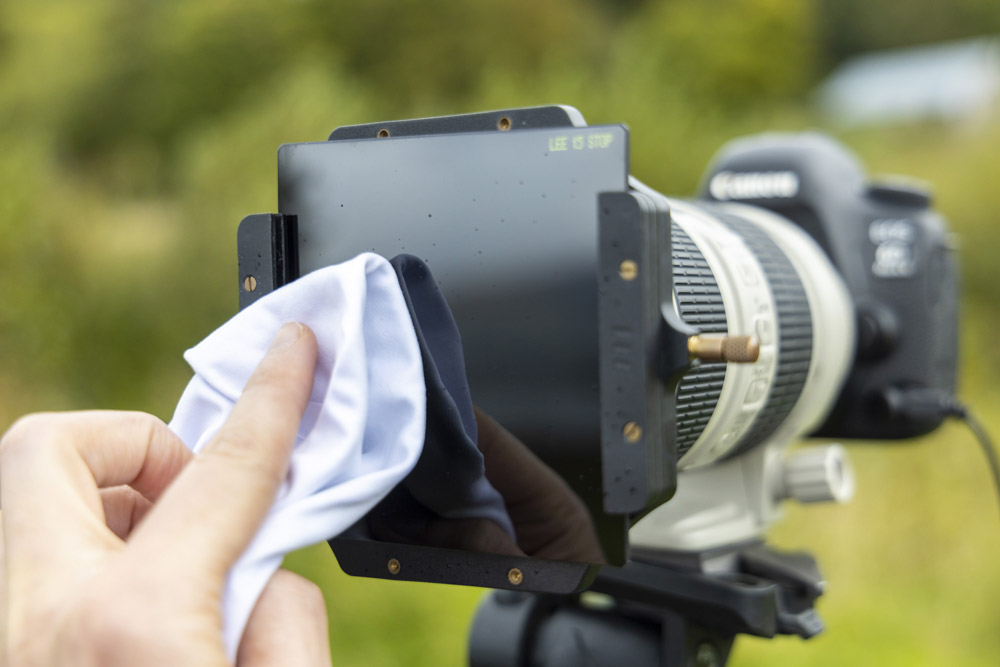
When shooting on rainy days, or near the coast where there is constant sea spray, you’ll want to keep checking the front of your lens (and filters) to make sure there are no water drops. Though small, these tiny water droplets will appear as blurry smudges in your pictures if not wiped away, so get into the routine of carefully wiping the front of your lens or filter with a microfibre cloth before any ‘big’ shot. You can also get special filter cleaning spray bottles from companies such as LEE Filters for more stubborn grime.
Don’t worry too much if you get the odd water drop or even dust spot appearing in your images, as these are usually fairly easy to remove with the Clone Stamp or Spot Healing Brush tools in Photoshop CC.
4. Convert moody scenes to mono
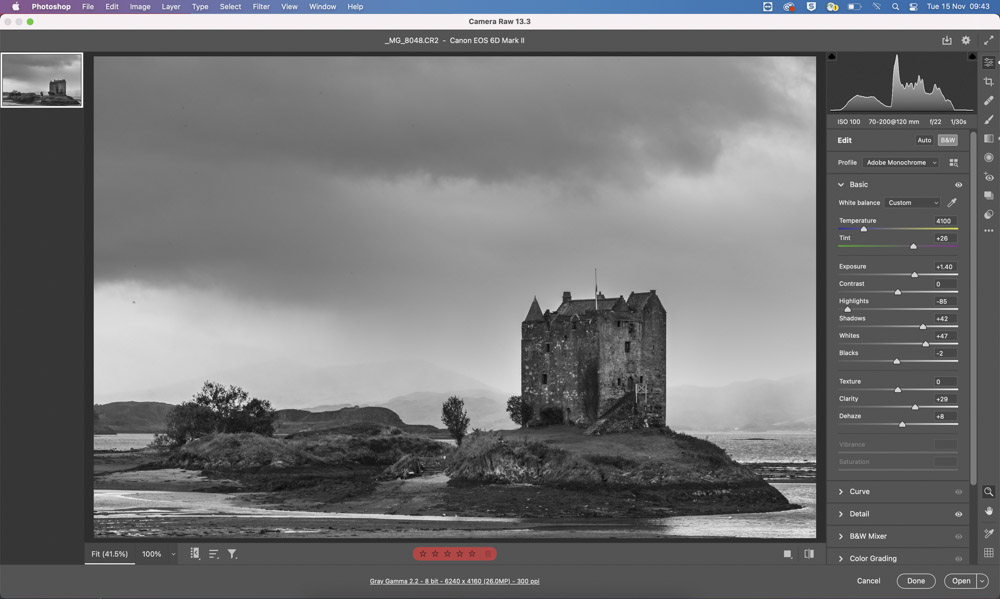
Shooting in heavy rain, fog or mist can create very atmospheric photographs; however, without strong sun, colours often fall a little flat. Don’t worry though: your shots aren’t destined for your computer’s trashcan, they are still perfectly usable!
You may however need to convert them to black and white to give them the maximum impact they deserve. To pull it off, open your Raw file in Photoshop CC’s Adobe Camera Raw plug-in and change the Profile to Adobe Monochrome to convert the image to mono.
You can then boost the contrast much more than you would usually be able to with a standard colour image. You can also tweak the contrast of individual colour channels with the B&W Mixer panel and add noise for a gritty effect that mimics the grain from film cameras for a retro feel.
PhotoPlus: The Canon Magazine is the world's only monthly newsstand title that's 100% devoted to Canon, so you can be sure the magazine is completely relevant to your system. Every issue comes with downloadable video tutorials too.
You might like the best photo editing software and the best photo-editing laptops. Check out these 10 landscape photography pro tips.
Get the Digital Camera World Newsletter
The best camera deals, reviews, product advice, and unmissable photography news, direct to your inbox!

Deputy Editor on PhotoPlus: The Canon Magazine, Dan also brings his technical wizardry and editing skills to Digital Camera World. He has been writing about all aspects of photography for over 10 years, having previously served as technical writer and technical editor for Practical Photography magazine, as well as Photoshop editor on Digital Photo.
Dan is an Adobe-certified Photoshop guru, making him officially a beast at post-processing – so he’s the perfect person to share tips and tricks both in-camera and in post. Able to shoot all genres, Dan provides news, techniques and tutorials on everything from portraits and landscapes to macro and wildlife, helping photographers get the most out of their cameras, lenses, filters, lighting, tripods, and, of course, editing software.

