How to add a feathered gradient to flash images
Learn how to use a high shutter speed with flash to create an attractive light gradient effect for portraits
Every DSLR camera has a maximum shutter speed at which there can be an effective synchronisation with a flash unit. The flash duration must exceed or match the duration of the total exposure, or the scene will not be evenly illuminated.
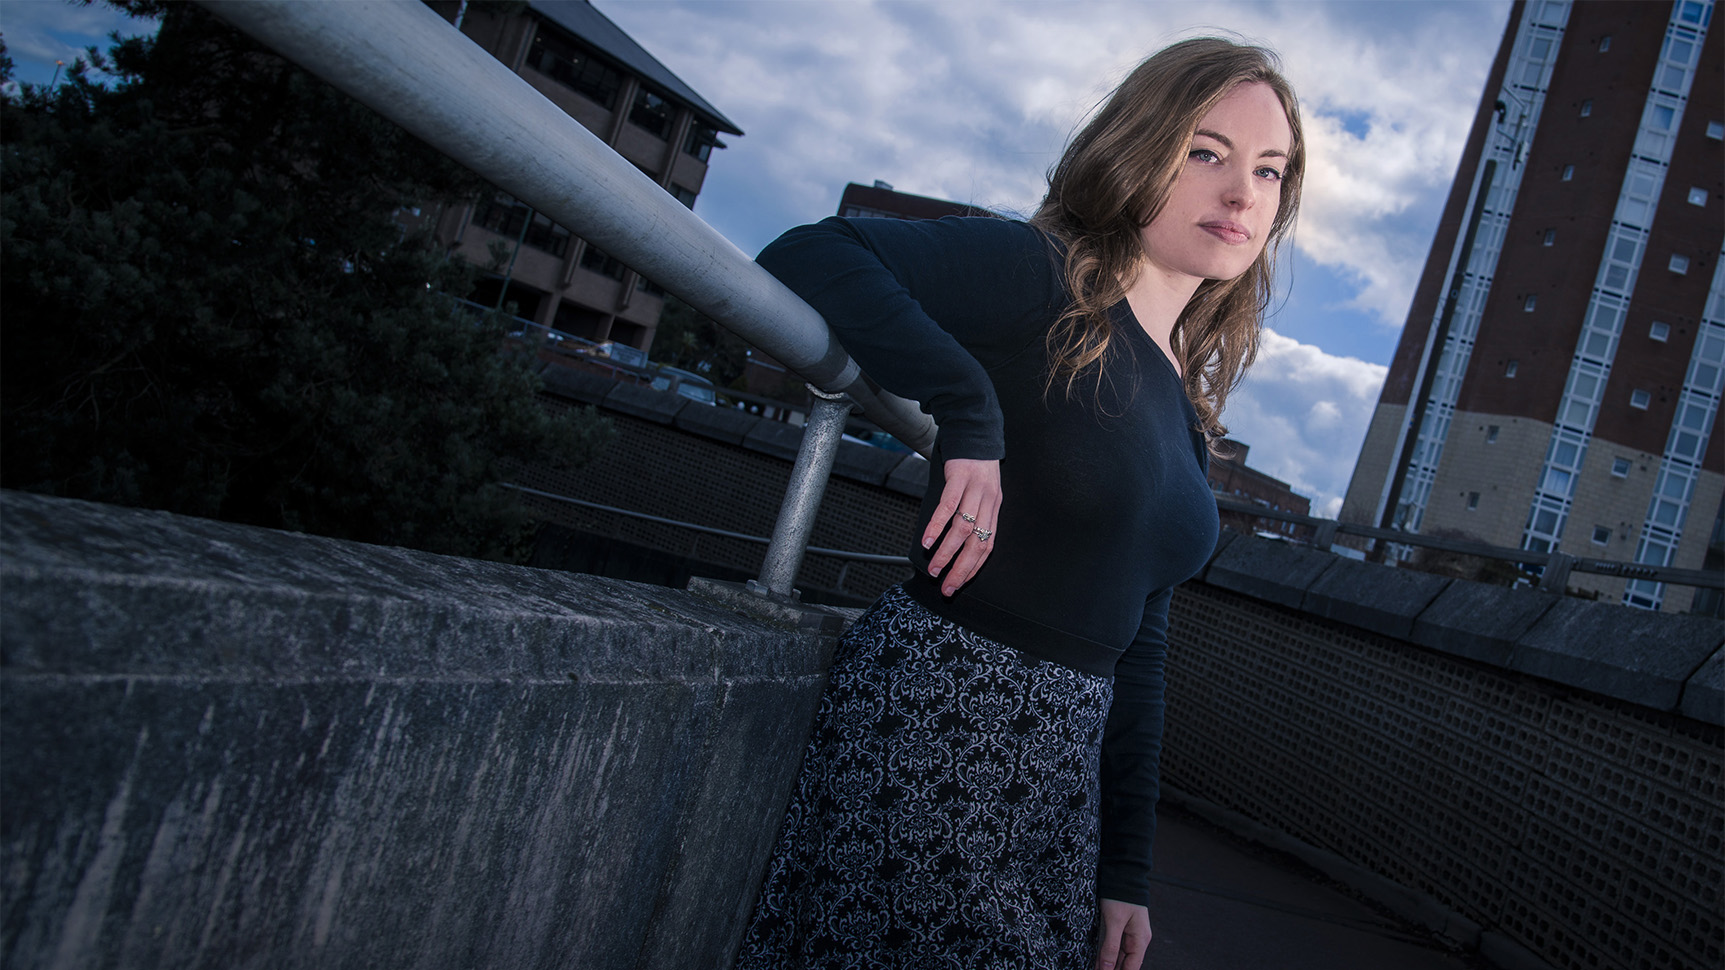
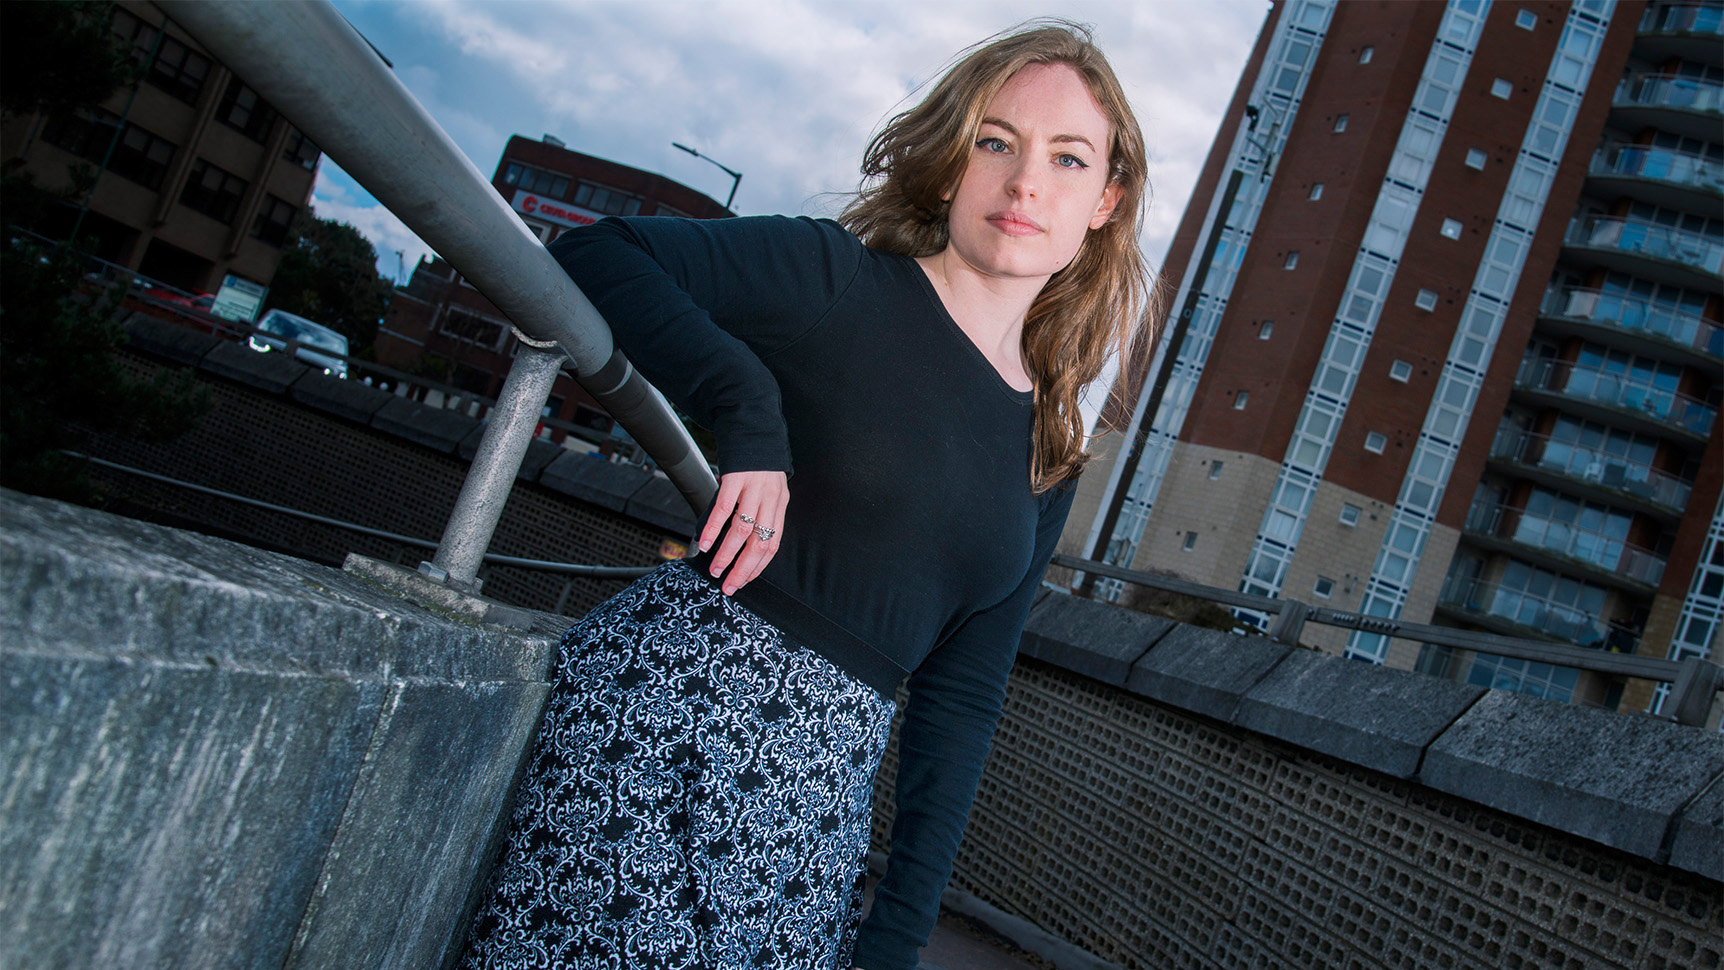
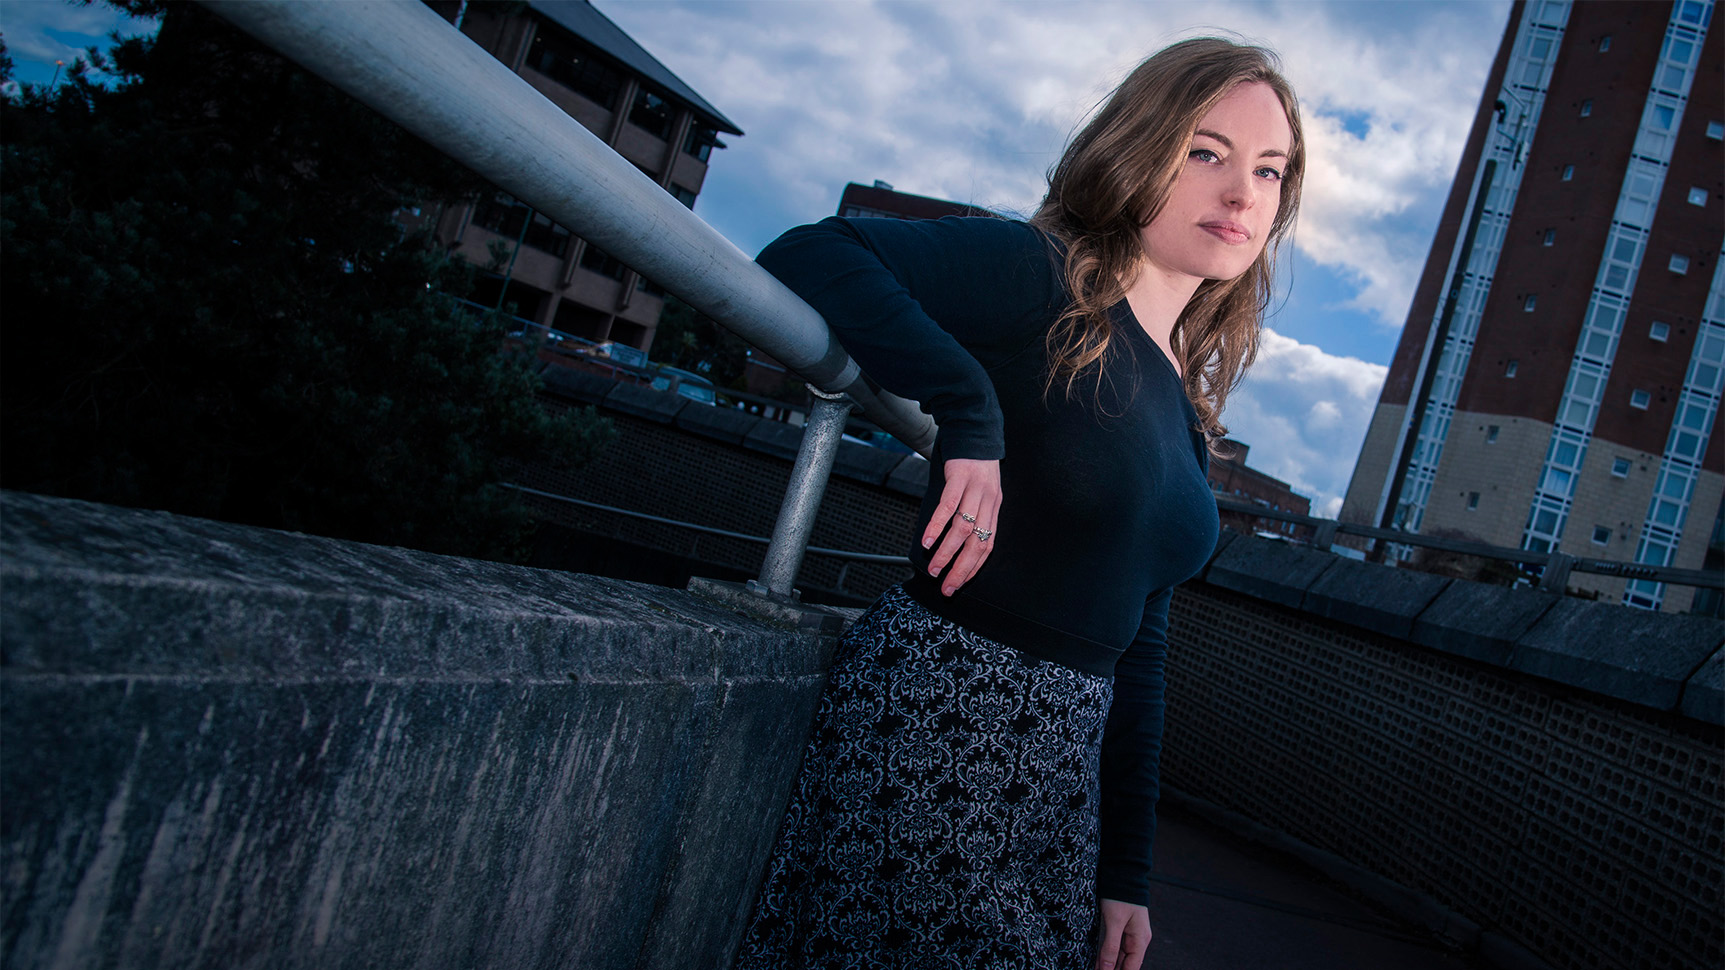
However, if used in moderation and with the correct camera mode, the otherwise-undesirable frame darkening can be used creatively. By employing high-speed flash synchronisation and increasing the shutter speed above the maximum limit, a feathered brightness gradient is introduced.
This helps to direct the viewer’s focus within the frame and gives an image some visual weight at the bottom of the composition. This is a very popular technique with portrait and wedding photographers, especially when on location, where extraneous detail may compete with your subject for attention.
It is also a very easy technique to learn and can be employed without requiring further kit investment. You may find that you have to use an external flashgun for this work, as some built-in camera flashes won’t be able to use the high-speed mode.
Step-by-step guide: How to introduce a feathered brightness gradient
1. Attach the flash
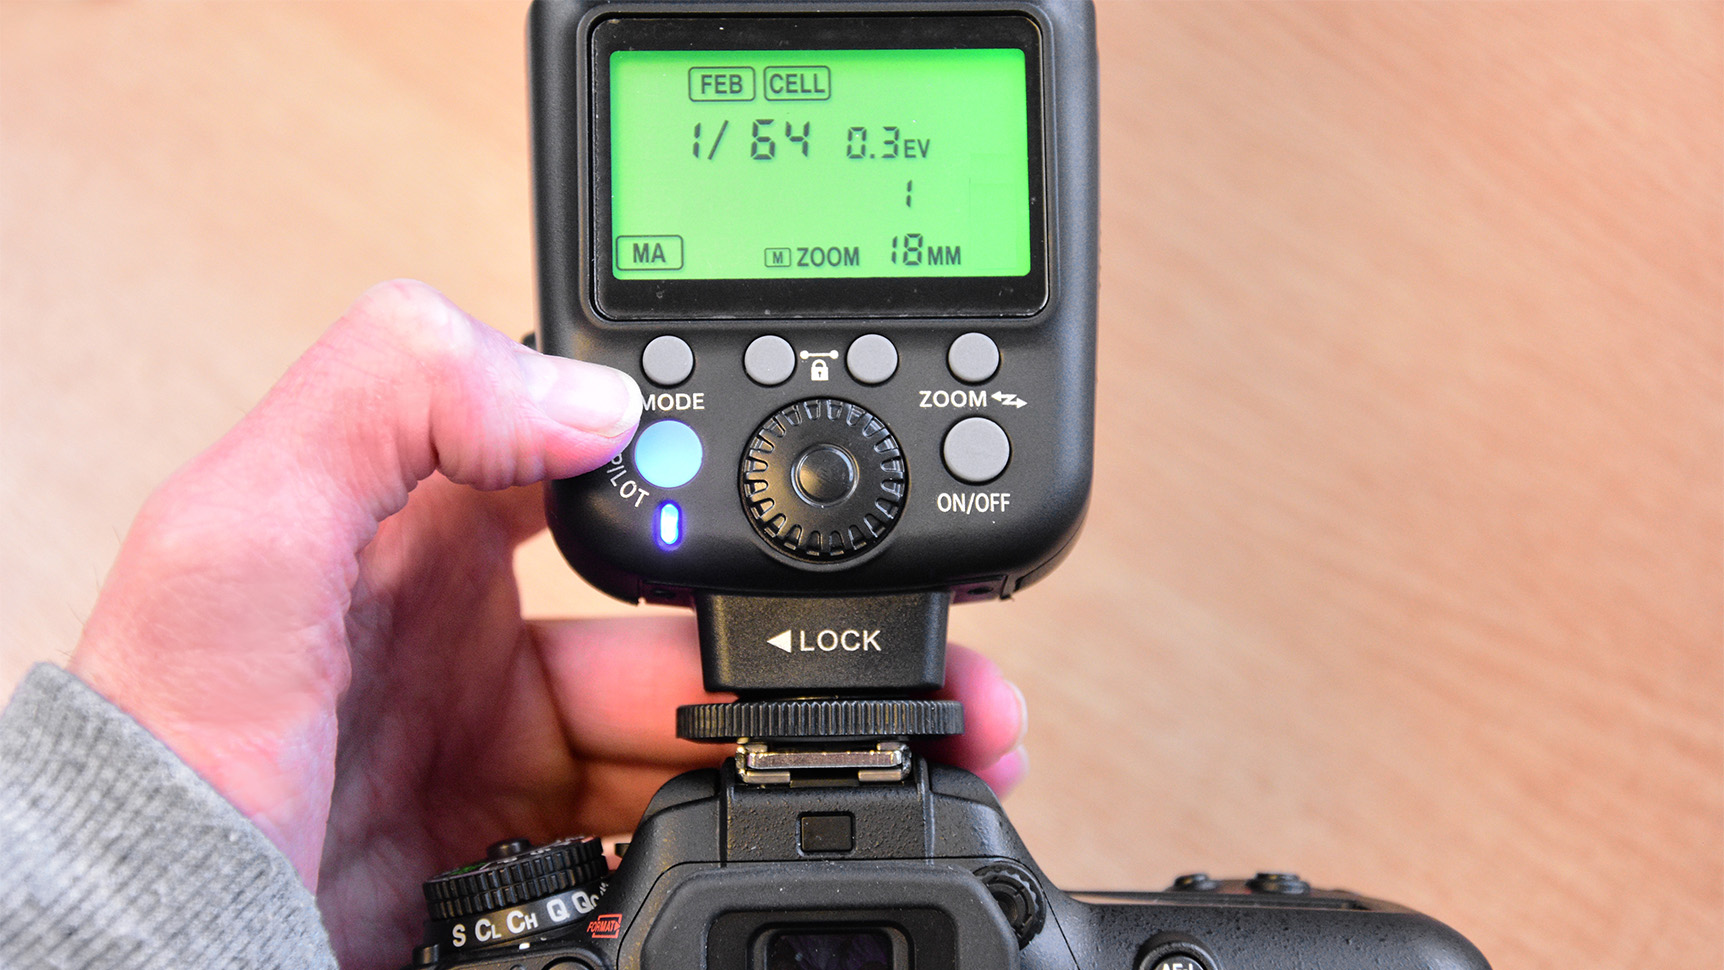
Attach an external flash unit or turn on the camera’s built-in flash. Diffuse the light as required for a softer appearance. Ensure there is good ambient light to avoid background underexposure.
2. Meter the scene (Av mode)
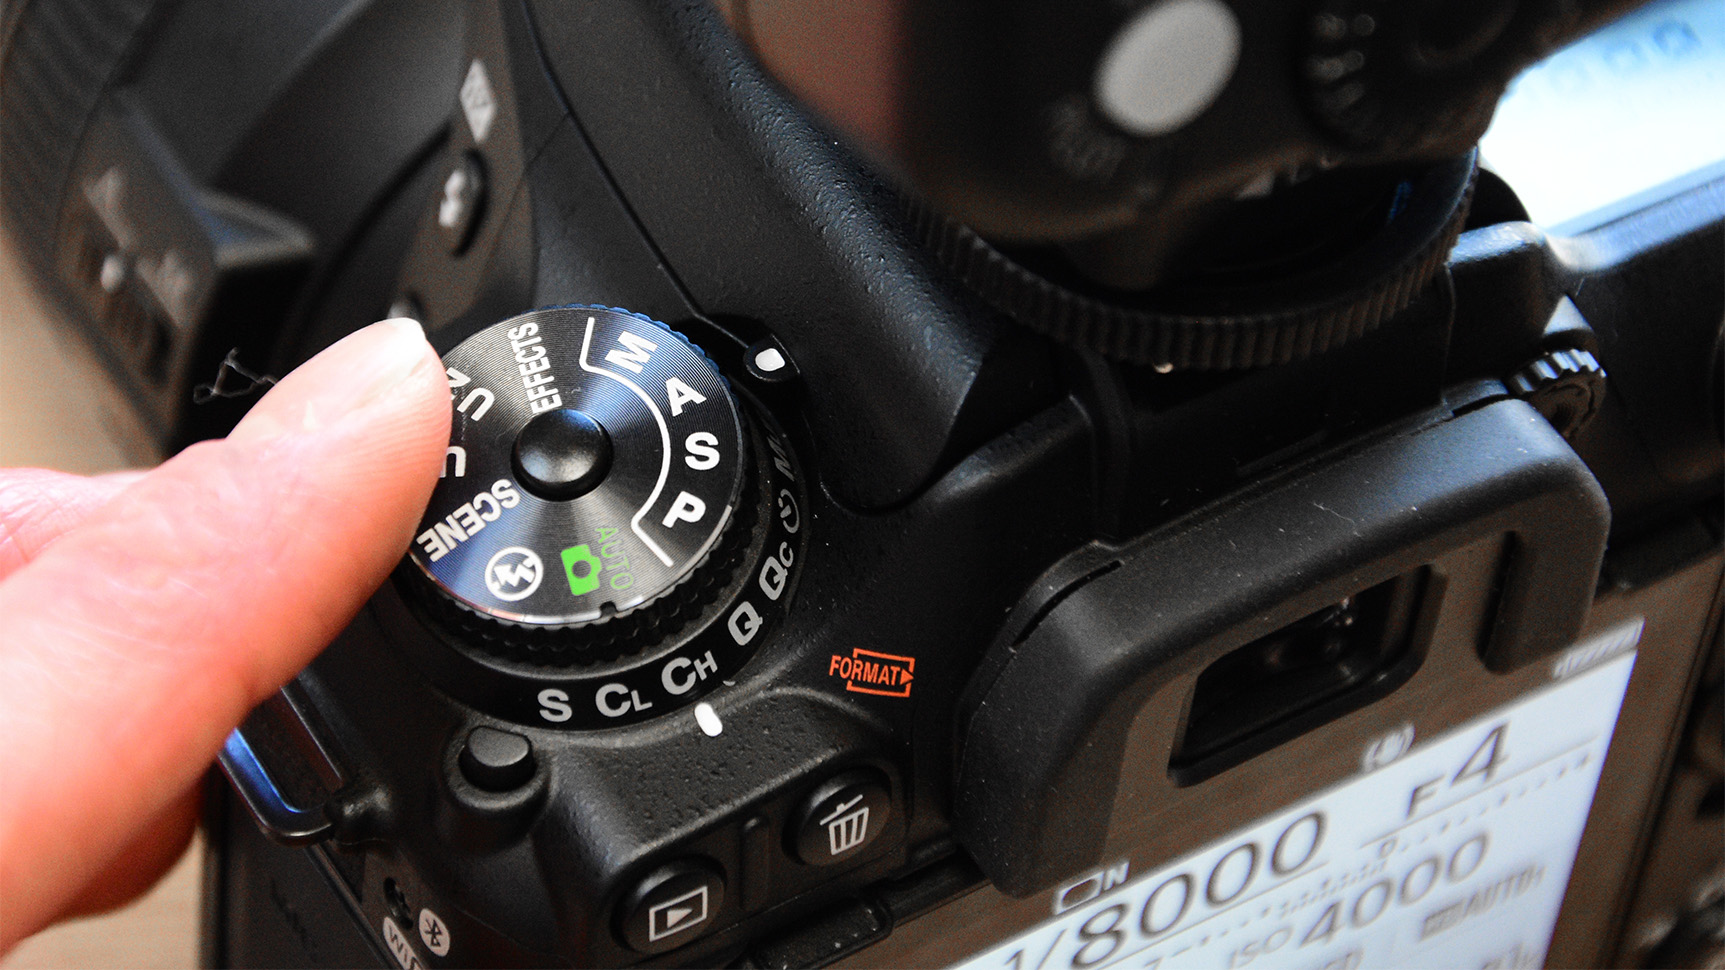
In Aperture Priority Mode, calculate an appropriate overall exposure, using matrix or evaluative metering. You can use TTL (through the lens) flash metering for accuracy, or adjust for flash light later.
3. Switch to Manual
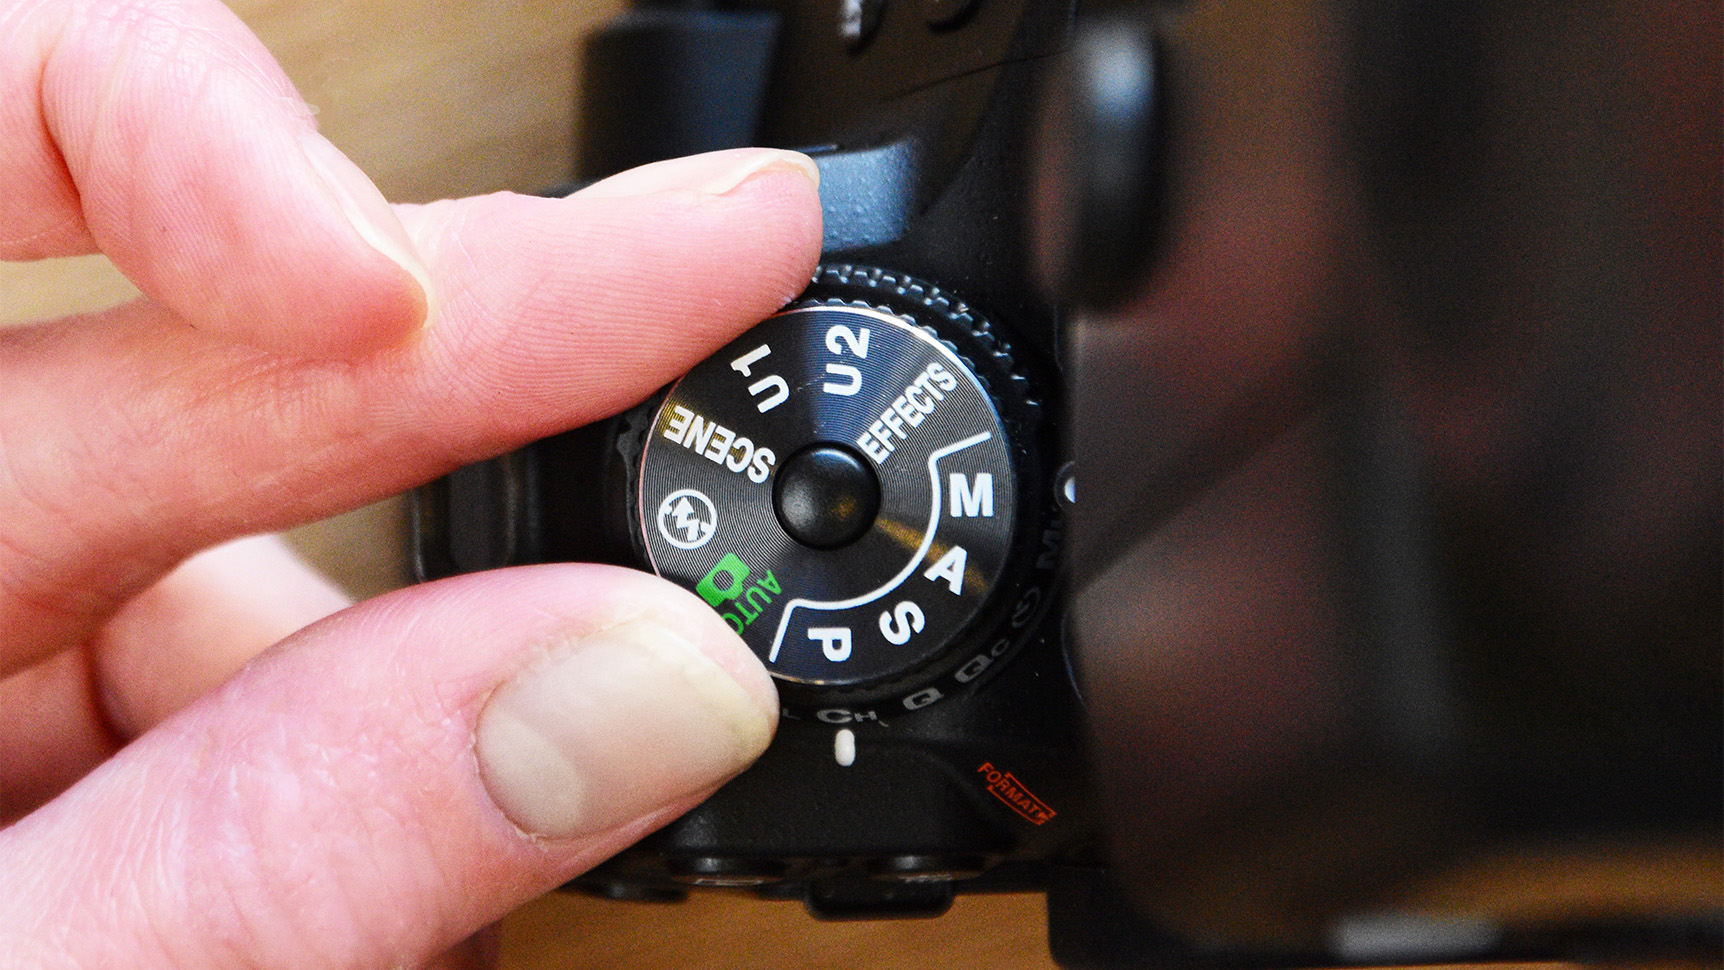
TTL flash metering can vary in its reliability from scene to scene. To avoid any unpredictable exposure chances as you compose you shot, use the Manual exposure mode and enter the settings suggested by the camera in the previous step.
4. Set the flash-sync mode
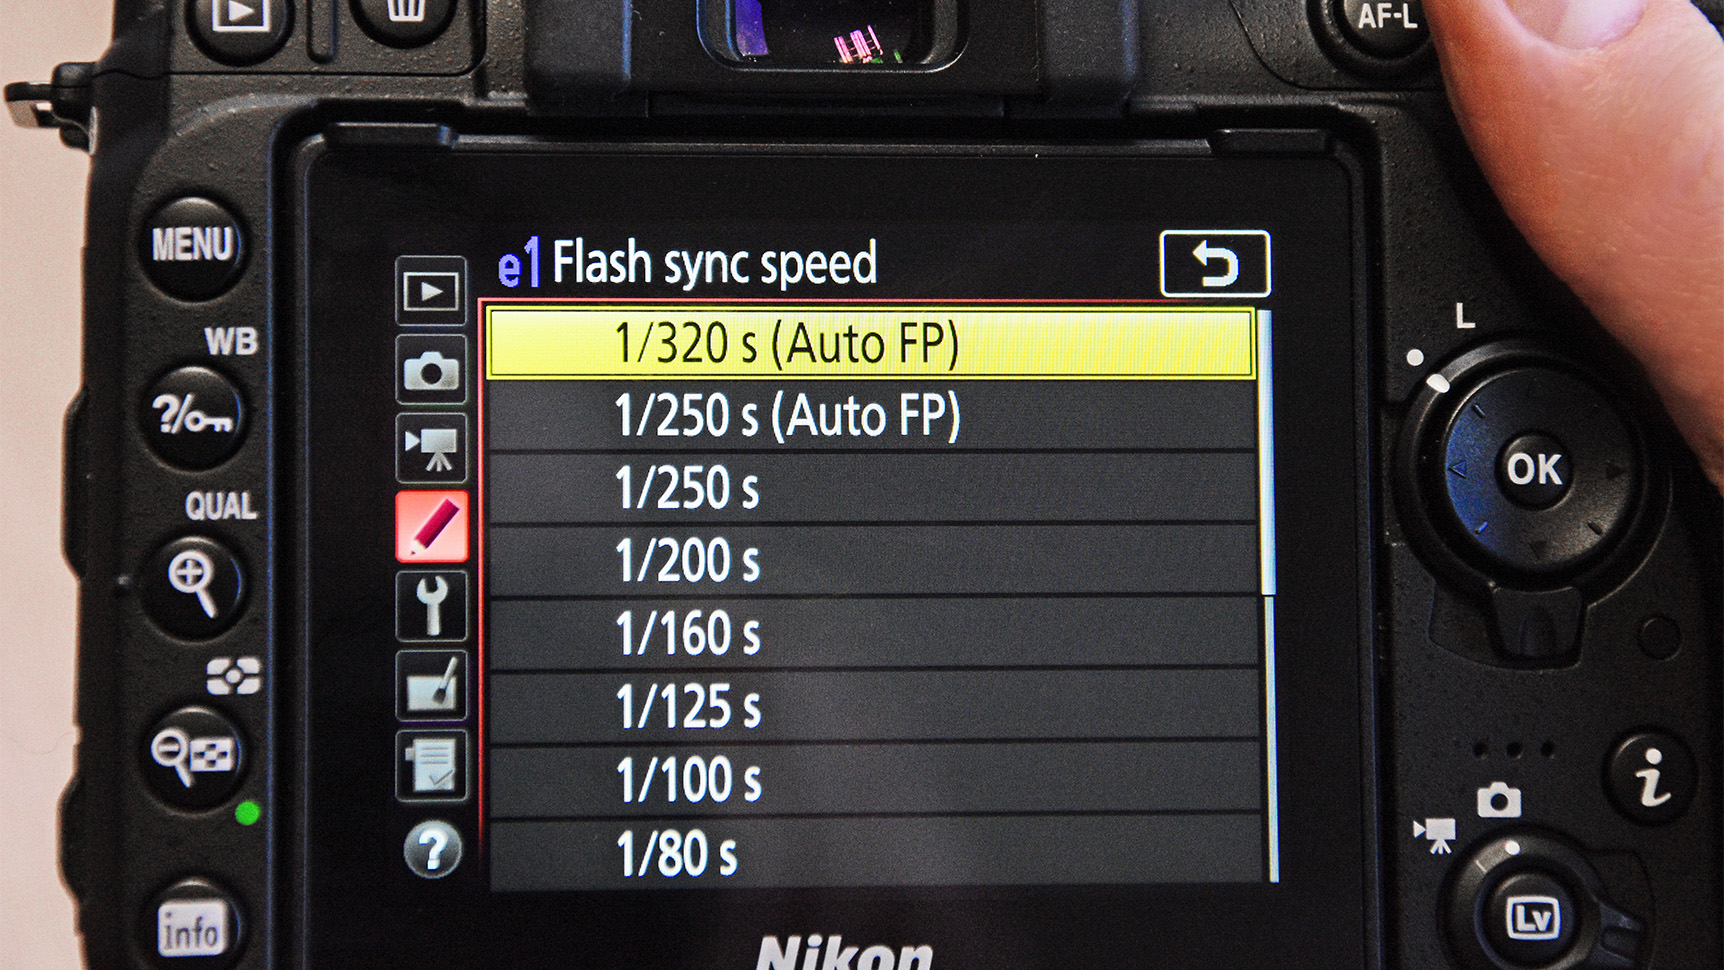
To enable you to raise the shutter speed above the native maximum flash sync speed, enter the camera menu and choose the highest possible flash synchronisation setting. Some cameras may have a single High Speed option.
5. Increase shutter speed
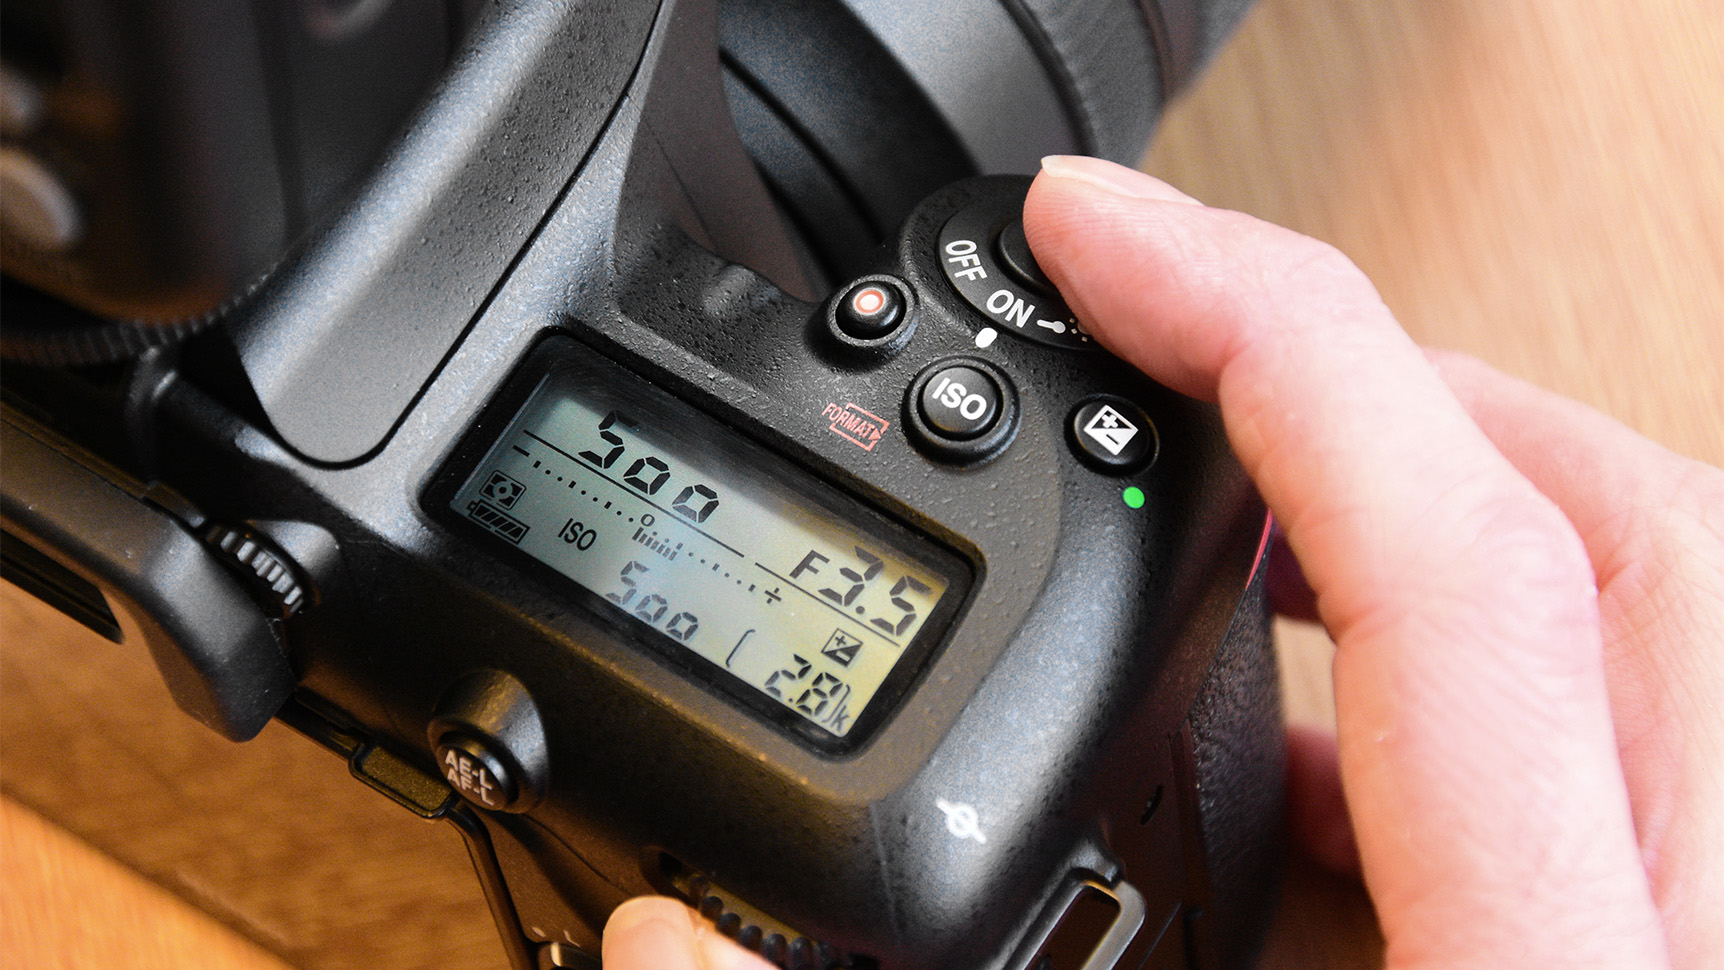
Use the command dial to increase shorten the exposure. Start at around 1 stop above the max sync, then progressively increase the speed until you get the desired effect, using the LCD to review your progress.
6. Adjust your exposure
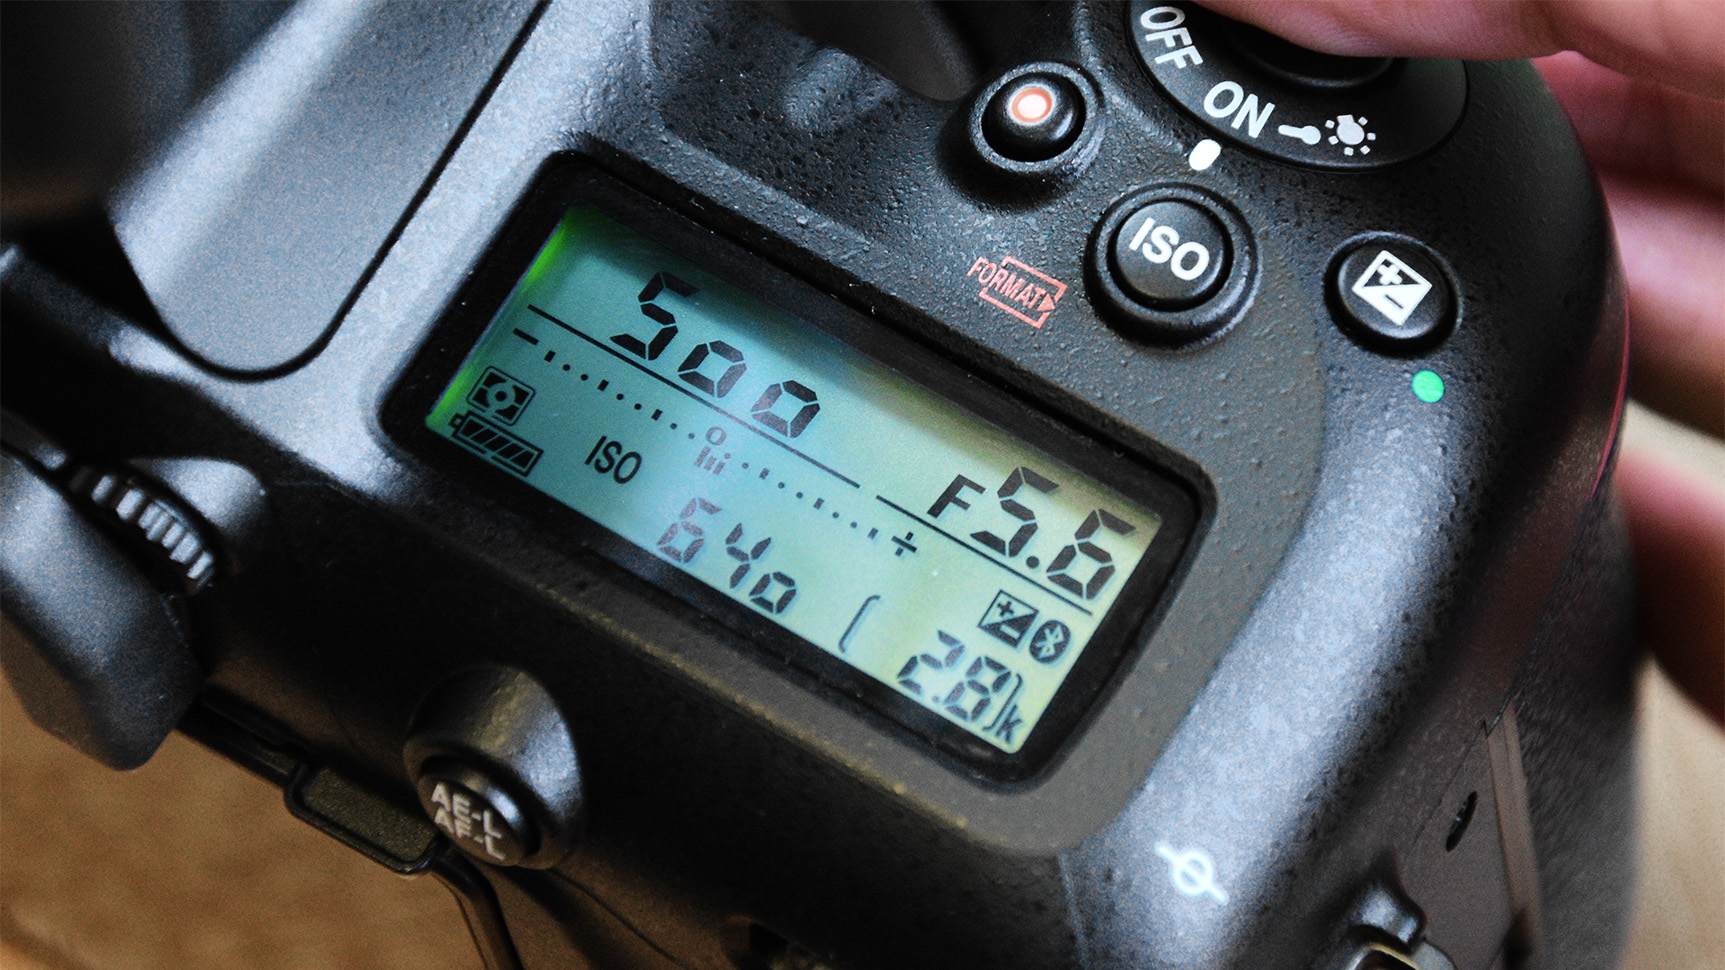
Depending on the amount of ambient light, you may have to adjust the flash output, to better blend with the background. If parts of the scene darken too far, increase f/stop or ISO to balance lighting.
Read more: How to use flash – High speed sync
Get the Digital Camera World Newsletter
The best camera deals, reviews, product advice, and unmissable photography news, direct to your inbox!
Digital Photographer is the ultimate monthly photography magazine for enthusiasts and pros in today’s digital marketplace.
Every issue readers are treated to interviews with leading expert photographers, cutting-edge imagery, practical shooting advice and the very latest high-end digital news and equipment reviews. The team includes seasoned journalists and passionate photographers such as the Editor Peter Fenech, who are well positioned to bring you authoritative reviews and tutorials on cameras, lenses, lighting, gimbals and more.
Whether you’re a part-time amateur or a full-time pro, Digital Photographer aims to challenge, motivate and inspire you to take your best shot and get the most out of your kit, whether you’re a hobbyist or a seasoned shooter.
