How to add graphics with light stencils
A little craft for illuminating photographs
Make a flashgun stencil and create light shapes
Time needed: One hour
Skill level: Intermediate
Kit needed: Tripod • Flashgun • Cardboard box • Knife • Scissors • Gaffer tape • Marker pen
Light stencils are a crafty way of adding vivid shapes and designs to your images! Using your flashgun and a stencil as the light source in a dark environment, combined with a long exposure, enables you to add unique elements to your images. Use it simply to add some text, or a logo or watermark, combine it with other light-painting techniques, or add characters into a night scene – light stencils have lots of creative potential.
We usually point our flashgun at a subject, but here our Speedlite will be pointing back at the camera, and we’ll be using the test-firing button to fire the flash.
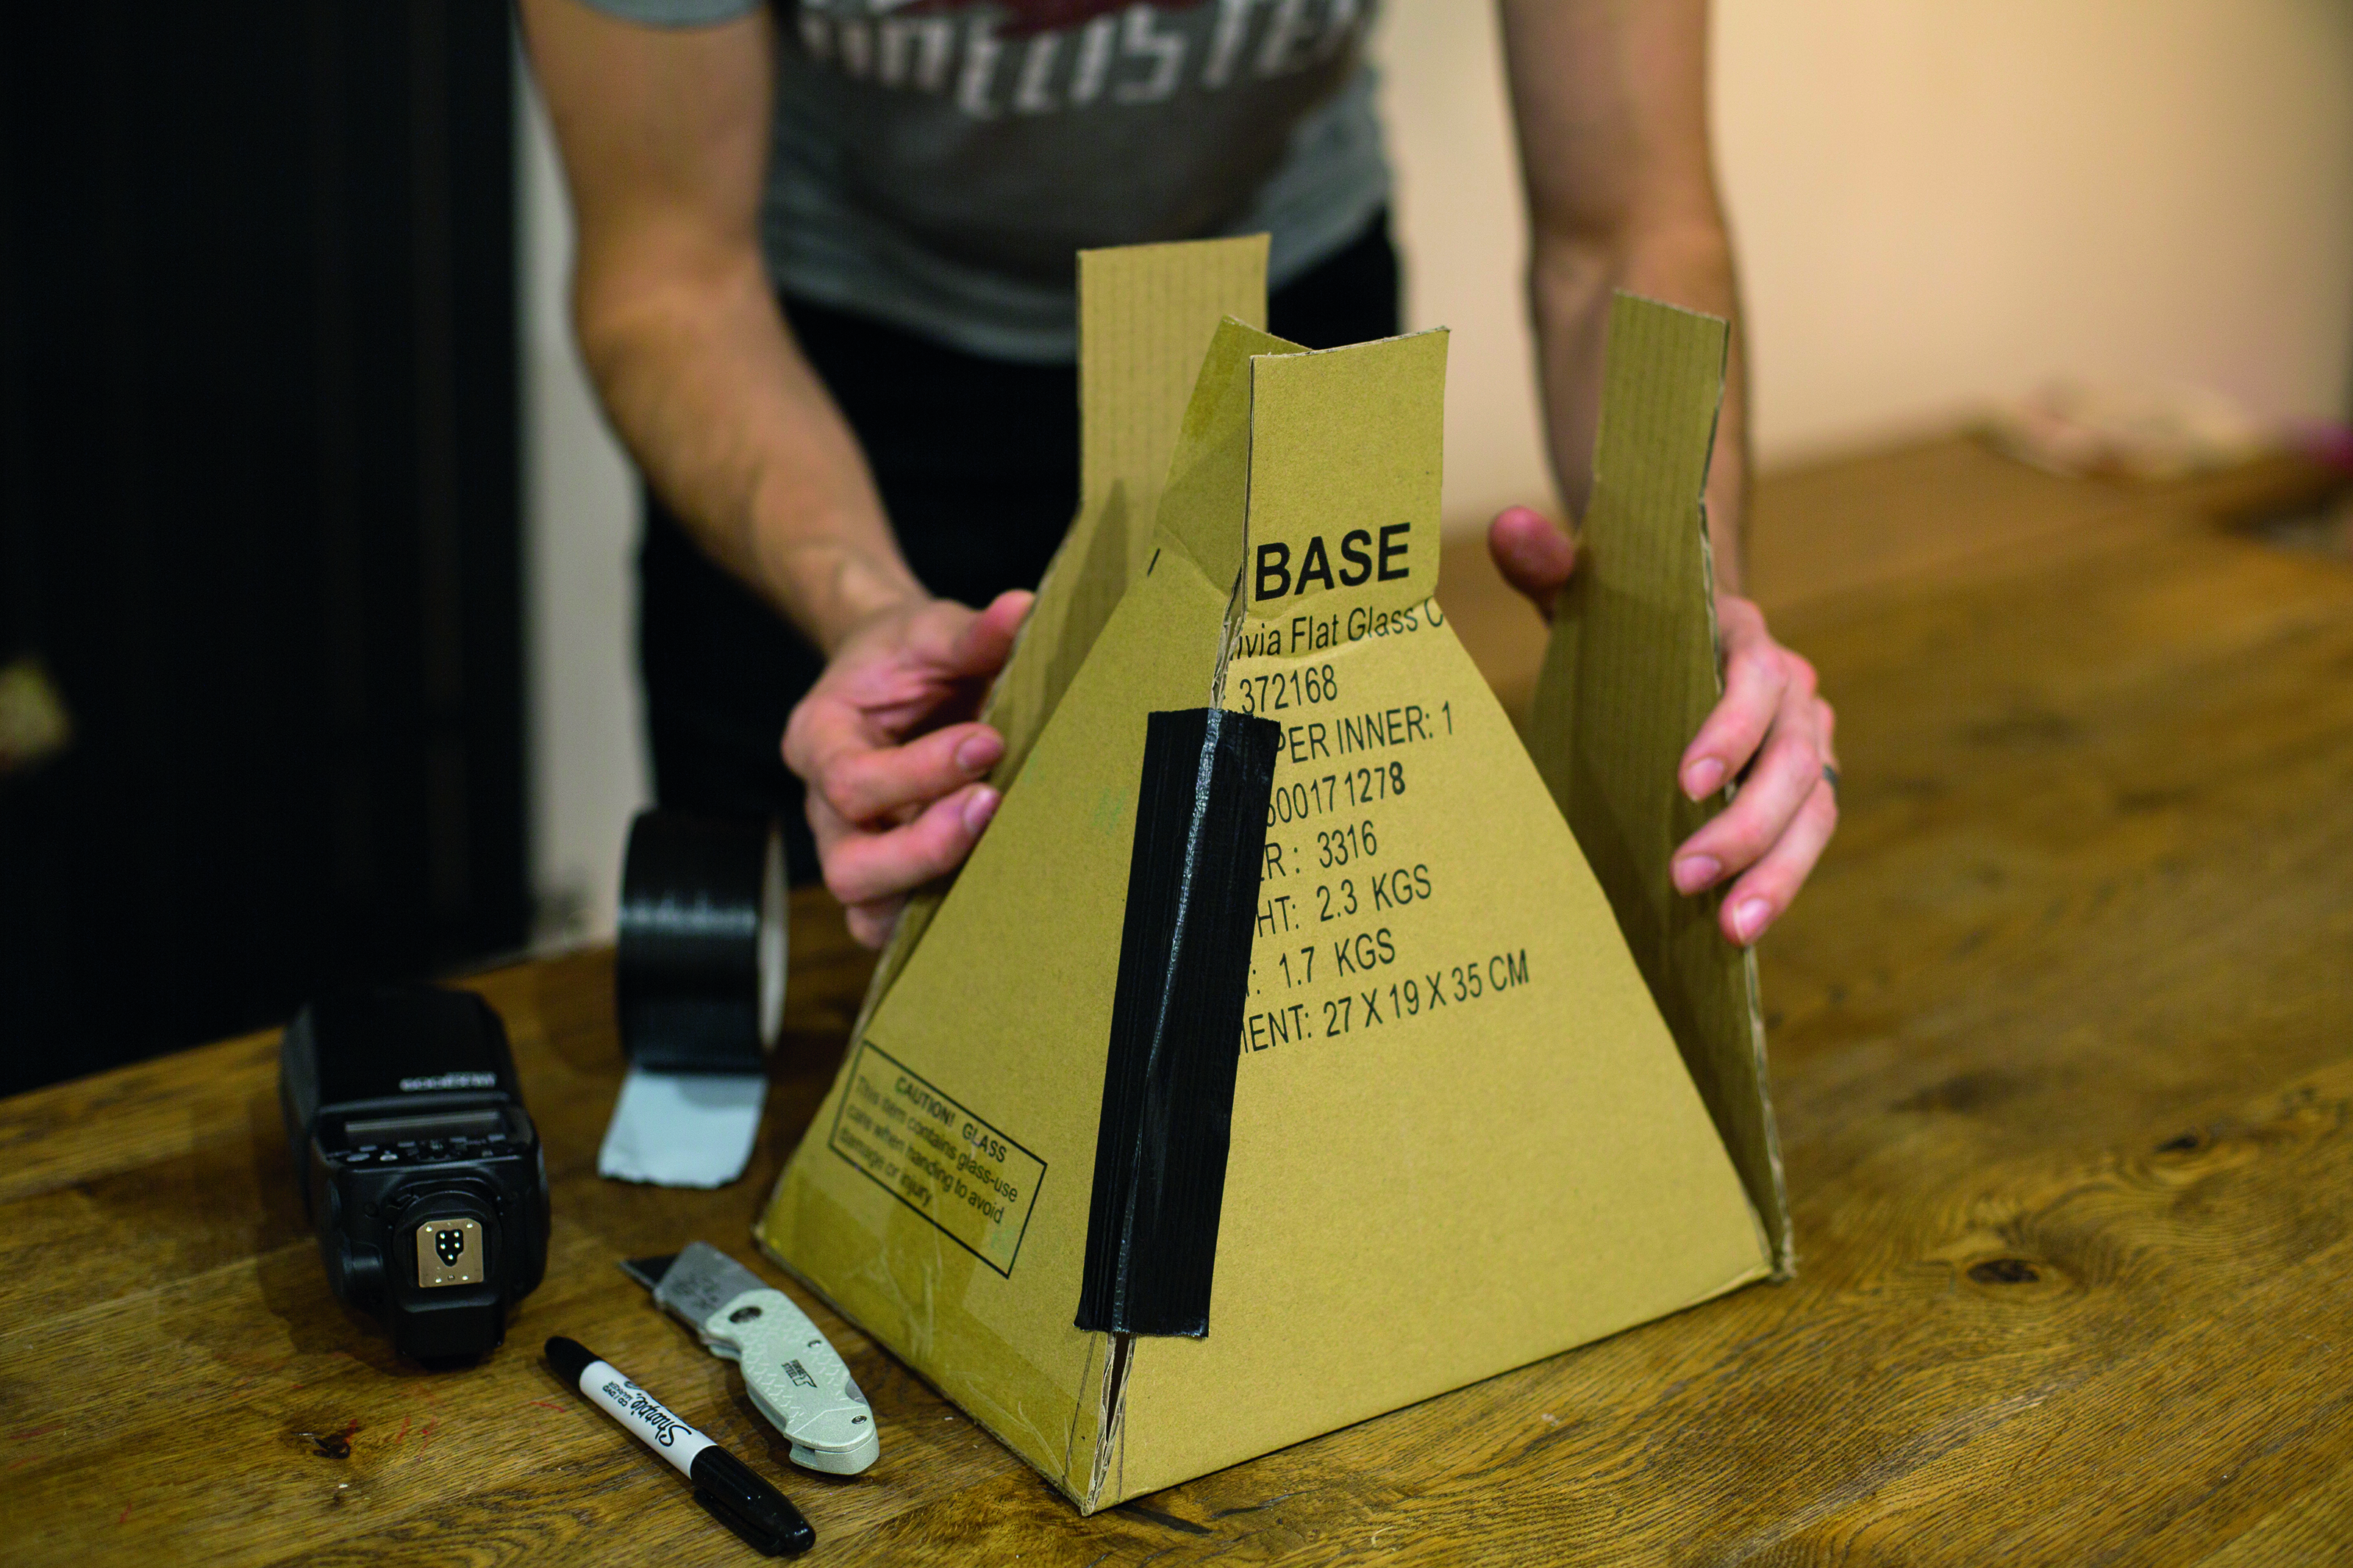
There is also some craft involved, as you’ll need to make a stencil-holder for your flashgun from a cardboard box (and optionally, your own stencil). This is key to a successful result as it contains the flash, and plenty of gaffer tape will ensure you don’t get any light leaks and flare.
You’ll also learn more about long-exposure night photography in the process. A long exposure is needed to give you time to get into the frame and fire multiple flashes, this means you need to take on the Manual exposure mode – but it’s not so hard.
Although the flash power will determine how bright the shapes are, the exposure time (shutter speed), aperture and ISO setting will give you control over any ambient light you want to include in your scene.
STEP BY STEP: Don't be left in the dark
Make a stencil holder for your flashgun and add some shapes to your scene
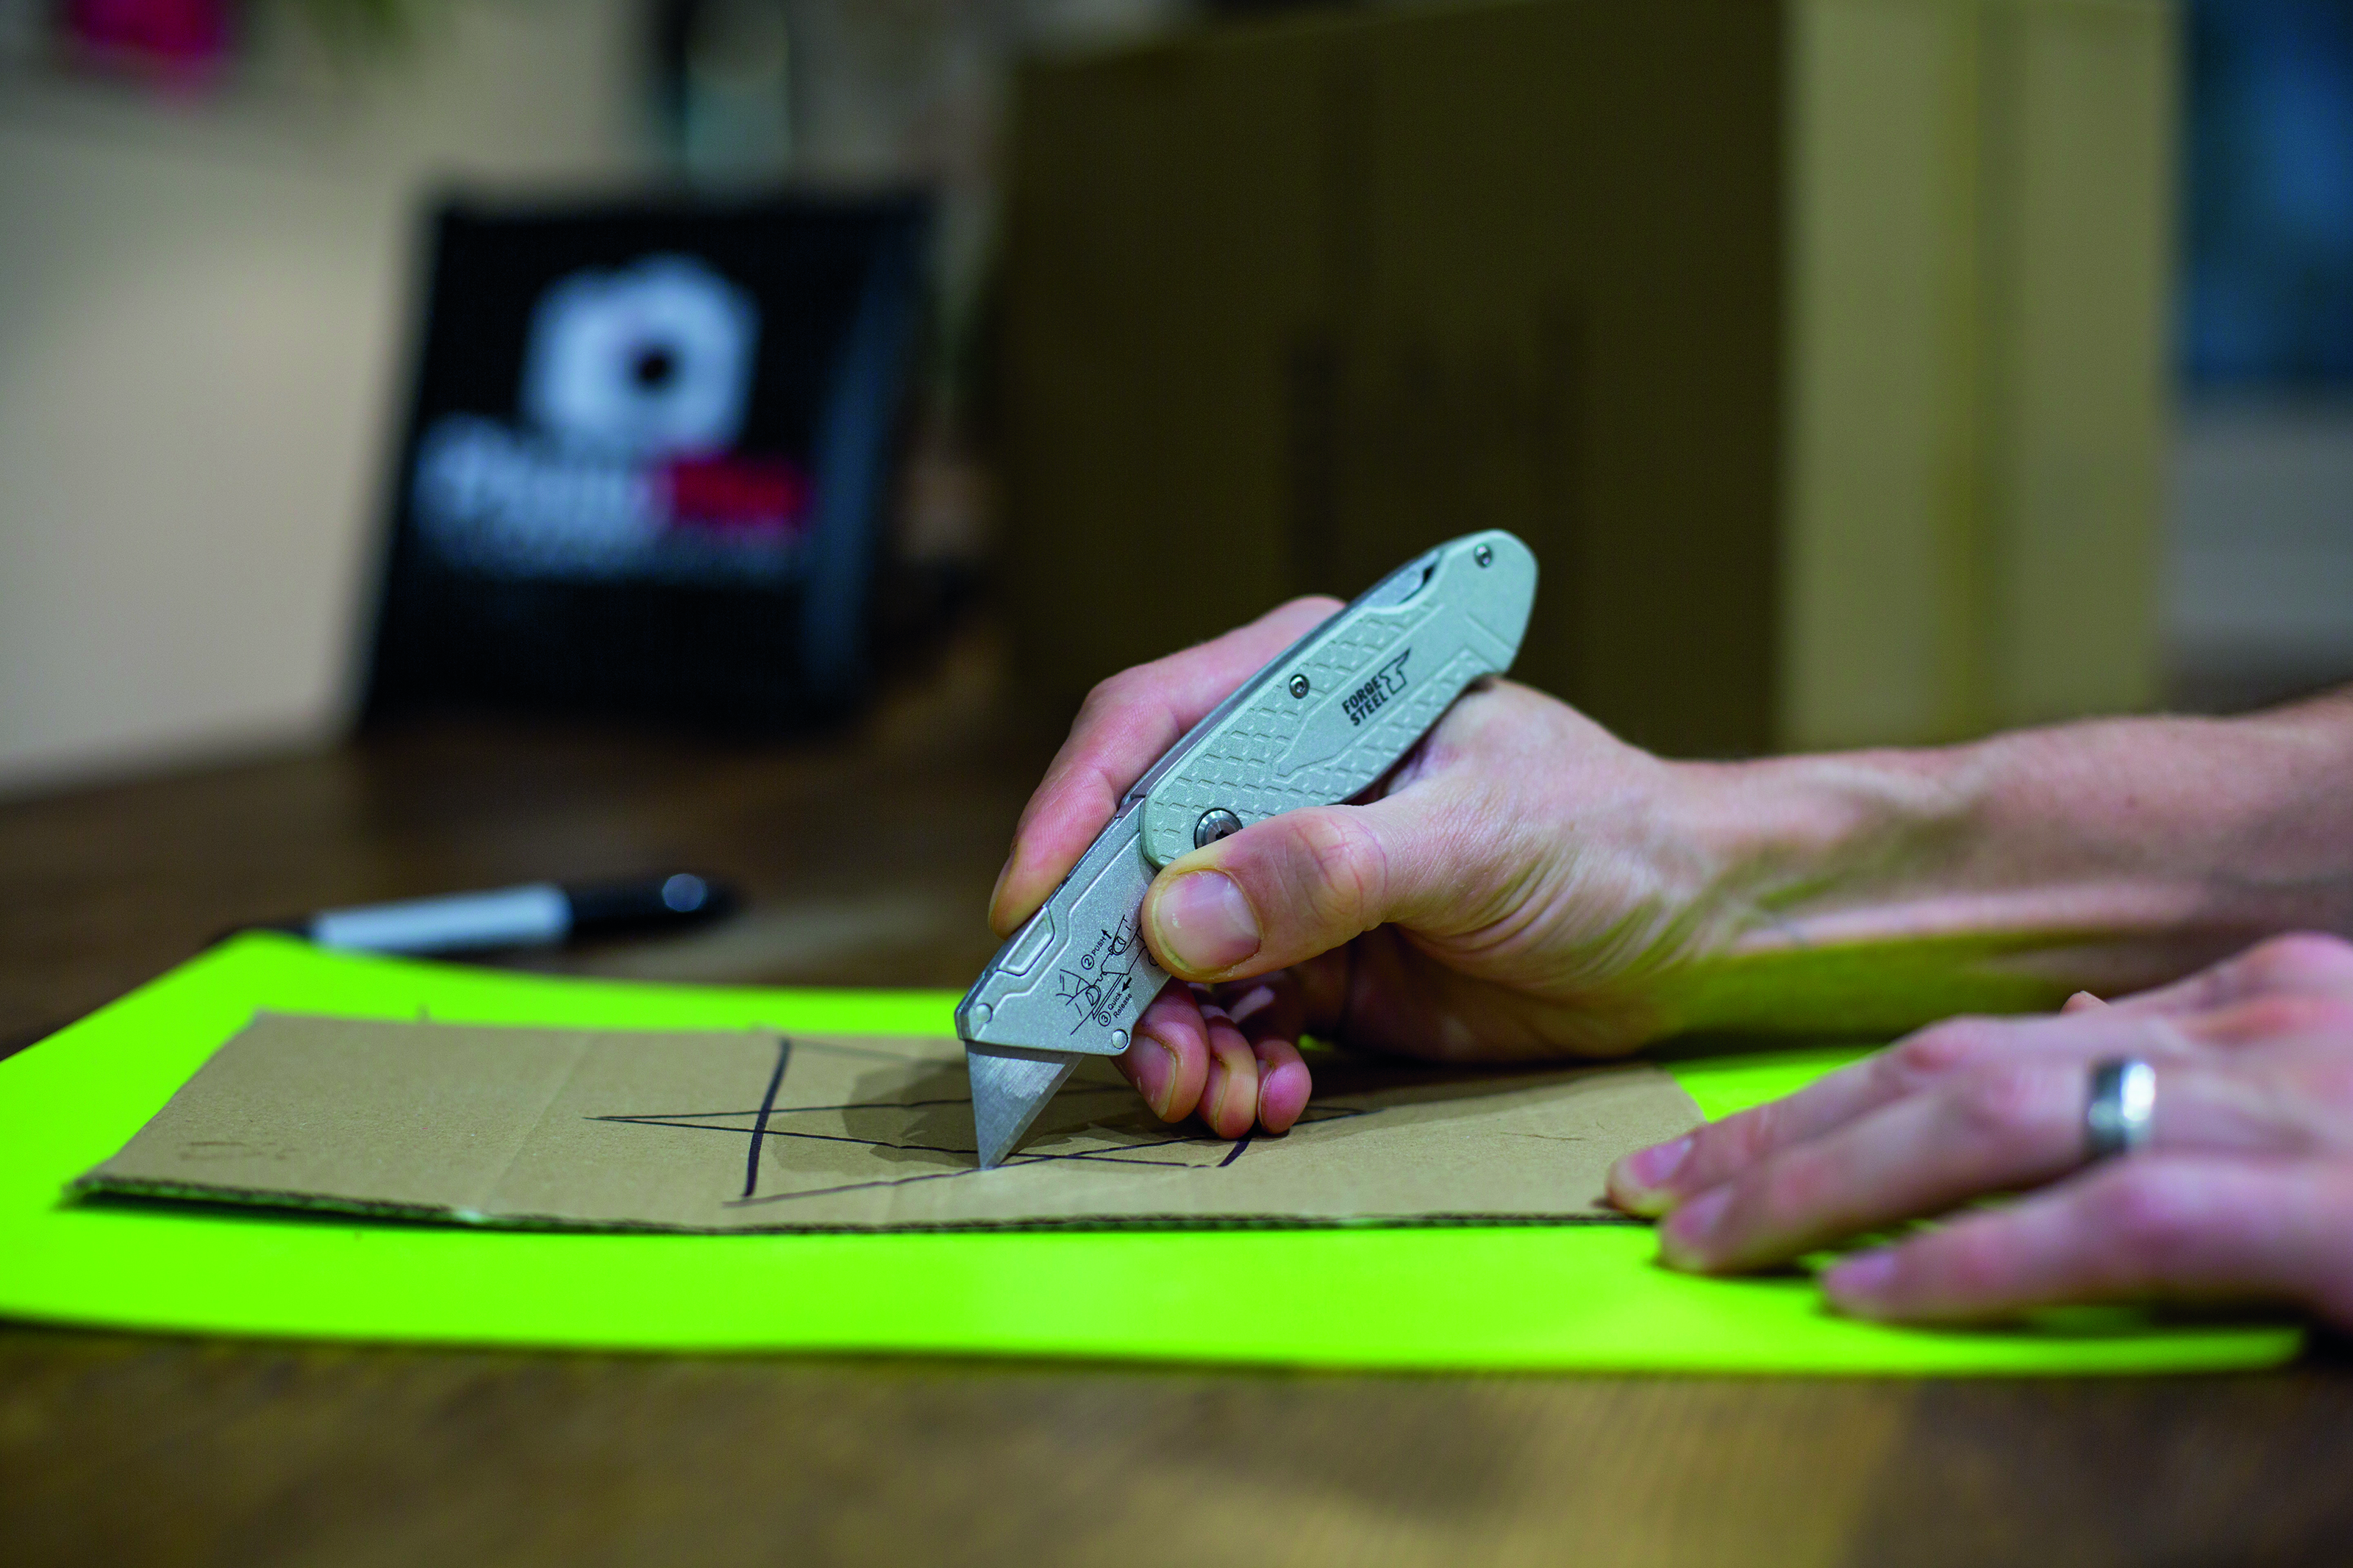
Printing out your stencil design is quick and gives fantastic results, but it can be very rewarding to cut out your own stencil. Make sure you use a piece of cardboard that will fit onto your stencil holder, and secure some tracing or diffusion paper behind the shape to help distribute the light evenly. Add colour to your shape using gels, and experiment with the flash power and exposure settings to get the best results. Typically your flash power will be low; for our image we manually set the flash to 1/128 power.
01 MAKE THE STENCIL HOLDER
Cut a cardboard box into a four-sided pyramid and build it with tape. Cut a rectangular aperture in the bottom for the stencil to sit over, and make sure
your flashgun fits snugly in the small opening.
02 CREATE YOUR STENCIL
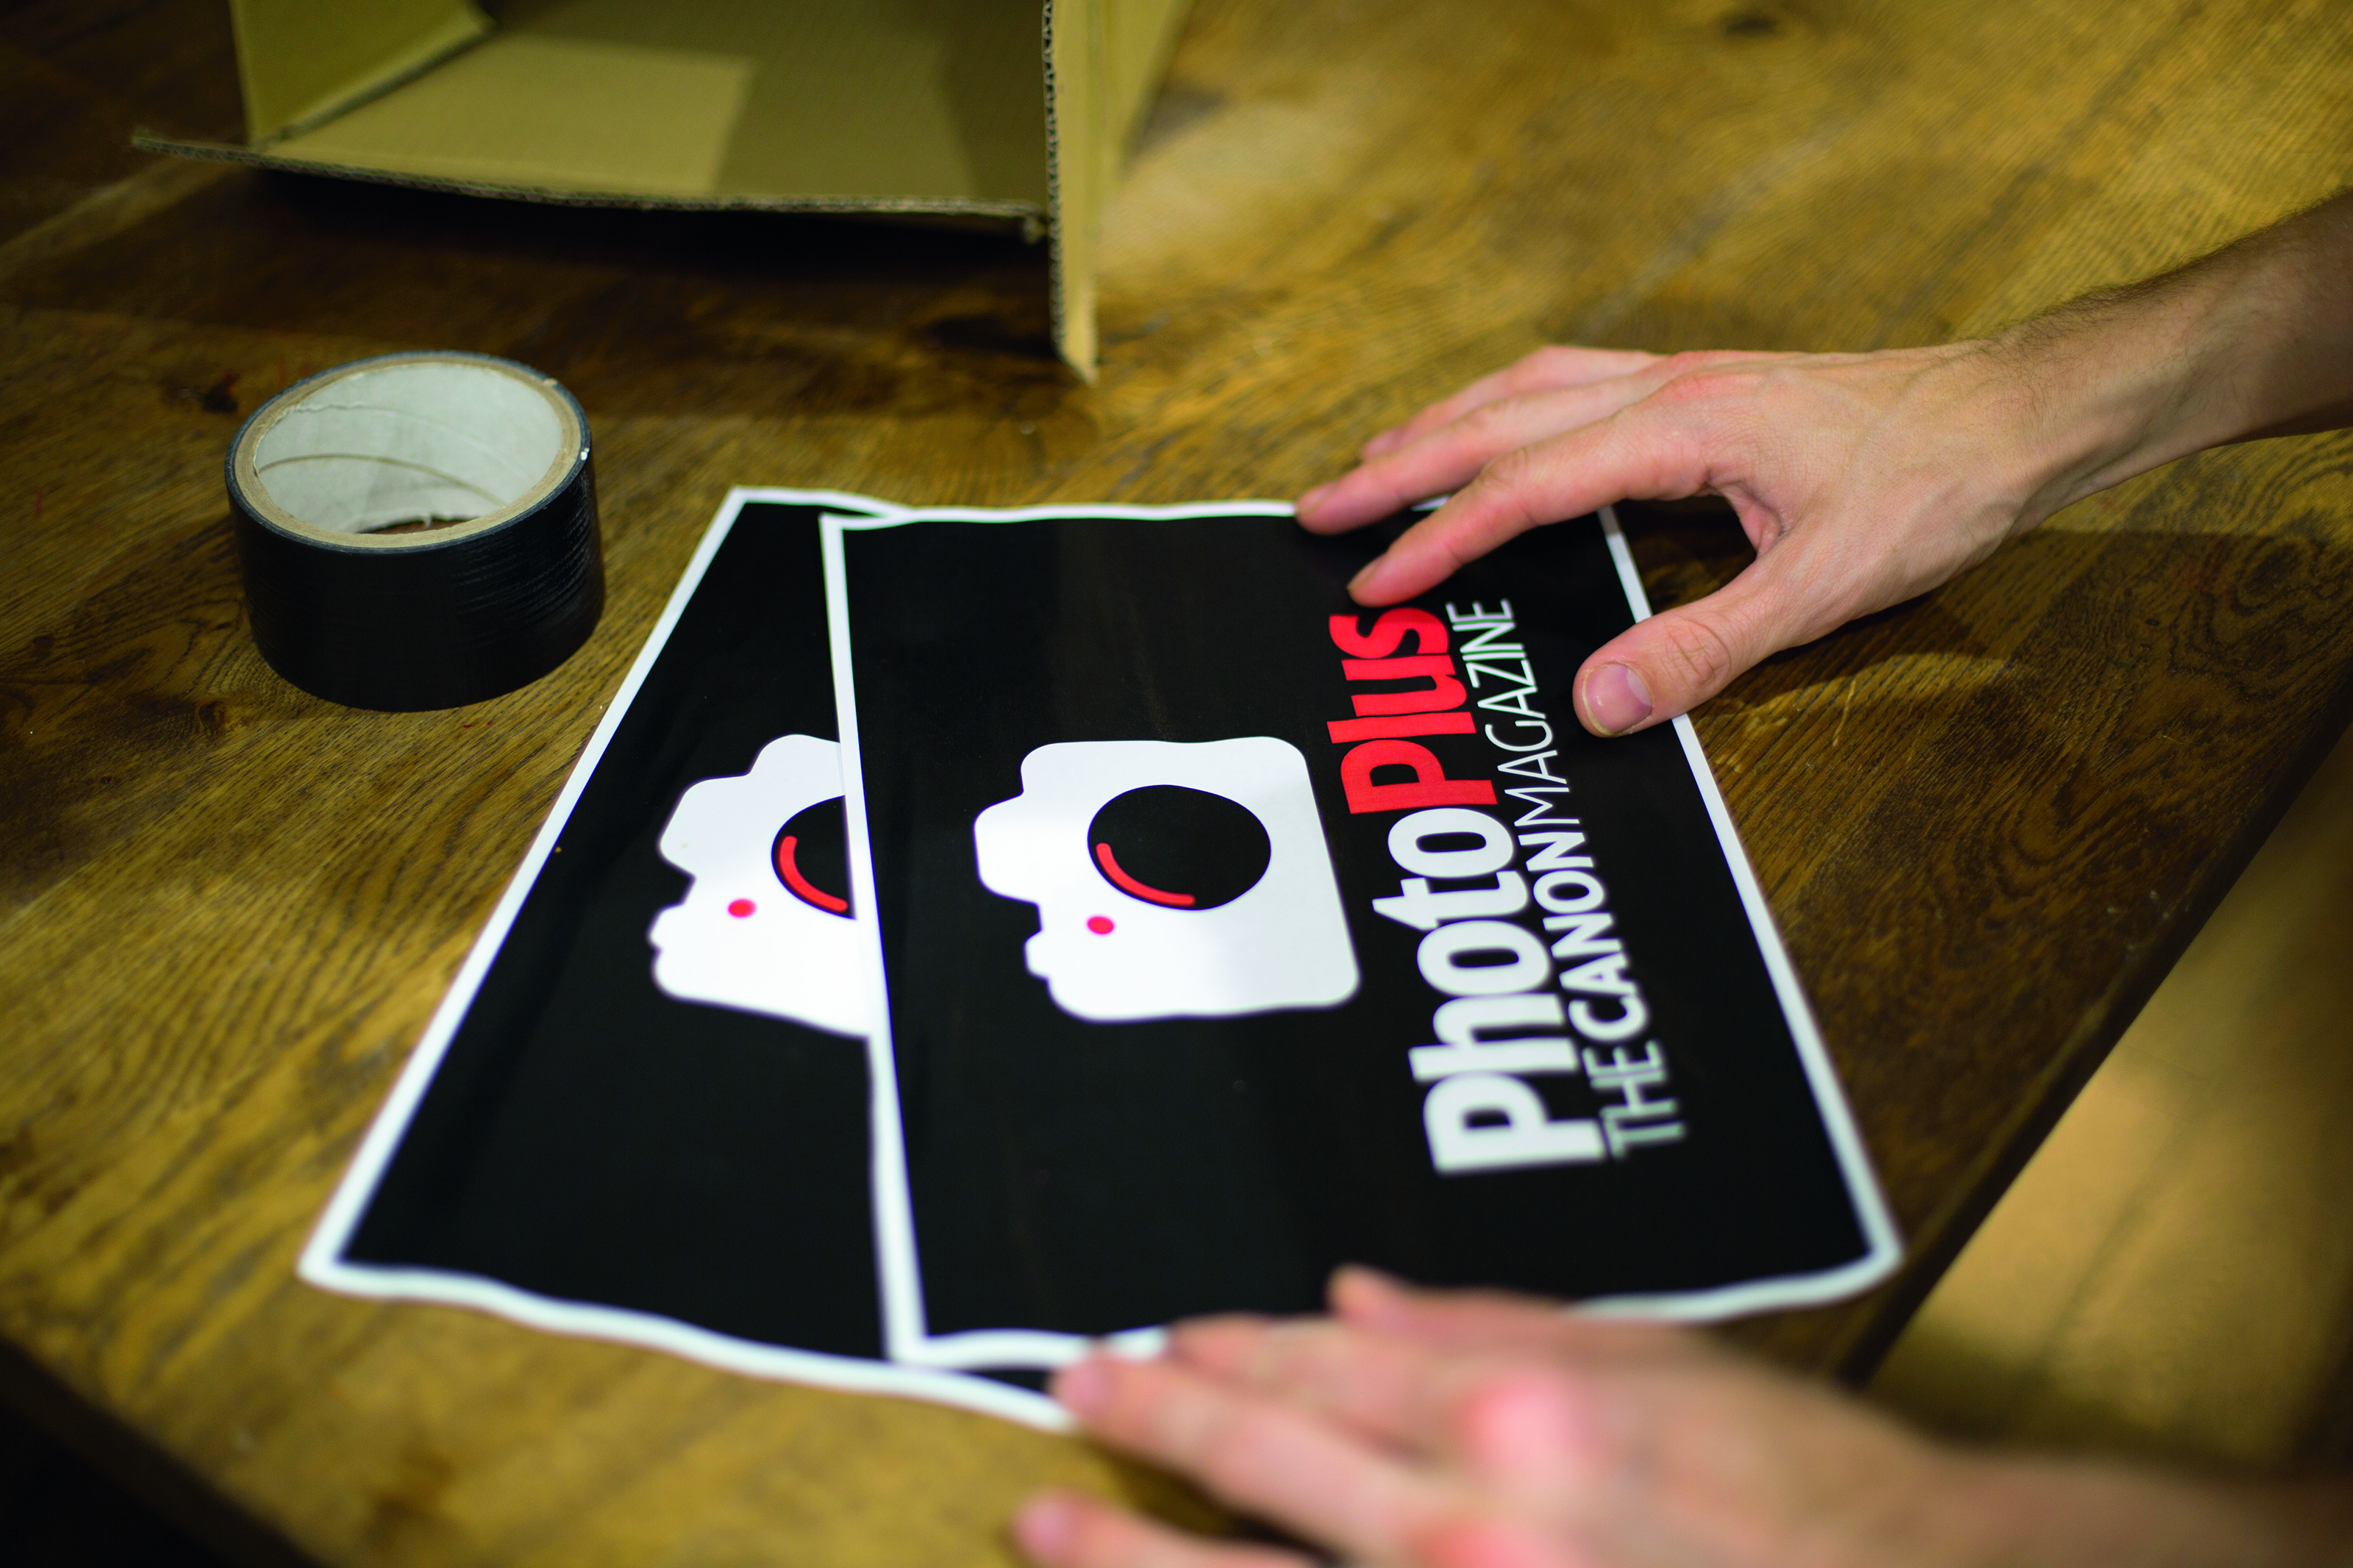
Create your design, ensuring the background is black. Print two copies, line them up and tape the edges. Now attach this to your stencil holder, fix the box to your flashgun and tape any gaps.
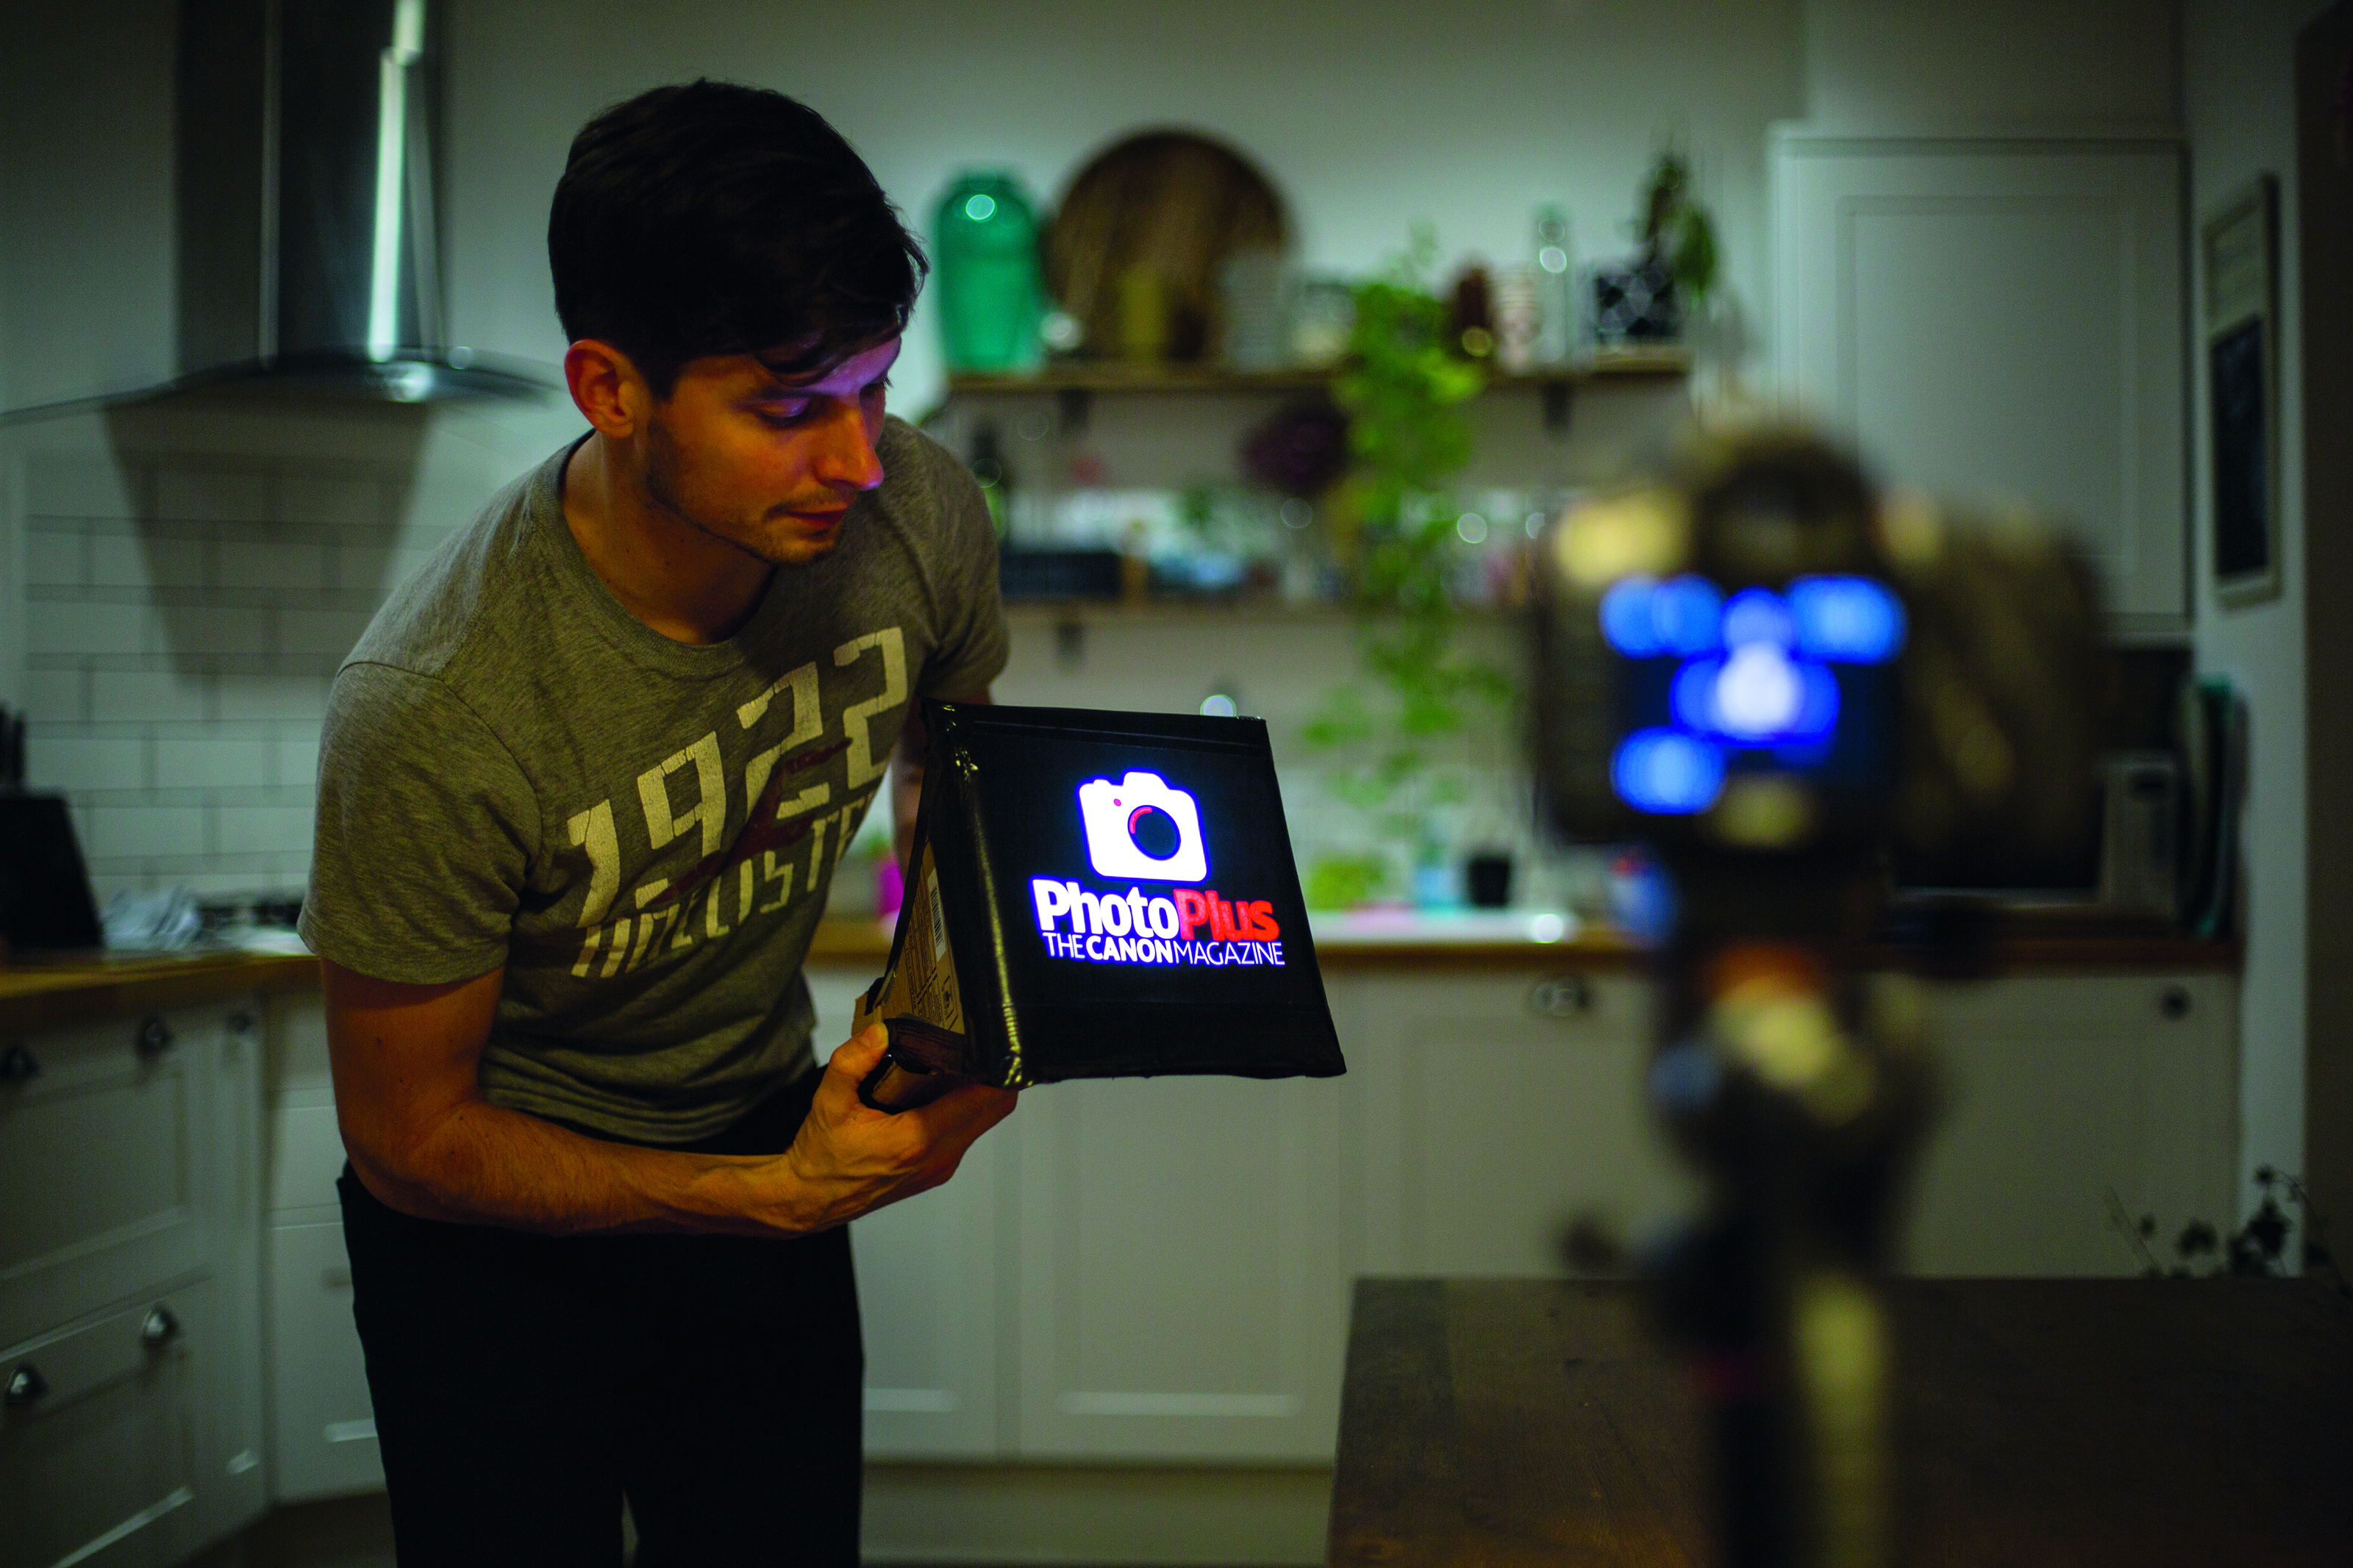
To stay invisible, keep moving when you step into the long exposure – especially if you have any ambient light in your scene
03 SET UP YOUR DSLR
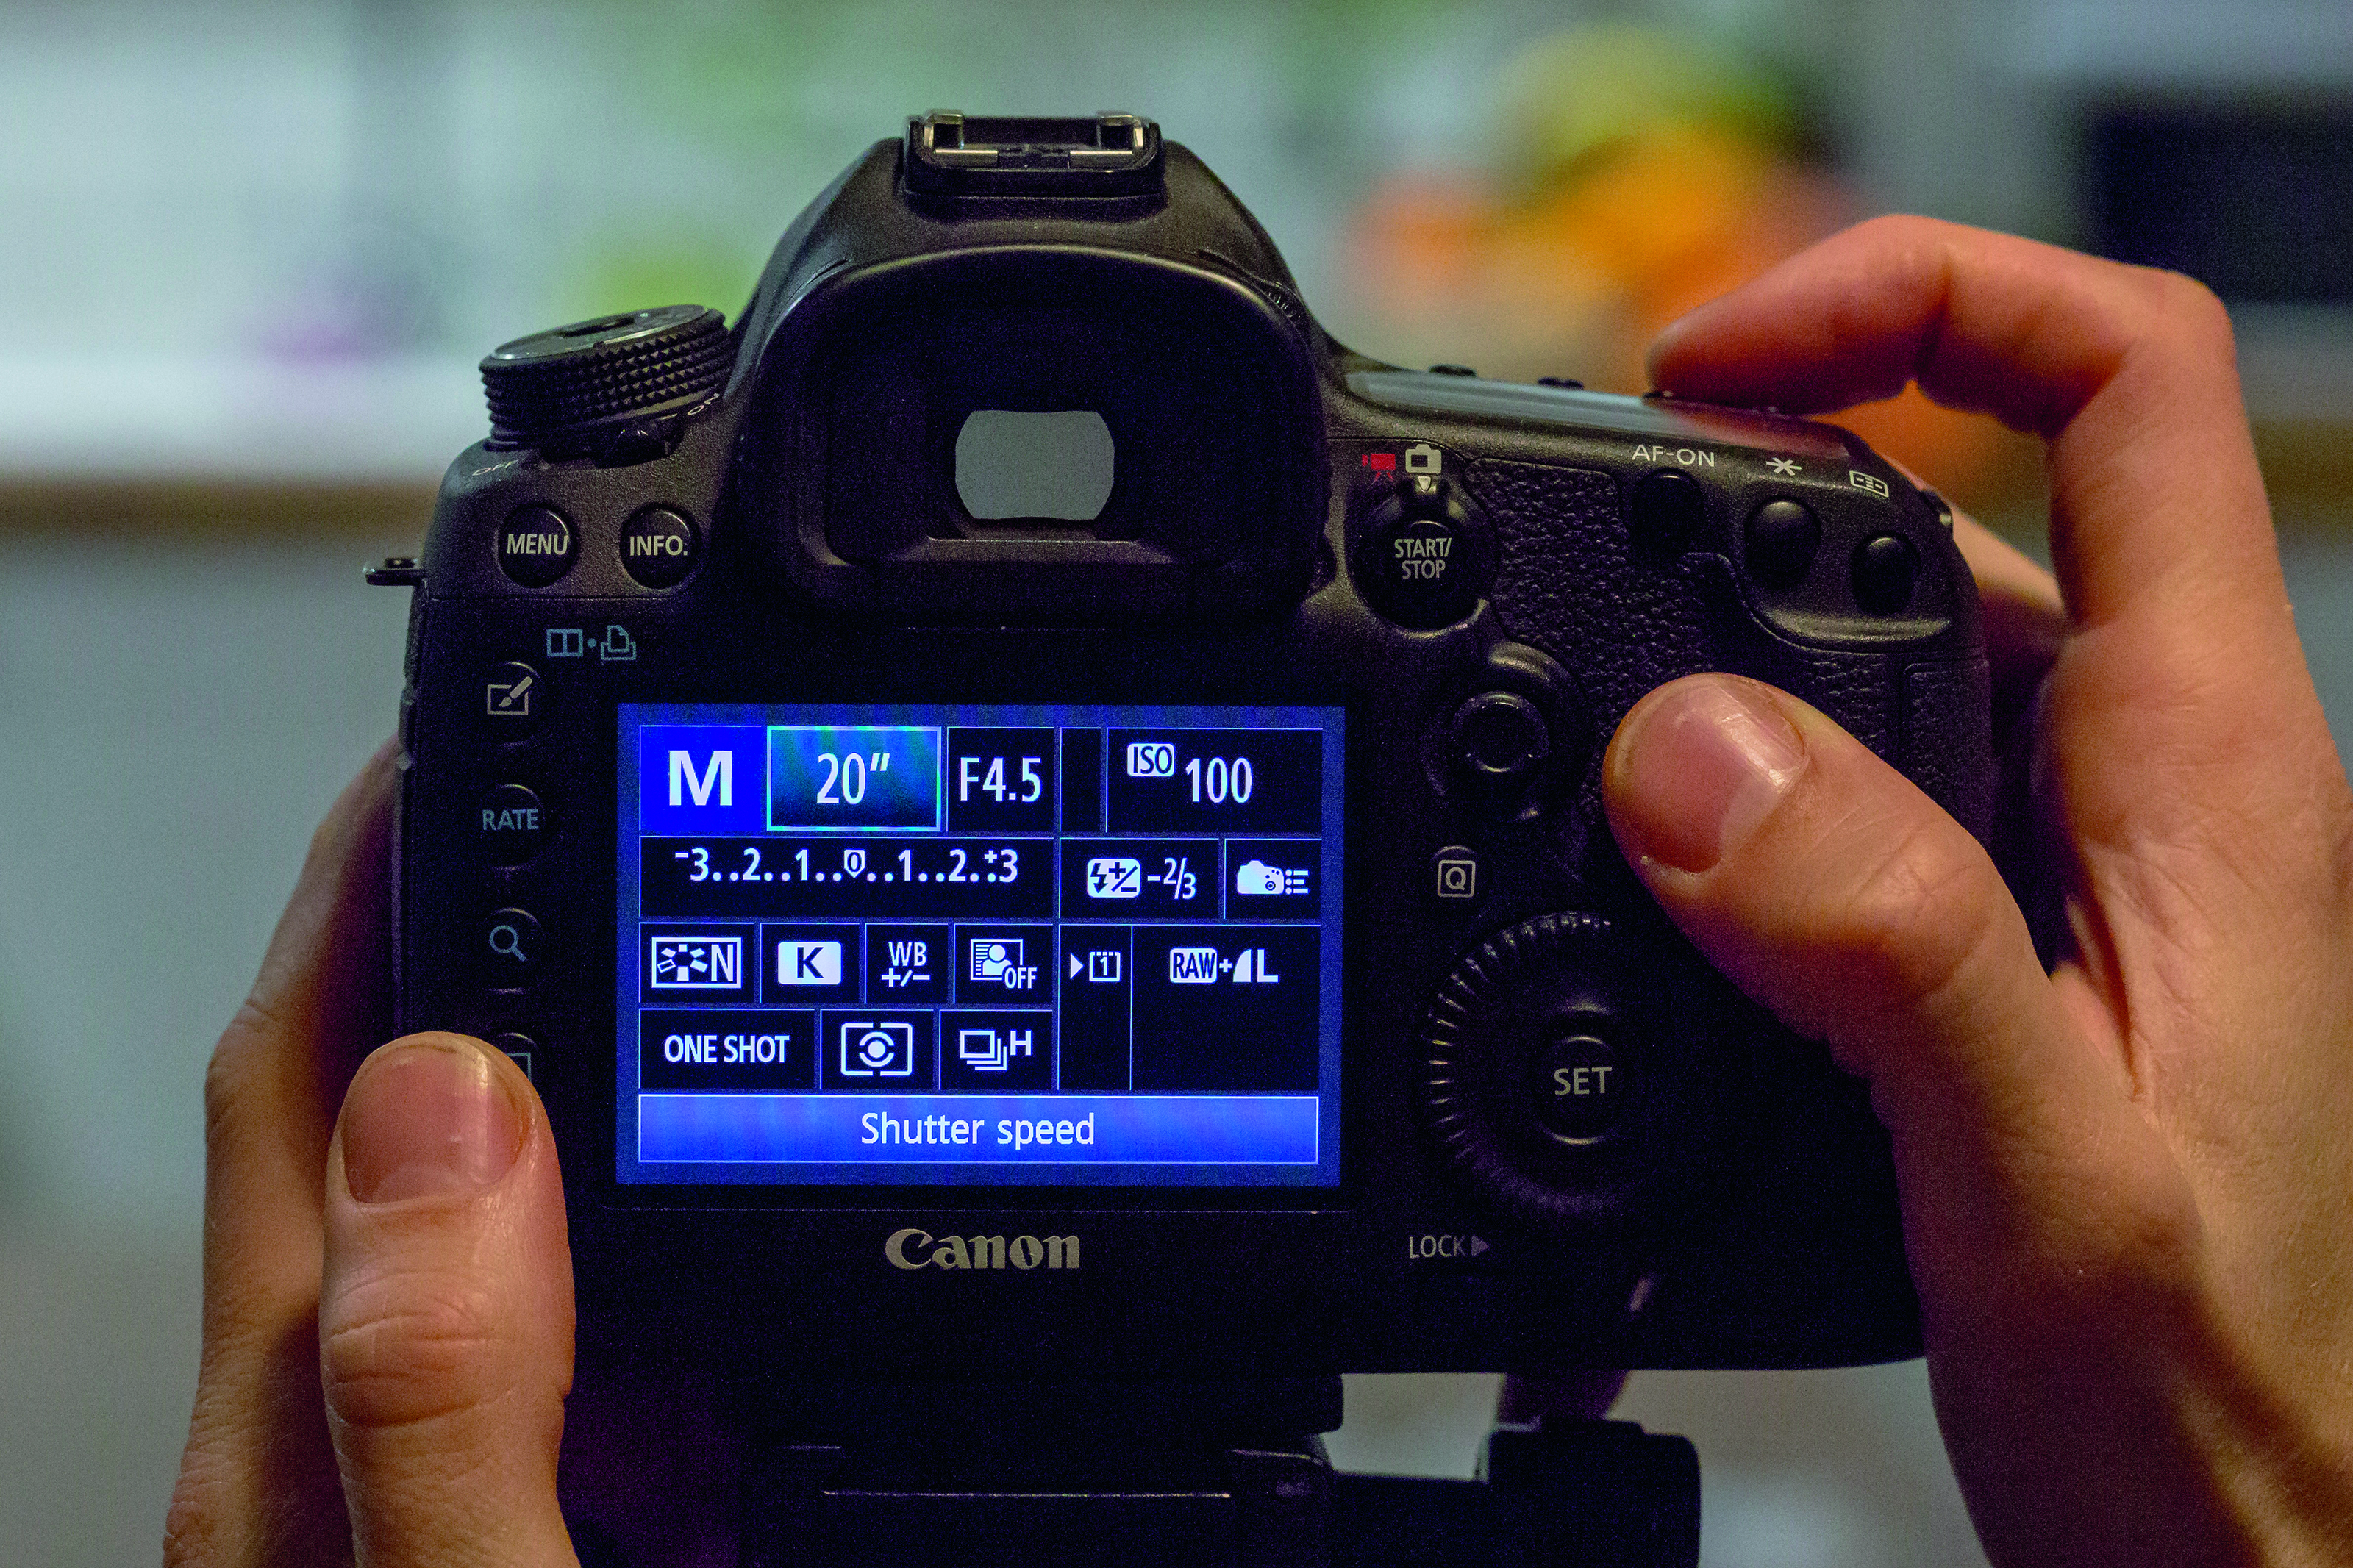
With your camera on a tripod, switch to Manual mode and set the shutter speed to 20-30 secs. In our setup, an aperture of f/4.5 blurred background stencils, and ISO100 kept the rest of the scene suitably dark.
04 DECORATE THE SCENE
Press the shutter button and move to where you want to add your shape in the frame, point the light stencil back towards the camera and fire the flash using the Test firing button.
Get the Digital Camera World Newsletter
The best camera deals, reviews, product advice, and unmissable photography news, direct to your inbox!

