How to build a photography website in WordPress
Shape your website design to your own tastes when you use this content management system and develop your site locally
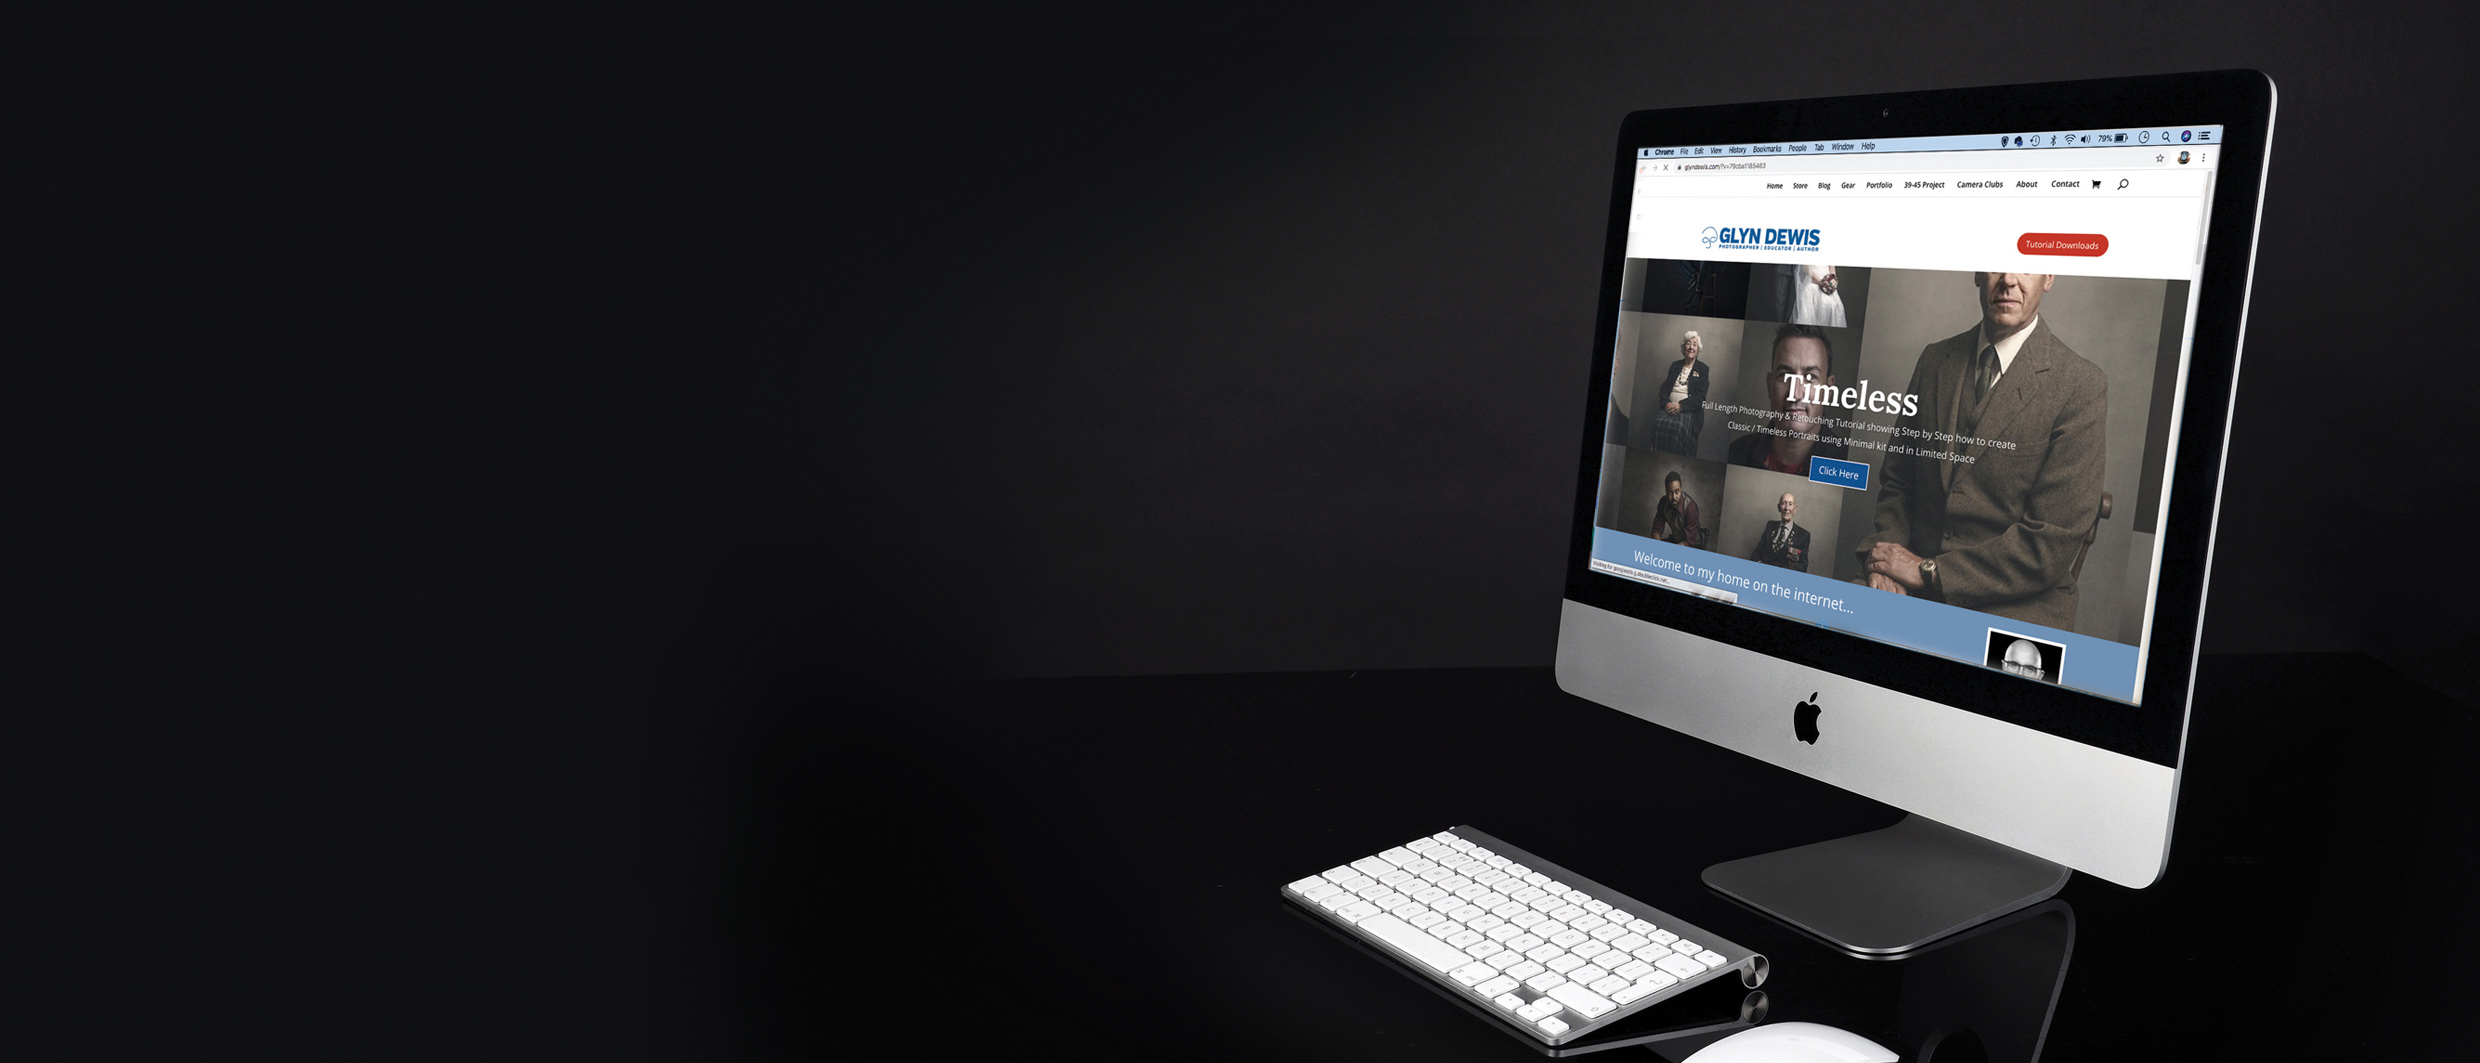
So far in this series we’ve looked at a variety of ways to get increased exposure for your images, by putting them in front of an online audience. And as we’ve seen, there is more than one way of doing this, including using a website-builder service. Building a photography website is actually easier than you may initially think, so check out how to do it below.
But for those happy with the idea of going behind the curtain and spending time noodling around with the back end of a website, there is an alternative: build your photography site using a content management system (CMS).
A CMS is what holds the contents of a website, and is driven by a database. This is where your images, and the relevant information to accompany them, are stored; the CMS accepts requests from a remote computer and instructs the server to send the data.
WordPress or Drupal are two popular CMSs; both offer plenty of options for customization, so you can extend the scope of your site further down the line.
Although Drupal – see part 4 of this tutorial series – is the more sophisticated of the two systems, WordPress is more widely used and will comfortably meet most users’ needs.
As its name suggests, WordPress is widely considered to be a tool for bloggers. But continual updates have expanded its functionality, and it is well suited for creating photography sites.
A default WordPress site won’t do much more than host a blog; you add functionality via themes (how the site looks) and plug-ins (what it can do).
The best camera deals, reviews, product advice, and unmissable photography news, direct to your inbox!
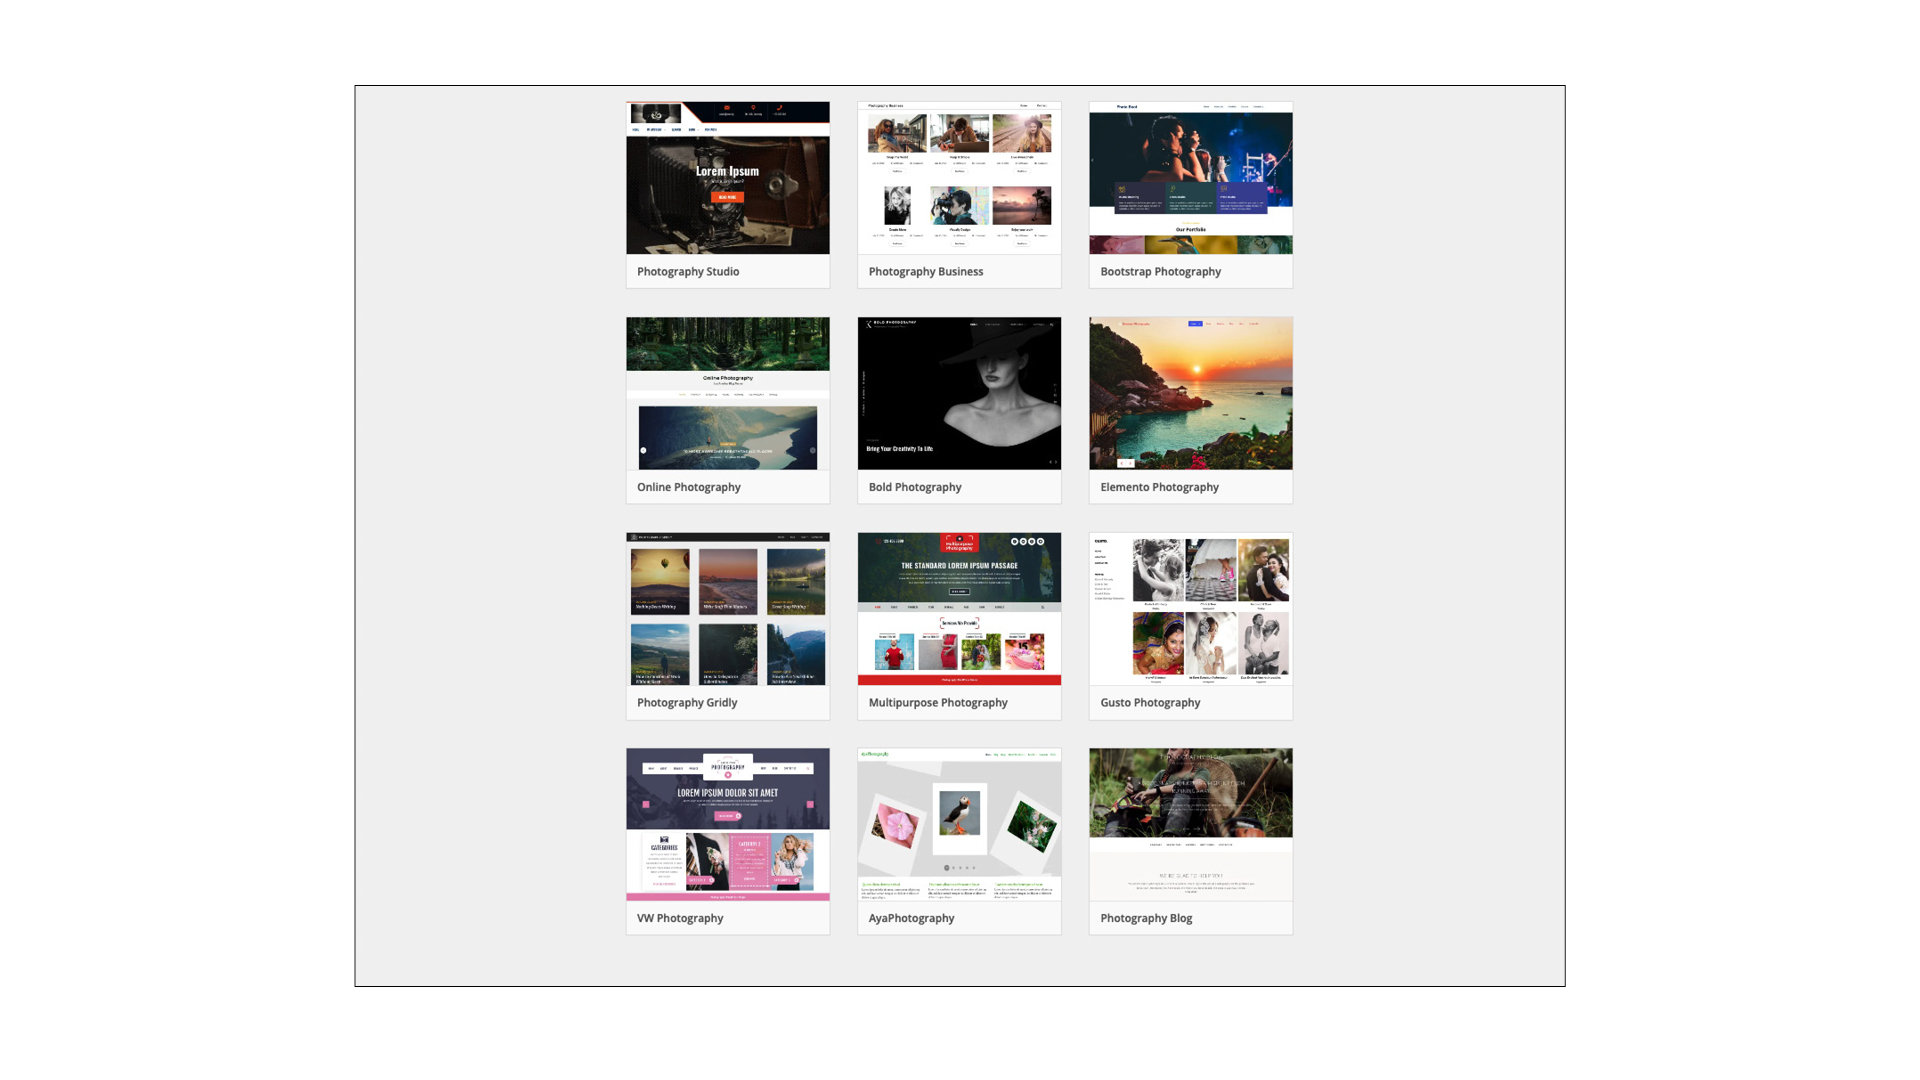
With around 20,000 themes suitable for creating a photography website, from a total of 500,000, you’re sure to find something to meet your needs, whether this is displaying a portfolio, selling some of your favourite images or marketing your photography business.
What you’ll need to build a photo website in WordPress
- Computer
- Internet access
- Images ready for upload
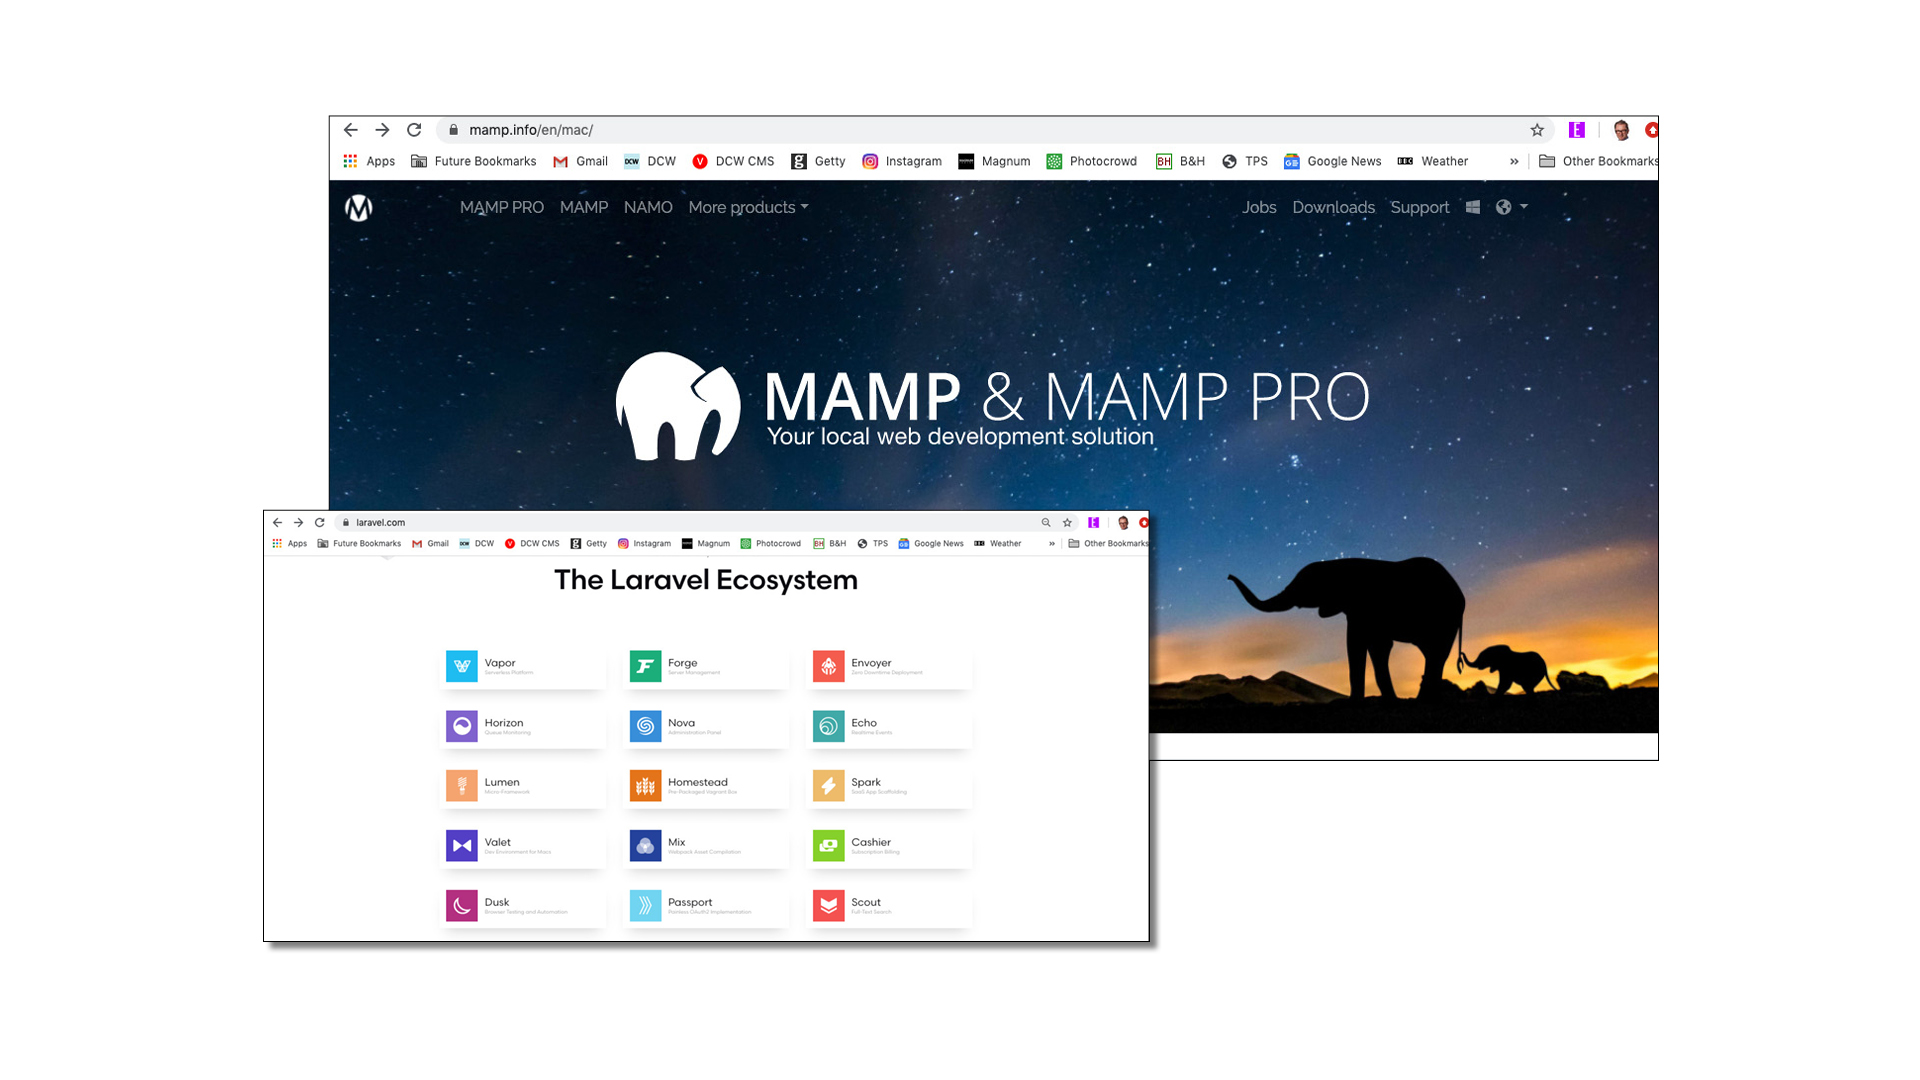
- Development application (MAMP PRO or Laravel Homestead, for example)
- Time: 1 day (build)
Some key concepts before you start
1. Do you self-host your site, or get WordPress to host it?
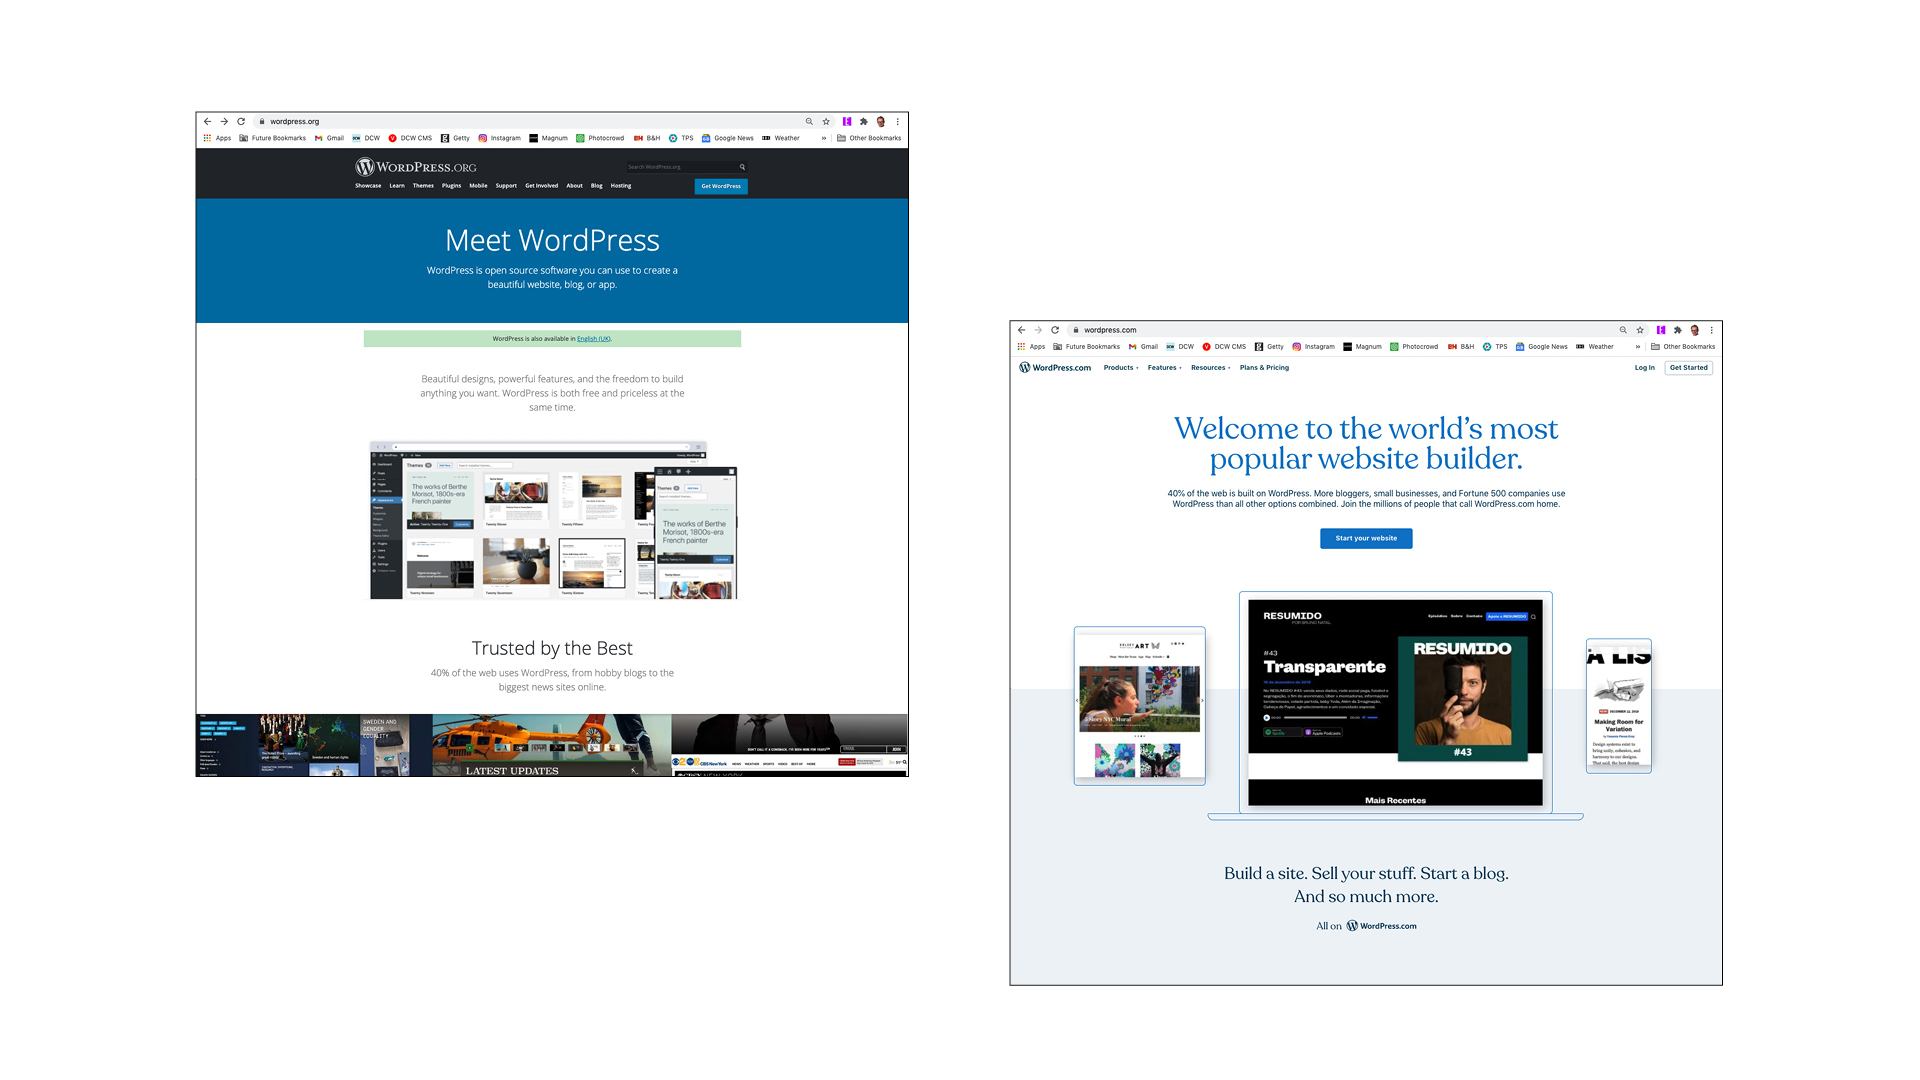
There are two options for hosting WordPress sites – hosted by you, or hosted by WordPress.
If you’d prefer to make the hosting arrangements yourself, then download the WordPress core from wordpress.org. (You’ll also need a domain name for your site – visit Domain.com , Bluehost , www.123-reg.co.uk or search online for a supplier.)
If you want WordPress to host your site for you, then go to wordpress.com
2. Why you should develop your site locally
Developing your site on your own computer (in a local environment, using the jargon) gives you full control of the process. You can build the site at your own pace, honing your problem-solving skills by fixing any snags that arise.
3. Deploy your site to the host site
When your site is ready, you can deploy it to your hosting provider. Transferring the files to the host site and configuring all the settings could take up to one day, then your photo website is ready for its big reveal…
Build a WordPress photo website in 10 steps
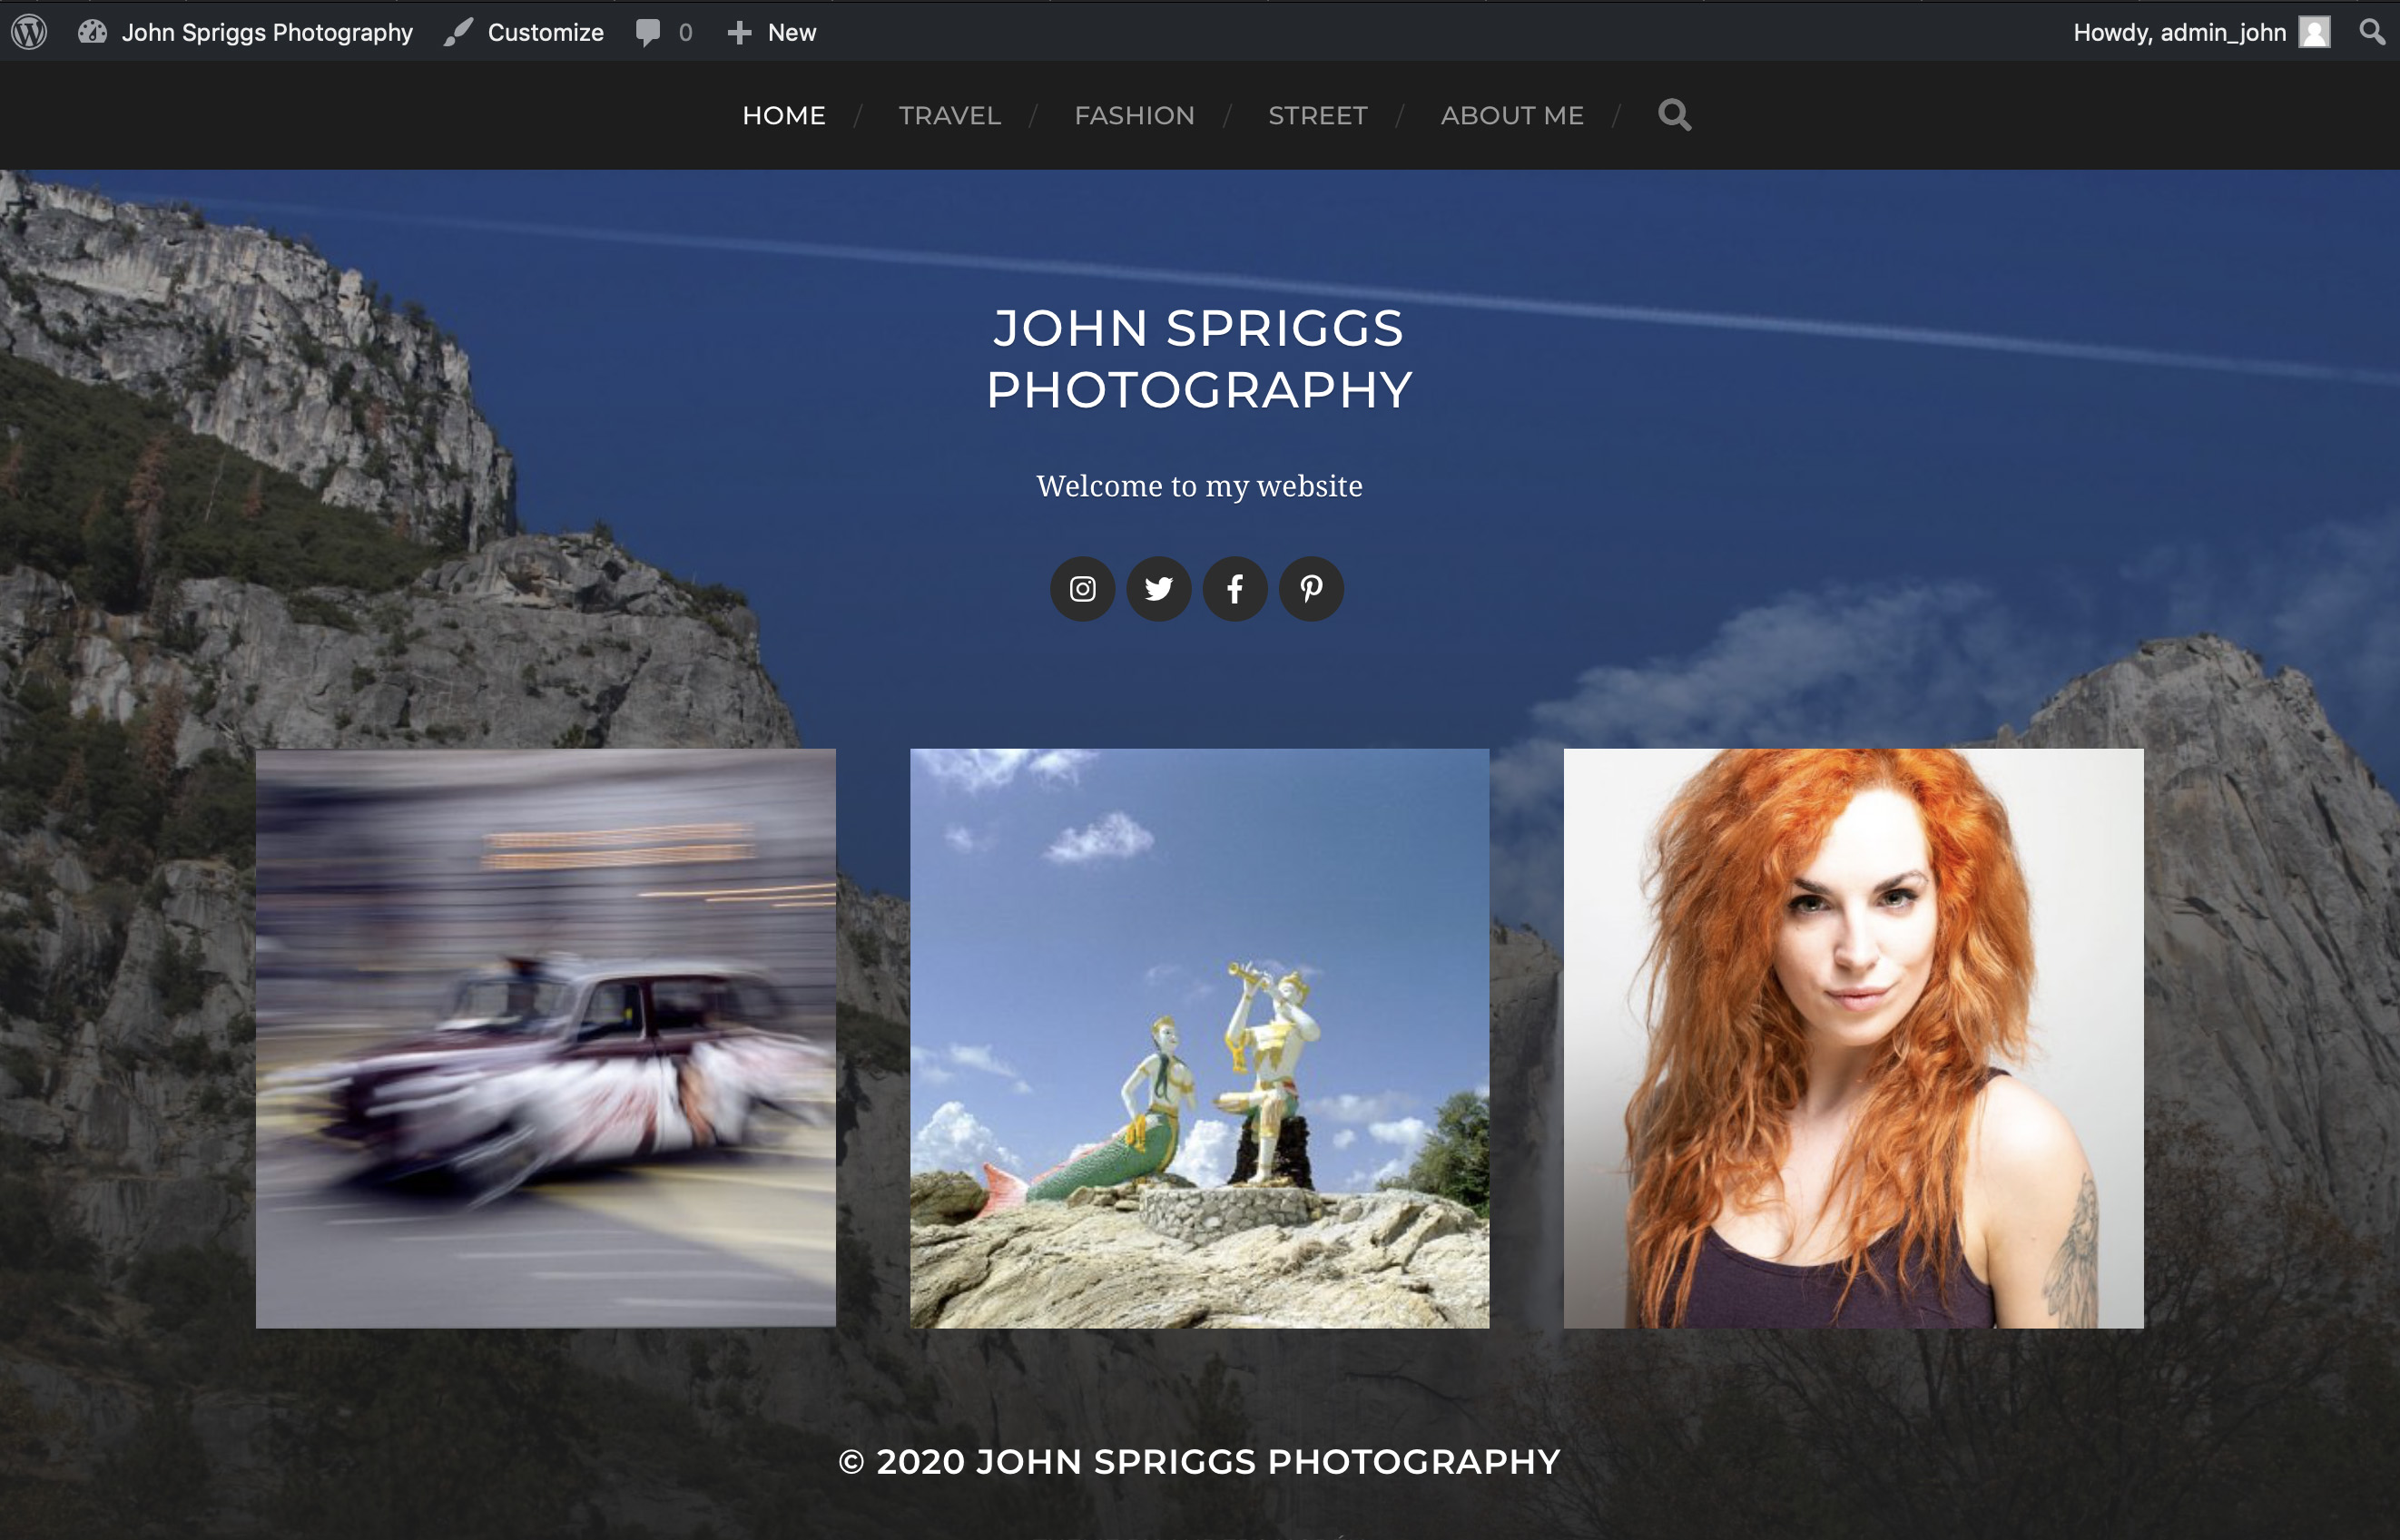
We’re using an application called MAMP to develop our site in a local environment, ahead of fully testing it, before subsequent deployment to a website hosting platform…
01 Scope out your site and choose a theme
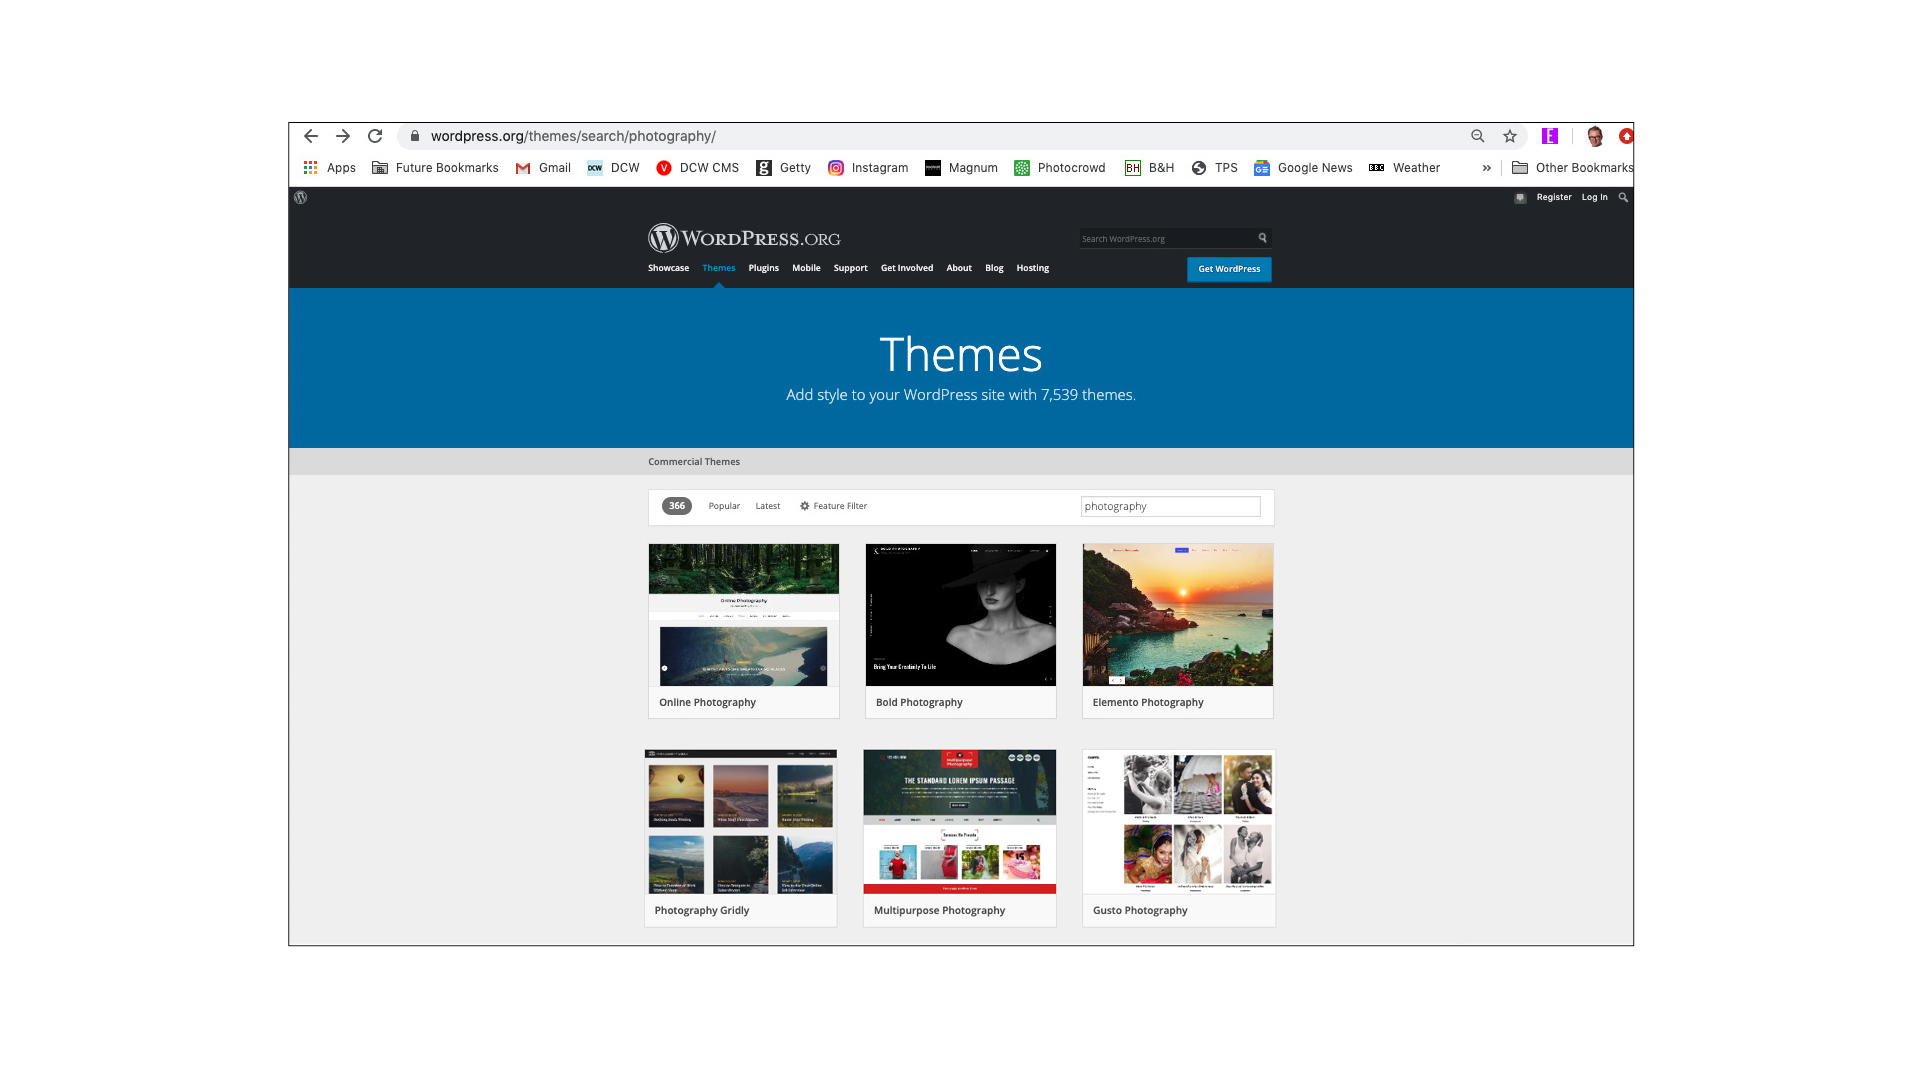
First, give some thought to how you want to organise the images on your WordPress site. Unlike social media or photo sharing sites, you have full control of image placement, so start by deciding which theme you want.
Go to wordpress.org/themes, click Feature Filter and make a selection via the three category columns: Layout, Features and Subject.
02 Choose a local server environment
Although you can set up a blog at wordpress.com, we’re going to develop our photo website ‘locally’ on our own computer. This way, we can choose our own custom website address, and perfect the site without having to connect to the internet, before deploying it to a web hosting provider.
We’re using MAMP for our local server, which works on macOS or Windows. (Windows users can also use Laravel Homestead.)
03 Download your environment
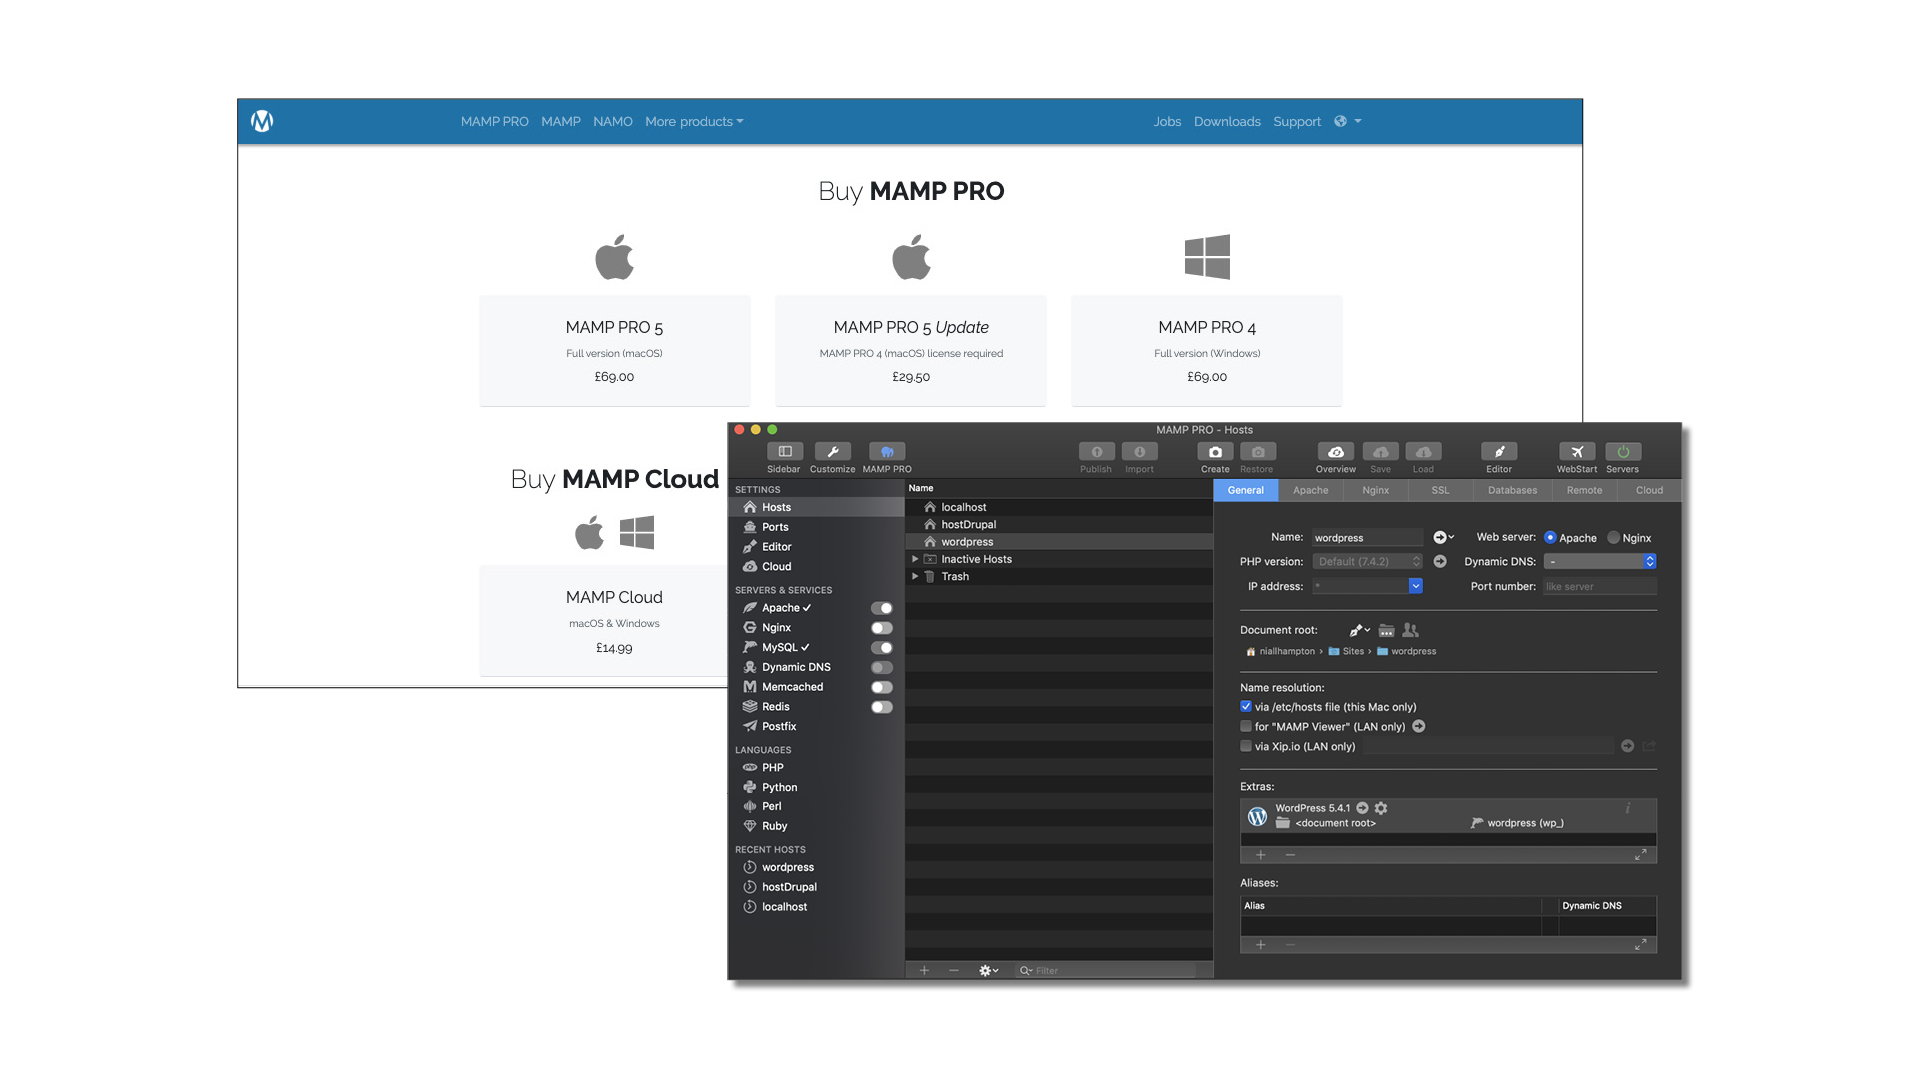
MAMP is free software, but MAMP Pro (which we’re using in this example) is paid-for (£69/$79). MAMP allows you to have the essential tools for website building all in one place: Apache (the web server that serves website pages), MySQL (database software) and PHP (the scripting language).
MAMP is straightforward to set up and use, but if you do get stuck there are plenty of helpful tutorial videos available online.
04 Set up your local host
The first stage of the process is to set up your local host. (The main difference between the two versions of MAMP is that MAMP Pro allows you to set up multiple hosts – and therefore multiple development sites – simultaneously.)
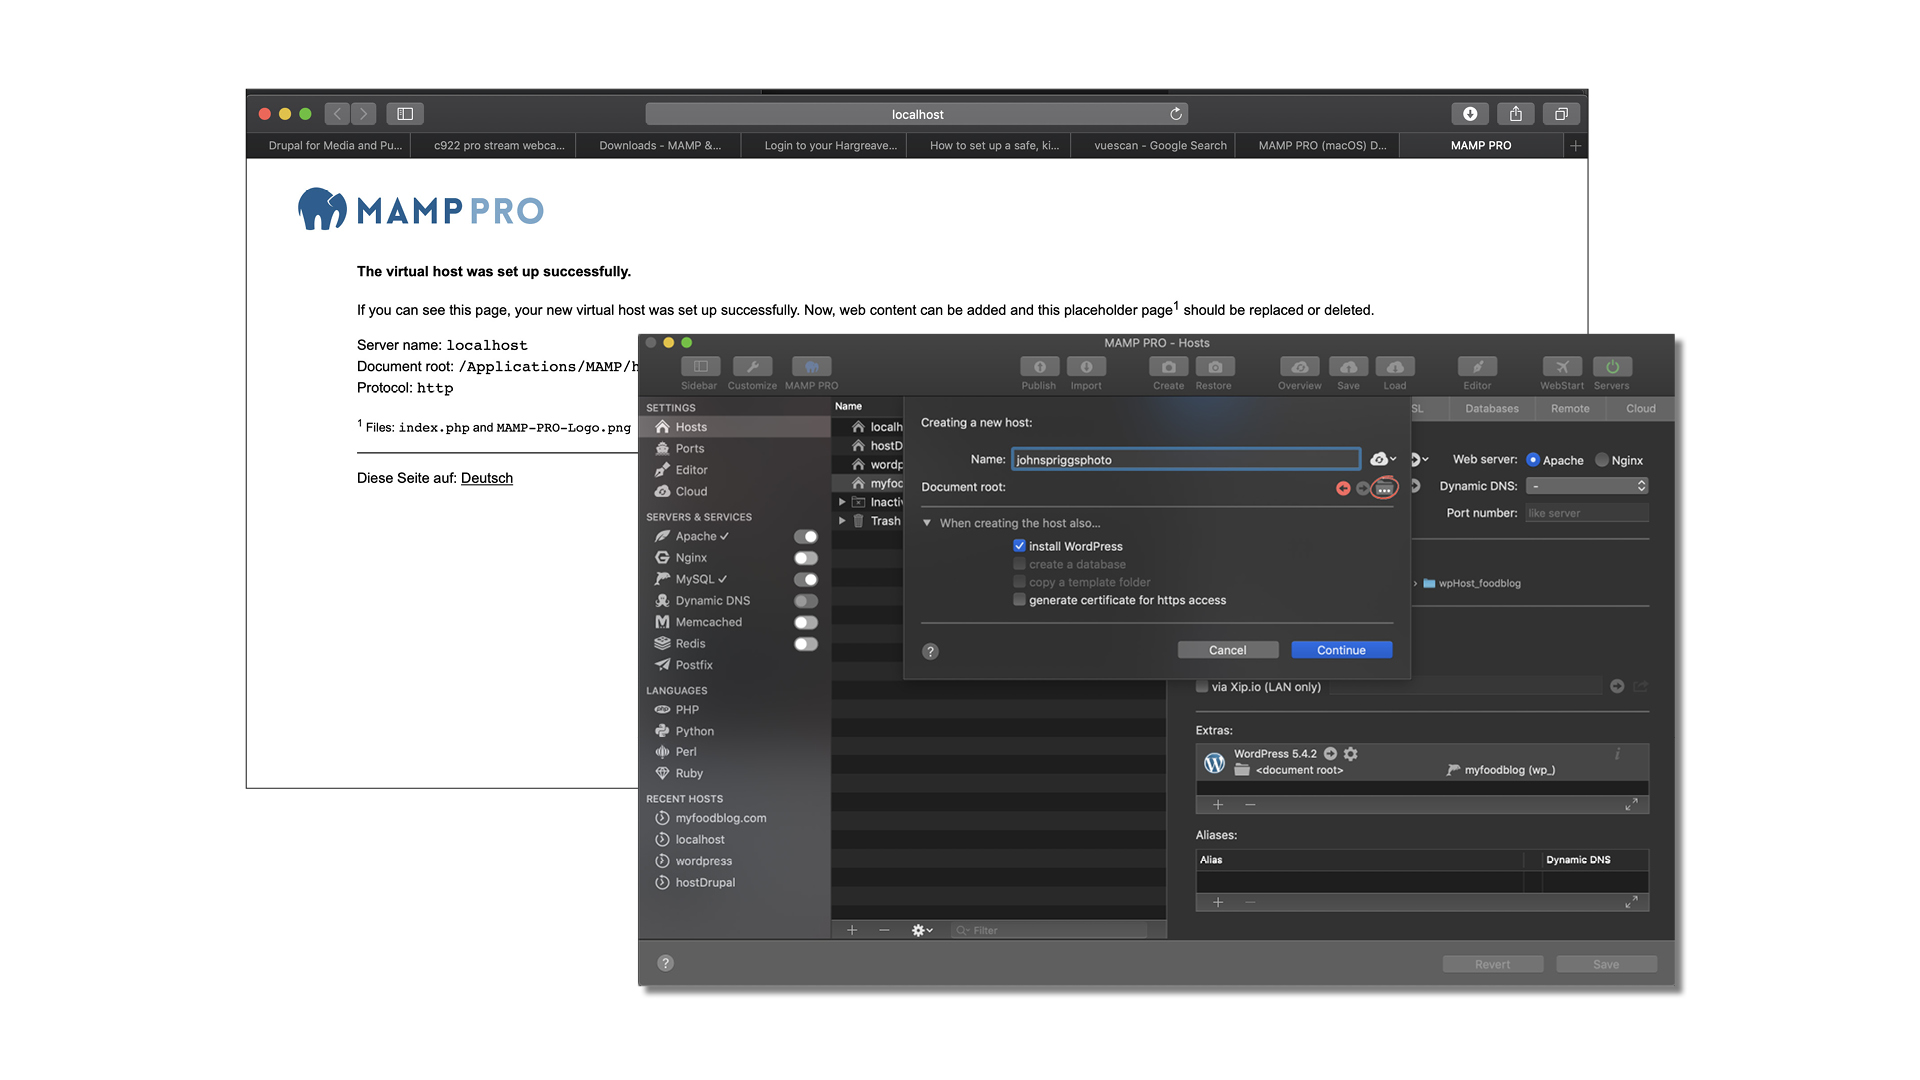
Click the ‘+’ button at the bottom of the host panel to create a new host. Fill in the information you’re prompted to supply, including the name of your local host. We’re using ‘johnspriggsphoto’, for John Spriggs Photography.
05 Download and install WordPress
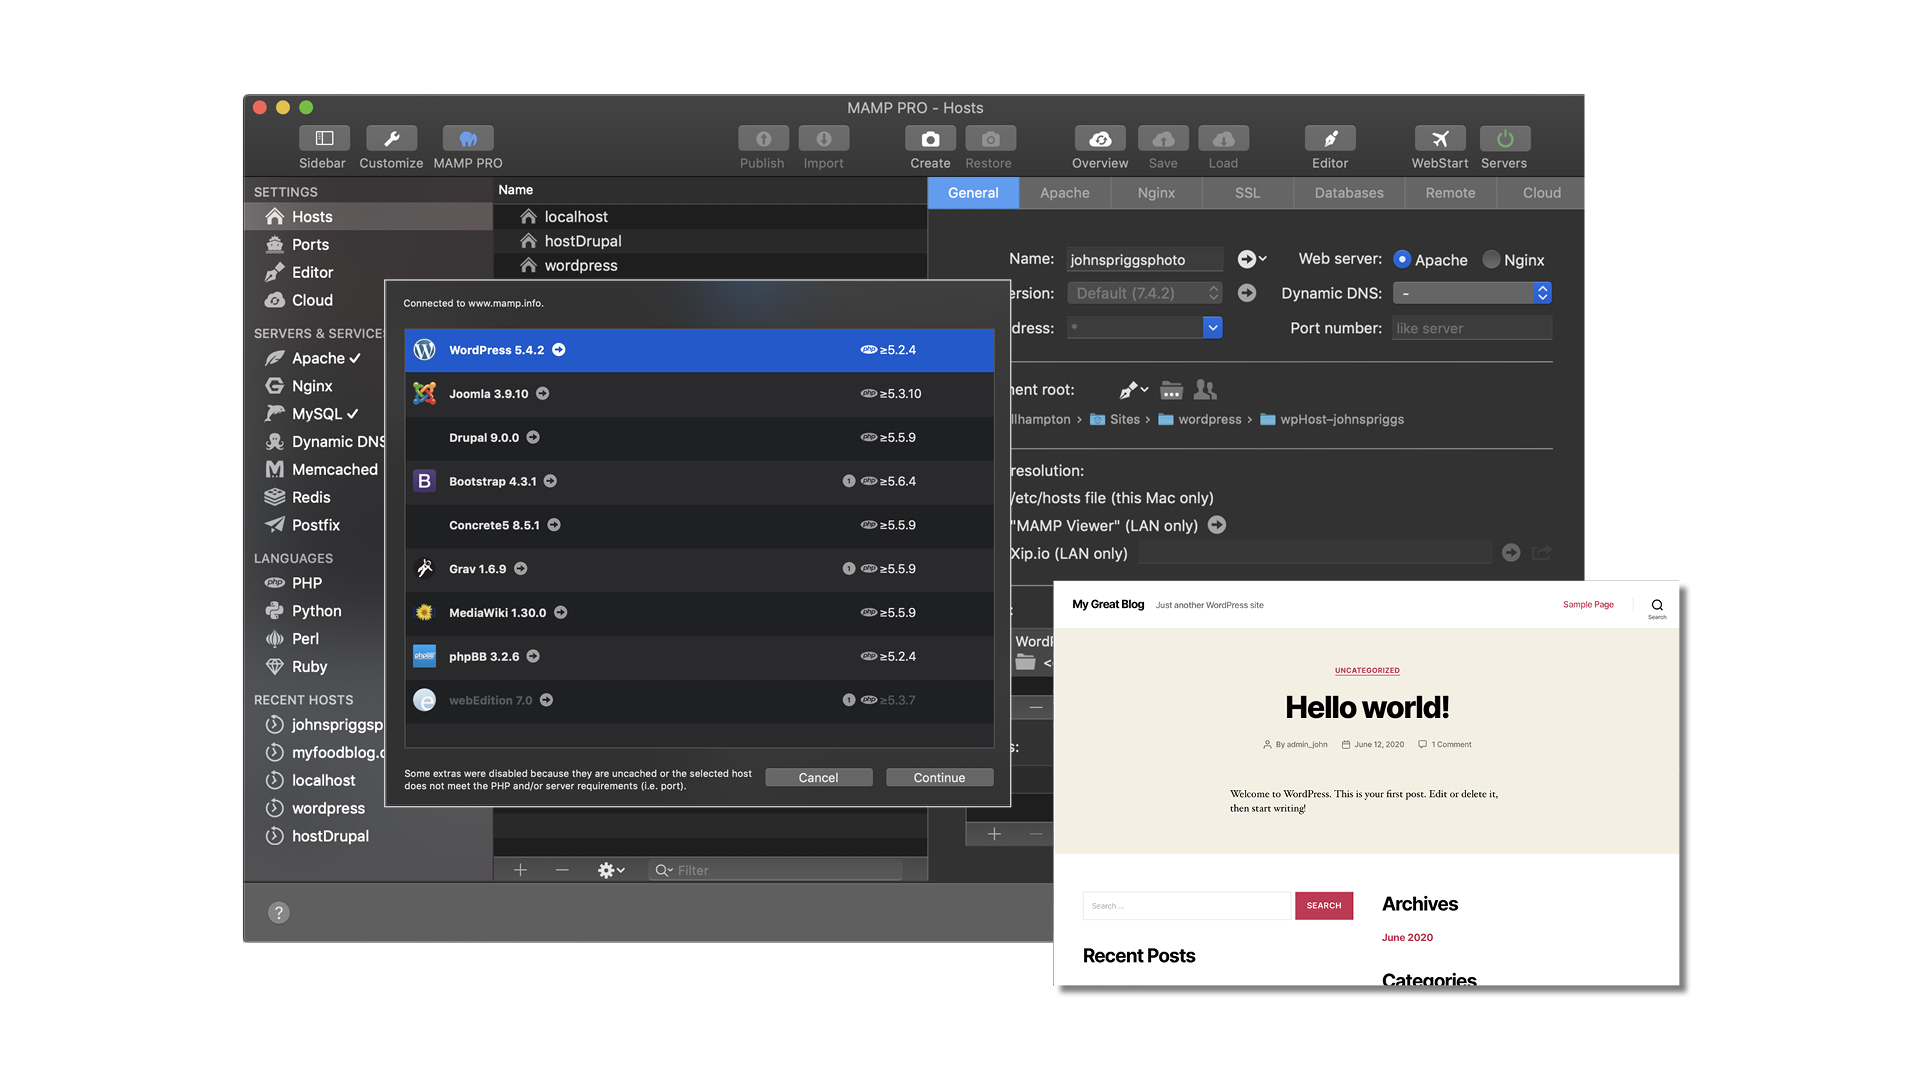
As mentioned, MAMP is an ‘all in the box’ solution and makes things straightforward. To download WordPress, click on the ‘+’ at the bottom of ‘Extras’ and select WordPress.
When prompted, supply an email address and populate the other required fields. Go back to the General tab, click on the arrow and you now have a functioning WordPress local installation on your computer, using the default theme.
06 Now install your chosen WordPress theme
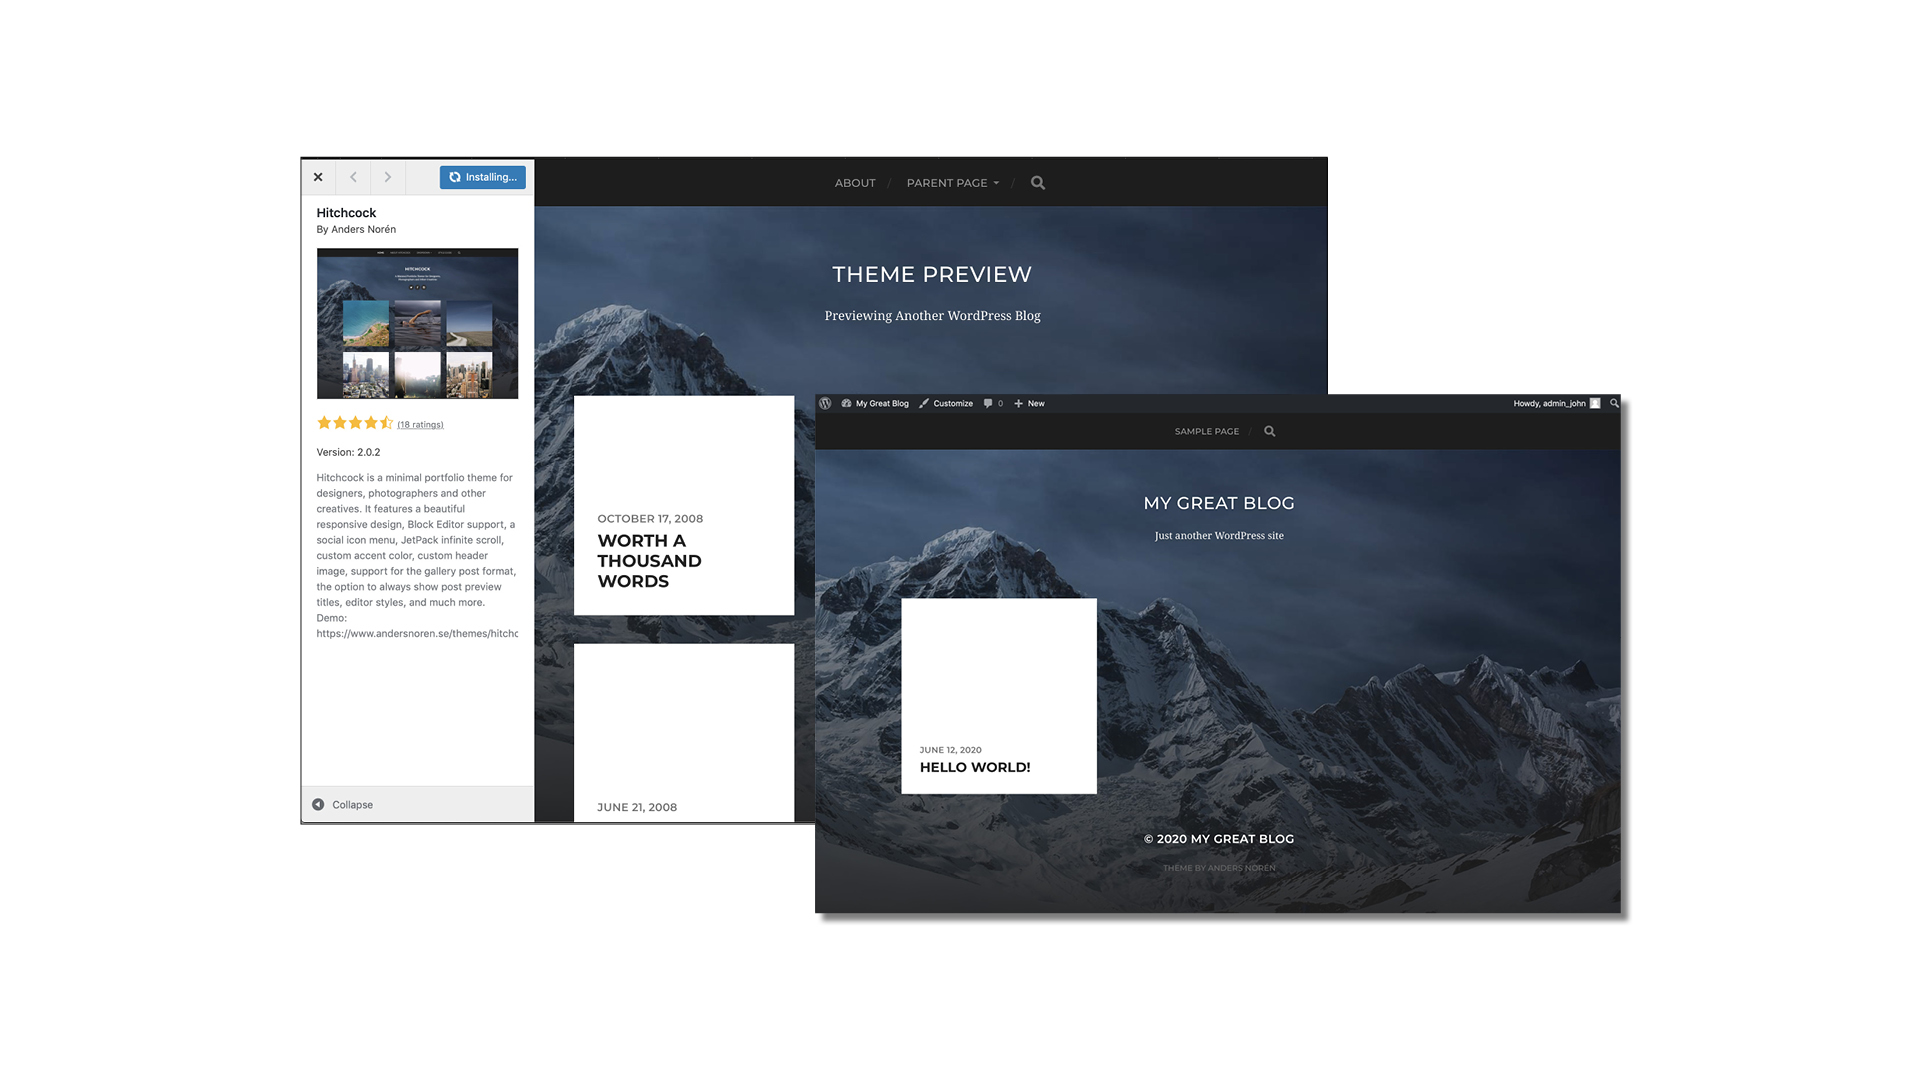
To start personalising your site, go to the Dashboard and sign in using your admin name and password. In step 1, we identified a theme we liked, and can now install it.
Follow the prompts on the Dashboard, then add any of the suggested plug-ins that will be relevant for your site. We’ve chosen ‘Hitchcock’ – a free theme that offers tiled galleries and easy social media integration.
07 Change your site’s default header image
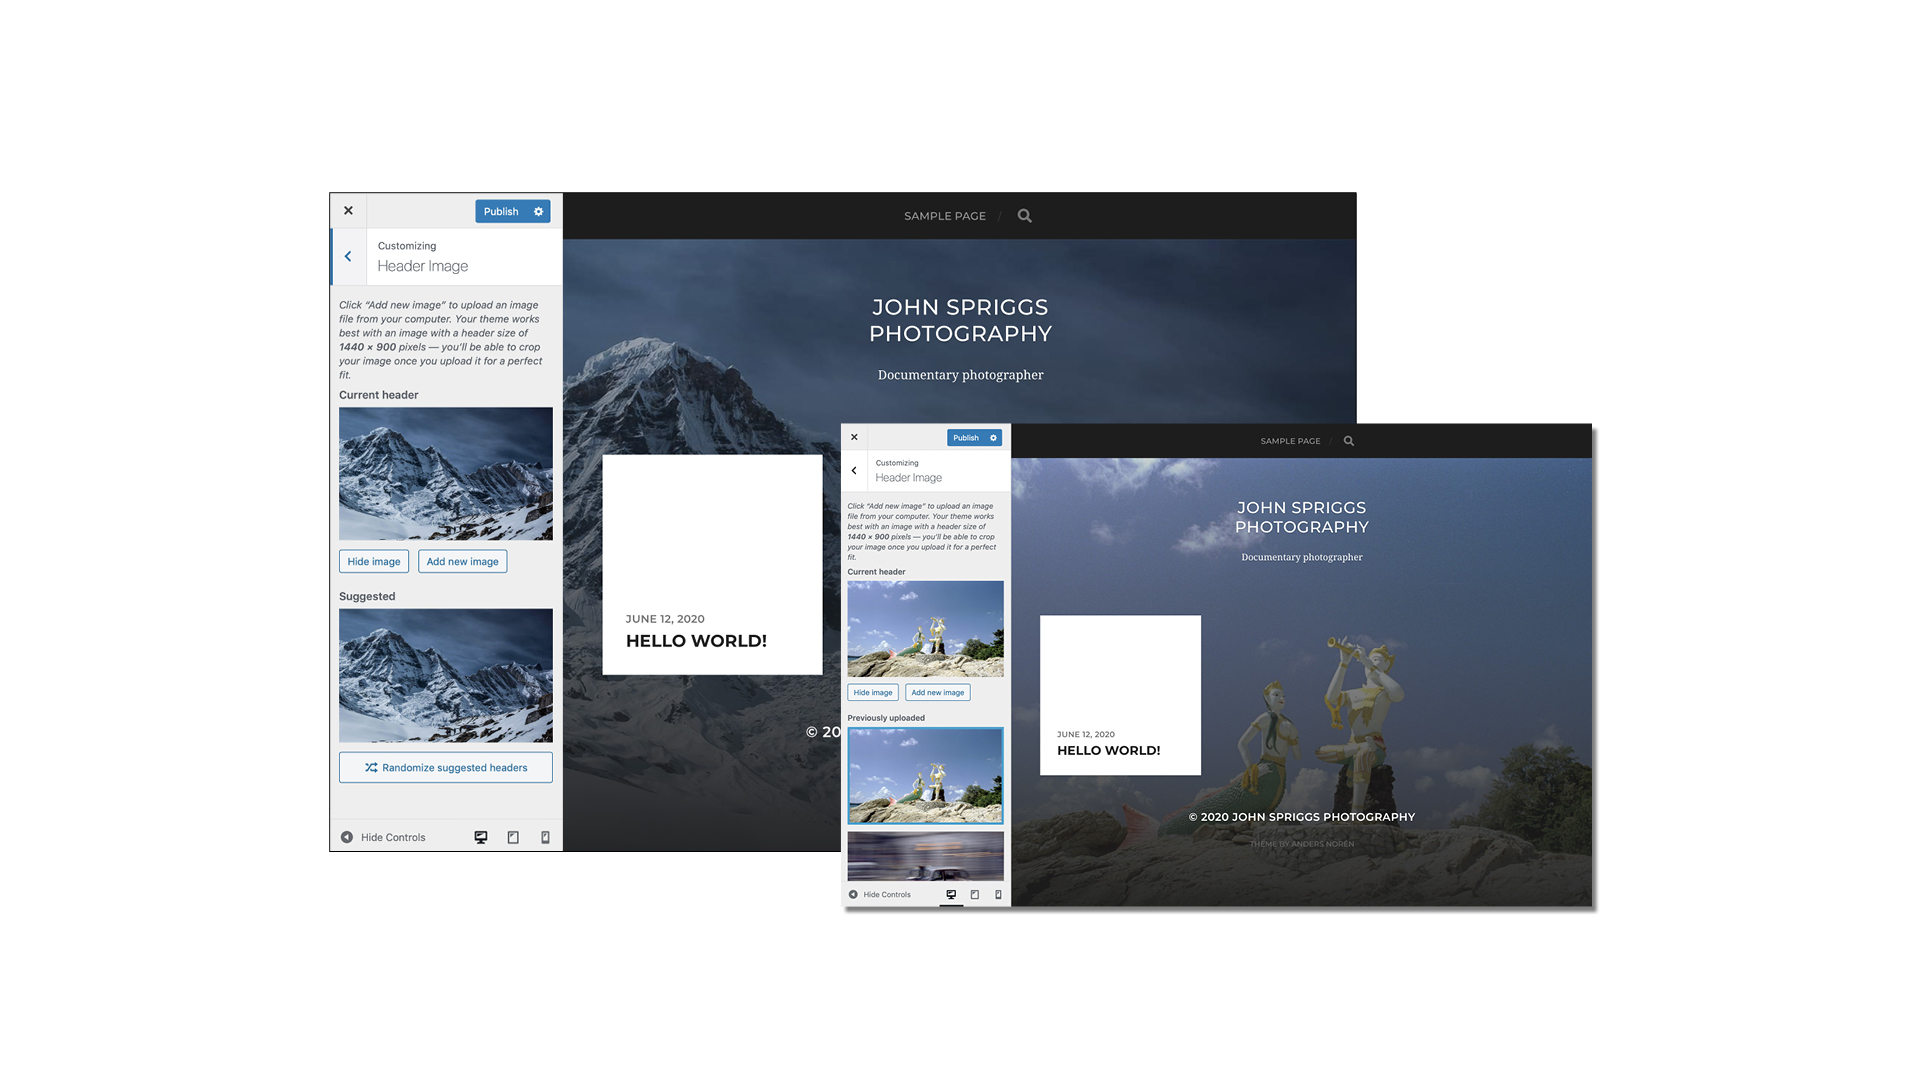
Starting at the beginning, let’s personalise the home page. Click Customize Your Site, navigate to Header Image and click Choose Image, then upload a shot you think best sums up your site.
You’re not tied to having just one image: if you’d rather use a selection of standout shots, you can upload multiple files and switch between them on the
home page by selecting Randomize Uploaded Headers.
08 Start creating your image galleries
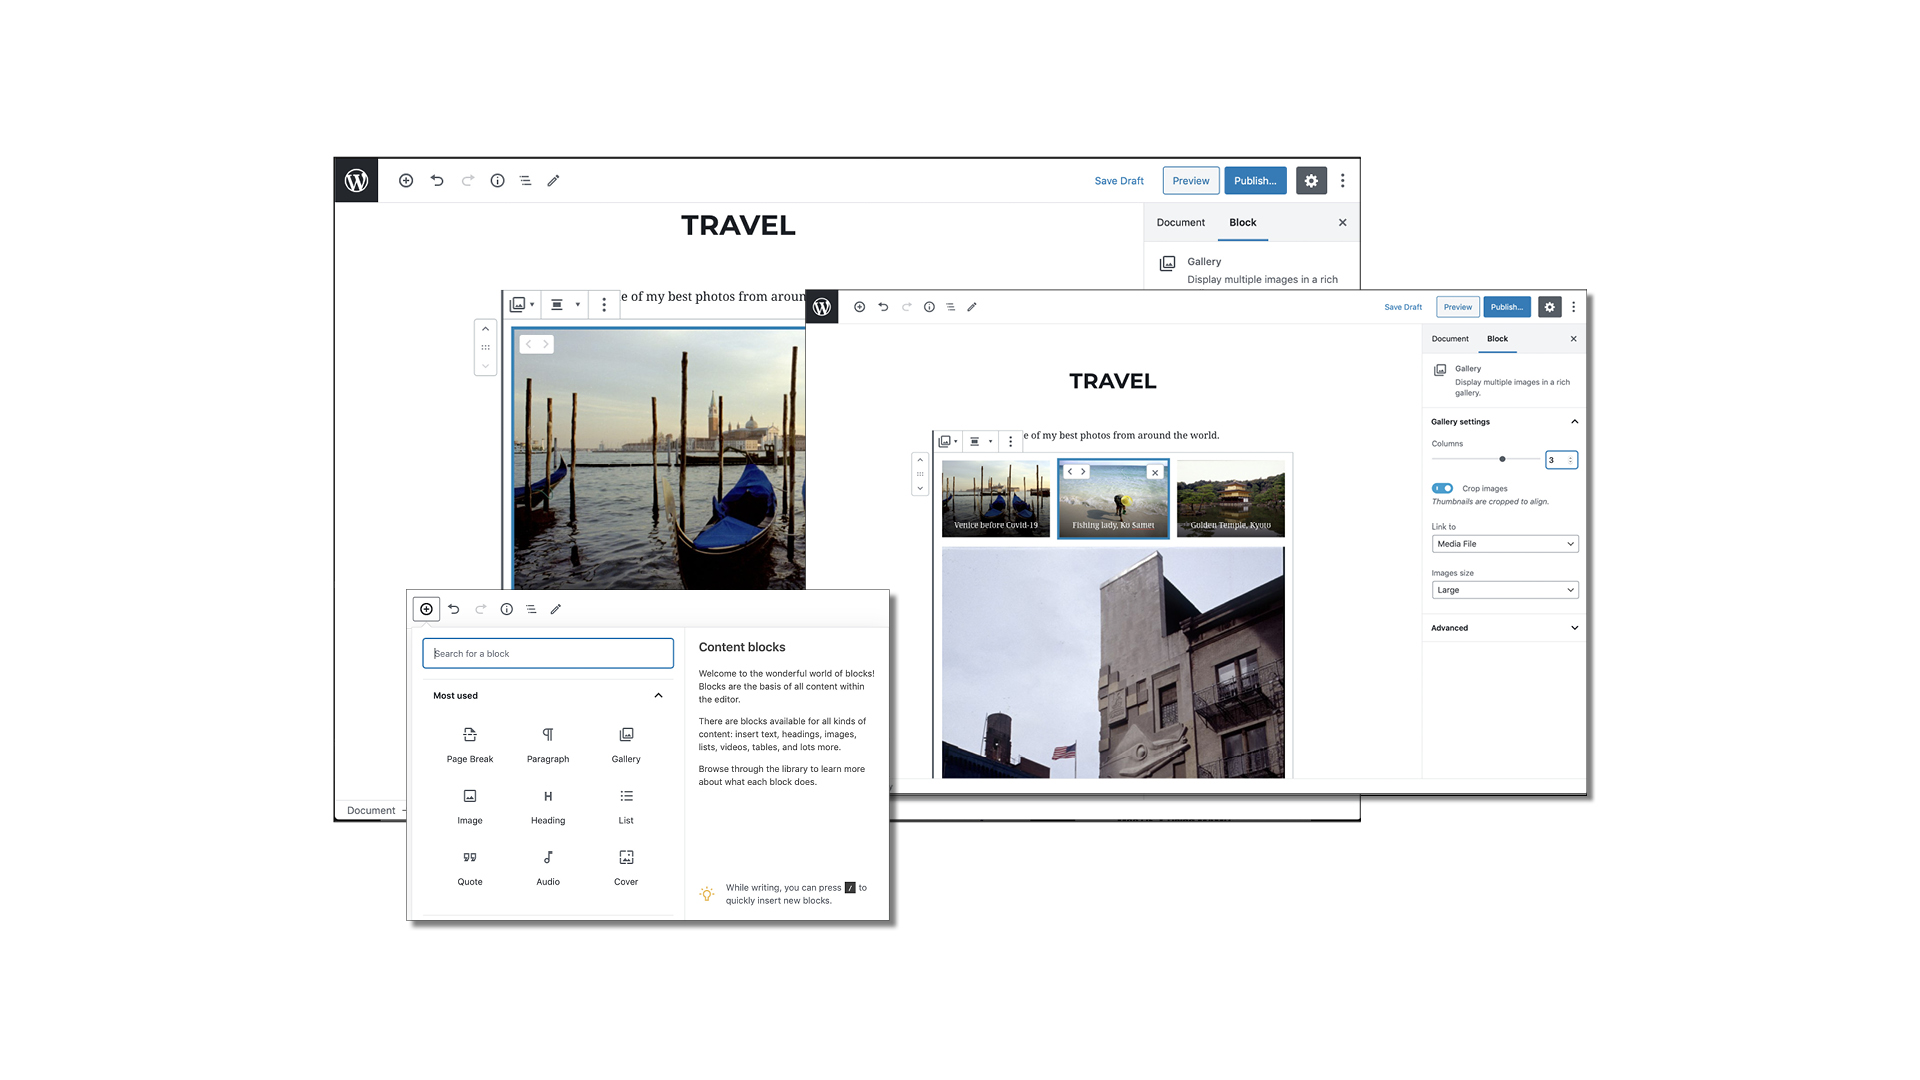
We’re going to arrange our images into three galleries that can be formed from individual posts: ‘Street’, ‘Travel’ and ‘Fashion’. WordPress sites are built up from ‘blocks’, and blocks can act as containers for galleries.
Go to Create Post, title it, select Gallery in the block type, and start adding images. When you’ve done this, navigate to the home page and refresh it, and the images will be displayed.
09 Choose the gallery header images
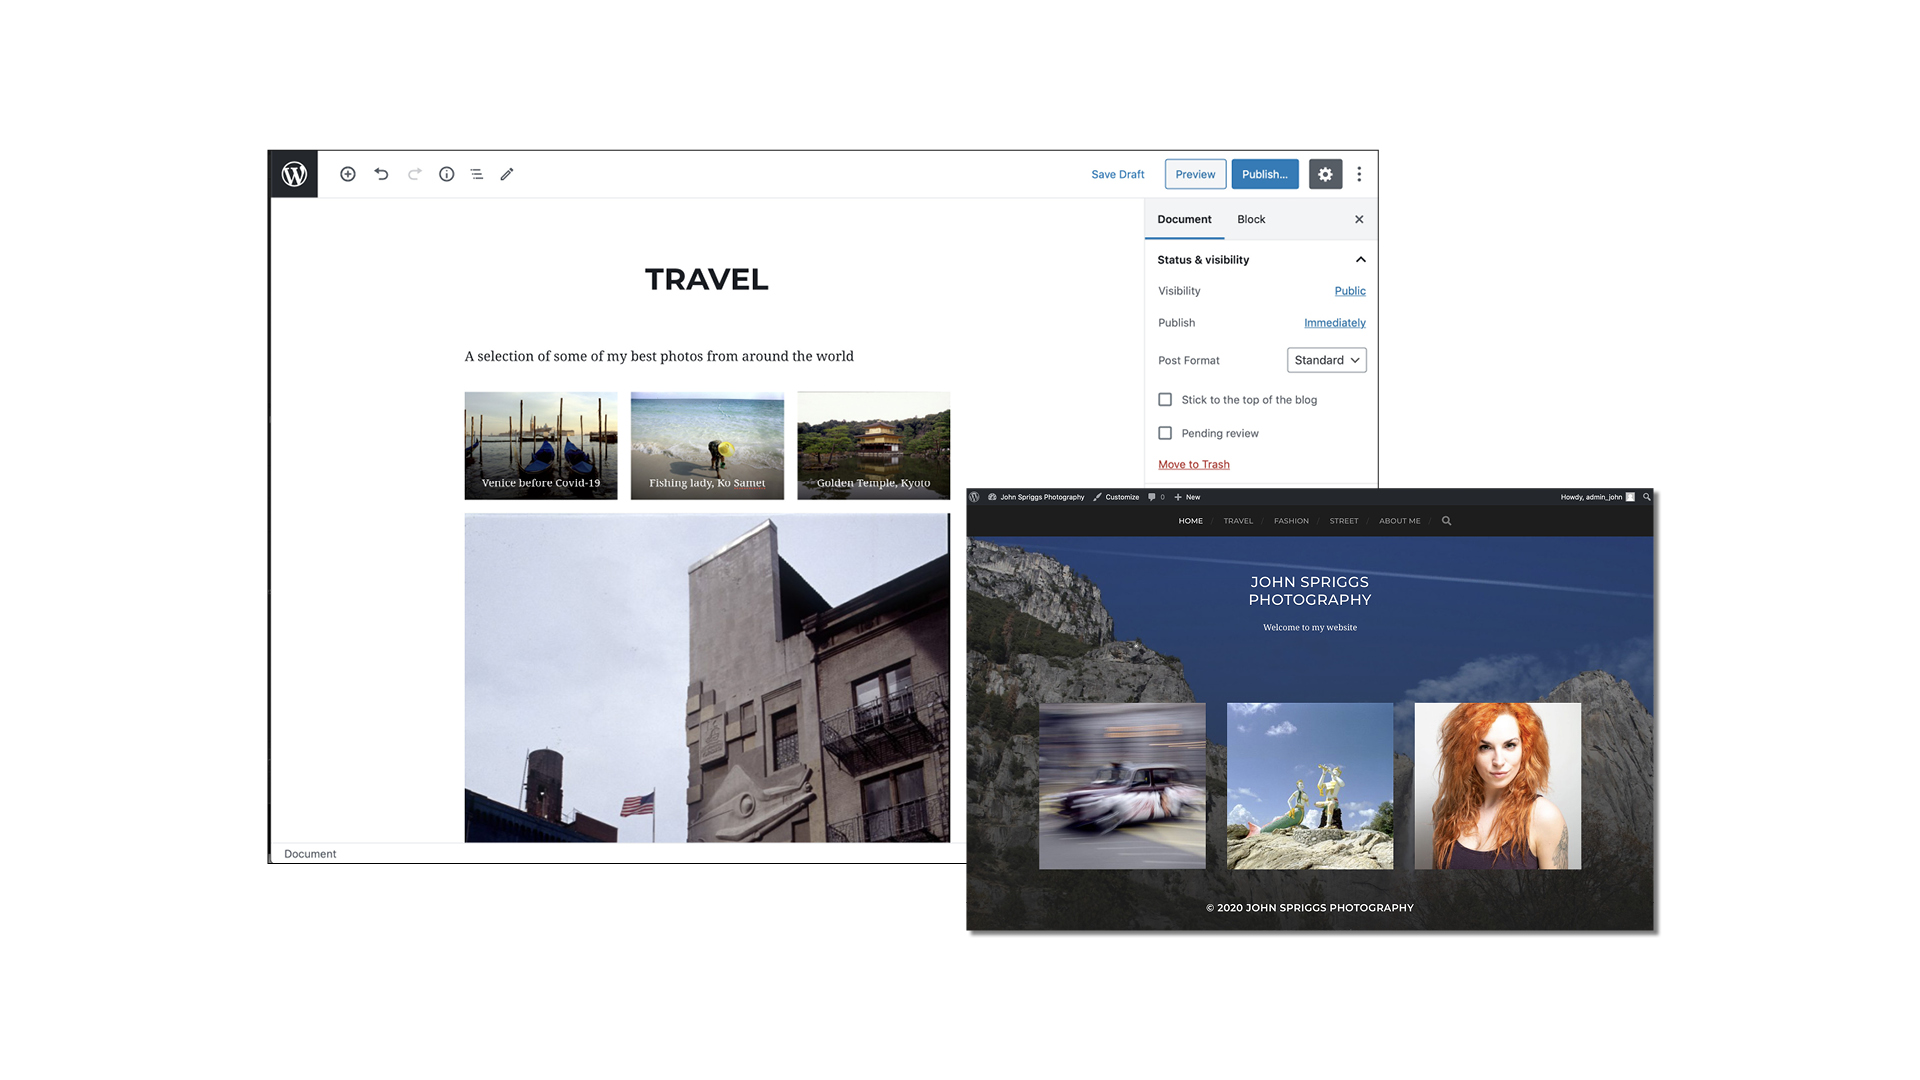
Having created a post and a gallery of images called ‘Travel’, it’s time to choose the image that will be displayed on the gallery’s home page tile.
Navigate to the right-hand sidebar, click Advanced and choose a header image from one of the images you’ve just uploaded.
Now we’re can repeat our recent steps to create the other two galleries. Once done, go to the home page, refresh and see how things are looking.
10 Add menus and social media buttons
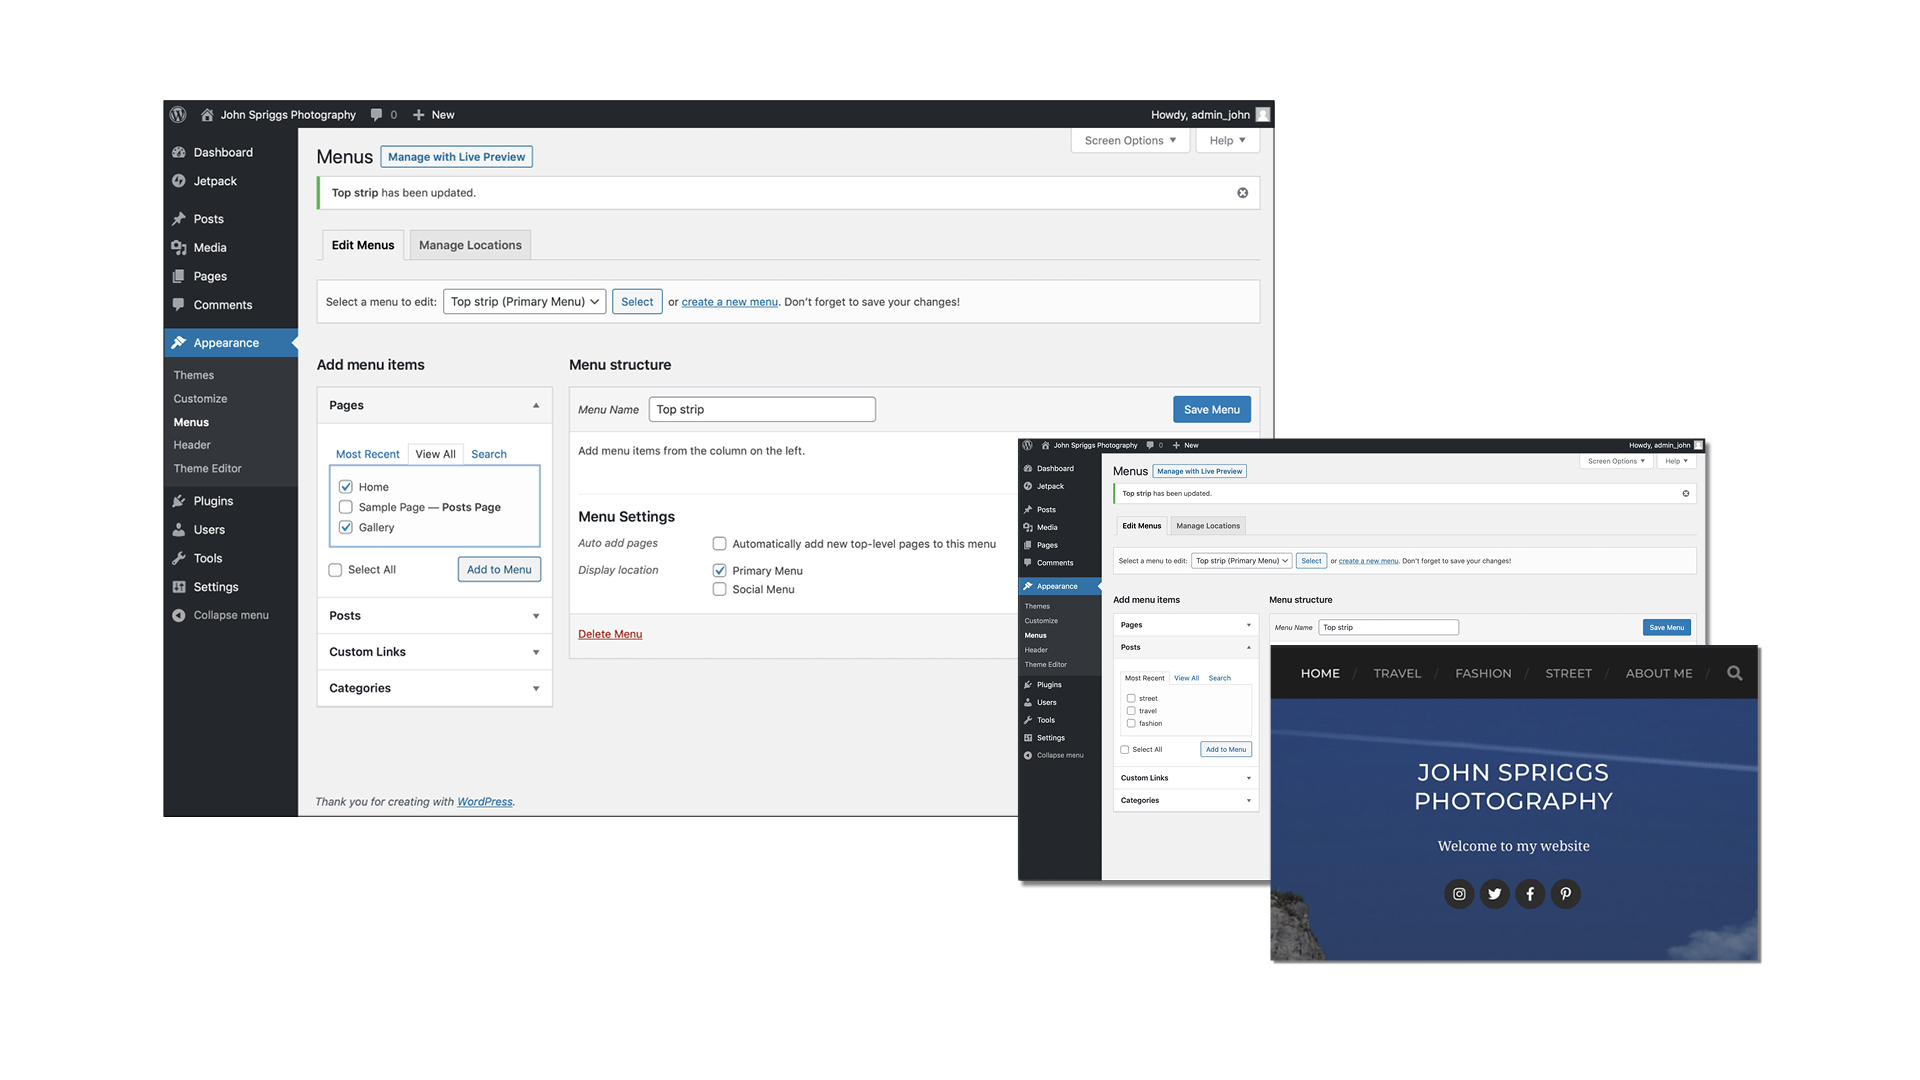
Next, let’s customise the home page menu. Click on Dashboard, go to Appearance/Menus and create a menu called ‘Top Menu’. Under Theme Locations, assign it Primary Menu status and start adding posts, pages, galleries or links to it.
Next, configure the home page’s social media buttons by adding a new menu, giving it Social Menu status and adding the relevant URLs. Our basic build is done – enjoy!
Digital Camera World is the world’s favorite photography magazine. Every issue is packed with the latest news, reviews, tutorials, expert buying advice, tips and inspiring images. Plus, every issue comes with a selection of bonus gifts of interest to photographers of all abilities.
Read more:
Best website hosting sites for photographers: get your portfolio online
Best cloud storage for photos: platforms and apps
Best online photography courses – from beginner guides to masterclasses
Best website builders for photographers
Best password managers
Best student laptop
Best photo editing software

Niall is the editor of Digital Camera Magazine, and has been shooting on interchangeable lens cameras for over 20 years, and on various point-and-shoot models for years before that.
Working alongside professional photographers for many years as a jobbing journalist gave Niall the curiosity to also start working on the other side of the lens. These days his favored shooting subjects include wildlife, travel and street photography, and he also enjoys dabbling with studio still life.
On the site you will see him writing photographer profiles, asking questions for Q&As and interviews, reporting on the latest and most noteworthy photography competitions, and sharing his knowledge on website building.
