How to calibrate a monitor: make sure your photographs look at their best online
Ensure your images look their very best in online galleries by taking full control of color
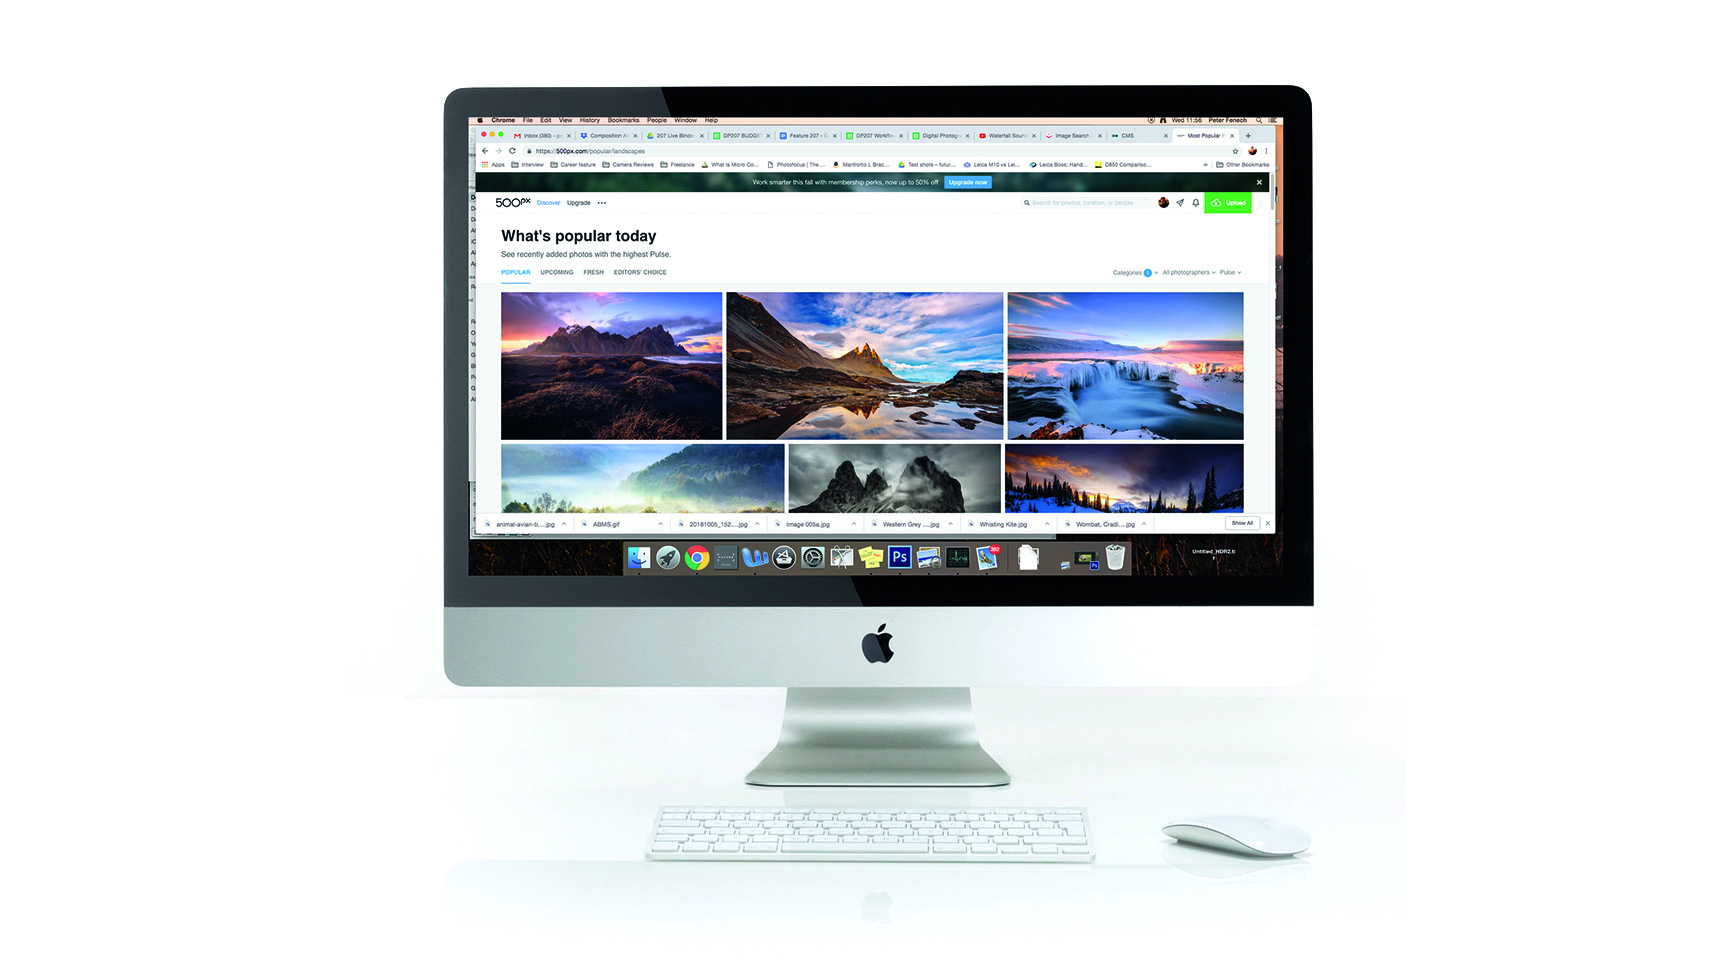
Reproducing colors equally in all of your images online can be a challenge, as there are many factors which can alter their appearance. The overriding issue is that of computer screens; it is impossible to predict how each of your viewers will see your images, as every monitor has a different color bias.
• Best monitors for photo editing
Resolution, color, size, accuracy
• Best USB-C monitors
Simple plug-and-go usability
• Best ultra-wide monitors
Great for gaming and general use
• Best monitor calibrators
Hardware for screen calibration
Secondly, the internet does not display a full range of colors, so most native color spaces won’t display properly on photo-sharing platforms. Furthermore, every platform can vary in how it translates the digital information in your image files to an on-screen image.
With all of these obstacles it can be a frustrating experience when trying to make your online portfolio look its best, especially when you have spent time carefully shooting and editing your work. Here are some simple steps to put into action, to immediately minimize online photo-sharing stress and give your photos the display quality they deserve.
1. How to calibrate your monitor
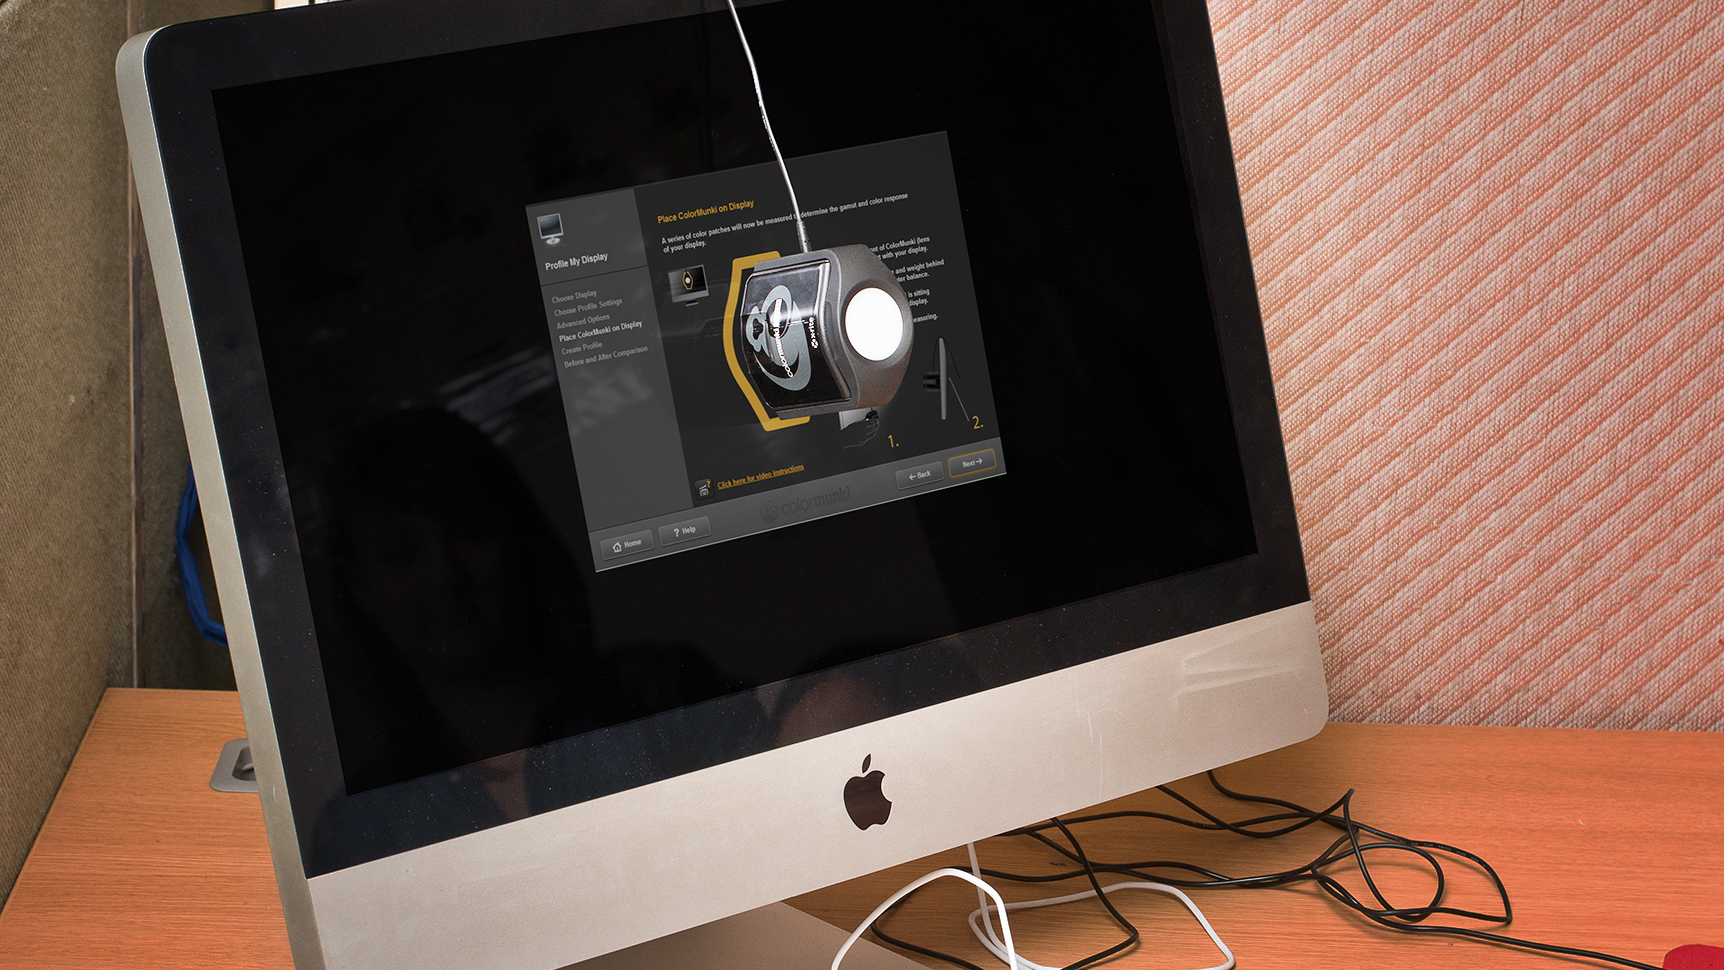
Consistent color starts with a calibrated monitor. Buy a color calibration device from $50/£50 and use this to easily standardize your screen’s color reproduction, removing any subtle color shifts that may be unsightly on a viewer’s monitor.
• The best monitor calibrators
2. Use an sRGB color space
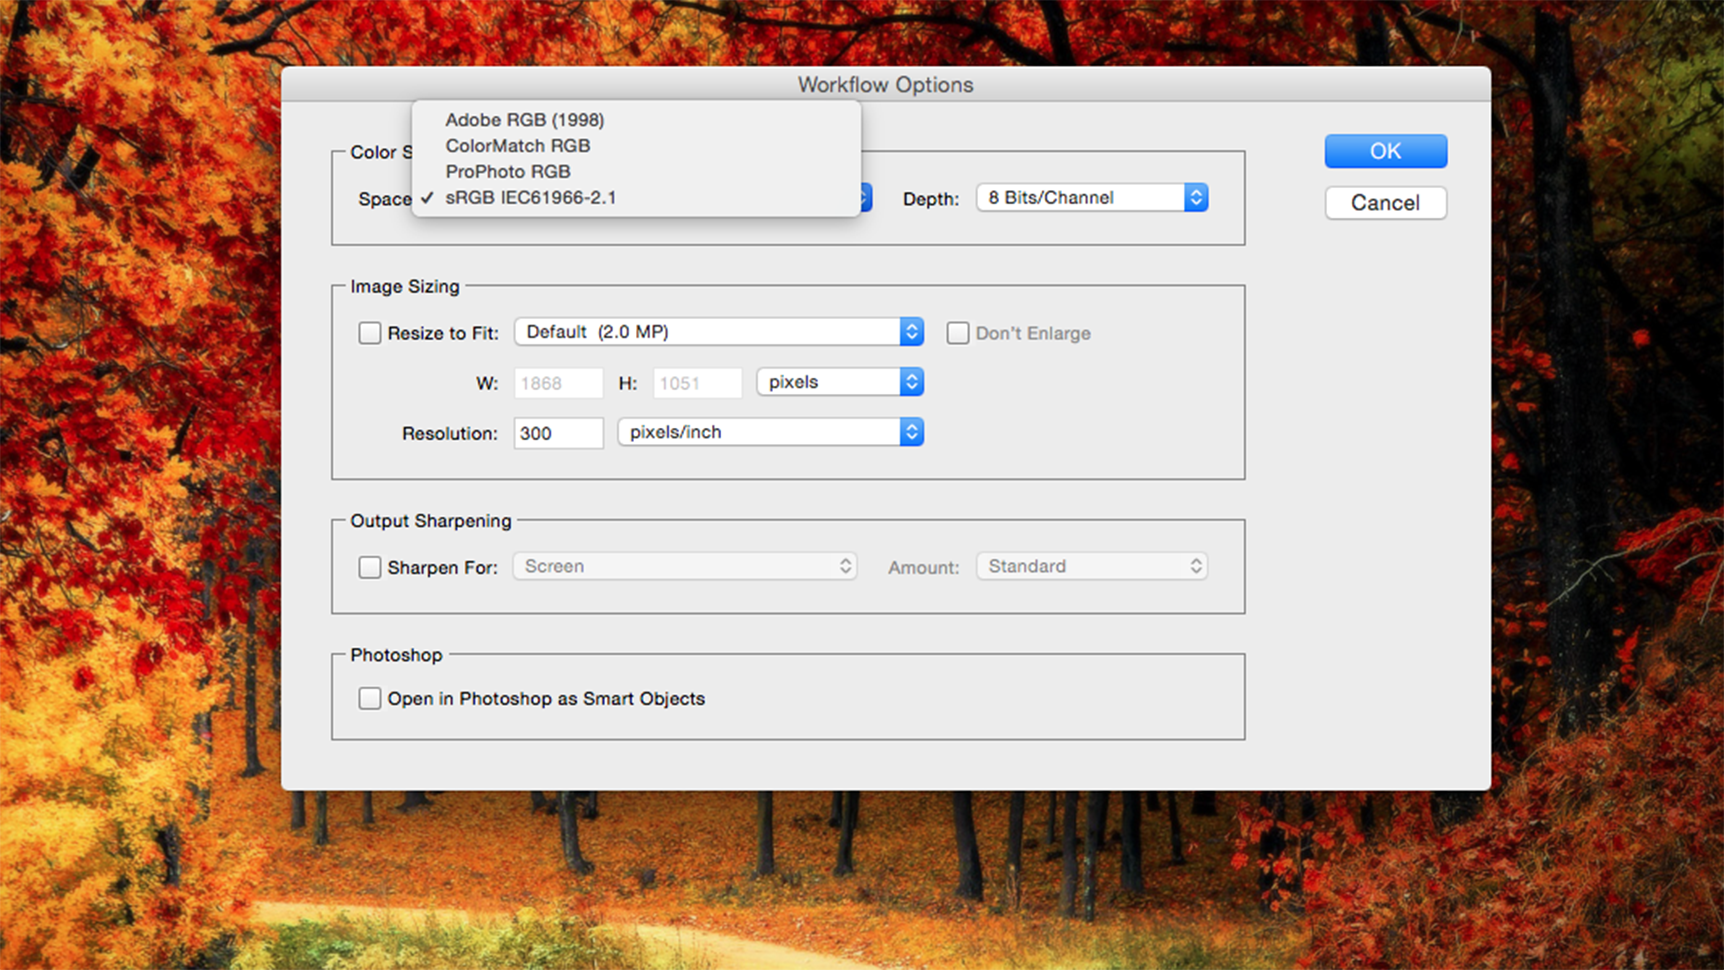
Convert all images bound for the web to sRGB. In Photoshop go Edit > Convert to Profile and choose sRGB IEC61966-2.1. This smaller color space will display more accurately in web browsers, making it easier to approximate online color whilst editing.
3. Use a camera color profile
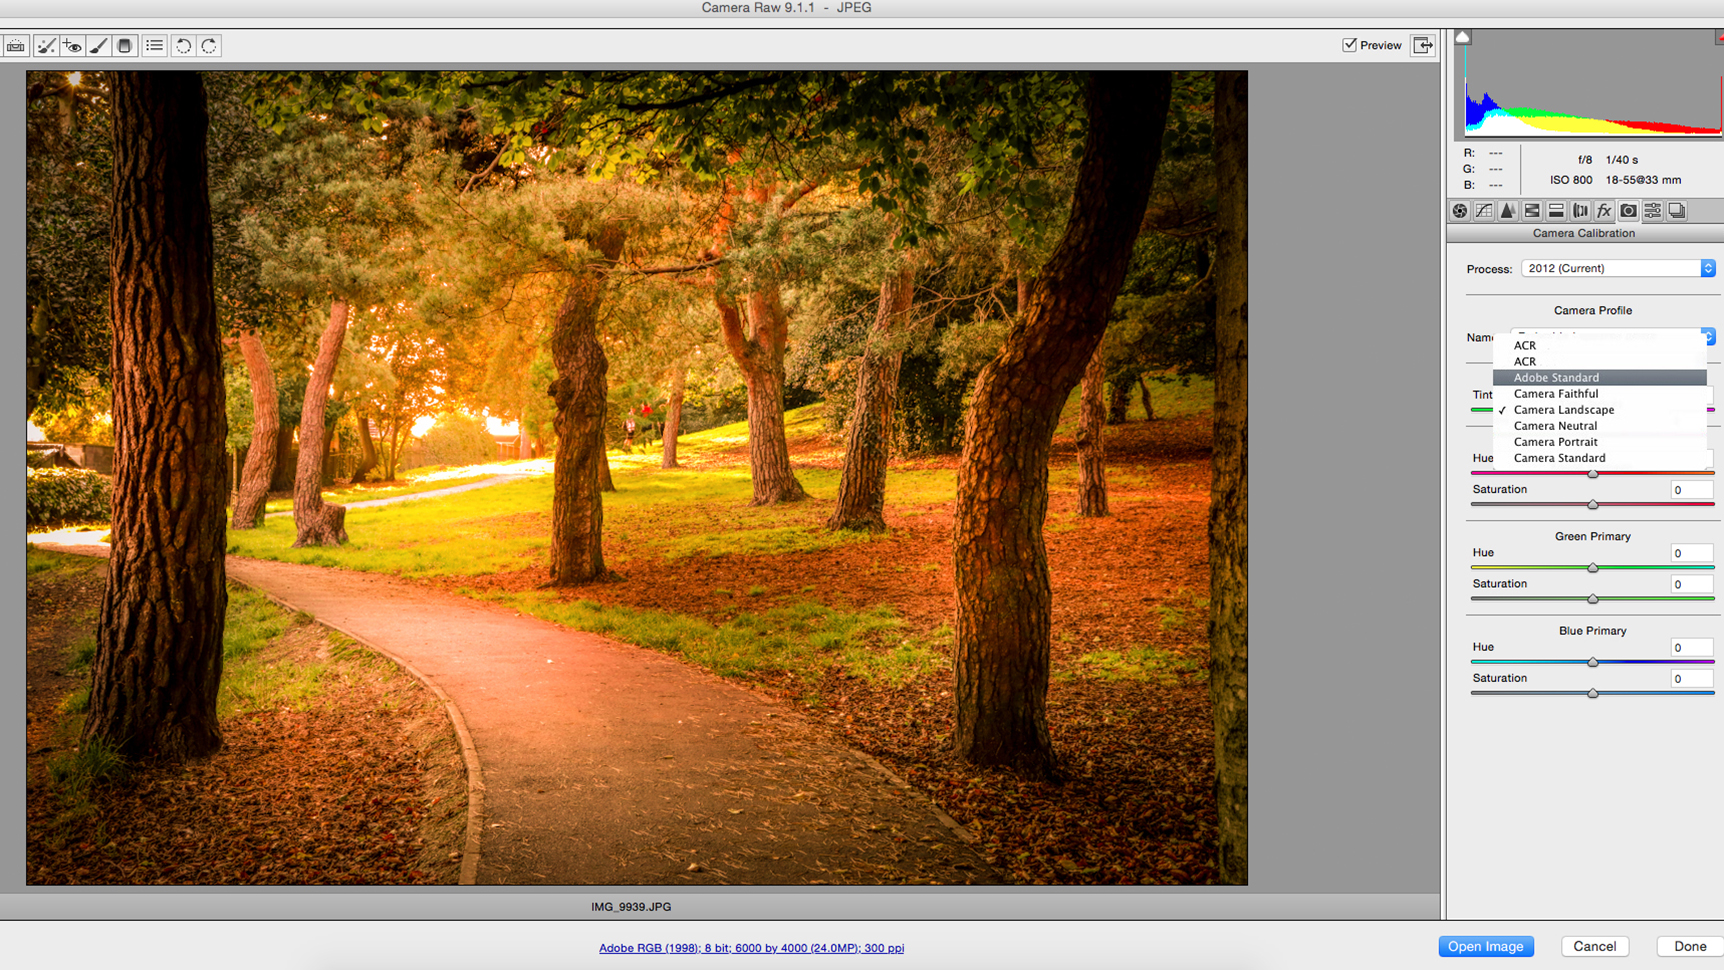
The image you see on the back of your camera is actually a jpg preview of your RAW image. If shooting RAW, apply a camera color preset in Camera Raw or Lightroom, to help maintain color from shoot to showcase.
4. Edit in a neutral setting

An often overlooked mistake in the color correction workflow is to make adjustments in a room with lighting that lacks color balance. Editing in a room with lots of warm lighting can cause your eyes to over-correct the color in your image, leading you to introduce an opposite color cast. Similarly a room that is too dark or too light will cause mis-processing of exposure and color. A room with no direct sunlight and neutral grey walls is ideal.
5. Test images on each platform

An advisable step before posting images online is to test-view each photo-sharing site for color reproduction. Facebook, Flickr, Instagram and 500px can all introduce slightly different color shifts, that are not easy to predict and which can vary depending on image content. Highly colorful photos suffer the most, as color shifts are likely to be more noticeable. Simply change the privacy settings of these images so only you can see them and use them as a reference for future posts.
6. Test images on matte and glossy screens
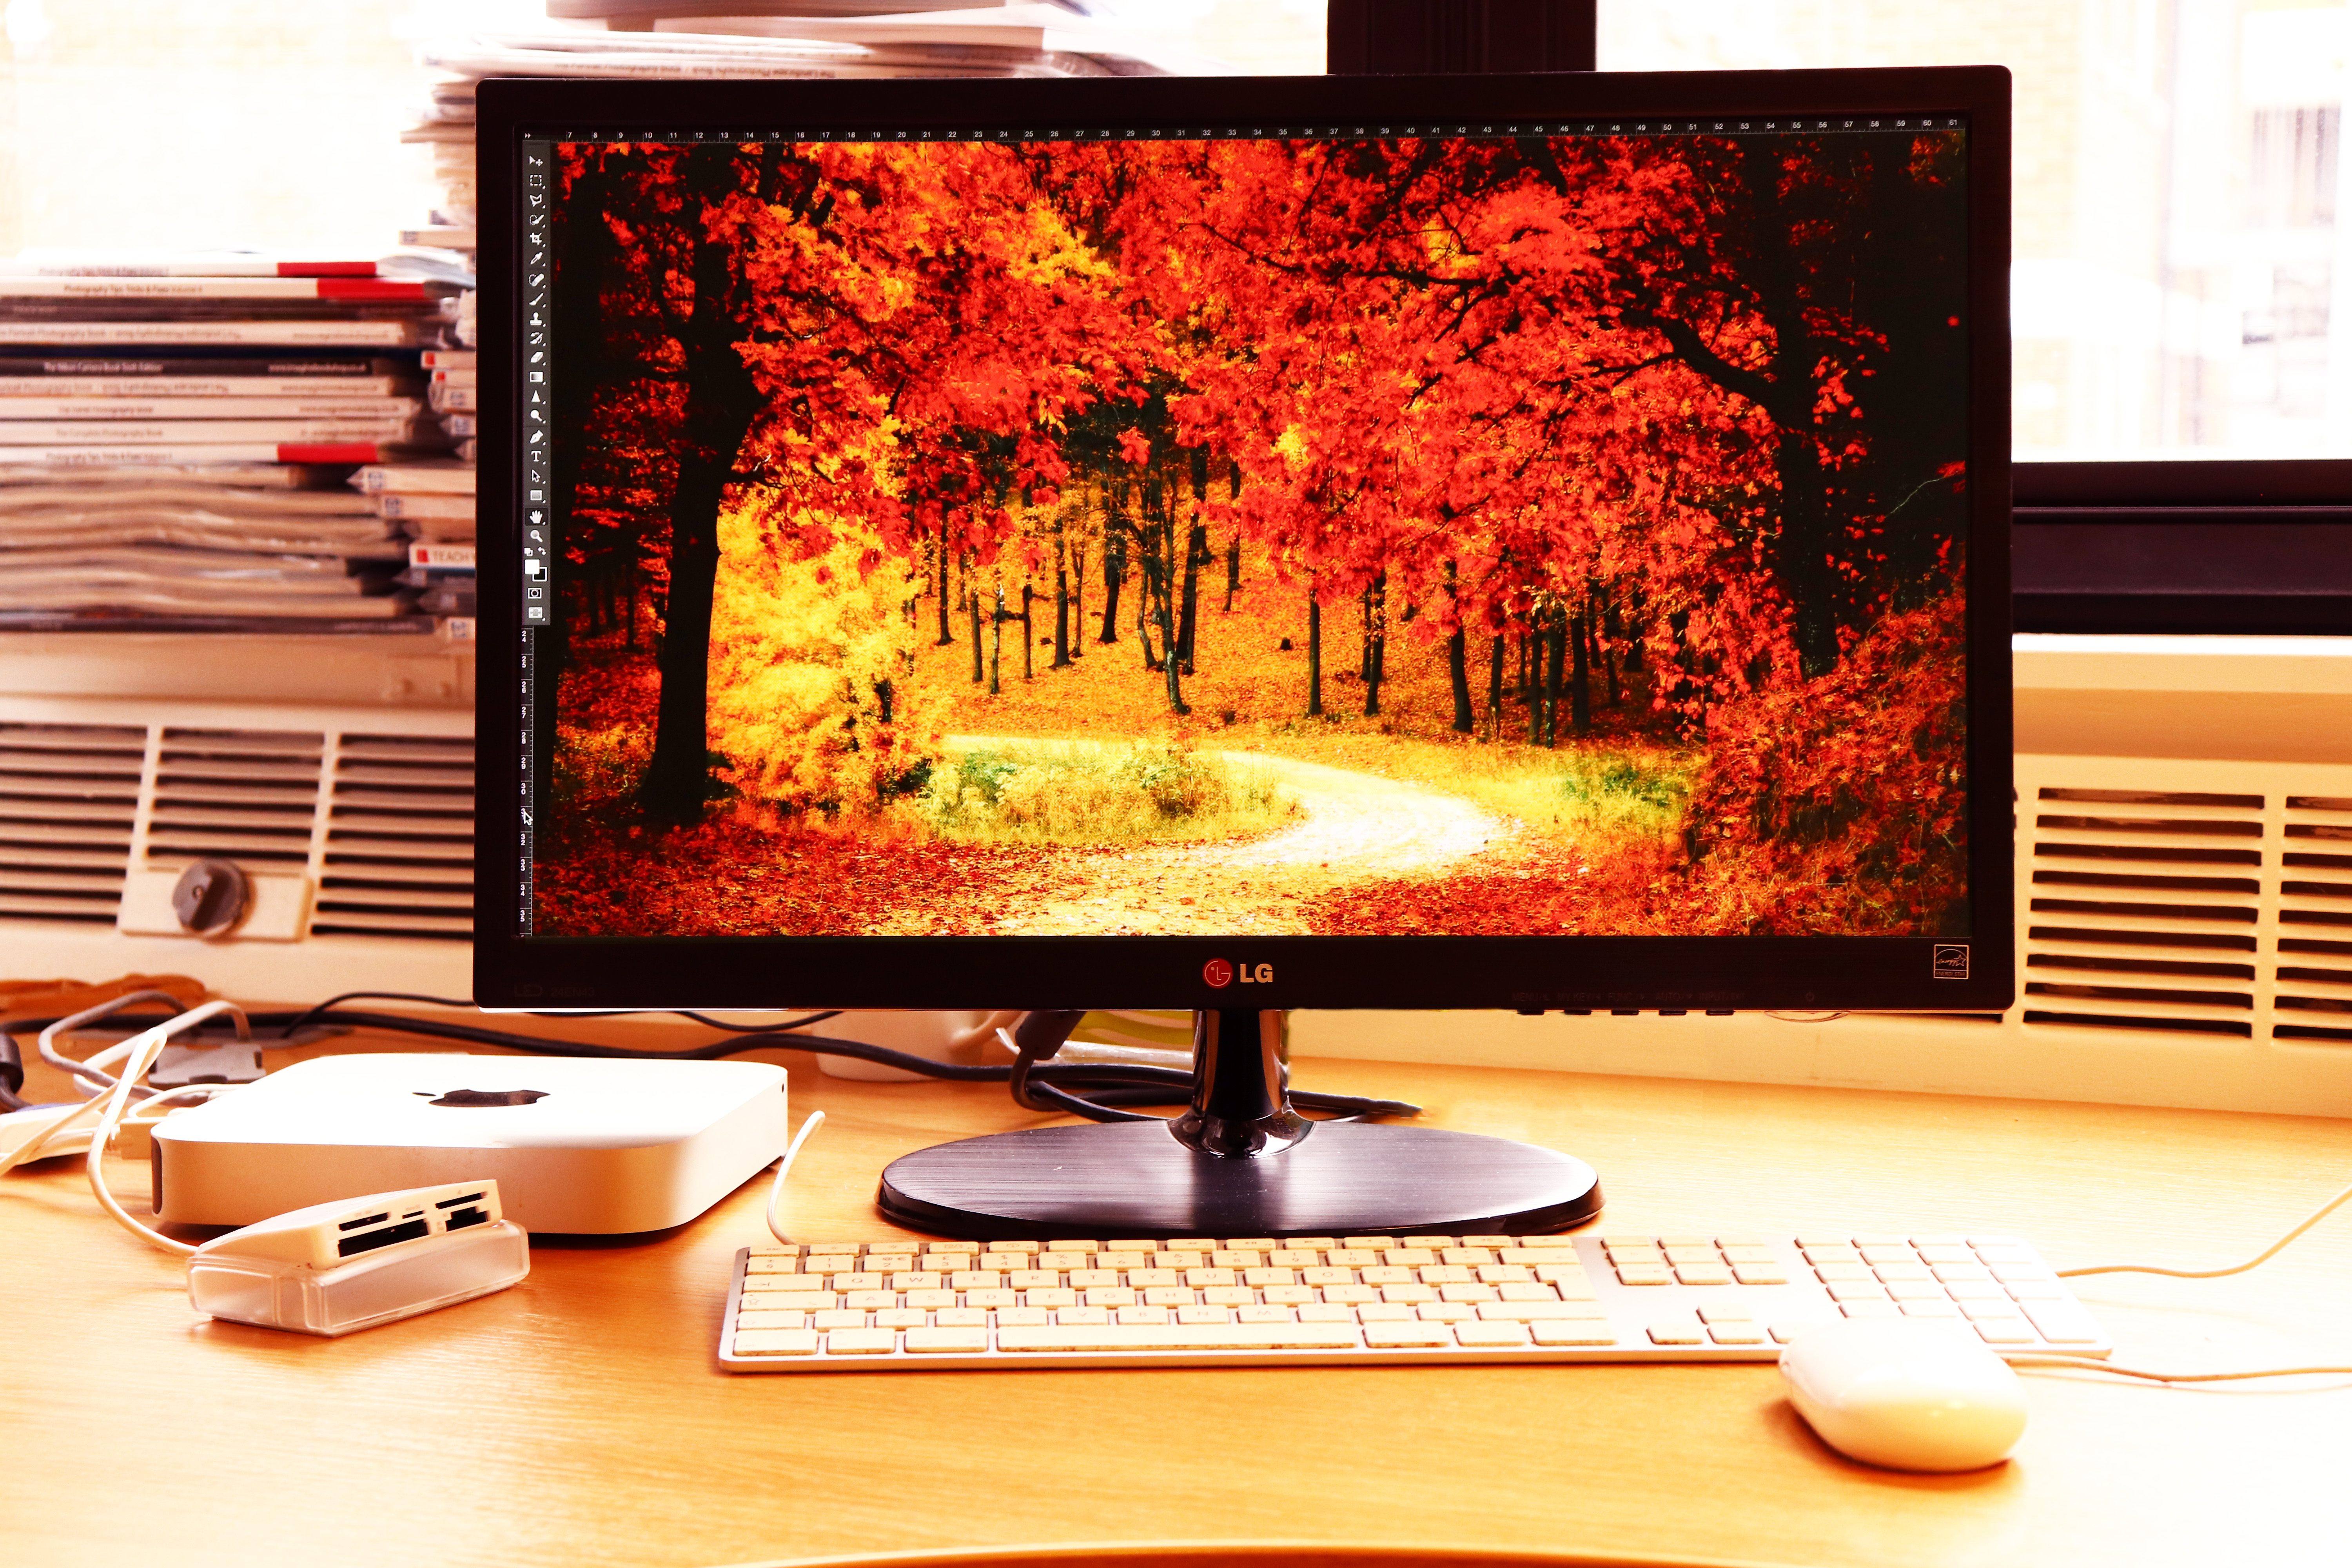
Textured and glossy surfaces reflect light differently and therefore the glossiness of screens influences how our eyes perceive the color they display. Test-viewing images on both types of computer monitor can at least remove one variable from the challenge of non-standard monitor calibration.
7. Overcompensate with color in Photoshop
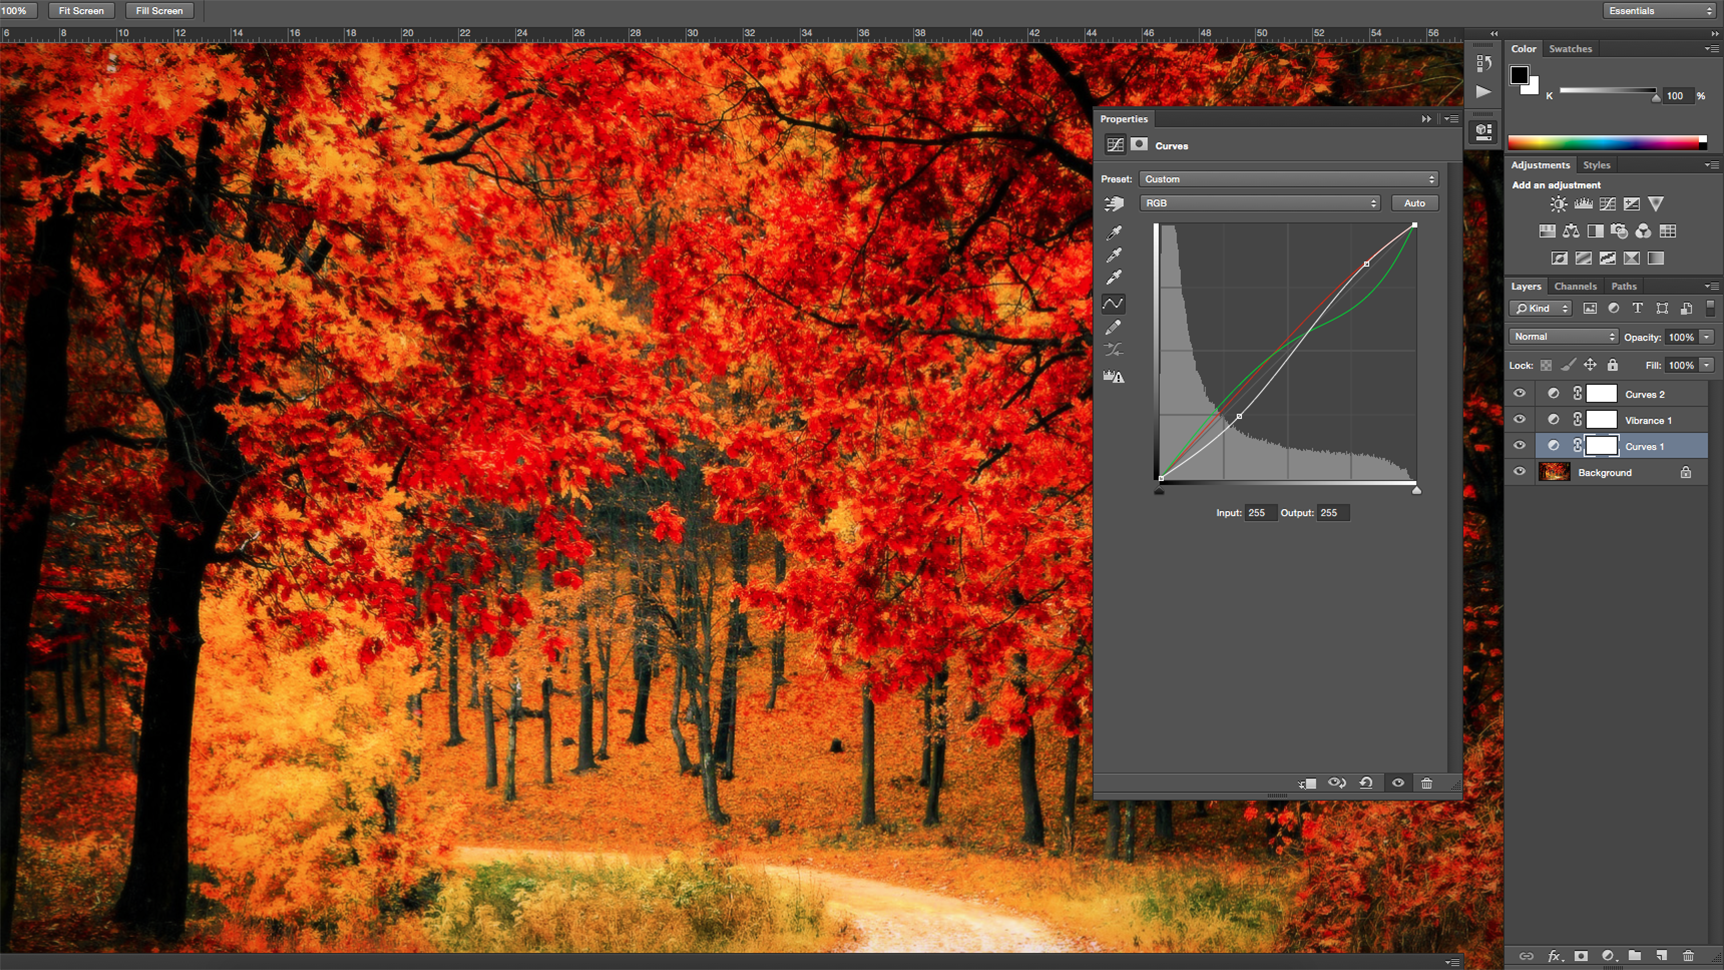
A skill to be mastered when running online image portfolios is the treatment of color in post-processing. Once you have followed the previous steps and are able to better predict what kind of color shifts you are likely to see when sharing photos on each social site, you must learn to compensate for these when editing. An often necessary technique is the over-editing of color and tone, to offset the lack of color and misrepresentation of hues online.
Conclusion
Photographers new to online sharing must adapt to a web-based editing mindset. Processing for online viewing greatly differs from editing for print. Remember your photos will always be seen back-lit on-screen and assess your color accordingly.
Read more
The best monitor calibrators in 2020
The best photo-editing laptops
The best monitors for photo editing
Get the Digital Camera World Newsletter
The best camera deals, reviews, product advice, and unmissable photography news, direct to your inbox!
Digital Photographer is the ultimate monthly photography magazine for enthusiasts and pros in today’s digital marketplace.
Every issue readers are treated to interviews with leading expert photographers, cutting-edge imagery, practical shooting advice and the very latest high-end digital news and equipment reviews. The team includes seasoned journalists and passionate photographers such as the Editor Peter Fenech, who are well positioned to bring you authoritative reviews and tutorials on cameras, lenses, lighting, gimbals and more.
Whether you’re a part-time amateur or a full-time pro, Digital Photographer aims to challenge, motivate and inspire you to take your best shot and get the most out of your kit, whether you’re a hobbyist or a seasoned shooter.

