How to capture a double exposure
Here's how to capture an ethereal double exposure of a beautiful blossom in-camera
Watch video: How to capture a double exposure
A multiple exposure is two or more photos overlaid on top of one another to form a single image. This technique dates back to the Victorian period and could be achieved easily using a film camera by repeatedly exposing the same piece of film (leading to plenty of accidental multiple exposures if you forgot to wind the film on…).
Macro shopping list
• The best cameras to buy
• Best camera for beginners
• Best macro lenses
• Best ringflash for macro
Today you can make a multiple exposure in post-production, but many of the best cameras still allow you to replicate this age-old form of image manipulation in-camera with dedicated multiple exposure modes. Part of the charm of working this way is that you never quite know what you’re going to get until the camera processes the final image. From moving the camera in tiny increments to spinning it around the same focal point, there’s a huge number of techniques to capture creative multiple exposures and experimentation is key.
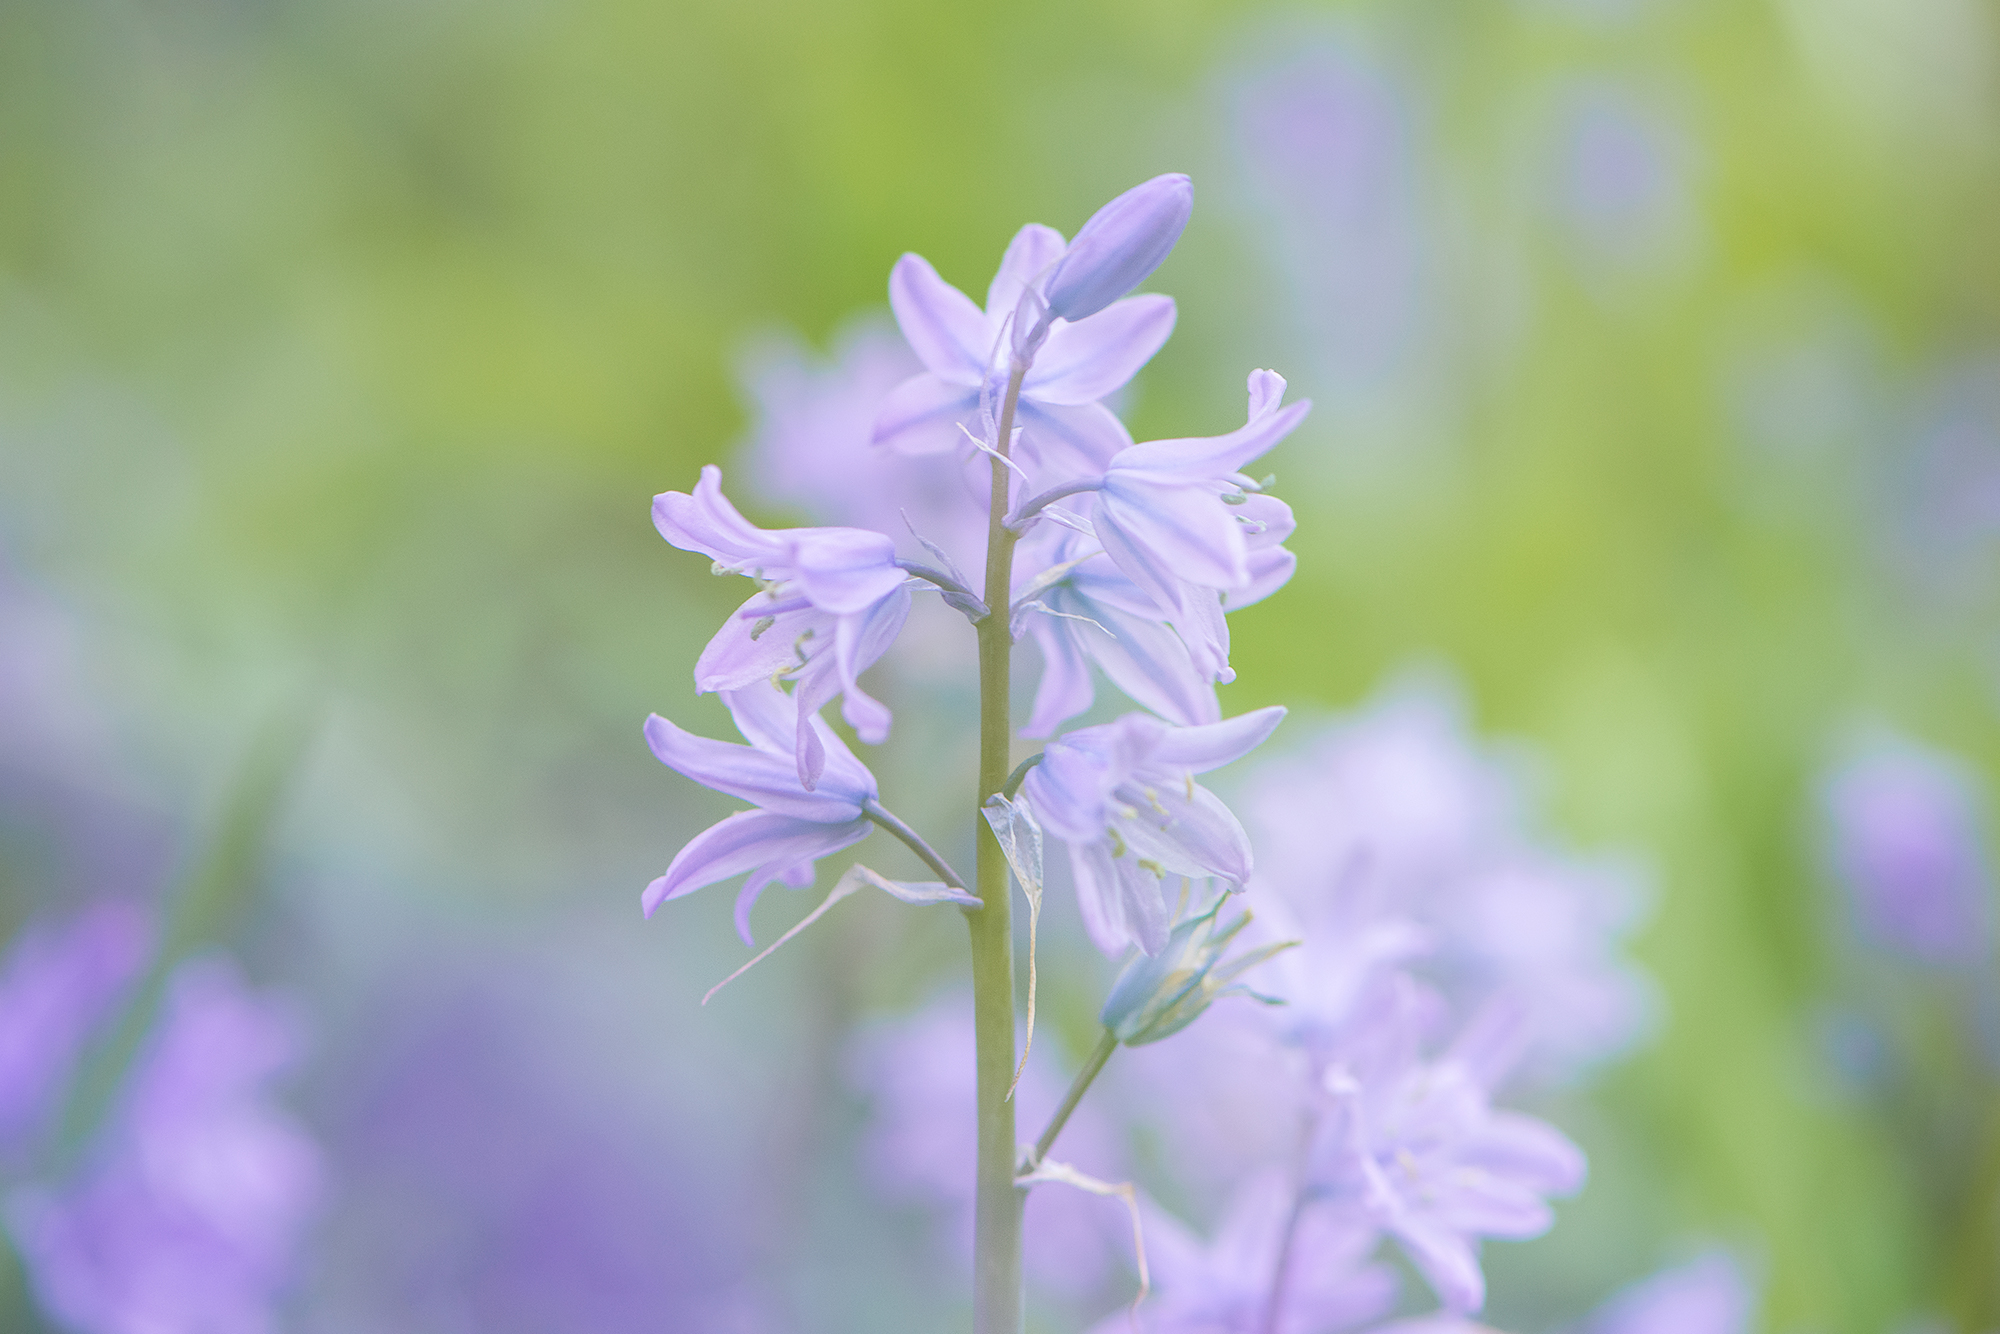
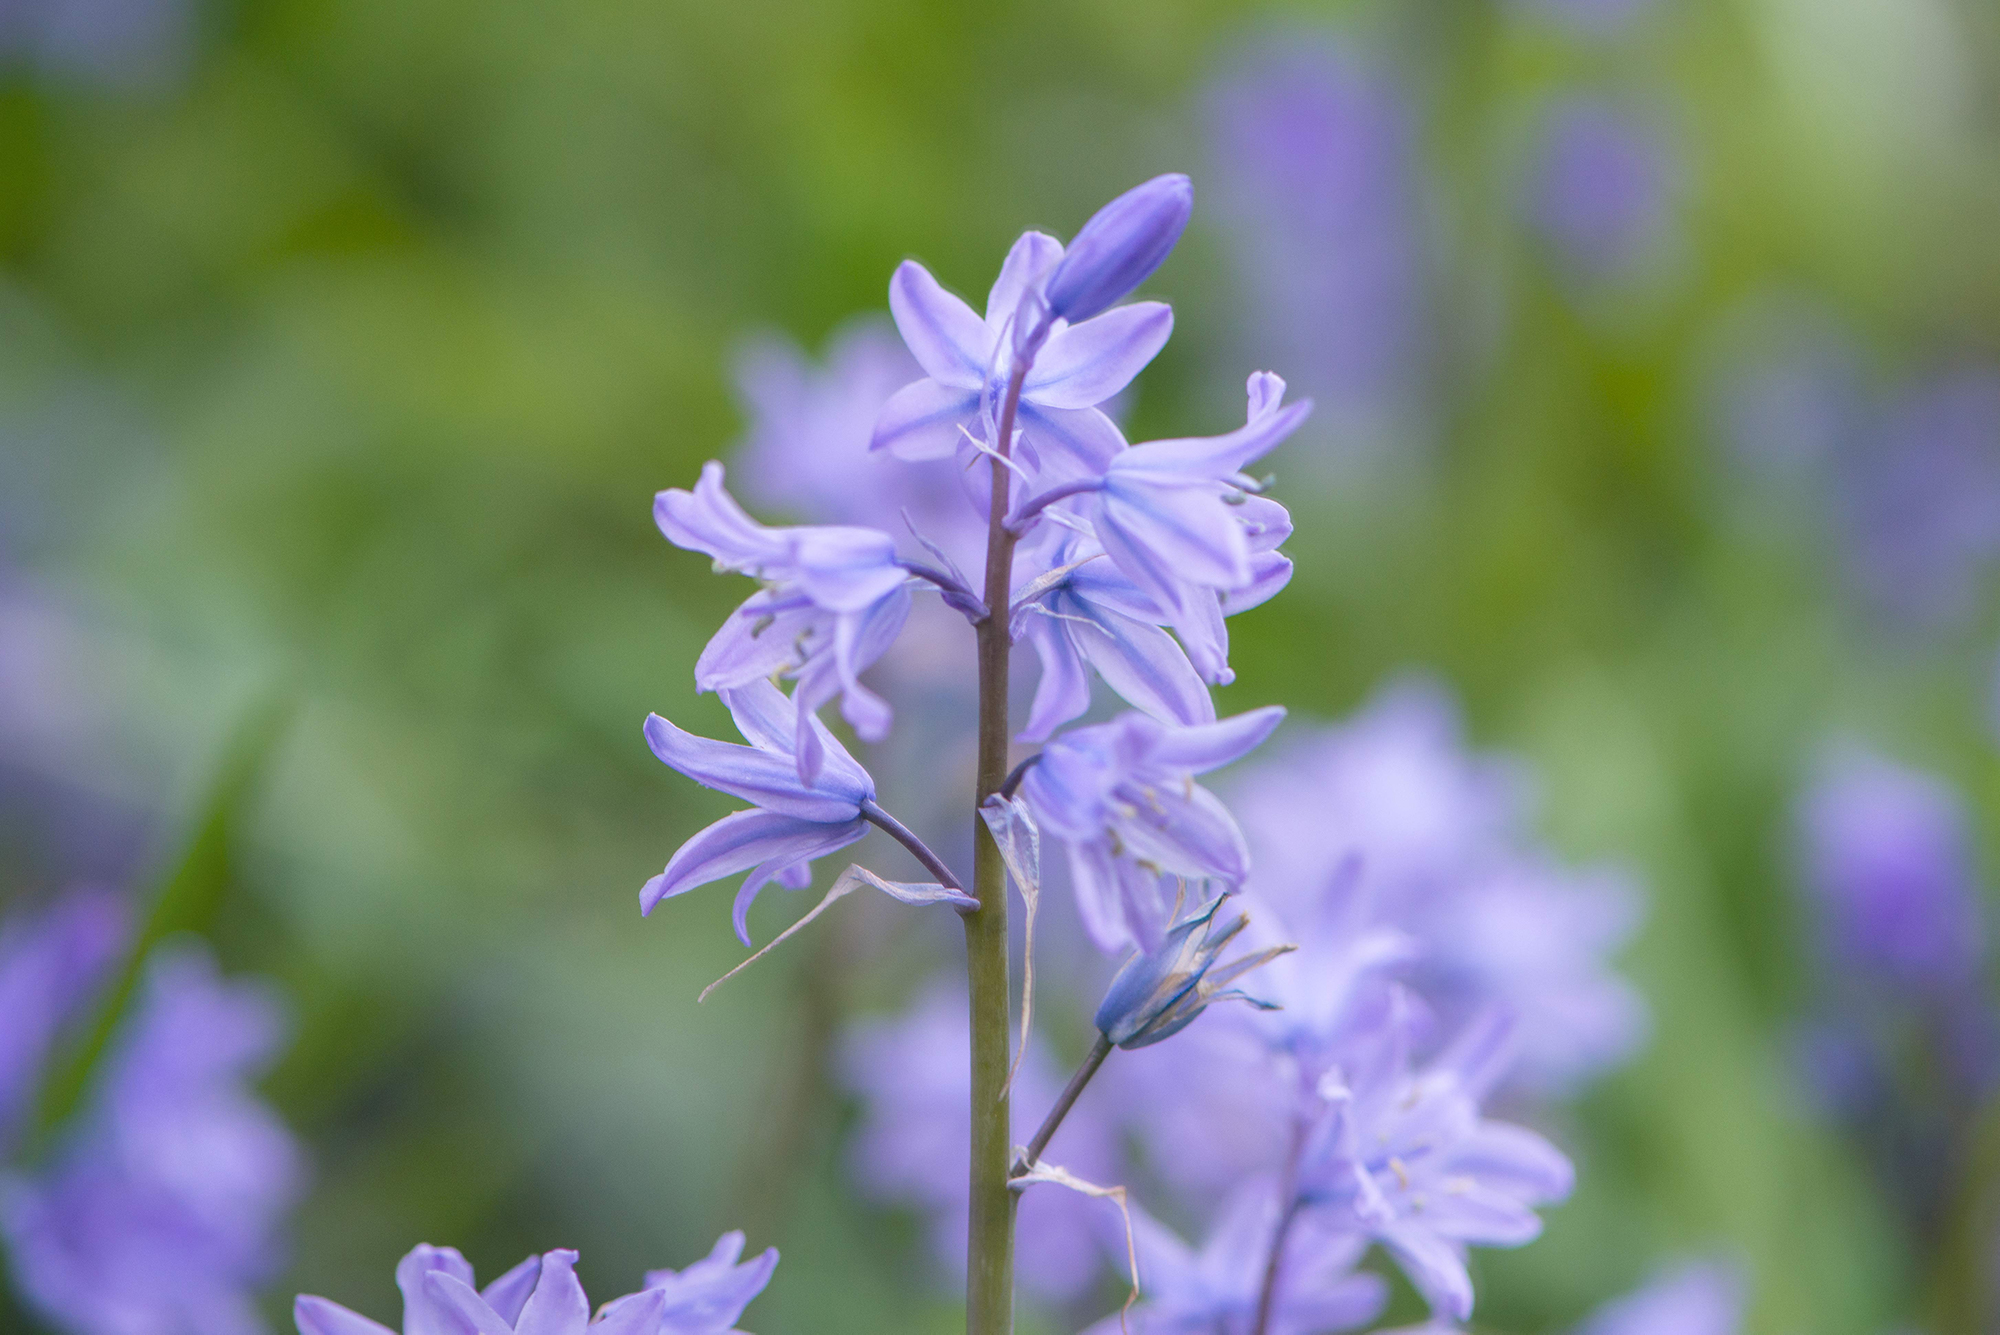
In this tutorial we’ve settled on a simple double exposure to get you started by merging together an image of a sharp subject with out-of-focus blur. The resulting image has an ethereal quality that complements the soft hues and delicate nature of the floral subject.
This was shot on a Nikon DSLR, and it's worth noting that the number of exposures that can be performed differs between cameras, and some don’t feature a dedicated multiple exposure mode at all. But if yours doesn’t have this function you can still create multiple exposures by overlaying images on top of one another in Adobe Photoshop using various opacities and blending modes.
How to capture a double exposure
1. Soft daylight works best
Soft lighting complements the delicate nature of blossoms, so we’d recommend shooting early in the morning, late in the evening, or on an overcast day to avoid harsh shadows. If you have no choice but to photograph your subject on a bright, sunny day, consider softening the harsh rays using a dedicated diffuser.

2. Try a tripod
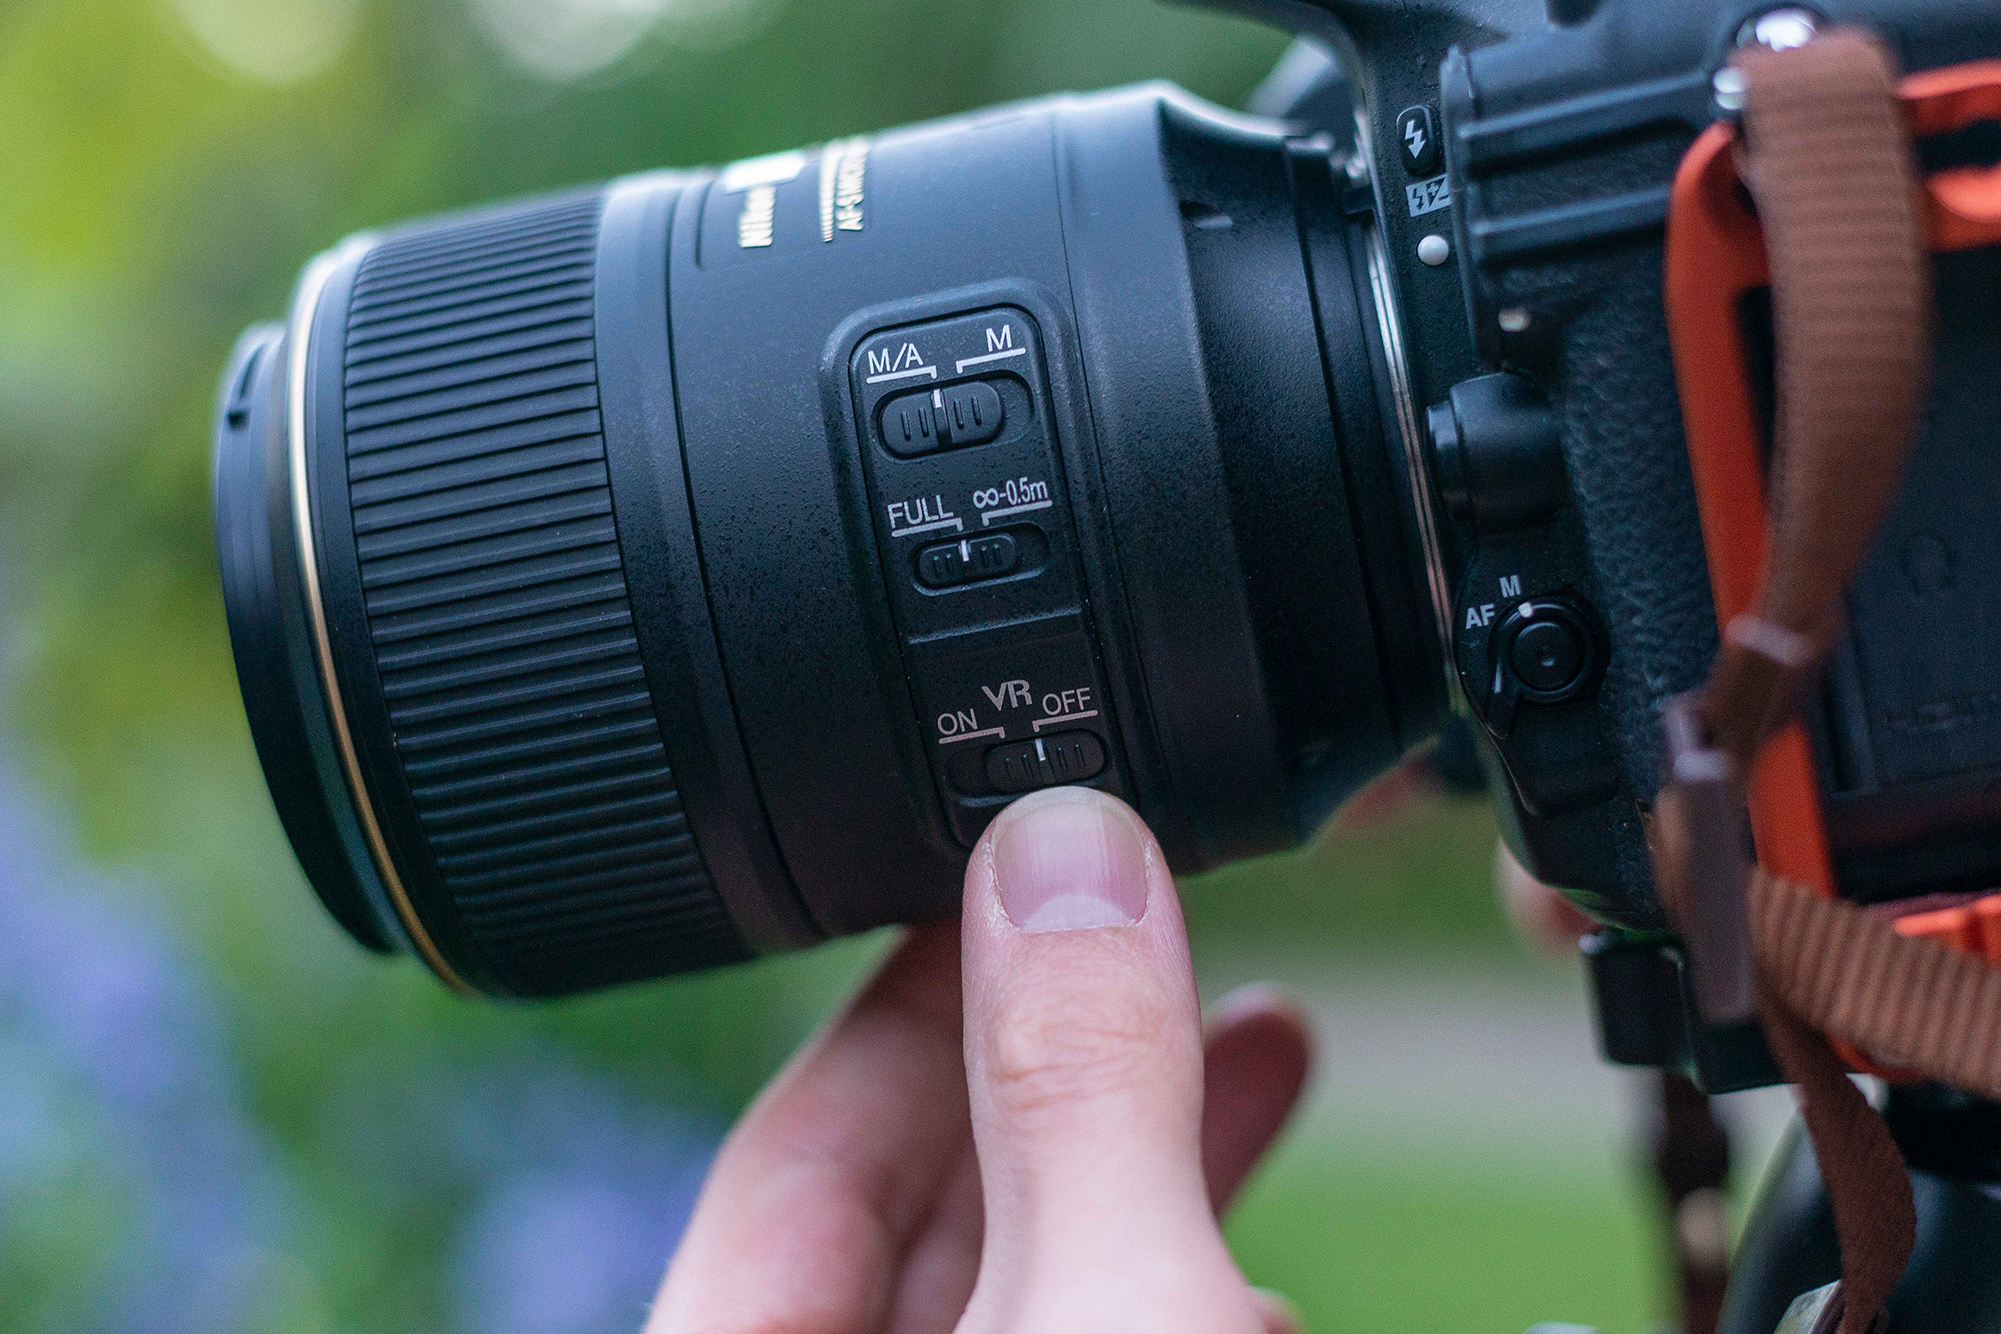
If your multiple exposure needs you to keep repositioning your frame you can shoot handheld. Our double exposure required little to no movement, so a tripod was handy as it enabled us to shoot at slower shutter speeds. Tripods and image stabilization don’t always mix, so turn any image stabilization off.

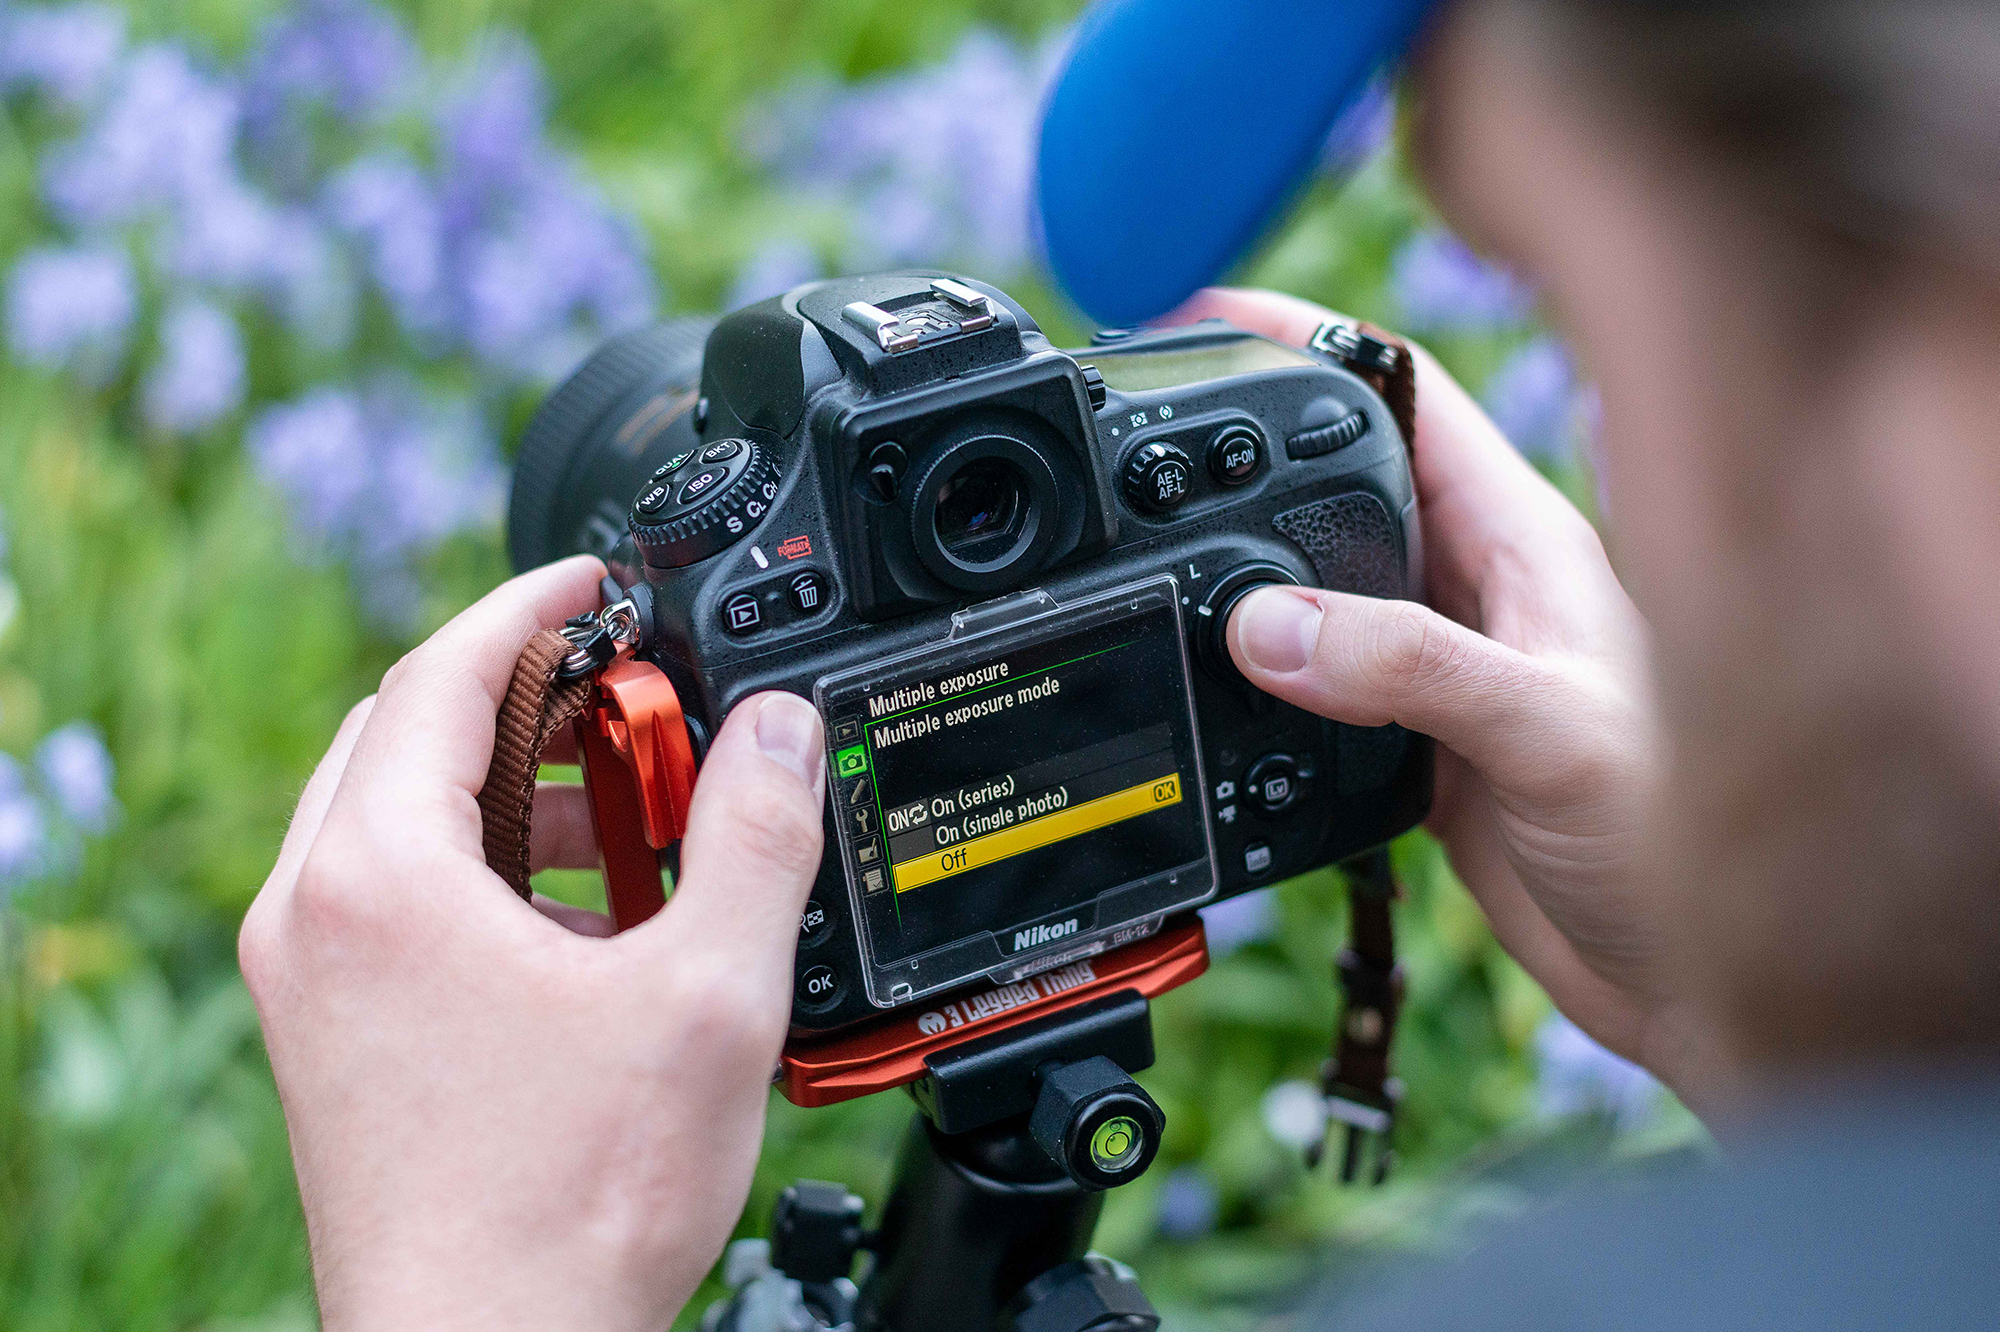
3. Multiple exposure modes
Enabling multiple exposure modes can differ from camera to camera. On our Nikon we entered the Shooting Menu and selected ‘Multiple Exposure’. This allowed for two modes: ‘On (series)’ and ‘On (single photo)’. The former keeps Multiple Exposure mode active until manually turned off, while the latter only works for a single multiple exposure.

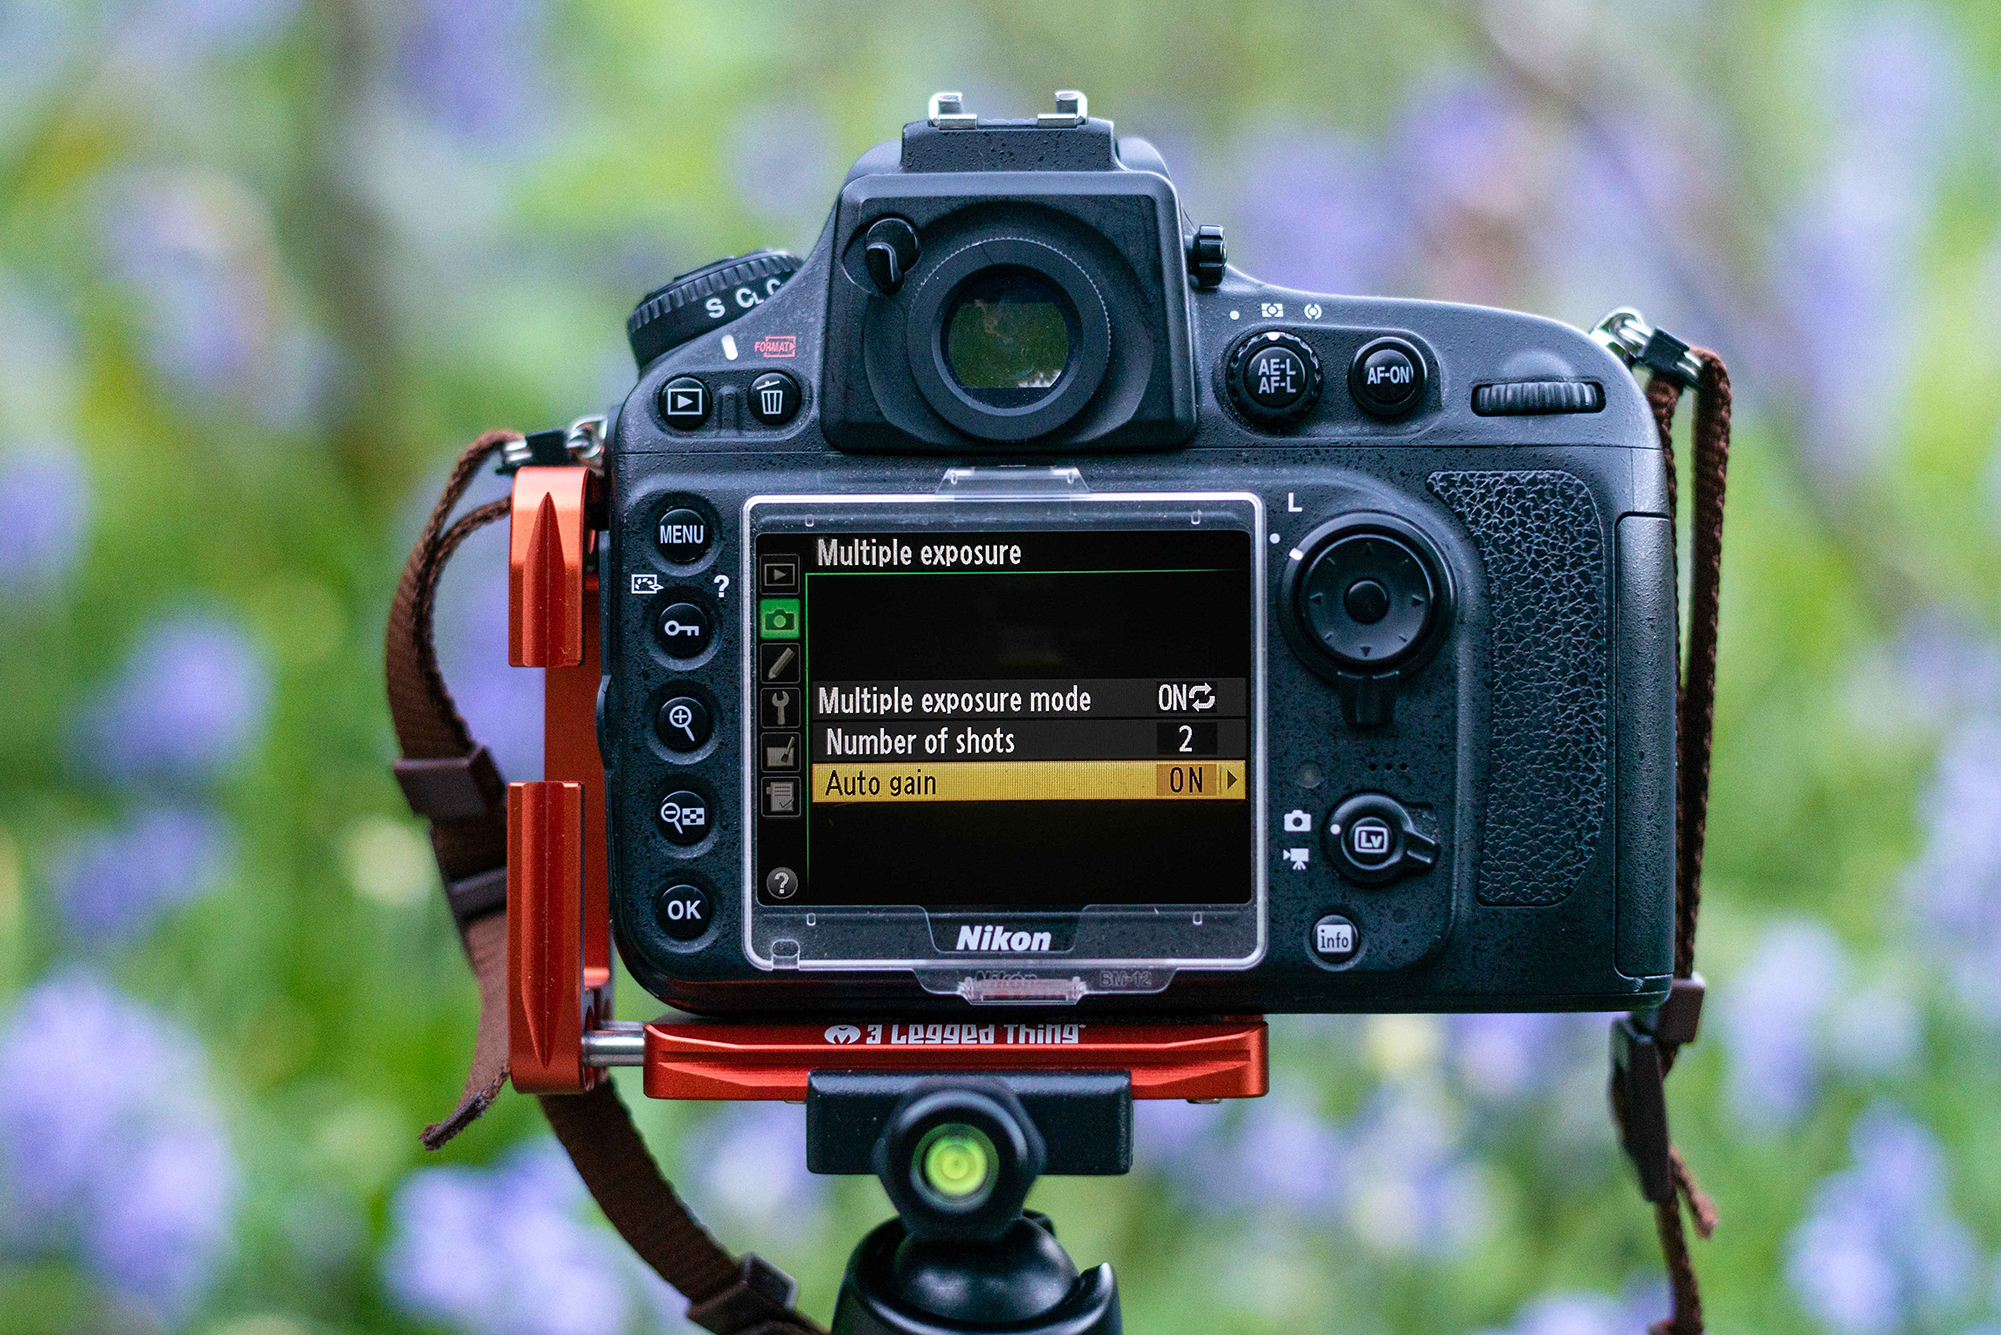
4. How to handle exposure – we used 'Auto gain'
‘Number of shots’ allows you to set how many exposures are taken before the camera processes the final image. We selected two shots for our double exposure. If ‘Auto gain’ is turned on the camera will automatically set the exposure of each image – depending on the number of shots – to balance the final exposure.

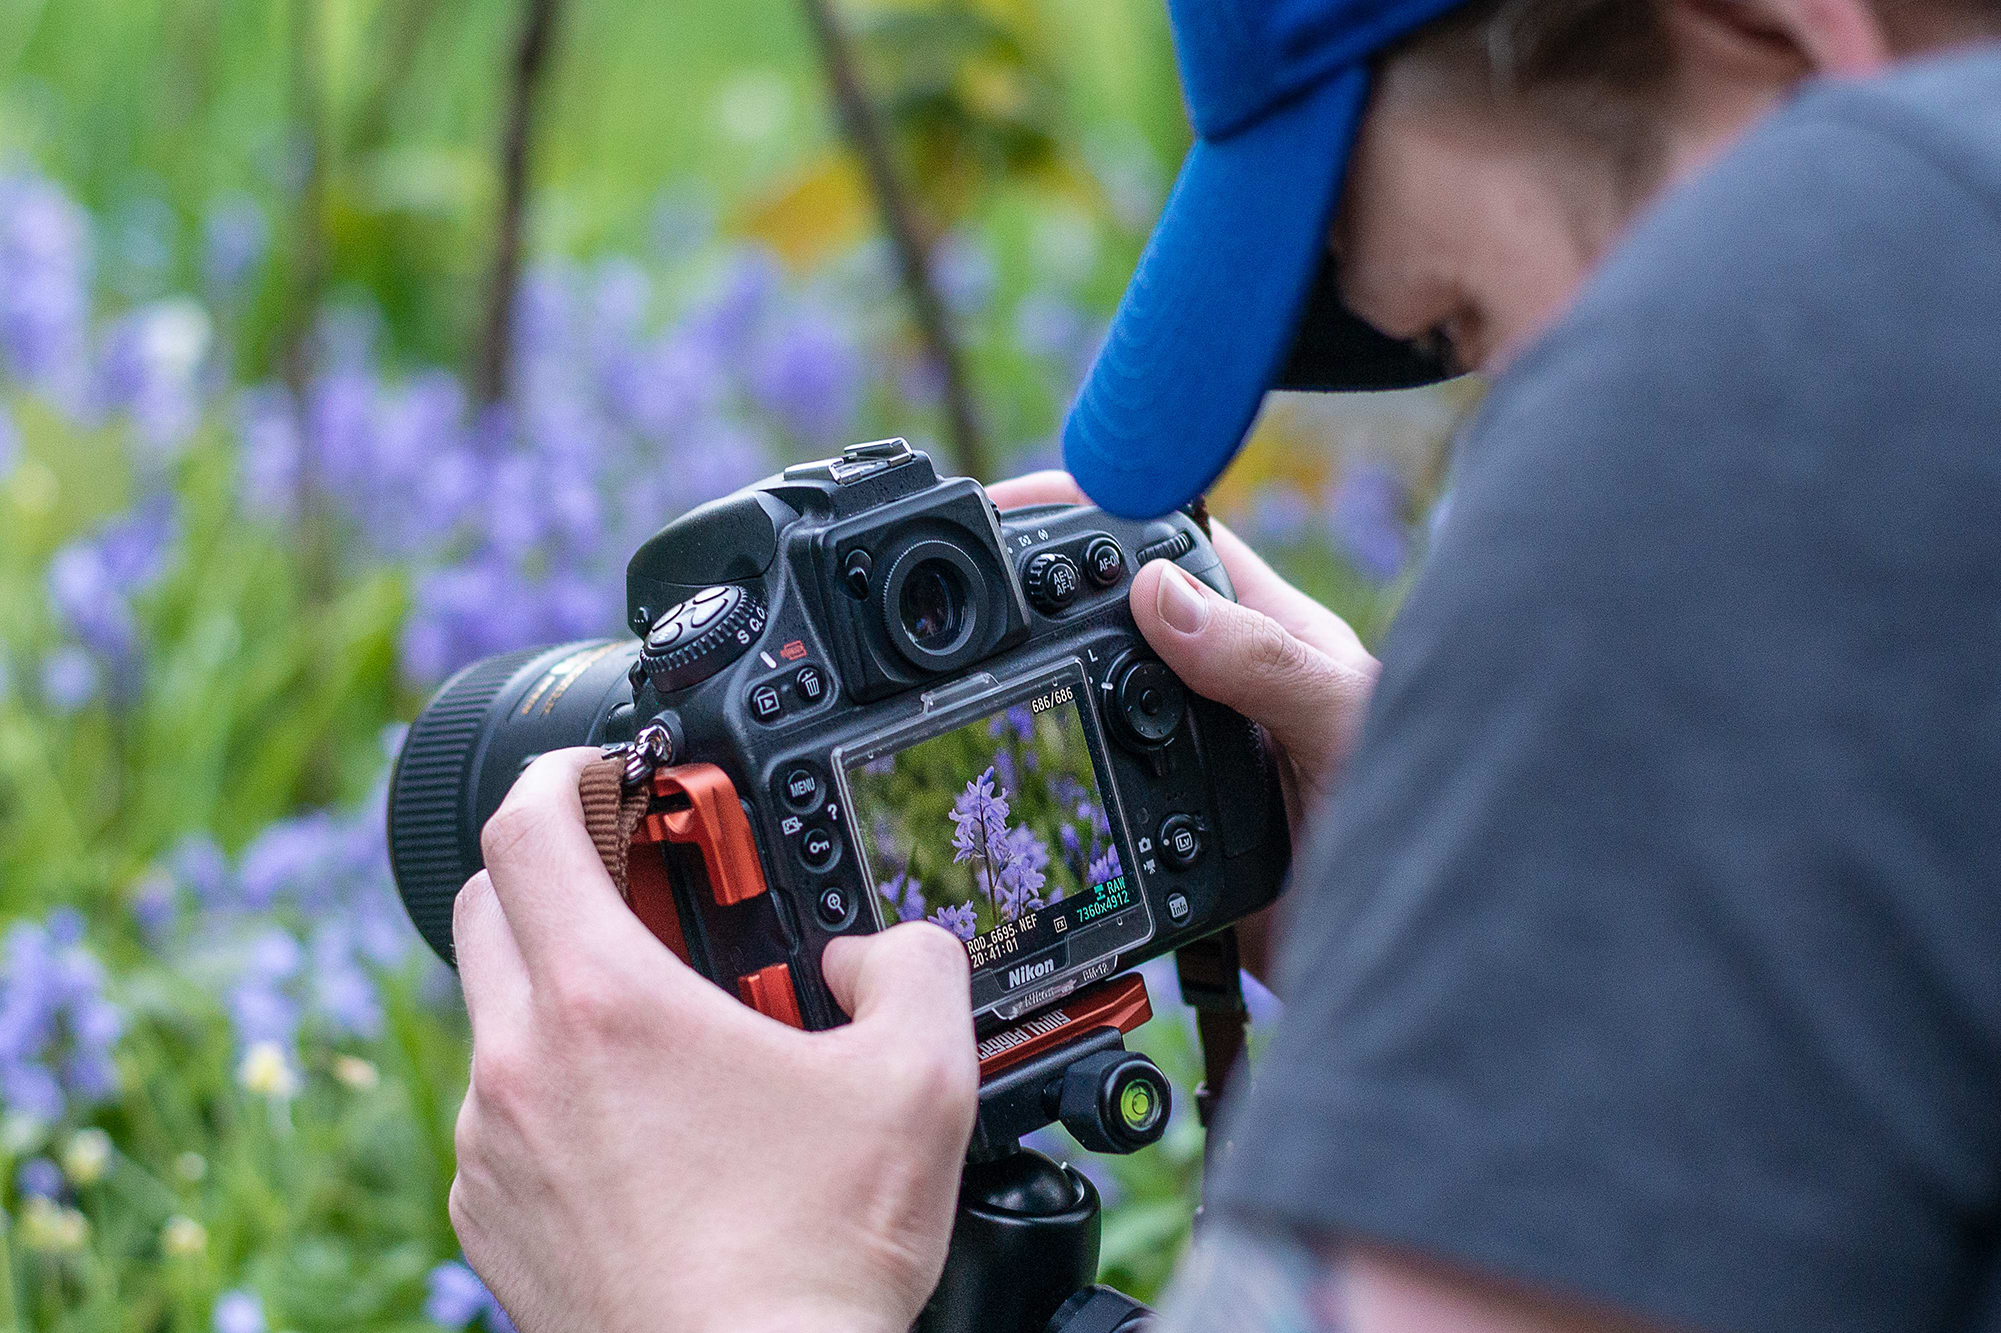
5. Take a test shot
Frame your image and use either AF or MF to focus on your subject. If you’re using AF, switch to MF once you’ve locked focus to prevent hunting. Whether you’re using Aperture Priority or Manual mode, it’s worth capturing a test shot to ensure you’re set up correctly. Then enable Multiple Exposure mode and shoot your subject.

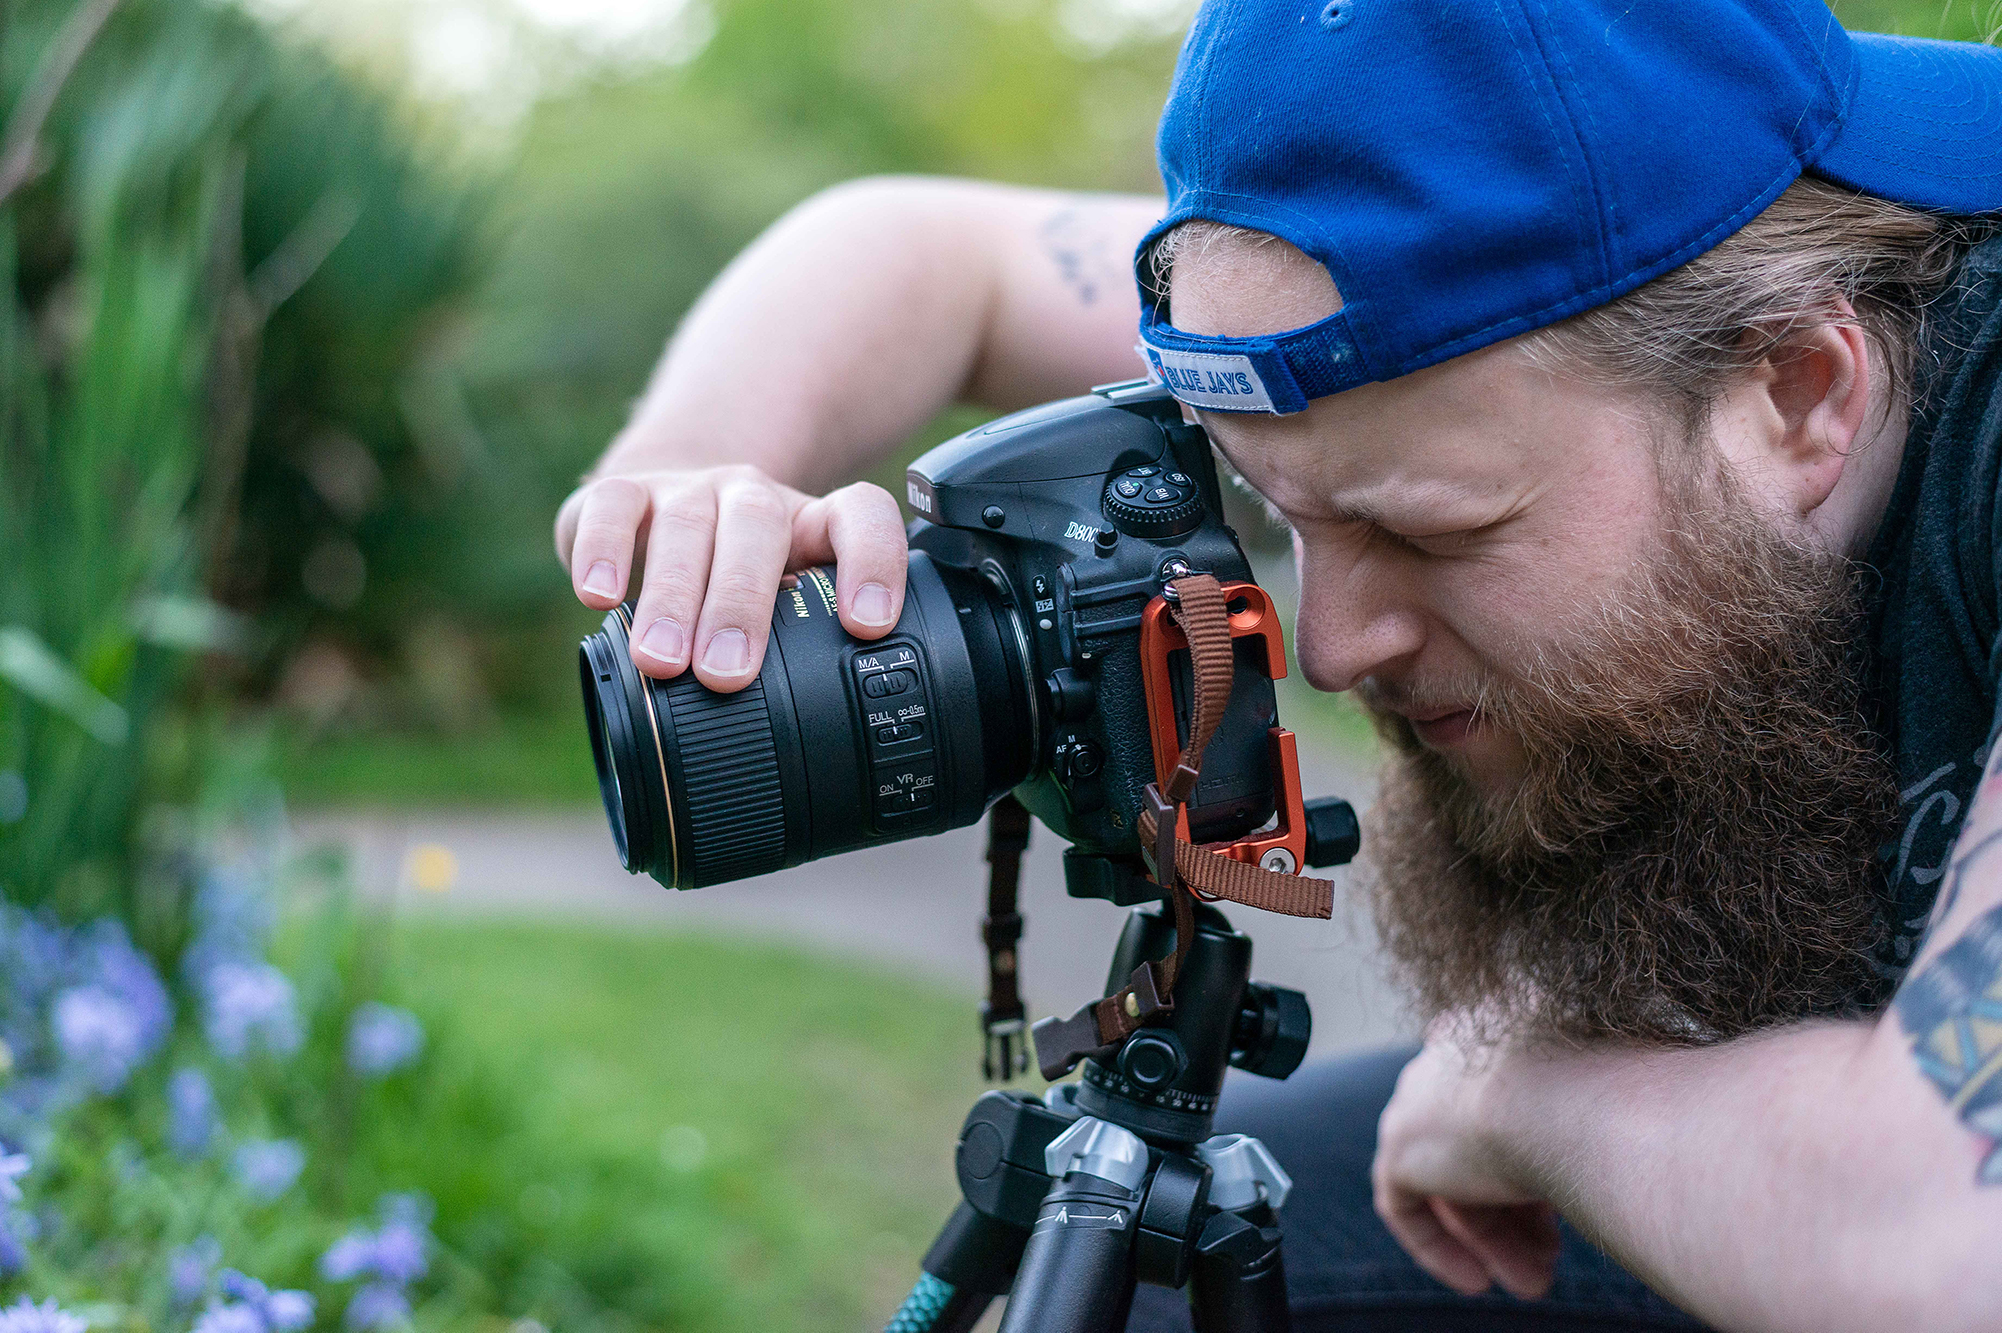
6. Making the second exposure
For the second exposure, manually turn your lens’s focus ring until the entire image is completely out of focus and capture your second shot. Wait a few seconds for your camera to process the image and check the results on the Playback screen. Now you’ve captured your first in-camera multiple exposure, aso have fun experimenting from here!
N-Photo: The Nikon Magazine is a monthly publication that's entirely dedicated to Nikon users. For the best news, reviews, projects and more, subscribe to N-Photo today!
Read more:
The best cameras to buy
Best macro lenses
Best ringflash for macro
Get the Digital Camera World Newsletter
The best camera deals, reviews, product advice, and unmissable photography news, direct to your inbox!

Mike is Digital Camera World's How To Editor. He has over a decade of experience, writing for some of the biggest specialist publications including Digital Camera, Digital Photographer and PhotoPlus: The Canon Magazine. Prior to DCW, Mike was Deputy Editor of N-Photo: The Nikon Magazine and Production Editor at Wex Photo Video, where he sharpened his skills in both the stills and videography spheres. While he's an avid motorsport photographer, his skills extend to every genre of photography – making him one of Digital Camera World's top tutors for techniques on cameras, lenses, tripods, filters and other imaging equipment – as well as sharing his expertise on shooting everything from portraits and landscapes to abstracts and architecture to wildlife and, yes, fast things going around race tracks...
