How to capture a driver's portrait
Put your flash into top gear with a dramatic car portrait
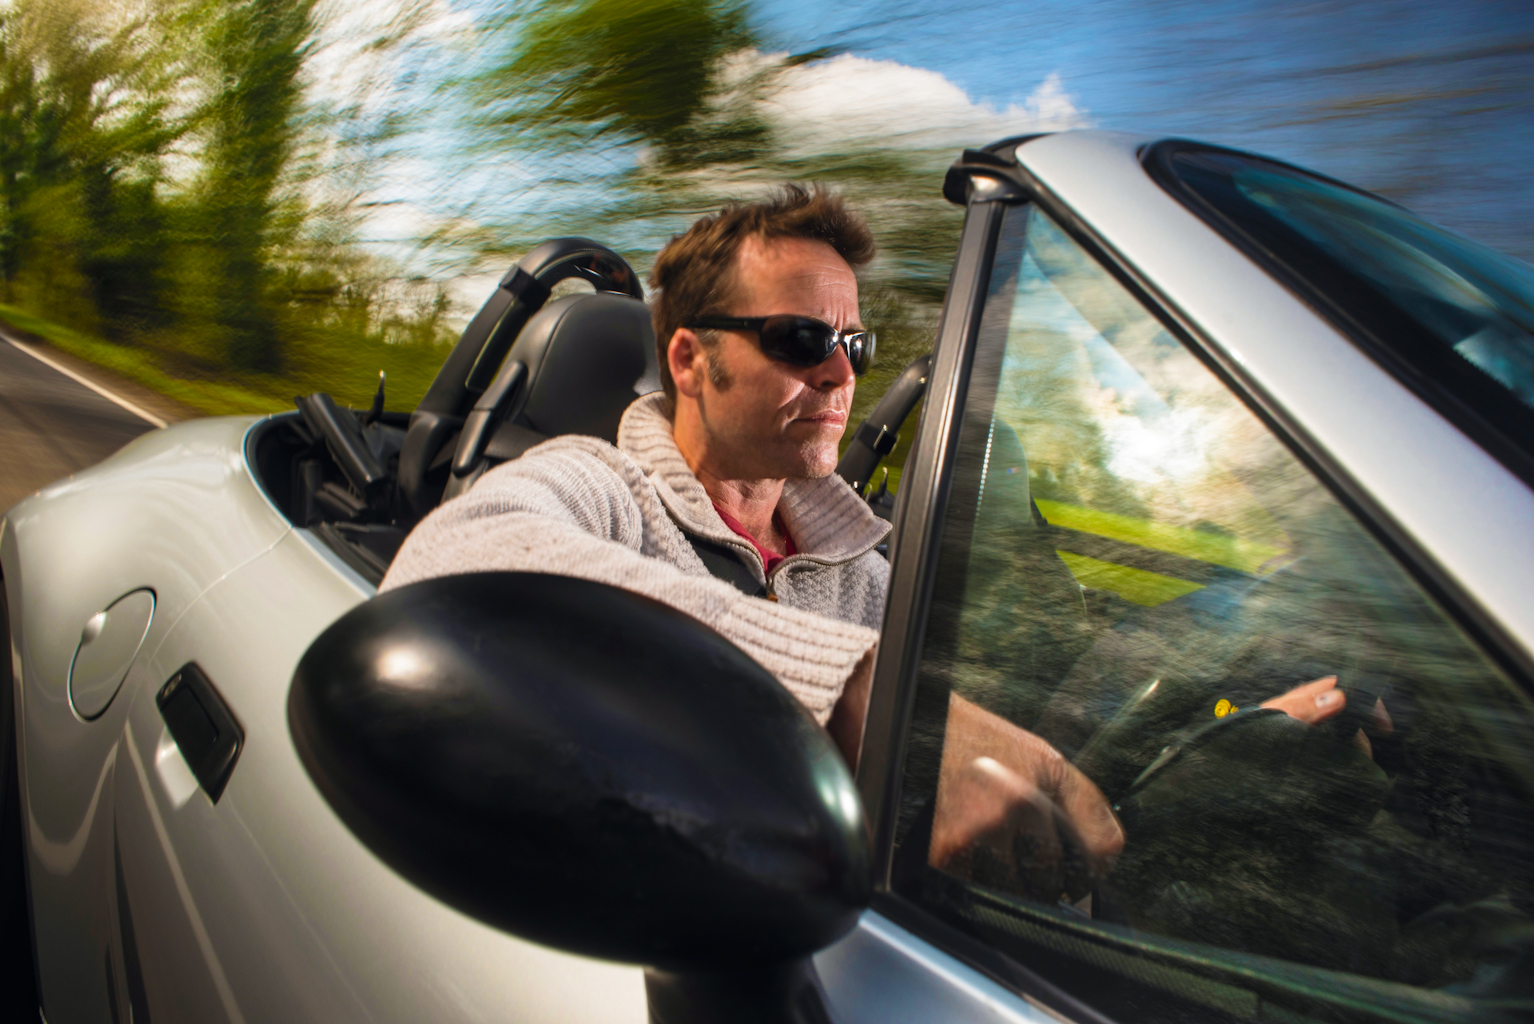
It’s enough to kick you into the back of your seat – and all it takes is a car, a quiet location, a willing model/driver and a flashgun.
To capture a portrait of a driver, with the vehicle in motion
Time: Half an hour
Skill level: Intermediate
Kit needed: Suction-mounted car rig, DSLR, flashgun, wireless flash triggers, car, model, smartphone
Essentially, we’ll be mounting the camera to the car we’re shooting with a suction-mounted attachment, so that the DSLR and car move at the same speed and direction. This will ensure the car stays sharp in your shot.
While sitting inside, we’ll wirelessly trigger the camera as the car is driven along by our driver/model, and combine this with a pop of flash to light the driver. So let’s get buckled in and put the pedal to the metal (photographically speaking).
• Get more photoshoot ideas
Step-by-step guide
Step 1 - Mount your camera
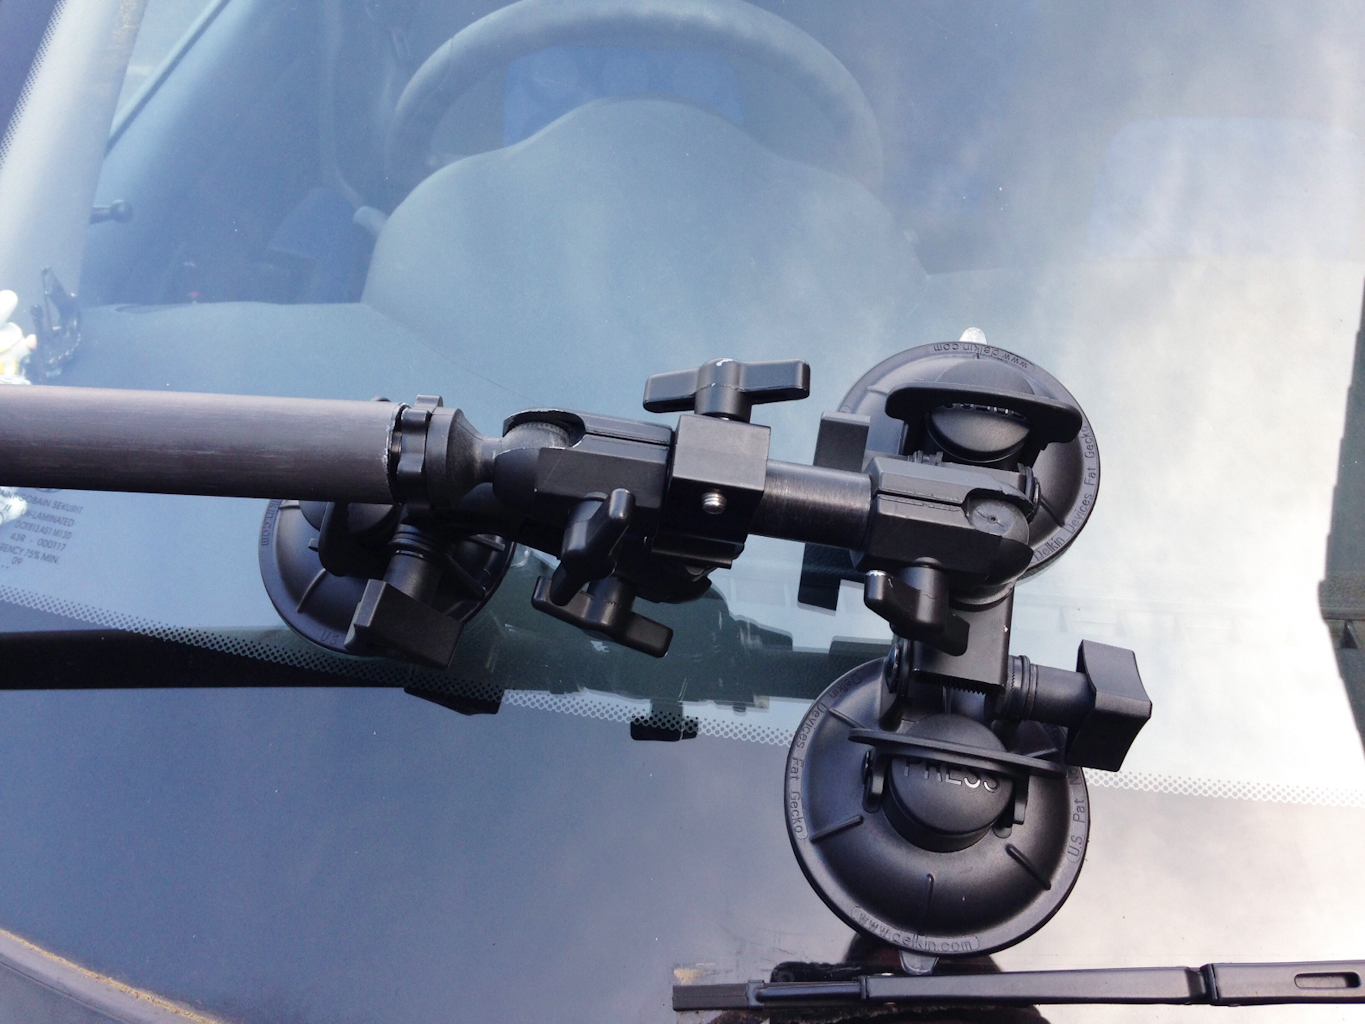
An essential bit of kit for this shoot is the car rig. The rig consists of a pole that is suction-mounted to the car. Once you mount your camera to the end of the pole, focus up and switch on AF-Lock. Now the focus will be maintained throughout the shoot.
Step 2 - Connect to your smart device
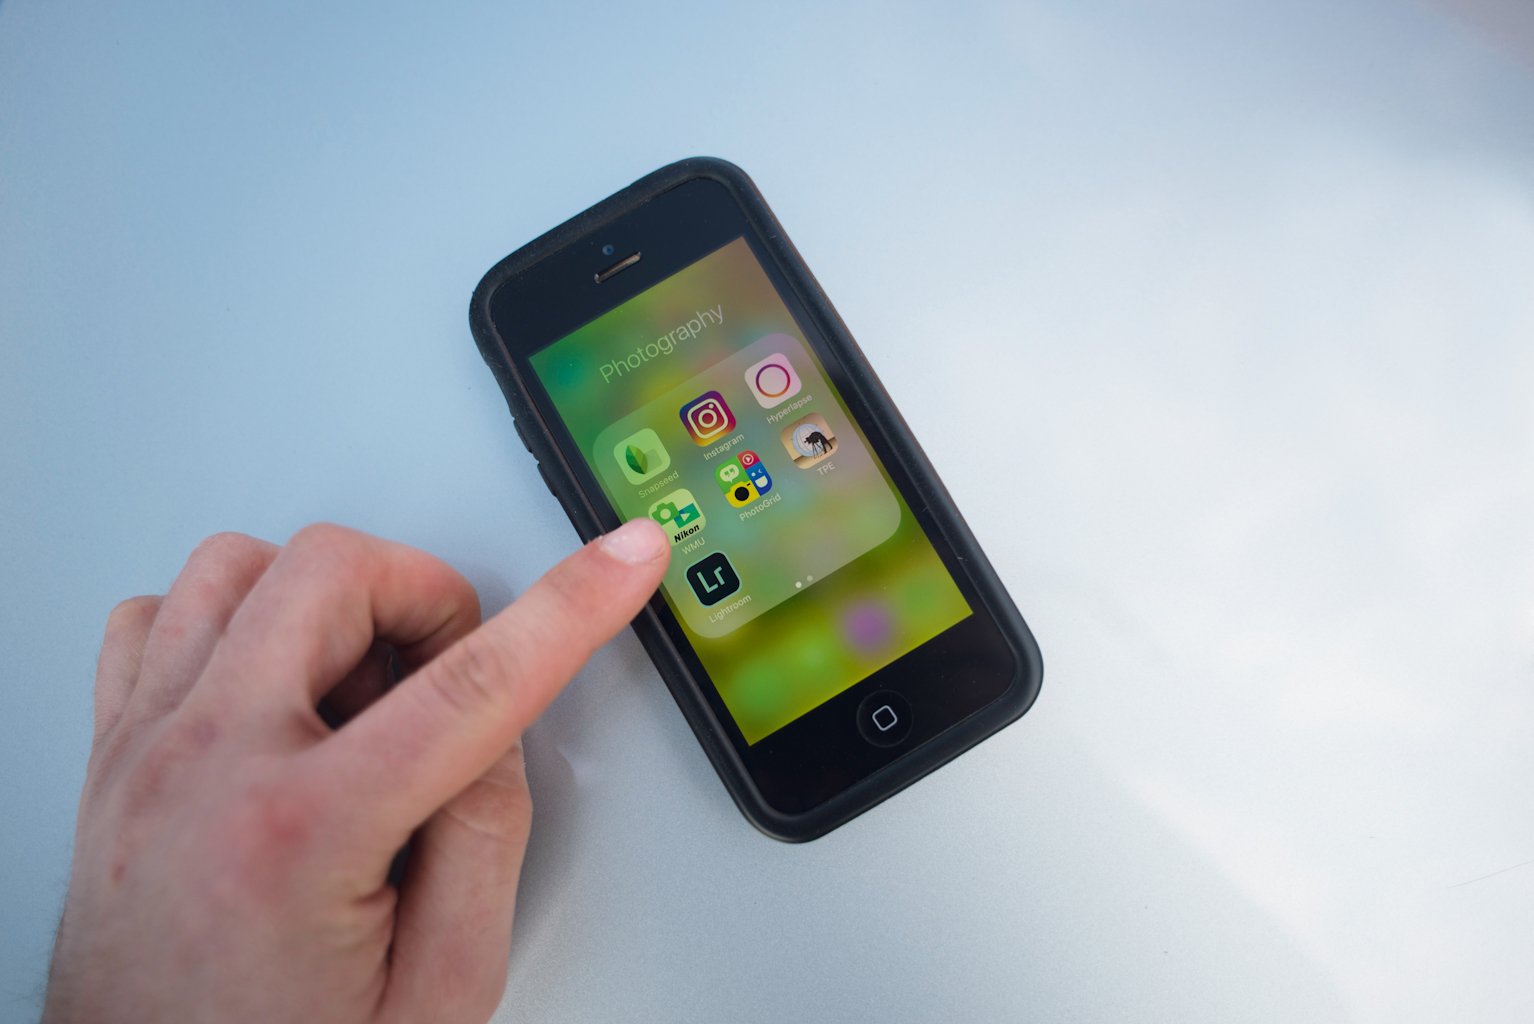
Next, get inside the car and use a wireless trigger to take the shot. Most brands have their own smart device app to trigger cameras via Bluetooth or Wi-Fi. If your model doesn’t support this, use an external remote release and run the cable through the window.
Read more: How to photograph a classic car
Step 3 - Get your exposure right
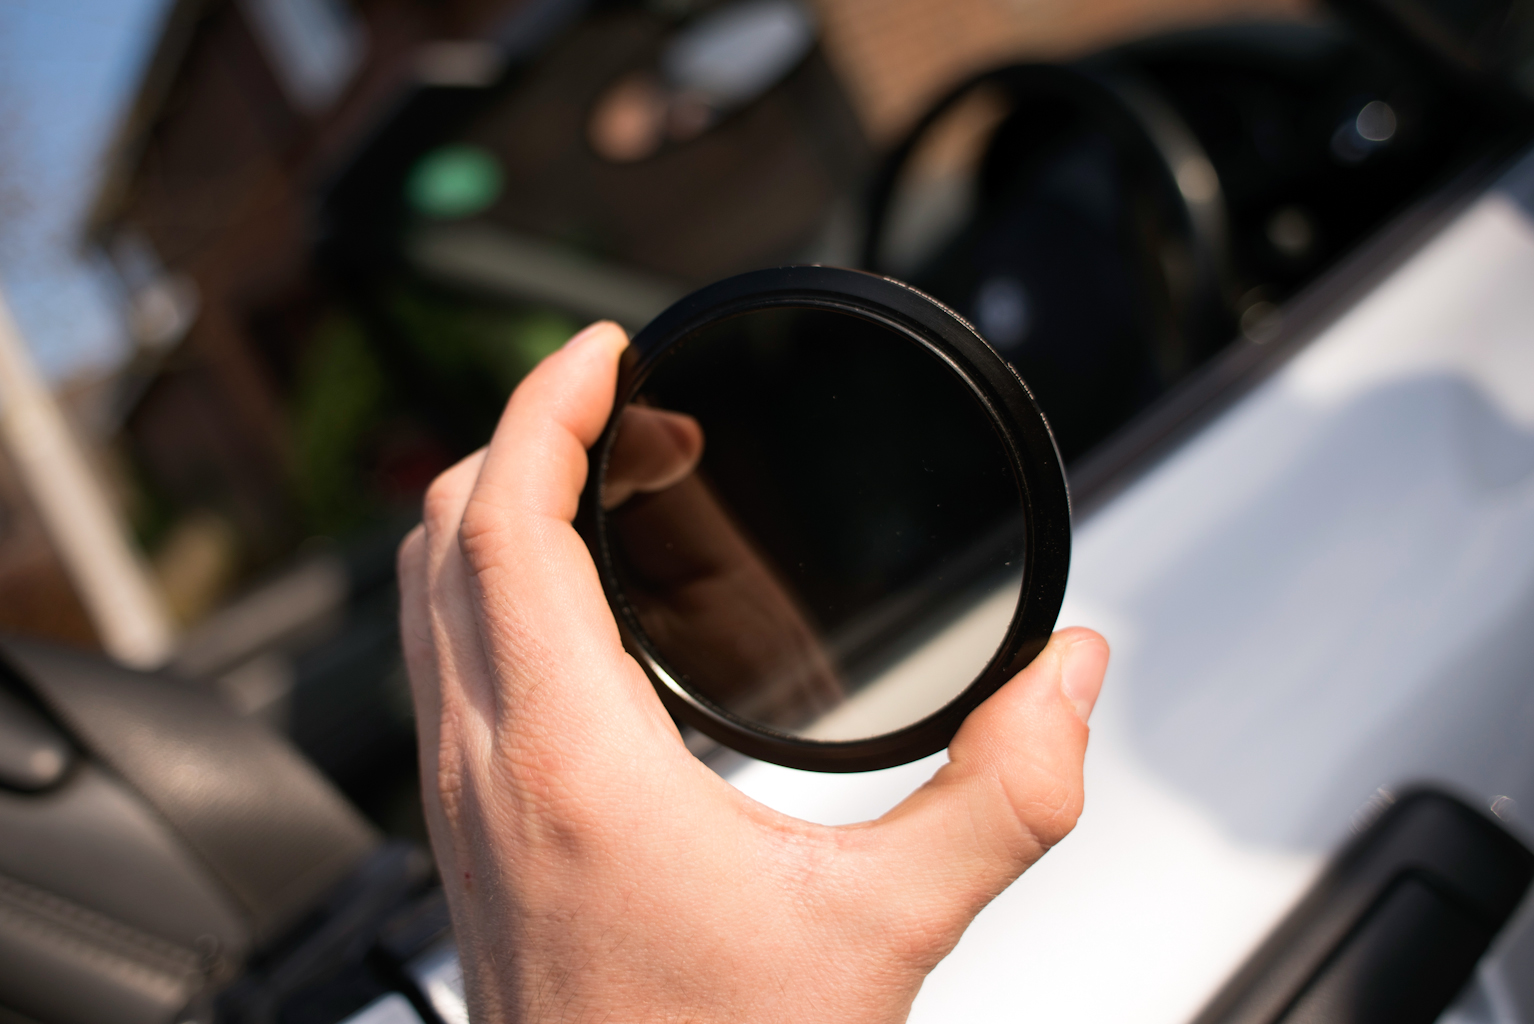
Experiment with shutter speed, and start at 1/5sec. You’ll notice the background starting to blur as you drive along. Put on the variable neutral-density filter and turn the filter until your camera displays -1 stop on the meter. With matrix metering active, this will underexpose the background slightly.
Step 4 - Set up a flash
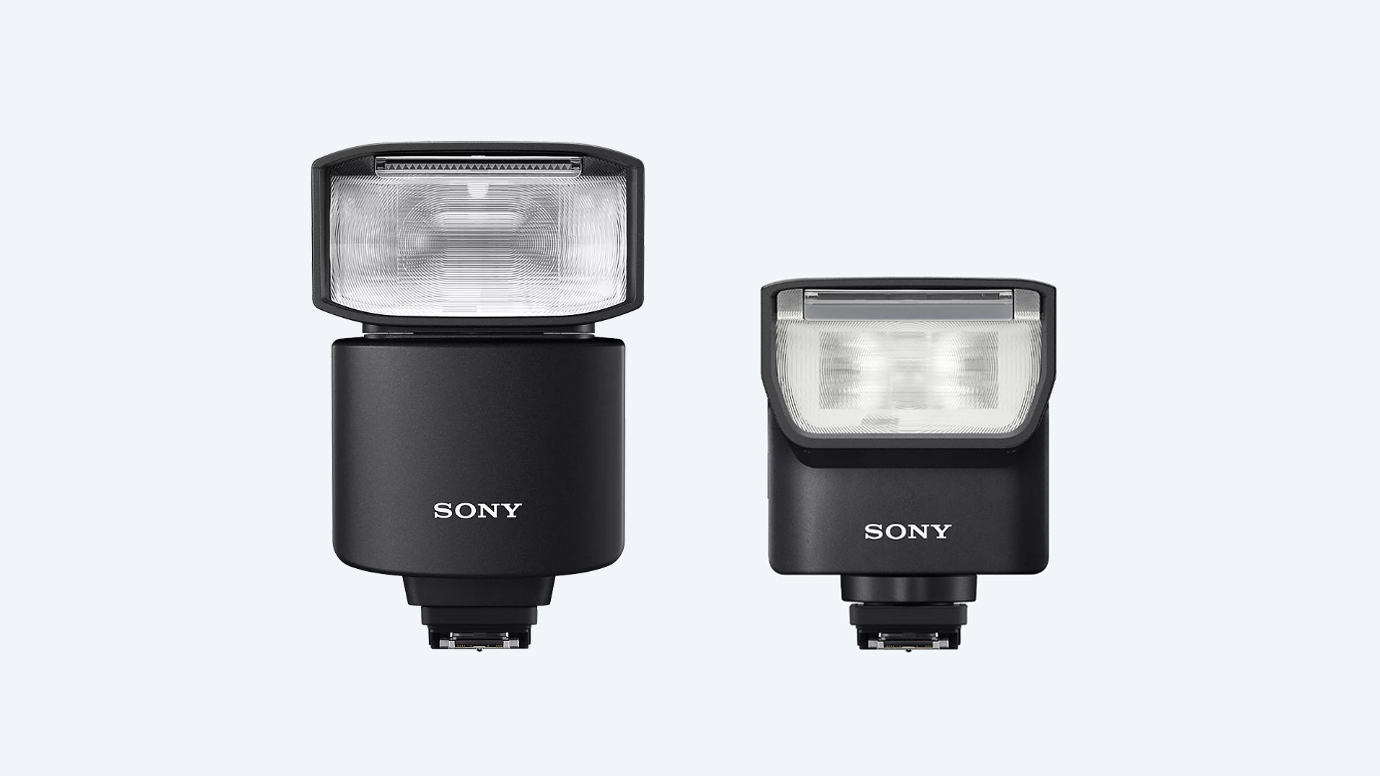
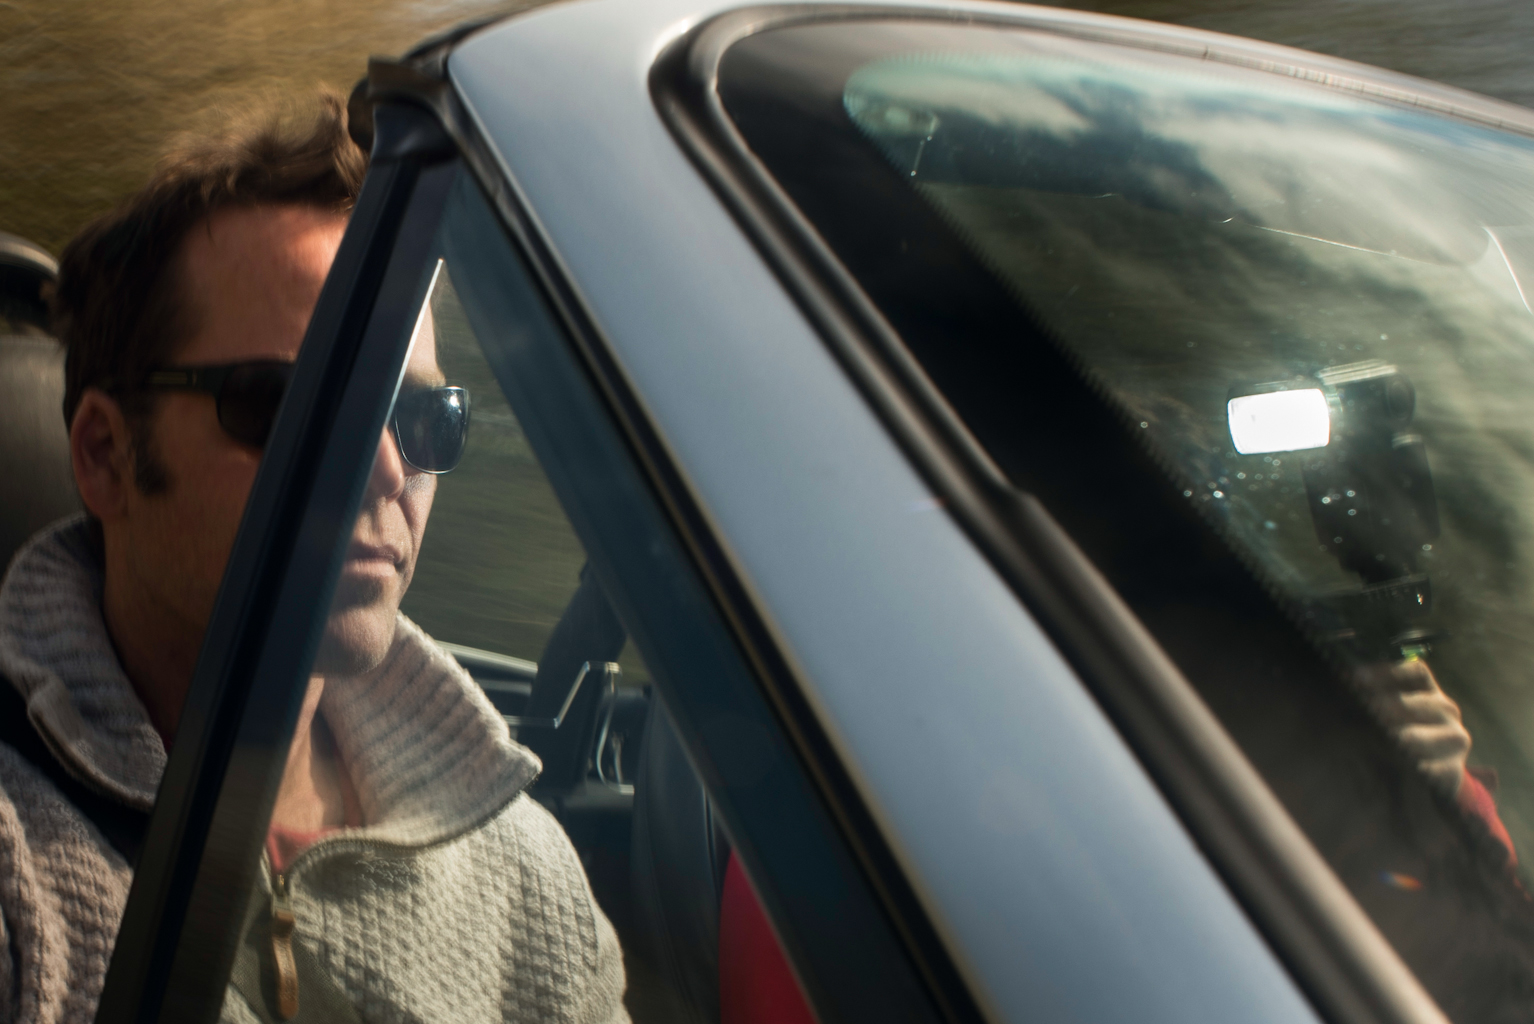
Finally, set up the light. We put the wireless triggers on the camera and flashgun, and held the flashgun in the passenger seat to light the driver’s face. The flashgun was set to 1/2 power to make the driver 1 stop brighter than the background, making him stand out. The flash also froze motion in his face, capturing a sharp portrait.
Enjoyed this feature? Subscribe to Digital Camera magazine today
Get the Digital Camera World Newsletter
The best camera deals, reviews, product advice, and unmissable photography news, direct to your inbox!
