To capture a water balloon bursting
Time: One hour
Skill level: Advanced
Kit needed: D-SLR, Tripod, Flashgun, Smart triggers, Water balloon, Knife or scalpel, Tennis ball
Smart triggers enable you to achieve a lot more with your camera. They differ from a standard cable release in that they’re controlled by what you’re shooting. The Hähnel Captur Pro triggers we used for this shot (£100/$120) can be triggered by an infrared beam, light or sound, and even by a laser. Along with these advanced functions, they also feature a long-exposure Bulb mode and an interval timer.
Smart triggers are ideal for shooting split-second events where your human reactions simply aren’t quick enough.
You could set them to react to light, for capturing lightning, for example. In this tutorial, though, we’re using the infrared beam to trigger the shutter at the exact moment when a falling balloon full of water bursts on a knife blade. This requires the two triggers to be positioned either side of the blade to create an invisible beam that, when broken by the balloon, will fire the shutter, and an off-camera flash to capture the dispersion of water. Here’s how it’s done...
STEP BY STEP: Top of the pops
To add a splash of colour to your shots, put a little squash or food colouring into the water
1 BLACK OUT THE BACKGROUND
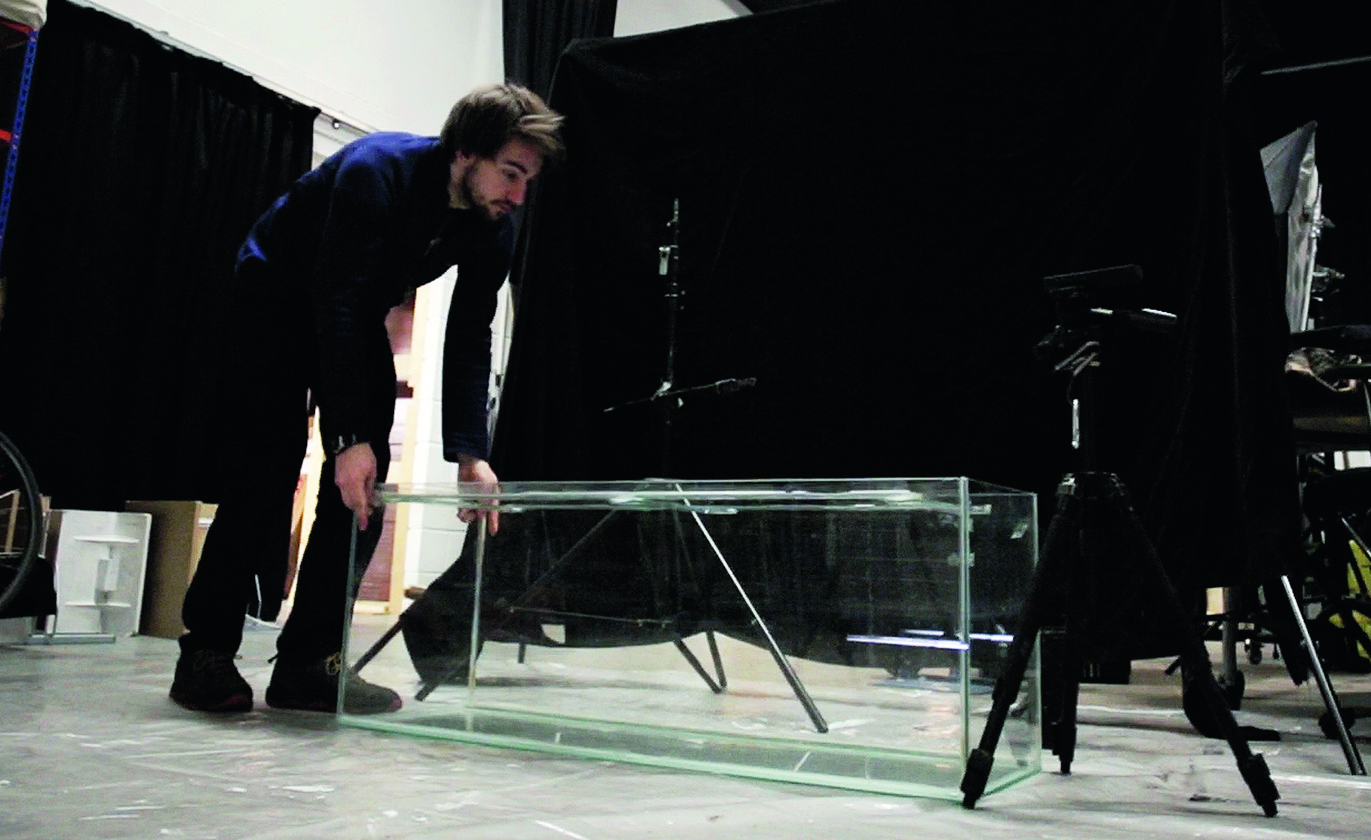
Shoot in a completely blacked-out area with a dark background. We’re using a studio with a black cloth for a backdrop so the backlit water really stands out, but you could achieve a similar effect at home by closing the curtains, or shooting outside at night.
2 GRAB A KNIFE
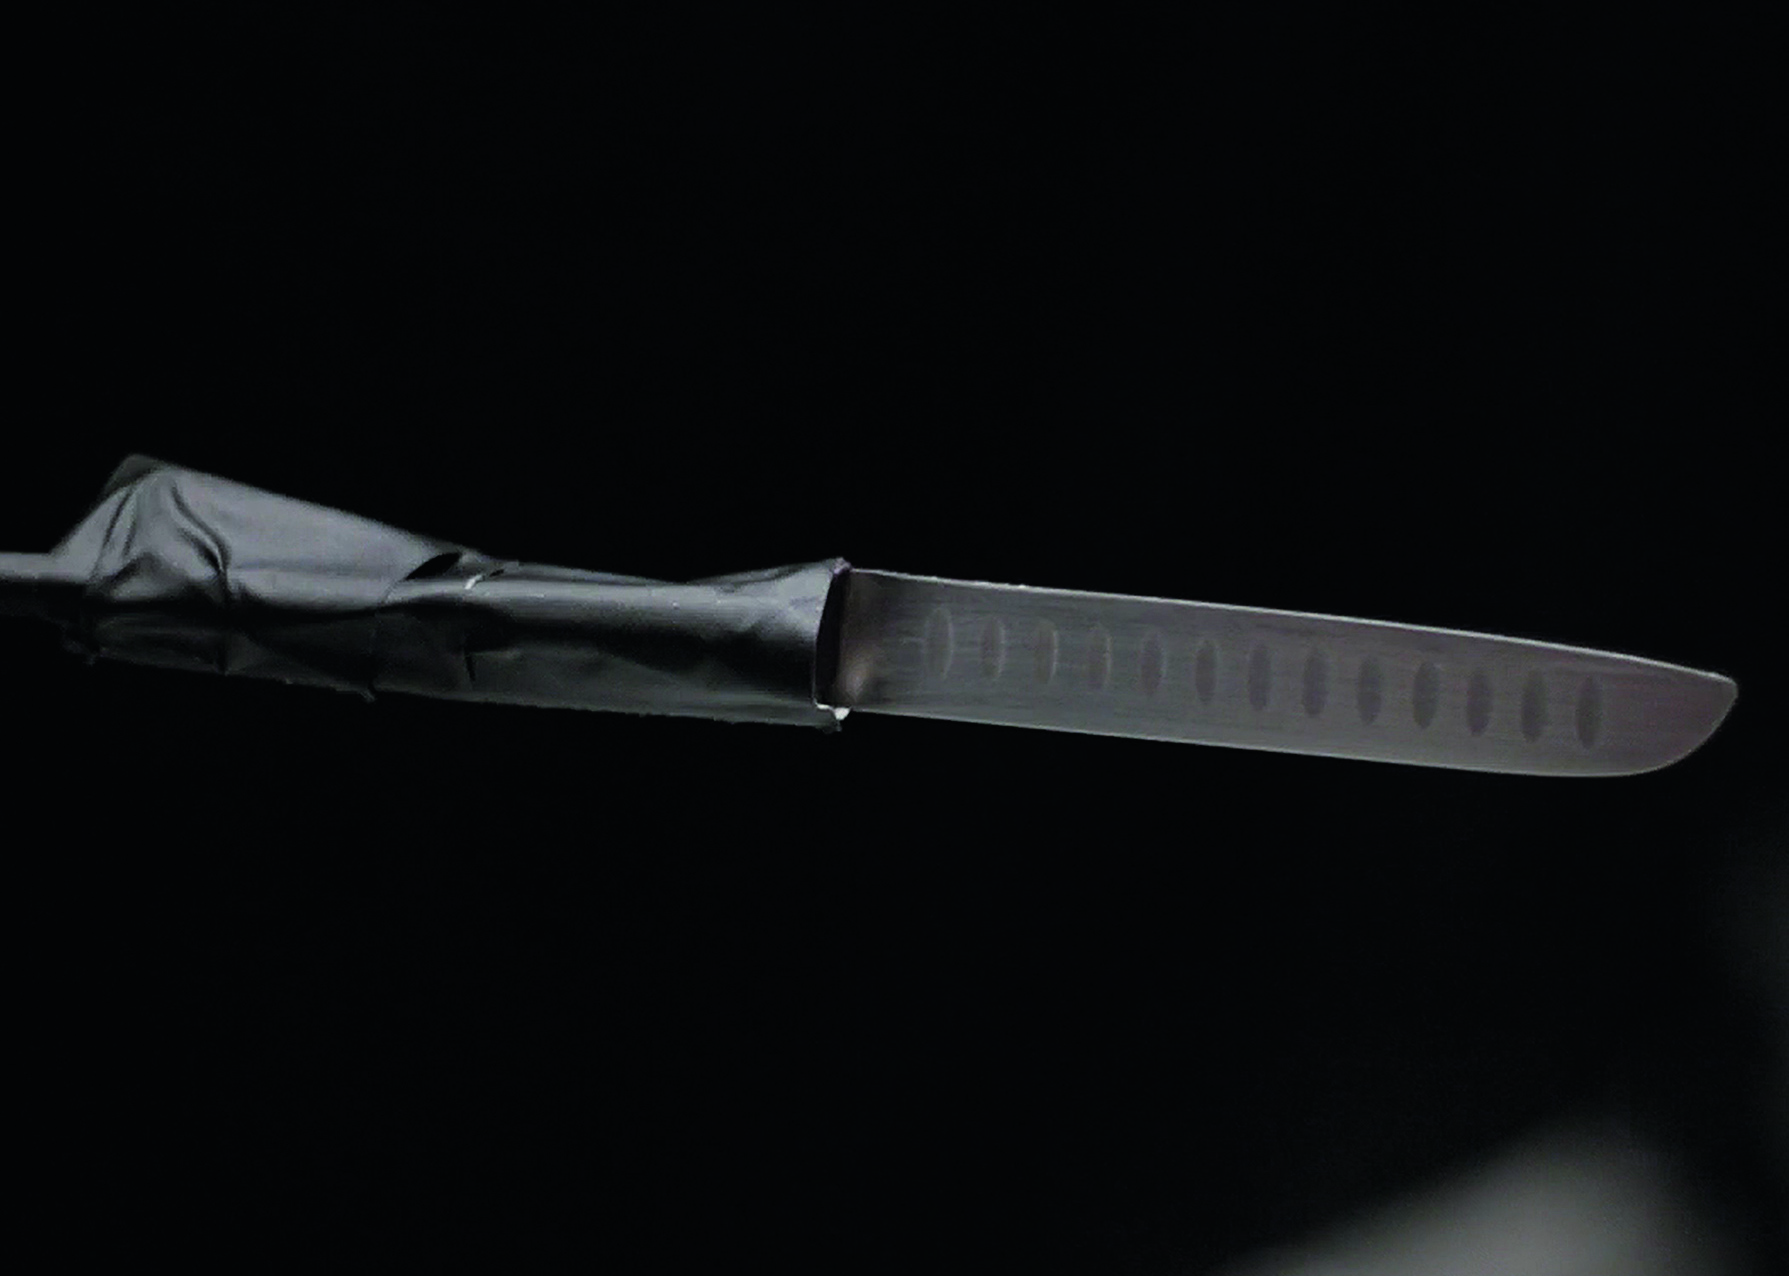
Place a large tray on the ground to catch the debris and water. Above your tray, leaving enough space to keep it out of the frame, position your knife, pointing towards the camera. We taped ours to a metal rod attached to a light stand, but there are endless ways of setting this up.
3 POWER DOWN
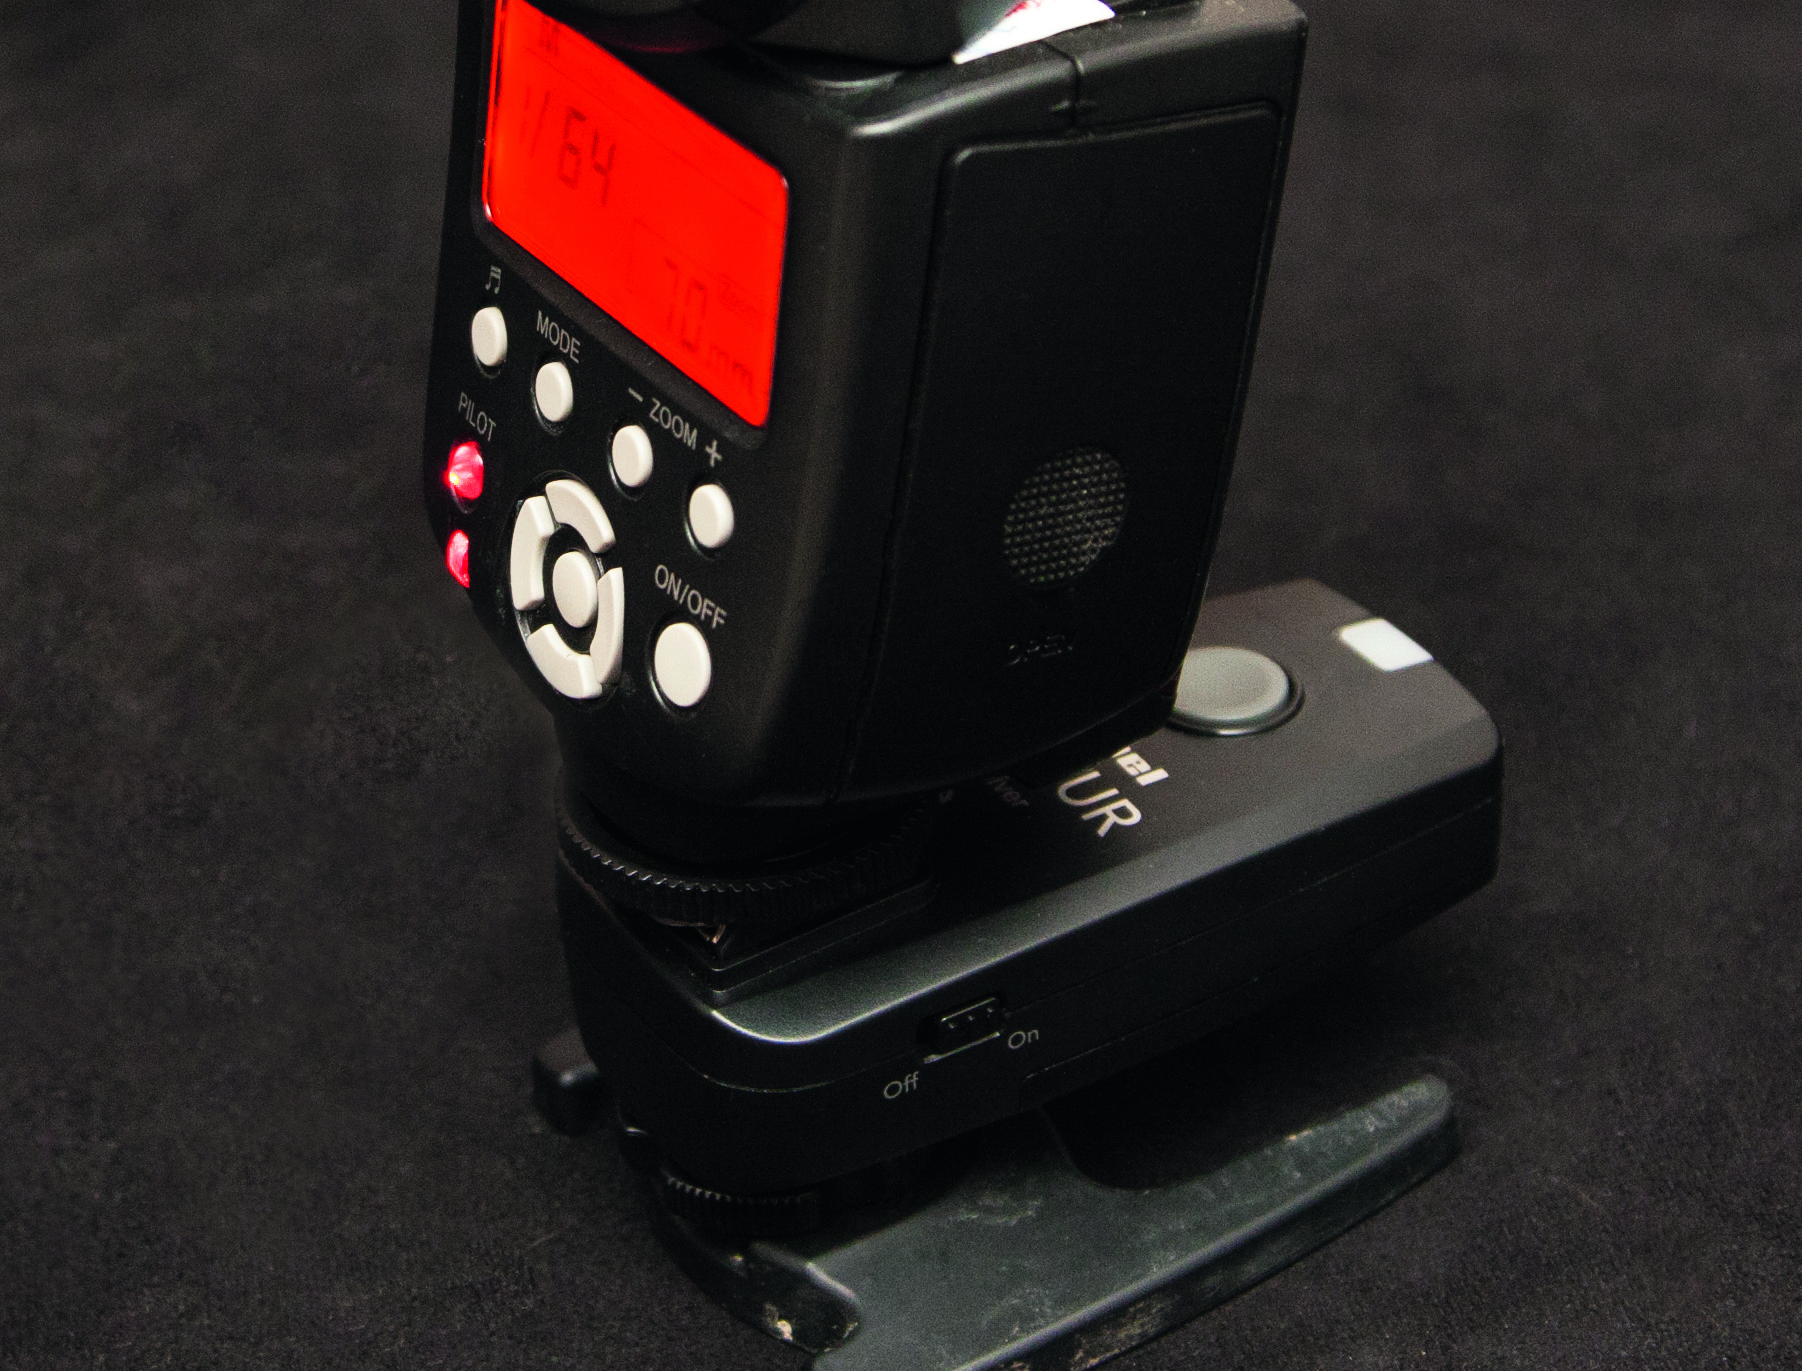
Attach your flash to your smart trigger’s receiver and position it behind where your balloon will be dropped, pointing towards the knife, so that the droplets will be backlit, but the background will remain dark. Set power to around 1/64 for a fast burst (see box on page 27).
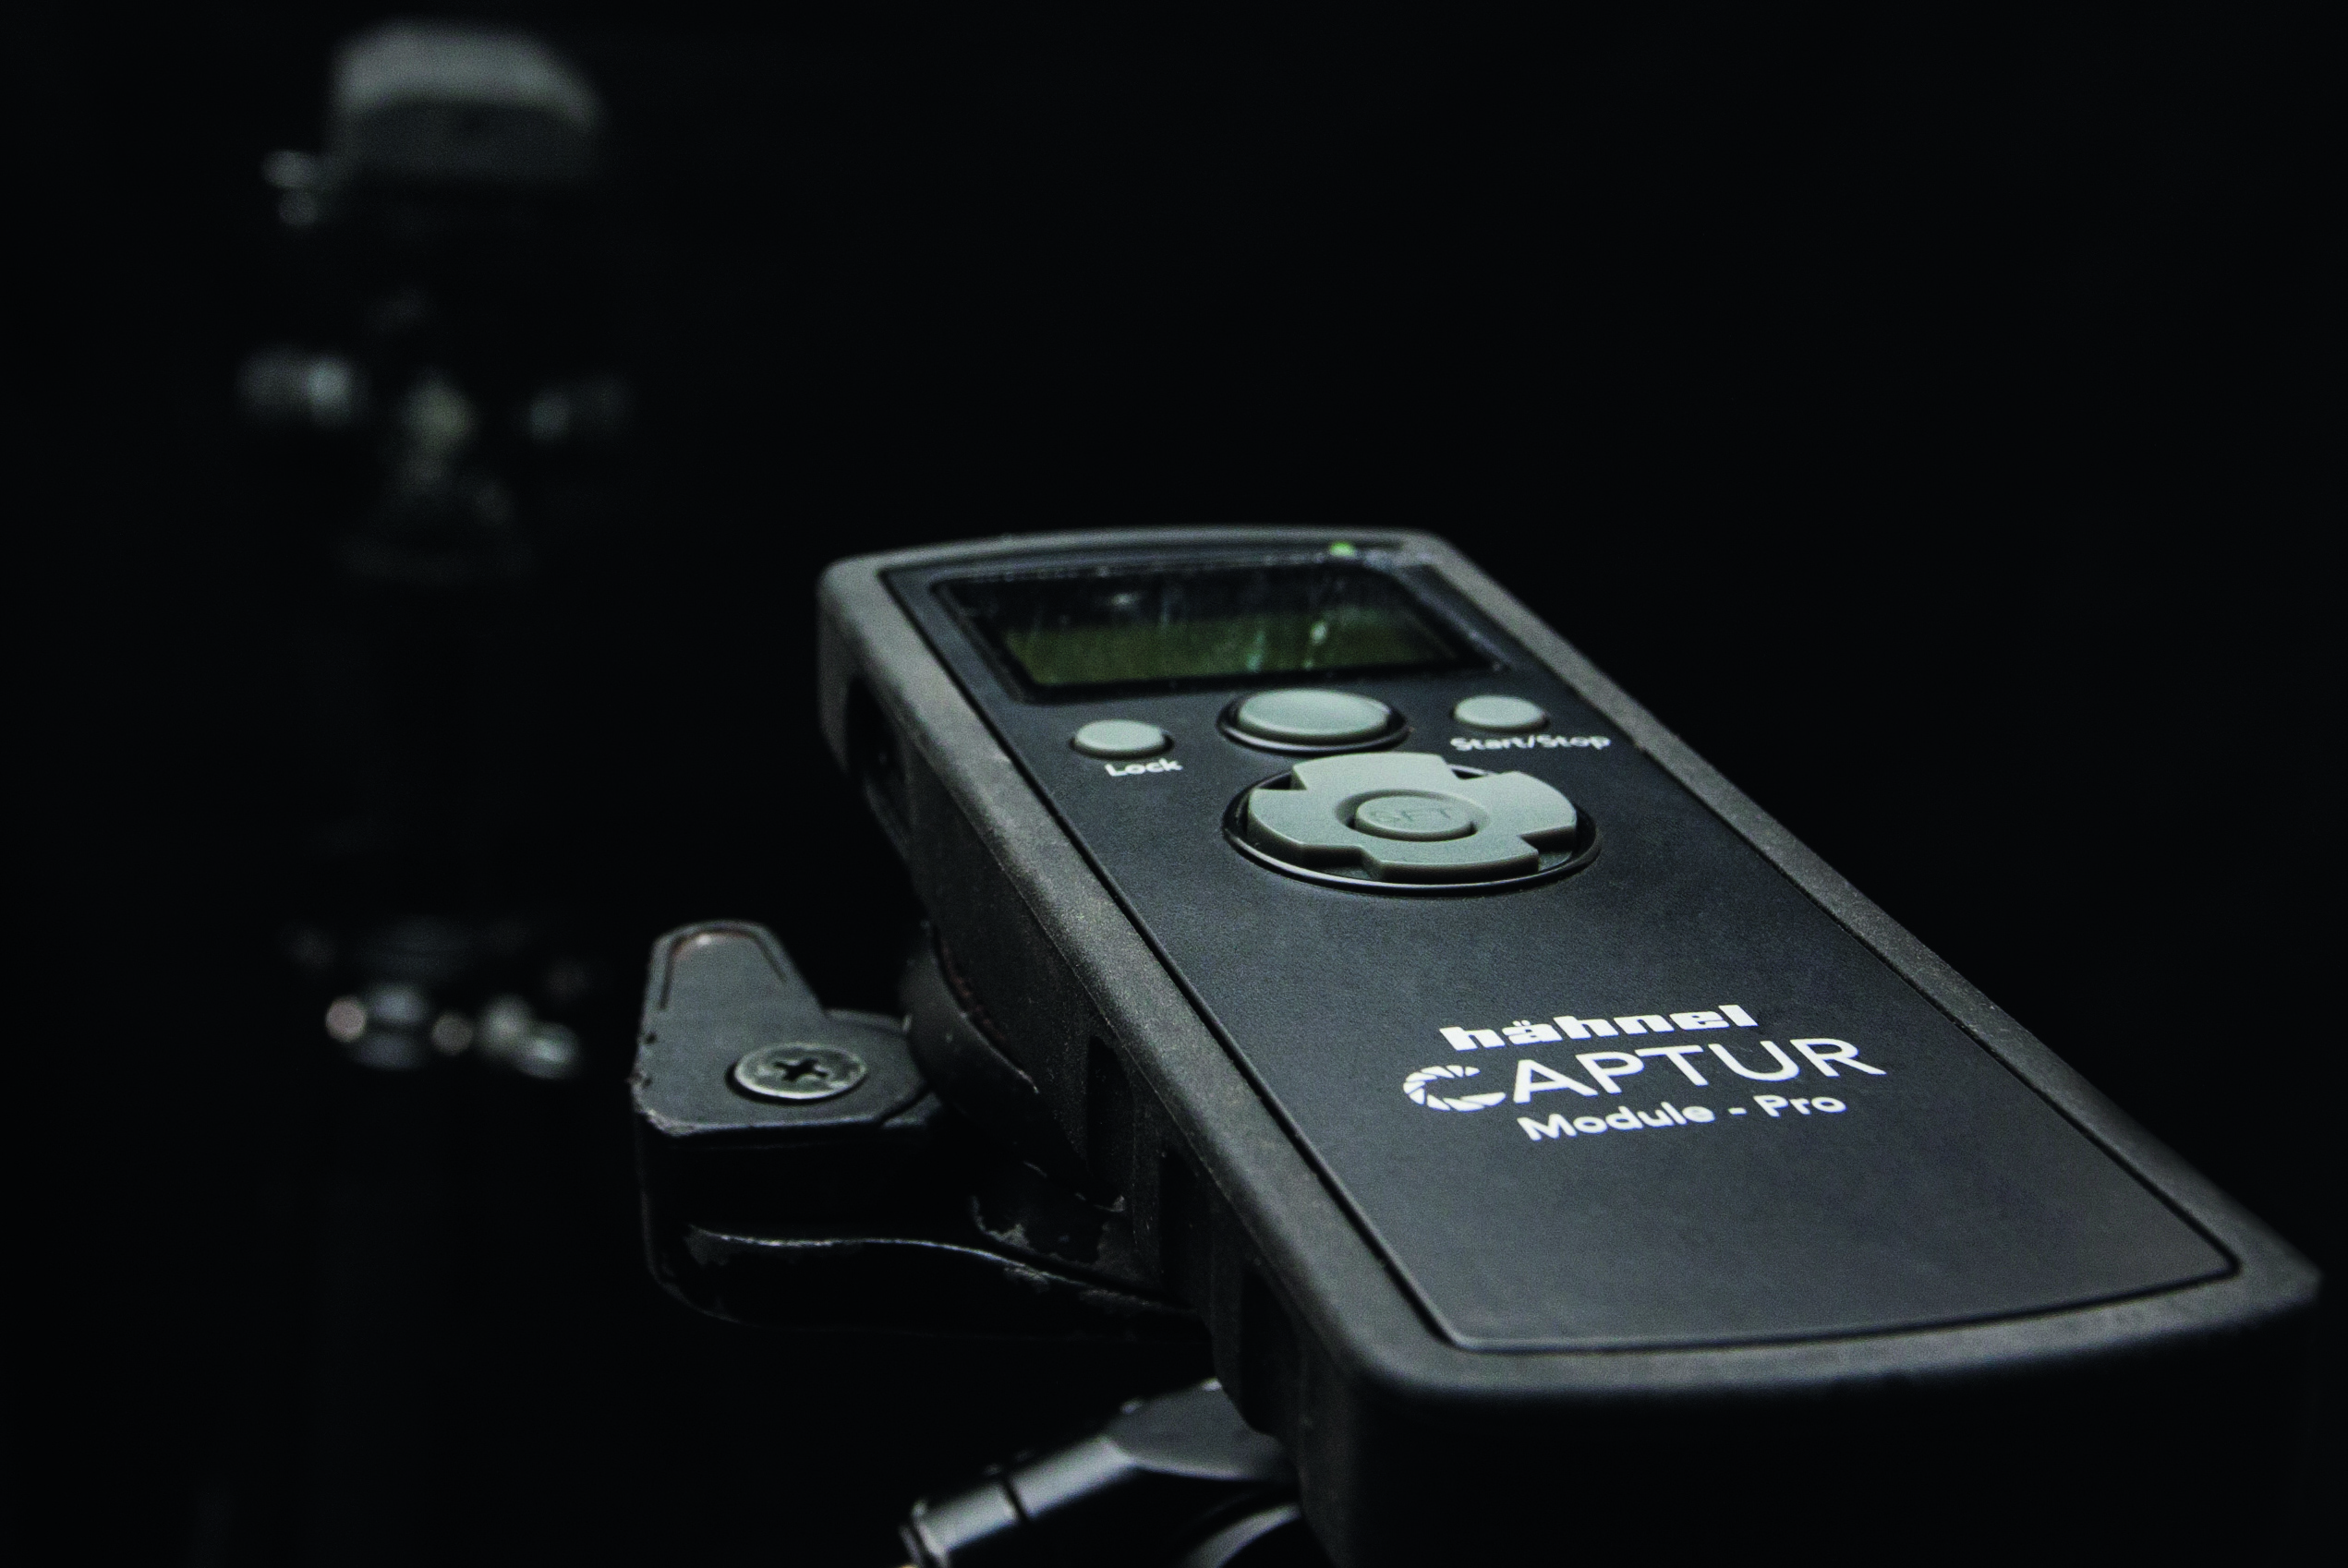

Your smart triggers may need syncing to work together. In the case of Captur Pro triggers like ours, hold down the large shutter button while turning the trigger on. This will cause the light to flash. Repeat this with all of the other Captur triggers or receiver units you are using. When done, turn them off, and when they’re switched back on, they will be linked together.
4 LINE 'EM UP
Place your smart triggers either side of the knife blade, and just above it. Select the infrared mode, then press Start. When the triggers are in sight of one another the light will be green, and it’ll turn red when the line of sight is broken by the falling balloon.
5 FREEZE THE ACTION
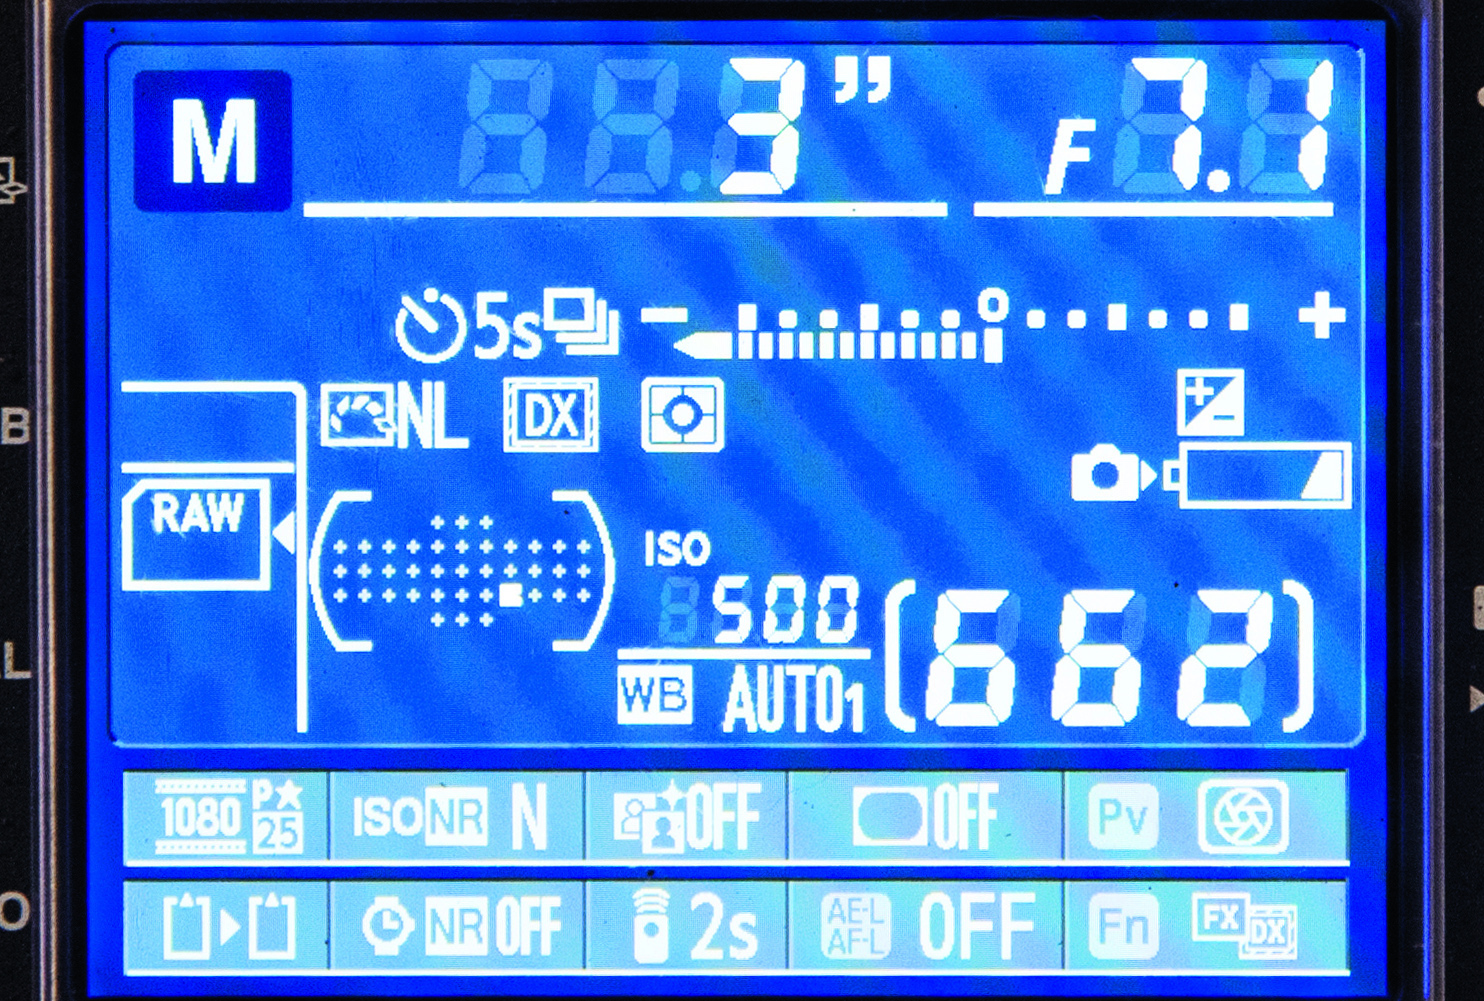
Put your camera into manual mode. Our exposure settings were f/7.1 at ISO500, with a three-second shutter speed. Everything in those three seconds will be captured, but because the room is dark, only the instant the flash fires will be seen in the final photo.

6 TIME IT RIGHT
Test your set-up with a tennis ball. Start the exposure and drop the ball to see where the flash picks it up. Adjust the delay as needed (in the example above, a delay of 7/100 sec was just too short). When you’re happy, take the shot for real with a water balloon.
Get the Digital Camera World Newsletter
The best camera deals, reviews, product advice, and unmissable photography news, direct to your inbox!
