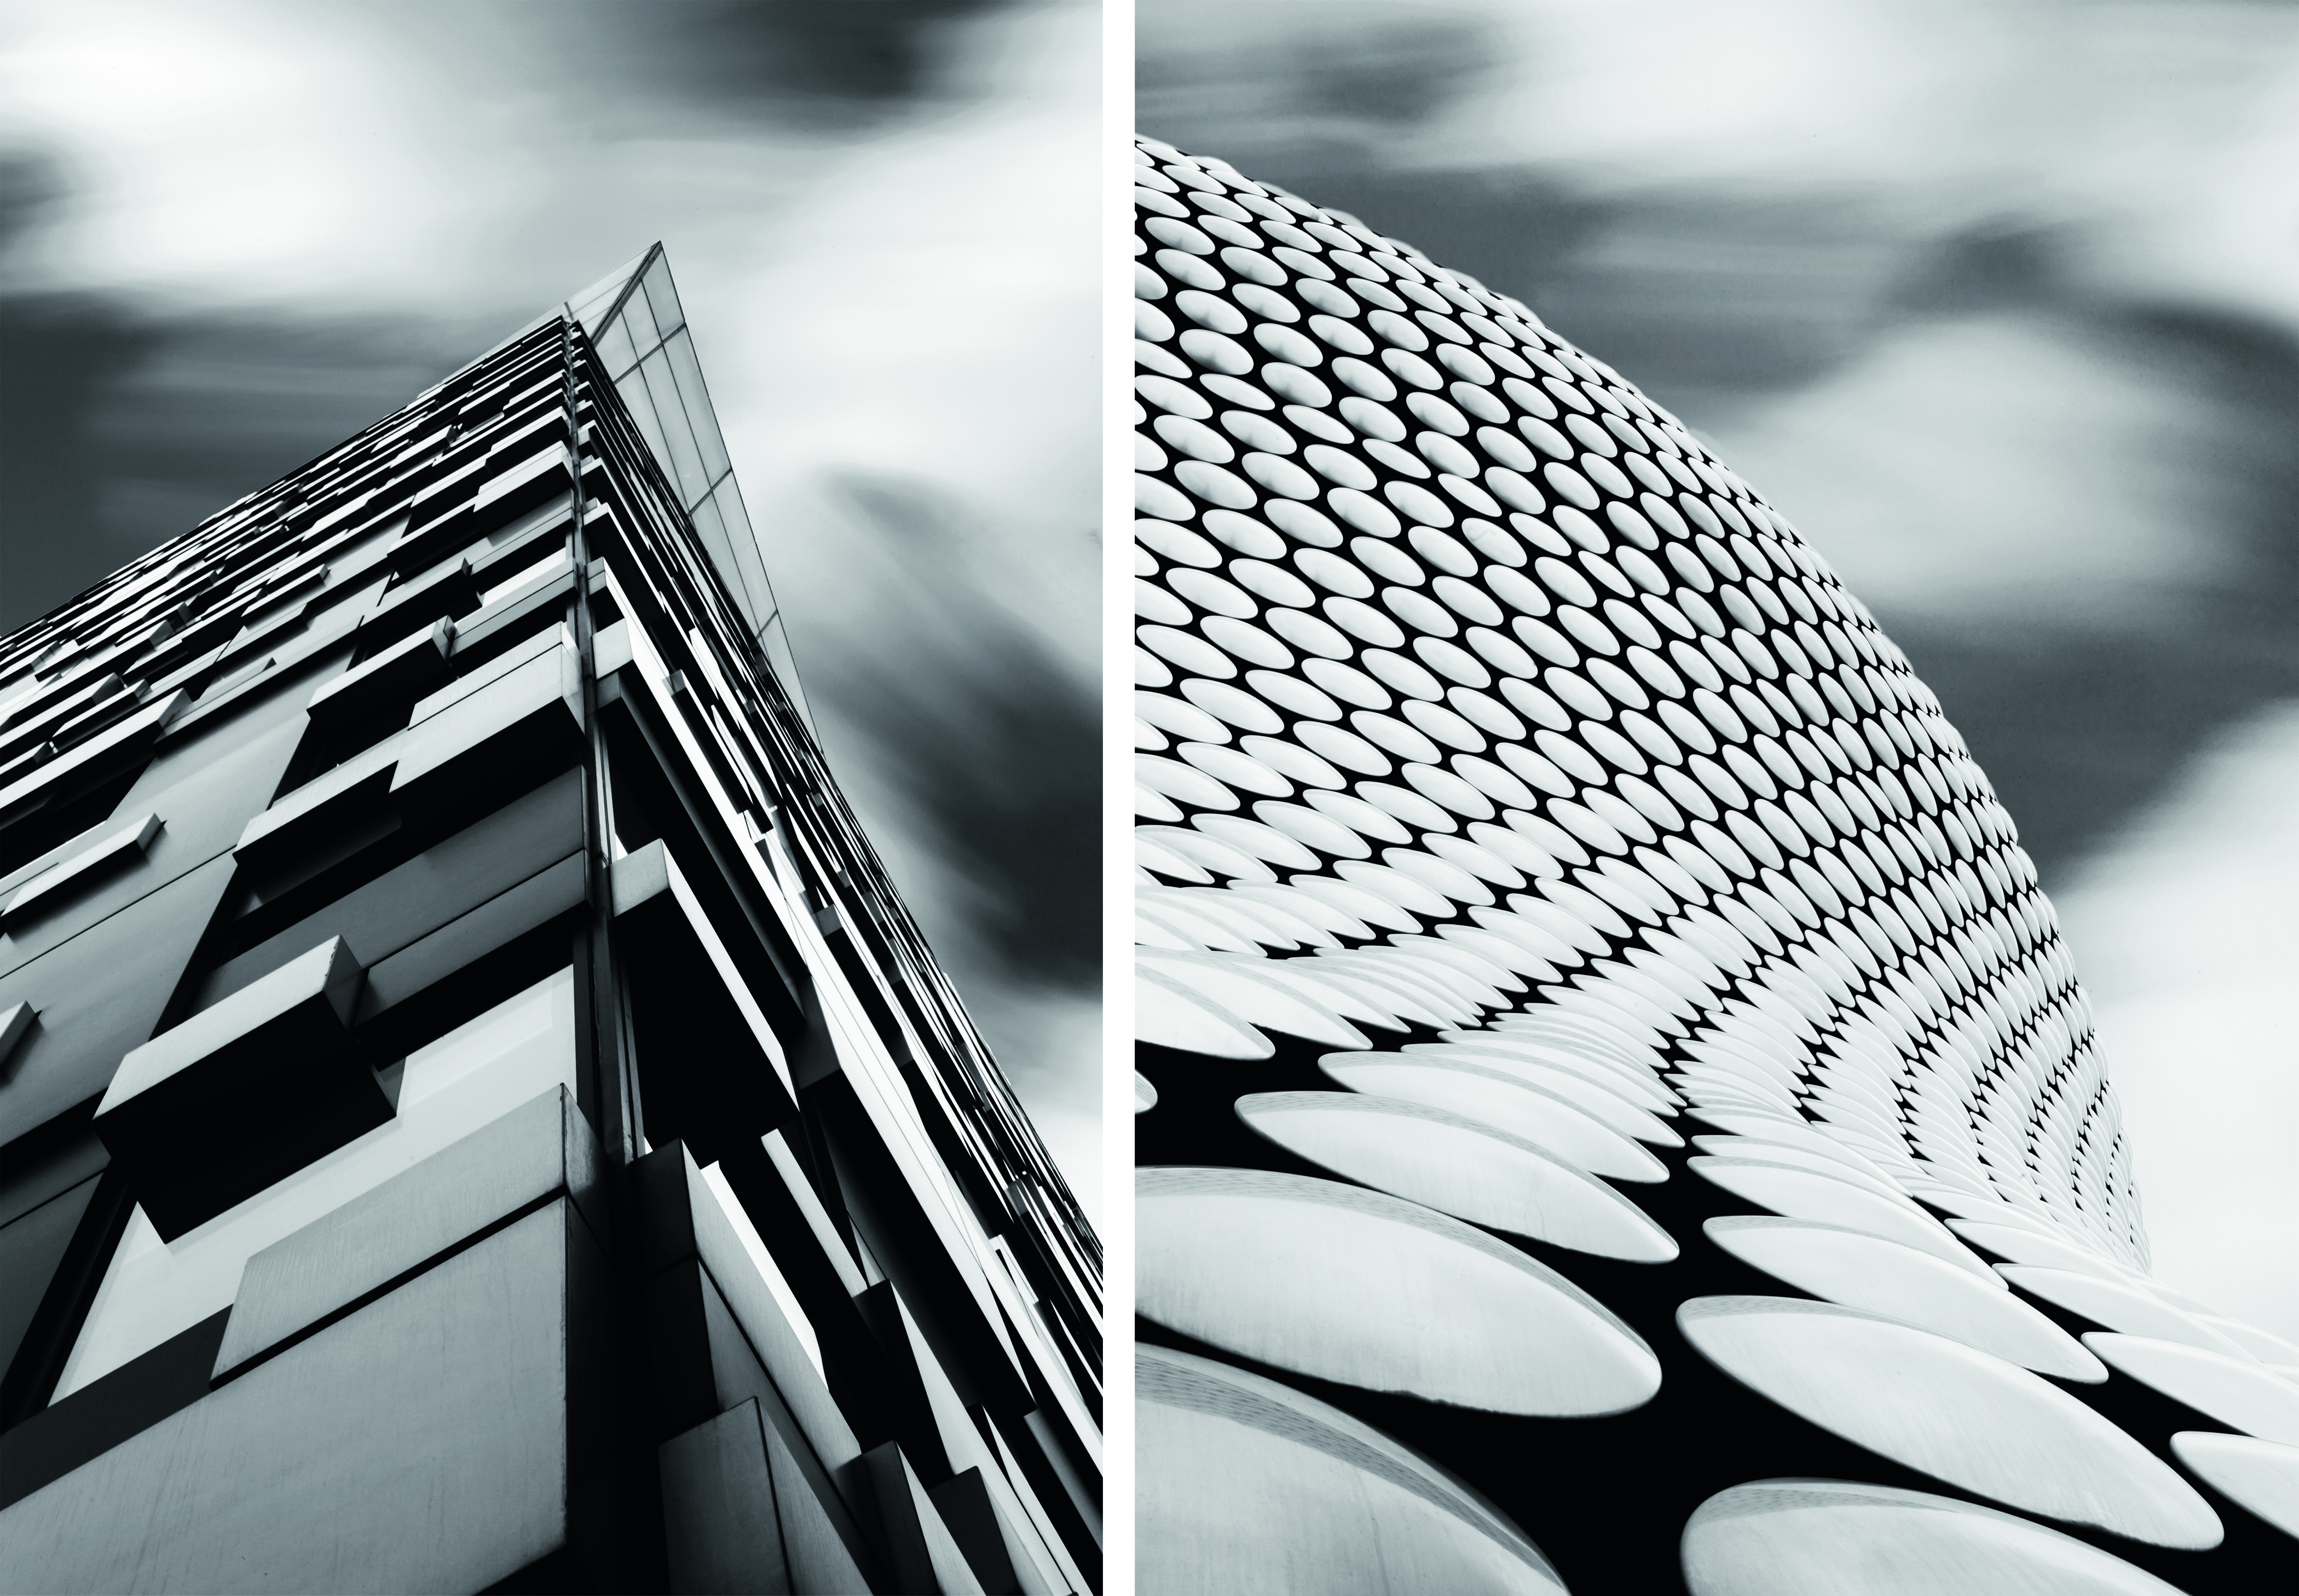
To shoot a tall building from close up for added impact
Time: 10 minutes
Skill level: Beginner
Kit needed: Nikon D-SLR, Tripod, ND filter
When we think of architectural photography we tend to imagine crisp, clean images of buildings that show the main façade of a structure front-on. In this tutorial, though, we’re going to demonstrate how to add impact to images of tall buildings by shooting straight up at them, and blurring moving clouds as they pass overhead.
Modern architecture, with its blocky shapes and heavy use of glass to create smooth, reflective surfaces, is the perfect subject for shooting from this extreme perspective. Converting images to black and white also suits this technique, with the silvery tones giving images a futuristic look.
The key is to time your shoot for when there are fast-moving clouds passing overhead – the faster the clouds, the easier it will be to get that dramatic, streaky-sky effect.
Once you’ve got your subject and sky sorted, you’ll need to blur the clouds, and to do this you need to set a long exposure. However, in daylight you may not be able to set an exposure long enough without running the risk of over-exposure, which is where neutral density filters come in. Here’s how it’s done...
STEP BY STEP: Shoot from the bottom up
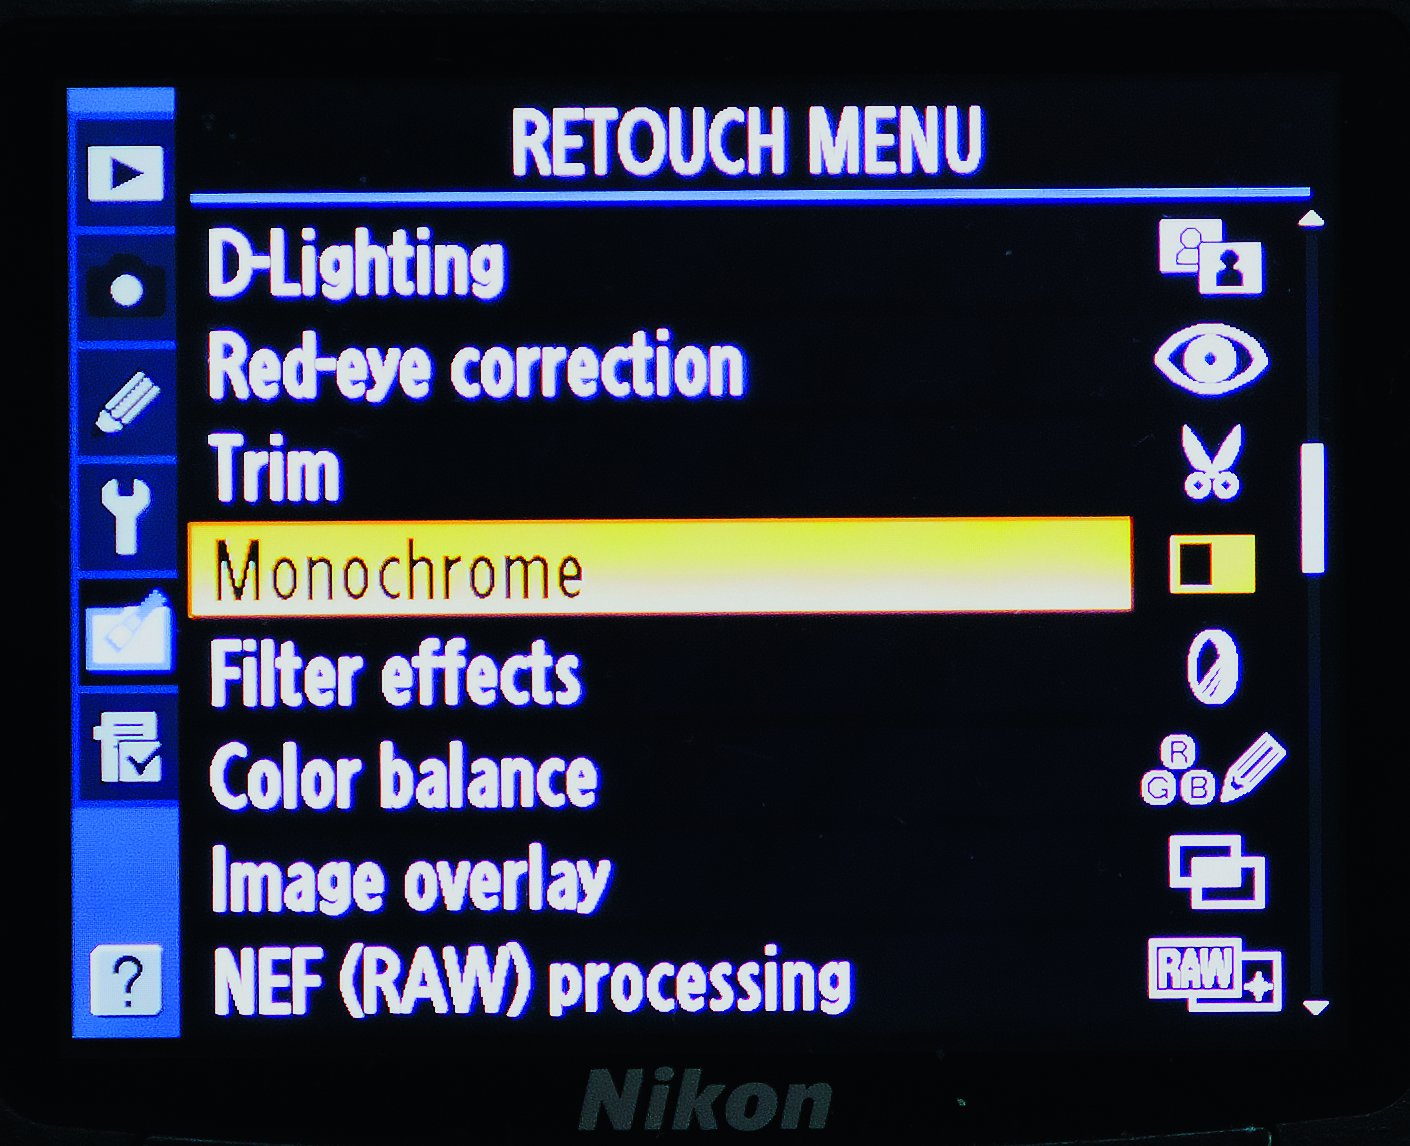
To add impact to your shot, convert it to monochrome. This can be done in-camera by going into the Retouch menu, selecting Monochrome and applying this to your favourite image.
You can also set the camera to shoot in monochrome using the Picture Styles – if you shoot in RAW, you’ll still have all the colour information if needed.
1 FIND A SUBJECT
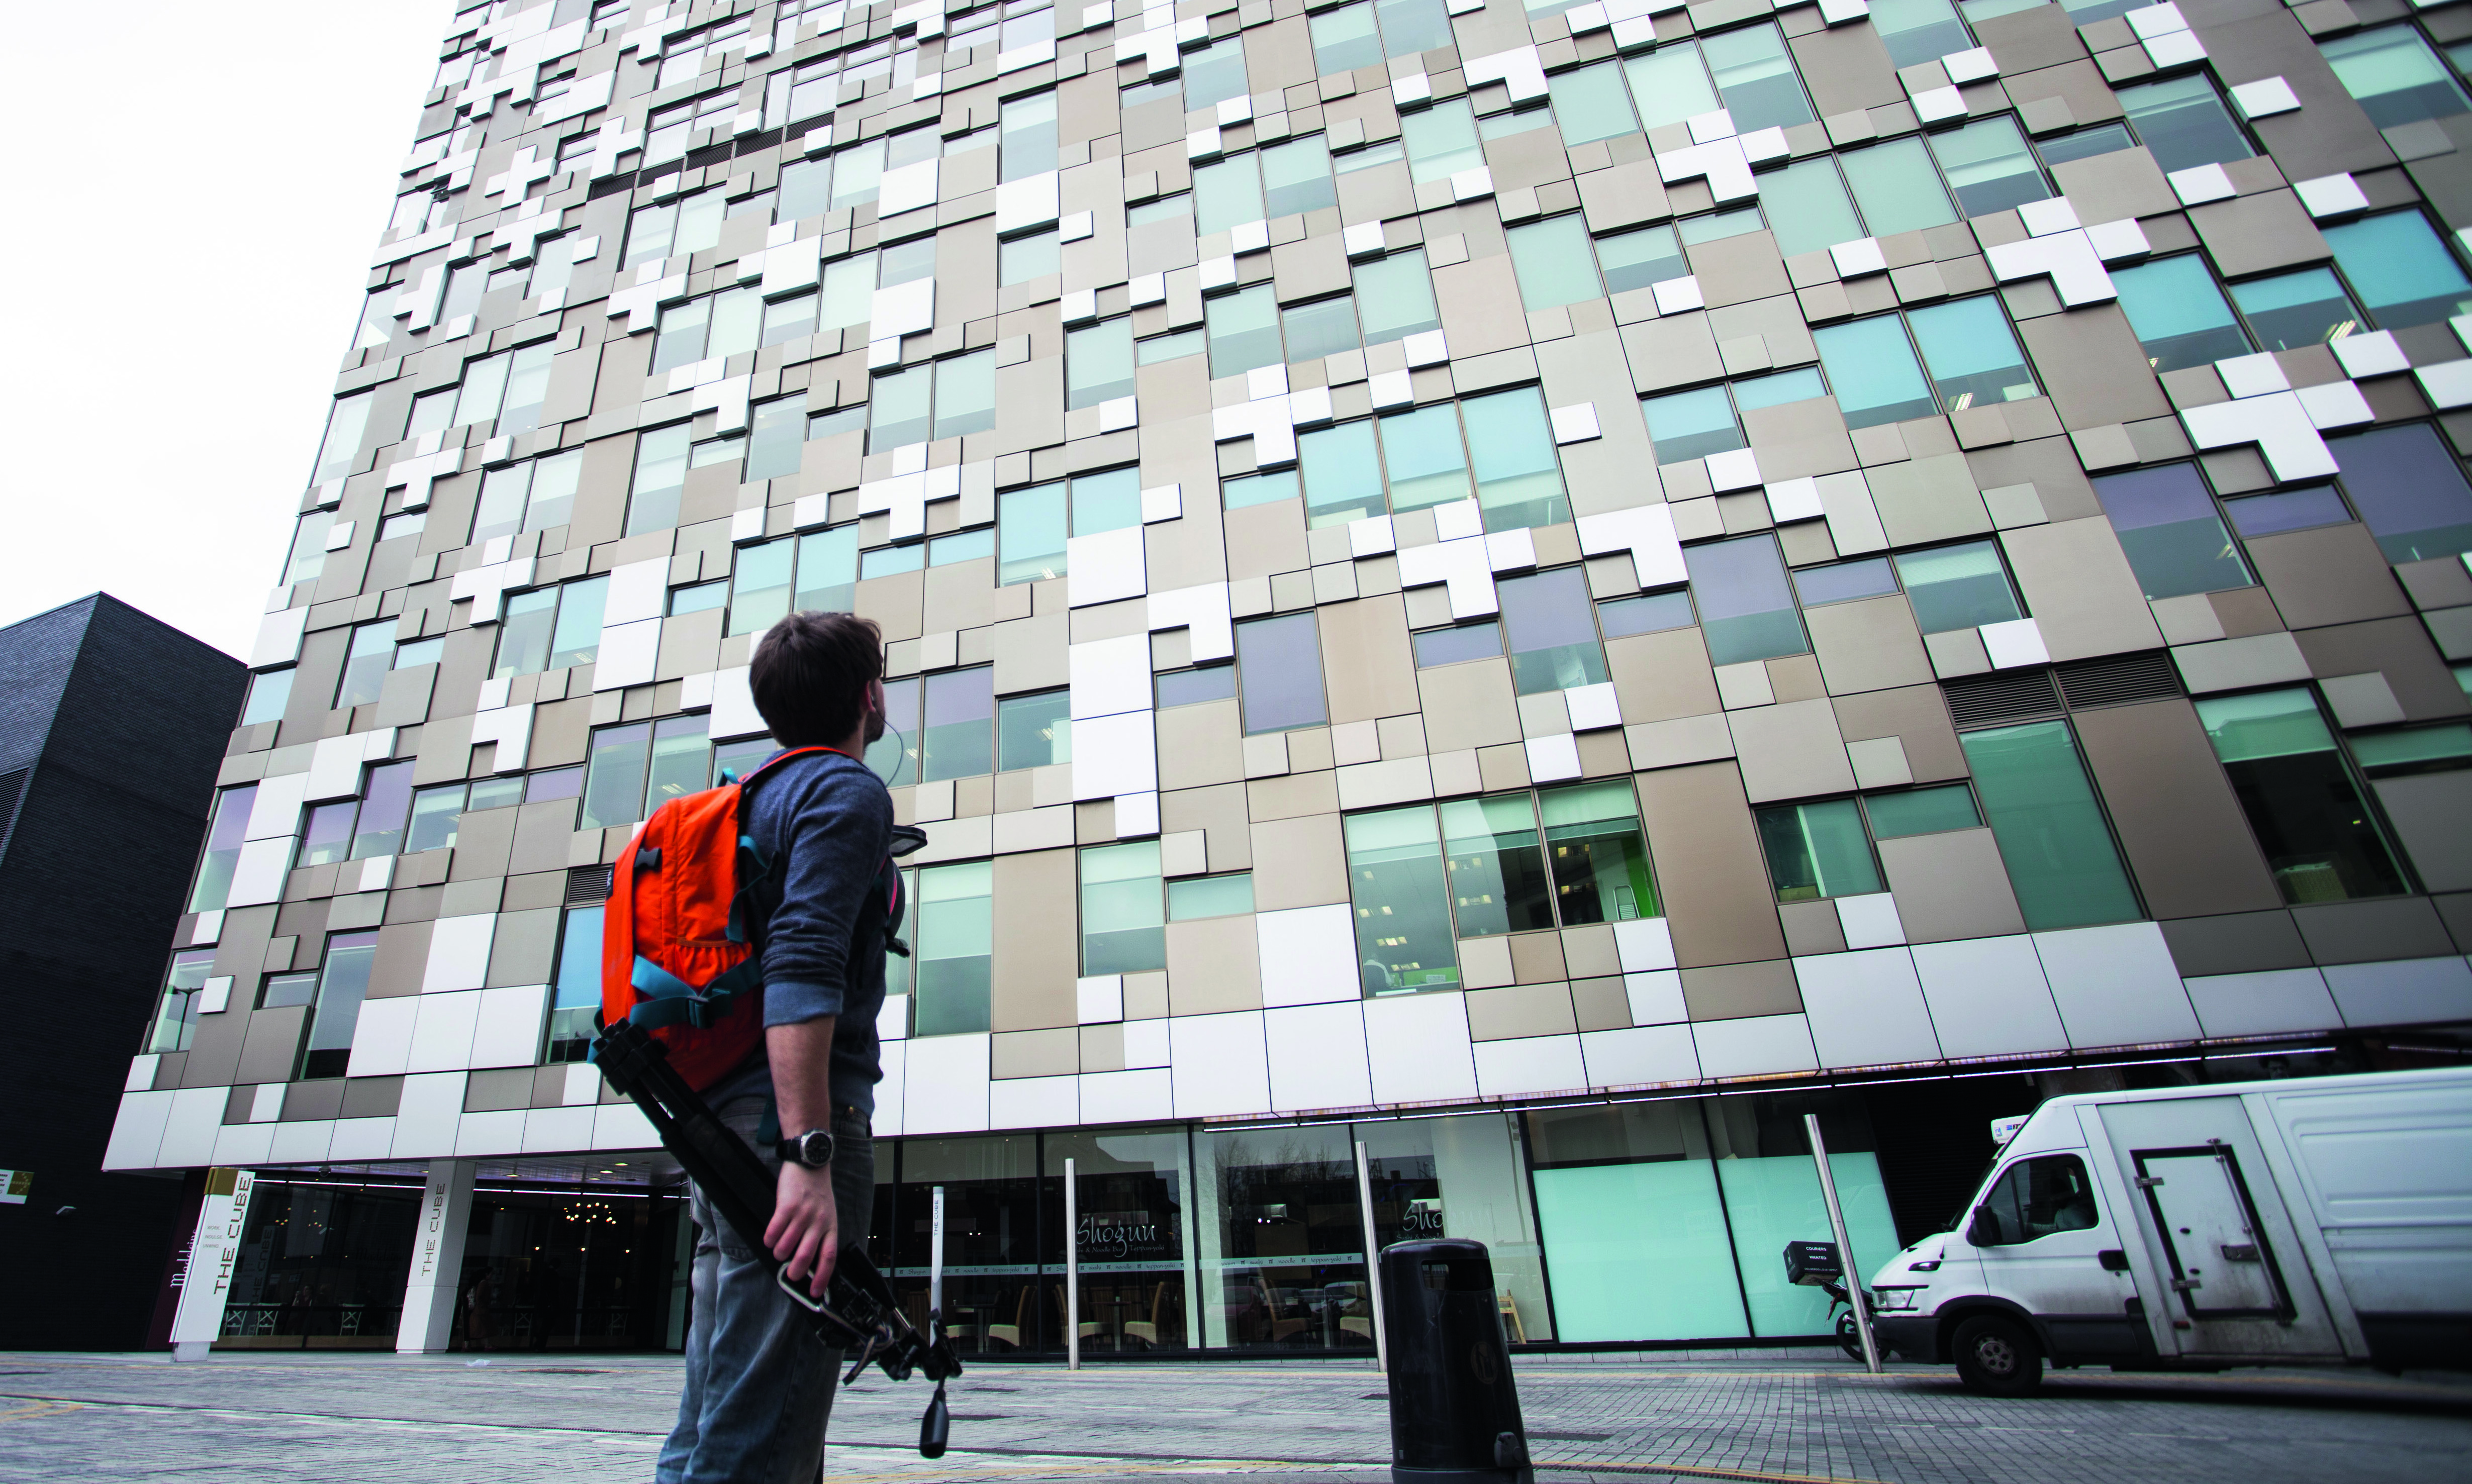
Find a tall tower block or similar building. Look for clean edges, such as the right-angle corners of a skyscraper, as well as clean glass walls which will reflect light, and brighten up parts of the building. Details in the facade will also help to add interest and texture.

2 TAKE A CORNER
Set up close to the base of the building, opposite one of its corners. Place your Nikon on a tripod, and point it straight up at the edge of the structure. Compose your shot so that the frame is filled mostly by the building’s edge, with some space around the top for the sky.
3 SET A SMALL APERTURE
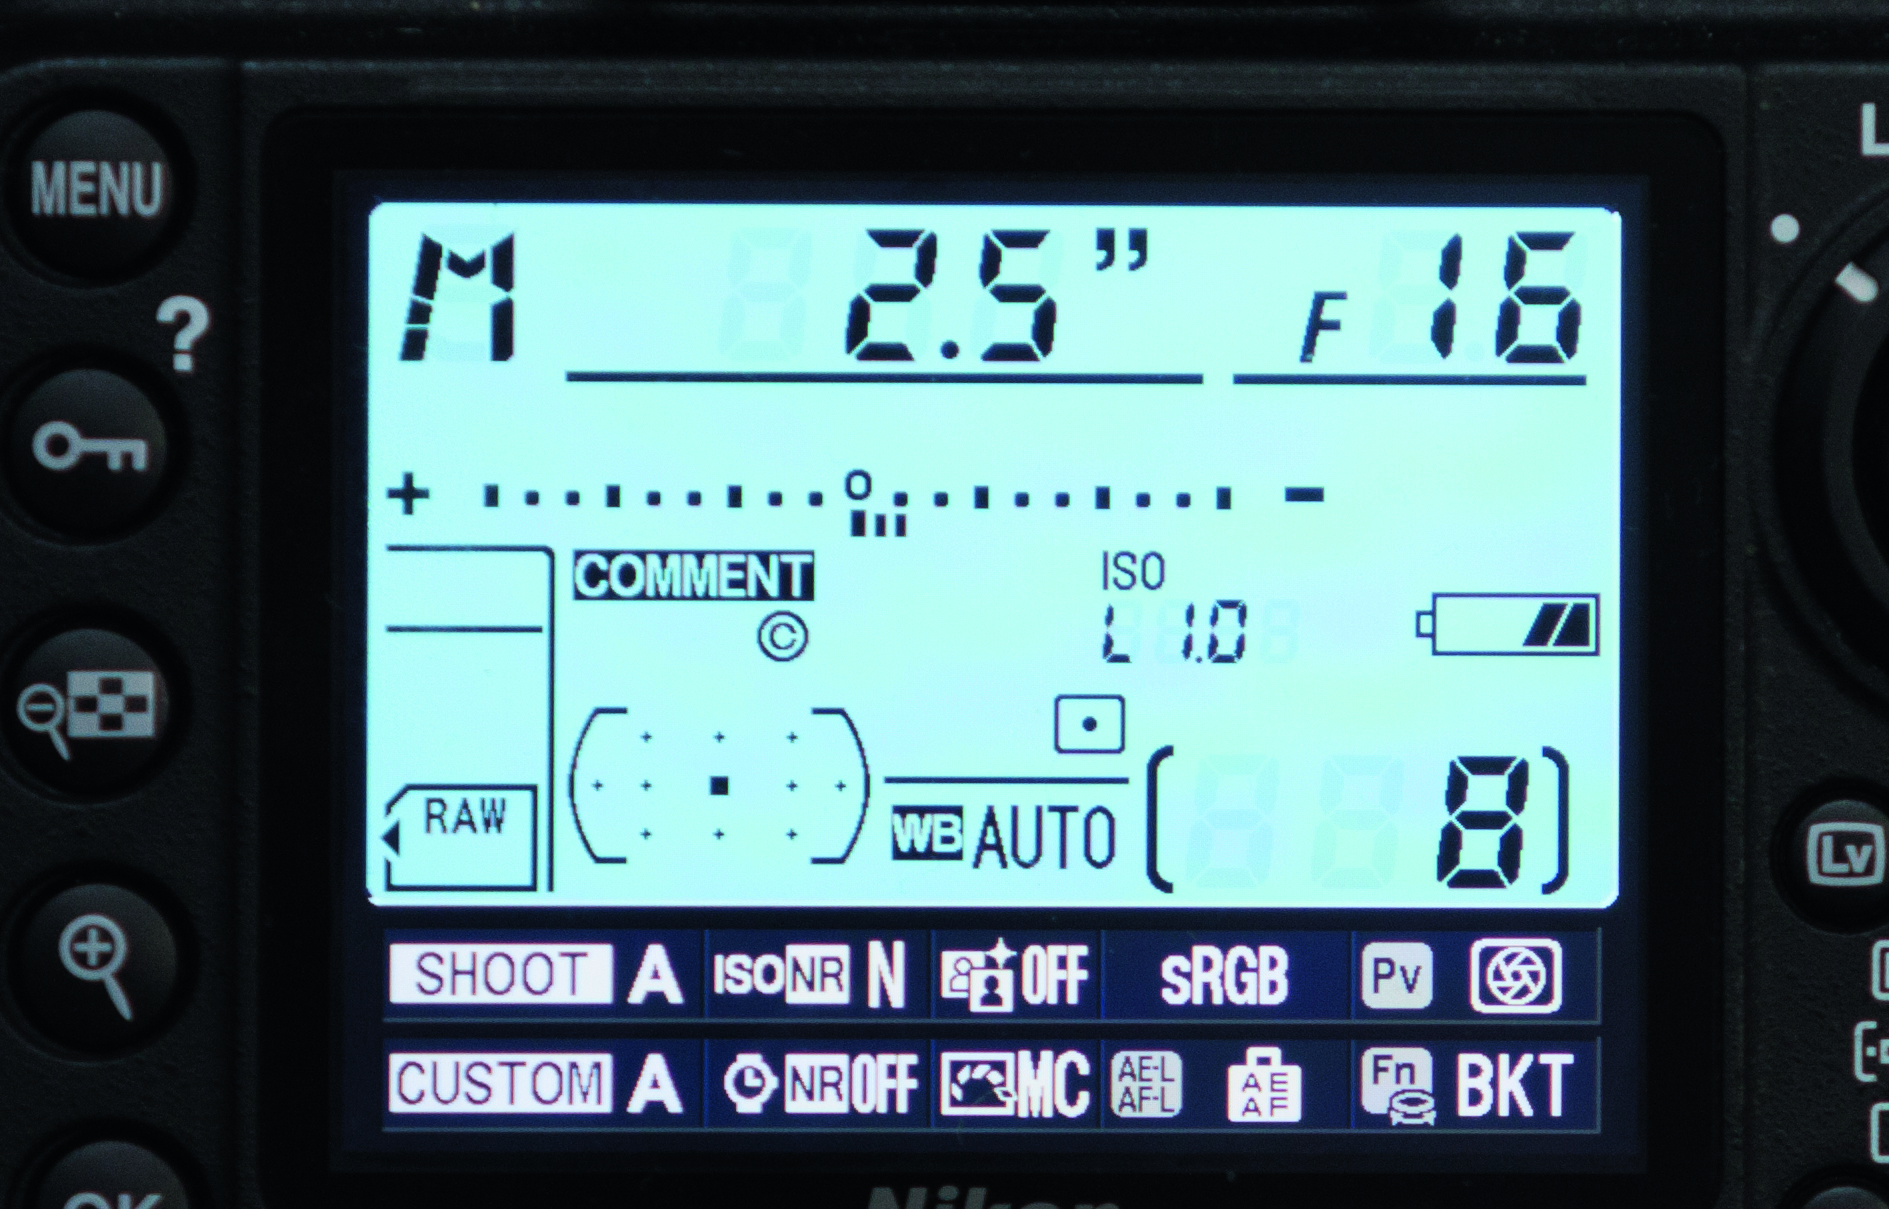
In manual mode, set an aperture of f/16 at ISO100. Not only will this help to maximise depth of field, and so ensure the entire building is sharp, it will also reduce the amount of light hitting the sensor, enabling you to set slower shutter speeds for a correct exposure.
4 SWITCH TO MANUAL FOCUS
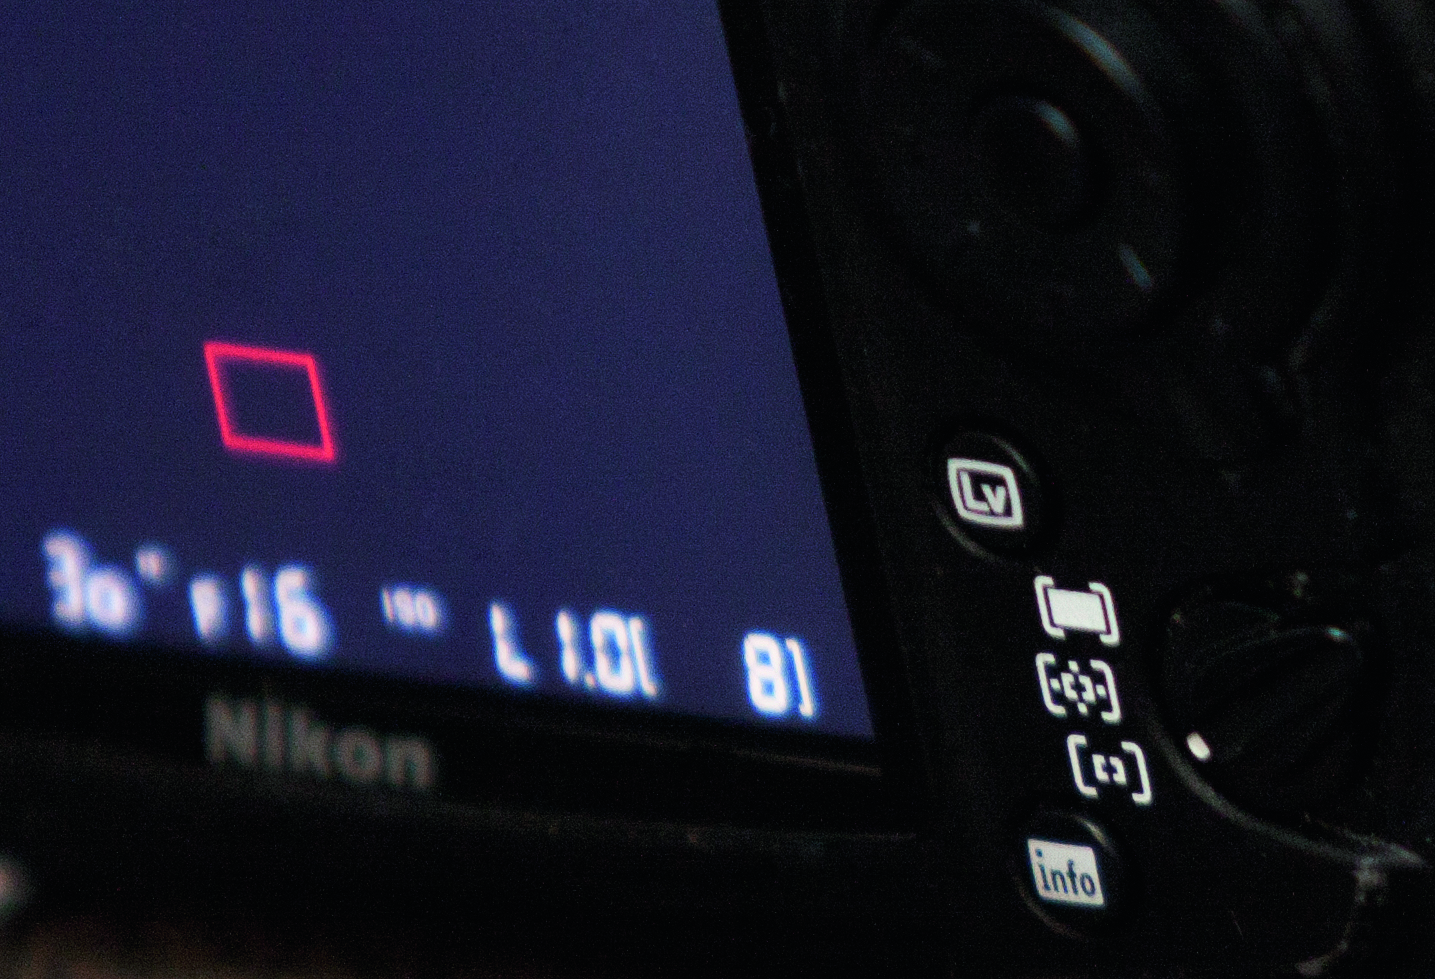
To further maximise depth of field, manually select an AF point roughly a third of the way into the frame. In Live View, zoom in on different parts of the image to check for sharpness, then switch your lens to manual to lock the focus, and prevent the AF system from hunting.

5 DIM THE LIGHTS
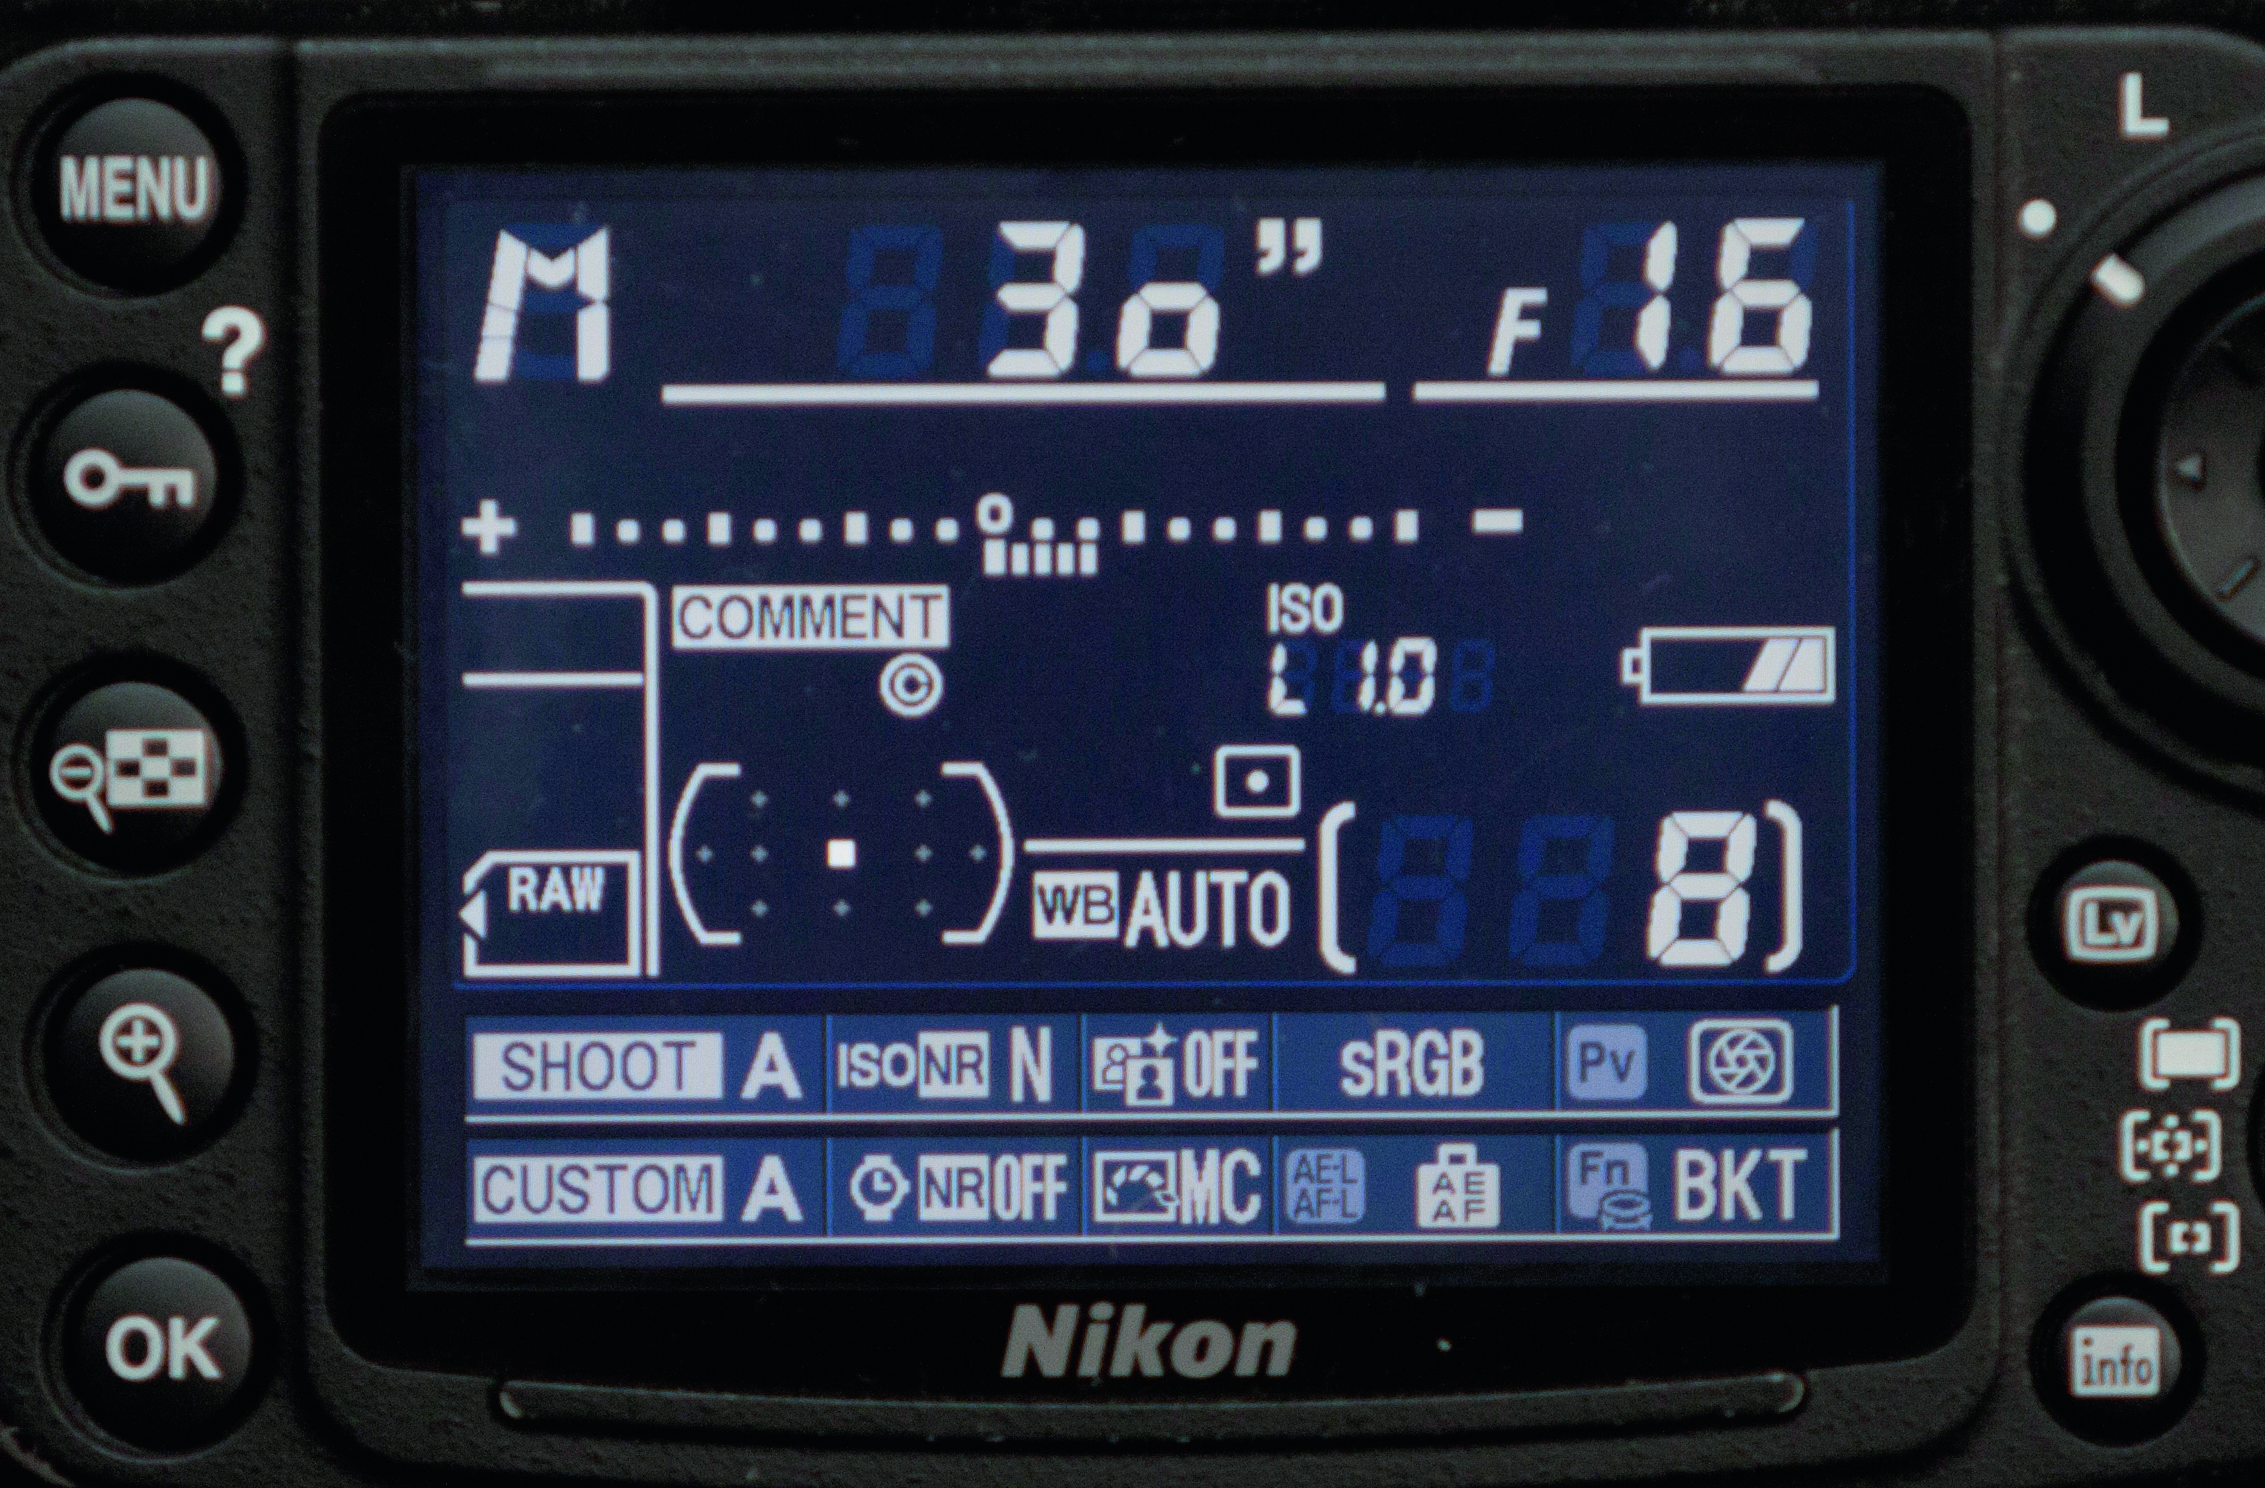
Next, attach a strong ND filter to your lens. We used an ND400 filter, which blocks out nine full stops of light. Once the filter is attached, you need to decrease the shutter speed until the exposure level indicator lines up with zero on the exposure scale.
Clouds moving straight towards you or away from you tend to look more dramatic than clouds passing from one side of the frame to the other.
6 CHECK YOUR SPEED
Take a test shot and check the histogram to ensure that none of the highlights are blown. If they are, you’ll need to set a faster shutter speed. If your image is too dark, you’ll need to set a slower shutter speed. Our speed of 30 secs was plenty long enough to blur the clouds.
Get the Digital Camera World Newsletter
The best camera deals, reviews, product advice, and unmissable photography news, direct to your inbox!
