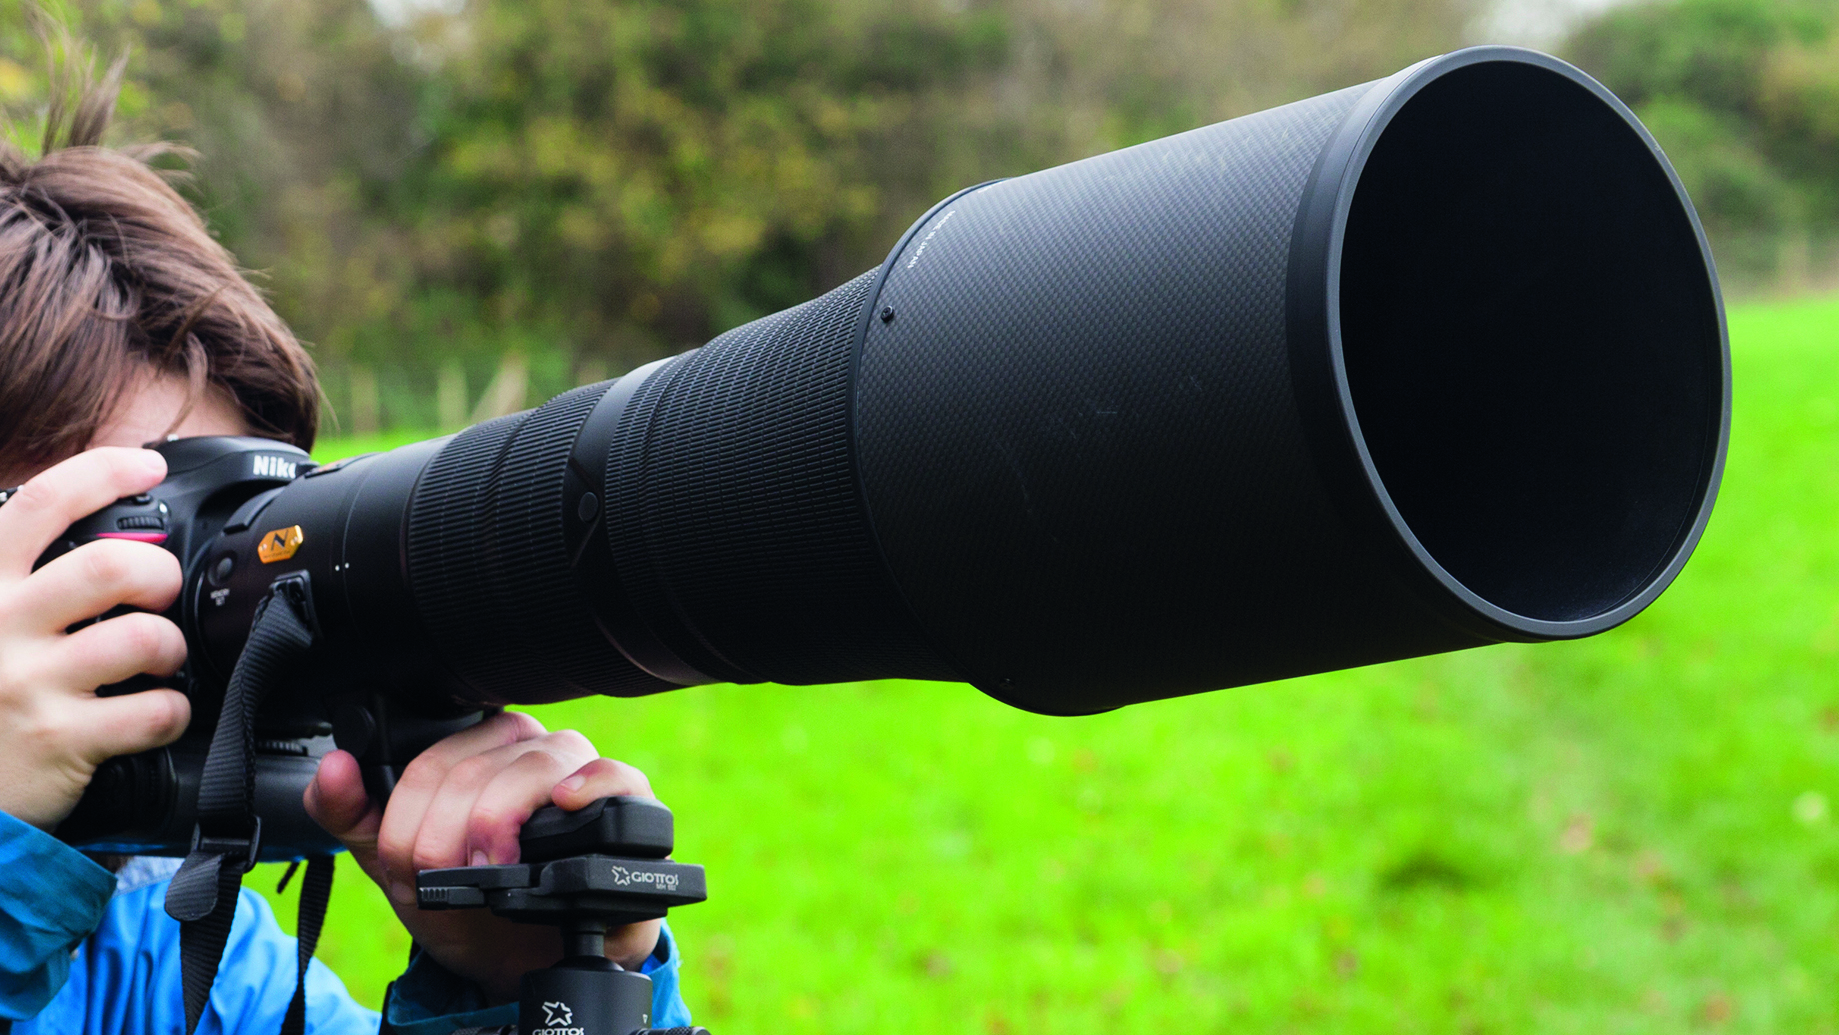
How to capture luscious landscape lighting
Planning and patience will help boost your chances of capturing stunning landscape lighting
Photography project inspiration
• Plan the perfect landscape shoot!
Landscape shopping list
• Best cameras for landscapes
• Best lenses for landscapes
• Best tripod for photographers
• Best camera bag for travel
Watch video: How to capture luscious landscape lighting
There are plenty of landscape photography tips out there to help improve your images, but ultimately a good landscape hinges on three things: subject, composition and light. We have complete control over the first two, but the latter is what can quickly send even the most promising shoot into disarray.
Planning is a key factor when it comes to getting perfect lighting. Keeping an eye on the Met Office website and ensuring that you plan the perfect landscape shoot is a good place to start, but what can you do to improve your chances of capturing stunning light when you’re out in the field? You wait and wait… and wait some more.
• Looking for photoshoot ideas?
People who don’t take photographs might assume that a good landscape is down to being in the right place at the right time – and while that’s partially true, you also make your own luck. Even if lighting conditions are ideal, there's always the chance they could get better. Our image of the lone tree at Rydal Water is a prime example.
The key to this photo is how the light frames and separates the tree from the busy background. Without it, the subject would get lost in the busy melee of colors on the far side of the lake. Weather reports promised intermittent bursts of sunshine and, with the sun behind and slightly to our right, we knew we had a good chance of experiencing ideal lighting conditions. All we had to do was bide our time.
How to capture the best light
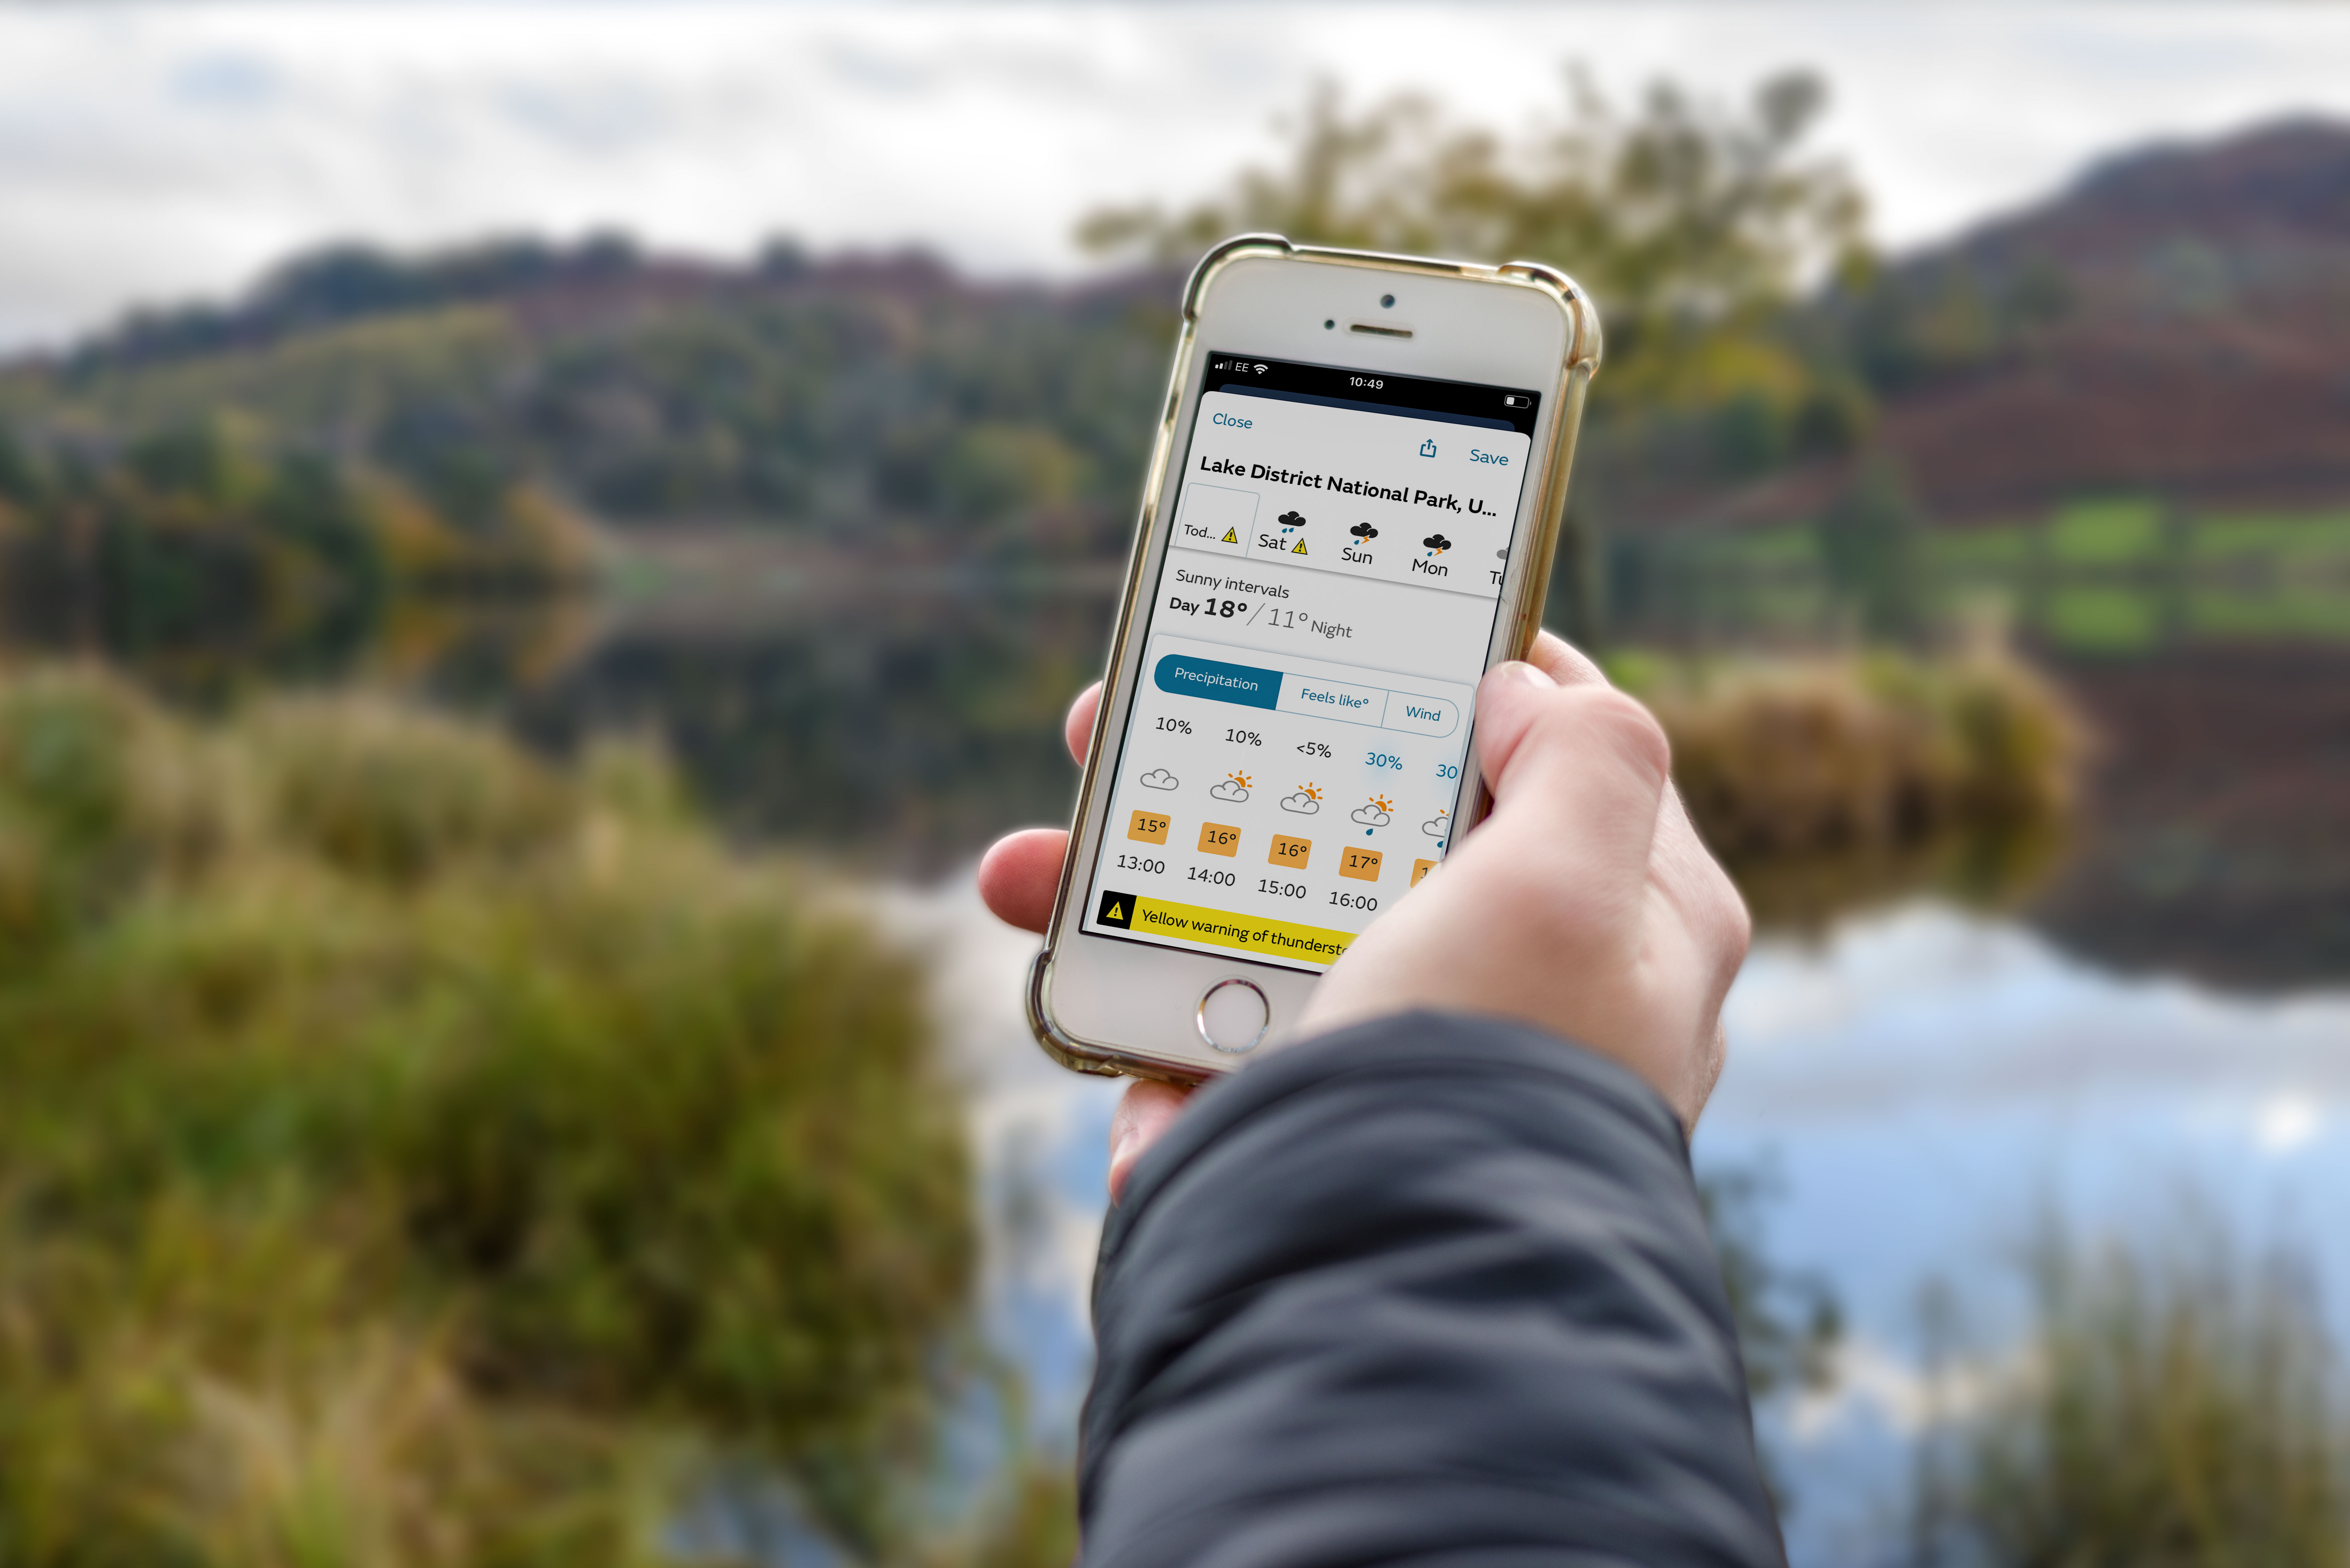
1. Read the weather
Apps like Met Office Weather Forecast are invaluable when it comes to predicting the weather. Combine this with a photography planning app, such as PhotoPills, and you can work out precisely what direction light comes from at specific times and dates.
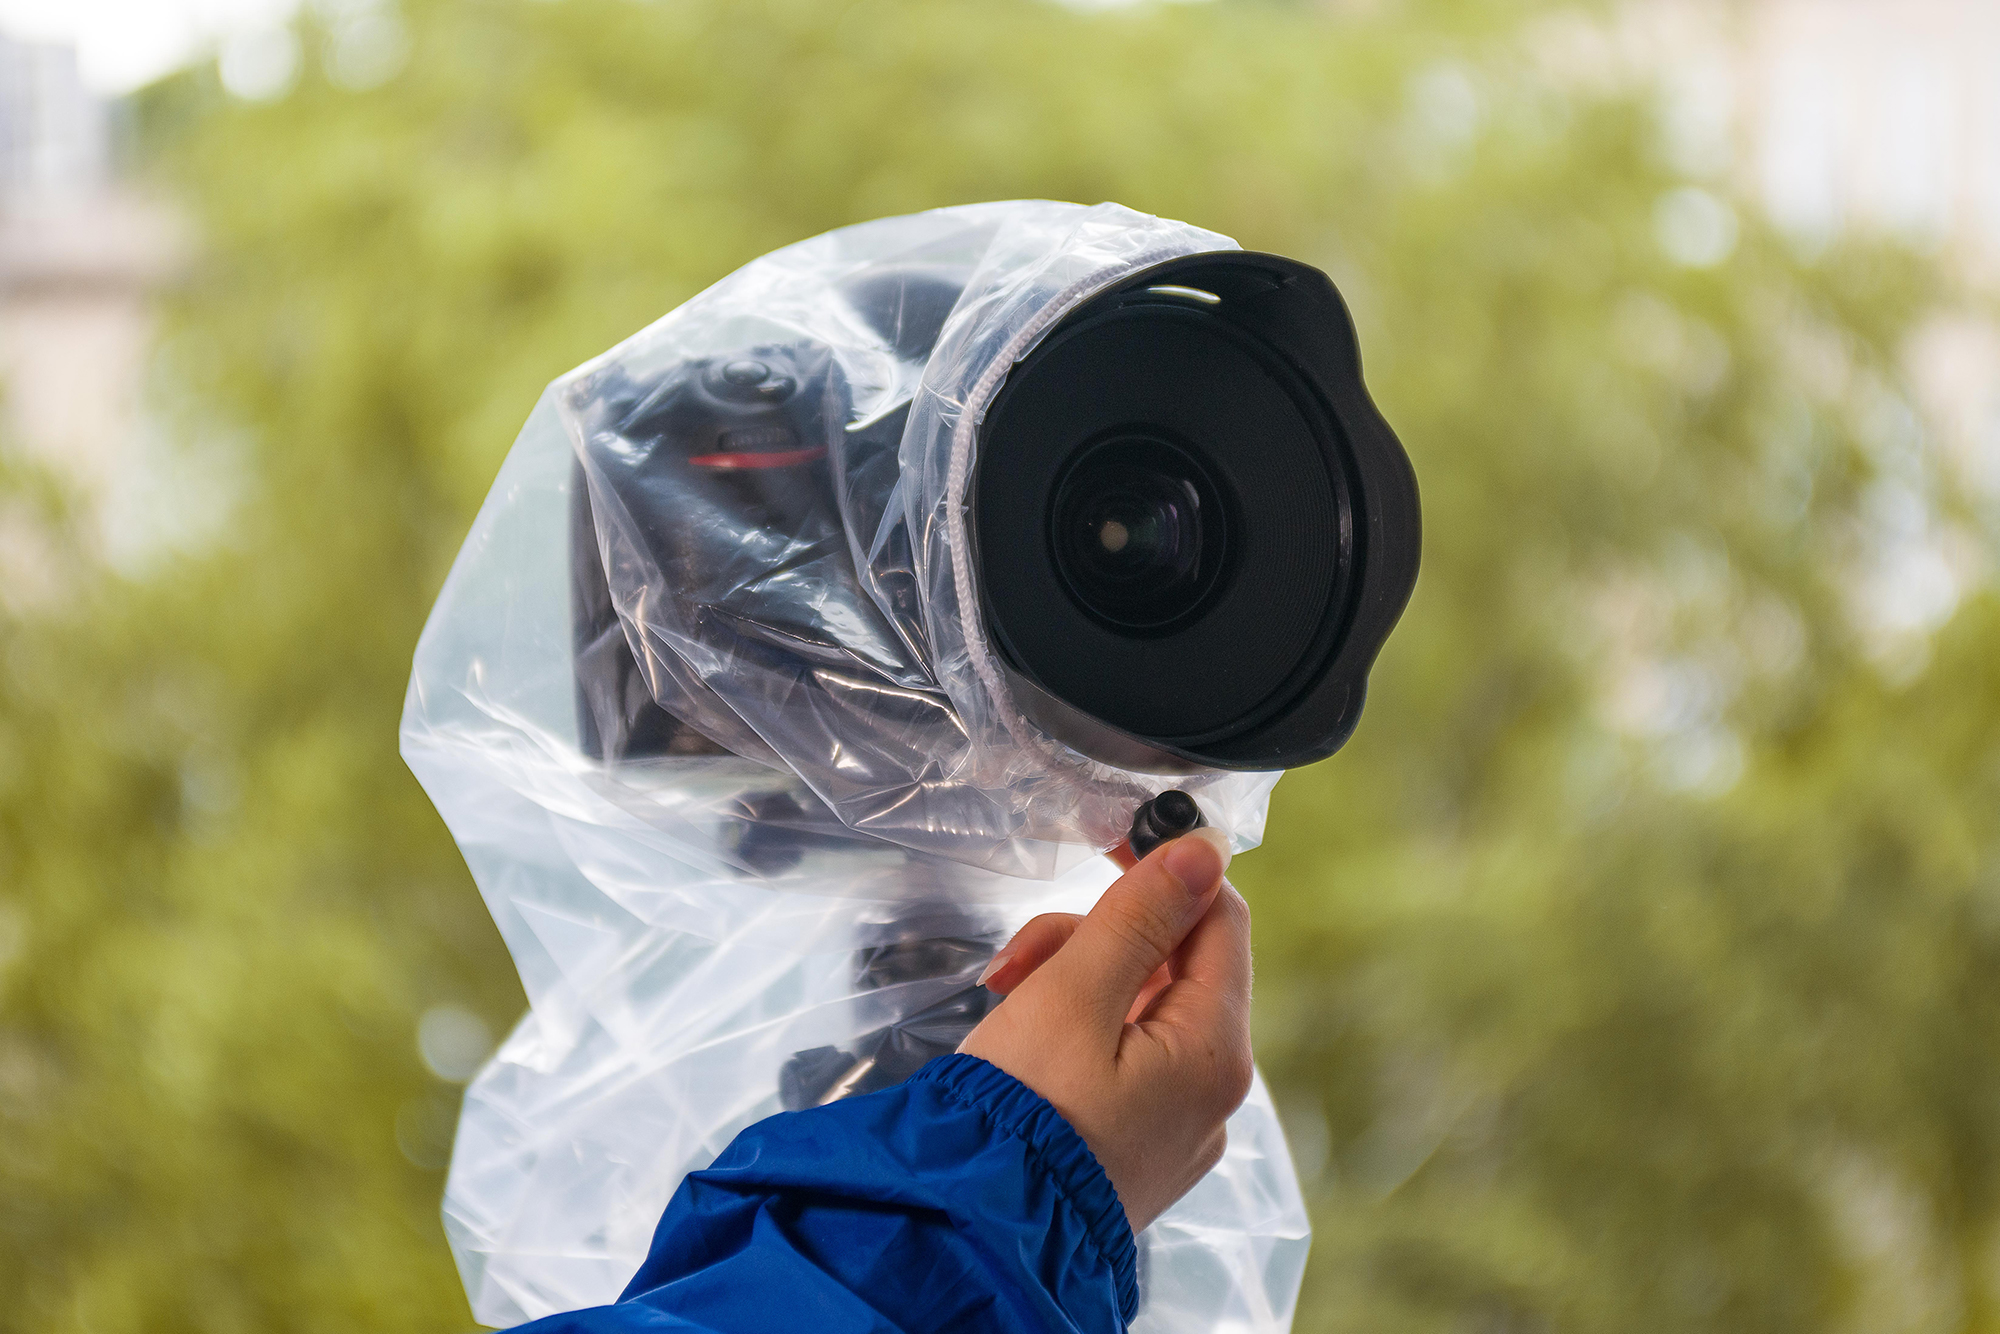
2. Come prepared
The weather can quickly turn bad, but it can clear up just as fast. We carry waterproofs and a camera rain cover on every shoot, so that we can withstand the wetness. There’s nothing worse than heading off in defeat, only to witness the glorious conditions you were waiting for after you're all packed up.
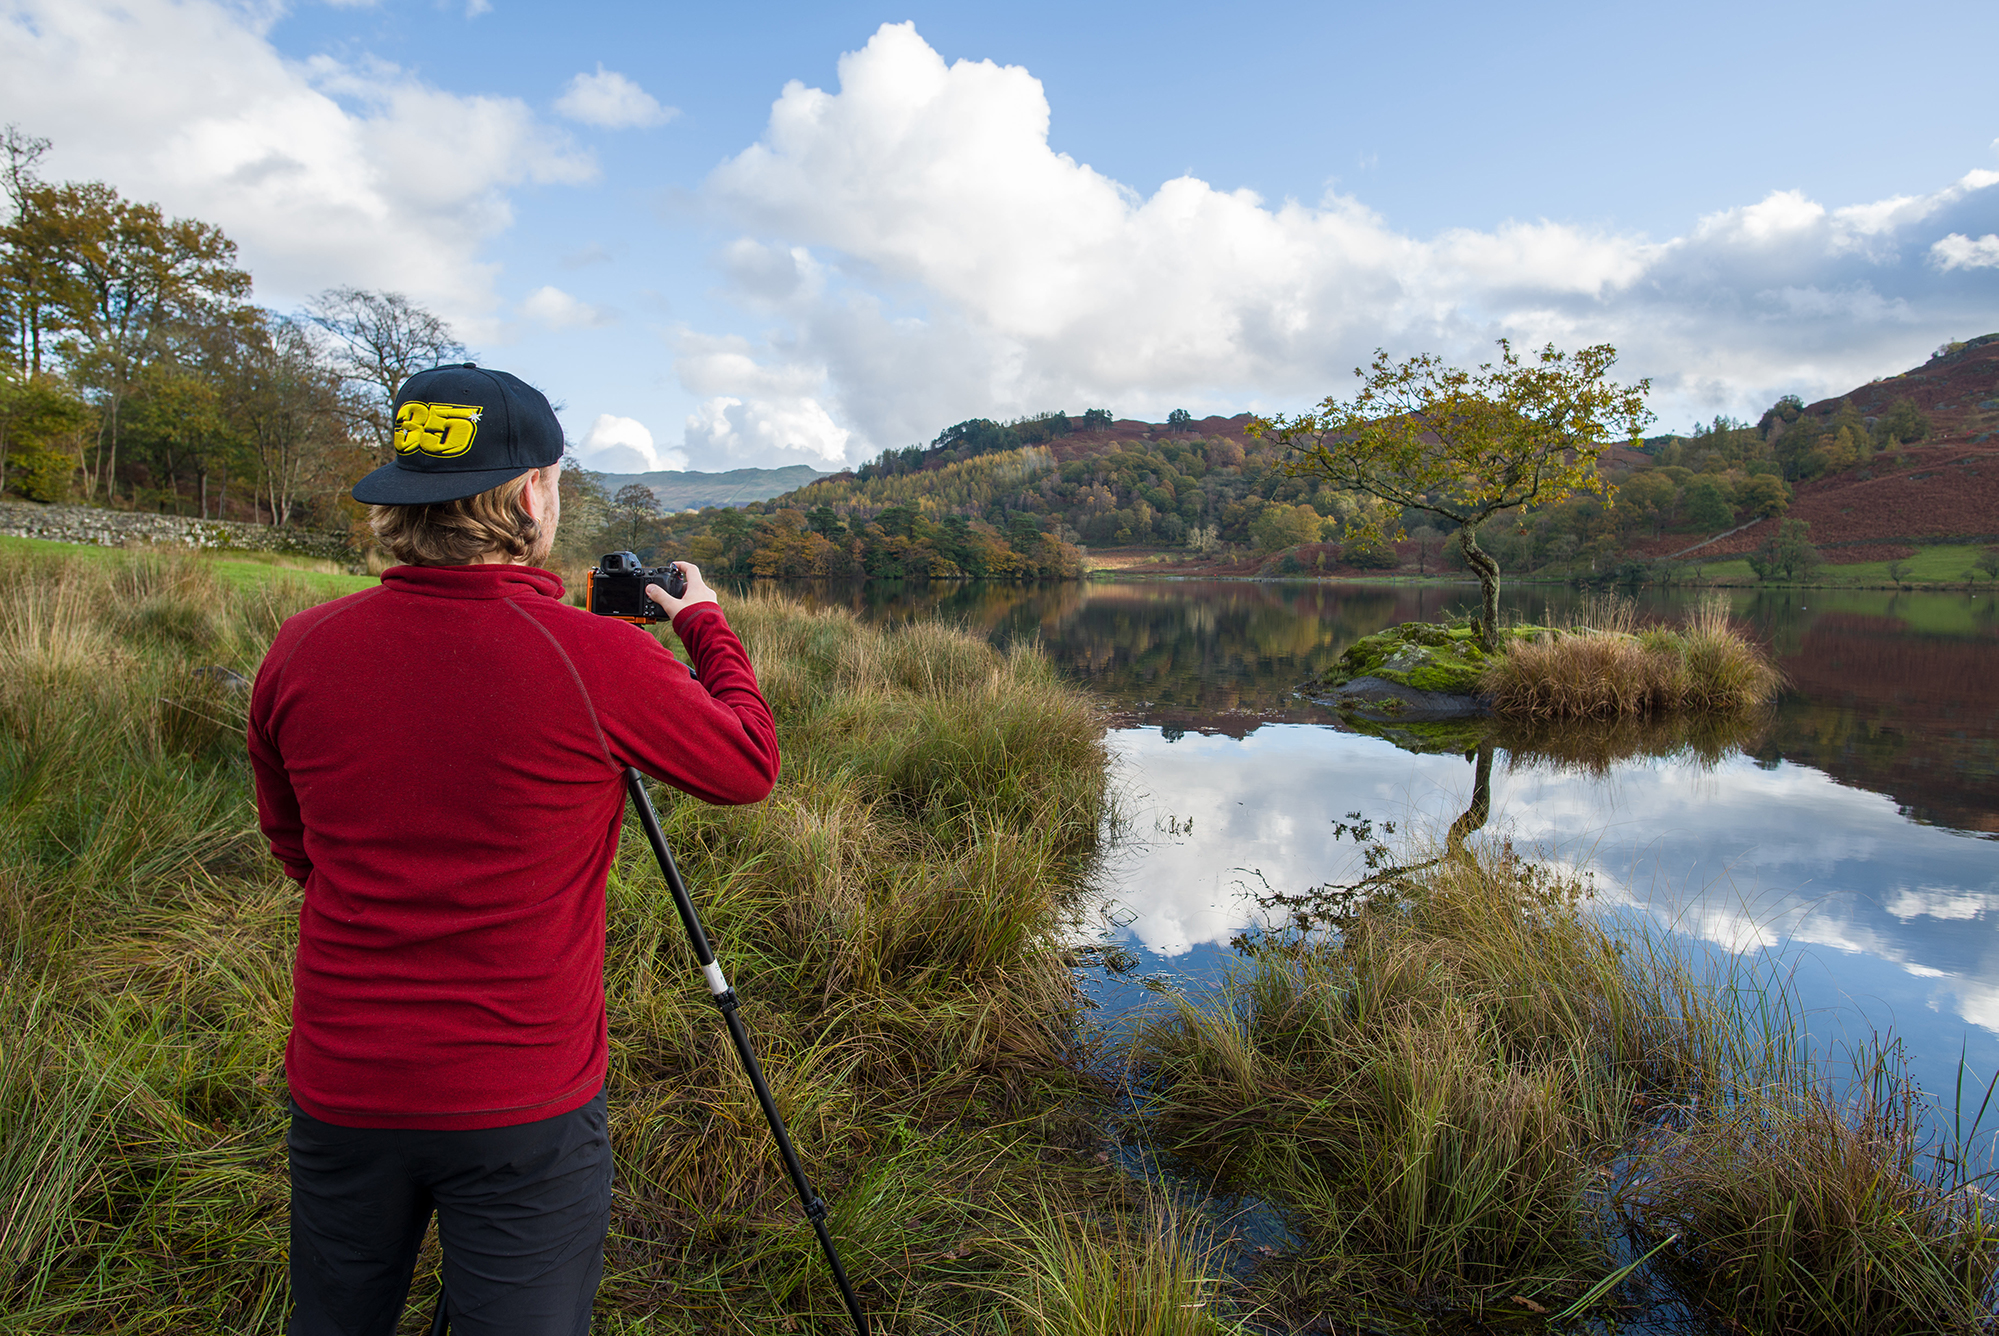
3. Ahead of time
If you’ve planned where you’re going to stand to capture the best light, the last thing you want is to arrive late and find that another photographer has taken your spot. If you’re shooting popular hotspots that are known to get busy, ensure that you get there first!
4. Set for success
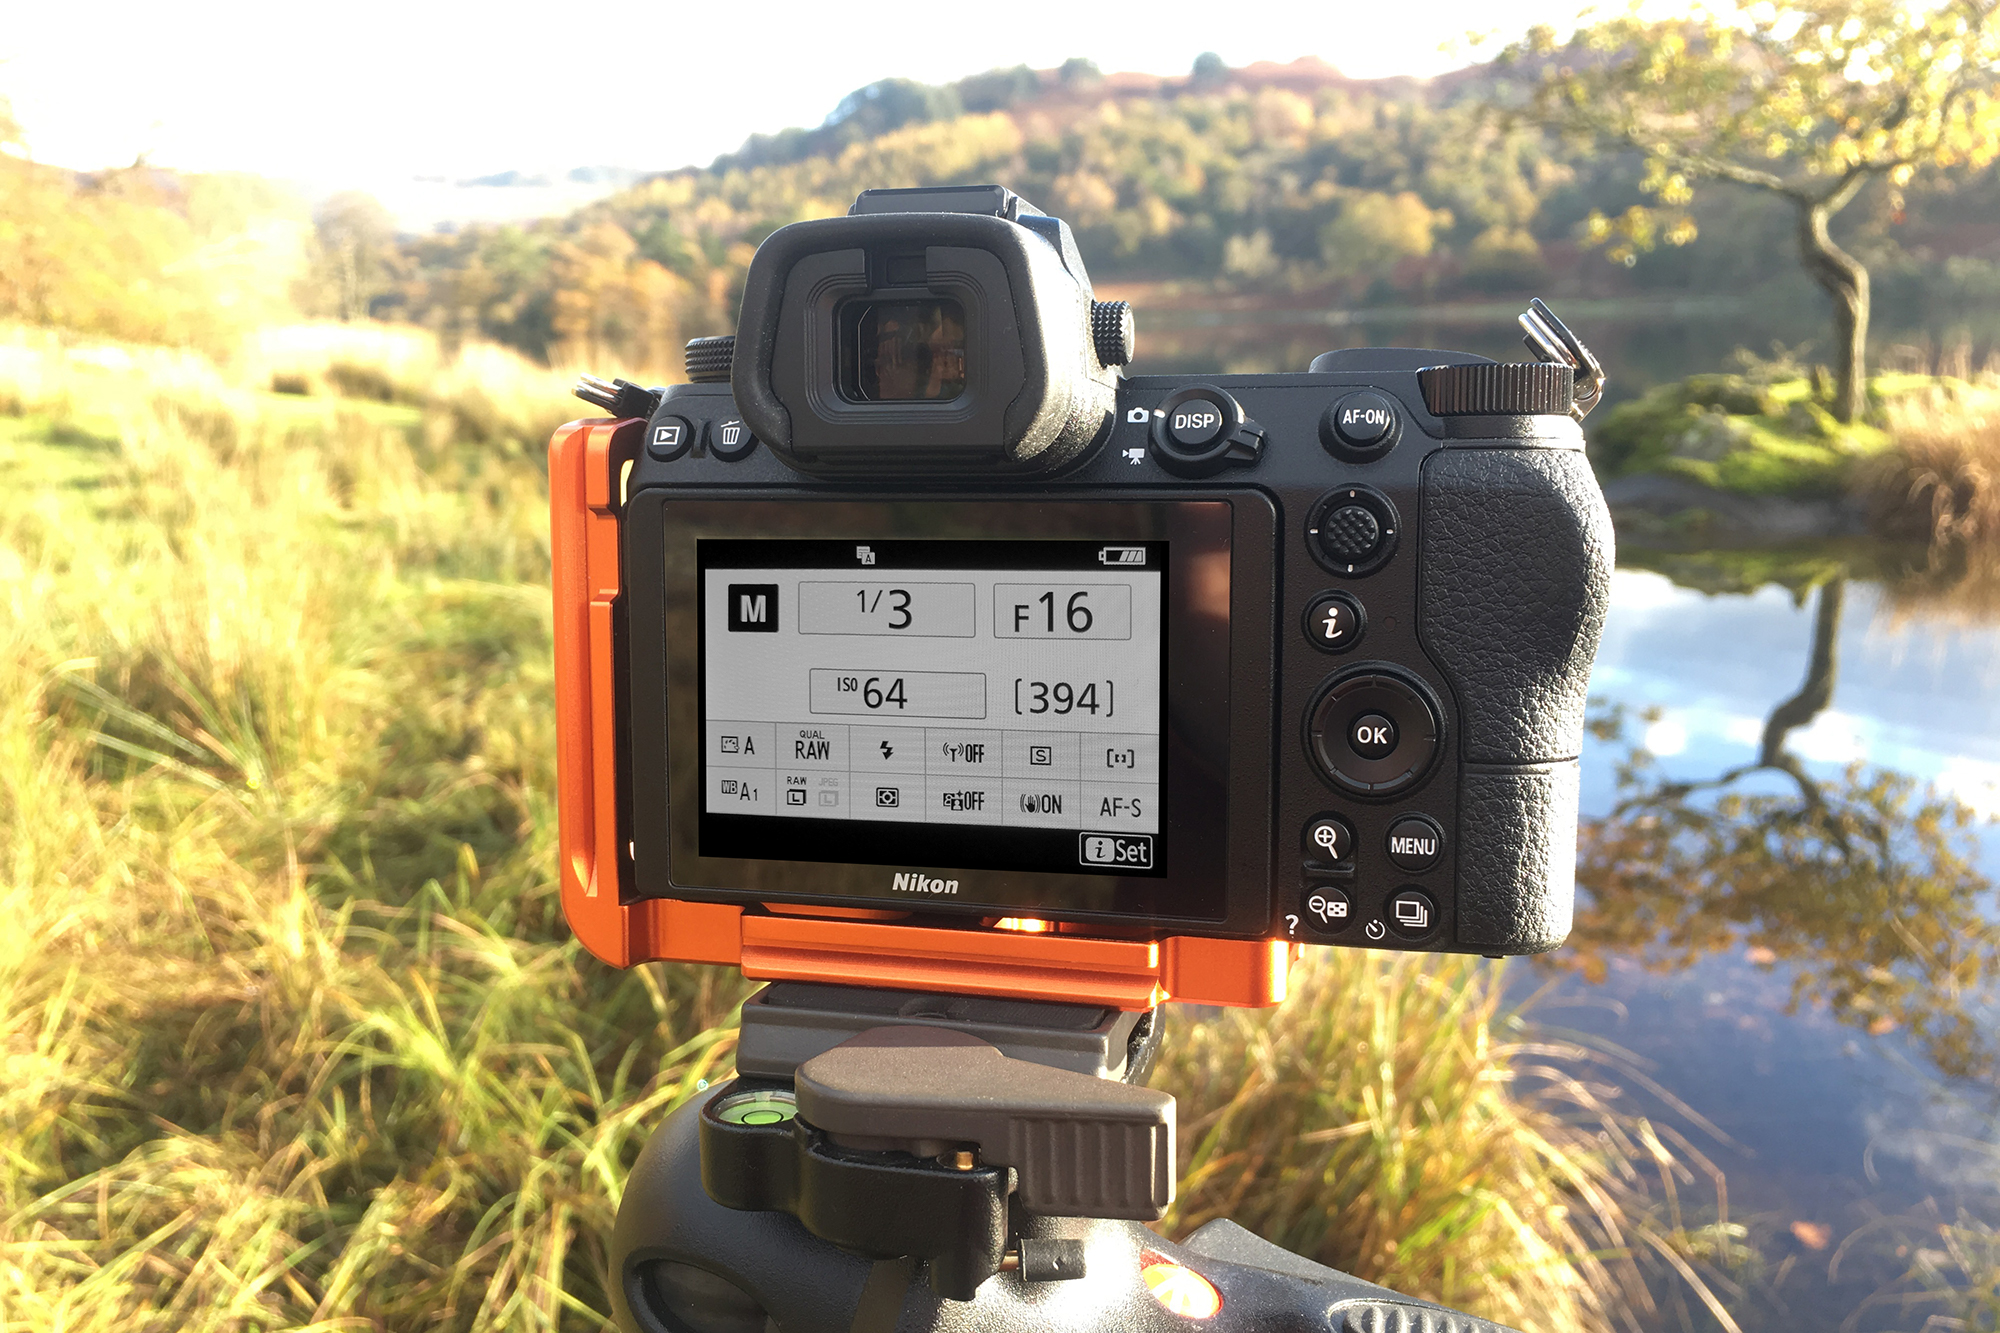
Even with the light changing, it’s still good to get your settings right and lock the focus. We knew we wanted our ISO at its lowest setting and our aperture to be about f/8 to f/16. From there we needed to alter the shutter speed, to suit the lighting.
5. Fast filters
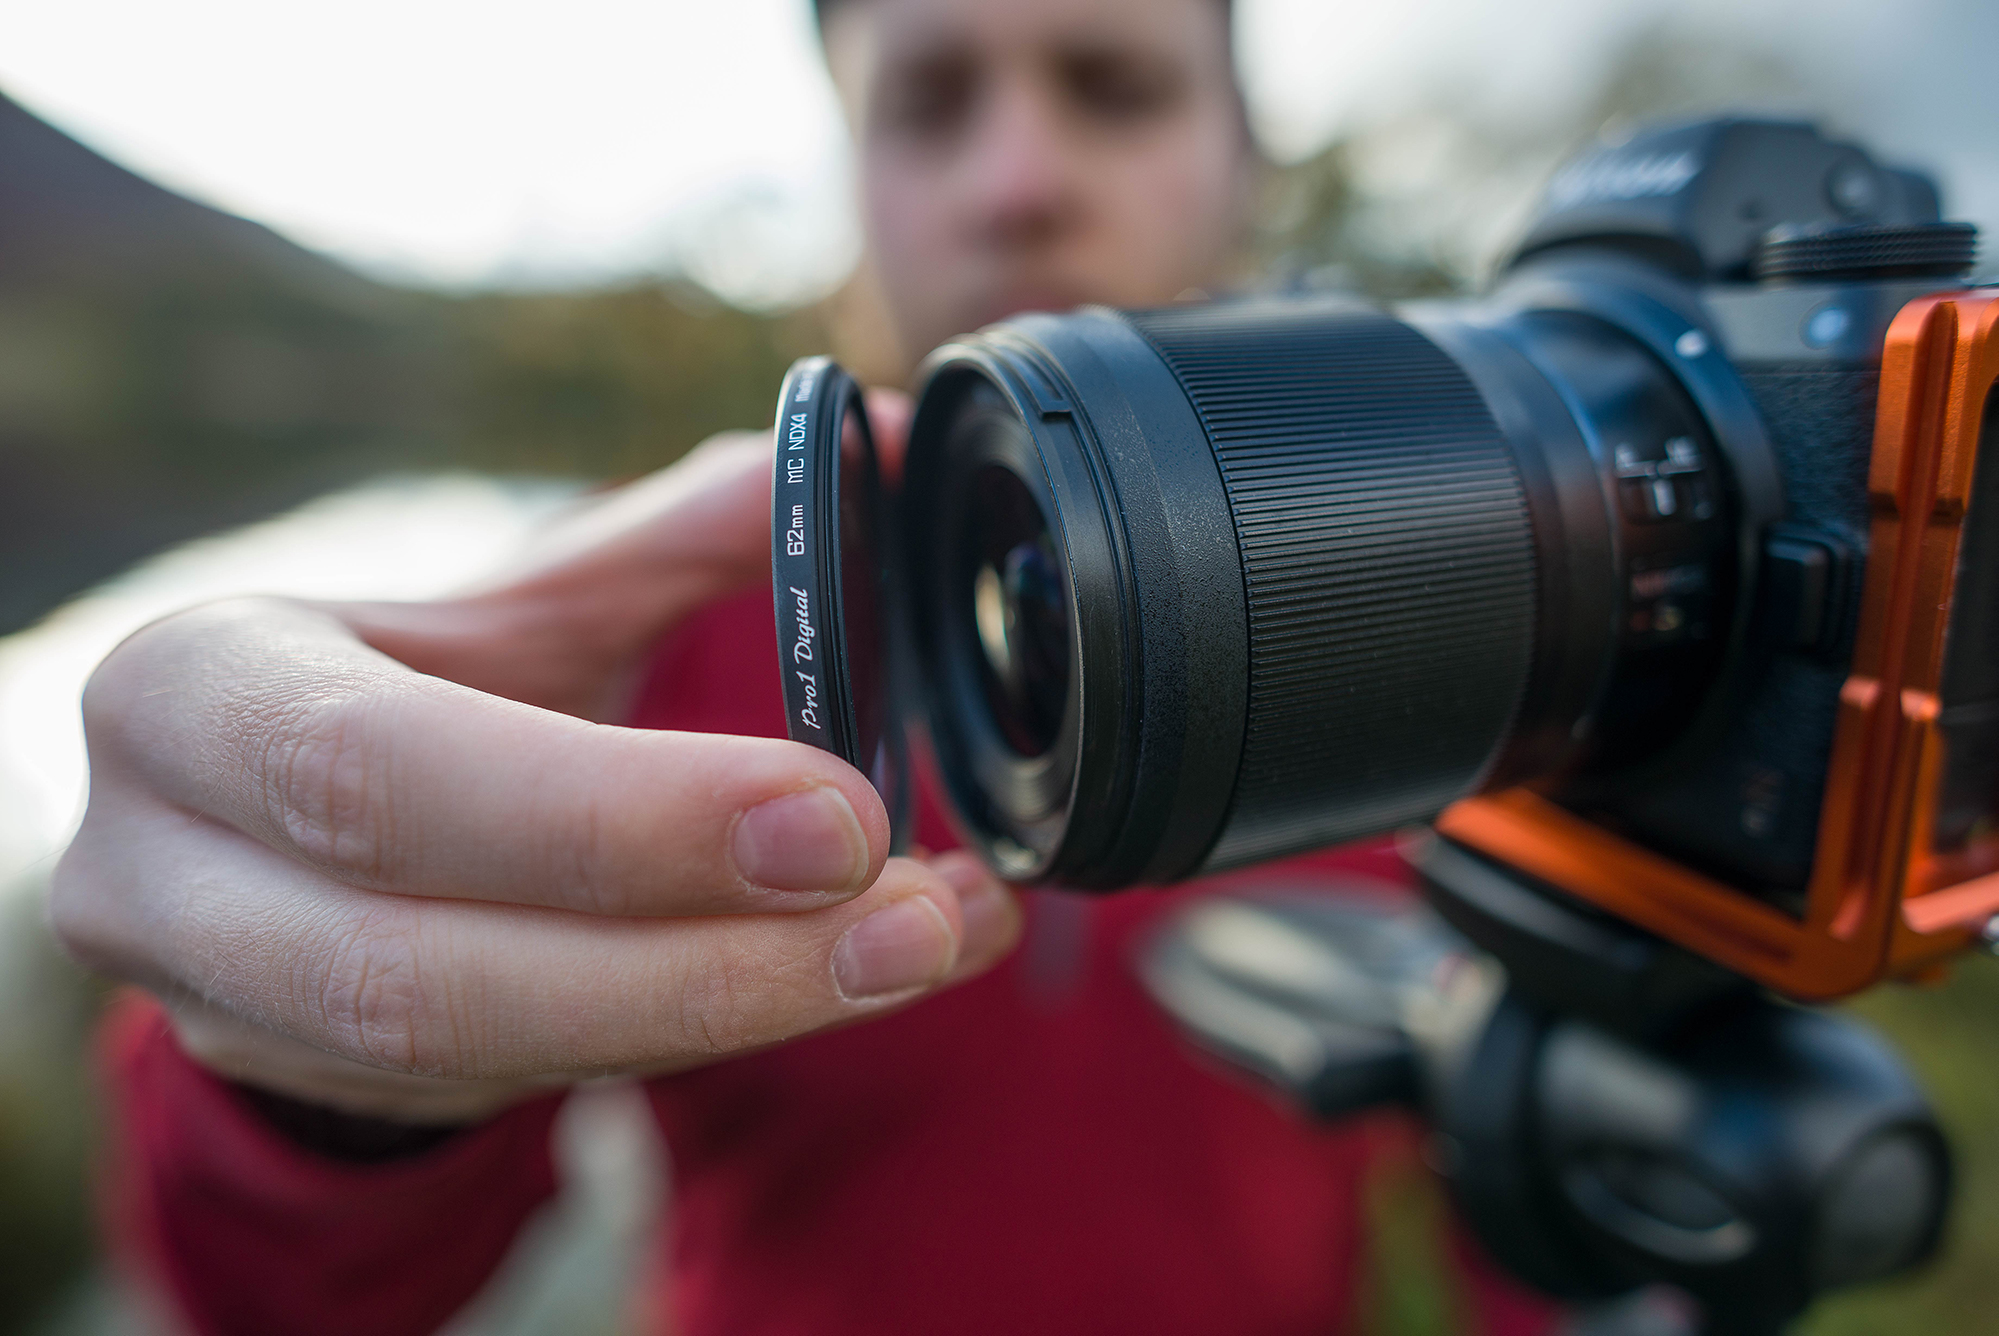
The best light is often fleeting, so make sure that you set up any filters as quickly as possible. Calculating your exposure with the Lee Filters app will also save time, although our Nikon Z6’s electronic viewfinder meant we could clearly view any changes to our exposure in real time.
6. Wait for it...
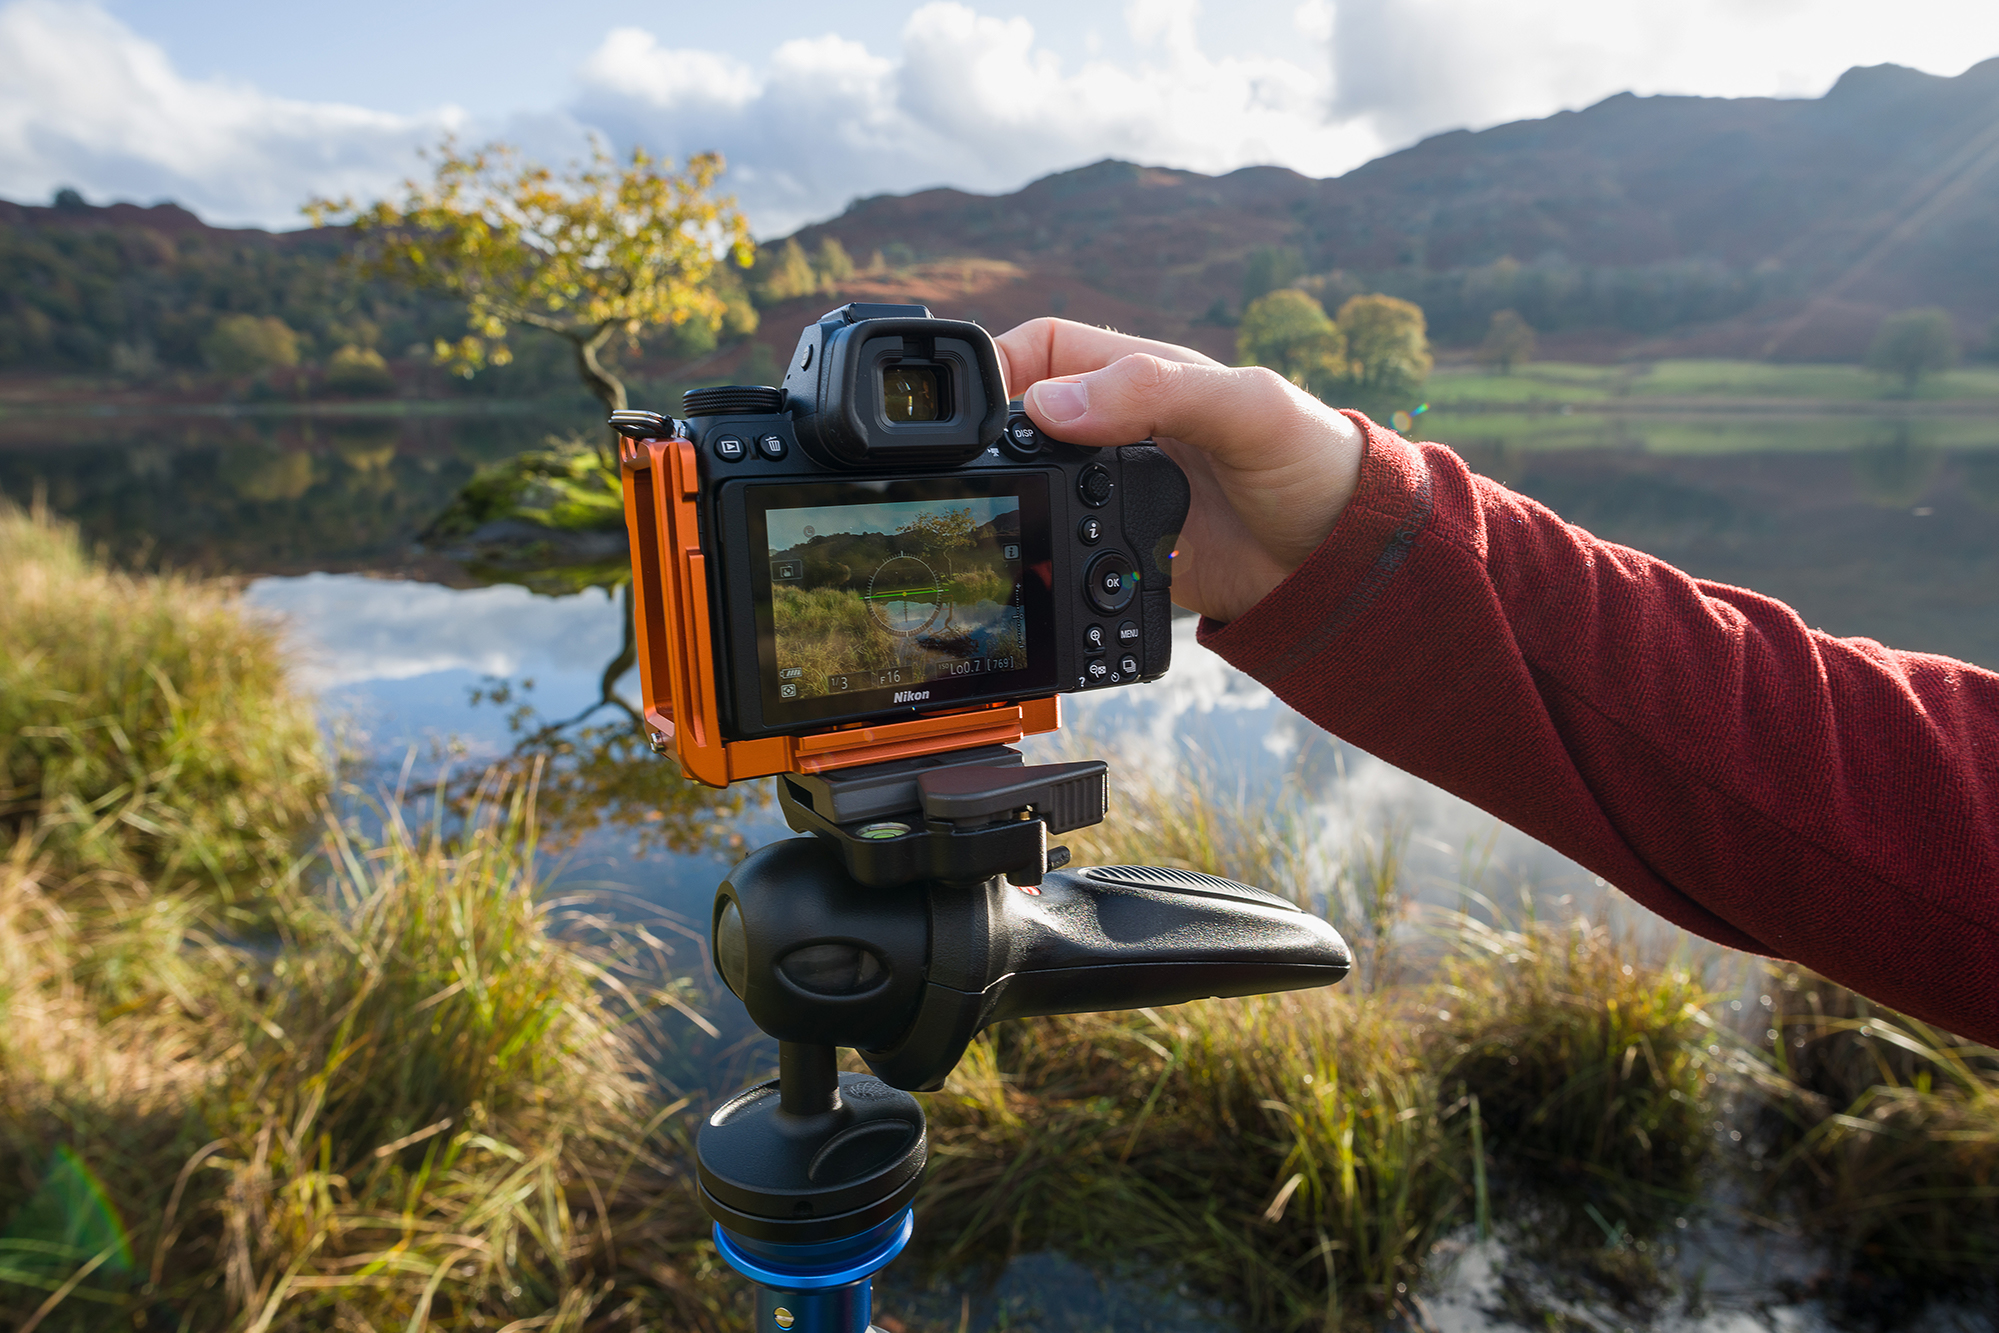
Patience won’t guarantee results, but it’ll shift the odds in your favor; we waited around 40 minutes for a break in the clouds. A remote shutter release is invaluable at moments like these, because the light only lasted a few seconds and if we were using a self-timer we might have missed it.
N-Photo: The Nikon Magazine is a monthly publication that's entirely dedicated to Nikon users. For the best news, reviews, projects and more, subscribe to N-Photo today!
Read more:
The best tripod for photographers
Best cameras for landscape photography
The best camera bag for travel
Get the Digital Camera World Newsletter
The best camera deals, reviews, product advice, and unmissable photography news, direct to your inbox!

Mike is Digital Camera World's How To Editor. He has over a decade of experience, writing for some of the biggest specialist publications including Digital Camera, Digital Photographer and PhotoPlus: The Canon Magazine. Prior to DCW, Mike was Deputy Editor of N-Photo: The Nikon Magazine and Production Editor at Wex Photo Video, where he sharpened his skills in both the stills and videography spheres. While he's an avid motorsport photographer, his skills extend to every genre of photography – making him one of Digital Camera World's top tutors for techniques on cameras, lenses, tripods, filters and other imaging equipment – as well as sharing his expertise on shooting everything from portraits and landscapes to abstracts and architecture to wildlife and, yes, fast things going around race tracks...

