How to capture stunning winter wildlife – Part 4: wildlife in the landscape
Andy Parkinson explains why going wider with your focal lengths to show the animal in the elements adds interest and context
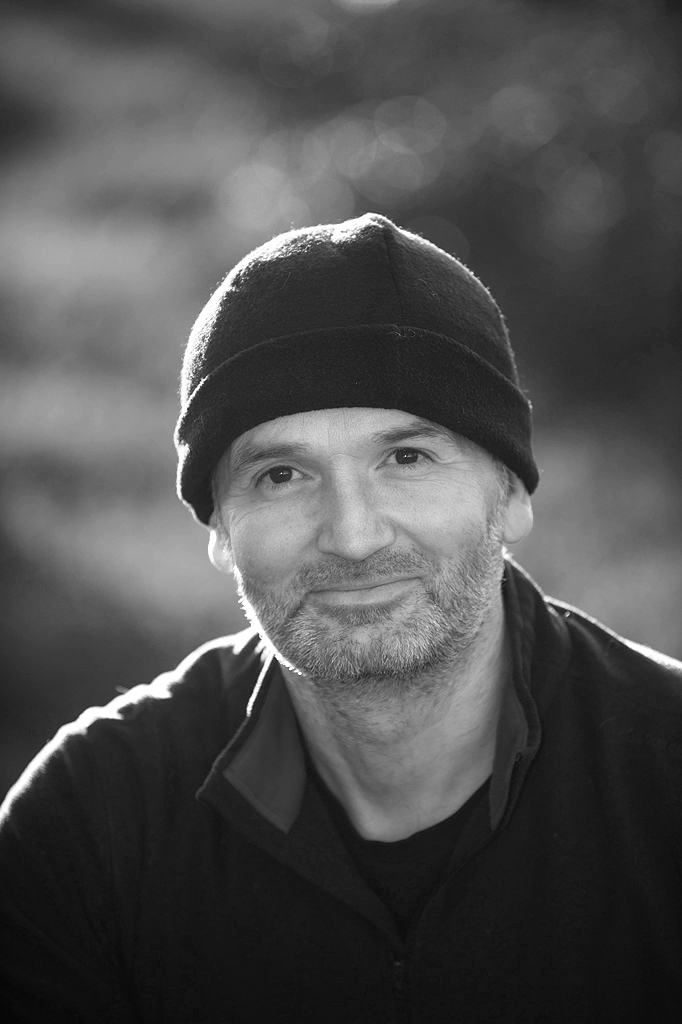
Andy Parkinson is an award-winning wildlife photographer, regular National Geographic contributor and a recent Nikon ambassador. Working with wild animals only, he often speaks about conservation, animal rights and photo ethics.
When it comes to winter photography, it is difficult to produce images that are more narrative-filled than those that show animals within the contexts of their winter environments. For me, these images are the Holy Grail, the ones that I aspire to the most, often because they can be the hardest to get right.
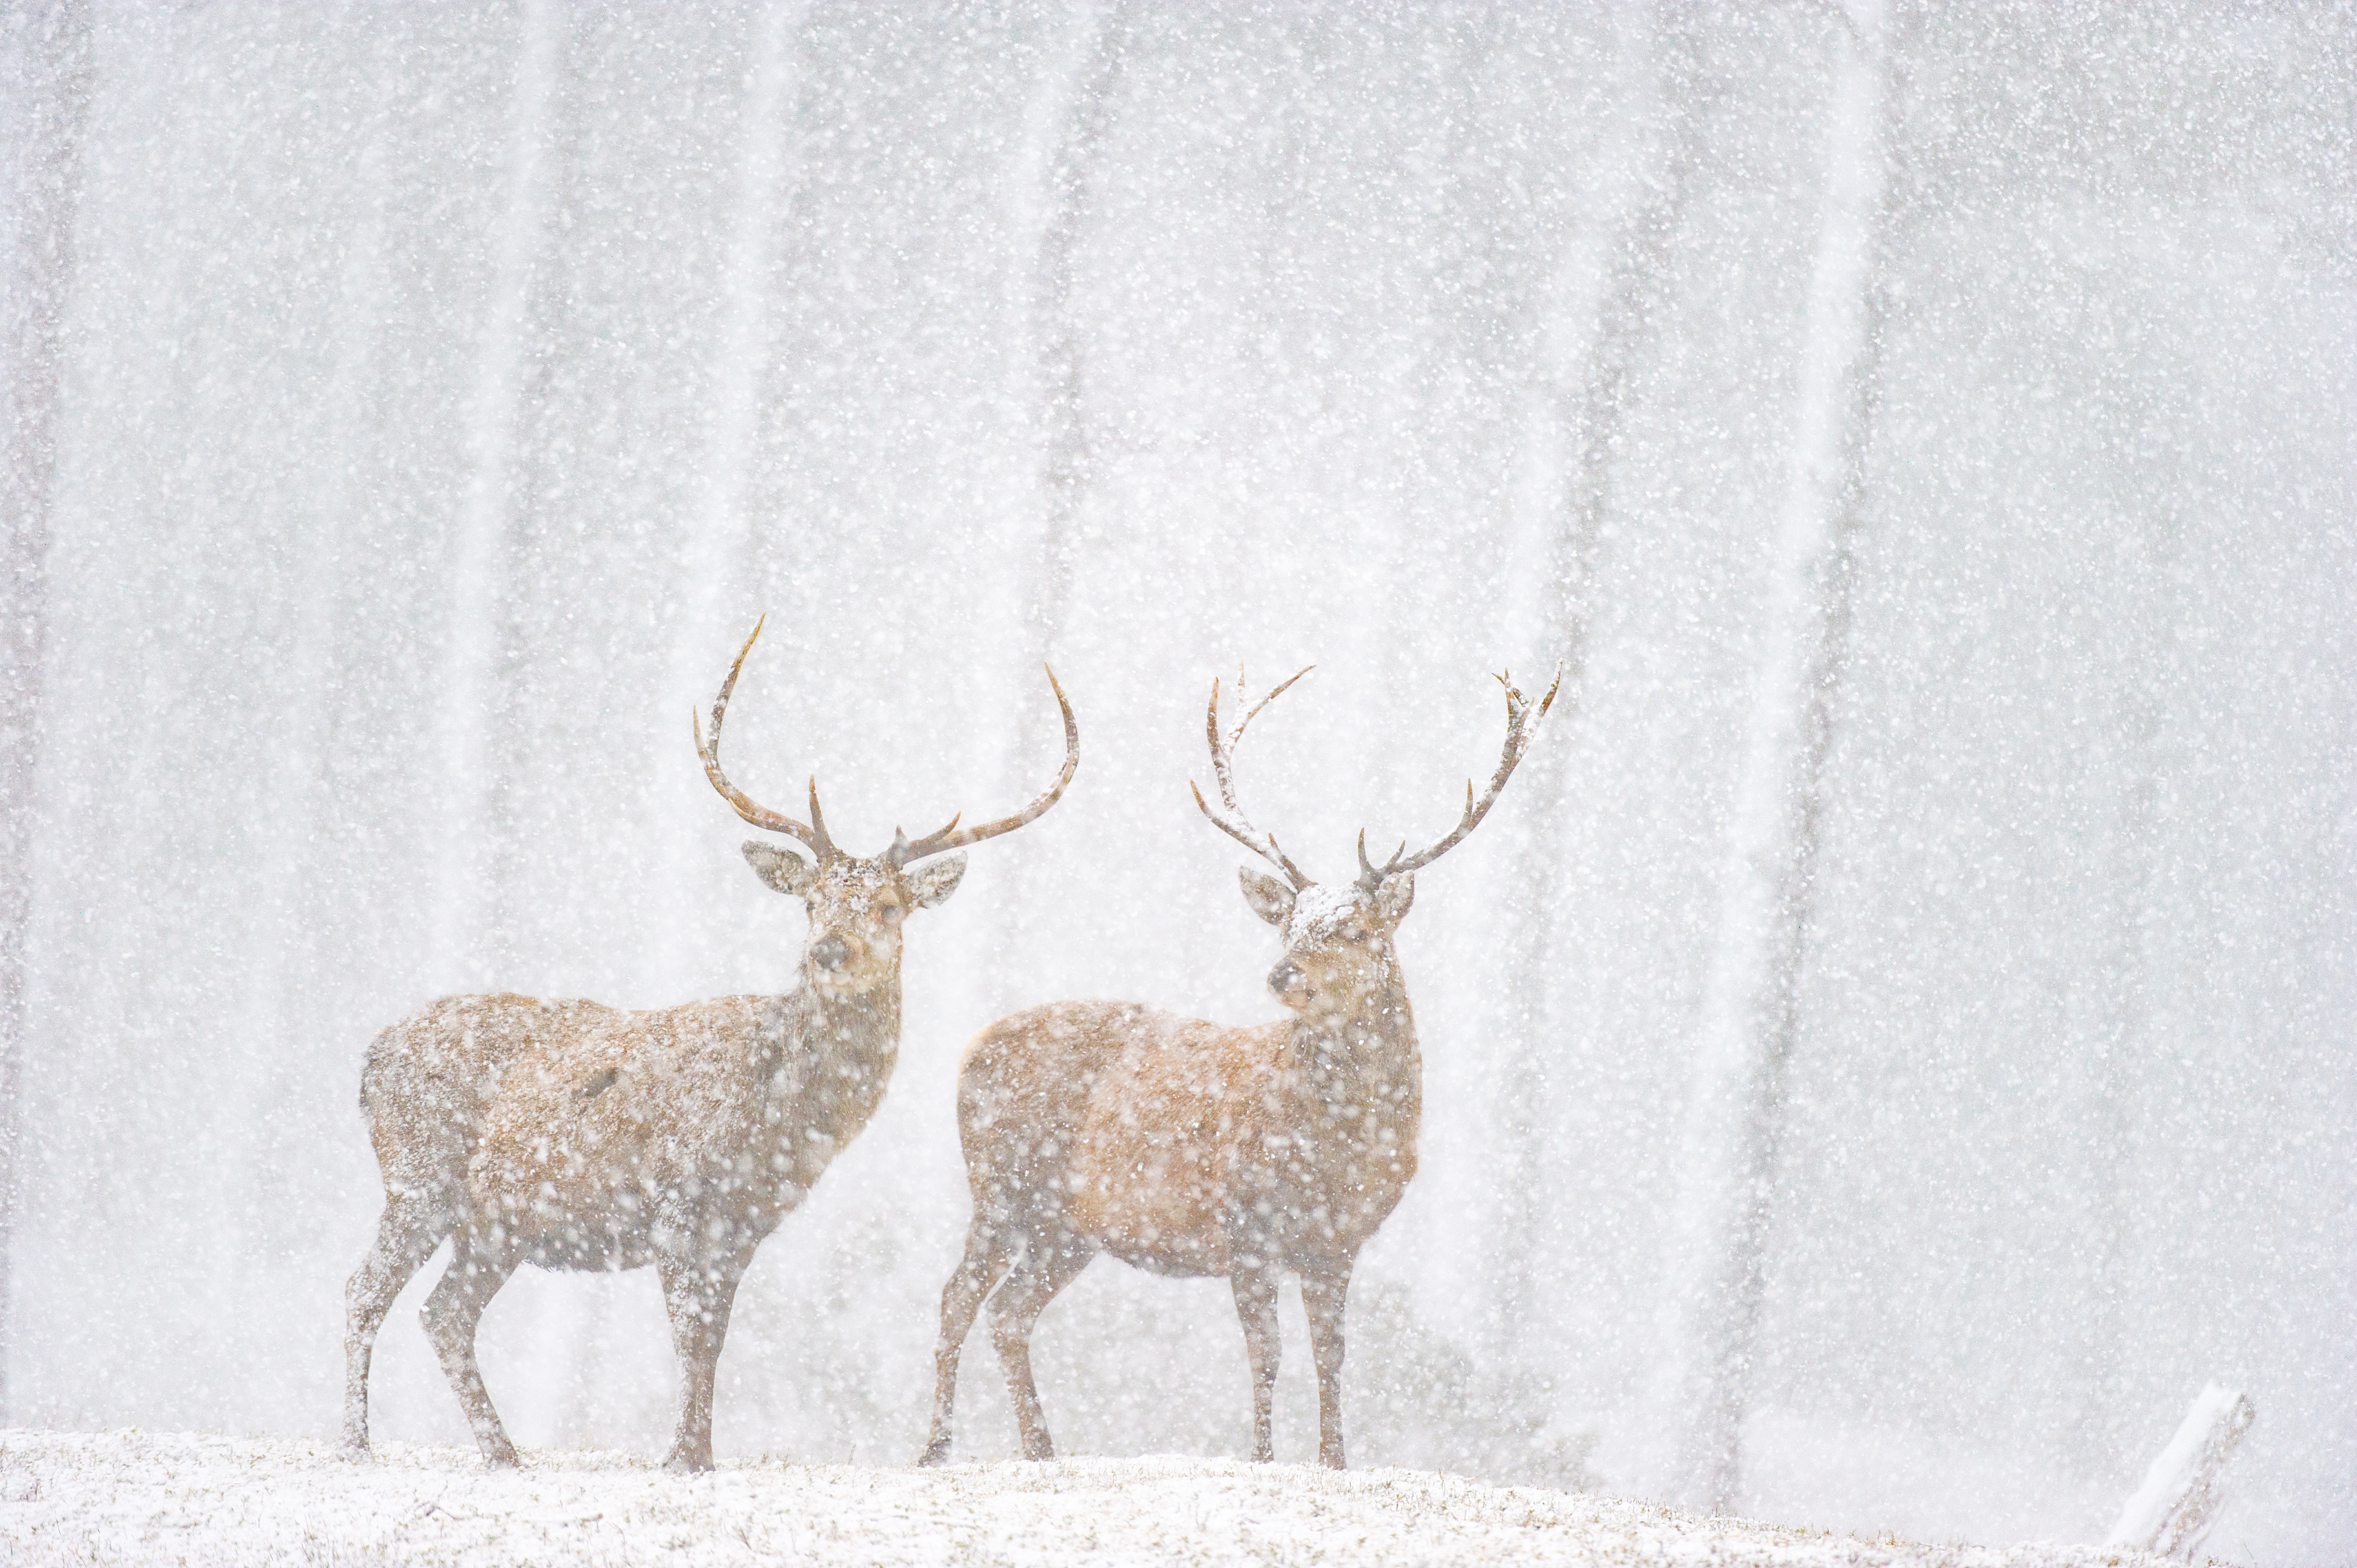
This deer image was the result of effectively perfect conditions. A ferocious squall blew through as I arrived in this forest setting, and within minutes the whole scene had become transformed. Everything within it became carpeted in snow, the red deer stag included.
I was fortunate that I had my Nikon 200-400mm lens attached. Zooming right out to the 200mm end, I wanted to contrast the shape of the deer with the graphic, textural lines of the surrounding forest. Whatever lens you’re using, don’t be afraid to zoom out to include some of the surrounding environment: this can really help add context.
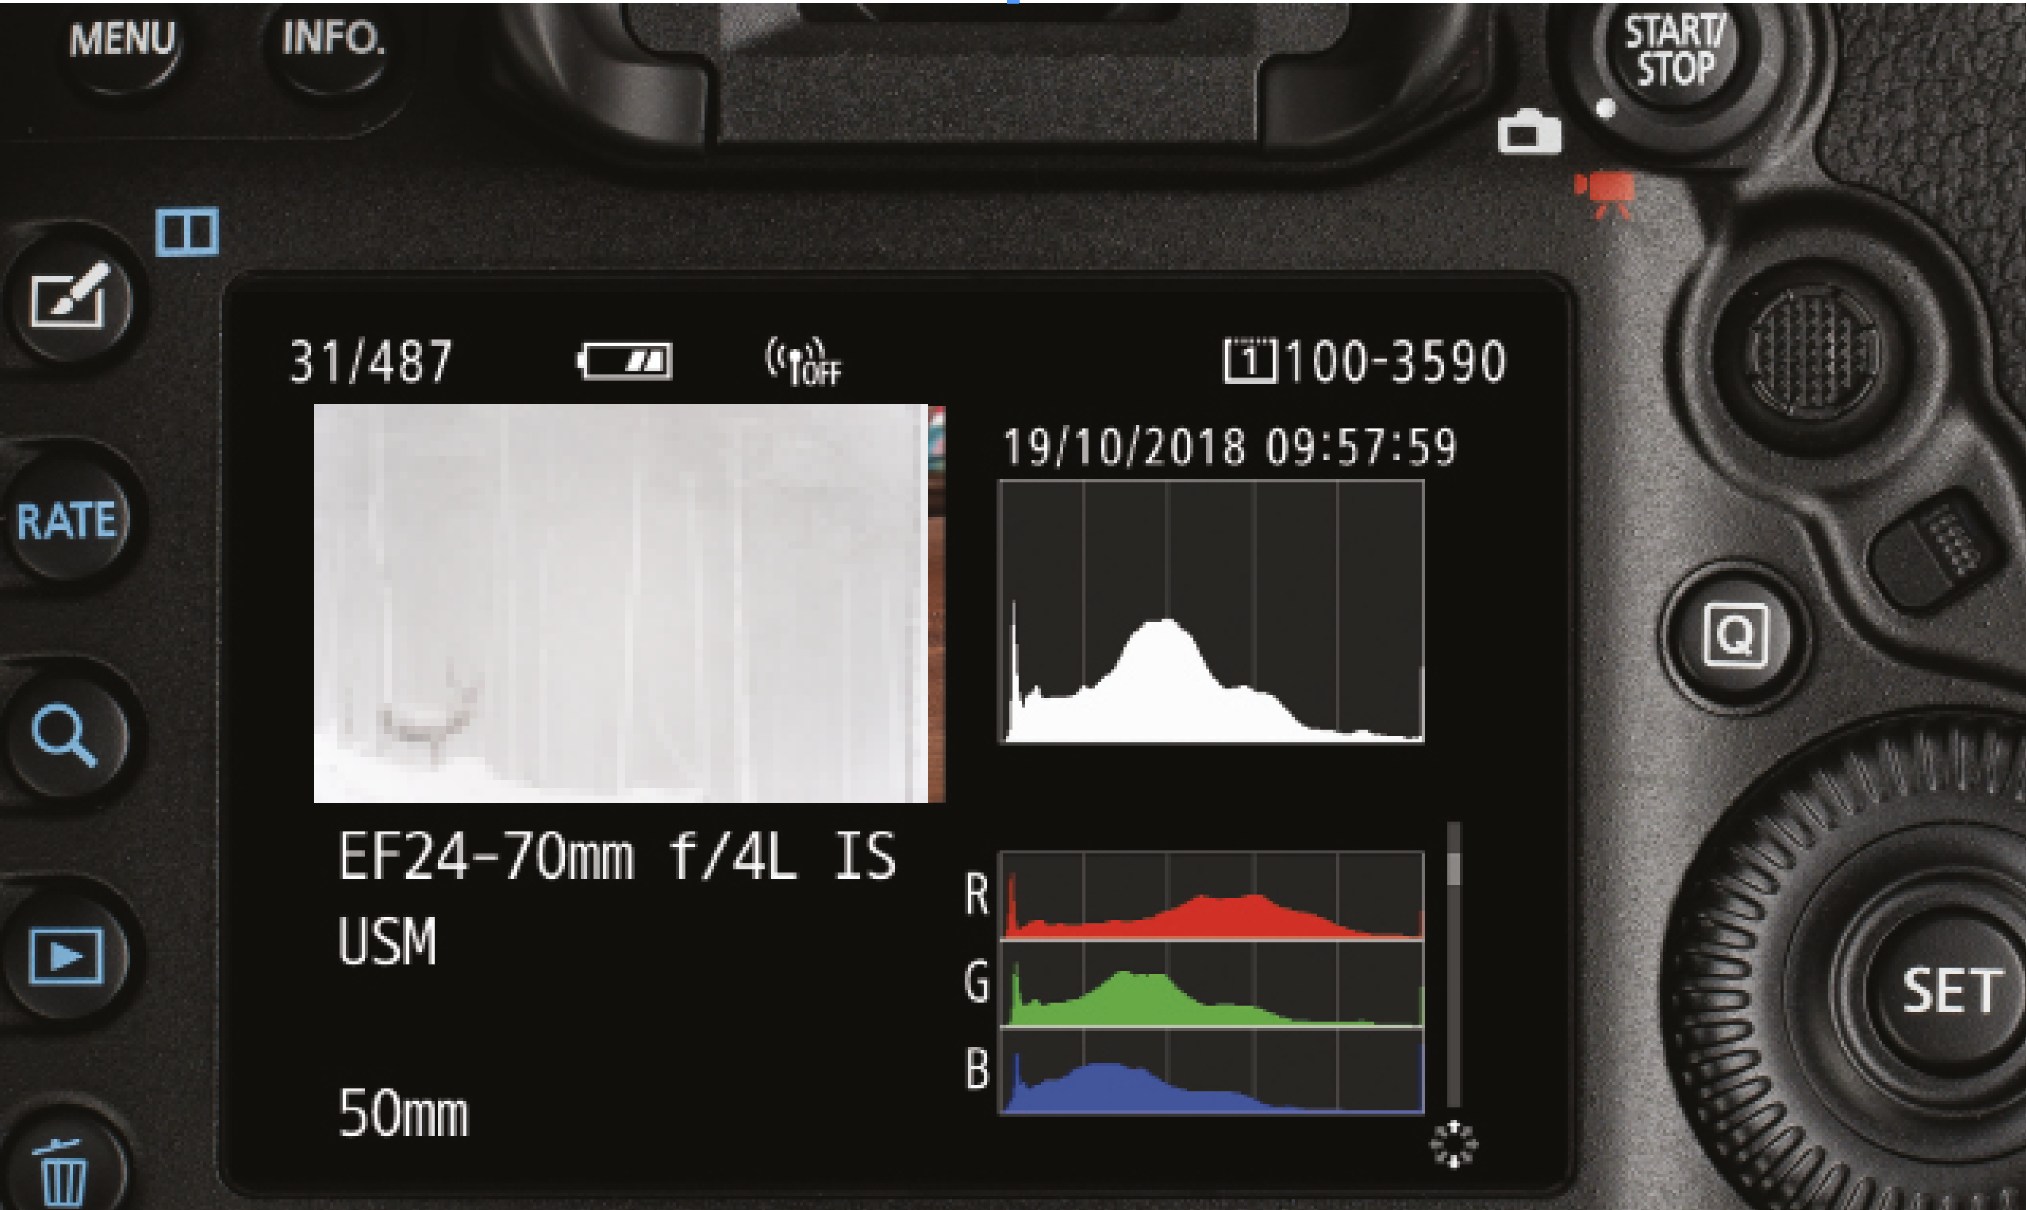
For me, the histogram is the single most important asset when it comes to exposure. Whenever there is any white in an image I will shoot to the right-hand side of the histogram.
QUICK TIP!
Andy’s tips for capturing high-key images
High-key images are somewhat in vogue at present, with many photographers sharing their various examples on social media. Often, however, it seems that high-key is just another way to describe overexposed images, so there is definitely an art to getting them right.
Photographed correctly, you’ll end up with a shot with illustrative qualities, almost more reminiscent of an artist’s drawing. Get it wrong, however, and it will simply look like you’re trying to pass off a mistake as ‘art!’
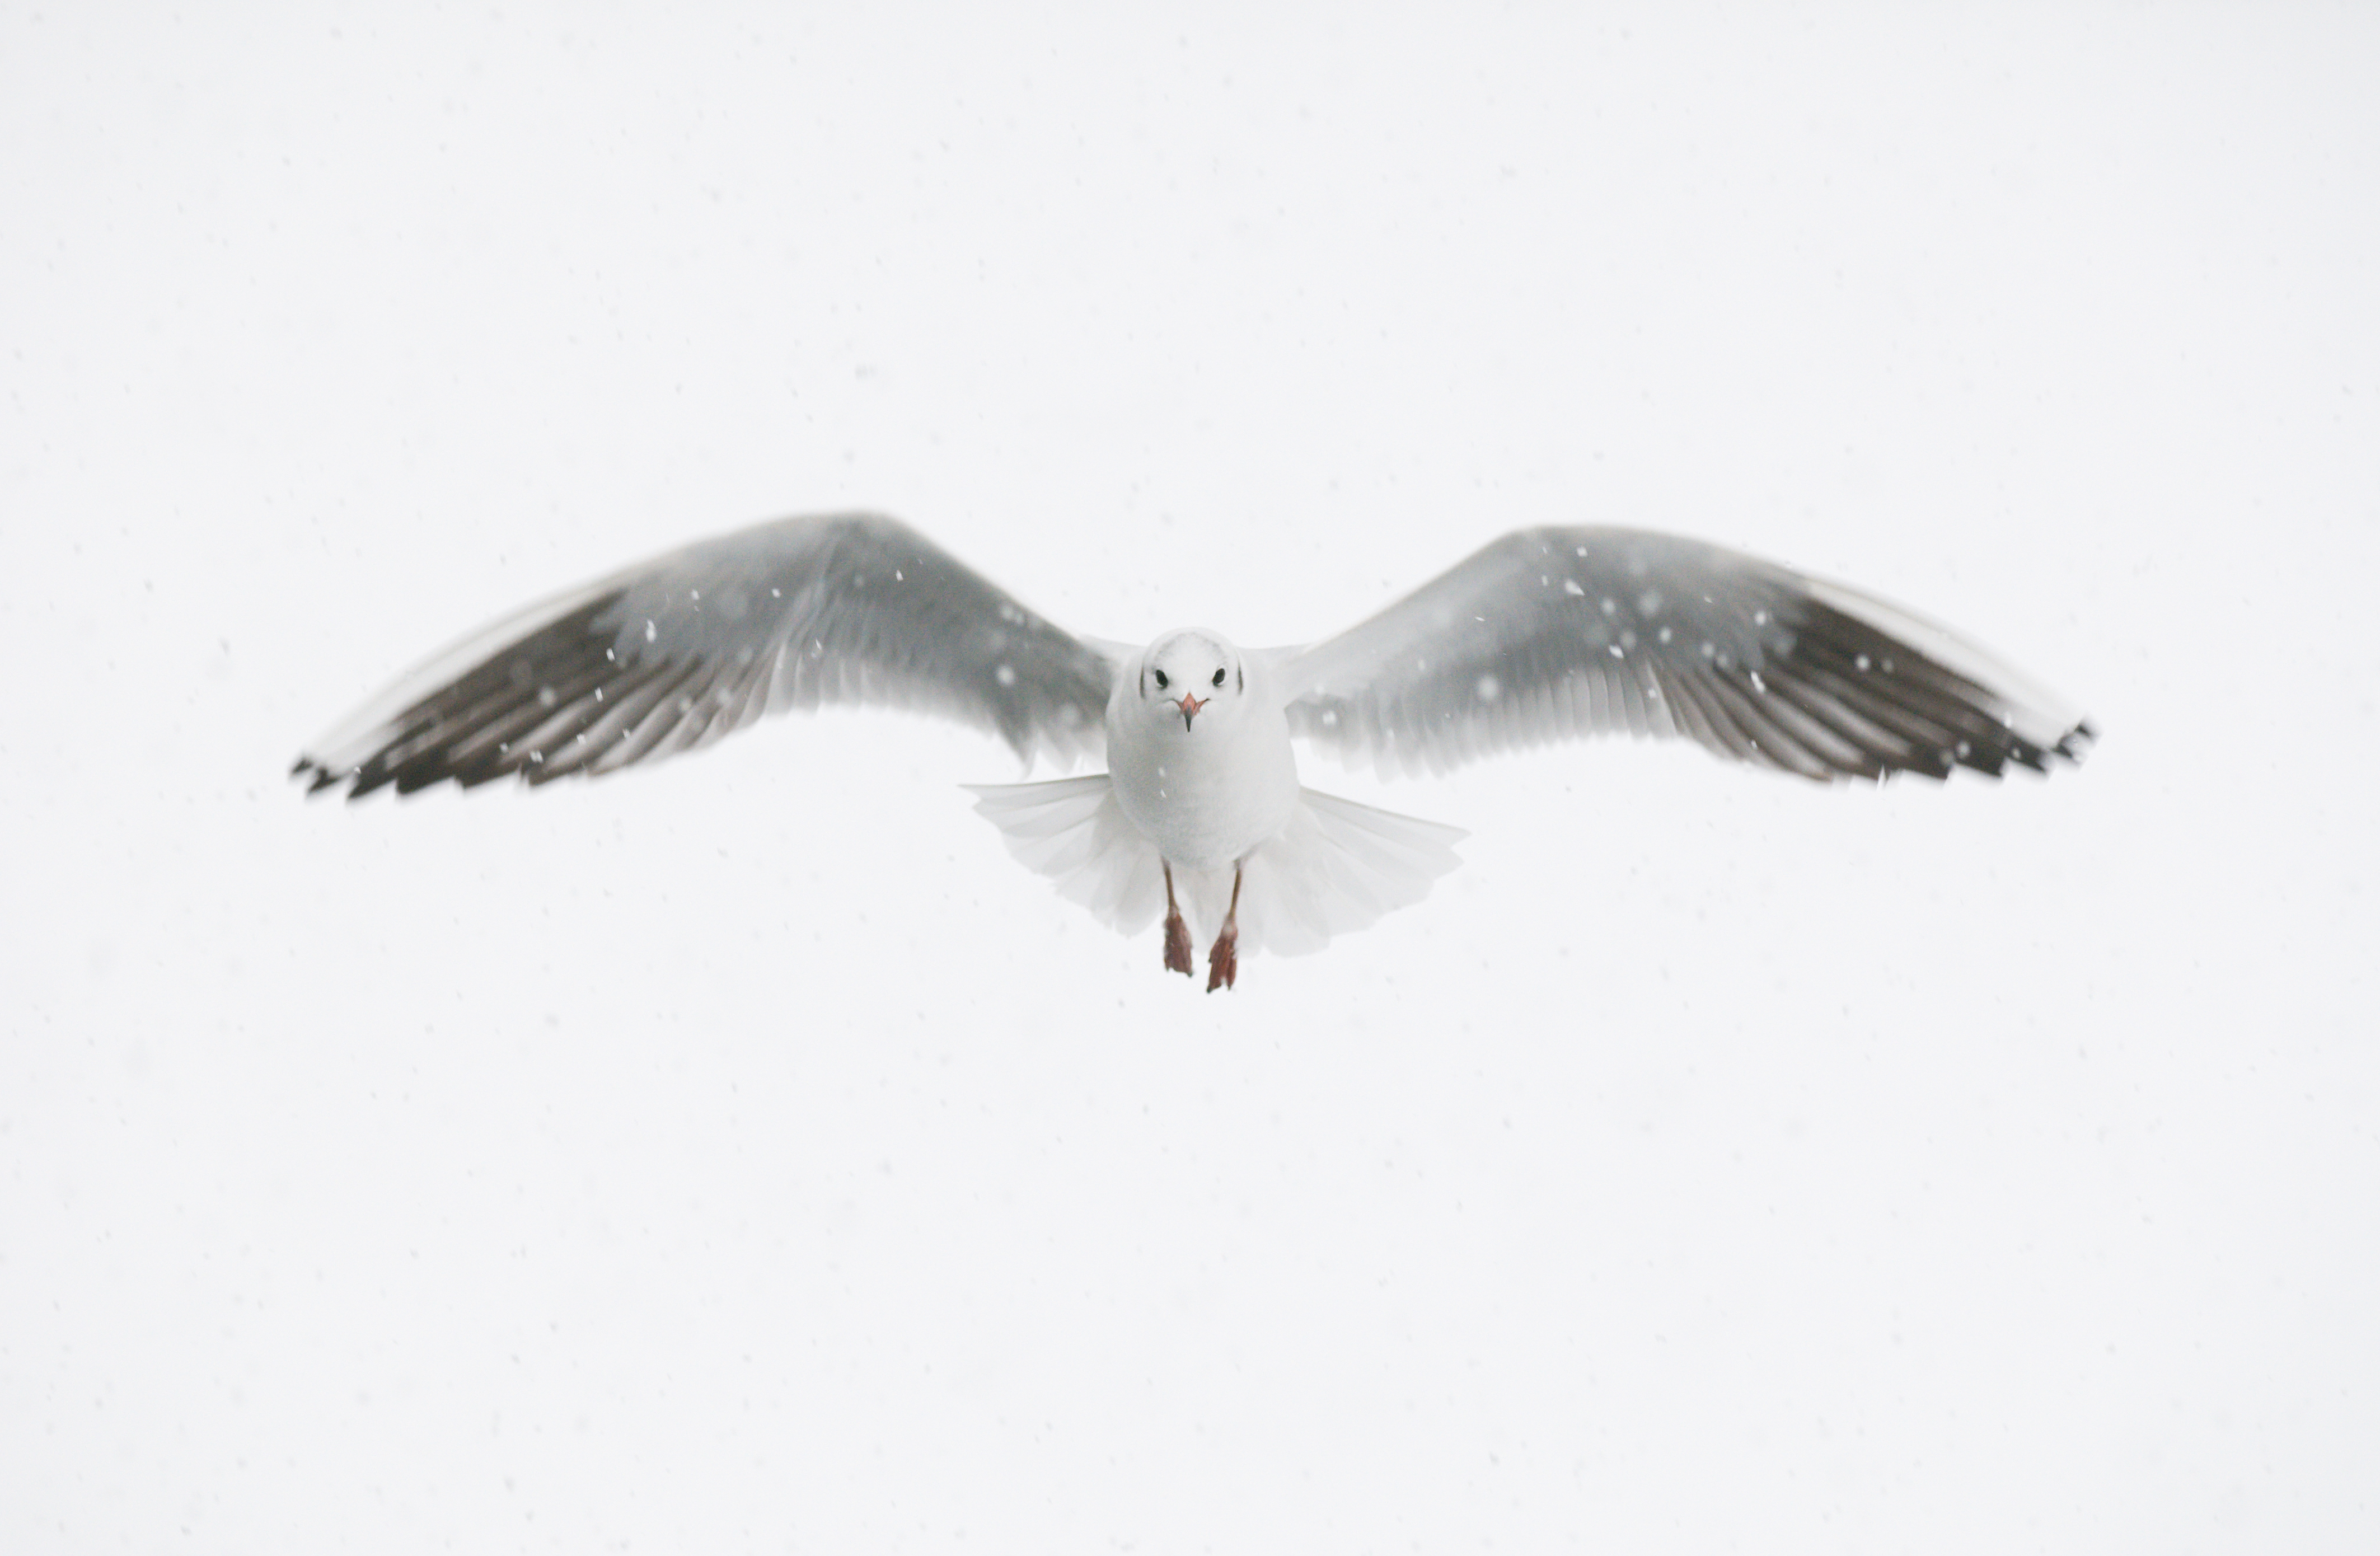
1. Exposure
Exposure is critical, so always use your histogram to ensure that yours is accurate. Ideally, your highlights should be marginally touching the right-hand side of the graph, but push your exposure any more than that and the image will simply look uncomfortably hot to look at!
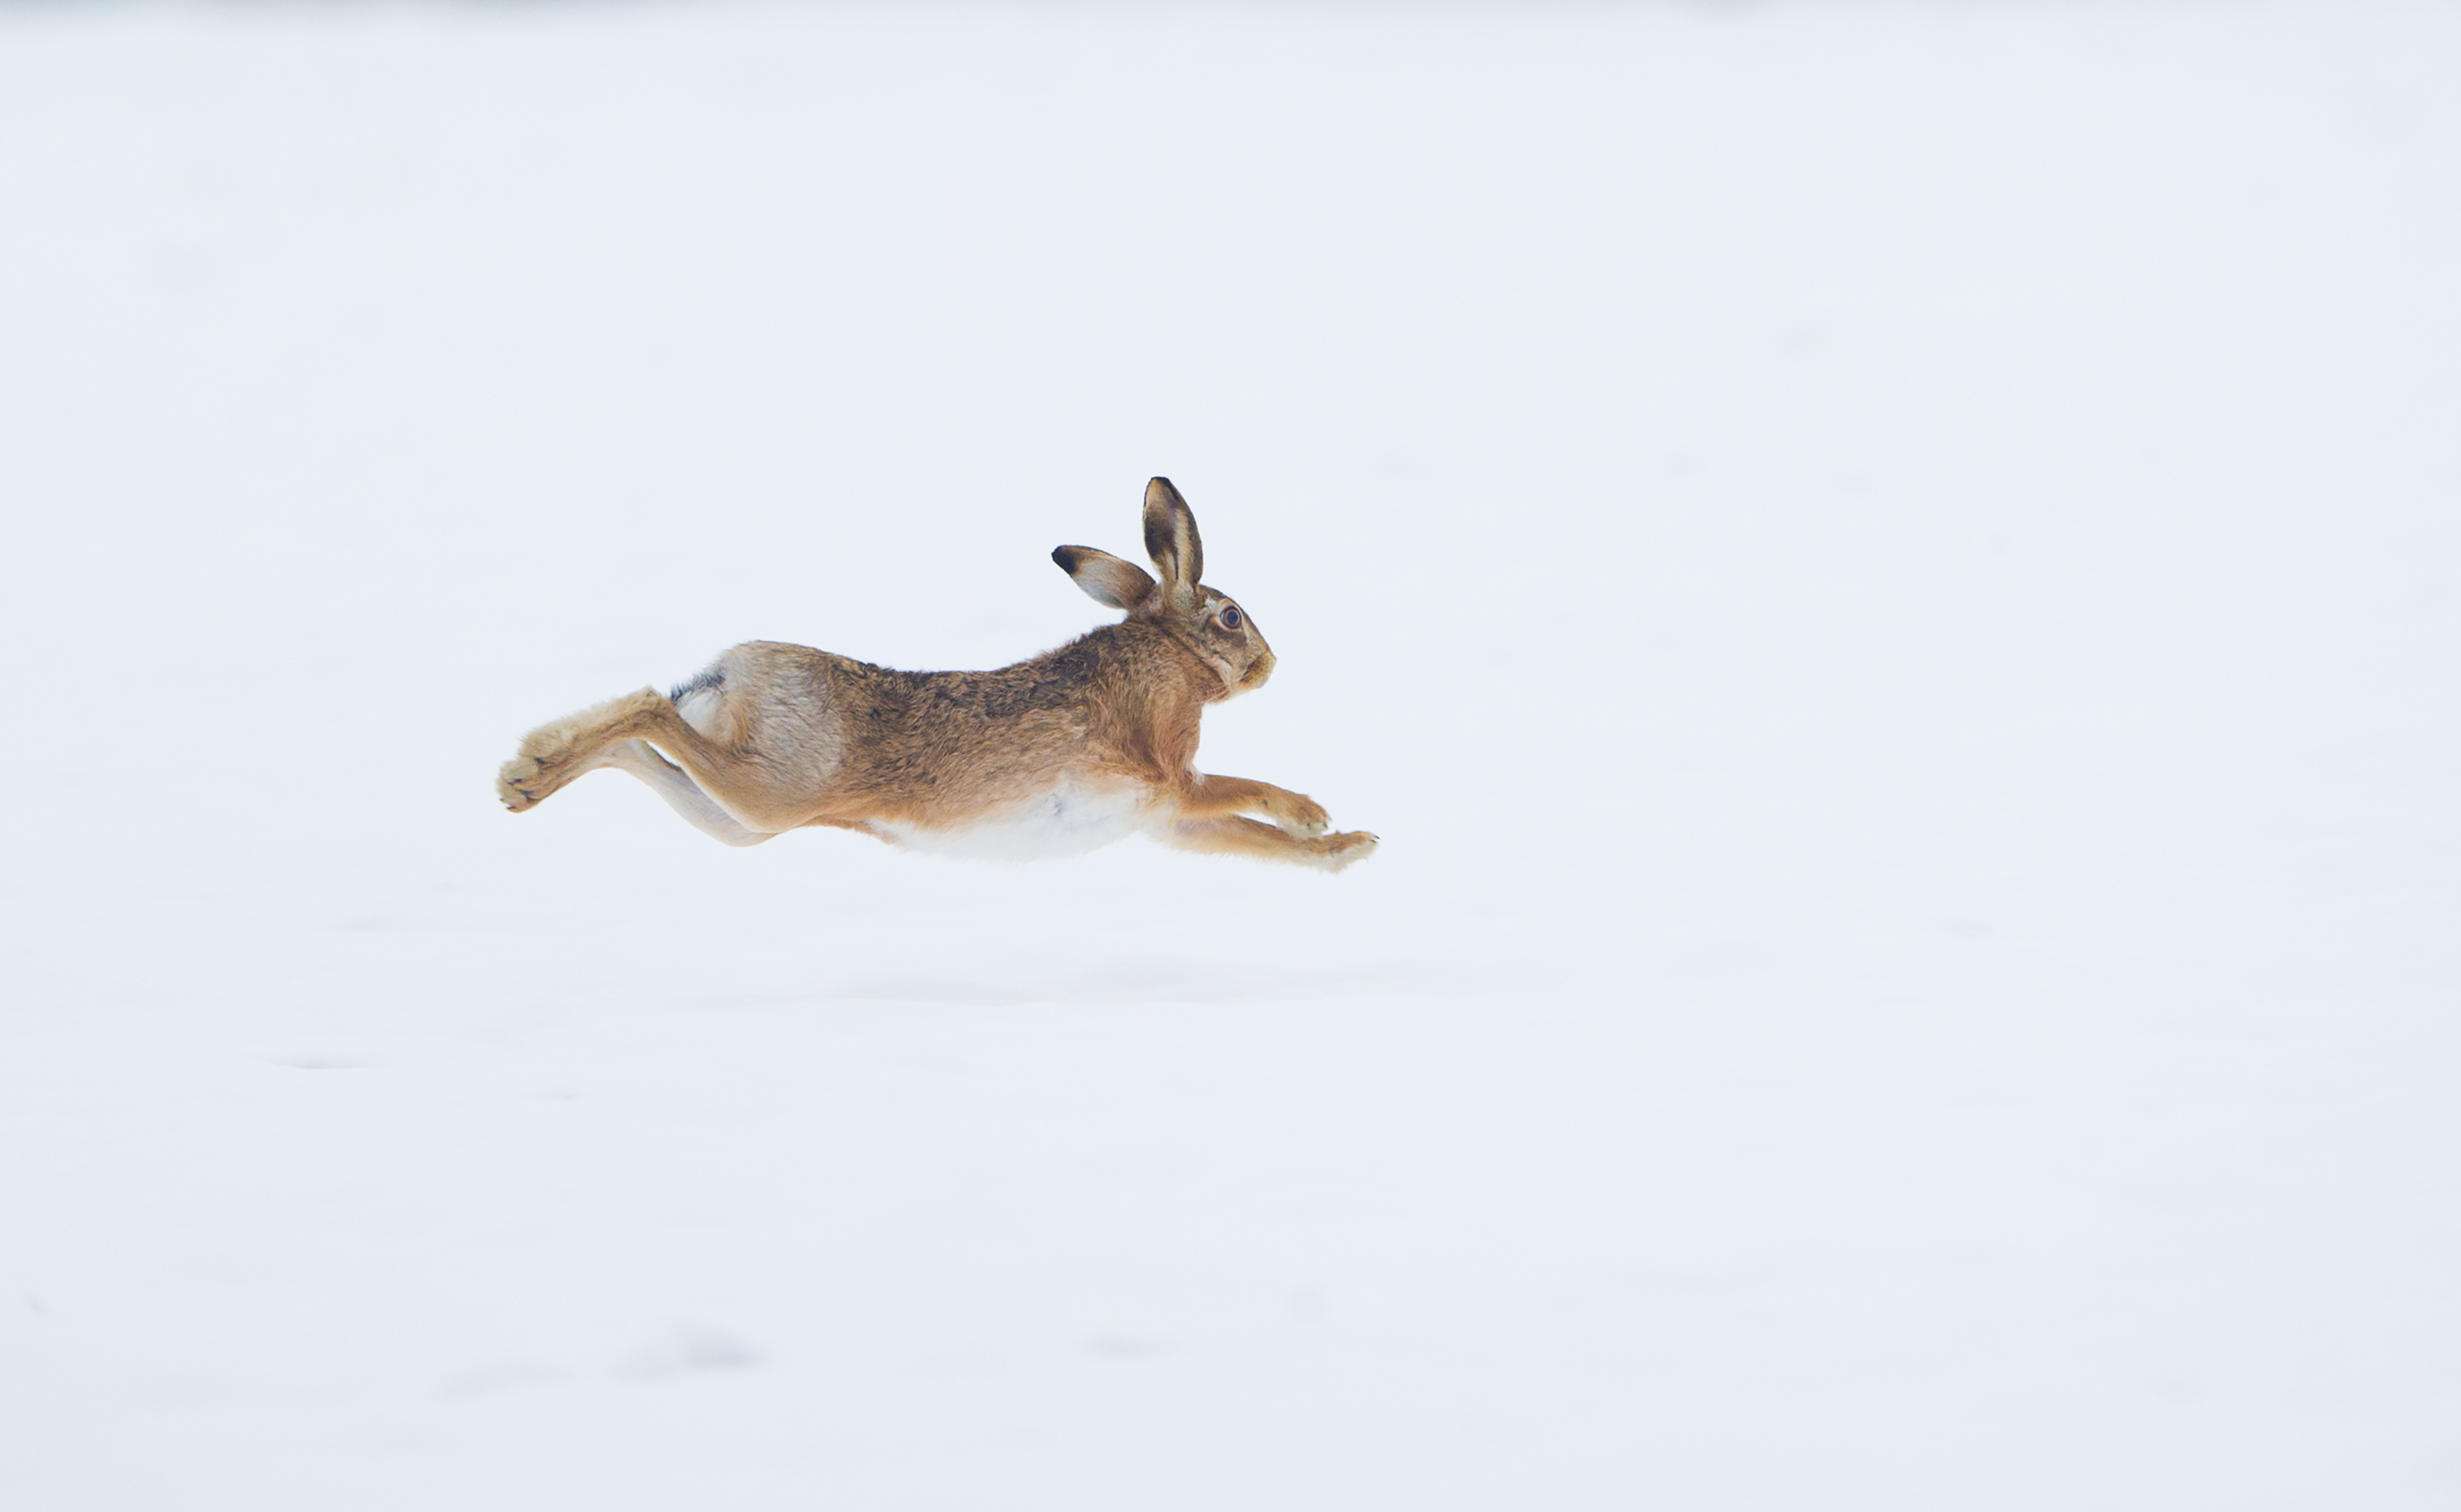
2. Background
Either a milky-white, overcast sky or a snow-covered field is best for high-key images. Ideally, if you’re in a field, like in this hare shot, then the snow cover needs to be comprehensive, and also free from distractions such as exposed ground or vegetation.
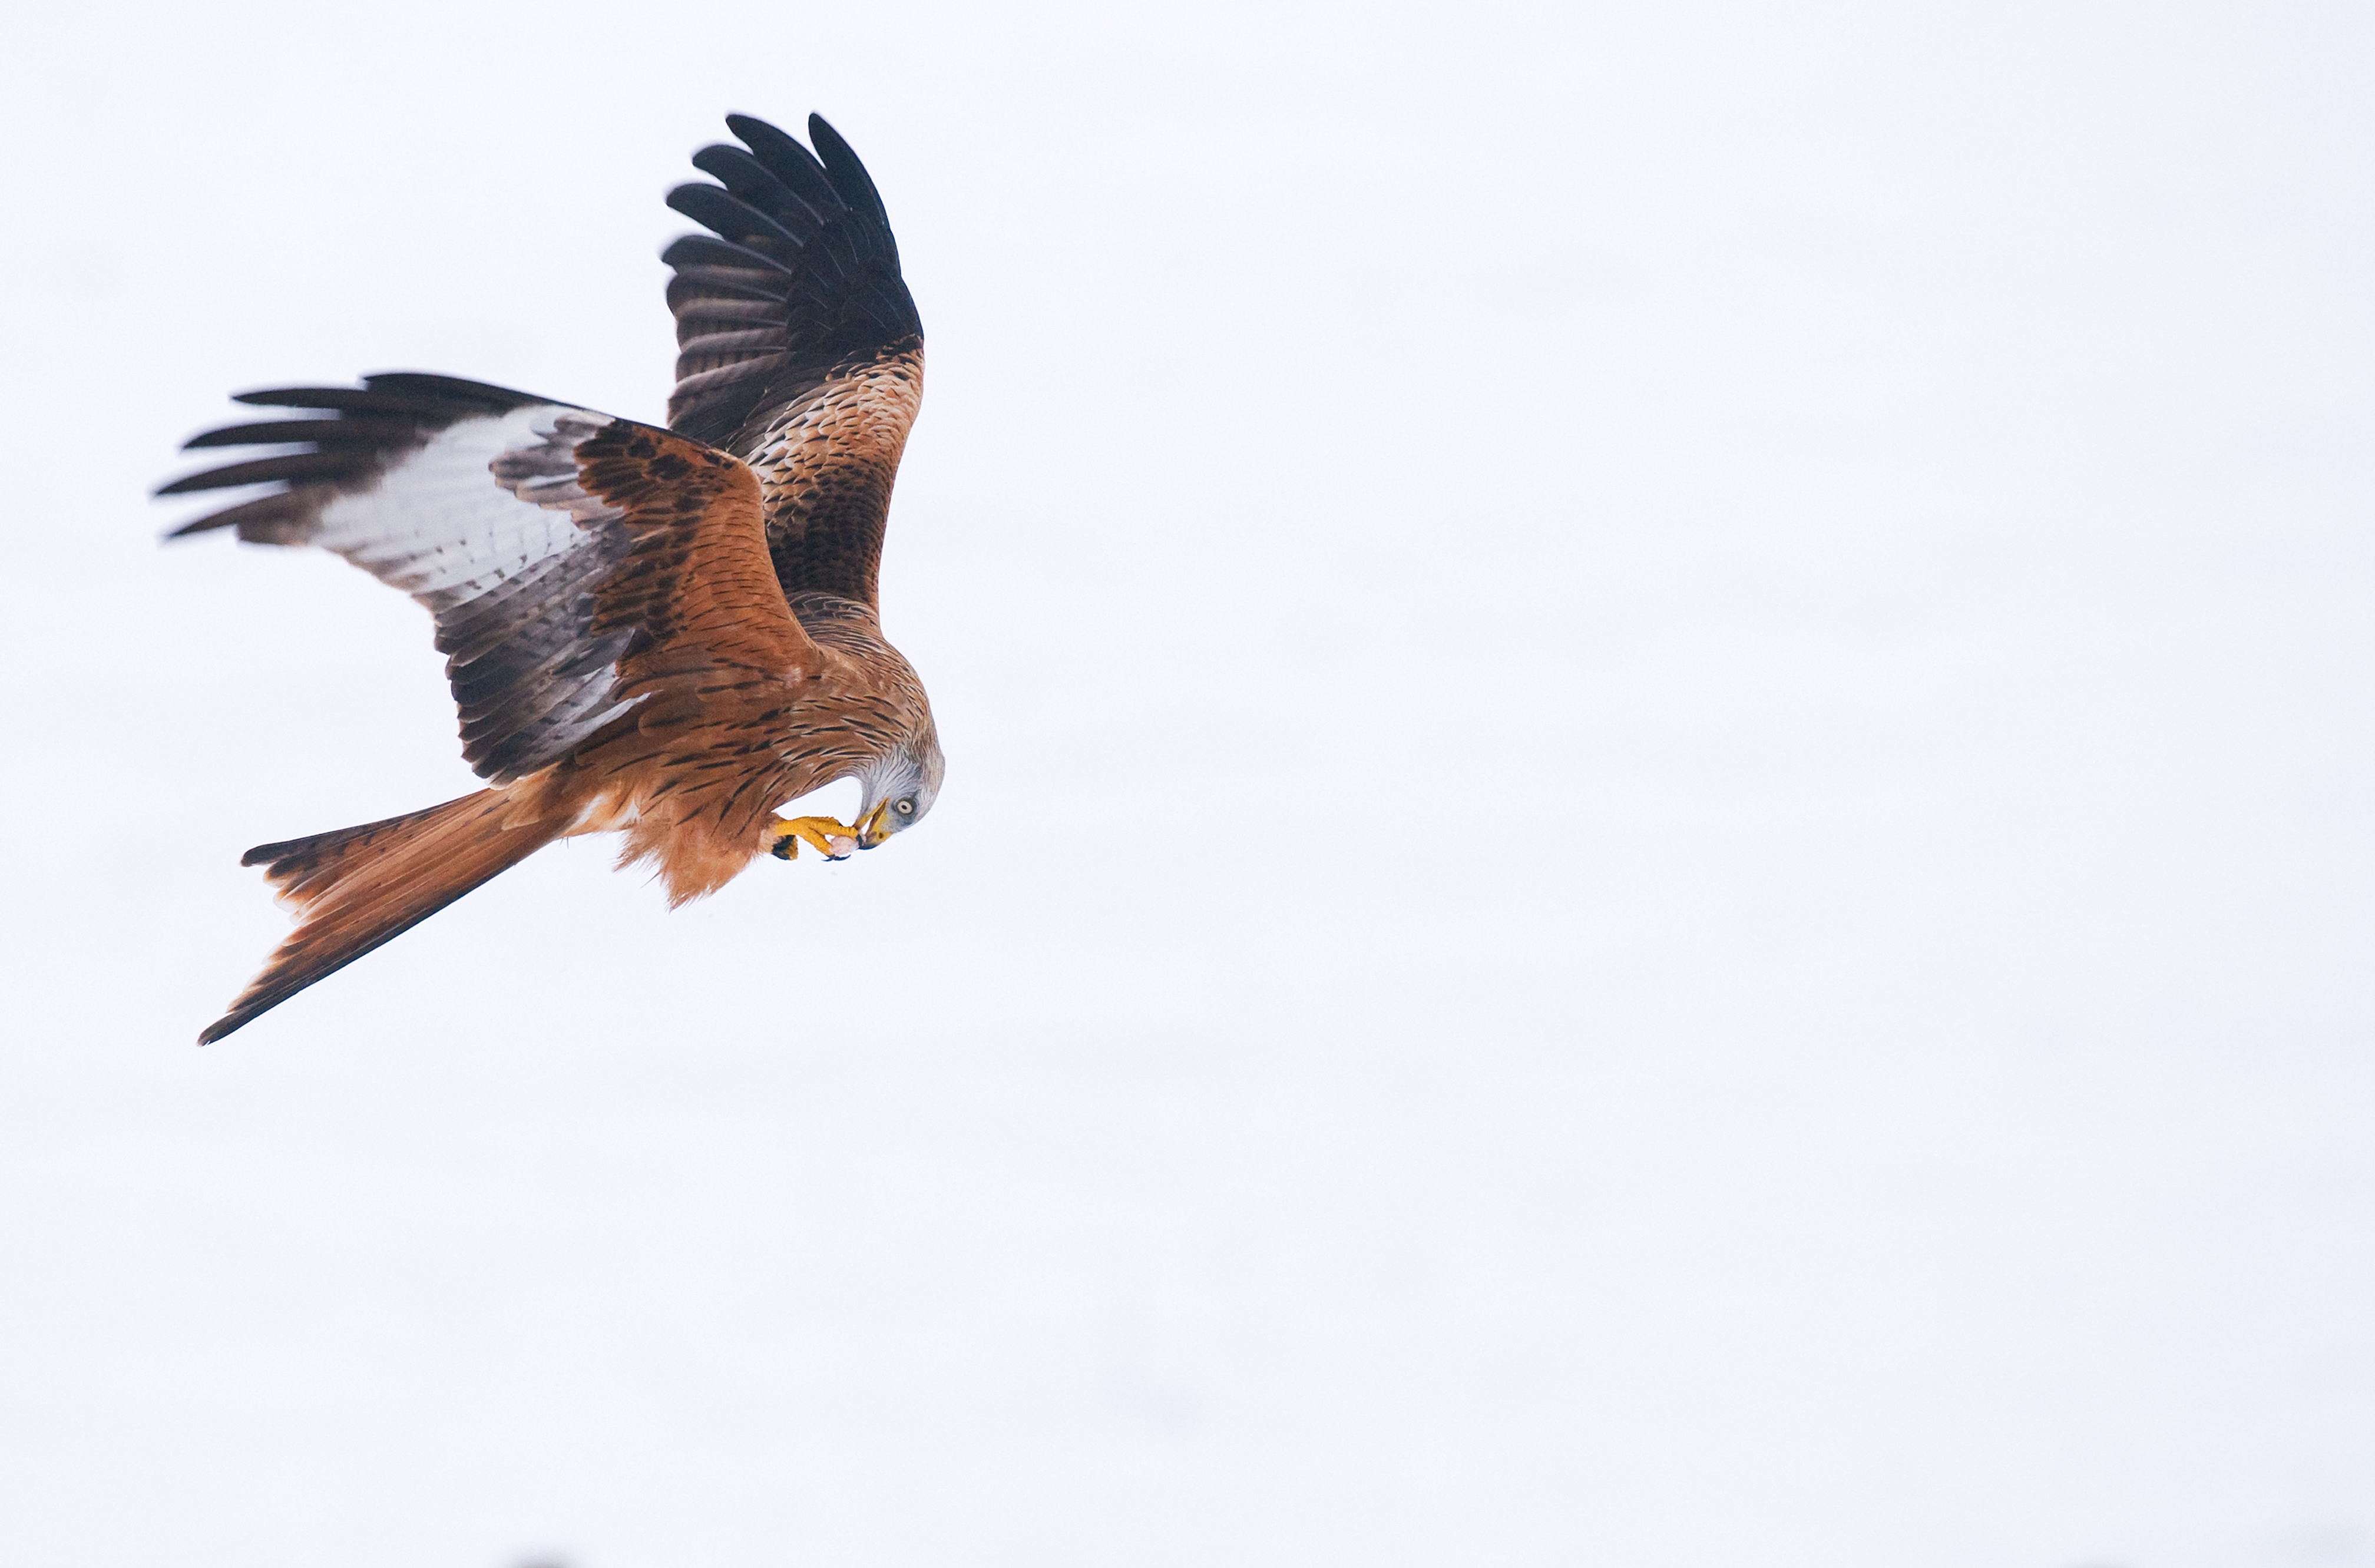
3. Editing tips
Images such as these look best when the snow is a crisp white, not a murky, underexposed grey. The same can be said for skies. Always try to get your exposures correct in the field, but if you need to adjust the exposure in post-processing then do so.
Read more:
Take your outdoor photography to the next level with The Photography Show
The best camera for wildlife photography in 2021
The best trail cameras in 2021
Get the Digital Camera World Newsletter
The best camera deals, reviews, product advice, and unmissable photography news, direct to your inbox!
Lauren is a writer, reviewer, and photographer with ten years of experience in the camera industry. She's the former Managing Editor of Digital Camera World, and previously served as Editor of Digital Photographer magazine, Technique editor for PhotoPlus: The Canon Magazine, and Deputy Editor of our sister publication, Digital Camera Magazine. An experienced journalist and freelance photographer, Lauren also has bylines at Tech Radar, Space.com, Canon Europe, PCGamesN, T3, Stuff, and British Airways' in-flight magazine. When she's not testing gear for DCW, she's probably in the kitchen testing yet another new curry recipe or walking in the Cotswolds with her Flat-coated Retriever.
