How to capture vehicle light streaks
Transform passing vehicles into glorious streaks of colour
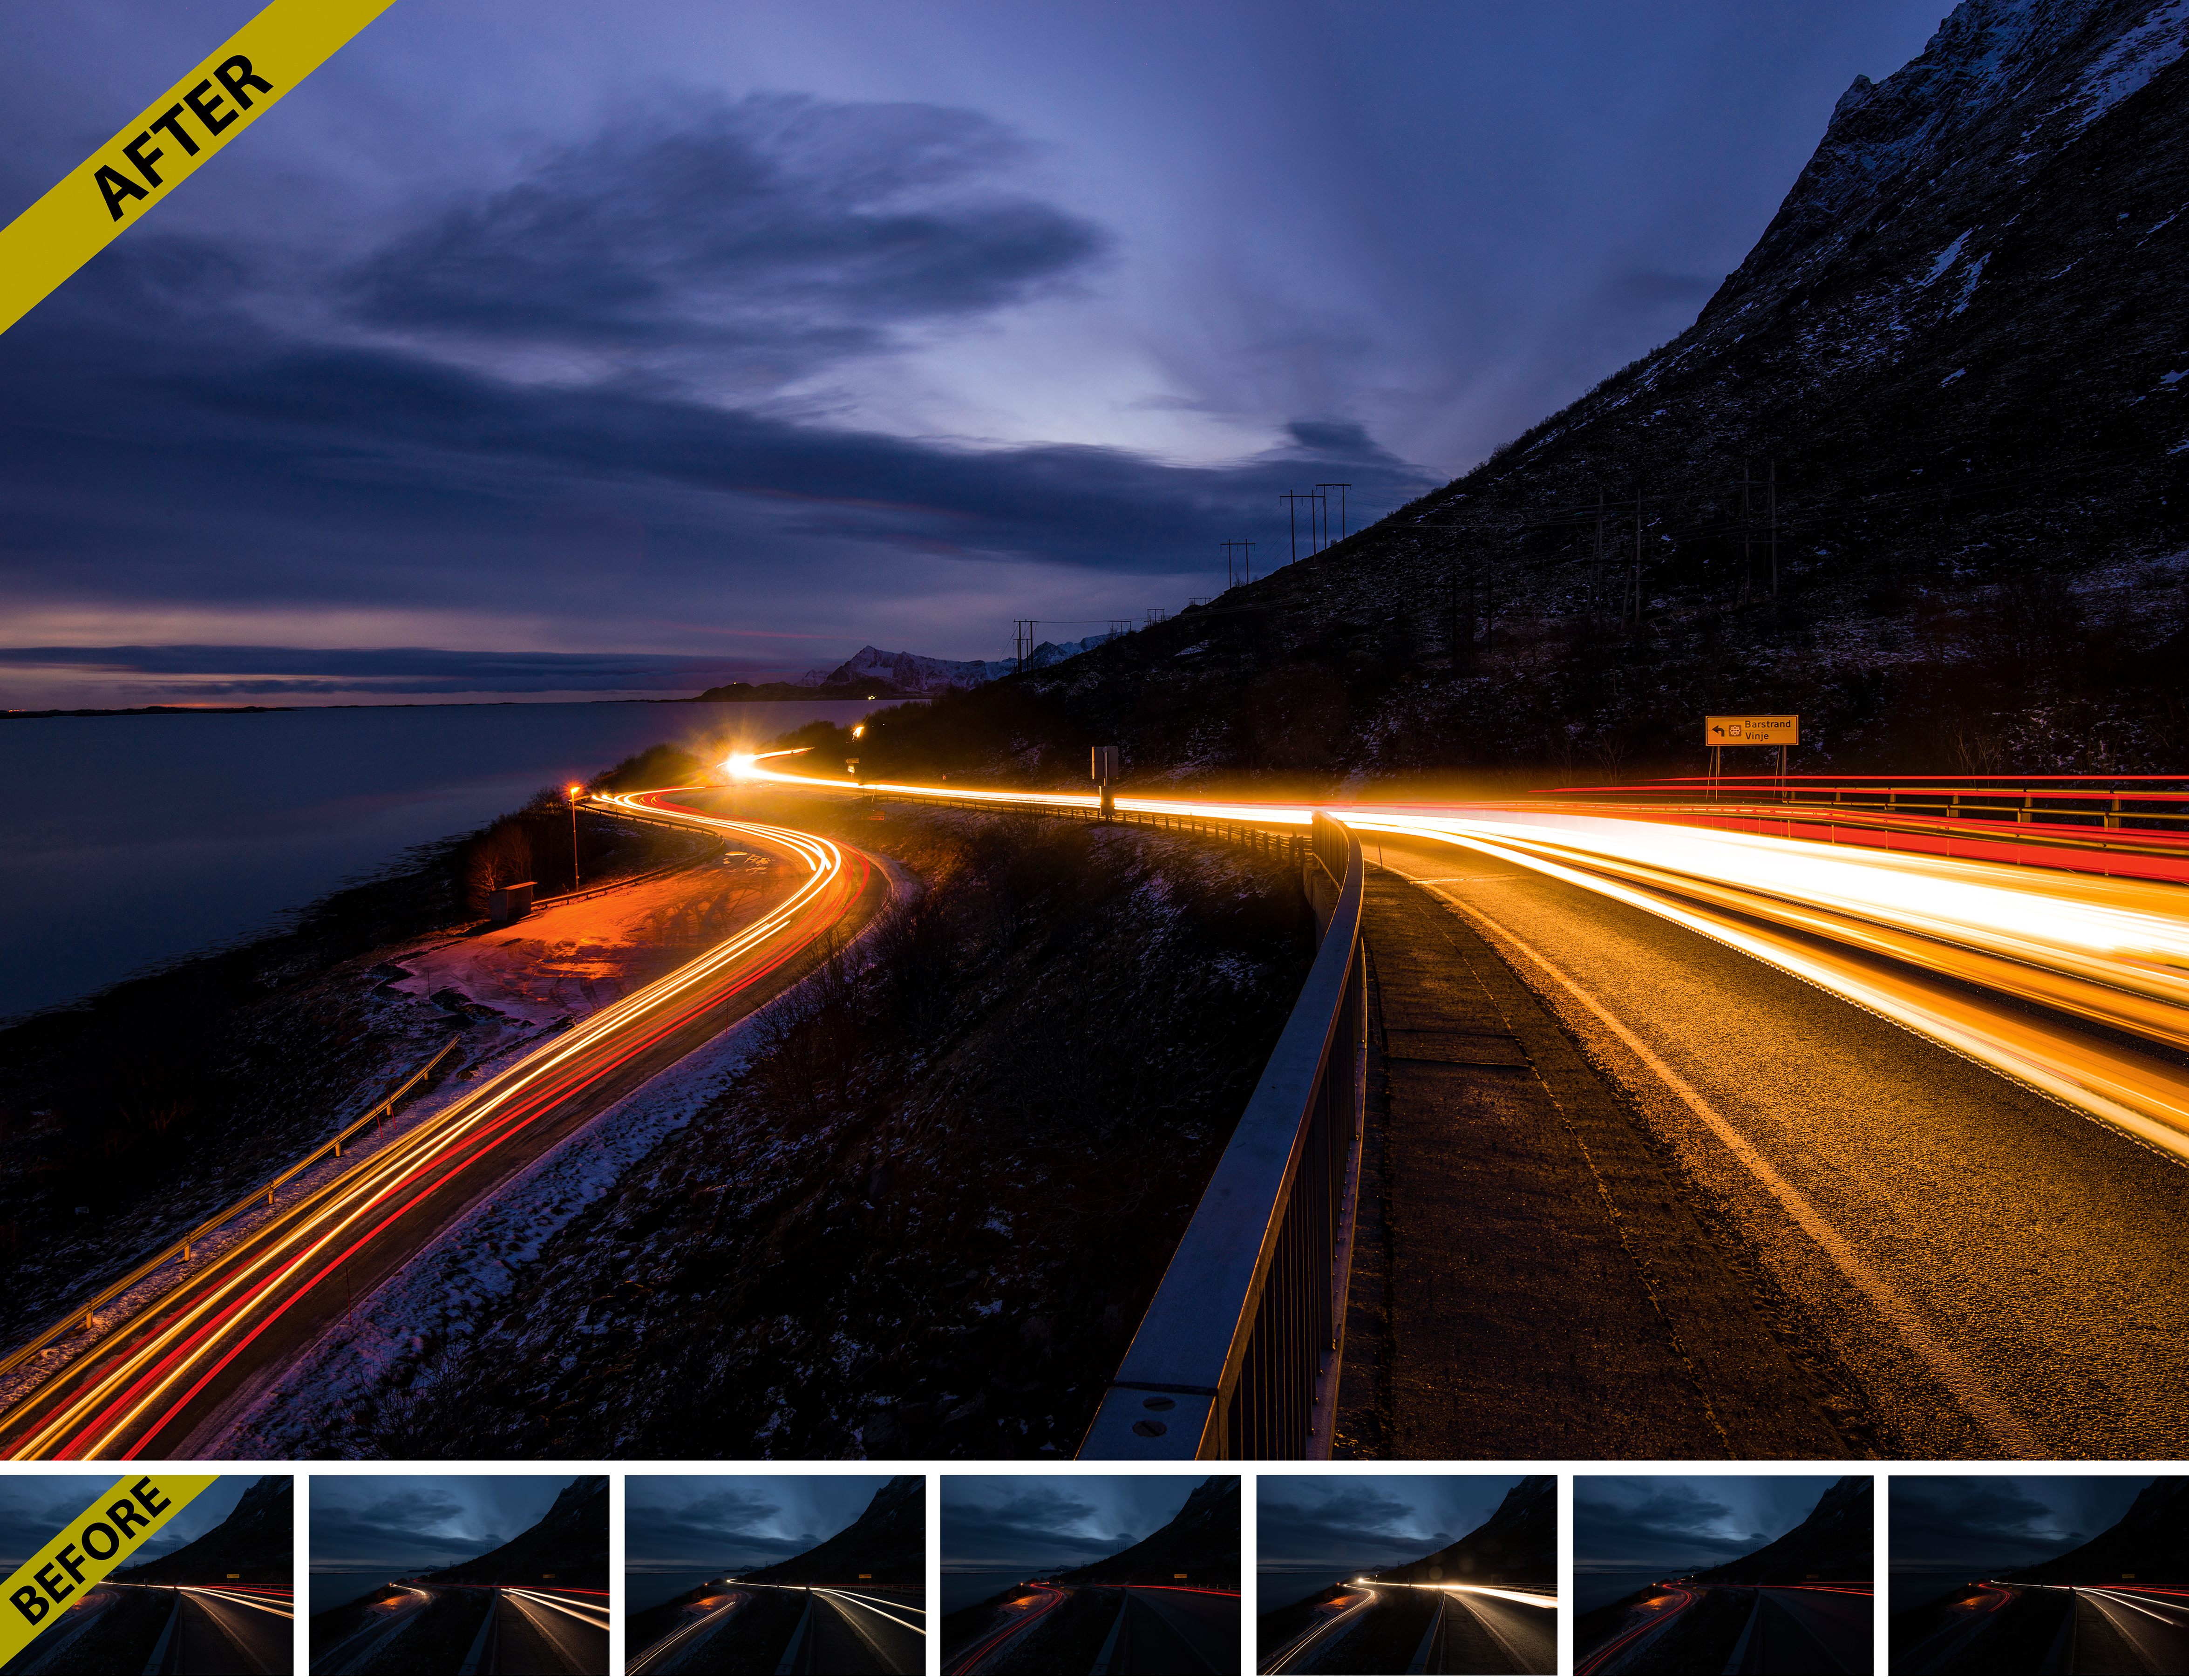
Capture vehicle light trails at night with a long exposure
Time: 30 minutes
Skill level: Intermediate
Kit needed: Tripod, Photoshop CC, CS or Element
We photographers have a bit of a love/hate relationship with movement. Sometimes it’s a real pain and we strive to keep it to a minimum. At other times, we want to celebrate it in all its blurry glory. The motion of traffic at night definitely falls into the latter category. By using a long exposure in the low evening light, the smooth motion of their lights creates wonderful streaks of colour through the frame.
This is one of those camera skills that reveals the magic of photography – and the best part is, it’s easy! Anyone with a DSLR and tripod can do it. As such, it’s a great way to get started with long-exposure photography as there’s no need for extra filters or even a cable release.
The challenge is finding an interesting composition for your shot. Winding roads and mountainous scenery work perfectly, but why not try a multi-lane motorway, city street, or a knotty junction? Another challenge is timing – we want a decent array of lights but at night, especially, traffic can be rather sparse. However, you can always shoot several frames then combine them with simple editing skills, as we’ll explain...
STEP BY STEP: Be a trailblazer
1 GET SET UP
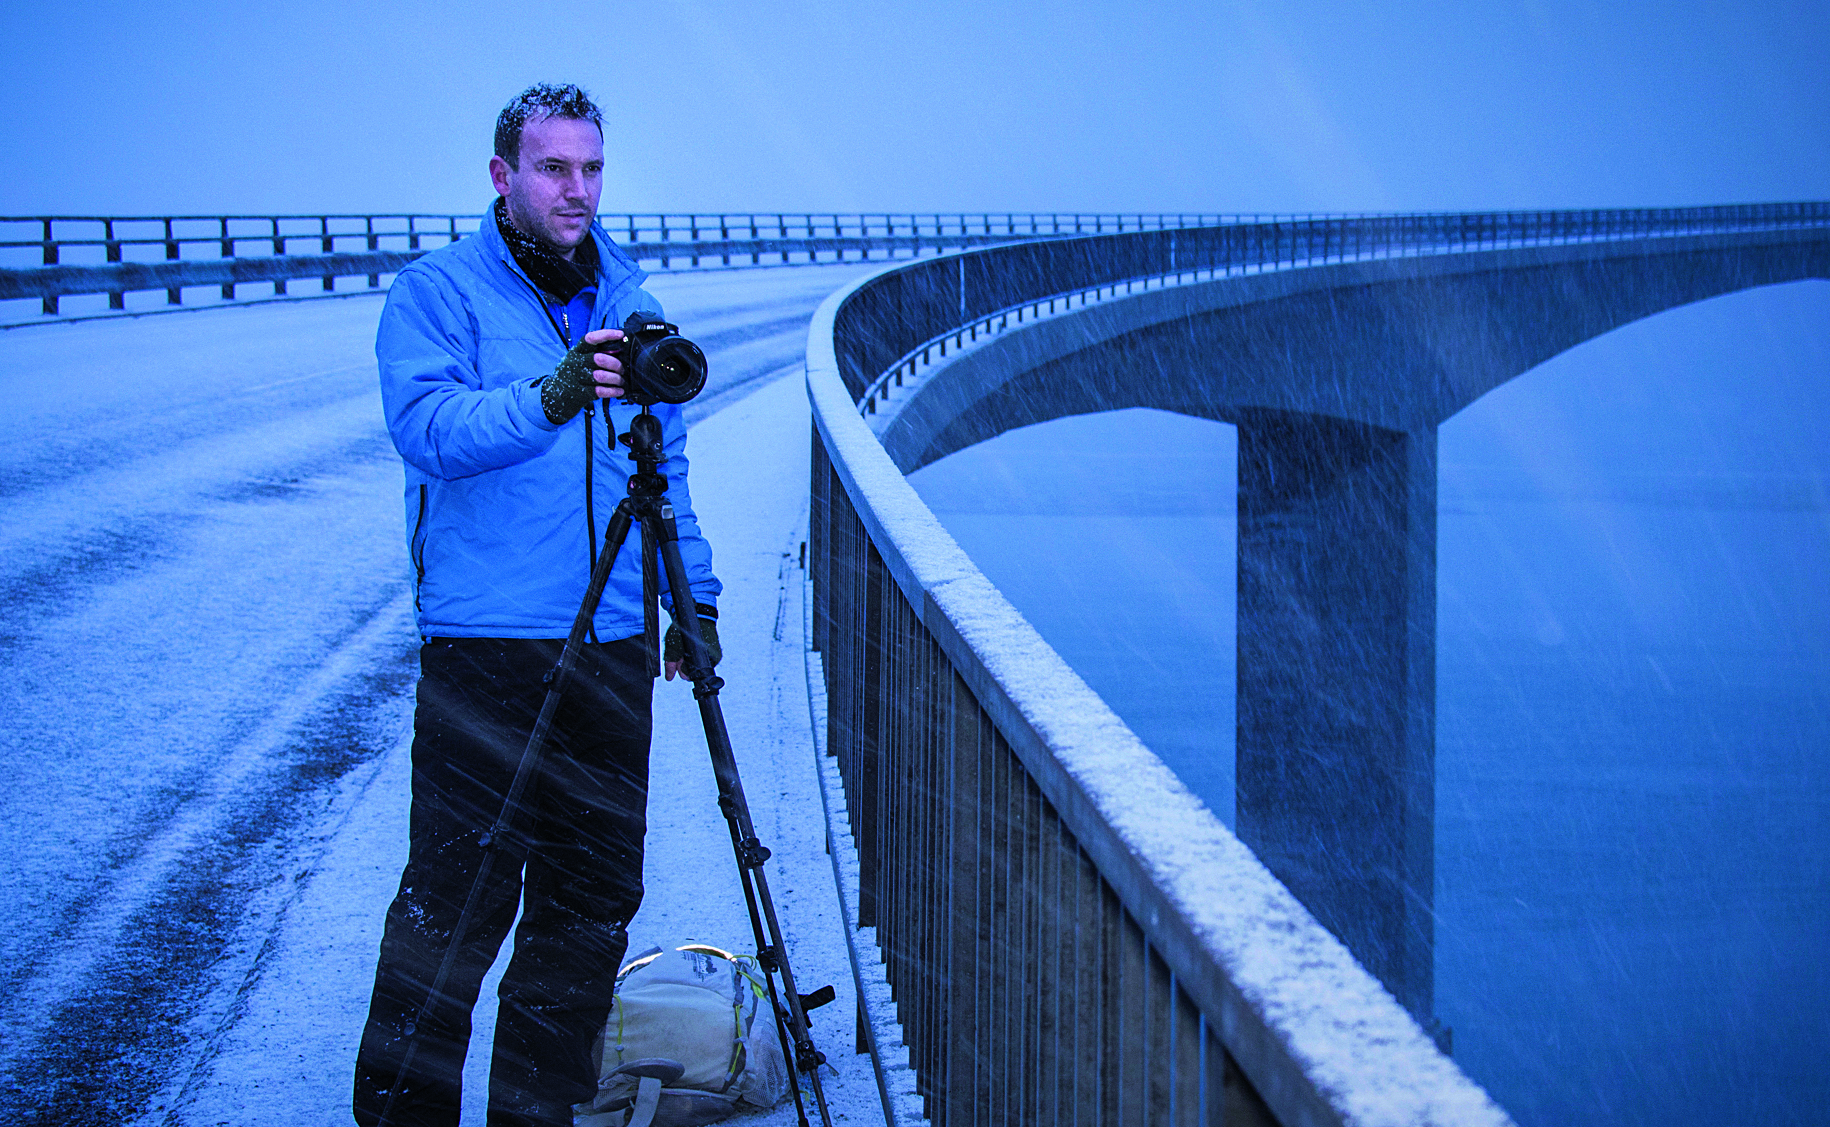
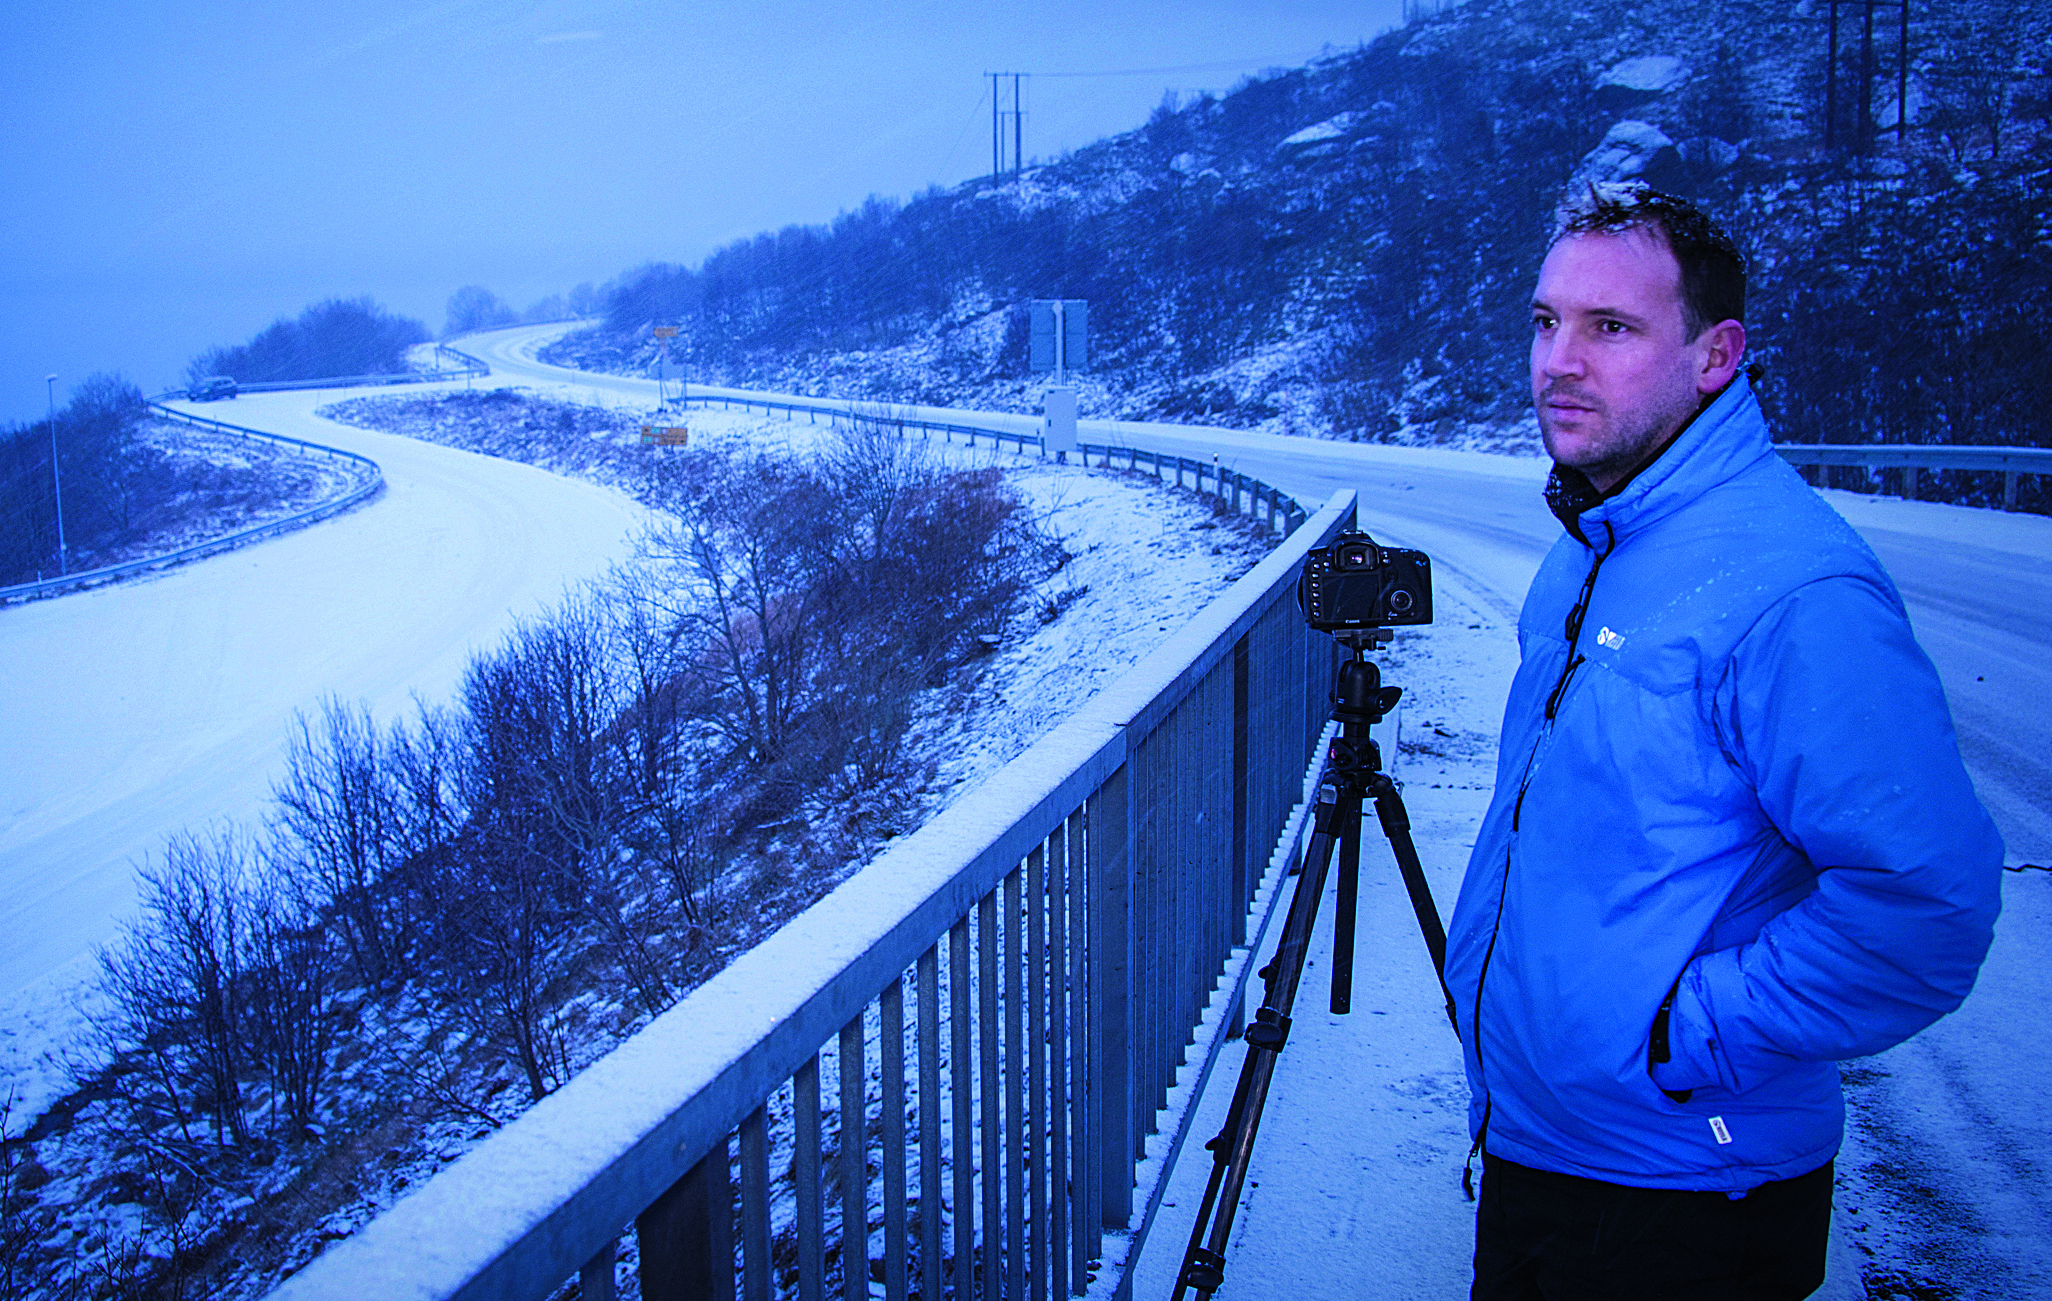
Fix your DSLR to a tripod. Look for an angle where the winding road begins close up then recedes into the distance, as this’ll make more interesting lines than, say, a side-on view. Try a low-down or high-up view, and frame loosely to account for different-height vehicles.
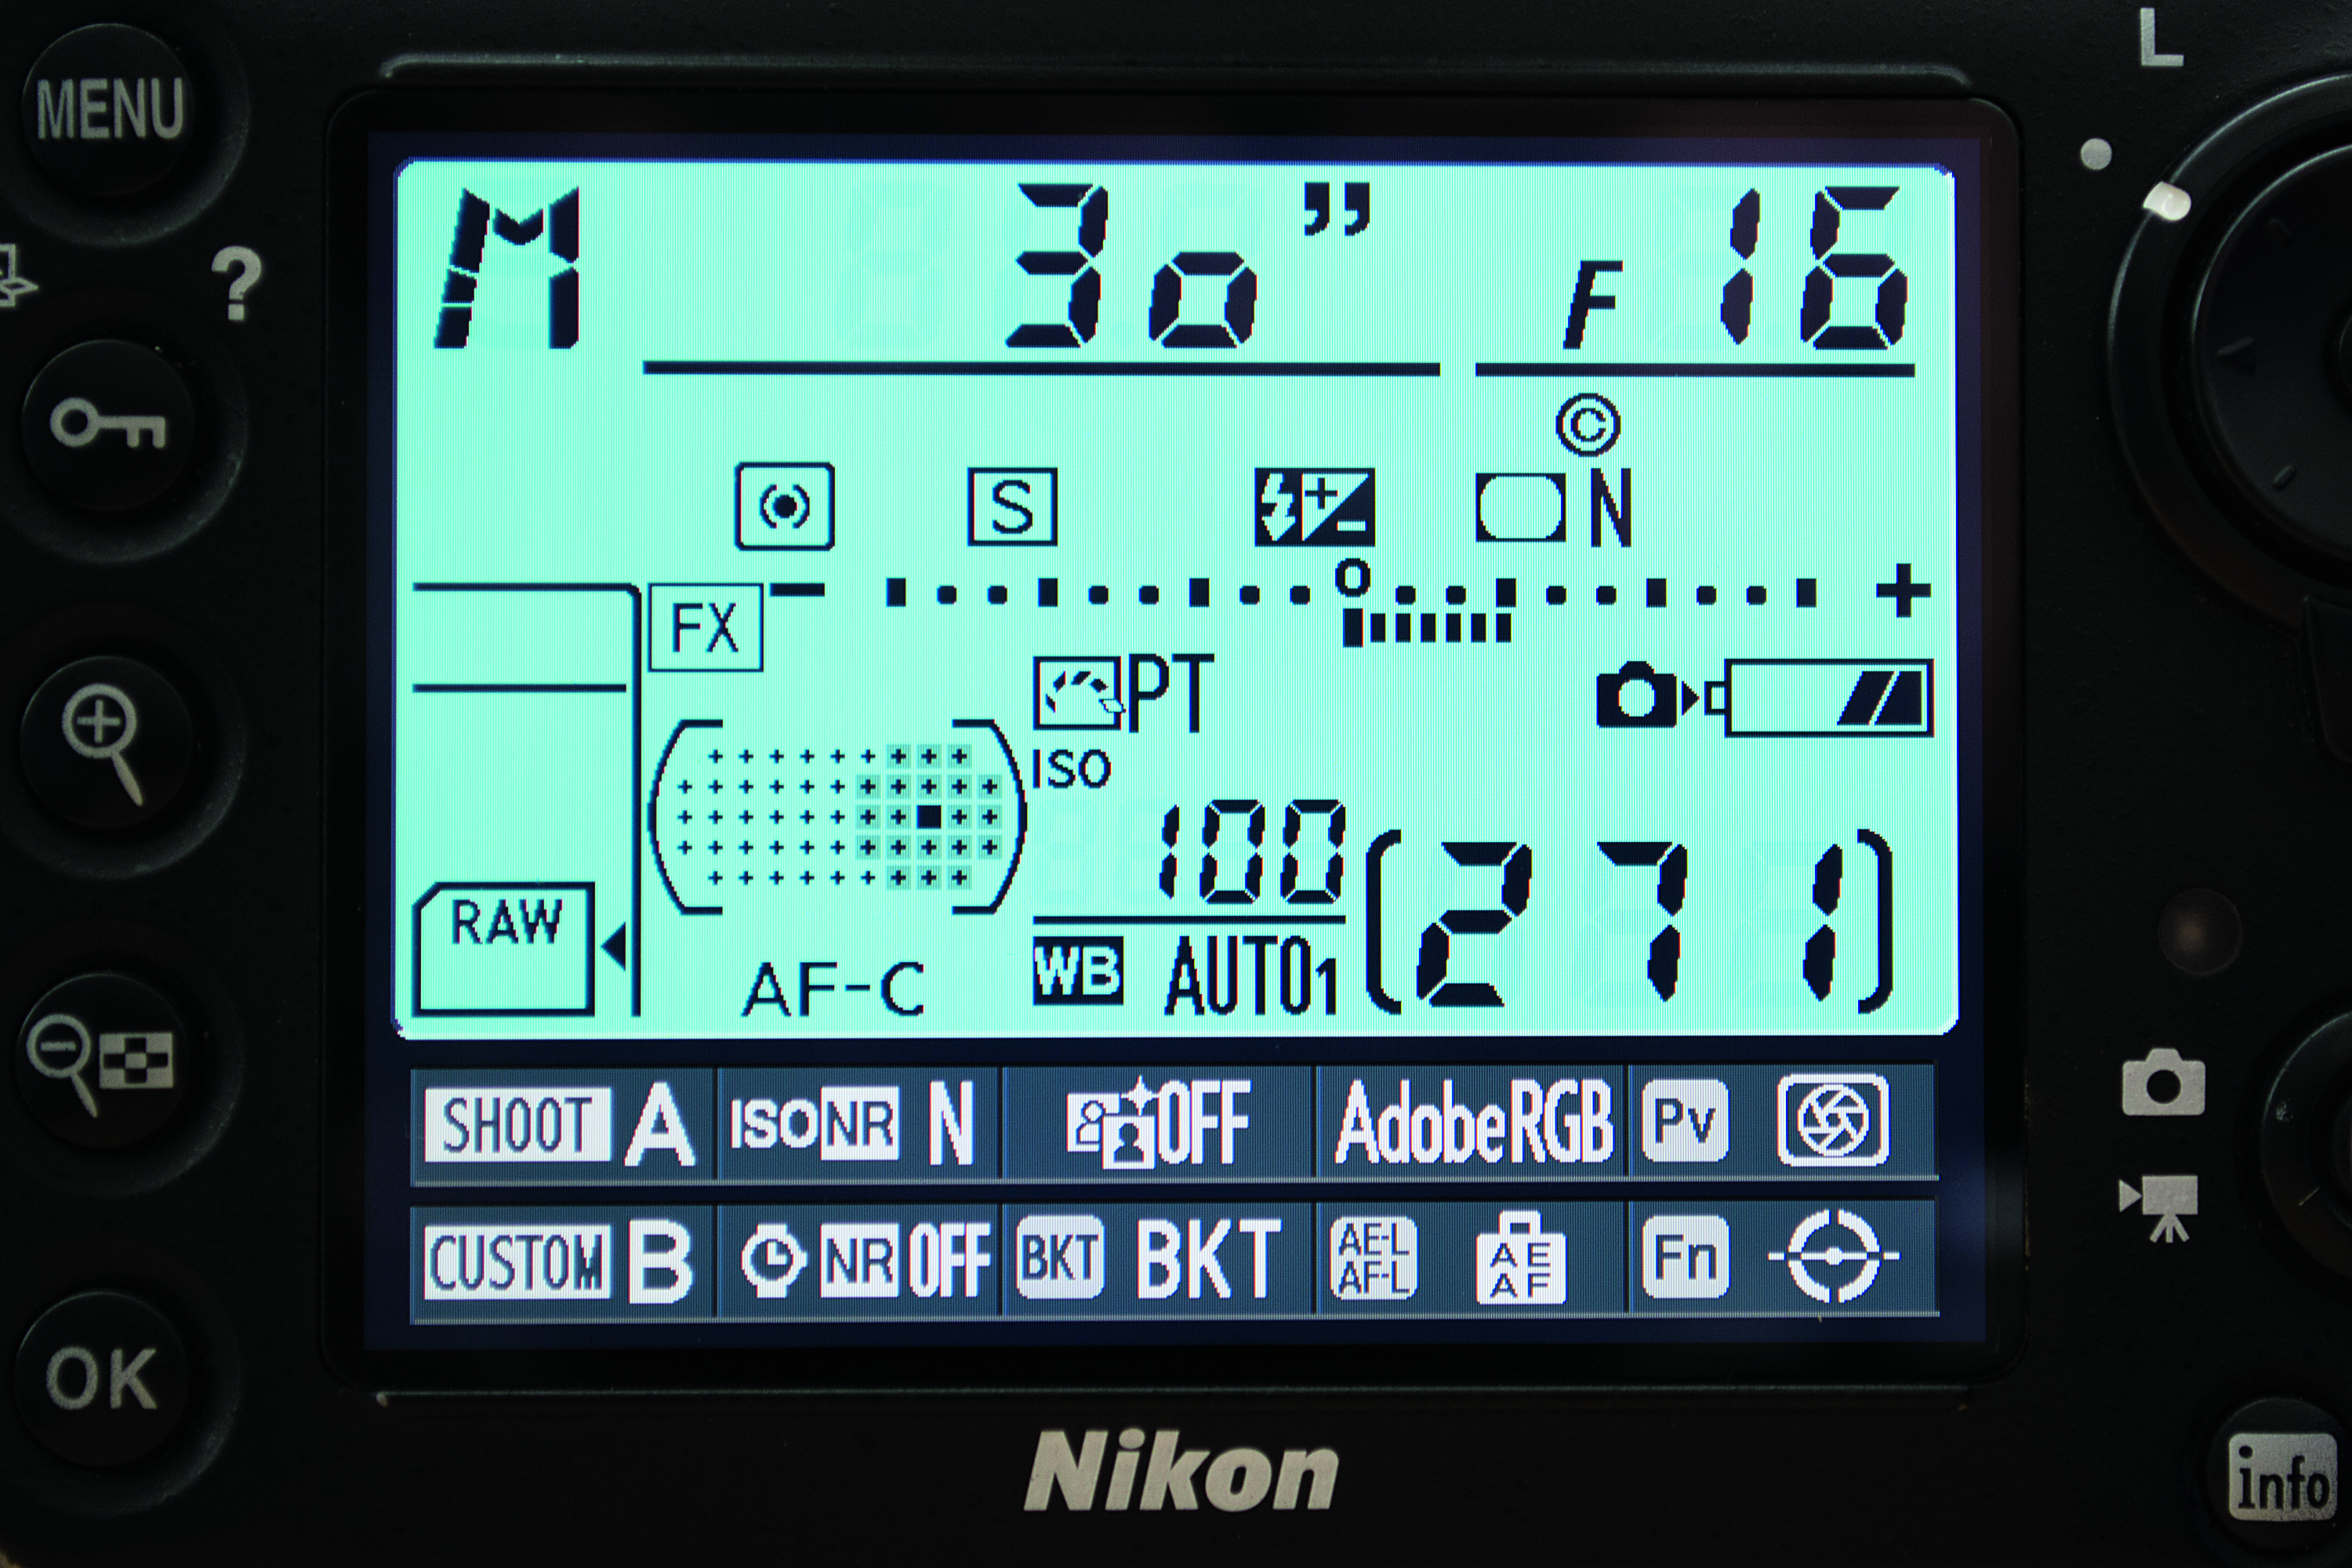
If you find you usually stick to the auto exposure modes, a project like this offers a gentle introduction to Manual exposure mode. In order to get the long shutter speeds we need, we have to adjust our other exposure settings to compensate. Firstly we can use a high f-number like f/16. This decreases the size of the opening in the lens and restricts the flow of light. Secondly, we can use a low sensitivity, such as ISO100, so the sensor requires more light for a correct exposure. Both of these factors help to restrict the amount of light, which means we can use a longer shutter speed.
2 SWITCH TO MANUAL
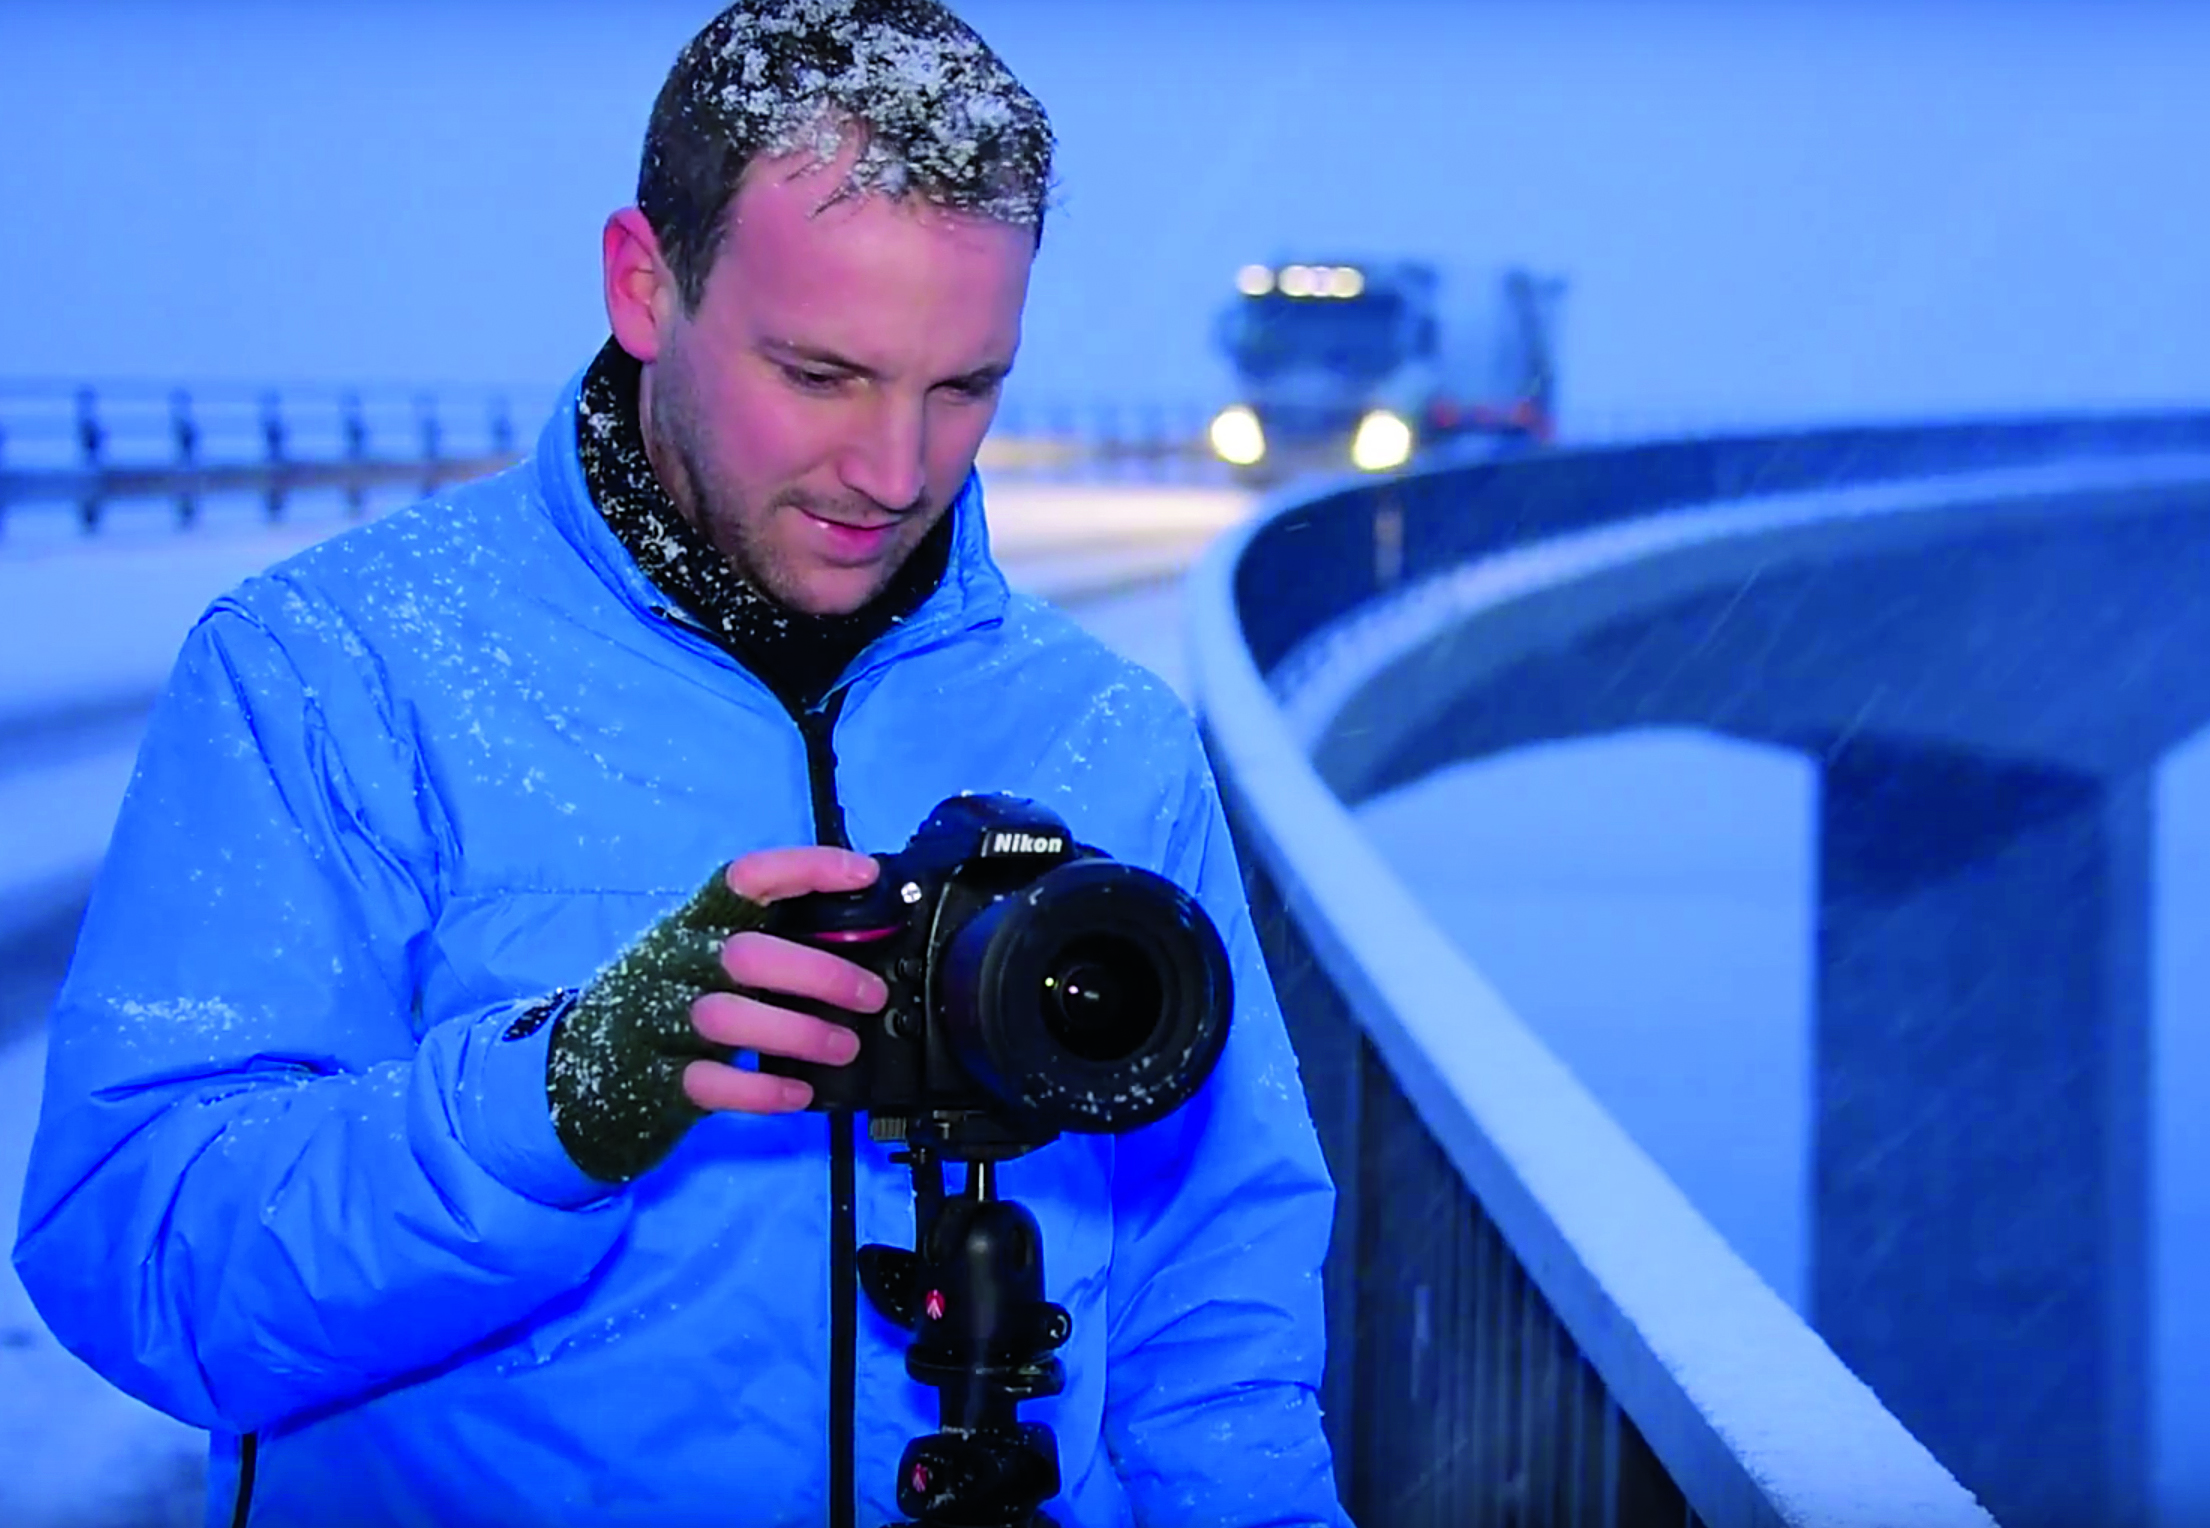
Rather than shooting in pitch dark, try just after sunset so there’s still detail in the sky. Even so, autofocus can struggle to lock on in low light, so focus on a point a third of the way into the scene and then switch to manual focus to lock it. This’ll prevent hunting between frames.
3 SET YOUR EXPOSURE
Switch your DSLR to Manual exposure mode. All scenes are different, but here’s a good starting point for exposure: set the aperture to f/16, shutter speed 30 secs and ISO100. If the image is too bright or dark, try adjusting the aperture until you’re happy.
4 TIME IT RIGHT
Shoot plenty of frames as vehicles zoom by. Differences in height make the trails more varied (as will flashing lights, which appear as dashes). Take care not to nudge the camera between shots, as we need all the frames to be in alignment if we intend to blend them together.
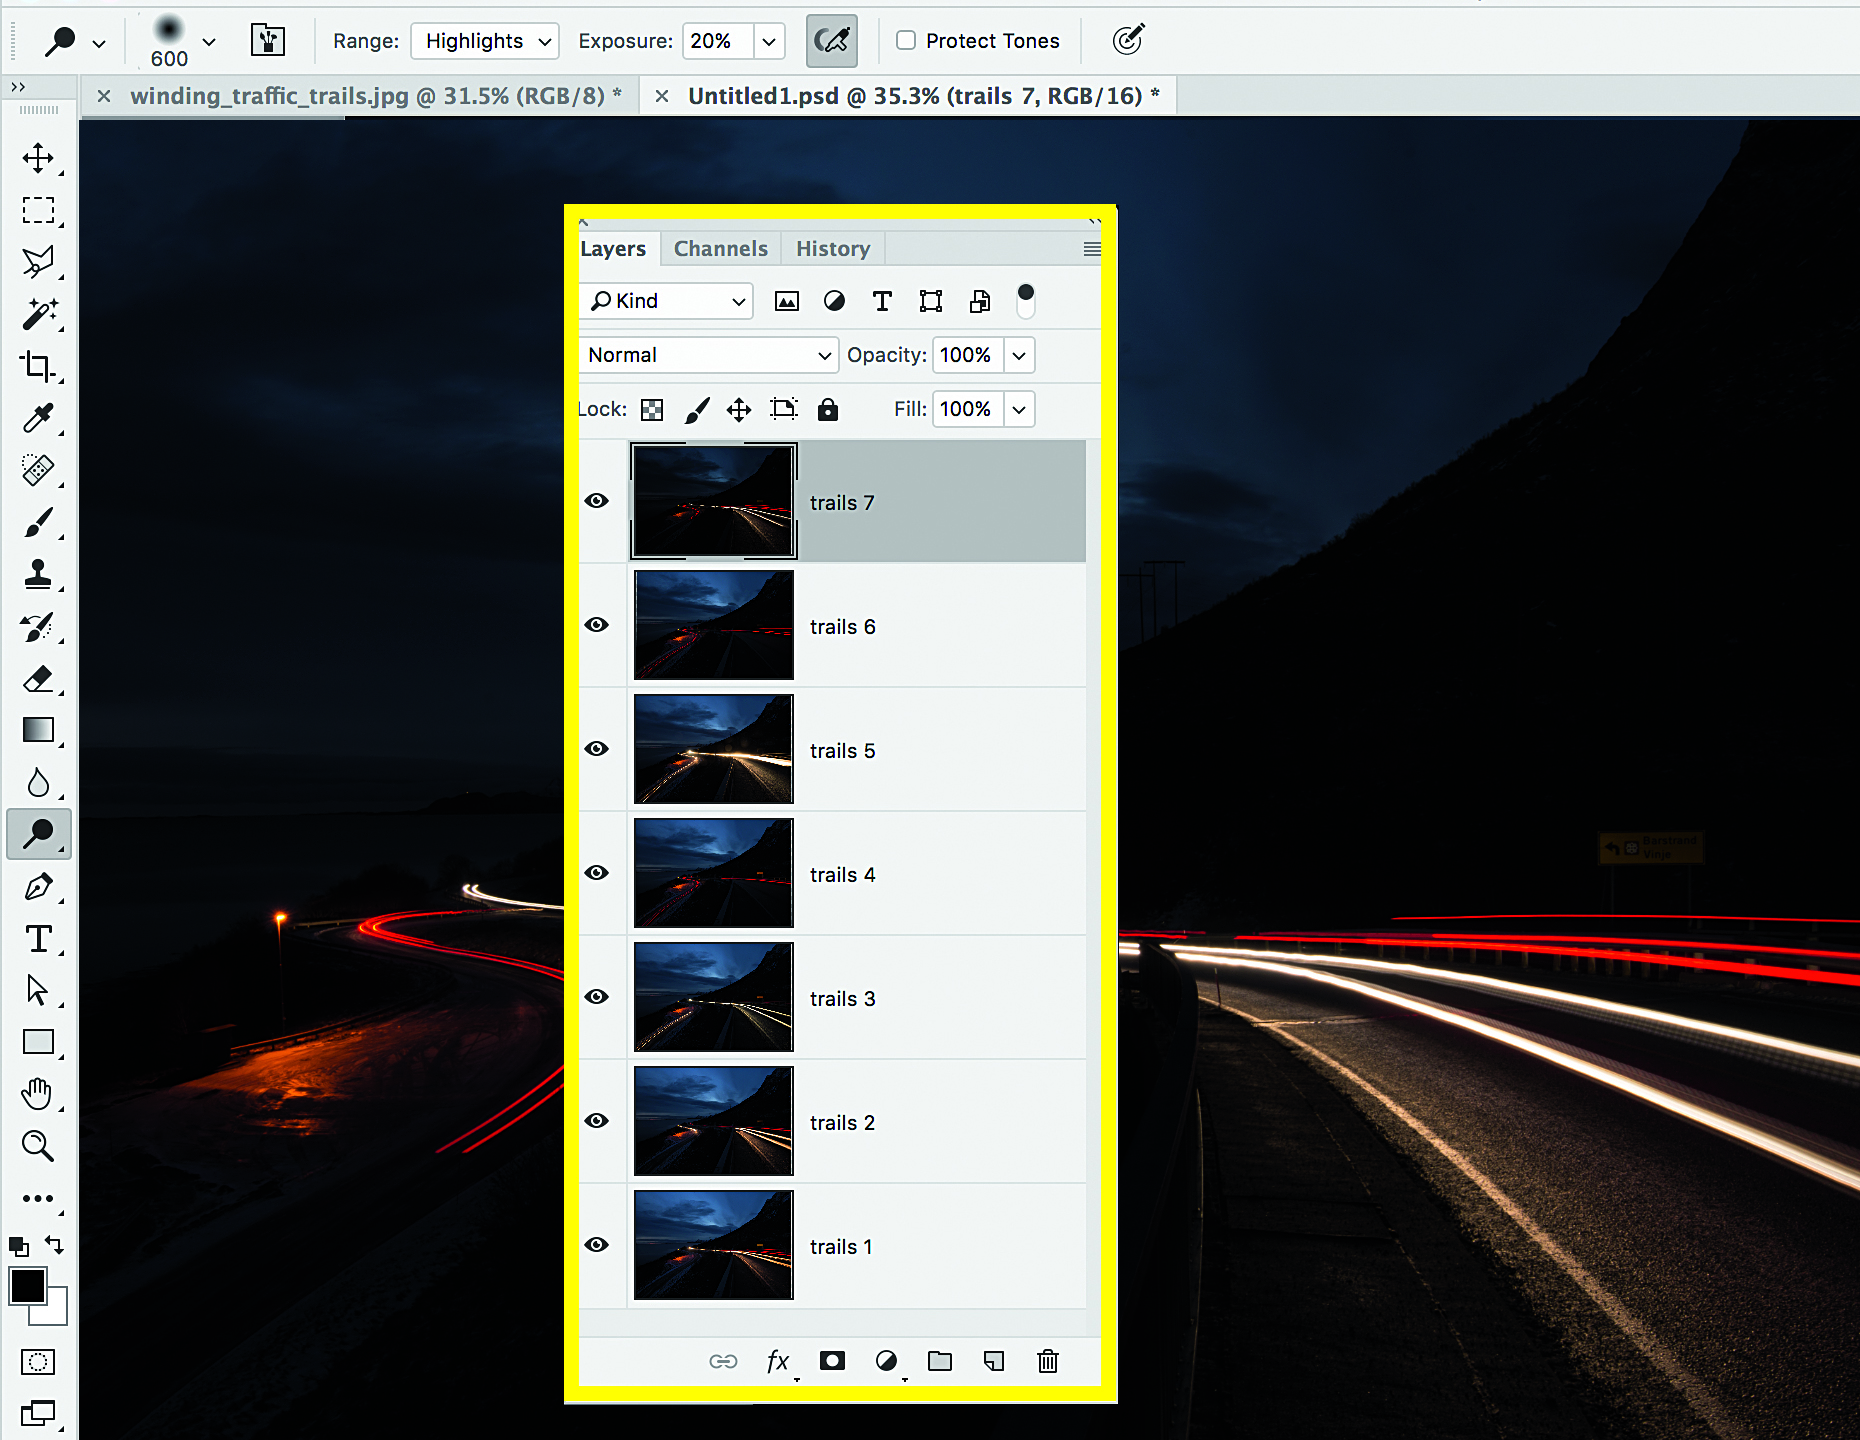
Why stop at road vehicles? Trains, boats, bicycles and any other mobile object that has lights will produce similar results
5 COMBINE SEVERAL IMAGES
Open all the images you want to use (we blended seven) in Photoshop. Choose one frame as the base image, then go to another image, Select All (Cmd/Ctrl+A), Copy (Cmd/Ctrl+C) then go back to the base image and Paste (Cmd/Ctrl+V). Repeat for all the other images.
6 BLEND THE LAYERS
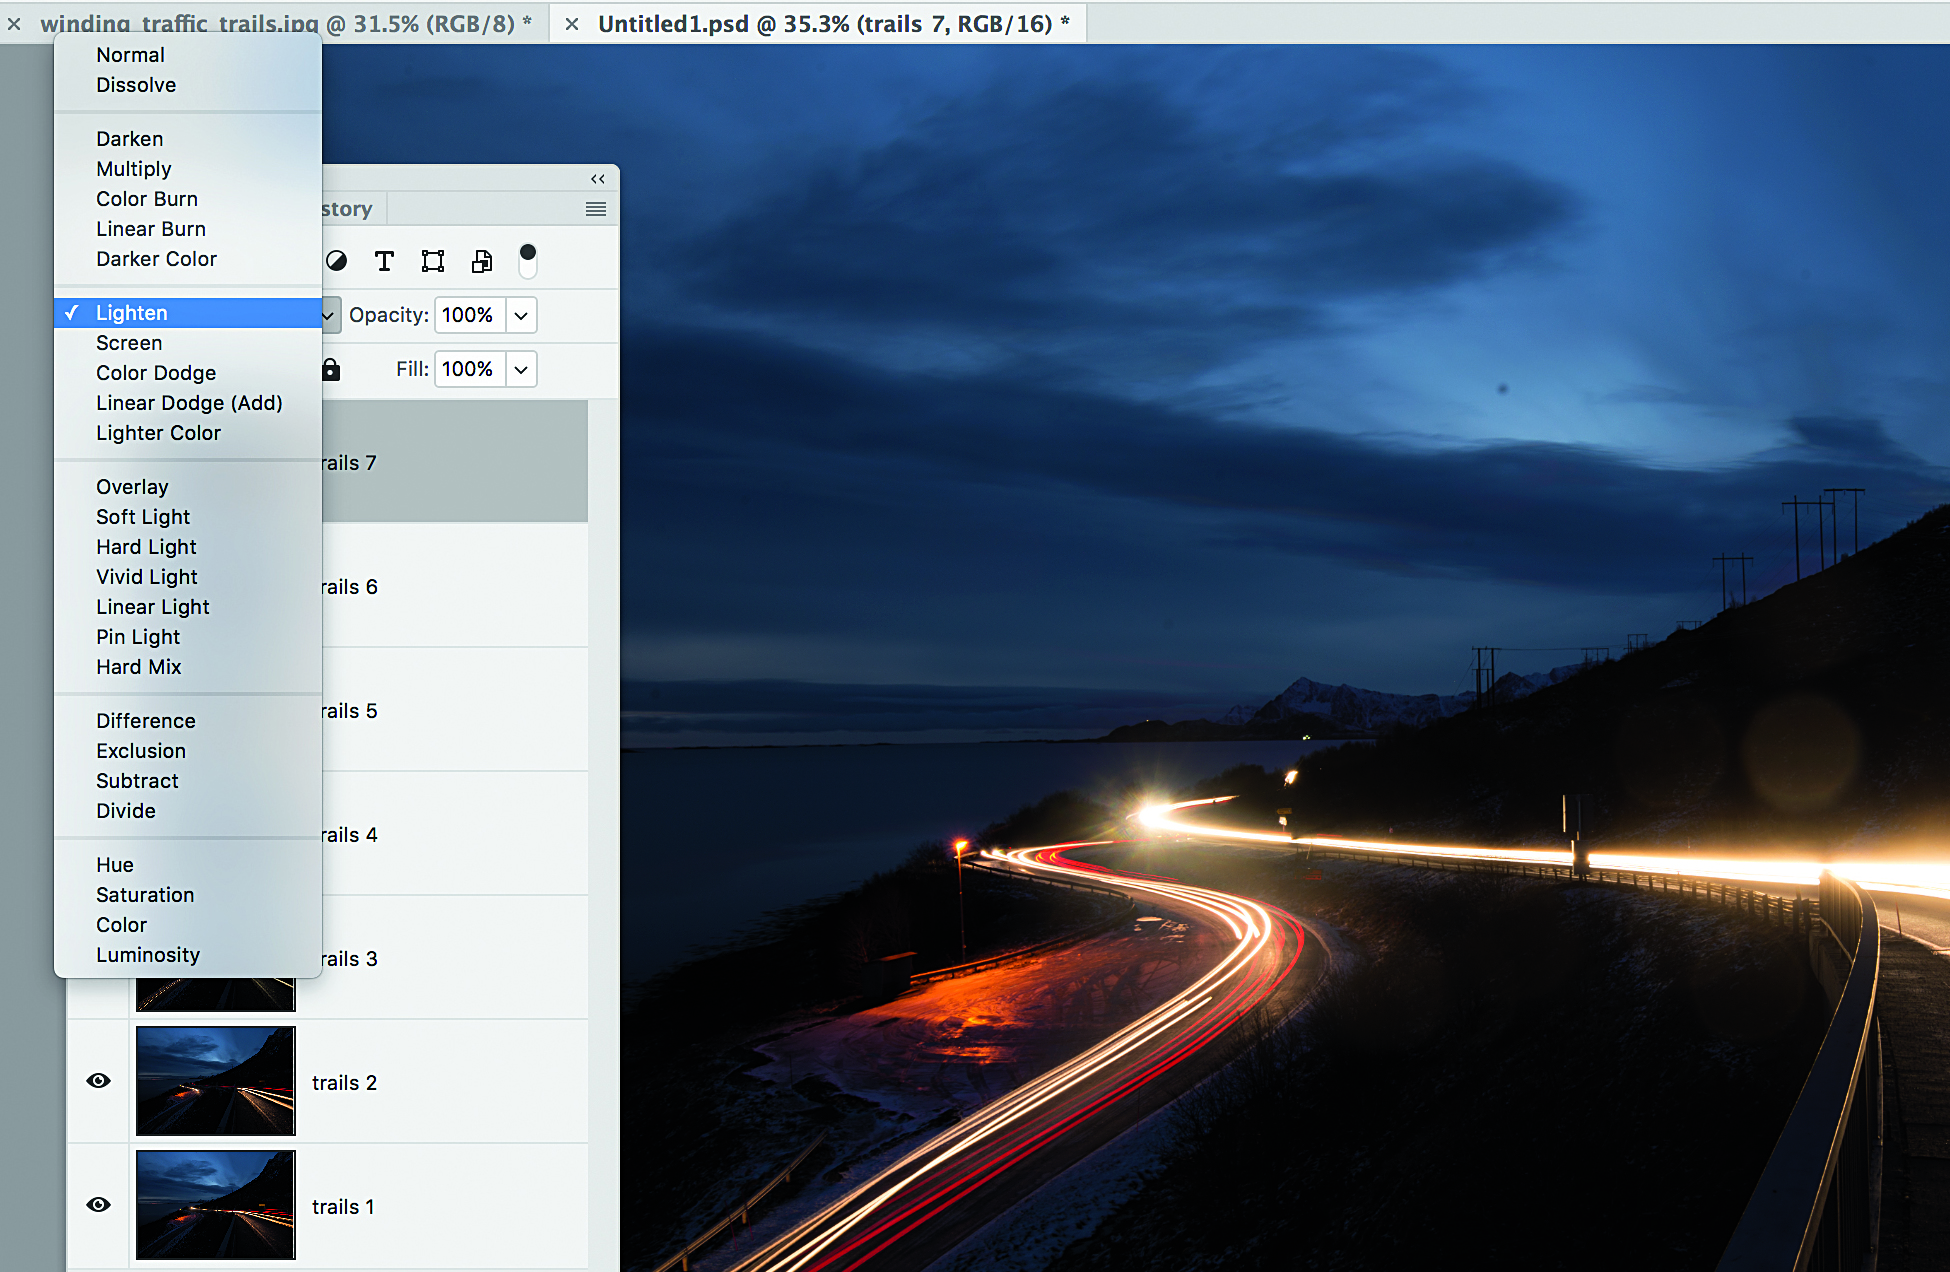
Go to the Layers panel (Window>Layers) then change the blending mode of all layers to Lighten, which effectively lets us overlay the trails on top of one another. If any other areas, like the sky, look messy, use a layer mask or the eraser to remove them from the mix.
Get the Digital Camera World Newsletter
The best camera deals, reviews, product advice, and unmissable photography news, direct to your inbox!
The lead technique writer on Digital Camera Magazine, PhotoPlus: The Canon Magazine and N-Photo: The Nikon Magazine, James is a fantastic general practice photographer with an enviable array of skills across every genre of photography.
Whether it's flash photography techniques like stroboscopic portraits, astrophotography projects like photographing the Northern Lights, or turning sound into art by making paint dance on a set of speakers, James' tutorials and projects are as creative as they are enjoyable.
He's also a wizard at the dark arts of Photoshop, Lightroom and Affinity Photo, and is capable of some genuine black magic in the digital darkroom, making him one of the leading authorities on photo editing software and techniques.


