How to color calibrate your monitor with a Datacolor SpyderX
Why every photographer should take the time to color calibrate their monitor and how to go about doing it
Photography project inspiration
• How to edit and retouch a low-key portrait
Useful post-processing kit
• Best monitor calibrators
• Best graphics tablets
• Best editing laptops
• Best monitors for editing
Color calibration is hugely important if you want to edit your best photos, because how can you edit an image effectively if your monitor is giving you a false reading?
Image manipulation is a delicate process that involves lots of subtle tweaks. Imagine if all of those subtle tweaks were slightly off, because the colors and tones you were seeing weren’t accurate. This is especially important if you plan to print your images. A key step in printing is soft proofing, which lets you preview how your printer will print your image. However, if your monitor isn’t calibrated properly, the soft proof could look very different to what actually comes out of your printer.
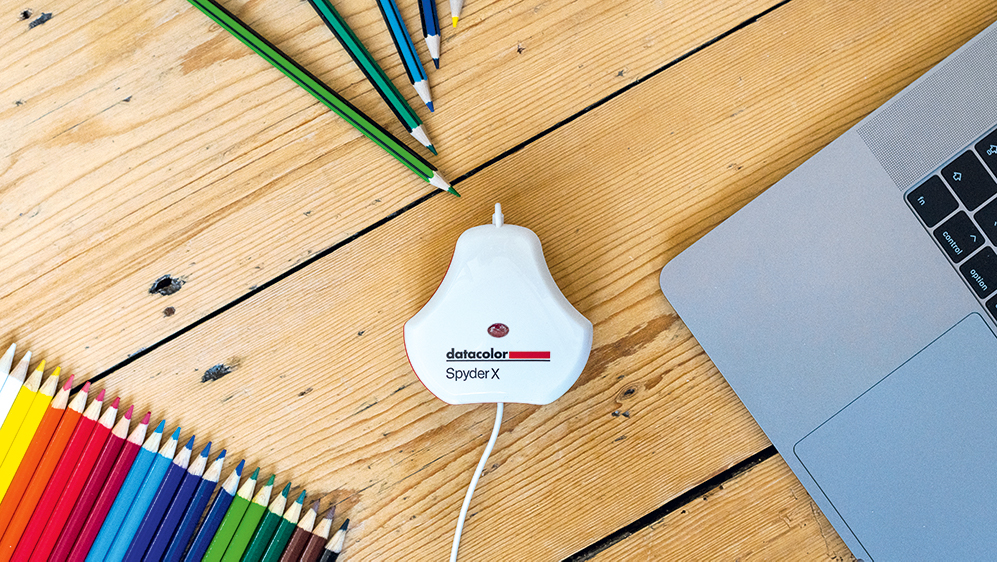
That’s where color calibration tools come in. For this tutorial we’re using a Datacolor SpyderX. This clever device is placed directly onto a screen, where it uses its built-in lens to measure the accuracy of the display, which it then calibrates accordingly. It’s compatible with Windows and Mac operating systems, and plugs into a USB port, or a USB-A to C adapter.
The SpyderX doesn’t just read your monitor’s display, though; it also considers the lighting of the room you’re working in, which affects how you view your screen. Because of this, there are a few considerations you must make to perform an accurate calibration. Here’s how to boost your monitor’s accuracy.
How to calibrate a monitor
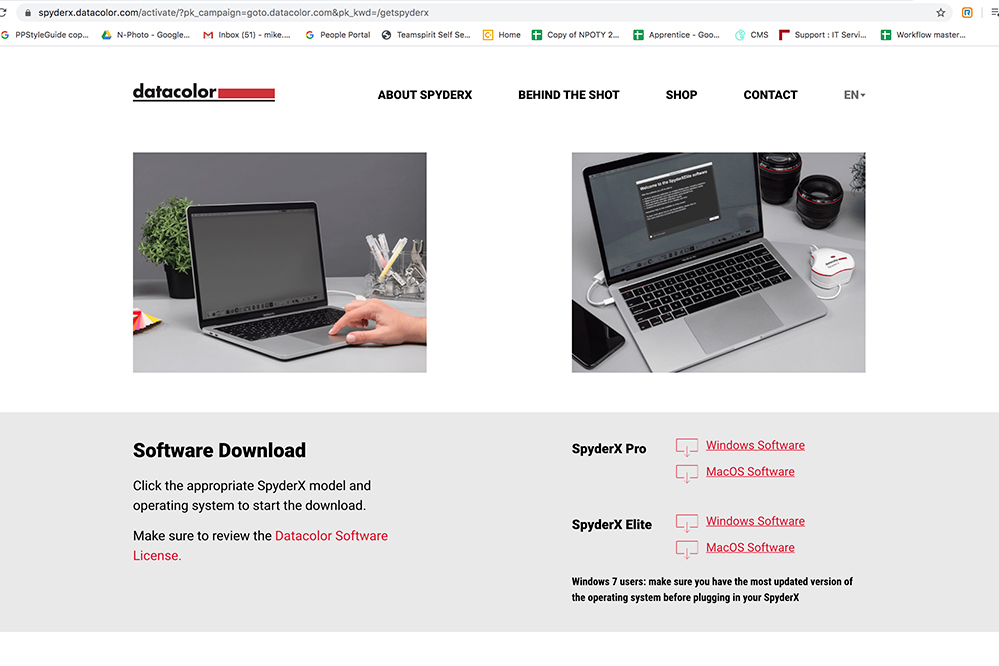
01 Download the software
Download the SpyderX software from the Datacolor website. There are versions for the SpyderX Elite and Pro – in Windows and Mac flavors – so make sure you choose the right option for your setup. Follow the simple installation wizard, but don’t plug in the device until the installation is complete.
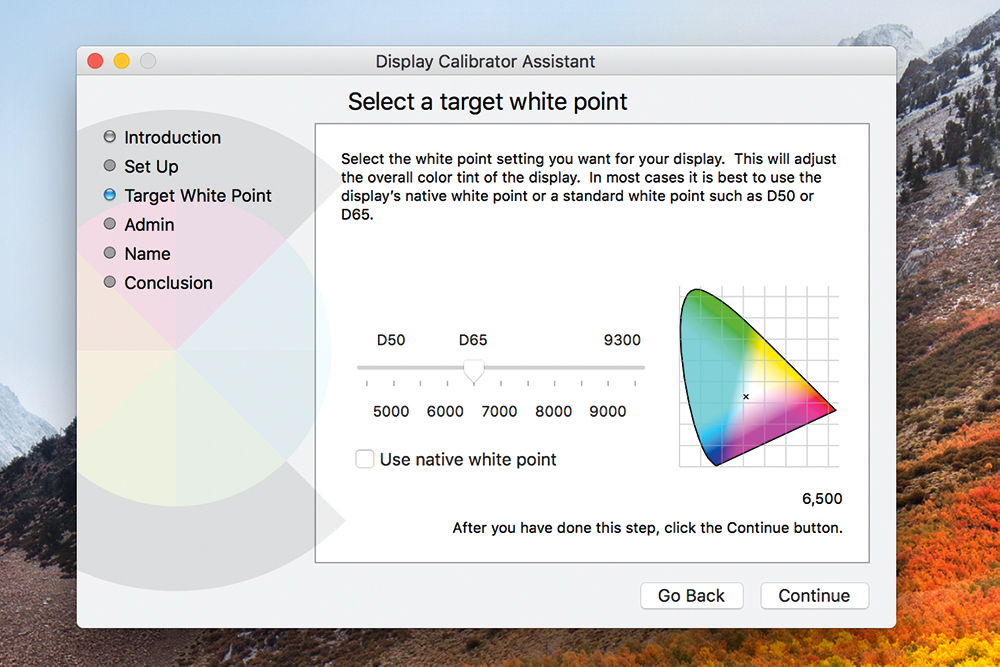
02 Start afresh
Revert to your monitor’s default settings using its built-in menu and set the colour temperature to 6500 Kelvins (if you’re able to). Mac users can enter System Preferences > Displays, click the Color tab, choose the necessary display profile, select Calibrate and then adjust the temperature in the Target White Point section.
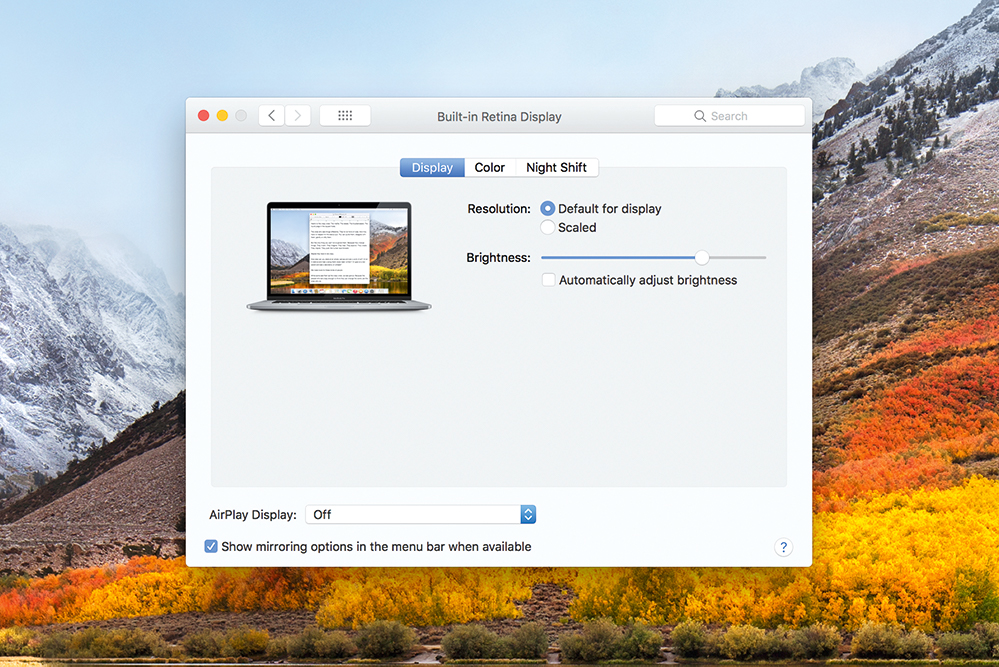
03 Lose the light
How light falls upon your monitor will impact how you see its display. It’s therefore important to make sure that no light is directly hitting your screen, so switch off lights and draw your curtains/blinds, if necessary. Finally, set your monitor’s brightness to your preference and make sure any automatic brightness settings are switched off.
04 Select your setup
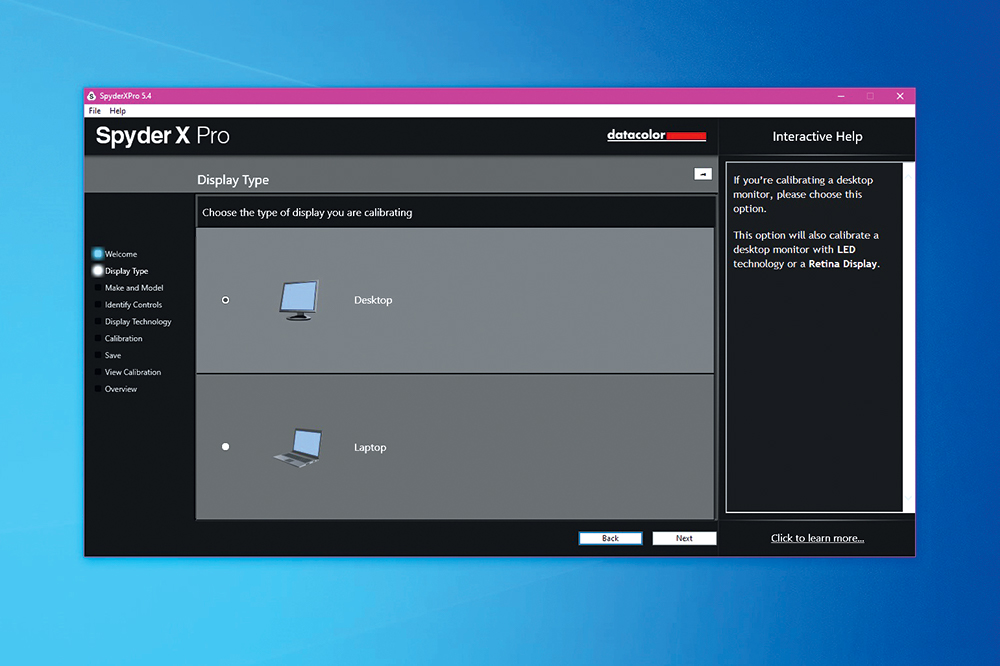
Ensure the SpyderX is connected and select Desktop or Laptop. Enter the manufacturer and model of your display, and tell the software whether you were able to adjust the brightness and / or colour temperature. Select your monitor’s backlighting technology. If you’re unsure, choose the General category.
05 Light meter
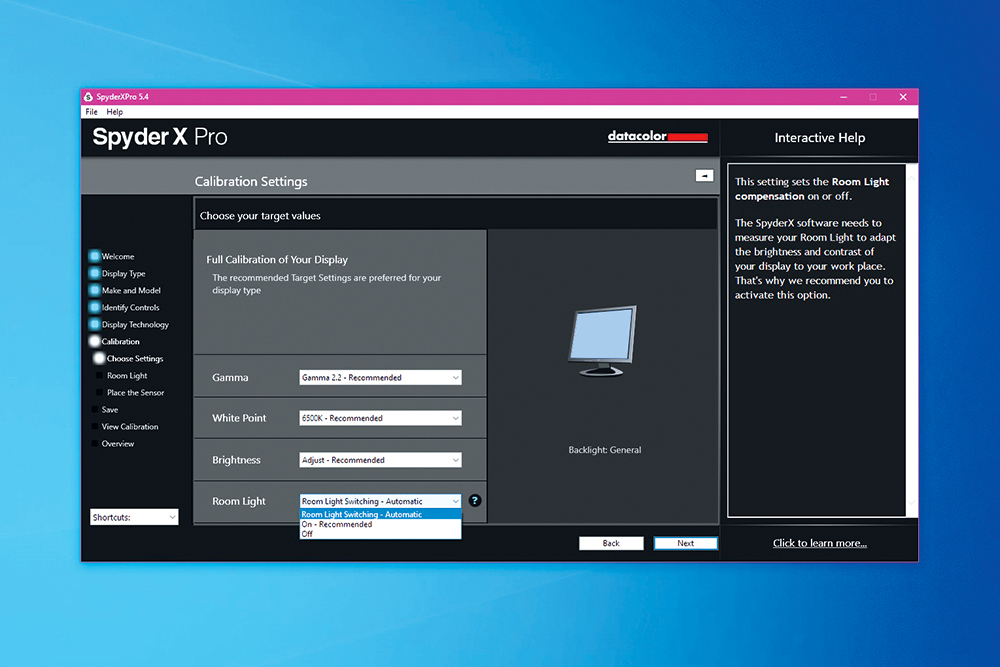
Choose your calibration settings. As this is a first-time setup, choose FullCAL. Head into the Change Settings menu and select Room Light: Room Light Switching – Automatic. This tells the SpyderX to measure the lighting in your room. The results are then factored into the calibration.
06 Calibration
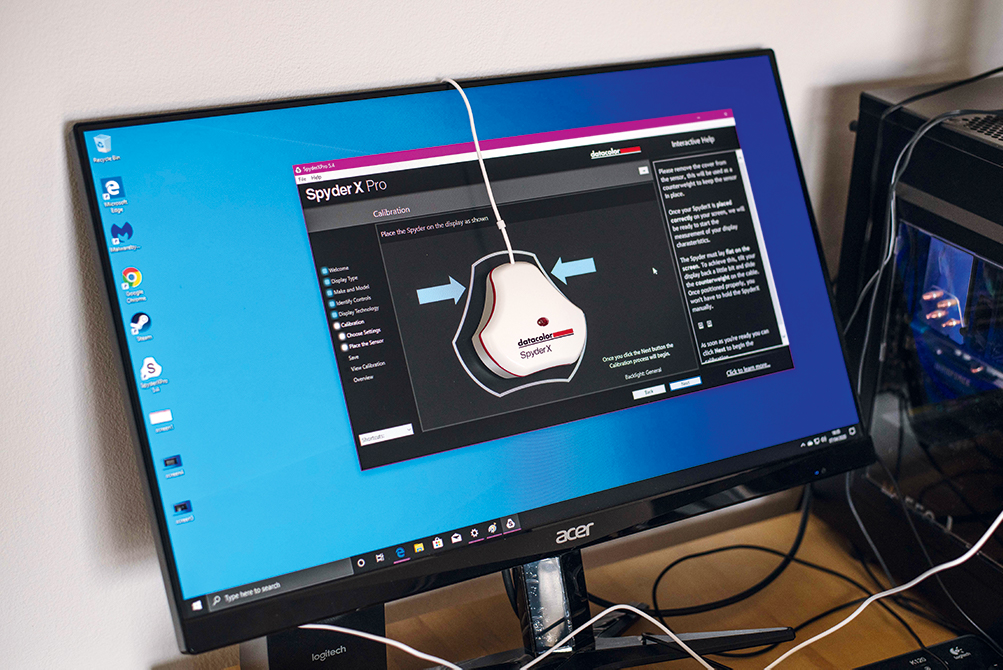
Remove the SpyderX’s lens cap and place the lens on the silhouette that appears on your display. Drape the cap over the back of your monitor and use it as a counterweight. We tilted our screen back to ensure the device sat flush against our display. Hit Next to start the calibration.
N-Photo: The Nikon Magazine is a monthly publication that's entirely dedicated to Nikon users. For the best news, reviews, projects and more, subscribe to N-Photo today!
Read more
The best monitor calibrators: keep your on-screen colors accurate
The best photo-editing laptops: top laptops for photographers
The best monitors for photo editing: affordable and premium screens
The best photo editing software: image editors for all prices and user levels
Get the Digital Camera World Newsletter
The best camera deals, reviews, product advice, and unmissable photography news, direct to your inbox!

Mike is Digital Camera World's How To Editor. He has over a decade of experience, writing for some of the biggest specialist publications including Digital Camera, Digital Photographer and PhotoPlus: The Canon Magazine. Prior to DCW, Mike was Deputy Editor of N-Photo: The Nikon Magazine and Production Editor at Wex Photo Video, where he sharpened his skills in both the stills and videography spheres. While he's an avid motorsport photographer, his skills extend to every genre of photography – making him one of Digital Camera World's top tutors for techniques on cameras, lenses, tripods, filters and other imaging equipment – as well as sharing his expertise on shooting everything from portraits and landscapes to abstracts and architecture to wildlife and, yes, fast things going around race tracks...

