How to create great panorama photography
Shoot multiple images and blend them together to capture panorama photography
Photography project inspiration
• Plan the perfect landscape shoot!
Landscape shopping list
• The best pan and tilt tripod heads
• Best lenses for landscapes
• Best tripod for photographers
• Best L-bracket
Watch video: How to create great panorama photography
When you witness a beautiful sprawling vista your first instinct might be to reach for the best wide-angle lens. And while such focal lengths can produce stunning results, in the wrong situation they can also leave you feeling terribly underwhelmed.
Super-wide lenses suffer from barrel distortion, which makes objects appear further away. This isn’t usually a problem when capturing immense objects, such as mountains, but if your subject has less impact or fails to prominently protrude from the horizon line, a wide focal length could leave you wanting. Thankfully, by shooting a panorama you can have the best of both worlds, a sprawling composition that’s free from barrel distortion.
Panoramas work by panning the camera to shoot a sequence of images using a lens with a narrower field of view. Standard lenses work best because they suffer from little to no barrel and pincushion distortion. Blending together multiple images in post creates super-high resolution shots, which affords you plenty of room to crop and refine your composition in post.
Our image of the Bath skyline is a composite of three landscape orientation images, but you can boost resolutions further by shooting panoramas in portrait orientation. Here’s how to shoot, stitch and edit a panorama.
How to create great panorama photography
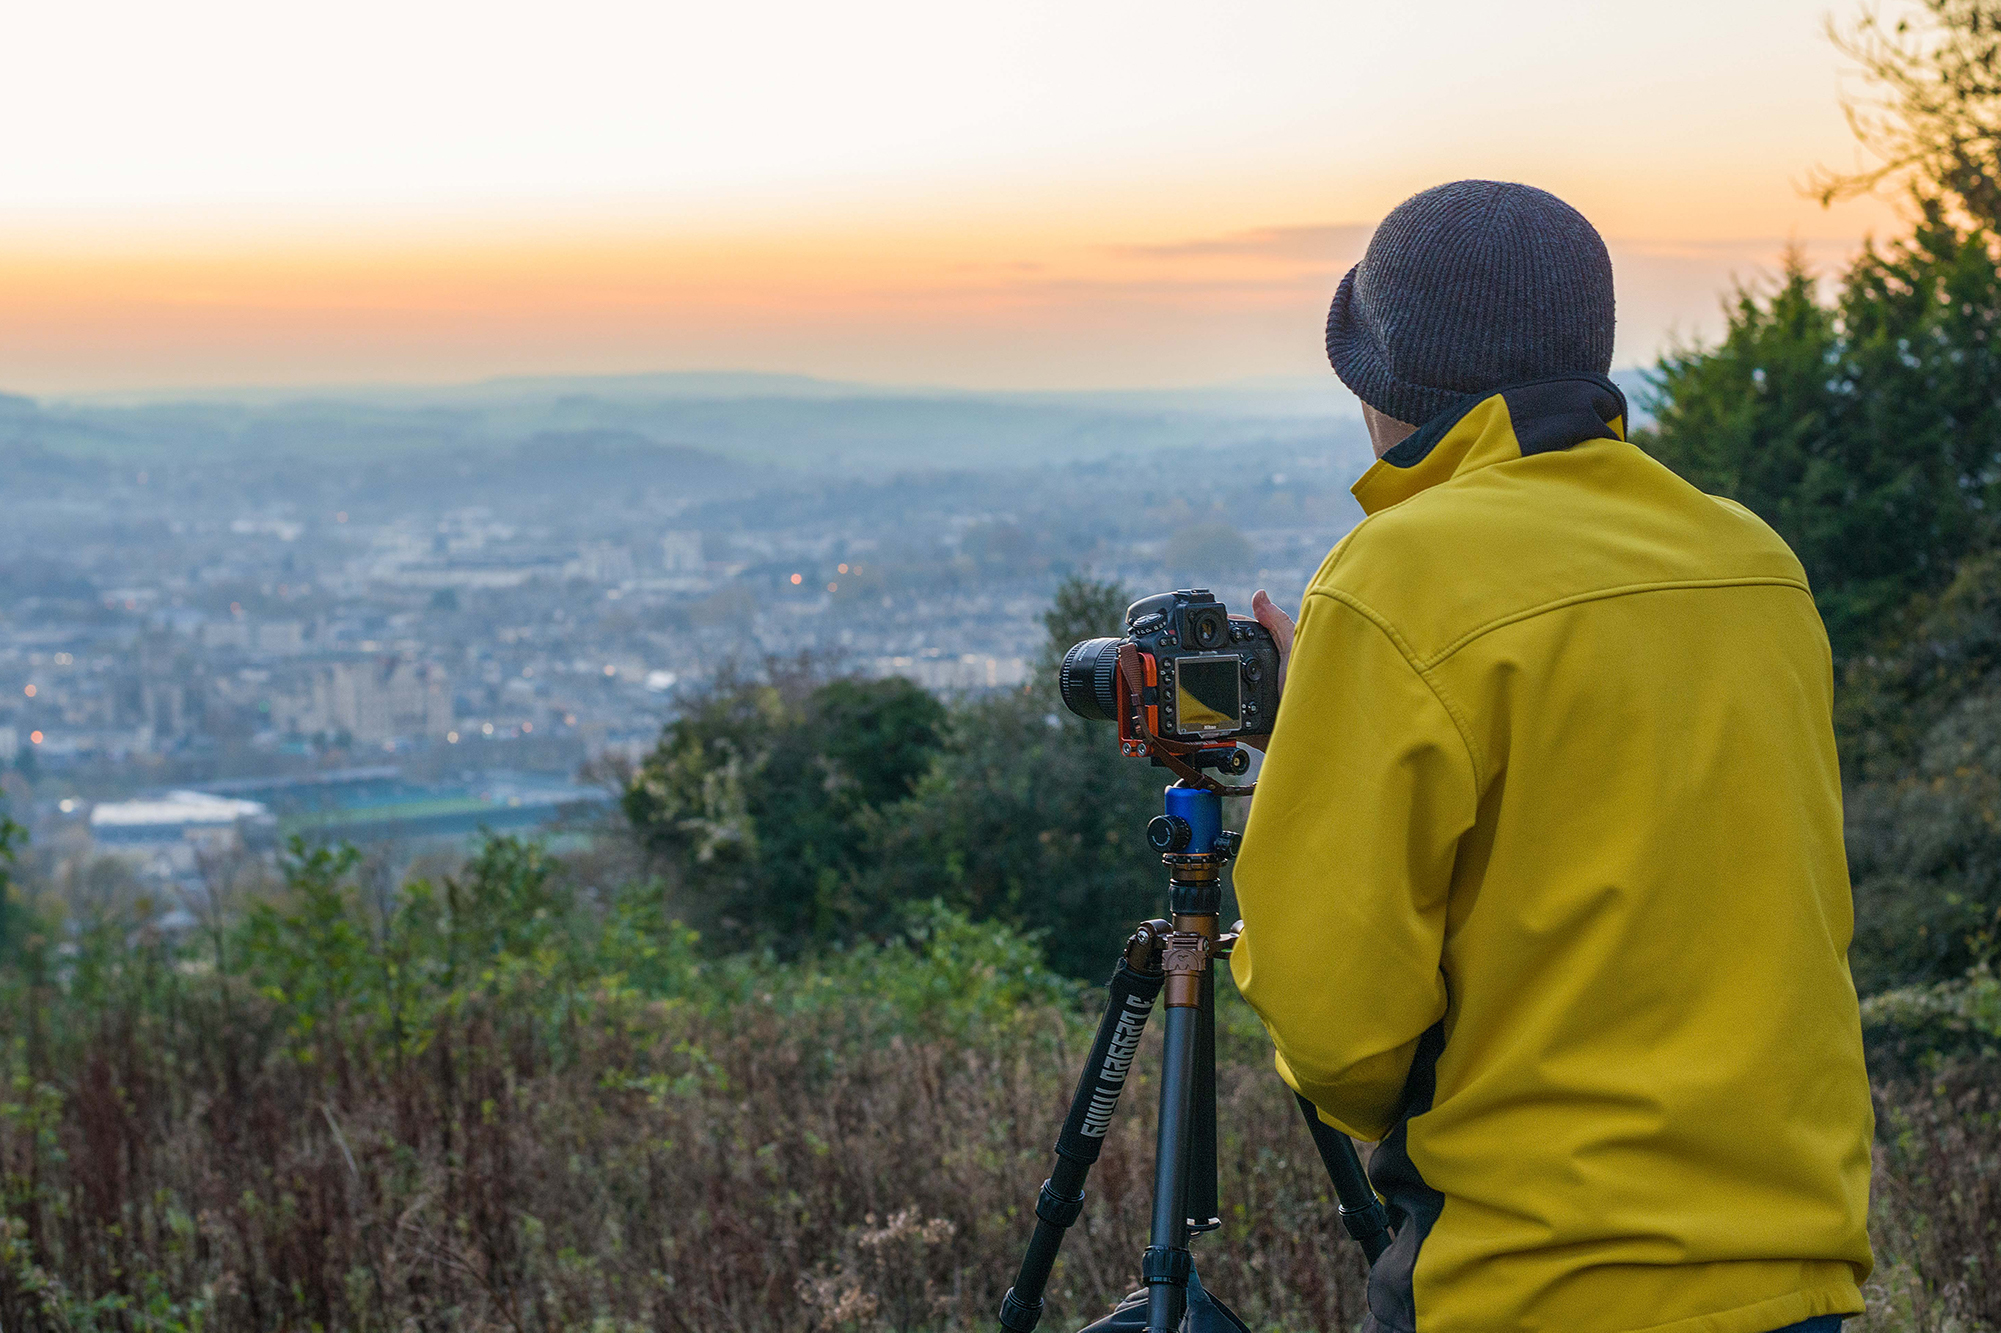
1. Focal length
A major advantage of shooting a panorama is that you can create sprawling photographs while avoiding the unpleasant distortion of a wide-angle lens. We shot our sequence of three images at 85mm (35mm equivalent) to avoid both barrel and pincushion distortion.
• Read more: Best 85mm lenses
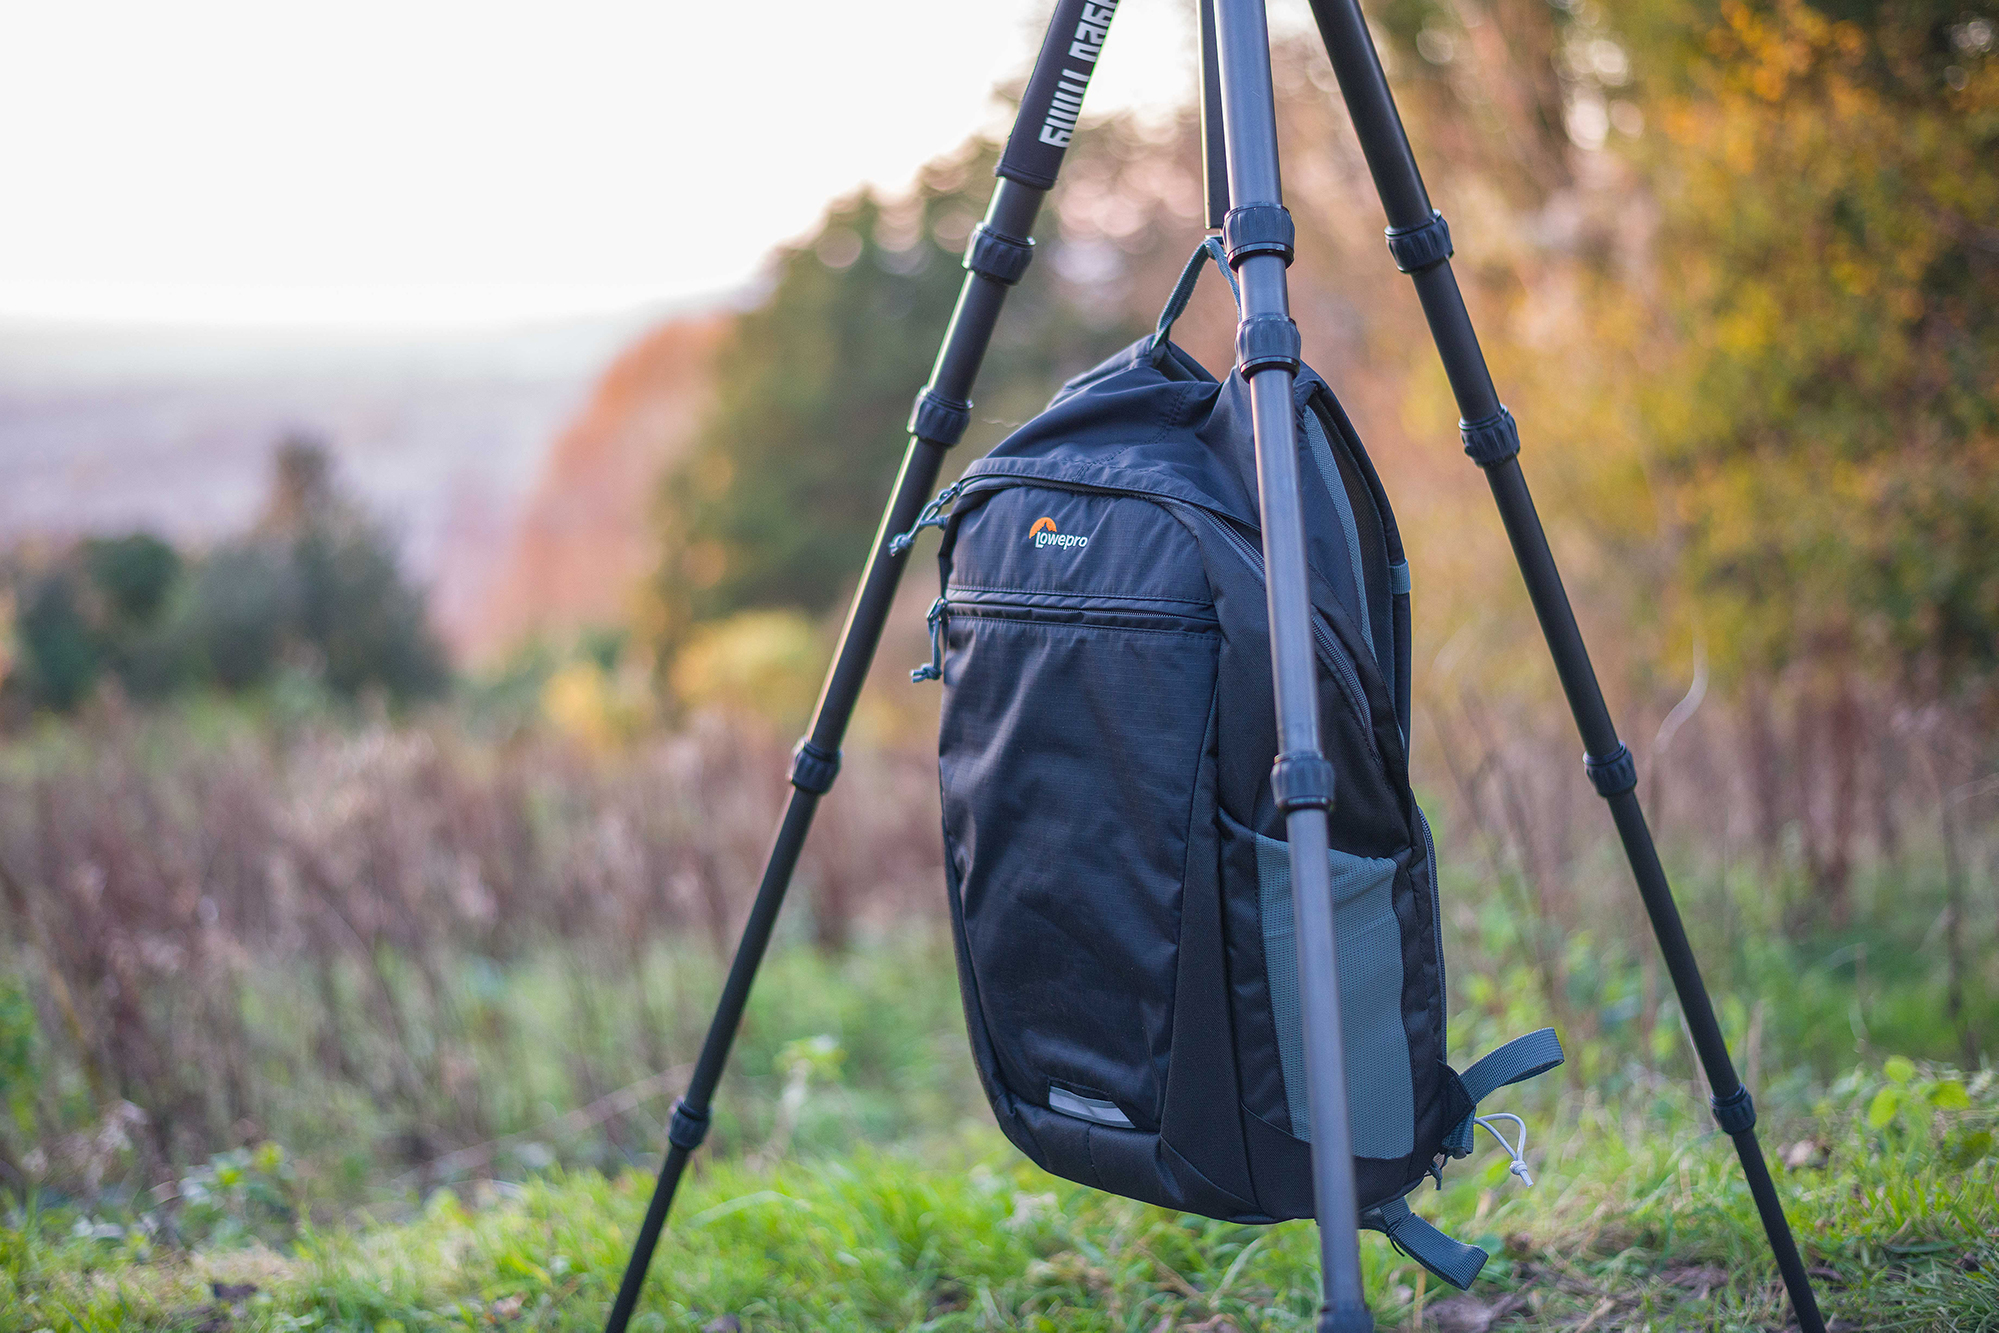
2. Level headed
A stable tripod is crucial, so we hung our kitbag off the centre column as a counterweight. It also helps to have the legs perfectly aligned, so your framing remains level. For perfect precision use a tripod with a bubble level on the centre column.
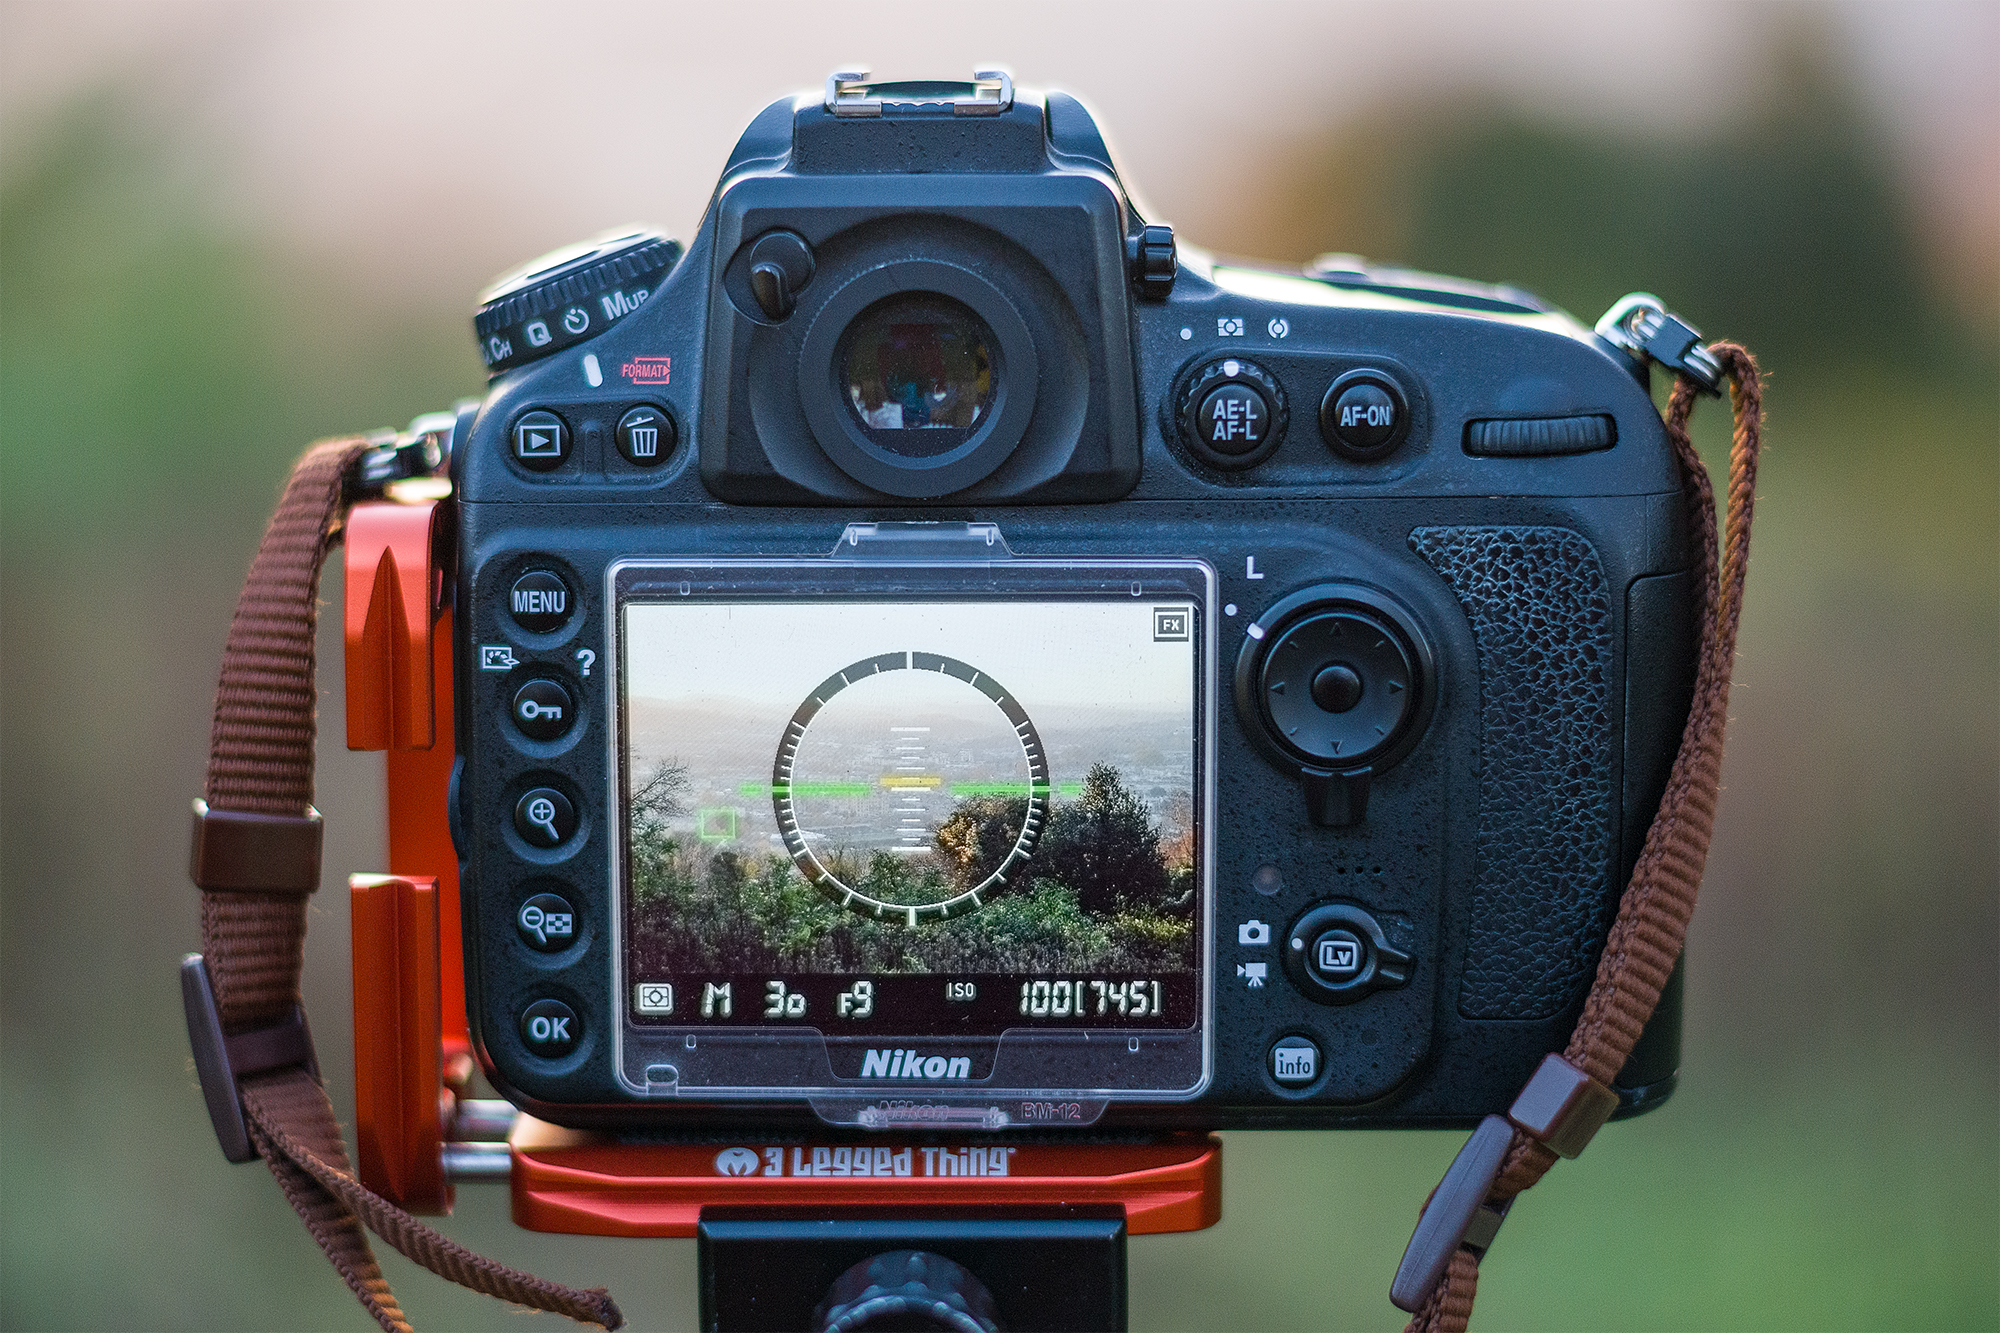
3. Settings
Whatever method of focusing you use, ensure your camera is set to manual focus when you begin shooting to prevent it refocusing. Use Manual mode to keep your exposure consistent and select an aperture between f/8 and f/11 for a large depth of field with optimum sharpness.
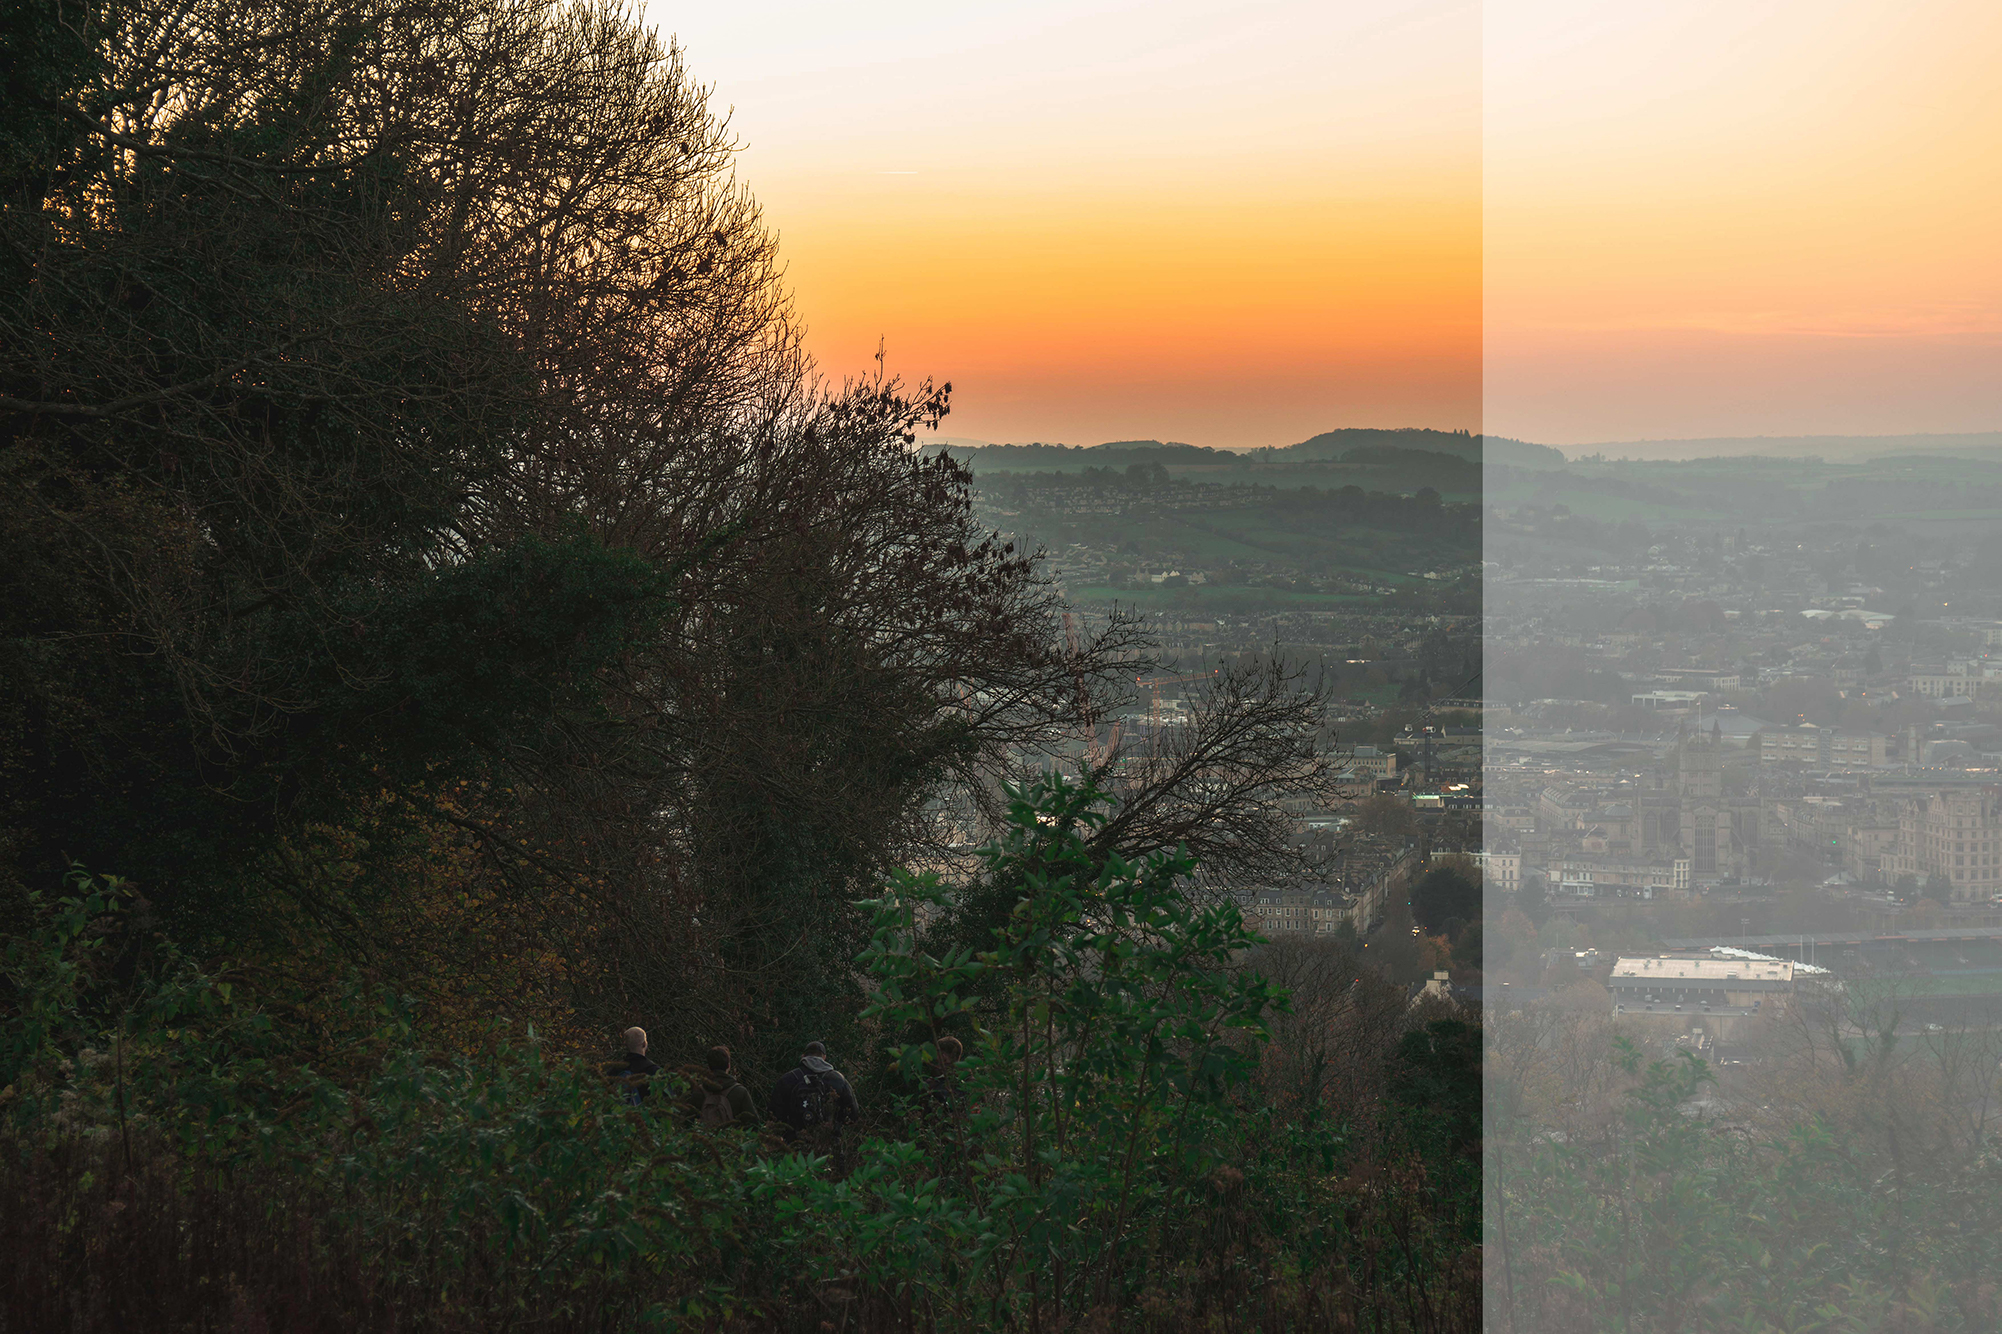
4. Pan and shoot
As you shoot your sequence, make sure each image overlaps by at least a quarter of the frame to prevent gaps. Don’t worry about getting your composition spot on. Your panorama’s large size means it can be comfortably cropped, but if your framing is too tight there’s nothing you can do about it.
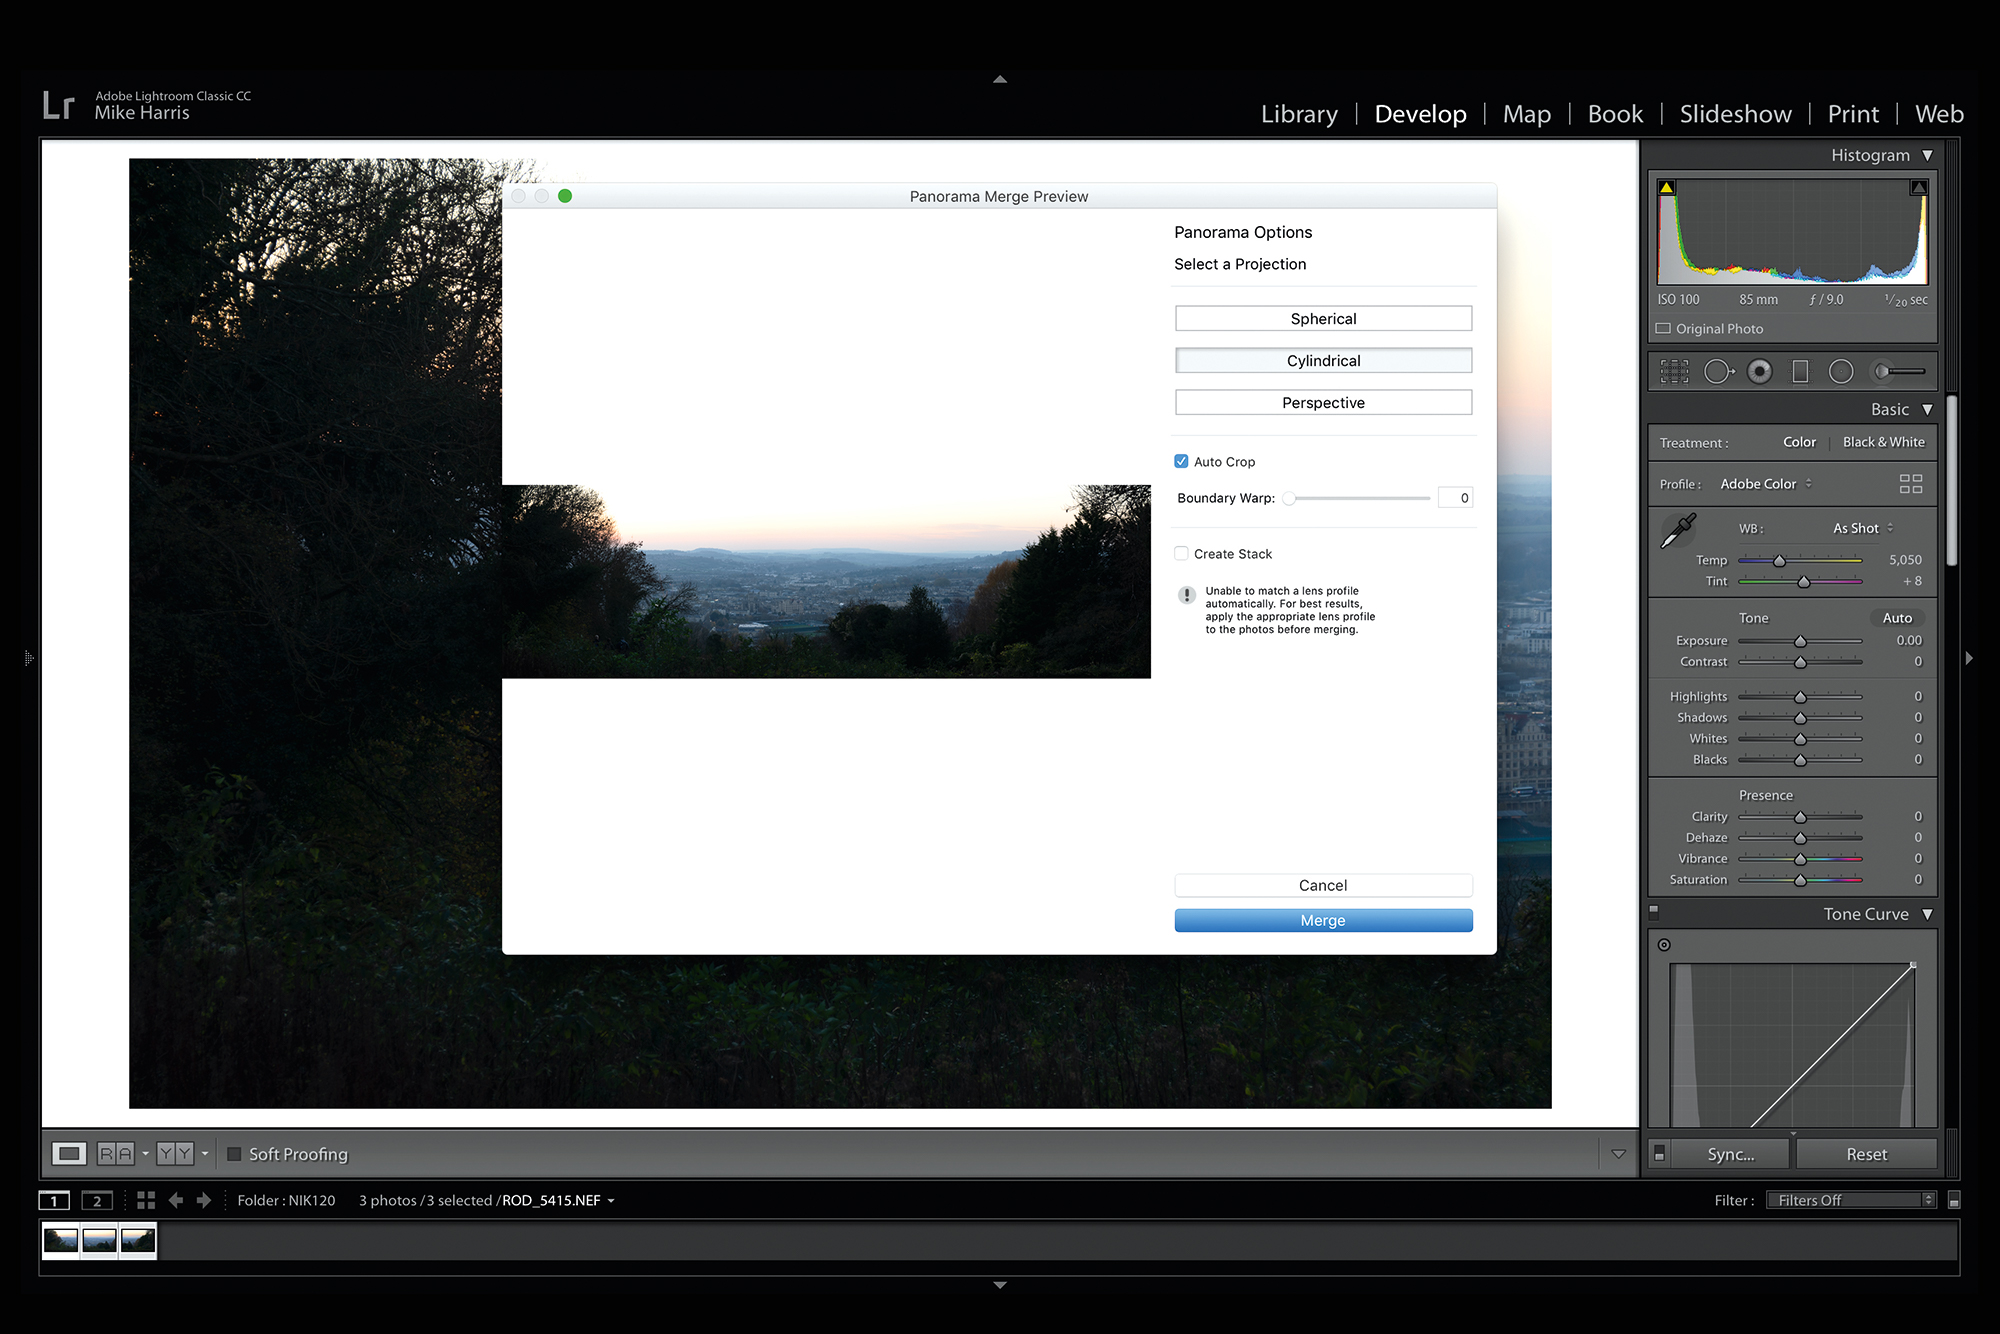
5. Merge your sequence
Open and highlight your panoramic sequence in Adobe Lightroom’s Develop Module. Hold Ctrl, click the sequence and select Photo Merge > Panorama. Choose your preferred projection – we recommend Cylindrical. Click Auto Crop (this can be refined later) and hit Merge.
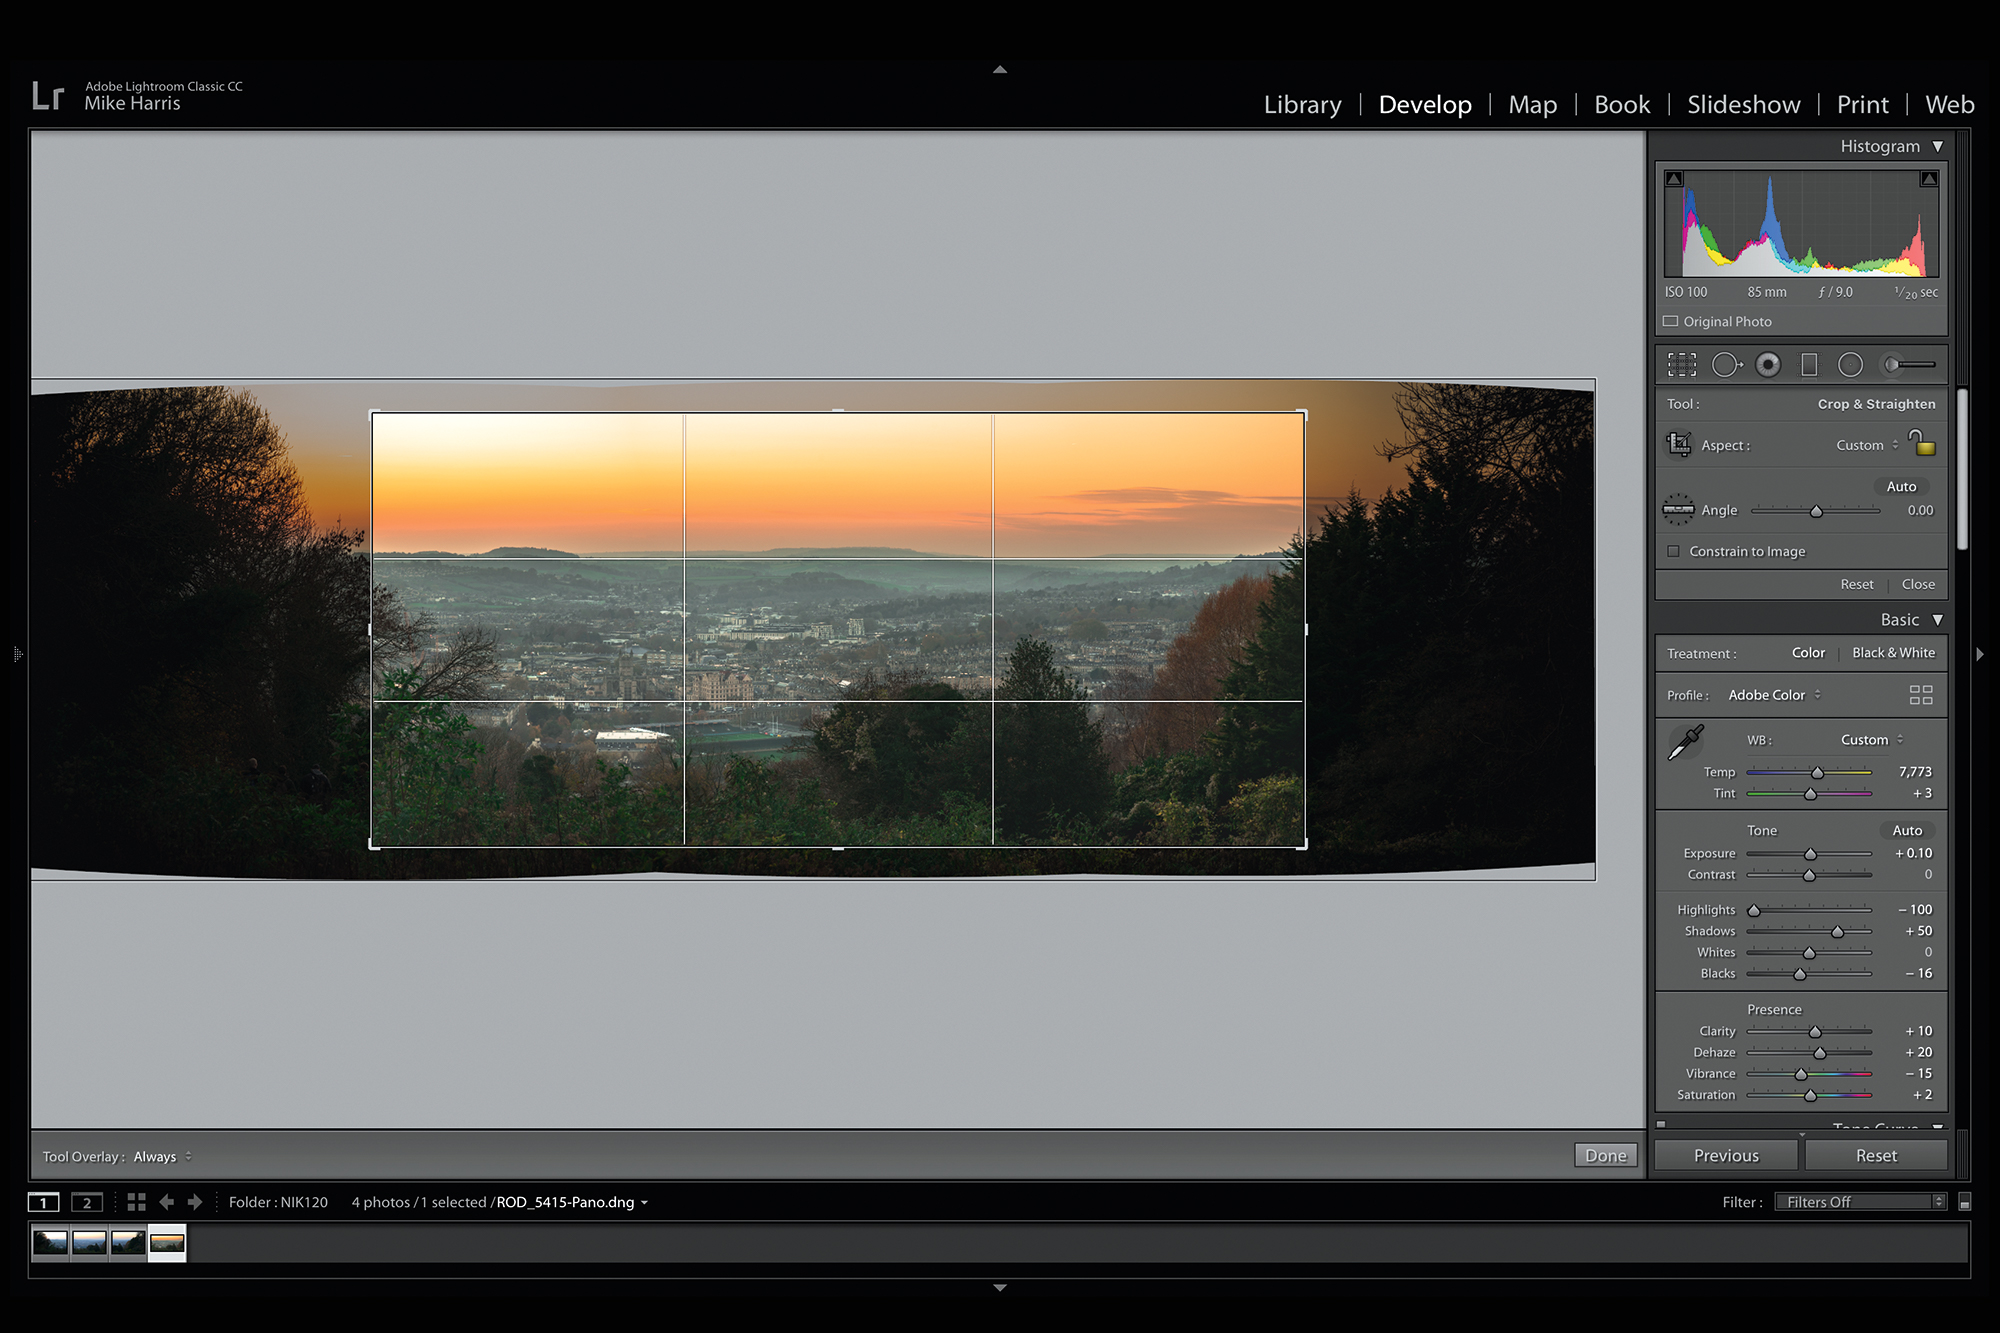
6. Refine your framing
Once you have edited your image, use the Crop Overlay to refine the composition further. We used the rule of thirds grid to divide the foreground, city and sky equally in our frame. A Radial Filter (Shift + M) was used to selectively increase the exposure around the largest building in the image to help draw attention to the focal point of our photograph.
• The best pan and tilt tripod heads
N-Photo: The Nikon Magazine is a monthly publication that's entirely dedicated to Nikon users. For the best news, reviews, projects and more, subscribe to N-Photo today!
Read more:
The best tripod for photographers
Best cameras for landscape photography
Best L-bracket for your camera
Get the Digital Camera World Newsletter
The best camera deals, reviews, product advice, and unmissable photography news, direct to your inbox!

Mike is Digital Camera World's How To Editor. He has over a decade of experience, writing for some of the biggest specialist publications including Digital Camera, Digital Photographer and PhotoPlus: The Canon Magazine. Prior to DCW, Mike was Deputy Editor of N-Photo: The Nikon Magazine and Production Editor at Wex Photo Video, where he sharpened his skills in both the stills and videography spheres. While he's an avid motorsport photographer, his skills extend to every genre of photography – making him one of Digital Camera World's top tutors for techniques on cameras, lenses, tripods, filters and other imaging equipment – as well as sharing his expertise on shooting everything from portraits and landscapes to abstracts and architecture to wildlife and, yes, fast things going around race tracks...

