How to edit videos: basic video editing tips for filmmakers
Learn how to edit videos with our top ten video editing tips for filmmakers – when you nail the basics, the rest will follow!
You need to know how to edit videos, not just how to shoot them. The two are so closely related that you need to know how your finished movie should look even before you start shooting – and these video editing tips are here to help.
The action is over, the shoot is done and all the footage has been successfully captured in camera. But the edit is when the story really comes together. It’s where the visuals, audio, music, colour grading, sound engineering and graphics turn the basic materials into a finished film that’s ready to be watched and enjoyed.
The art of editing isn’t about which program you use, LUTs you add or graphics you create. It’s about deciding which shots to use and which to discard, how the chosen shots fit together, and how you use the sound to pull the overall look and feel together.
Successful filmmaking is all about storytelling. Big Hollywood or Netflix drama productions have hundreds of people on hand, creating everything to fit into the director’s vision. From ensuring the colours of the clothes that the cast wear matches the set design to checking there are no continuity errors and the dialogue and characterisation is totally believable, it’s a major operation. You might not have the luxury of things like that in your production, and chances are you shoot your own material and edit it, maybe as part of a small team. But whatever size or scale of project, it all ends up in an edit suite where the final cut of the film is made. Here’s our guide to basic editing principles.
1. Always shoot for the edit
When movies were shot on actual film that cost a fortune to process, many filmmakers were rightfully very frugal about how much footage they shot. But nowadays with high-resolution digital cameras, it’s easy to keep on shooting so you have far more footage than you’ll actually need. It clogs up hard drives and eats up editing time. But it’s no good having lots of footage of the same part of the scene. A variety of angles and viewpoints make it much easier in the final edit. Low shots, wide shots, overhead shots – every shot gives another option. A good filmmaker thinks about how the shots can or might be used in the edit as the filming is planned and shot.
Read more: Best 4K cameras for filmmaking • Best cinema cameras
2. Get the right shots
Most scenes need a variety of shots. Typically a wide, establishing shot is needed to give the viewer some context. Then some mid-range and close-up shots to tell the story. And when every you’re cutting between two different cameras, the camera position should change by at least 30 degrees between shots or else it looks like a mistake. For an action sequence, it’s best to shoot from two different camera positions so you can cut between them in the edit. And try to stick to the 180-degree rule where you imagine a line between two subjects who are talking, and the camera always stays on one side of that line. So in the edit it looks like they are talking to each other, rather than both facing the same way.
Read more: Best cine lenses
3. Don’t be precious
Often the trickiest shots that are visually stunning might not be ideal in telling the story. So don’t be precious about the amazing footage you have shot, because the story is the important thing. Choose the clips that show the essential action to help tell the story. Anything else can be left out. That doesn’t mean keep every shot the same – far from it! Try to show something new with each cut, such as a different subject, or an alternative view of the scene such as a wider or tighter shot or from a different camera position. When cutting, vary the shot size and angle. Don’t cut between two similar shots of the same thing.
4. Think about pace
When editing your shots, one maxim is that each shot should stay on the screen for just the right amount of time – long enough for a viewer to understand what’s going on, but not too long so they get bored. So close-ups or simple shots without any movement are best kept short. But wide shots with lots going on, or action-packed scenes with multiple subjects, are best left for longer for the viewer to understand what’s happening. Think about the pace, too. Lots of short, choppy shots don’t go well with longer, slower shots. The pace can really affect how viewers perceive the film.
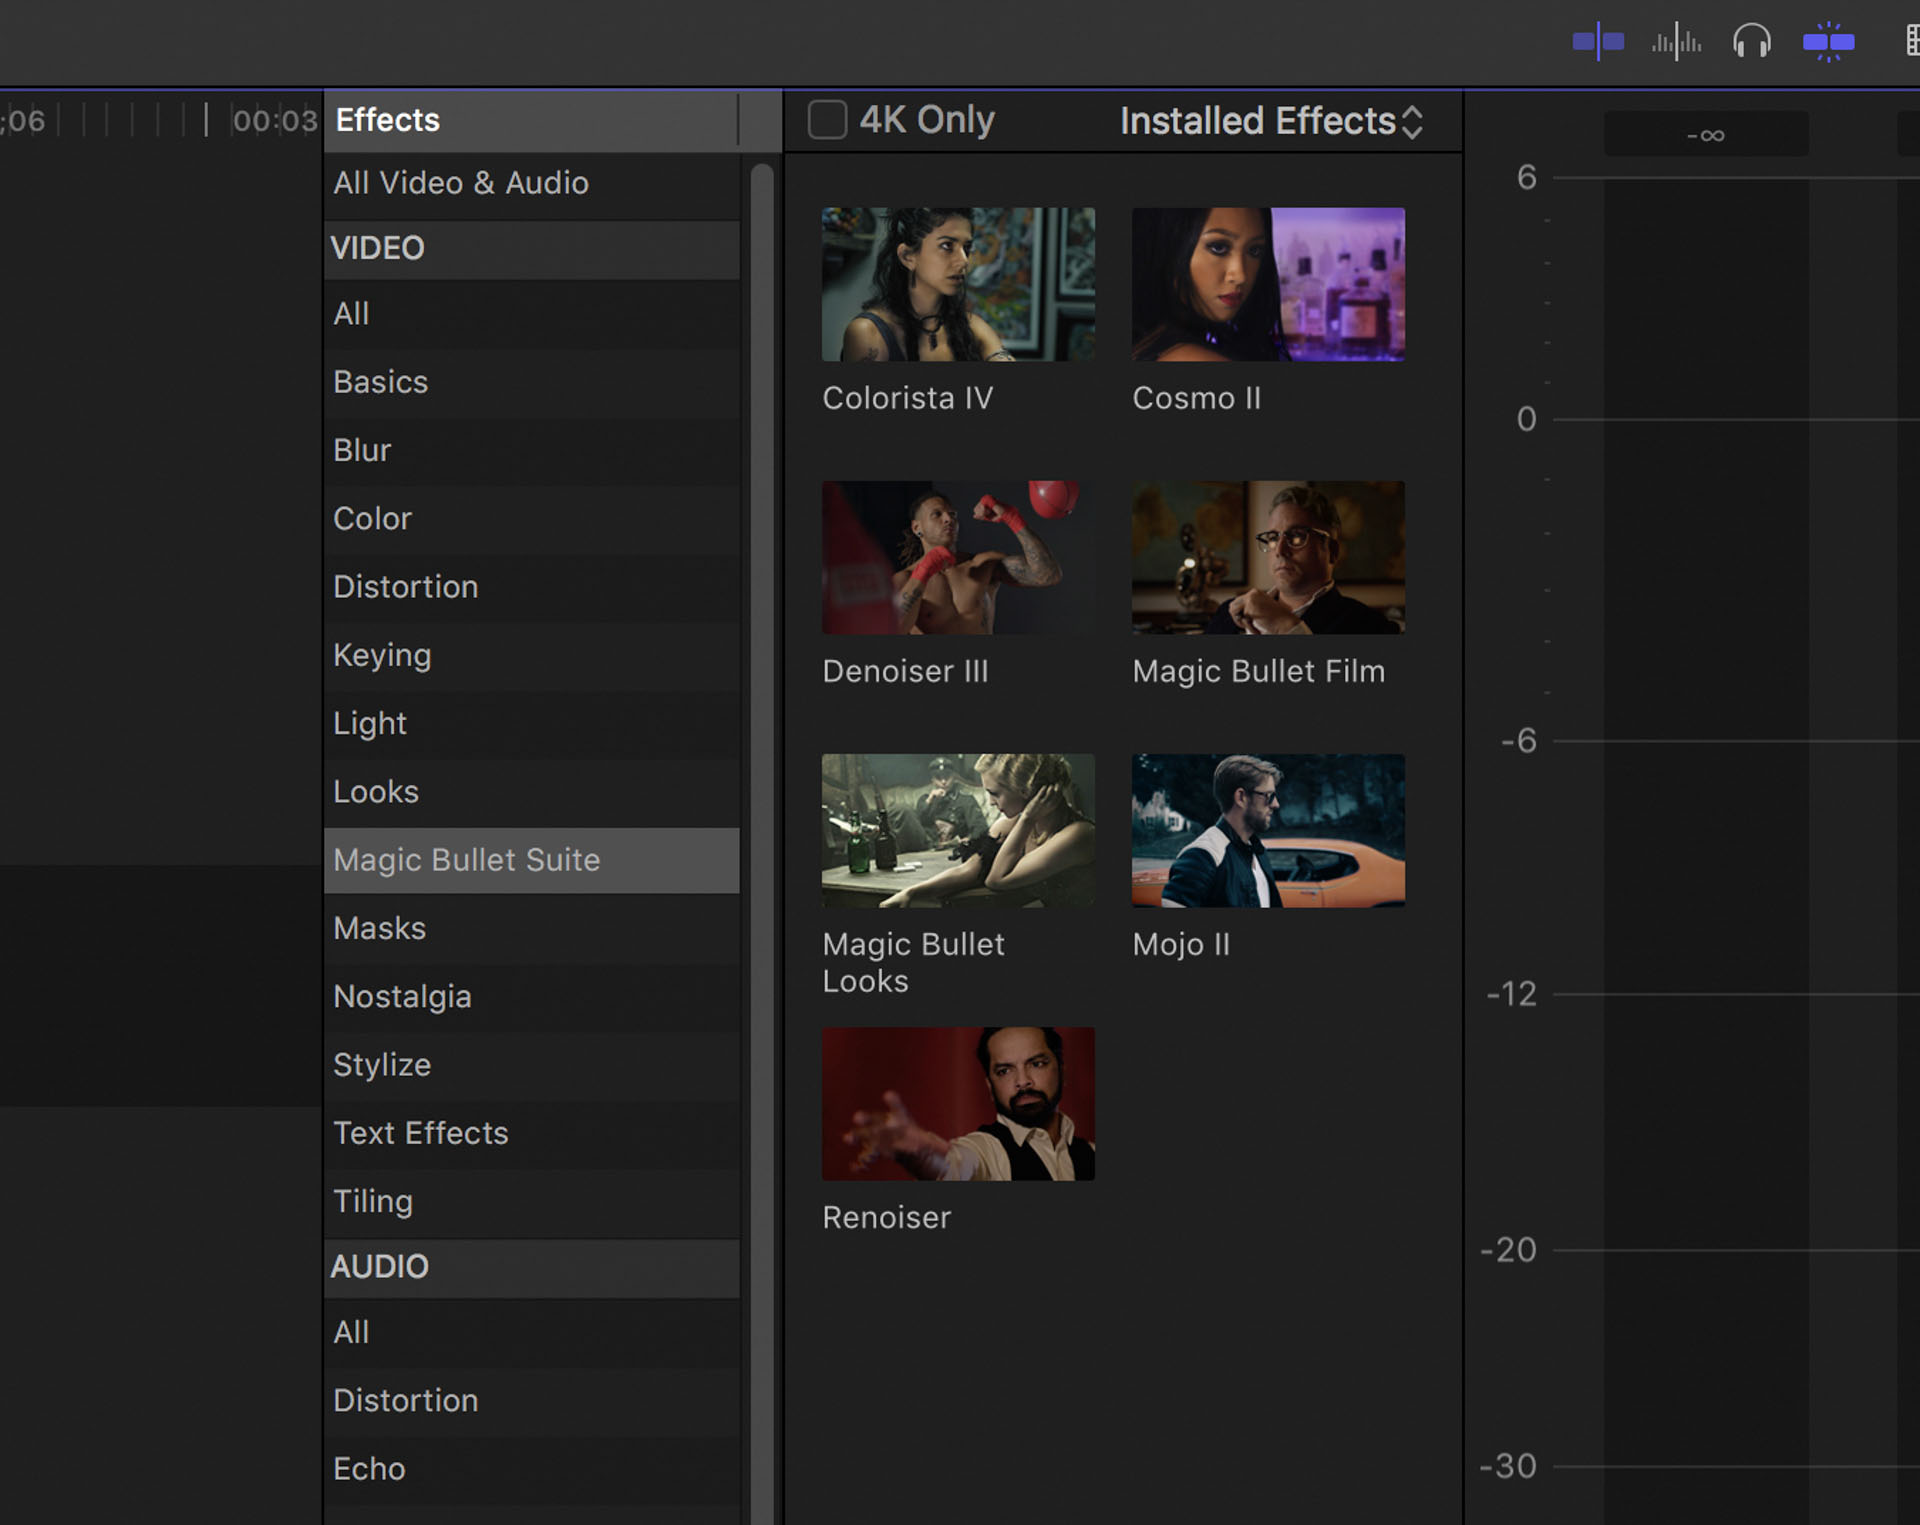
5. Don’t get too fancy with flashy editing
Unless you’re making a pop video for a high-paced rock band or maybe an extreme sports action commercial, it’s often best to stick to conventional cuts and transitions that match the pace of the film. Standard cuts are fine for many shots where the action follows on from one scene to another. A cross dissolve, where one shot fades into another, are often used to show that a short space of time or part of a journey has been left out. Flashy transitions and wipes, many of which come standard in many editing programs, can quickly look trashy and gimmicky.
6. Learn to love slow motion
Slow motion is one of the best ways to add something special to your films, and also can be used to mask wobbly footage! Most slow motion is done by recording at a higher frame rate in camera, then slowed down in your editing program. If you are editing on a 25fps time line but have shot in 100fps, you can slow it down to 4x slow motion, for example. Of course, the slowed-down audio is useless so you must use something to mask that. Speed ramping is a good technique to master, where motion starts off at normal speed, then slows down so the peak of the action is in slow motion, then ramps back up to normal speed.
7. It’s still all about the audio
All filmmakers know good sound is essential to any film. Audio of subjects talking, or of machinery working in a film about industry for example, is crucial, of course and must be recorded expertly without peaking. But it’s also vital to record some wild track – often called room tone or just ambience – to use on clips so that you're not just left with silence. In narrative drama, sound engineering provides an incredible range of noises and effects to help tell the story. In documentary, don’t be afraid of using sound effects and noises if you couldn’t record them for real. Such as waves crashing on a beach, a computer printing, an alarm sounding, birds chirping or a crowd cheering.
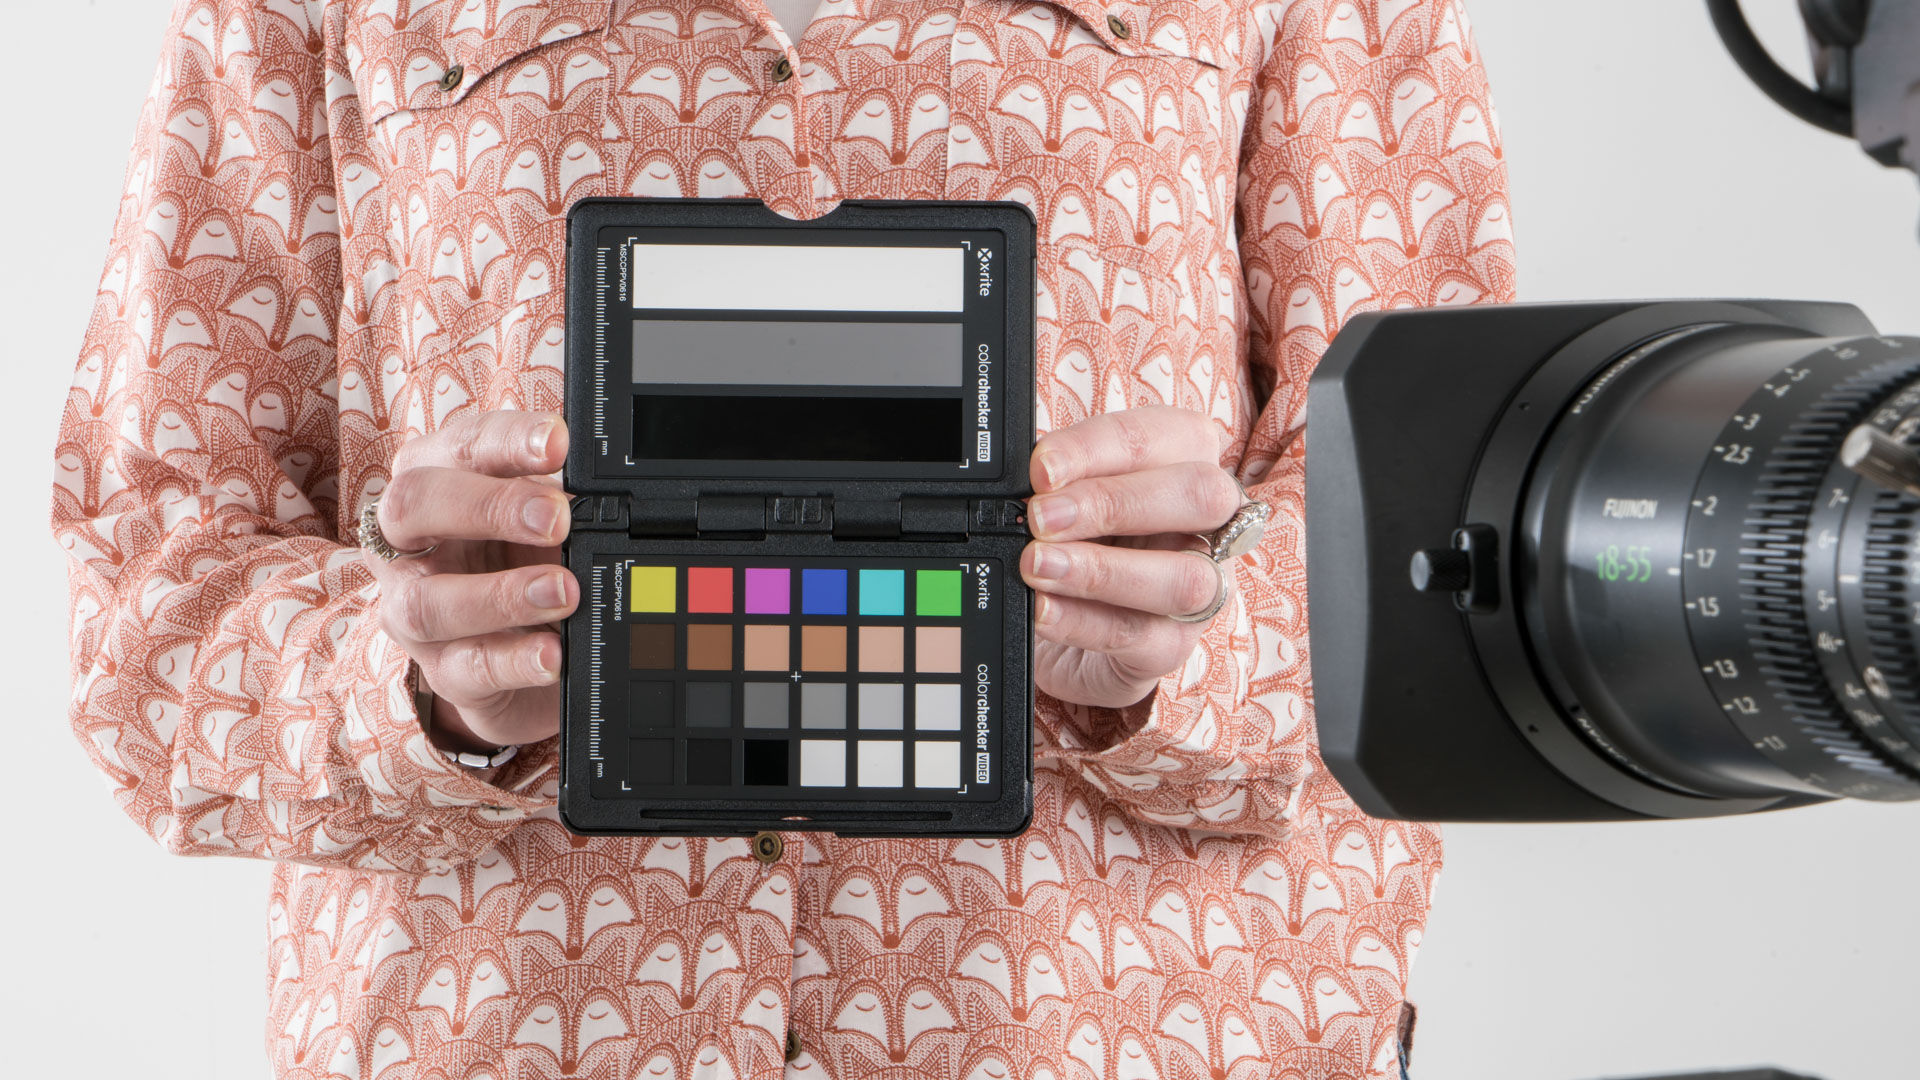
8. Nail those colors
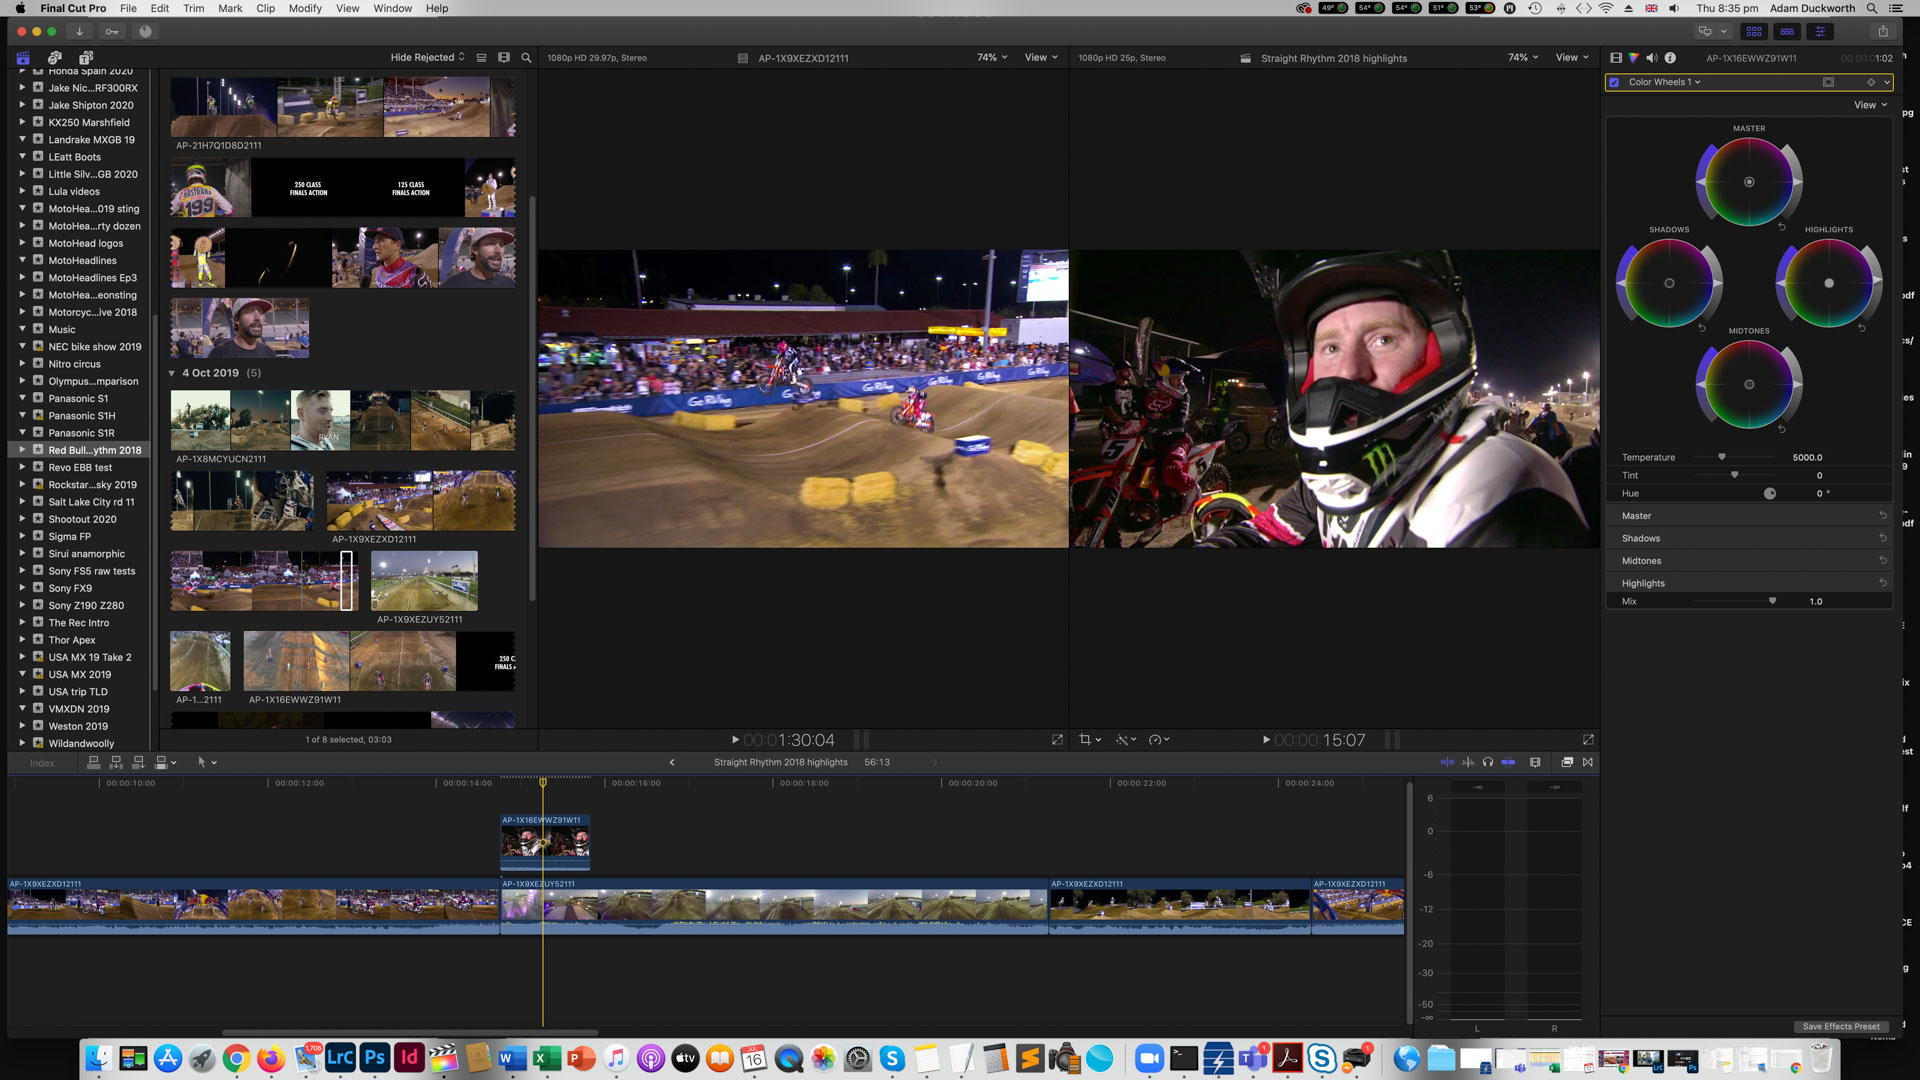
Colors and tones affect our moods and make stories easier to tell. However, before delving into subtle looks and grades it’s important the colors of your film are natural and well matched. Each shot should be tweaked in terms of brightness, contrast, exposure and white balance using your software's color tools. It’s especially important to get things matched when using different cameras and lenses across a project, or in different lighting conditions. Shooting a color chart before every shot makes this much easier. Only then should you consider using a color grade, or even a LUT, which affects the tones and colours of the footage to give it a certain style. If in doubt, neutral colors always work!
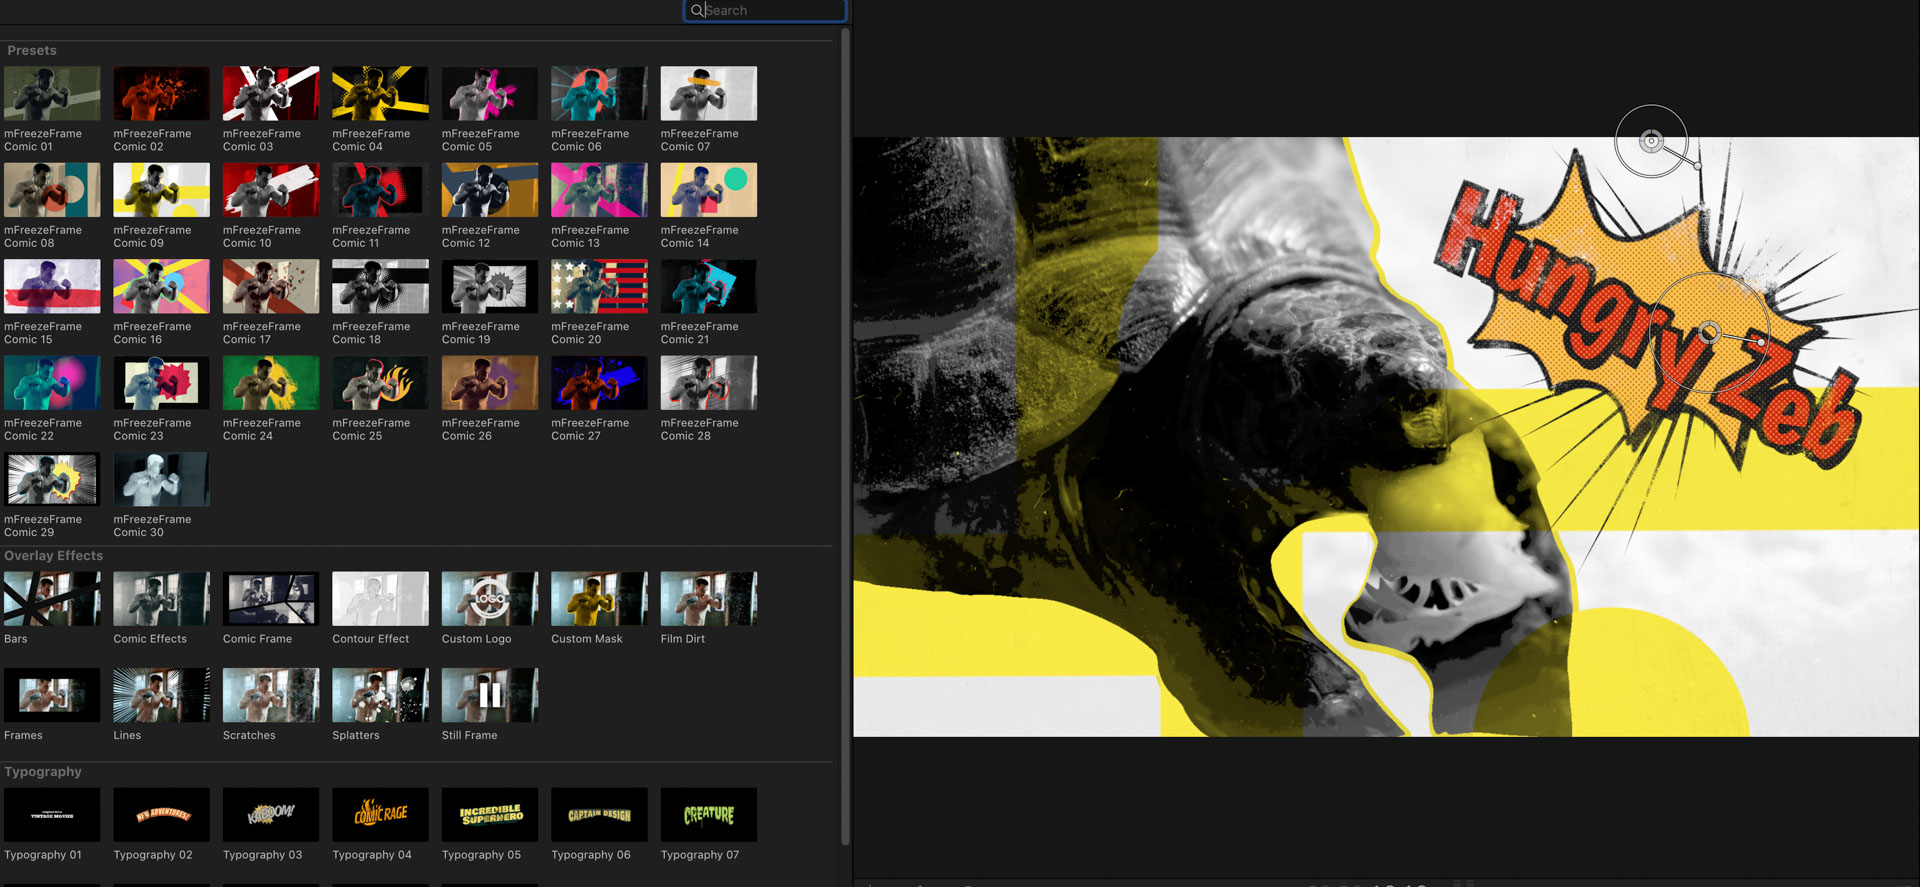
9. Go easy with graphics and titles
Most editing applications come with a whole host of templates for you to use. Lower thirds captions, titles, effects that make your footage look like it was shot on a 1960s camcorder – all are available with a click. And go surfing the internet and there are hundreds more of these themes, transitions, looks and titles you can buy to plug into your video editor. Some are great and can be adjusted, others are very gimmicky. So use them with caution. Simple graphics and lower thirds titles in an easy-to-read font help tell the story of what’s happening on screen.

10. Choose the right NLE
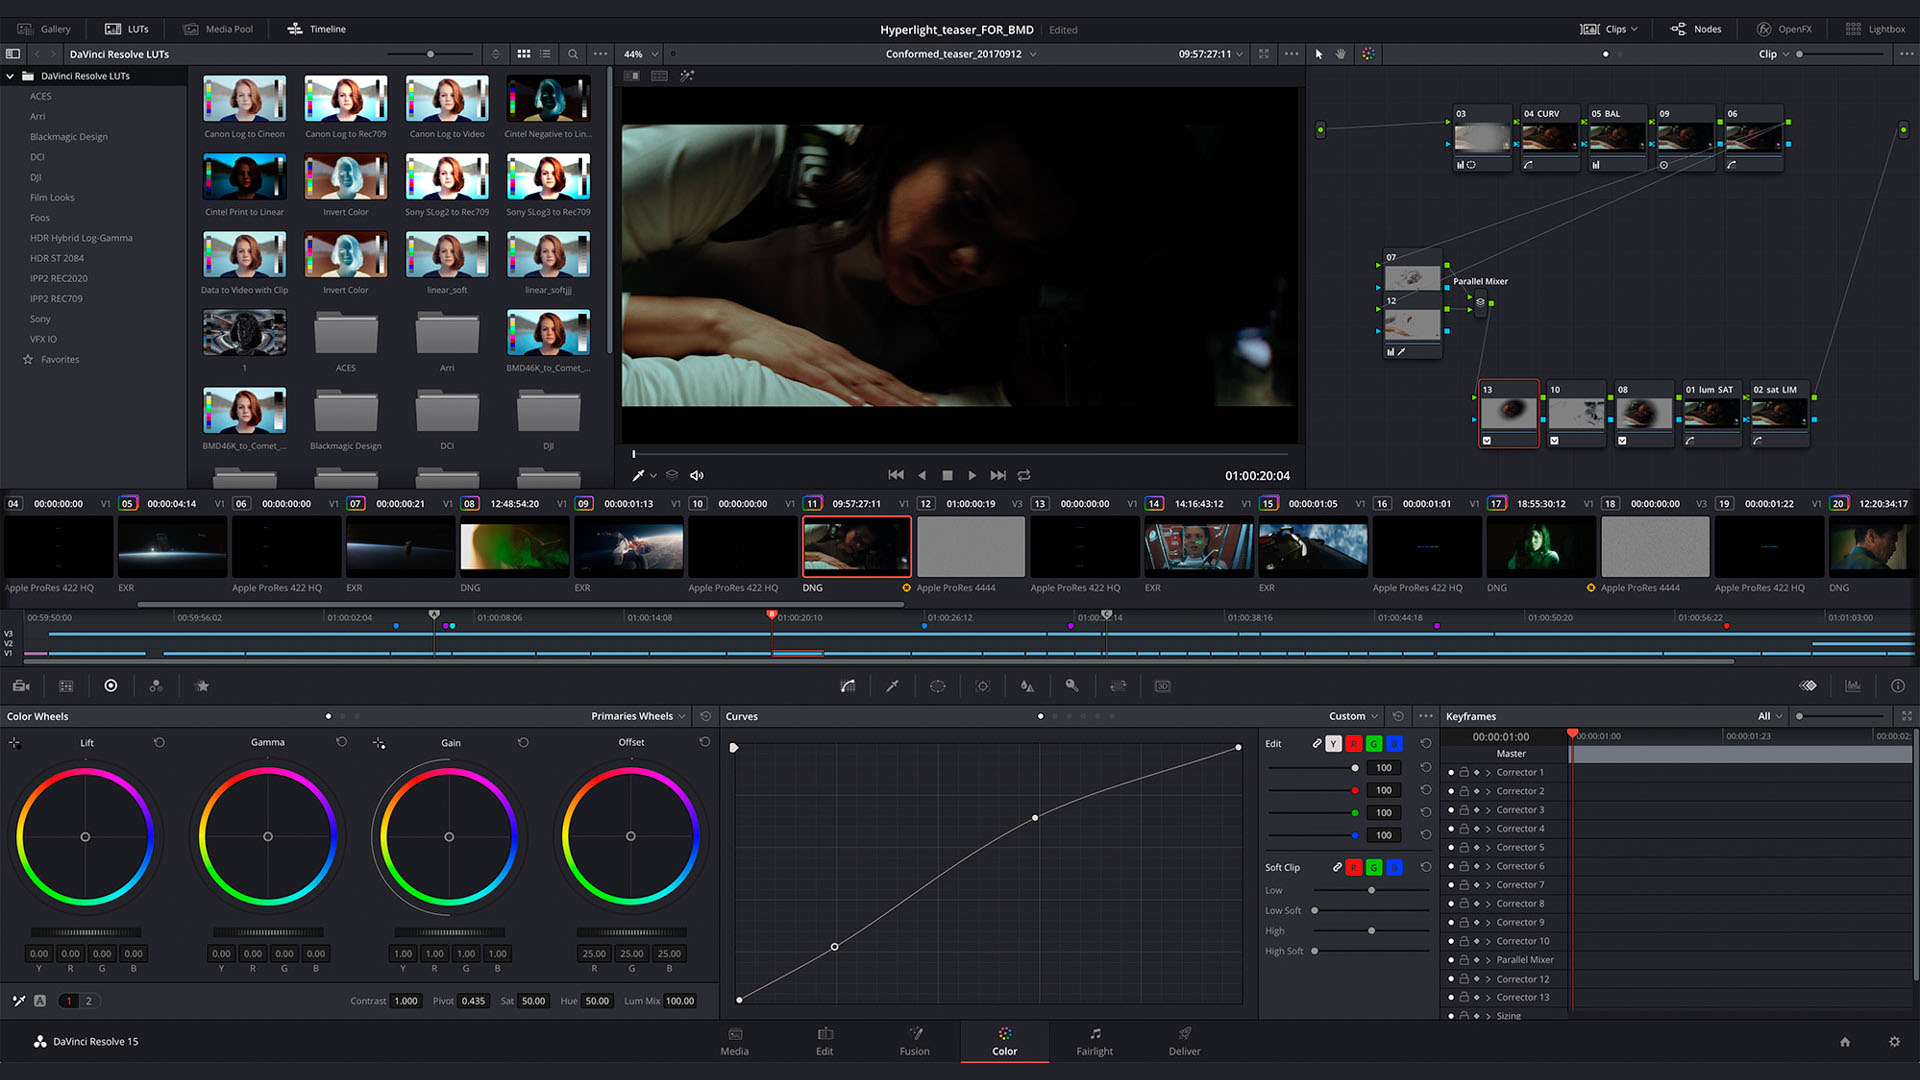
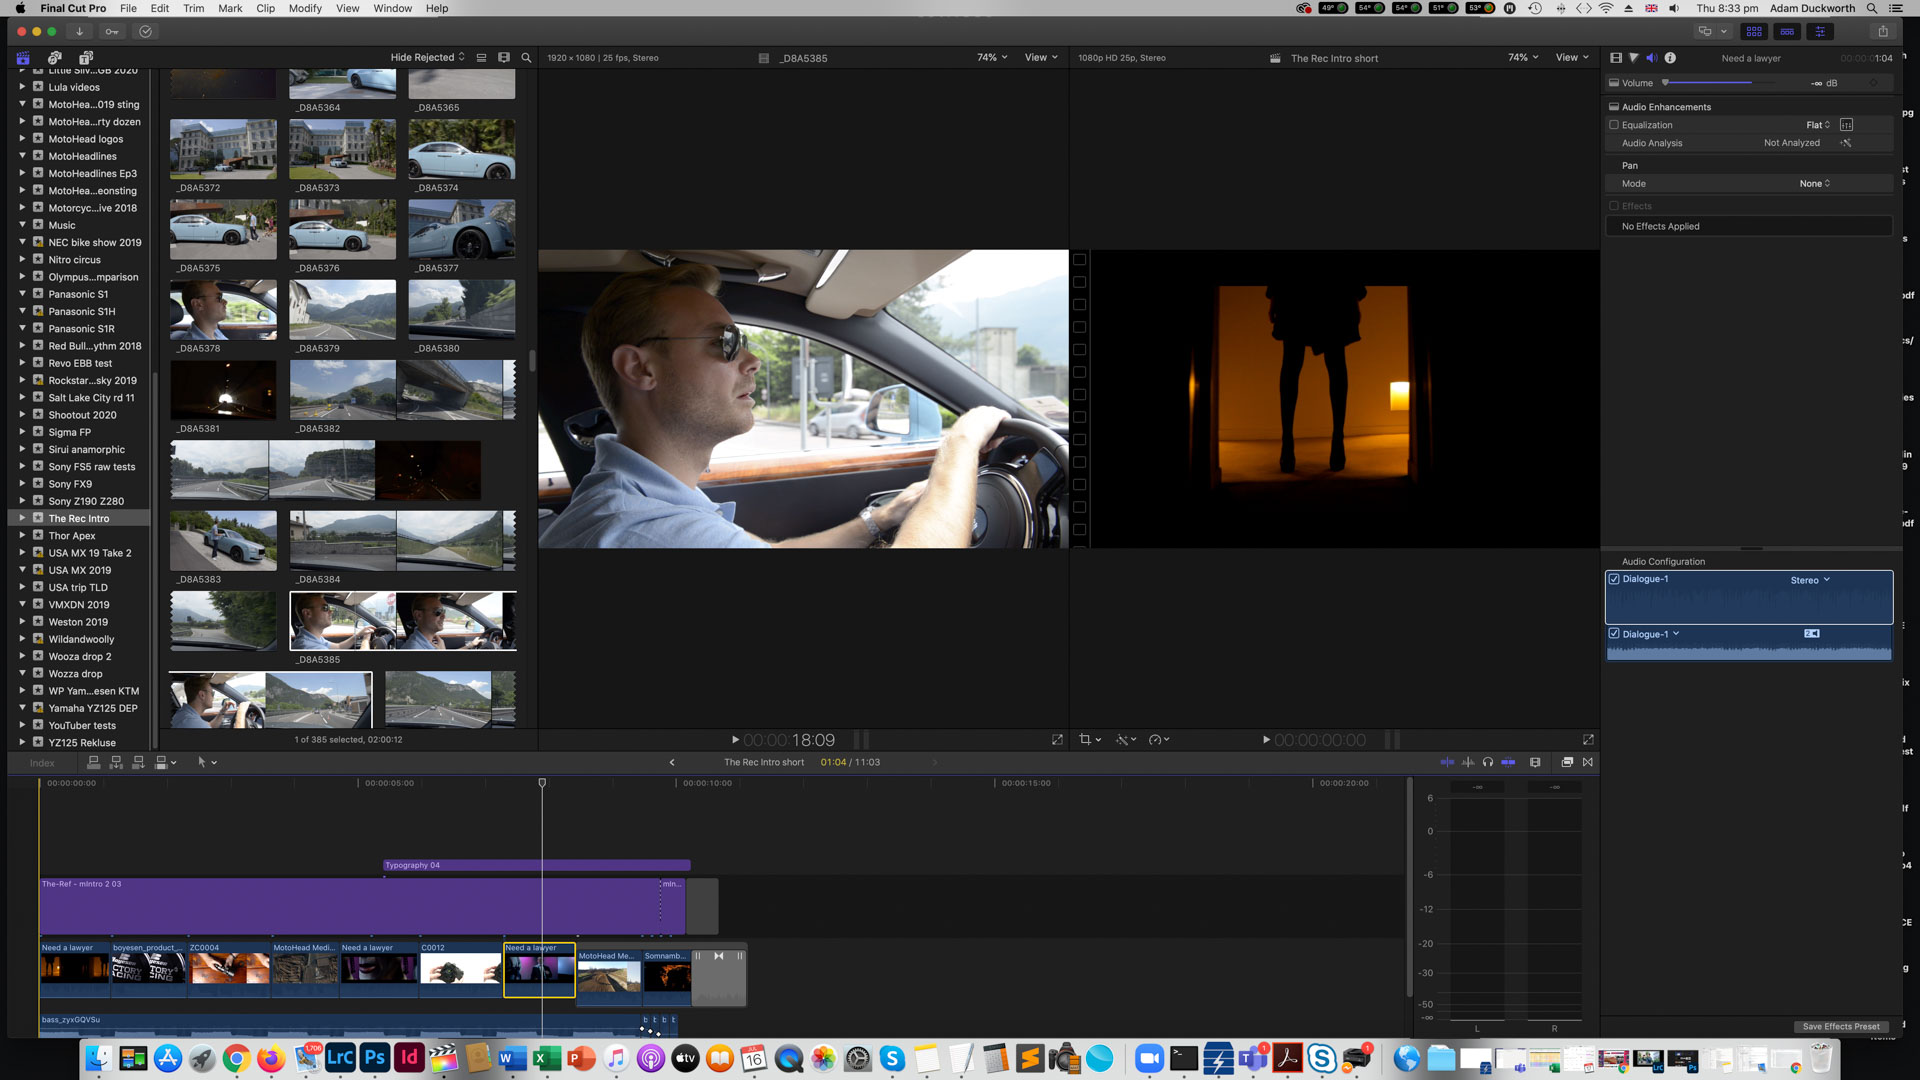
An NLE – non-linear editor – is the editing software used to cut your project. Some are free, such as Windows Movie Maker or iMovie if you have a Mac computer. But for more control and professional-looking edits, it’s best to invest in Final Cut Pro X for Macs, or Adobe Premiere Pro and After Effects for Mac or Windows PCs. All these are relatively user-friendly but offer fully professional workflow. One alternative is Blackmagic’s DaVinci Resolve which can be downloaded free for the basic version, which is more than most filmmakers really need. Resolve is the industry-standard for color correction and grading, and can be used as a standalone edit program. It is complex, but can give amazing results.
Read more: Best video editing software
Read more:
• Best 4K cameras for filmmaking
• Best cinema cameras
• Best cine lenses
• Best video tripods
• Best video editing software
• Best laptops for video editing
Get the Digital Camera World Newsletter
The best camera deals, reviews, product advice, and unmissable photography news, direct to your inbox!
Adam Duckworth is an award-winning professional photographer and videographer based in the UK. He has worked for many top magazines, newspapers and corporate clients for more than 25 years. He was named SWPP UK Commercial Photographer of the Year, and is an Associate of the British Institute of Professional Photography. He has also worked for international publications like Motor Cycle News, Racer X, The Sunday Times, The Guardian, ZOO, Golf World, Today's Golfer, and Mountain Bike Action, among others.

