How to make fun silhouette art from photos of everyday household objects
Shoot some still-life captures of photogenic domestic appliances, then use them to create a composite masterpiece
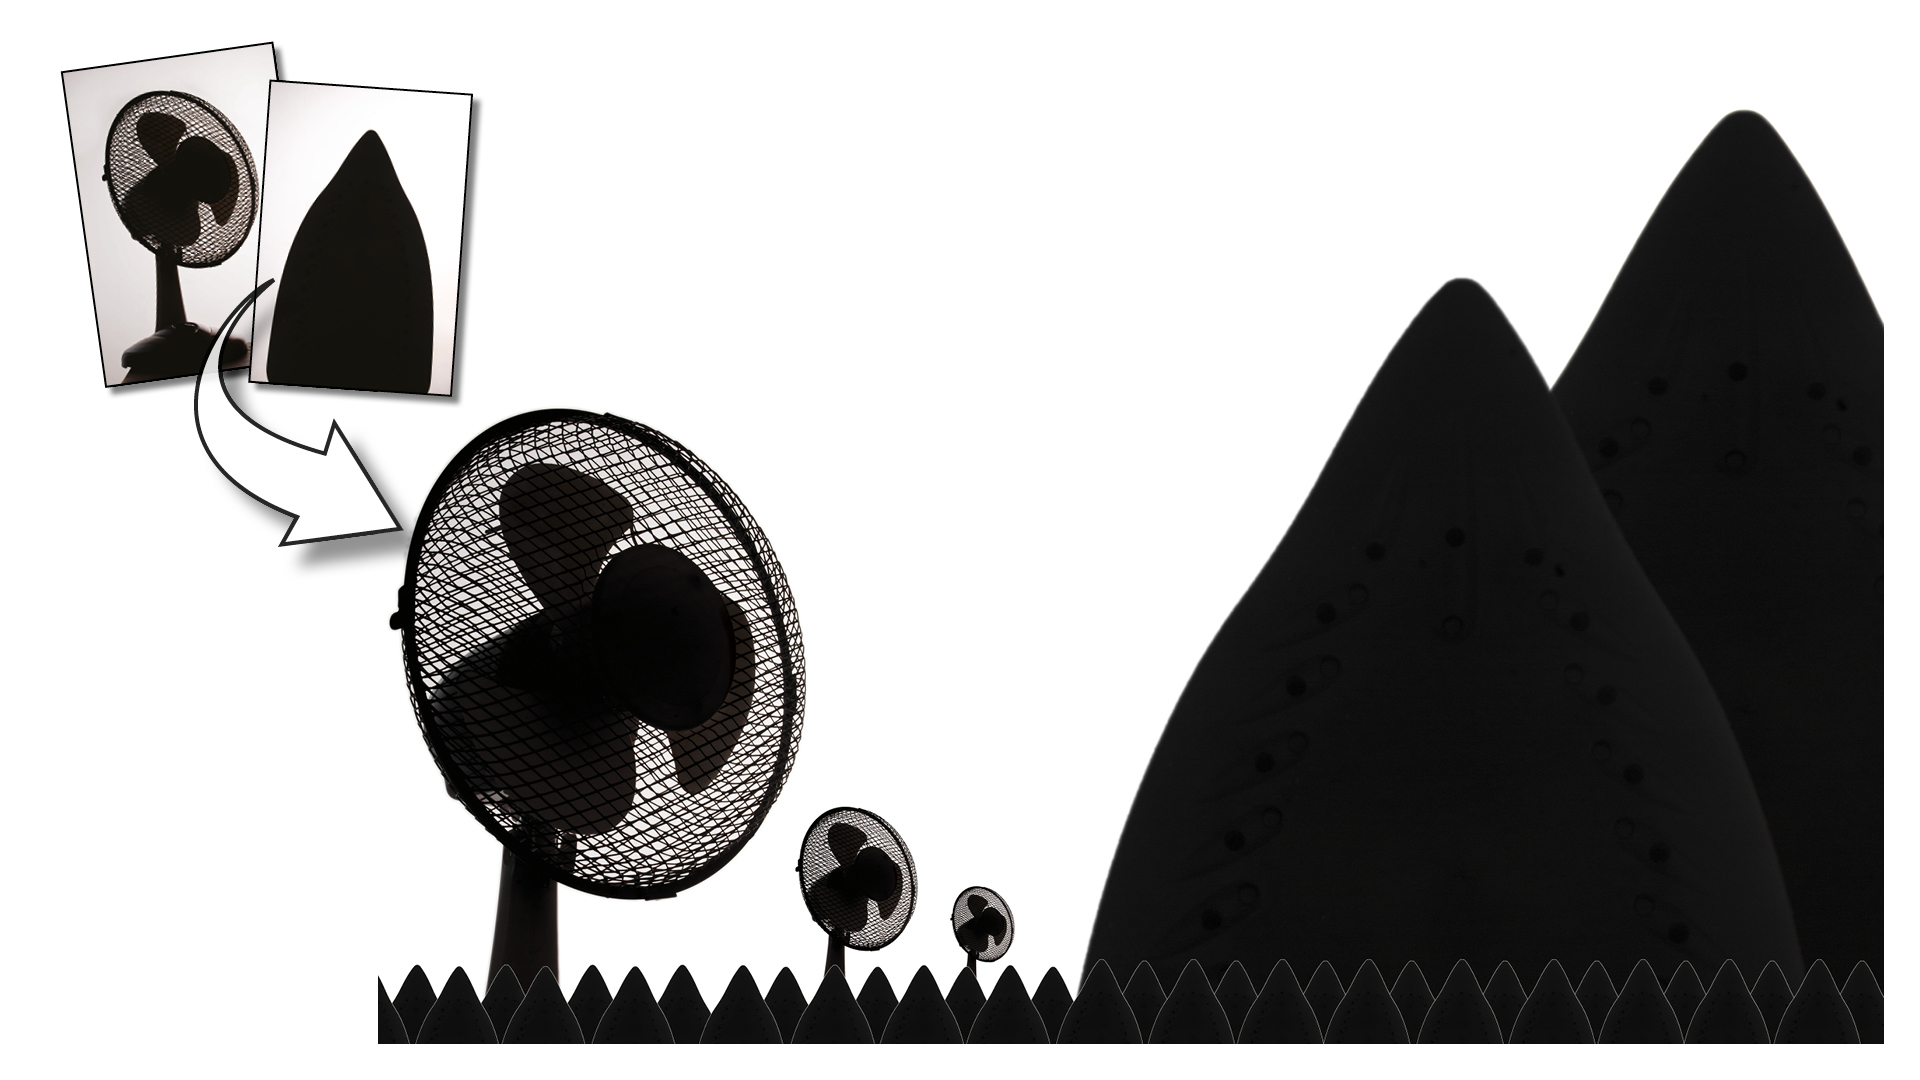
Whether it’s a teapot, a toothbrush, an iron or a table lamp, we interact with dozens of household items every day.
Their design is often under-appreciated or overlooked, but lockdown has given us the time and space to view household items in a very different light – or in no light at all, as we’ll soon see.
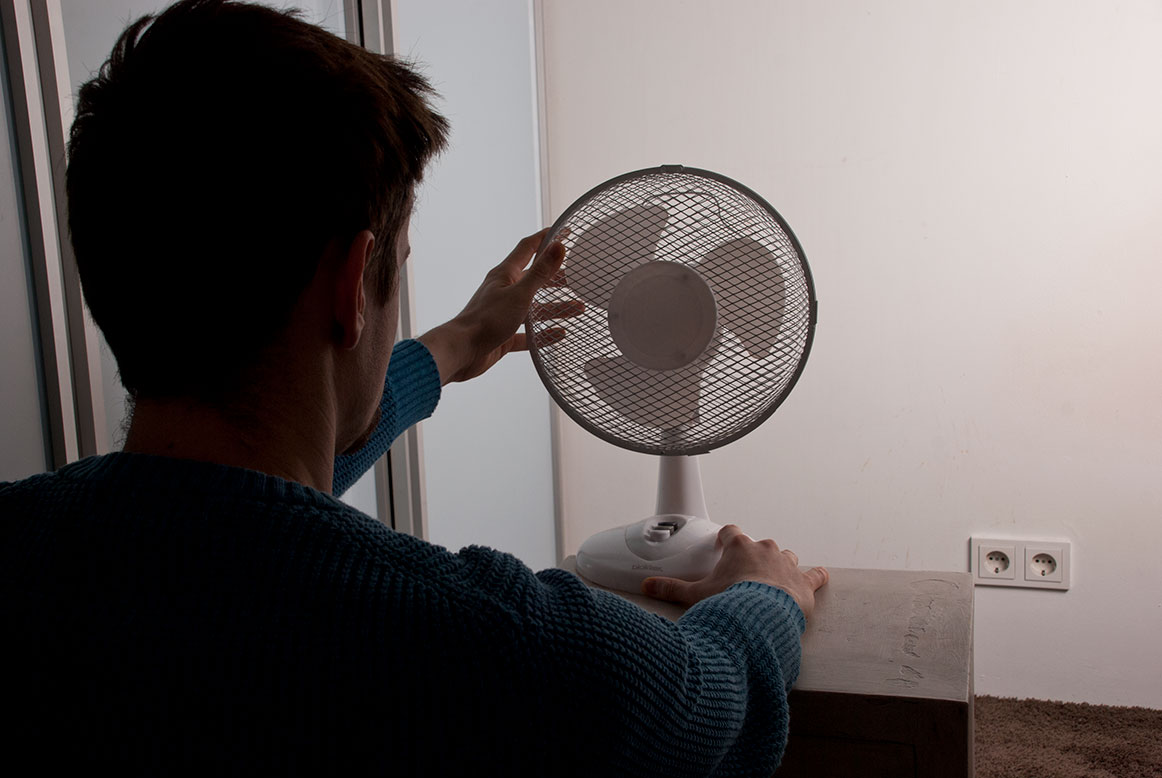
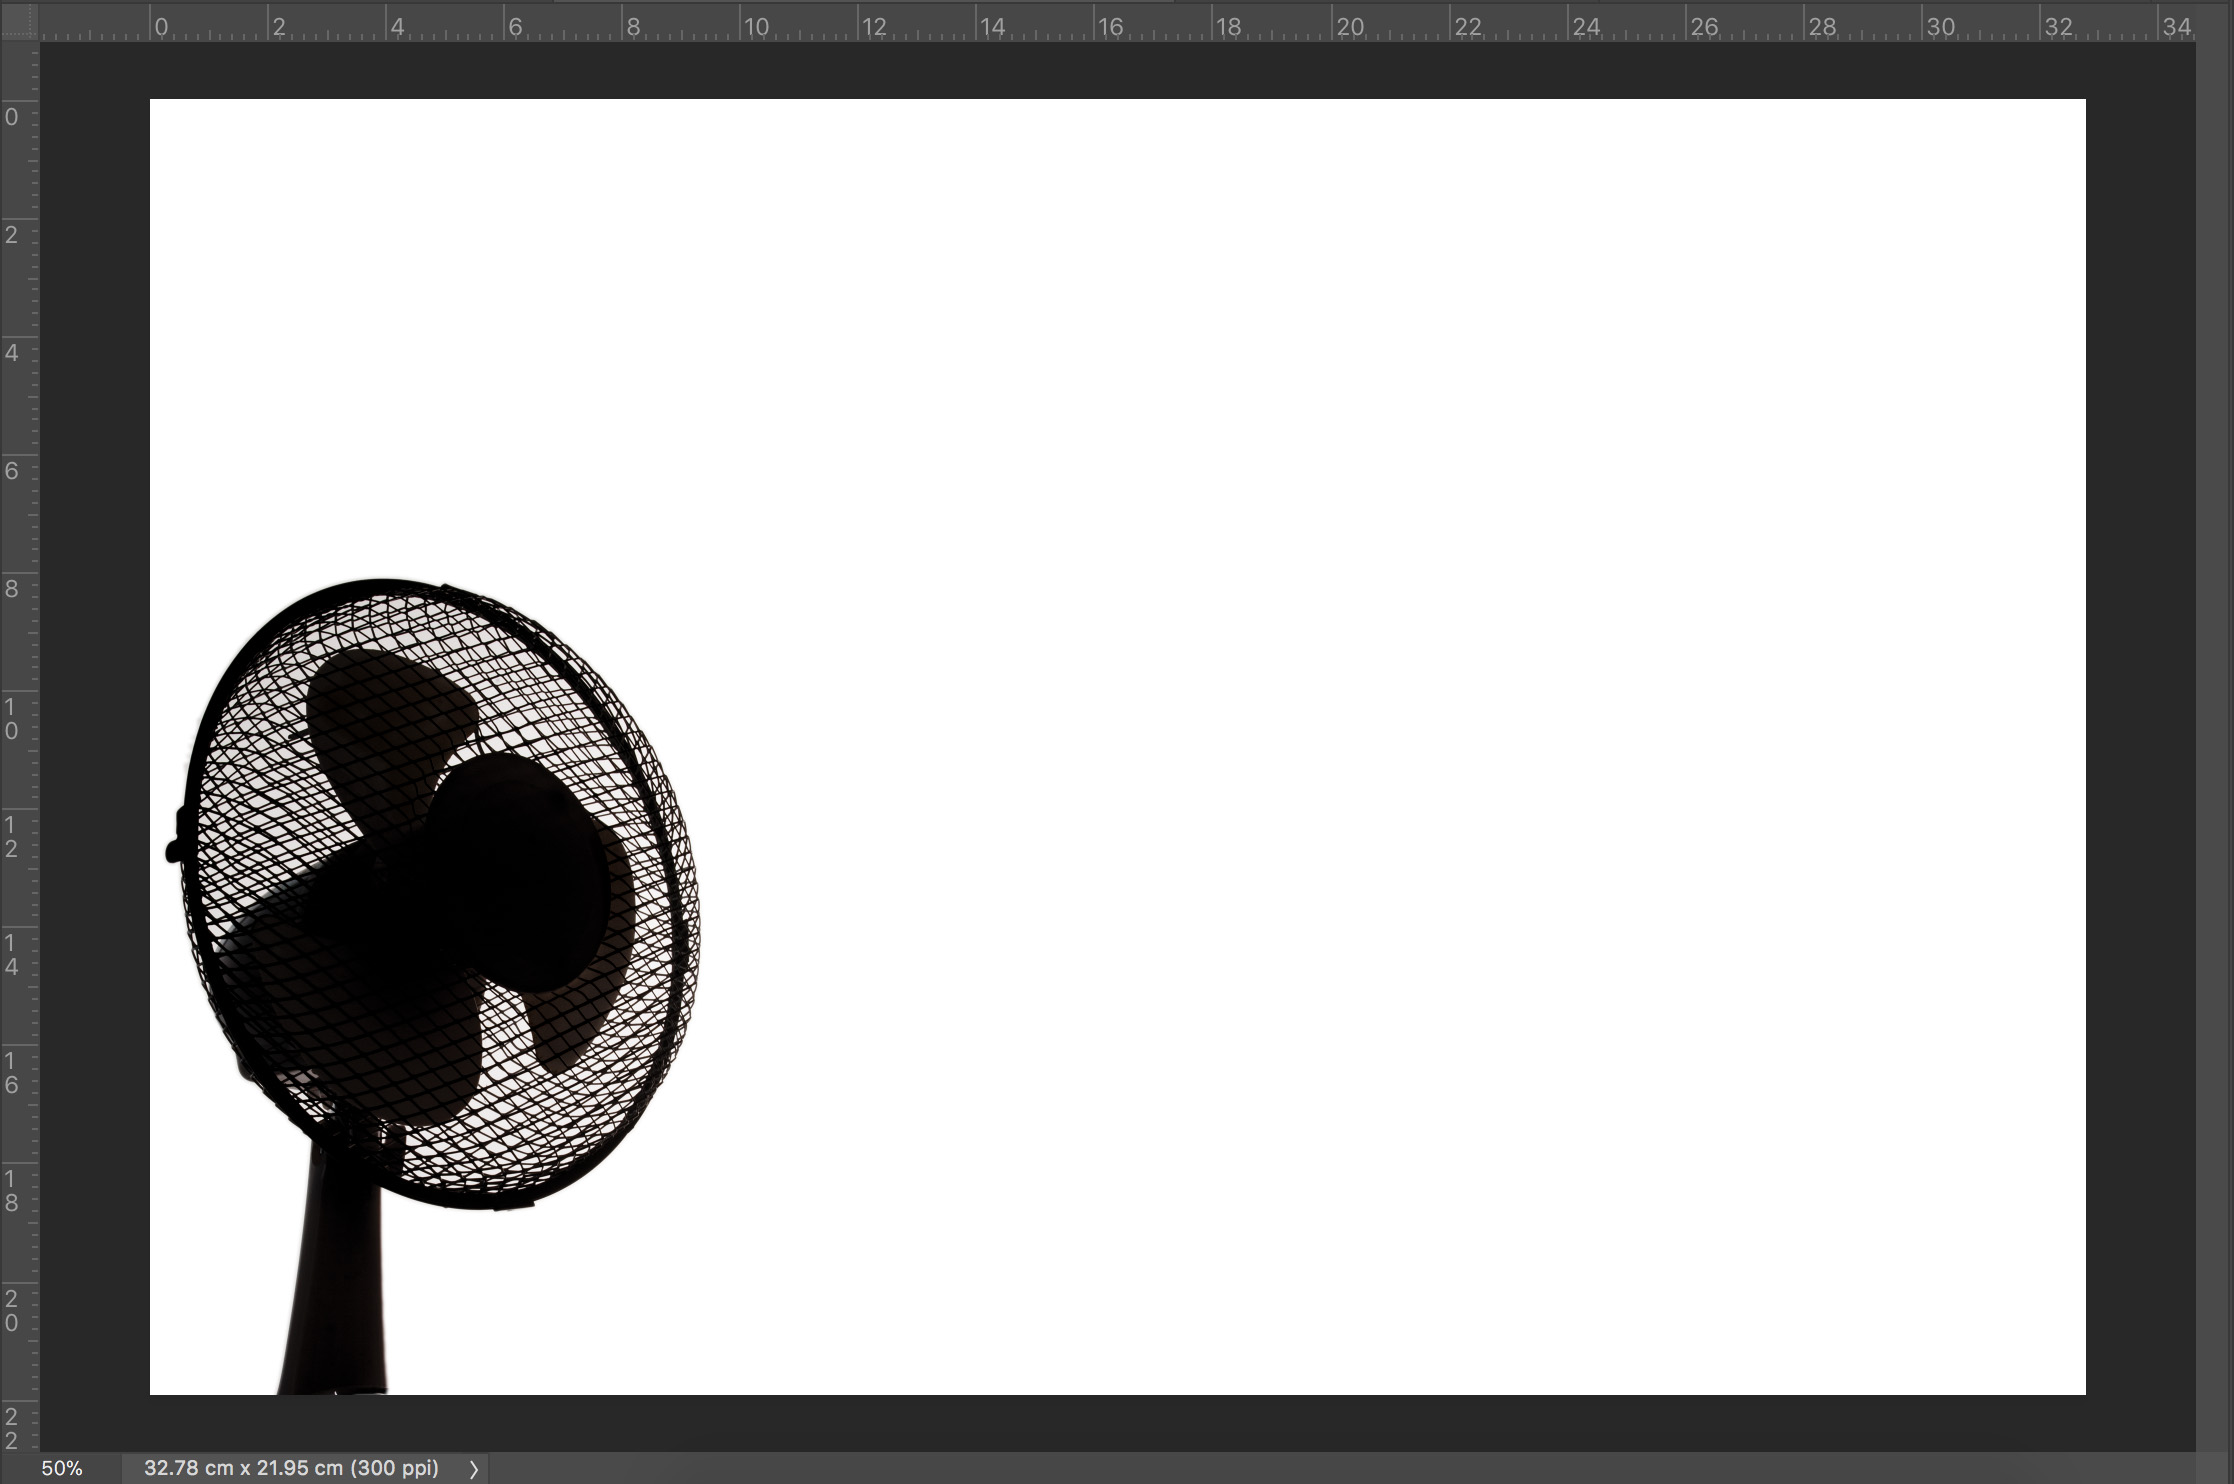
Silhouettes are created when the background is brighter than a darker foreground subject; a silhouette emphasises the outline and shape of the object in question.
Take your daily exercise at sunrise or sunset, and you will see this effect in the natural world, when the outline of trees or buildings are emphasised by the rising or setting light from the sun.
In this project I’ll show you how to create silhouettes, then combine them to create a fun, playful composite that is easy to design and assemble.
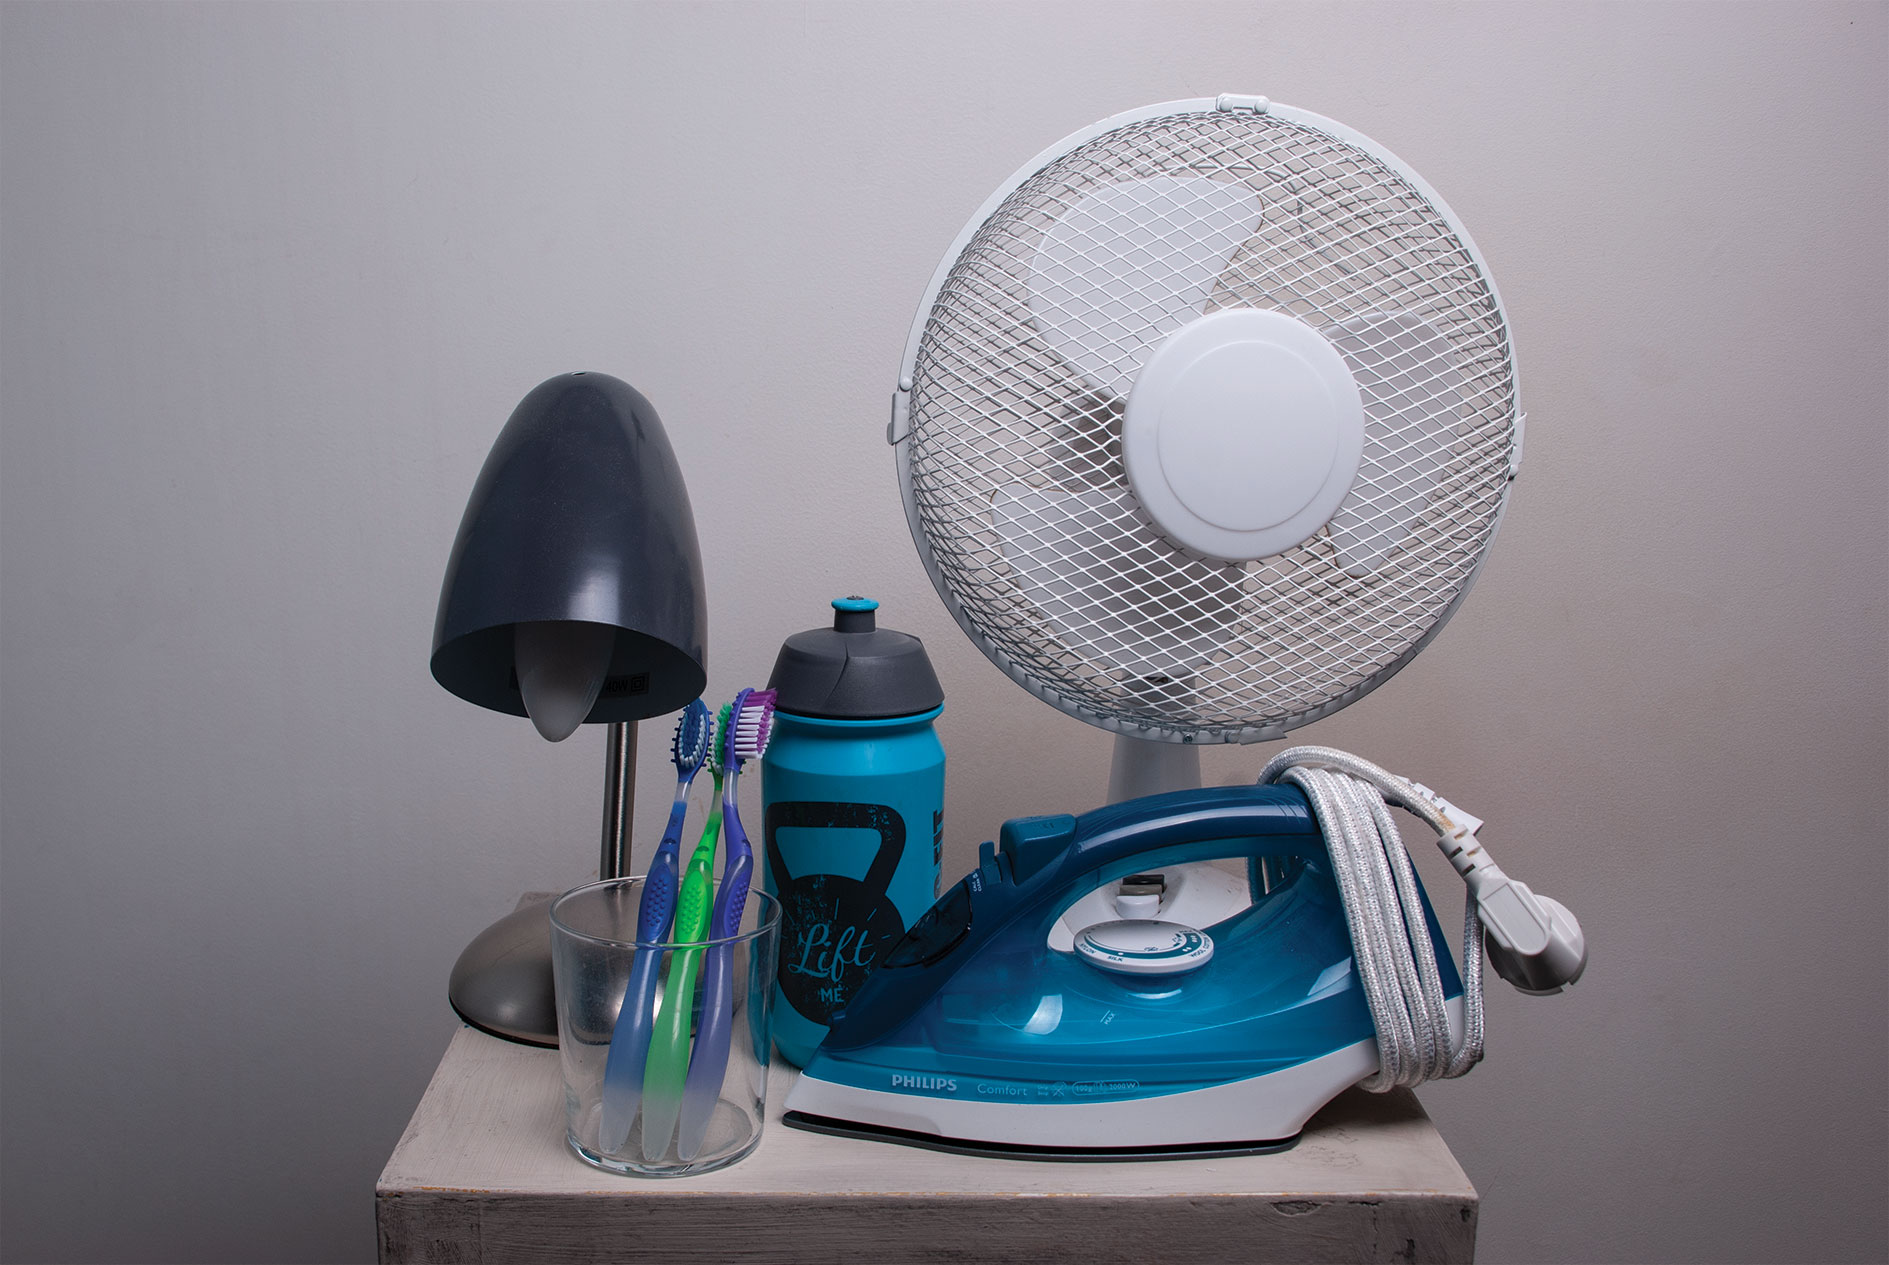
To get started, first search around your home for household items with specific and interesting shapes.
Don’t go too big with your choice of object, though, as your home photo studio is likely to be a confined space. Look for small- to medium-sized items, and think about which objects could go well together in the final composite.
This project will work with any lighting equipment you have available; whether it’s a softbox or an external flash, the setup can be achieved using a minimum of camera kit.
What you’ll need
- Digital camera with standard-view lens
- Tripod
- Off-camera flash, or studio lighting if you have it
- Household objects that will photograph well
- Image-editing software
- Time: one hour (shooting); one hour (editing)
How to capture silhouette photos at home
1. Set up your studio space
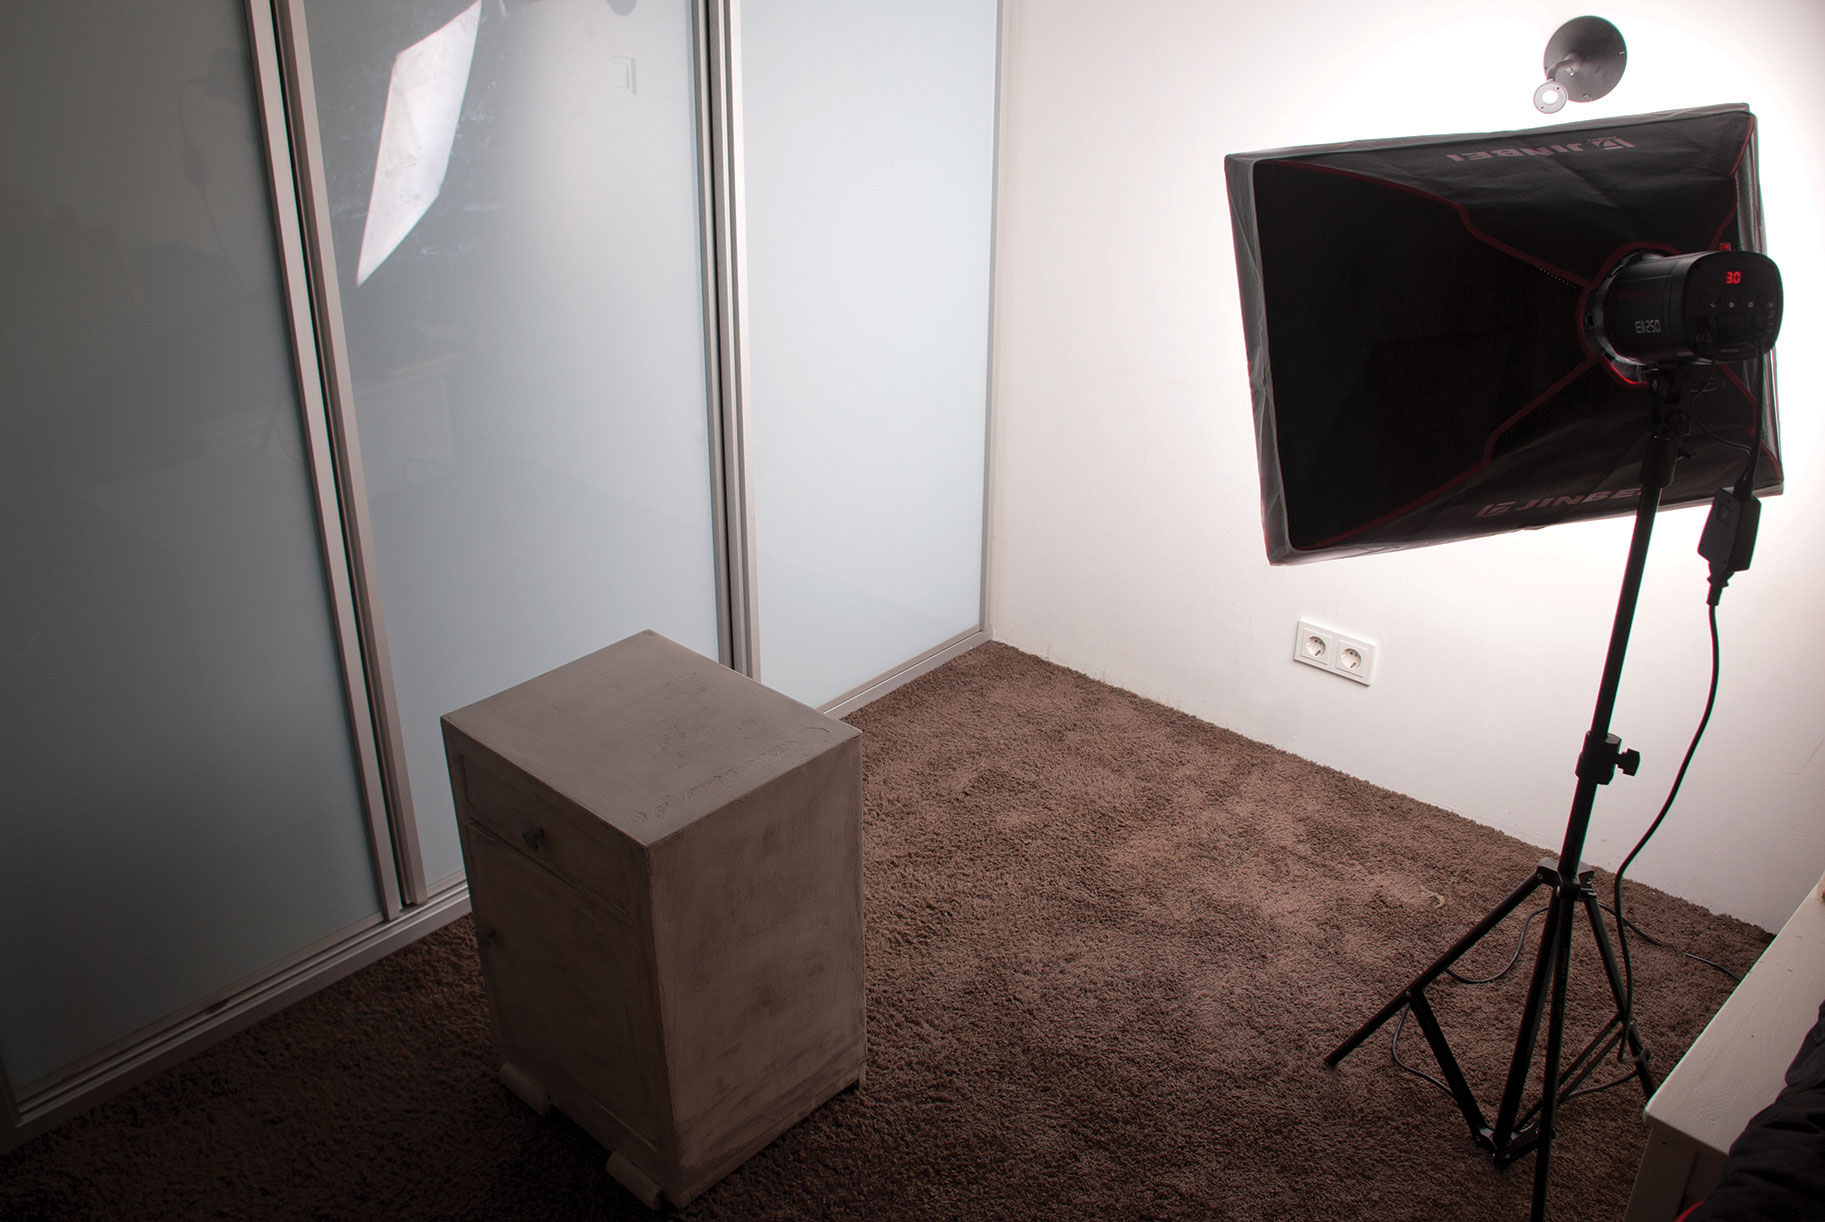
Round up your chosen objects – I assembled a variety of items. Ideally, find a plain light-coloured wall large enough to form a background measuring 1m sq. If you don’t have one, try hanging a white sheet in front of a wall.
Place your lighting either high up, looking down towards the wall, or from below, aiming up at the wall. This way your flash will be spread evenly on the background, creating a cleaner look.
Use a small table or chest of drawers to place your object on.
2. Calculate your lighting and camera settings
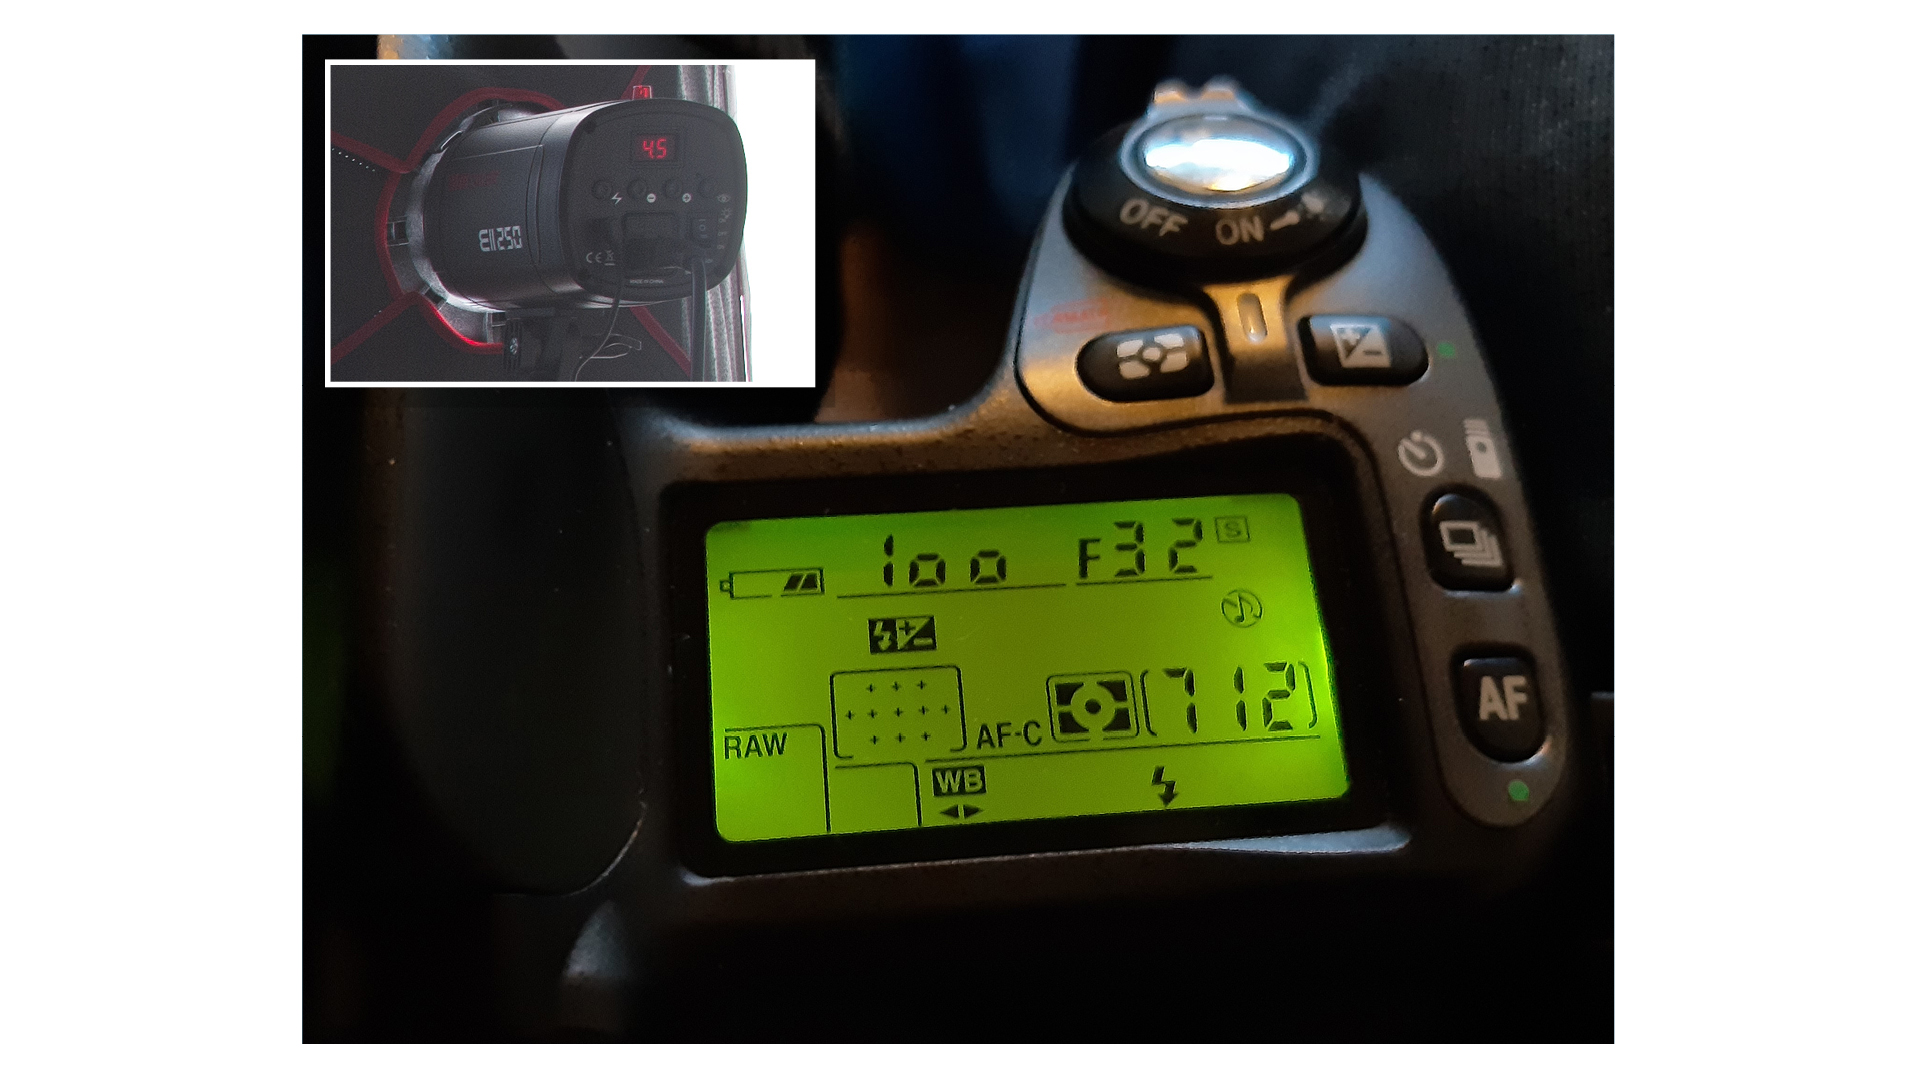
Take time to refine your lighting settings to determine the relative brightness of your background and foreground subject.
Having selected raw file capture for more flexibility during editing and ISO 100 for high image quality, start off with high flash power and a medium-to-small aperture of f/11-f/32. (In many cases, f/22 will be the limit.)
Adjusting your settings from that point, be prepared for some trial and error, as each object will bounce light off its surface at different intensities.
3. Experiment to see the effects
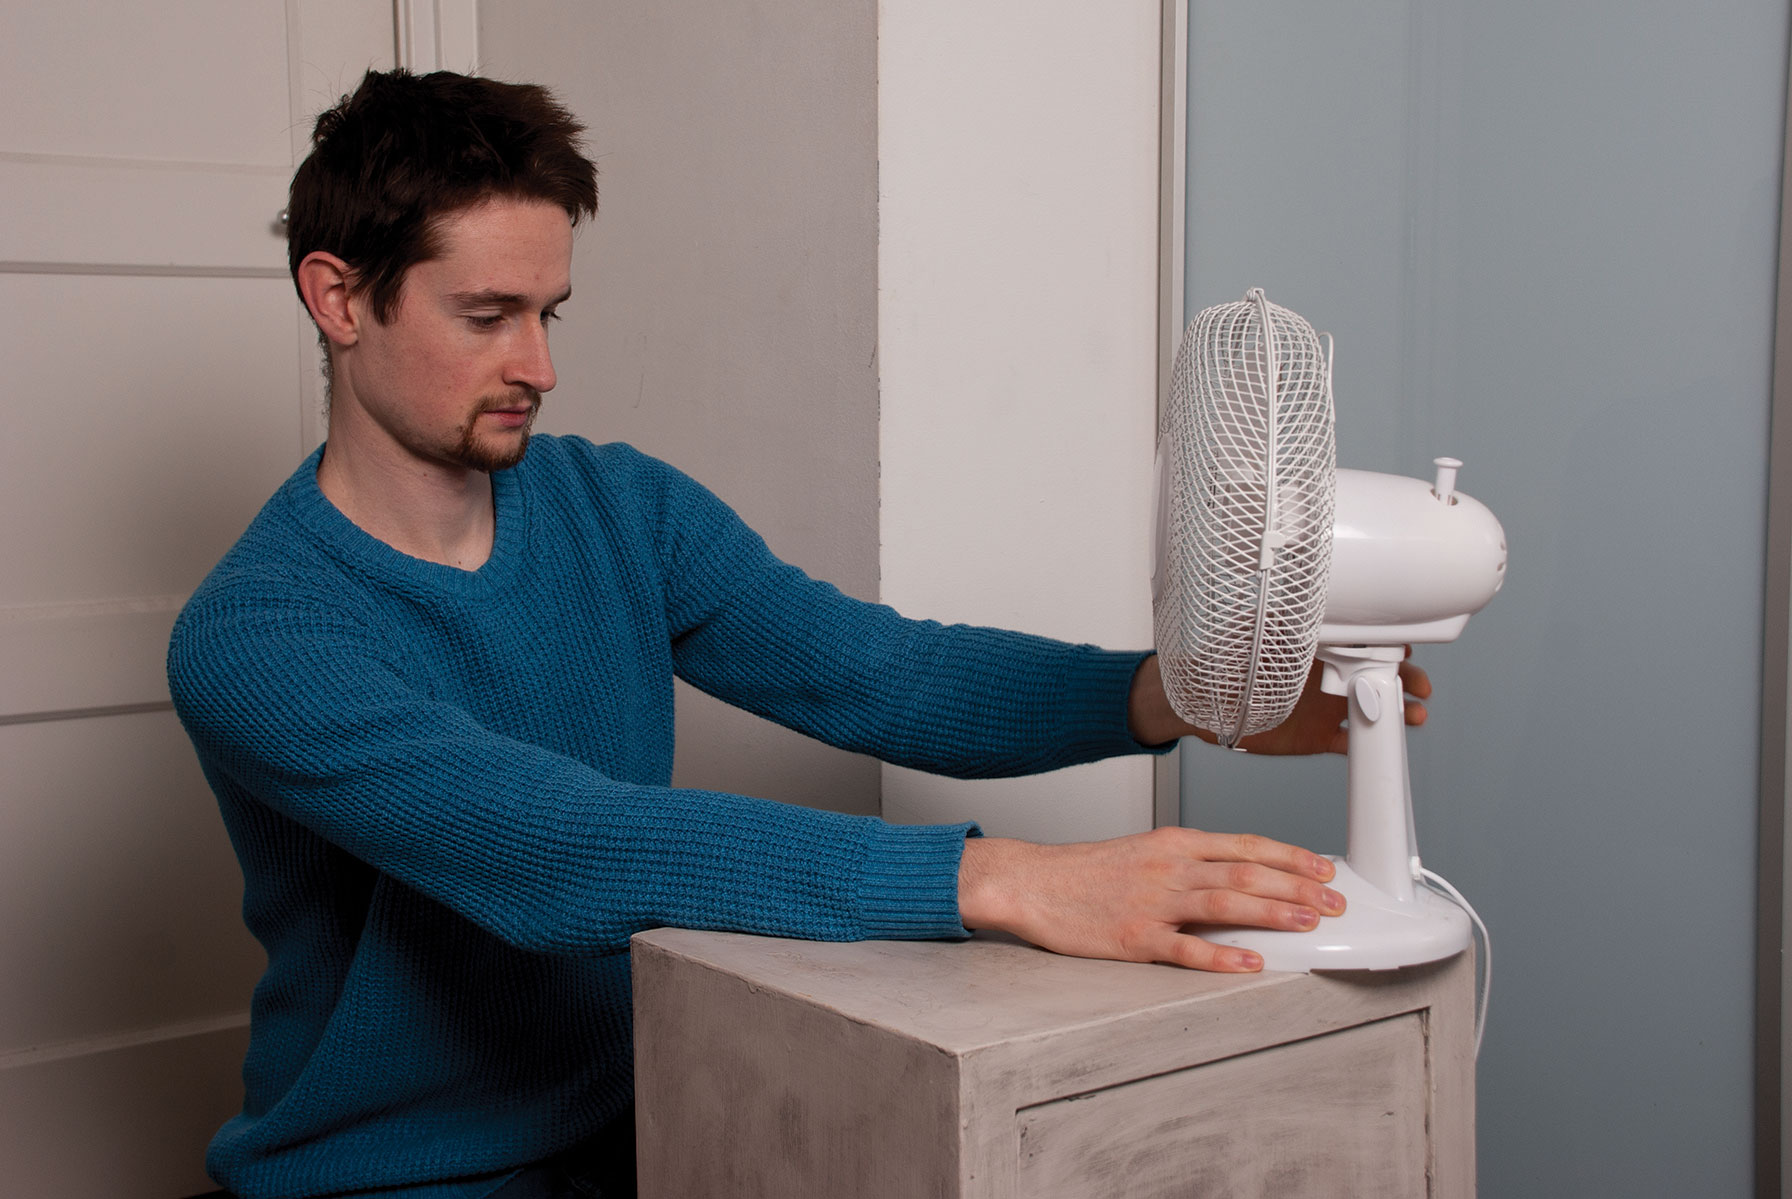
Check your captures, see how they are looking and be ready to step in and adjust the camera-to-subject distance. Your subject will appear darker from a greater distance, but this may also affect the brightness of your background.
Look at starting with a camera-to-subject distance of one metre and gradually increase the distance from there, regularly checking the results. Focal length is also a factor; different focal length ranges will create different looks.
4. Choose the right angle for the silhouette
Now finesse the angle you want to capture the object at. Remember that when you take the shot, the silhouette will appear as two-dimensional, and certain small features within the object may be lost. You’ll therefore need to move the object around to get the perfectly-shaped silhouette.
For some variation in the images, try shooting translucent objects; light bouncing off a white surface and entering a glass bottle from behind produces a pleasing effect.
How to process your silhouette captures

1. Make basic adjustments
In your raw image editor (I’m using Adobe Camera Raw, but there are many other alternatives) start by adjusting your blacks, contrast and brightness settings.
Don’t be afraid to push the sliders to extremes. You can go as far as +120 for Brightness and +40 for contrast to boost the white background.
Use Blacks and Shadow to further darken your object, until it is completely darkened. Each image will be different, though, so you may need to make some local adjustments.
2. Strengthen the silhouette
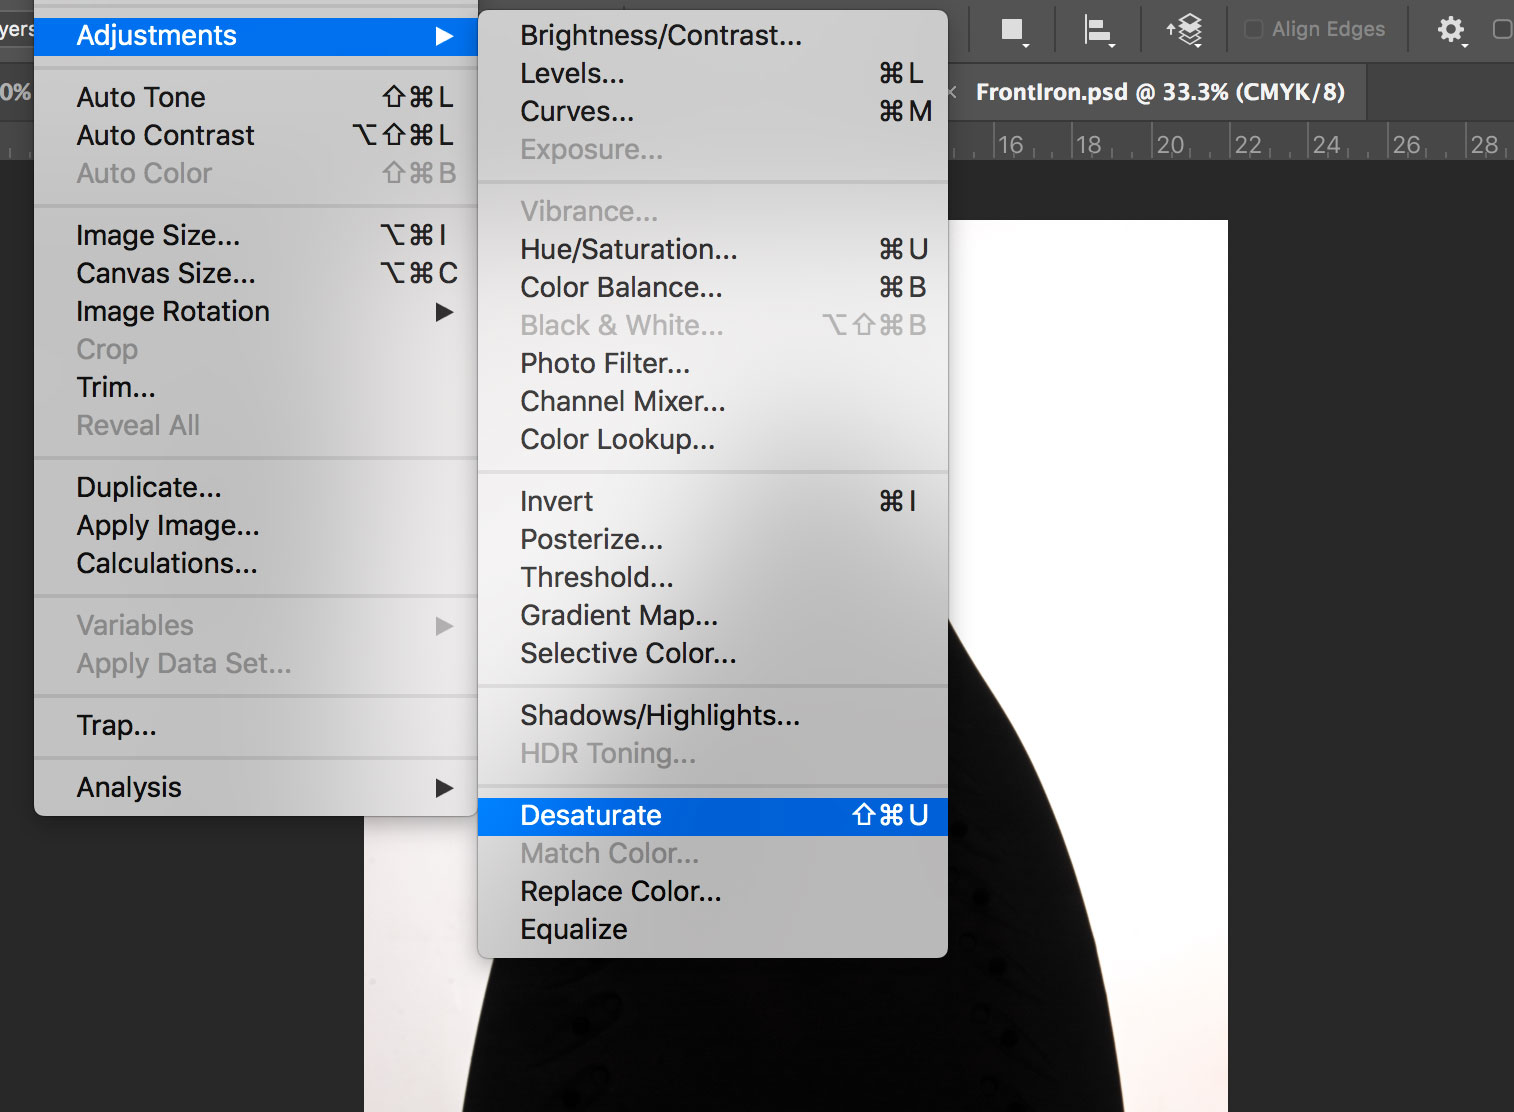
With the image now open in Photoshop, select Adjustments > Desaturate – this will produce a strong, completely dark silhouette.
Occasionally, if the flash or lighting effect is too strong, red and blue lines may appear around the object you’re photographing.
To make these disappear, change the image to black and white, again via Image > Adjustments.
Now create your composite image
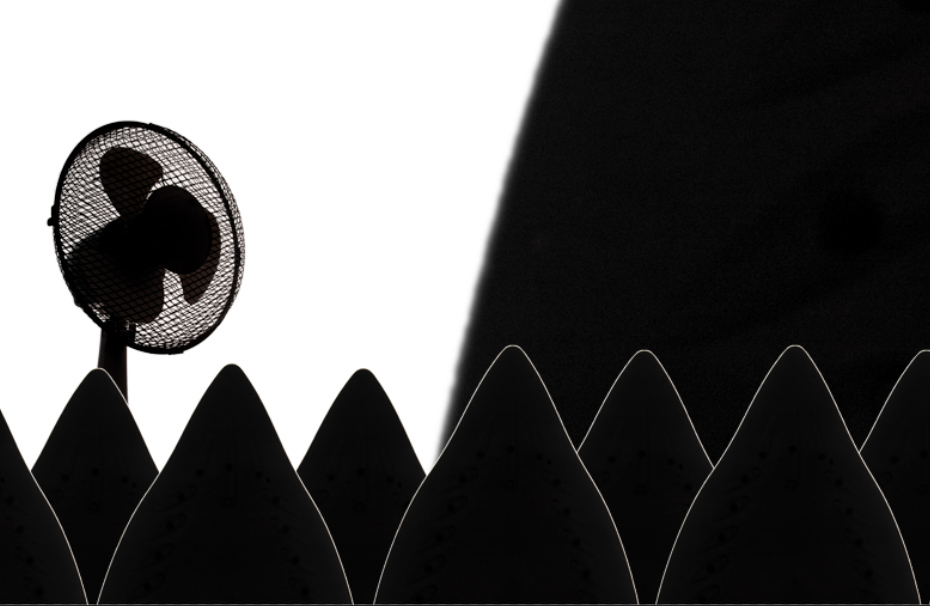
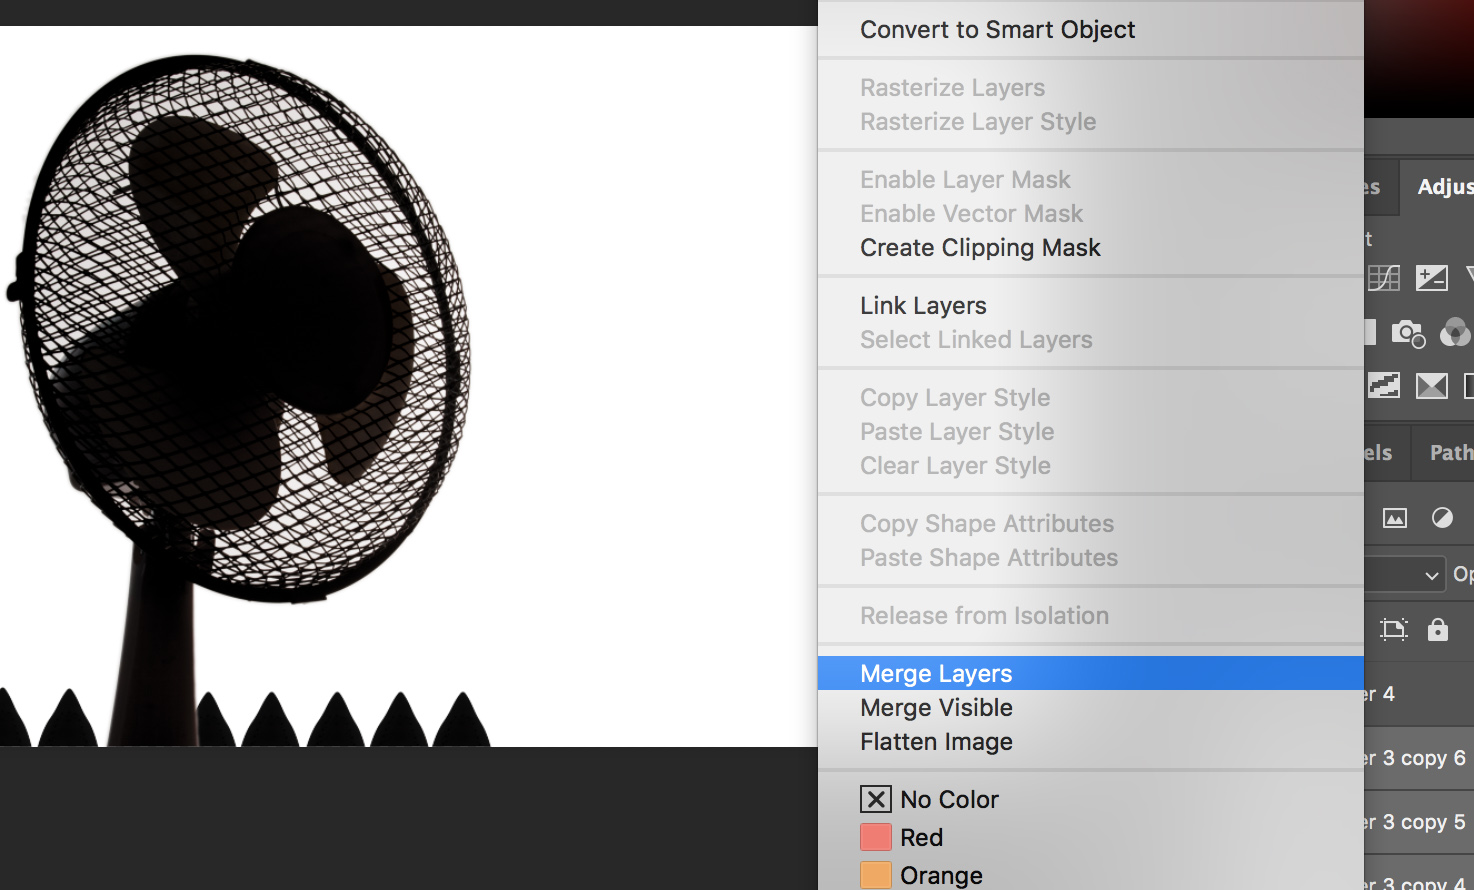
And here’s the final composite image
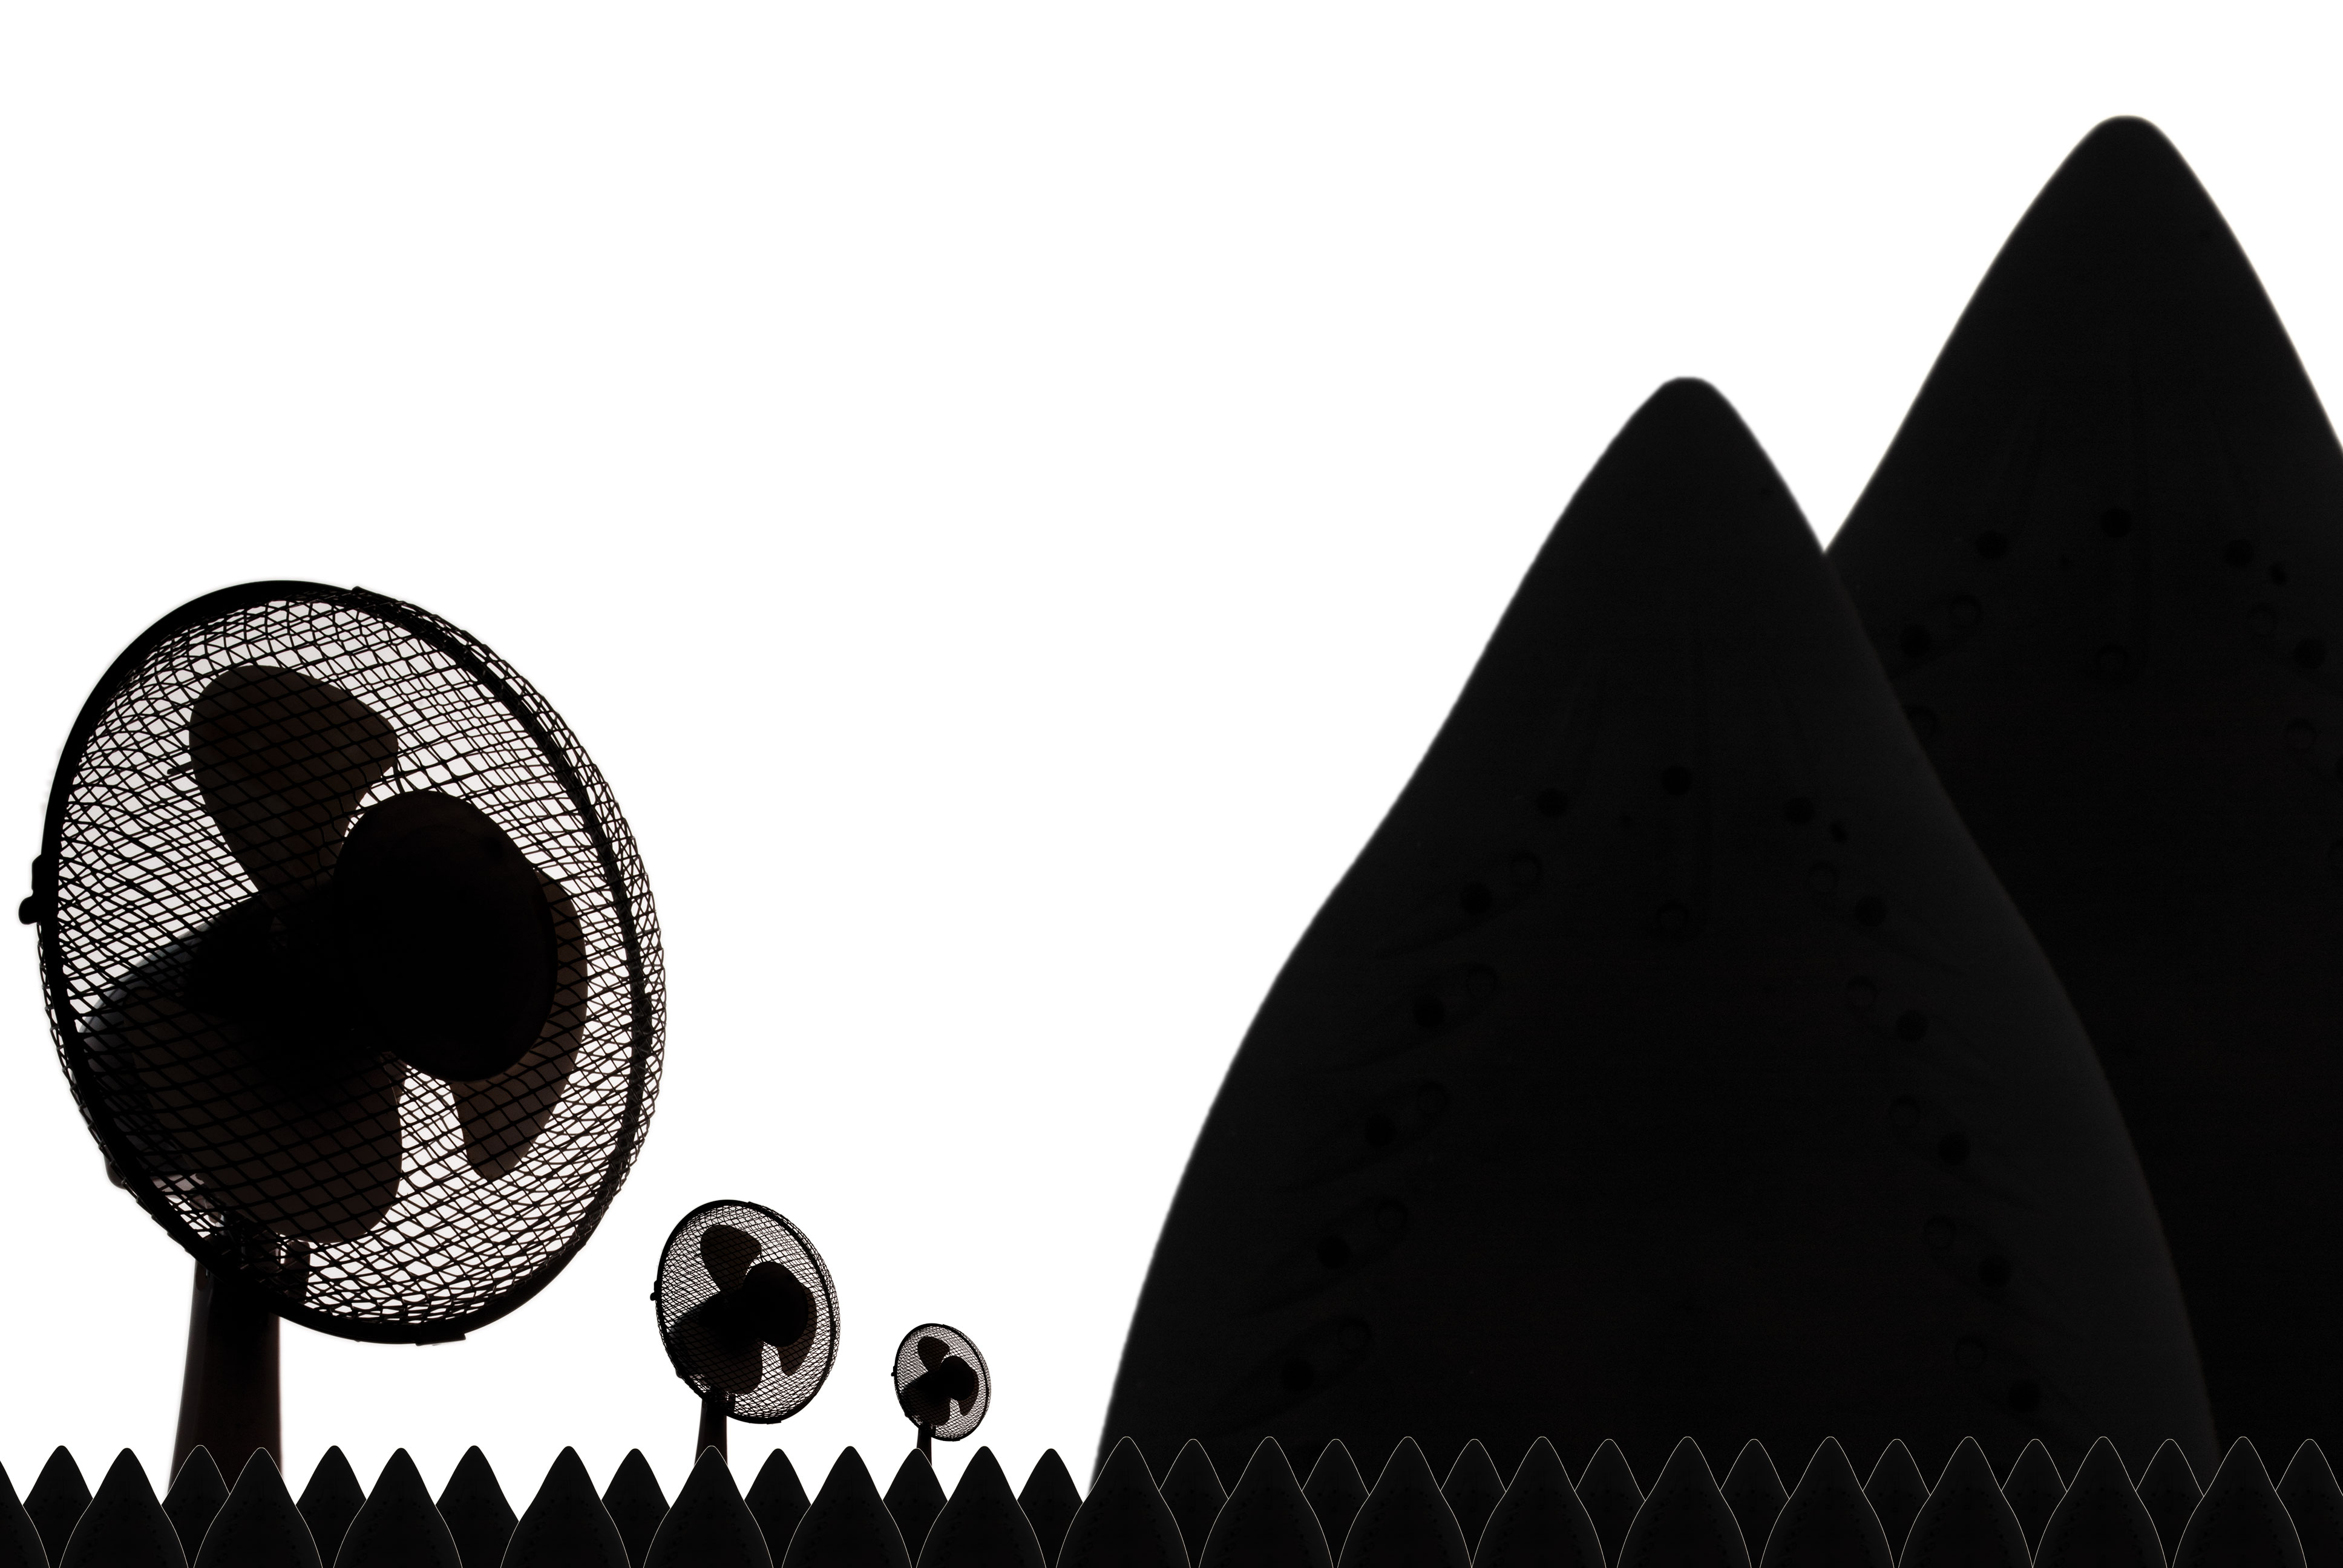
That’s it! Congratulate yourself on your efforts and remember that the only limit to creating distinctive and original silhouette art is your own imagination – enjoy!
Digital Camera World is the world’s favorite photography magazine. Every issue is packed with the latest news, reviews, tutorials, expert buying advice, tips and inspiring images. Plus, every issue comes with a selection of bonus gifts of interest to photographers of all abilities.
Read more
Lockdown projects: create abstract images at home
Get the Digital Camera World Newsletter
The best camera deals, reviews, product advice, and unmissable photography news, direct to your inbox!

