How to make mixed-brand speedlights work together
Bought different brands of flashguns over the years? No fear! Save time and money by using multiple flash brands in unison
It is often the case in photography that we end up building a system of flash equipment that uses just one brand. We might start with a single flashgun, and because camera manufacturers often advocate the use of their own-brand flashes, we continue to amass kit belonging to that same system. This can then become an issue if we swap camera systems, though.
Some photographers start with a more affordable third-party flash, but as they start to shoot more advanced scenes and invest in a couple of propitiatory units, they end up with a seemingly incompatible mix.
Speedlights are easy to collect over the years, and given their cost, it can be hugely beneficial to employ different brands together as part of a single lighting system.
By using non-specific triggers and carefully arranging the setup, it is possible to reliably use a mixed system of flashes, playing to the main advantages of each type and brand for a system with increased versatility. This will also help to get the most value out of speedlights you might otherwise consign to a back shelf.
Let’s take a look at how to get speedlights from different brands to work together.
01. Work out the output
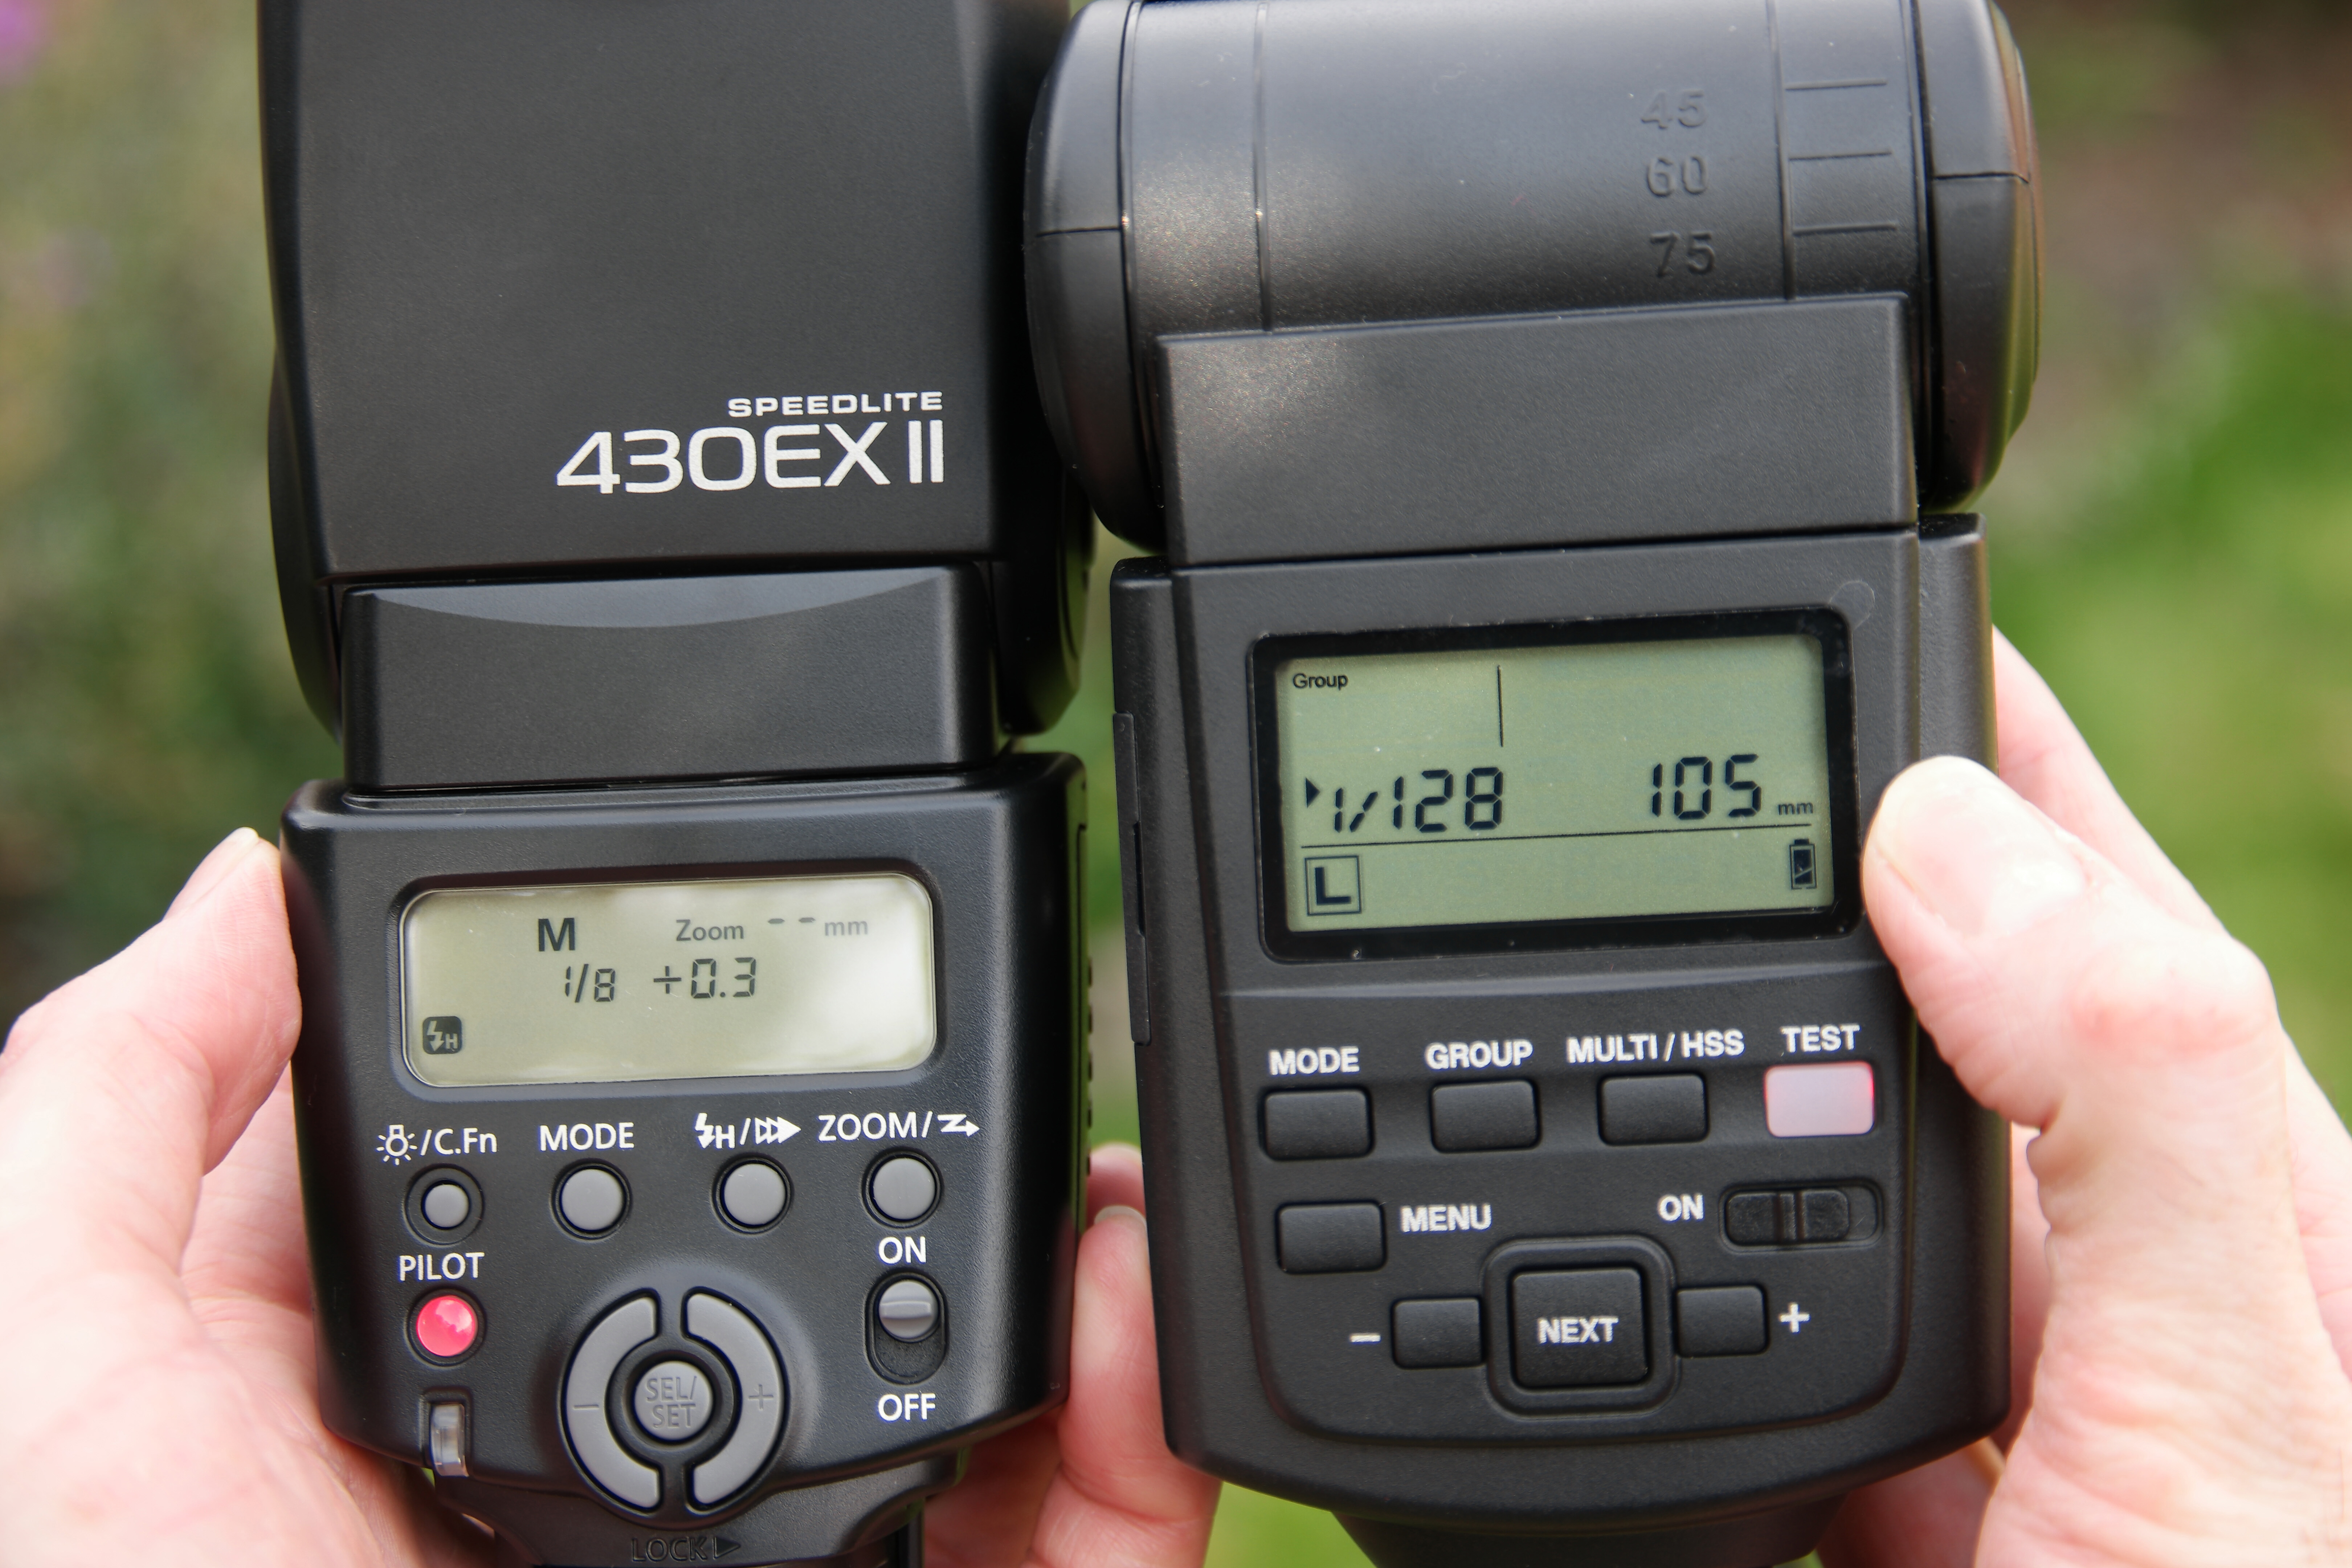
An issue with mixing flash models is that variable output can complicate the process of calculating lighting ratios. If one speedlight is more powerful than its neighbours, it must be factored in when assigning output.
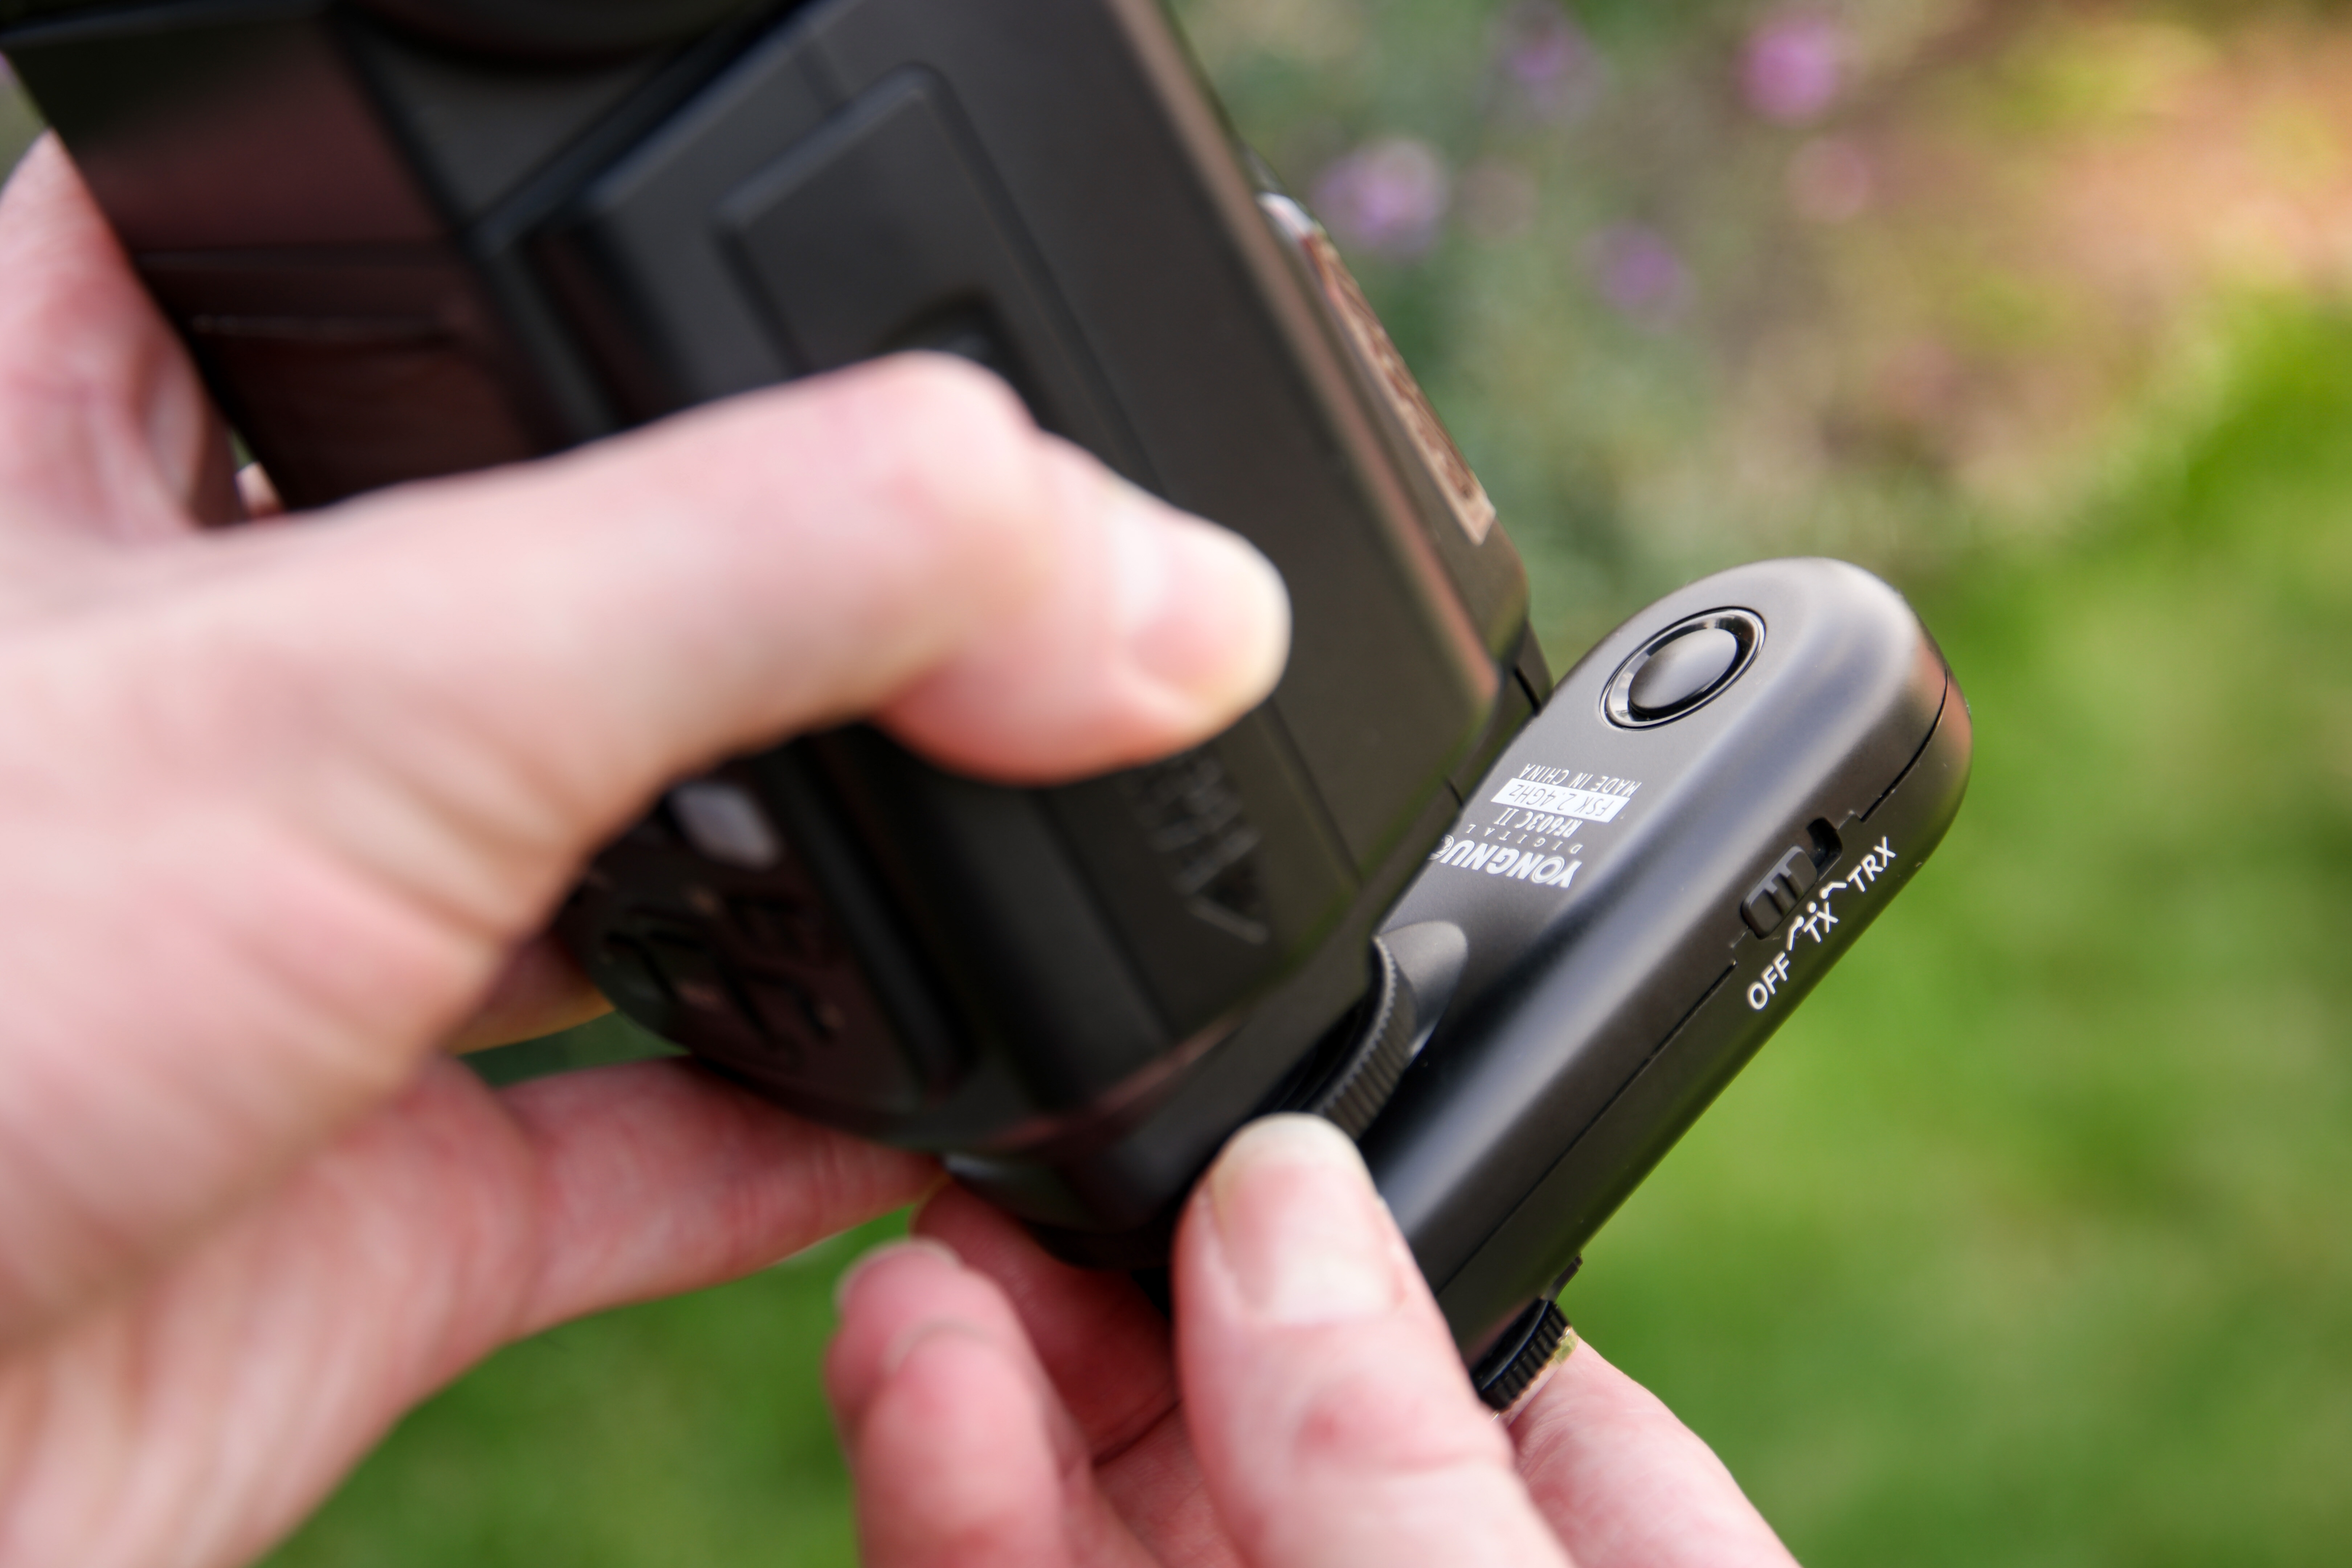
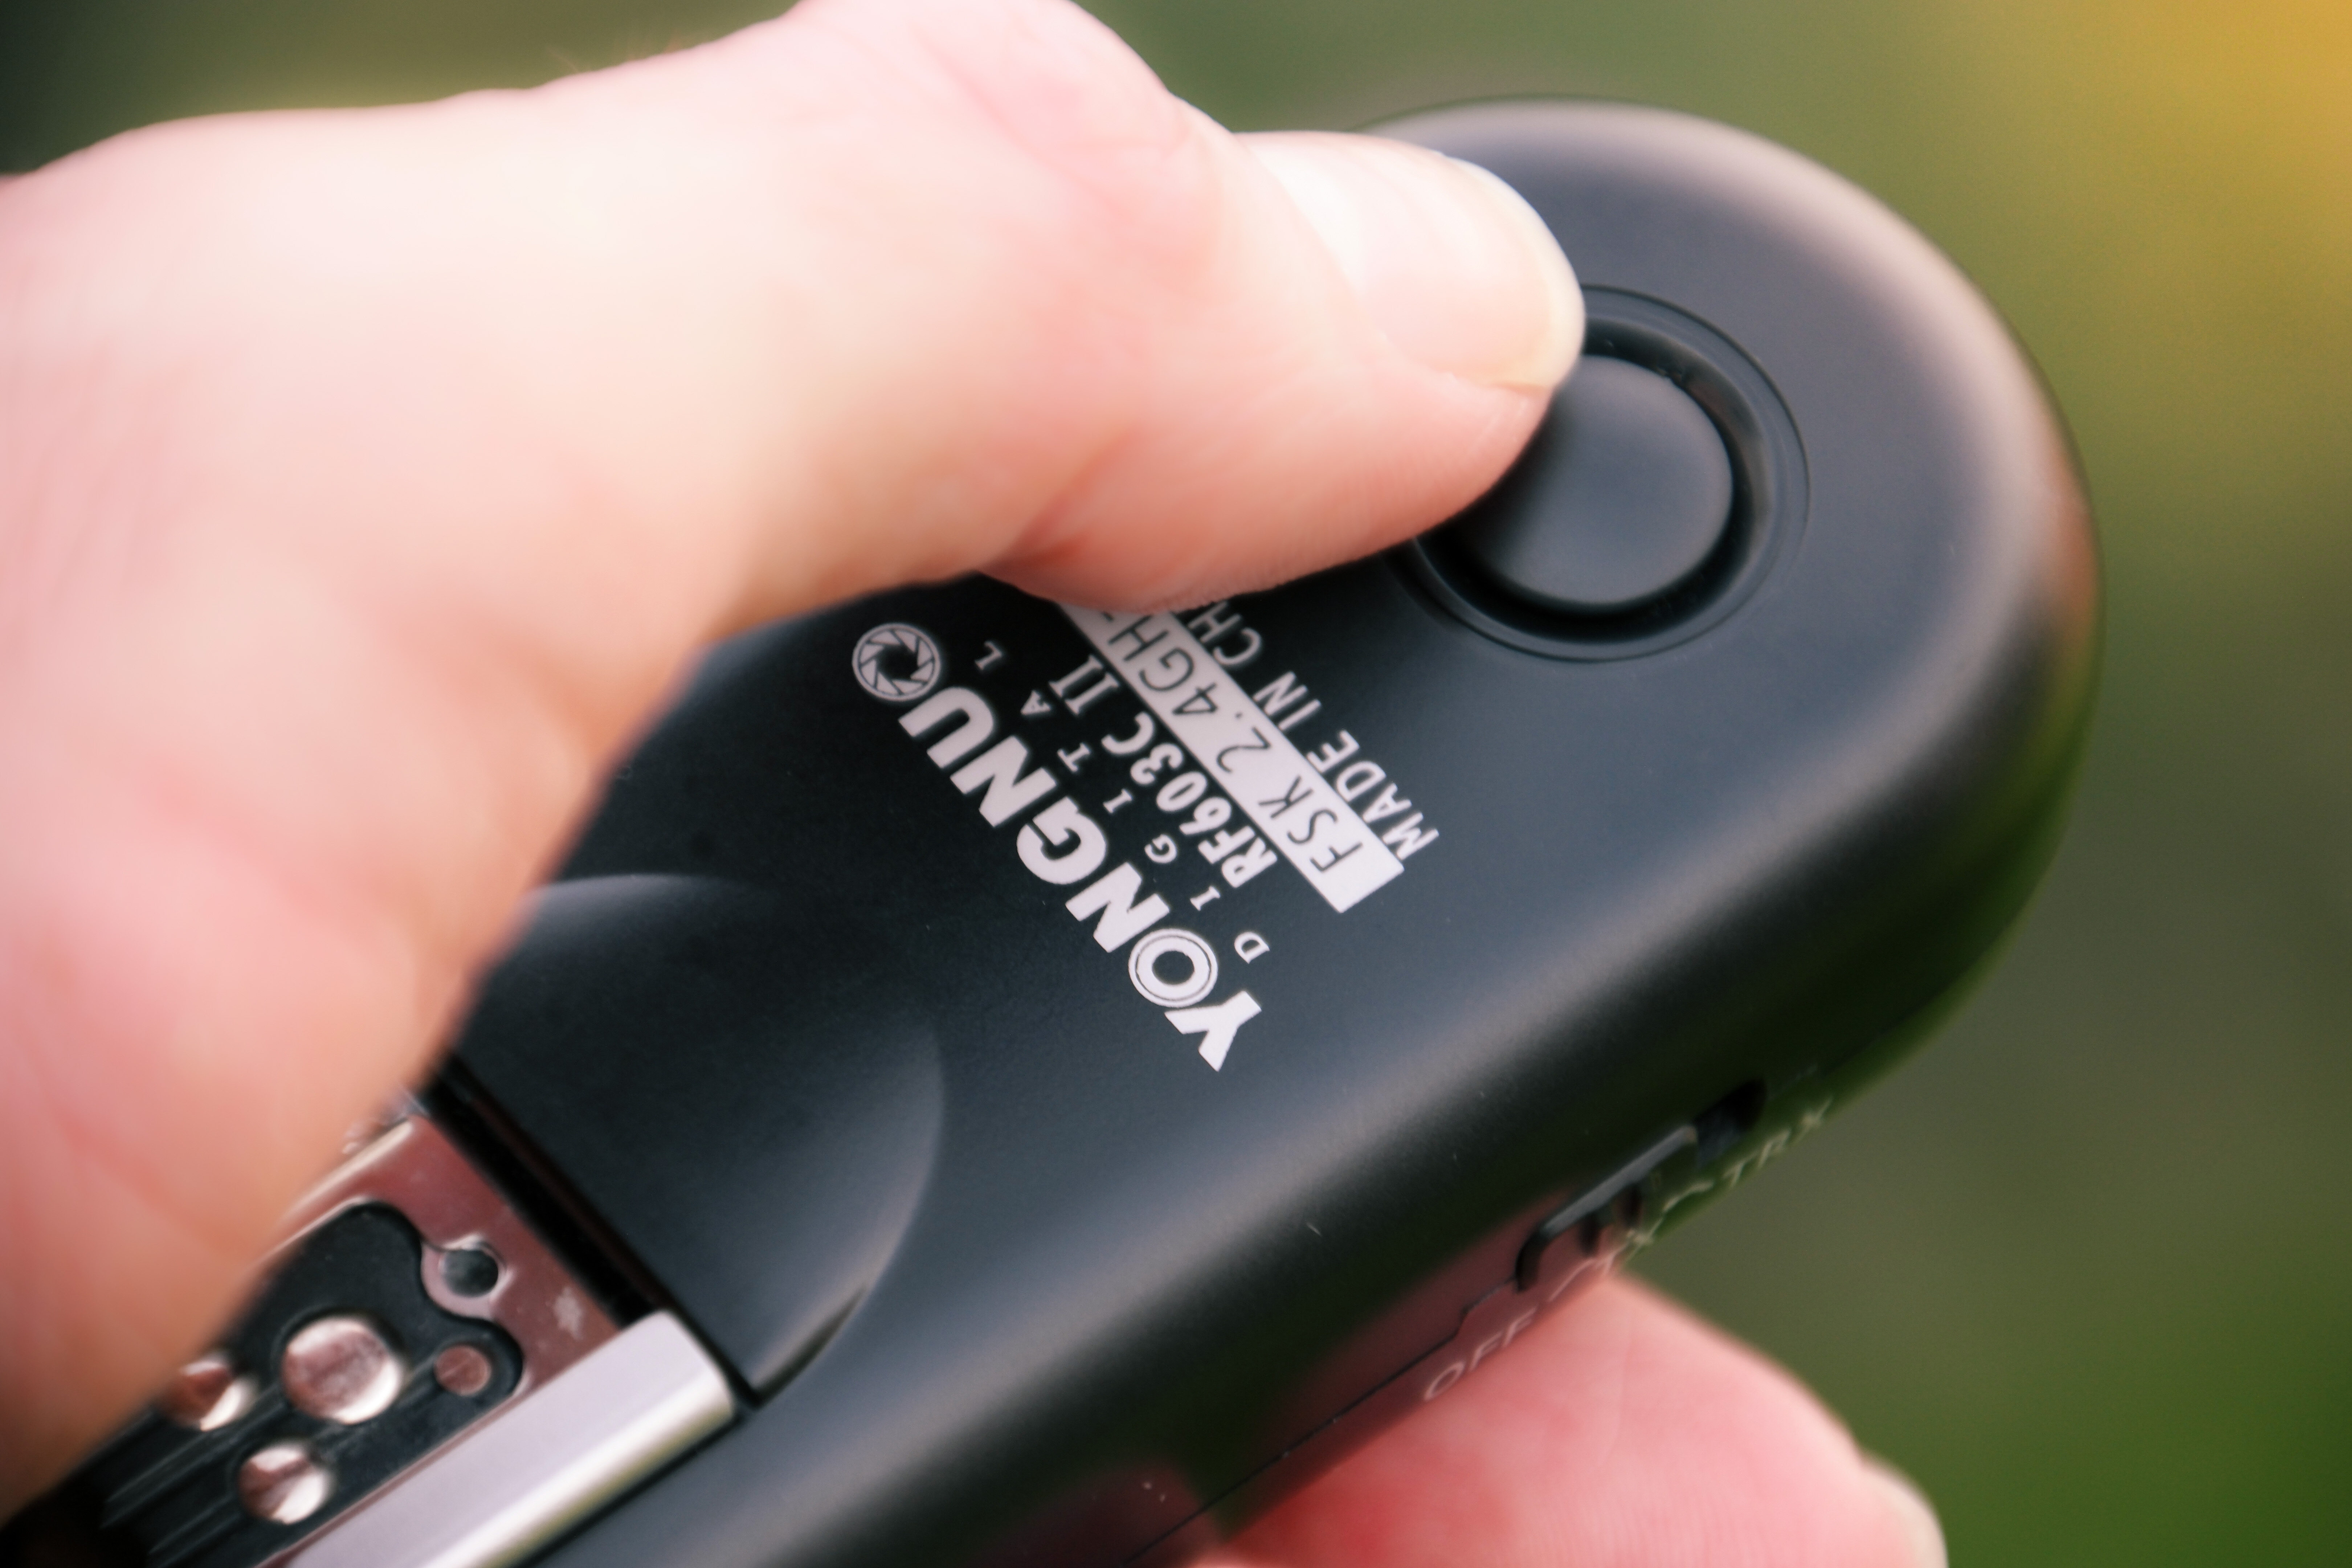
02. Attach universal triggers
The main way we can integrate multiple brands is to make each unit wireless with a universal radio or IR trigger. These mean you don’t have to rely on intra-brand compatibility and can arrange lights as required.
The best camera deals, reviews, product advice, and unmissable photography news, direct to your inbox!
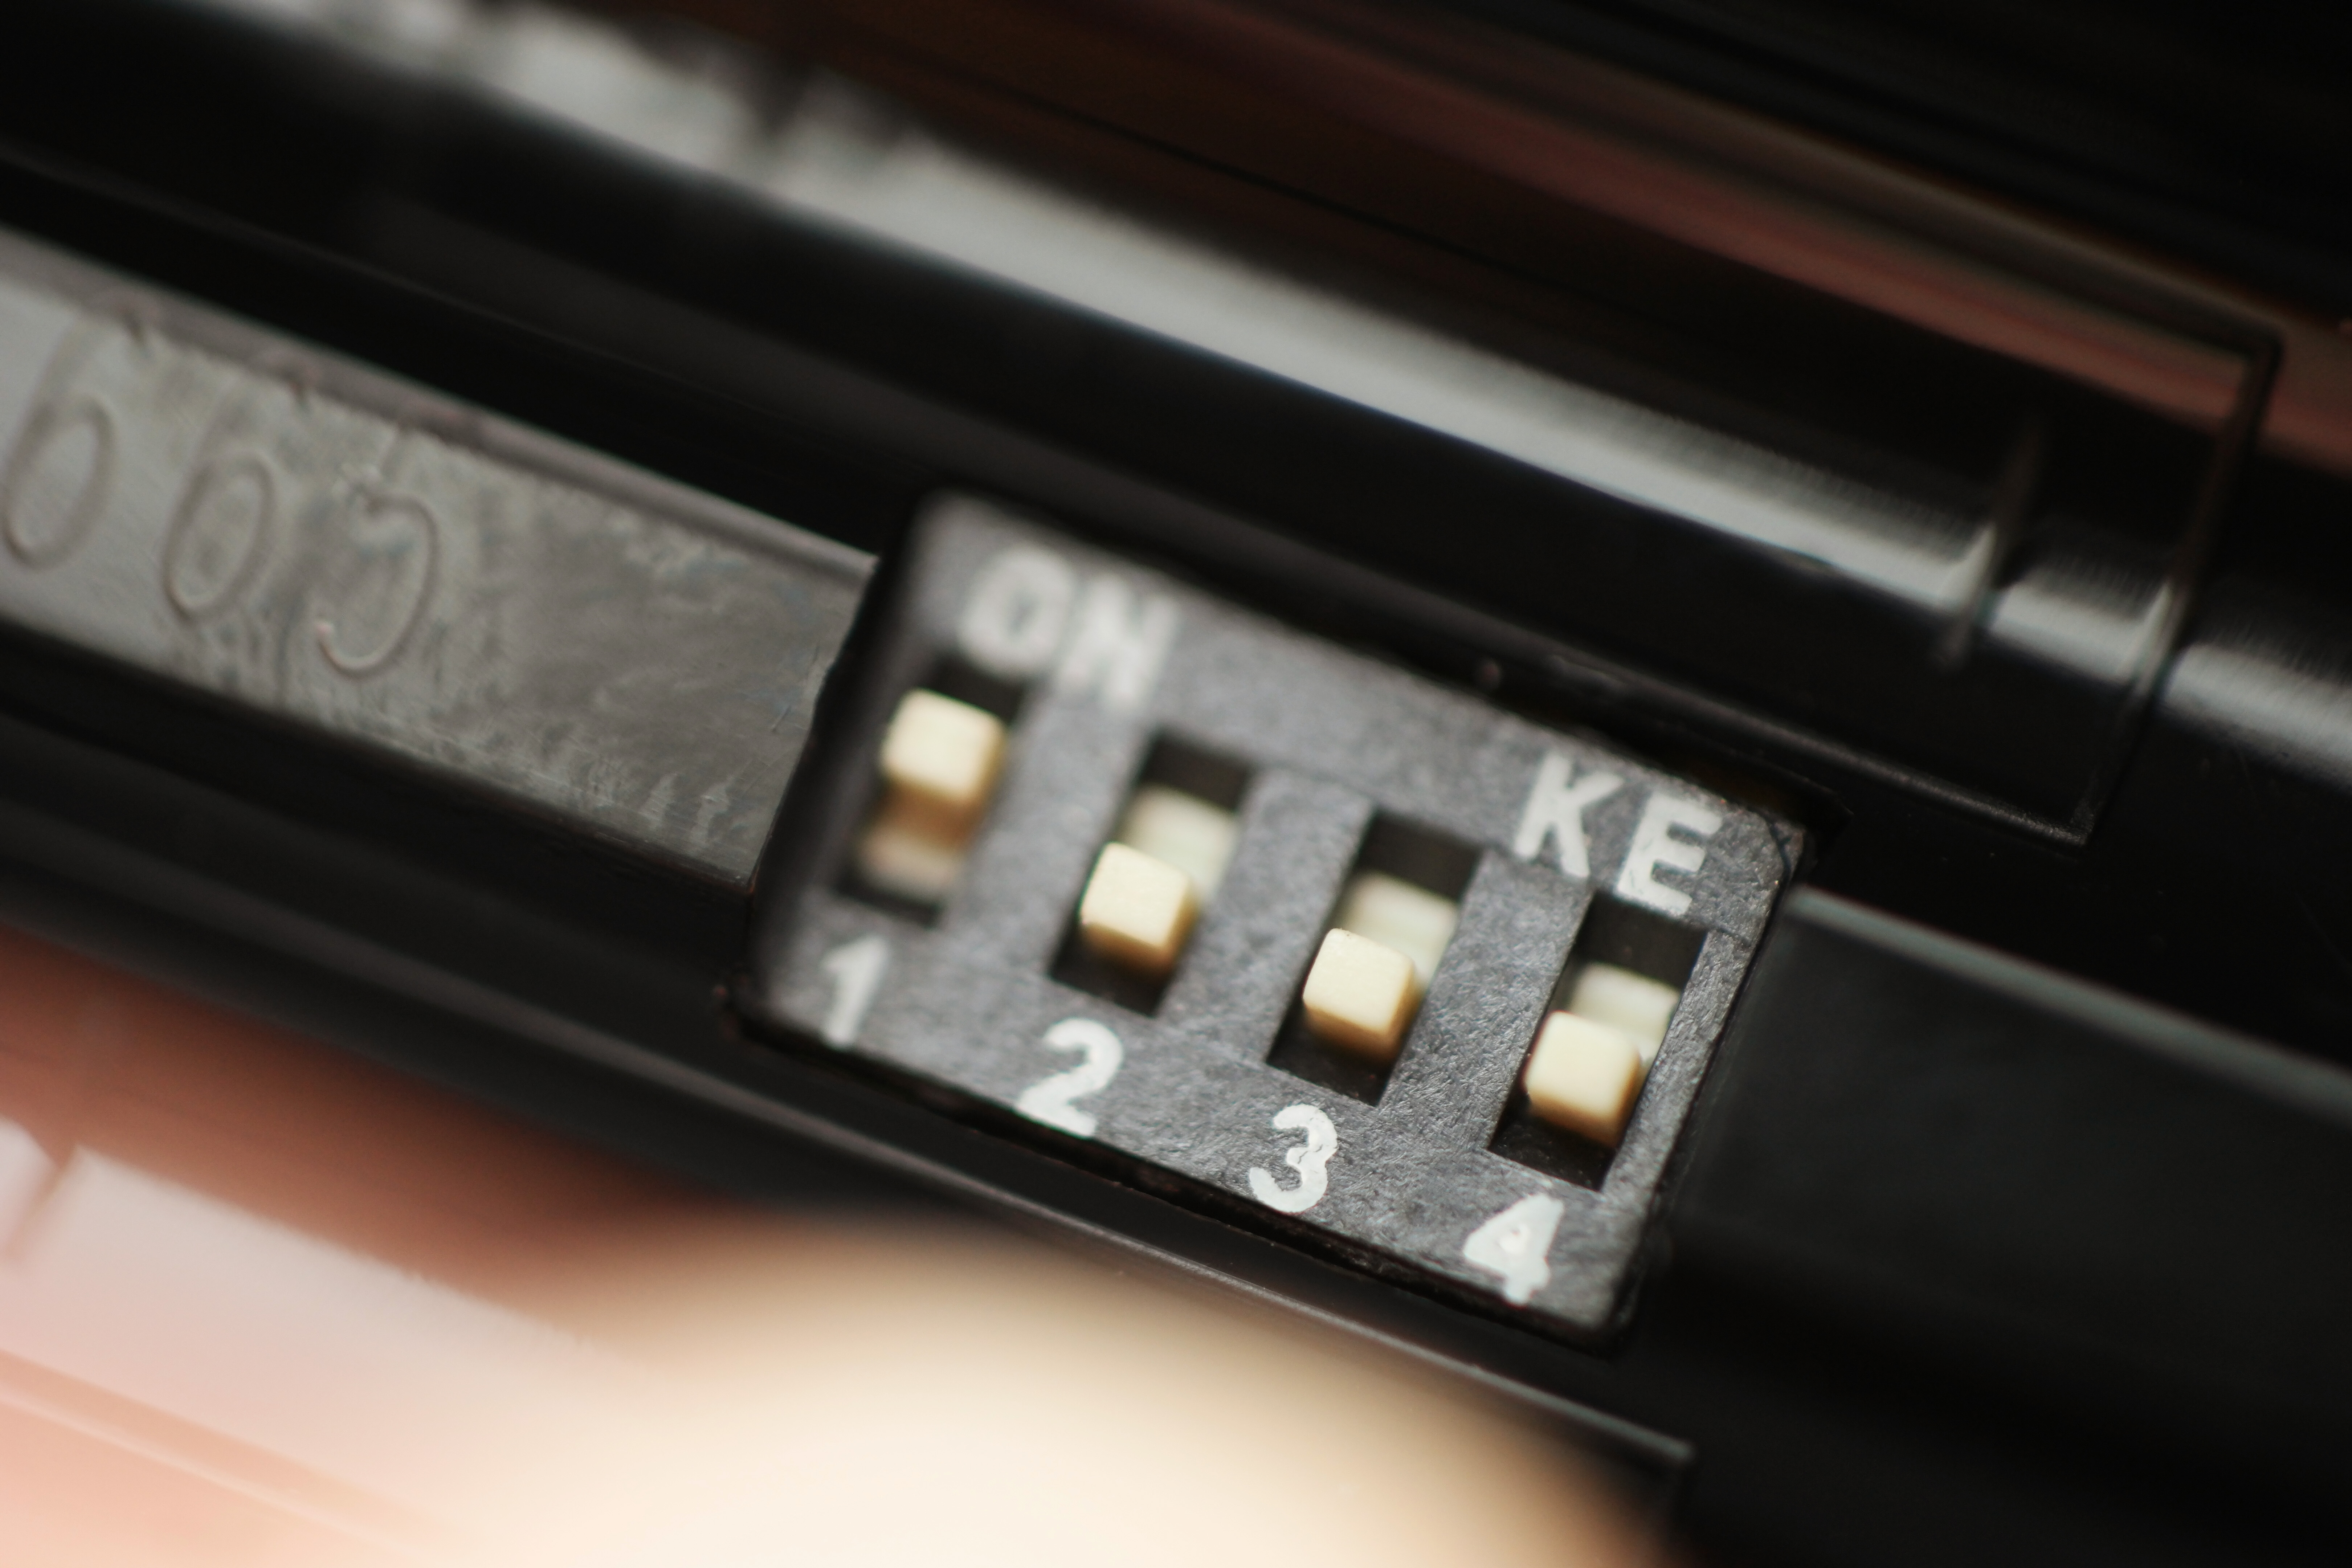
03. Group lights by power
While it is tempting to group flashes based on brand, arranging them according to power output will makes it easier to create the desired lighting balance. Assign units with similar power to the same group/channel to streamline calculations.
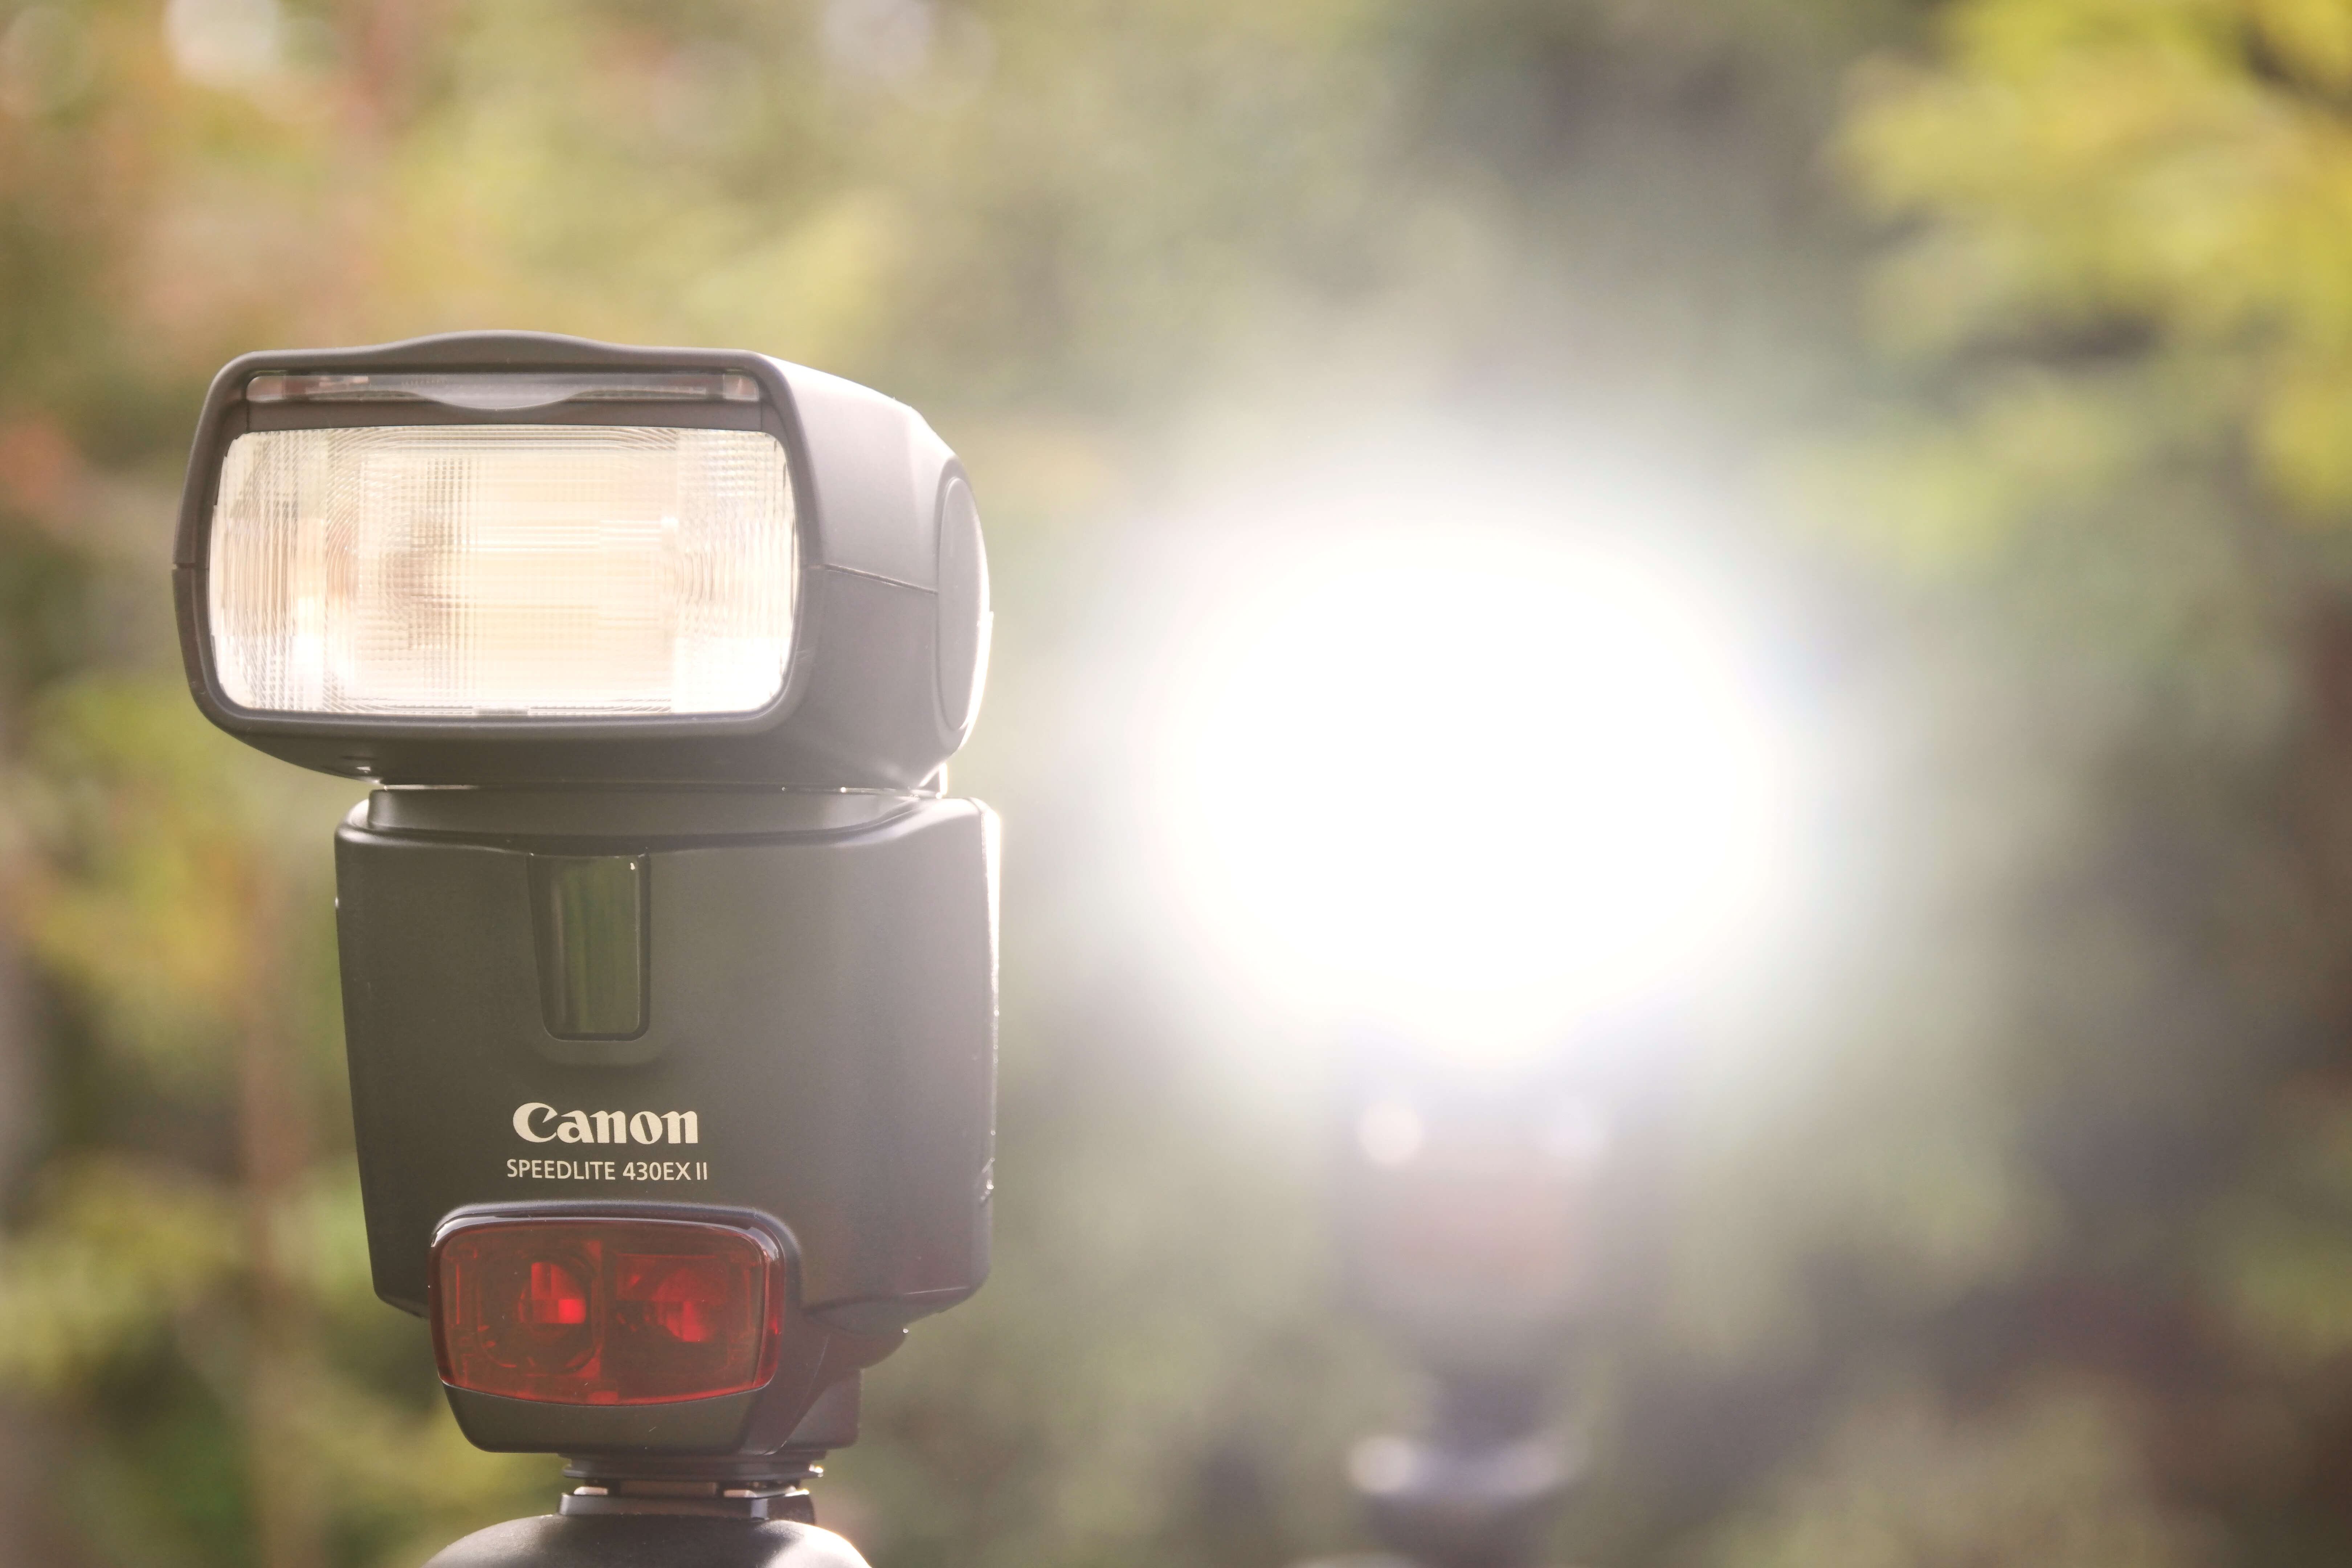
04. Position for controllability
Place your least customisable (often cheaper) flashes further from your camera and preset the output. Since you often can’t wirelessly control power from universal triggers, it’s best to keep customisable units within reach.
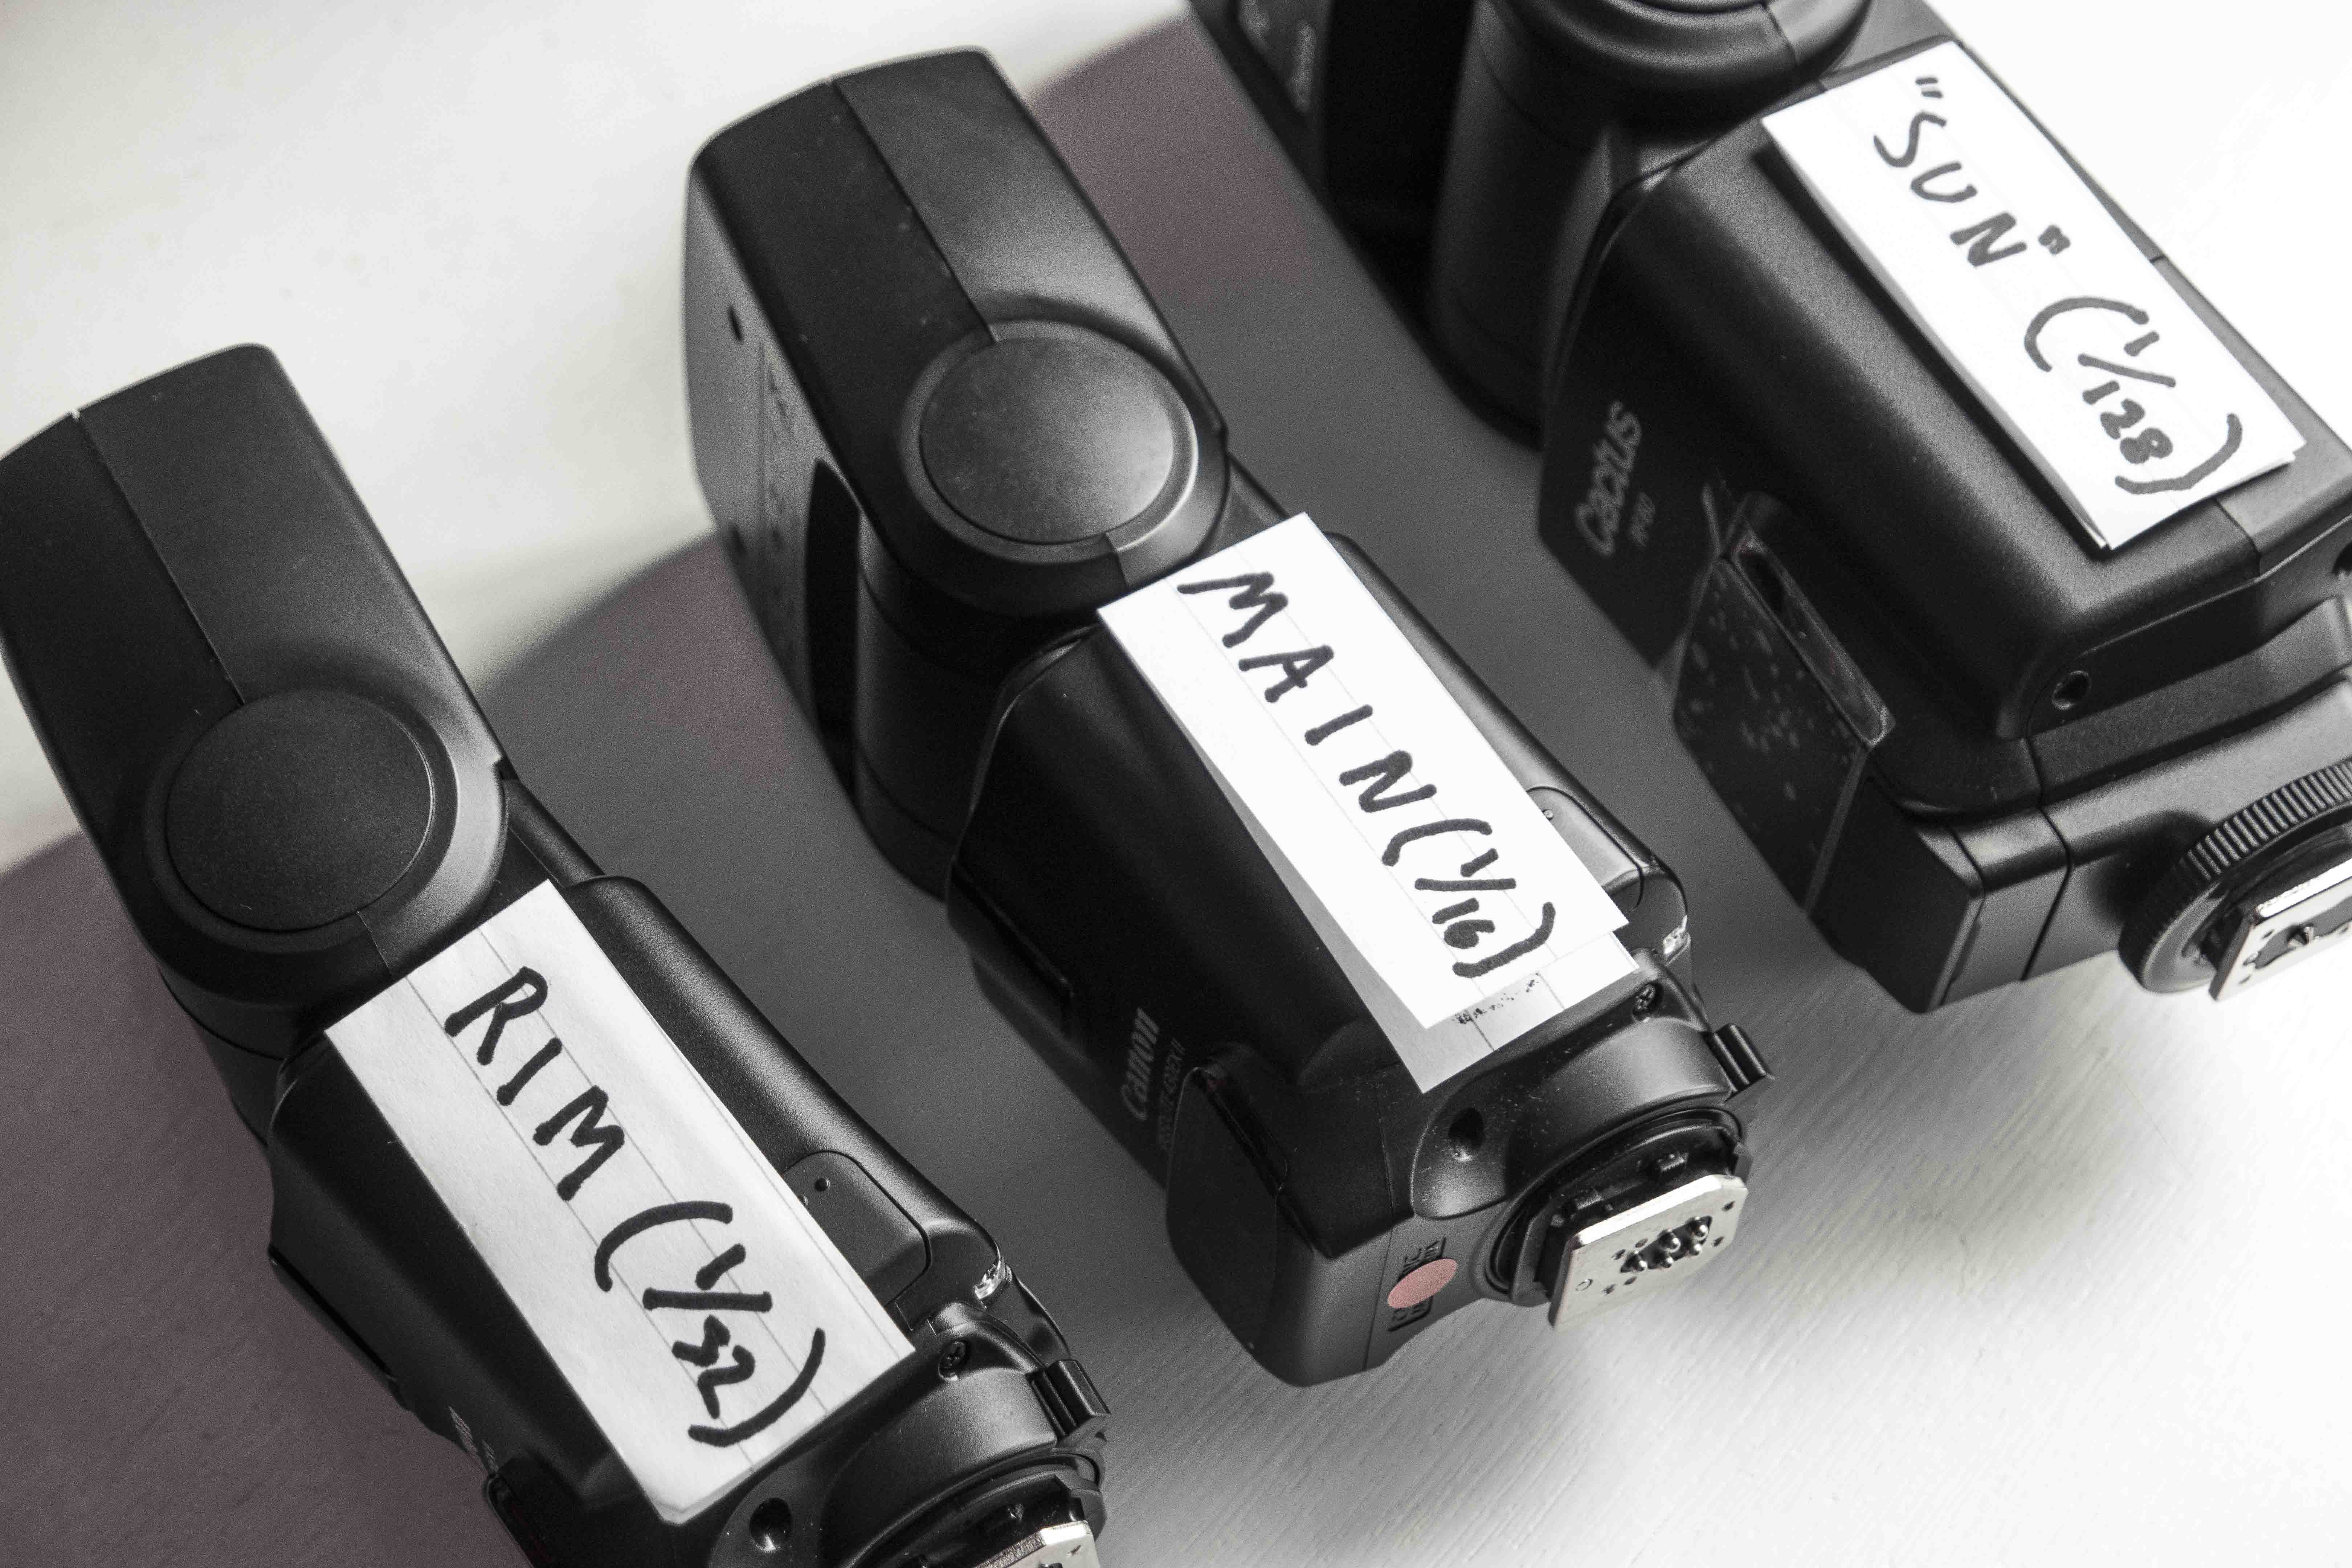
05. Pair matching flashguns
If you have two flashes of the same model it can be useful to use these to light the subject. Since their output is identical, it is easier to balance light on the key areas, leaving ‘orphaned’ units as background lights.
06. Stagger the testing
With a multi-light setup where each type of flash is on a different channel, run through each in turn to check that all flashes are firing correctly and with the desired output. Take a shot with each group in isolation to check the balance.
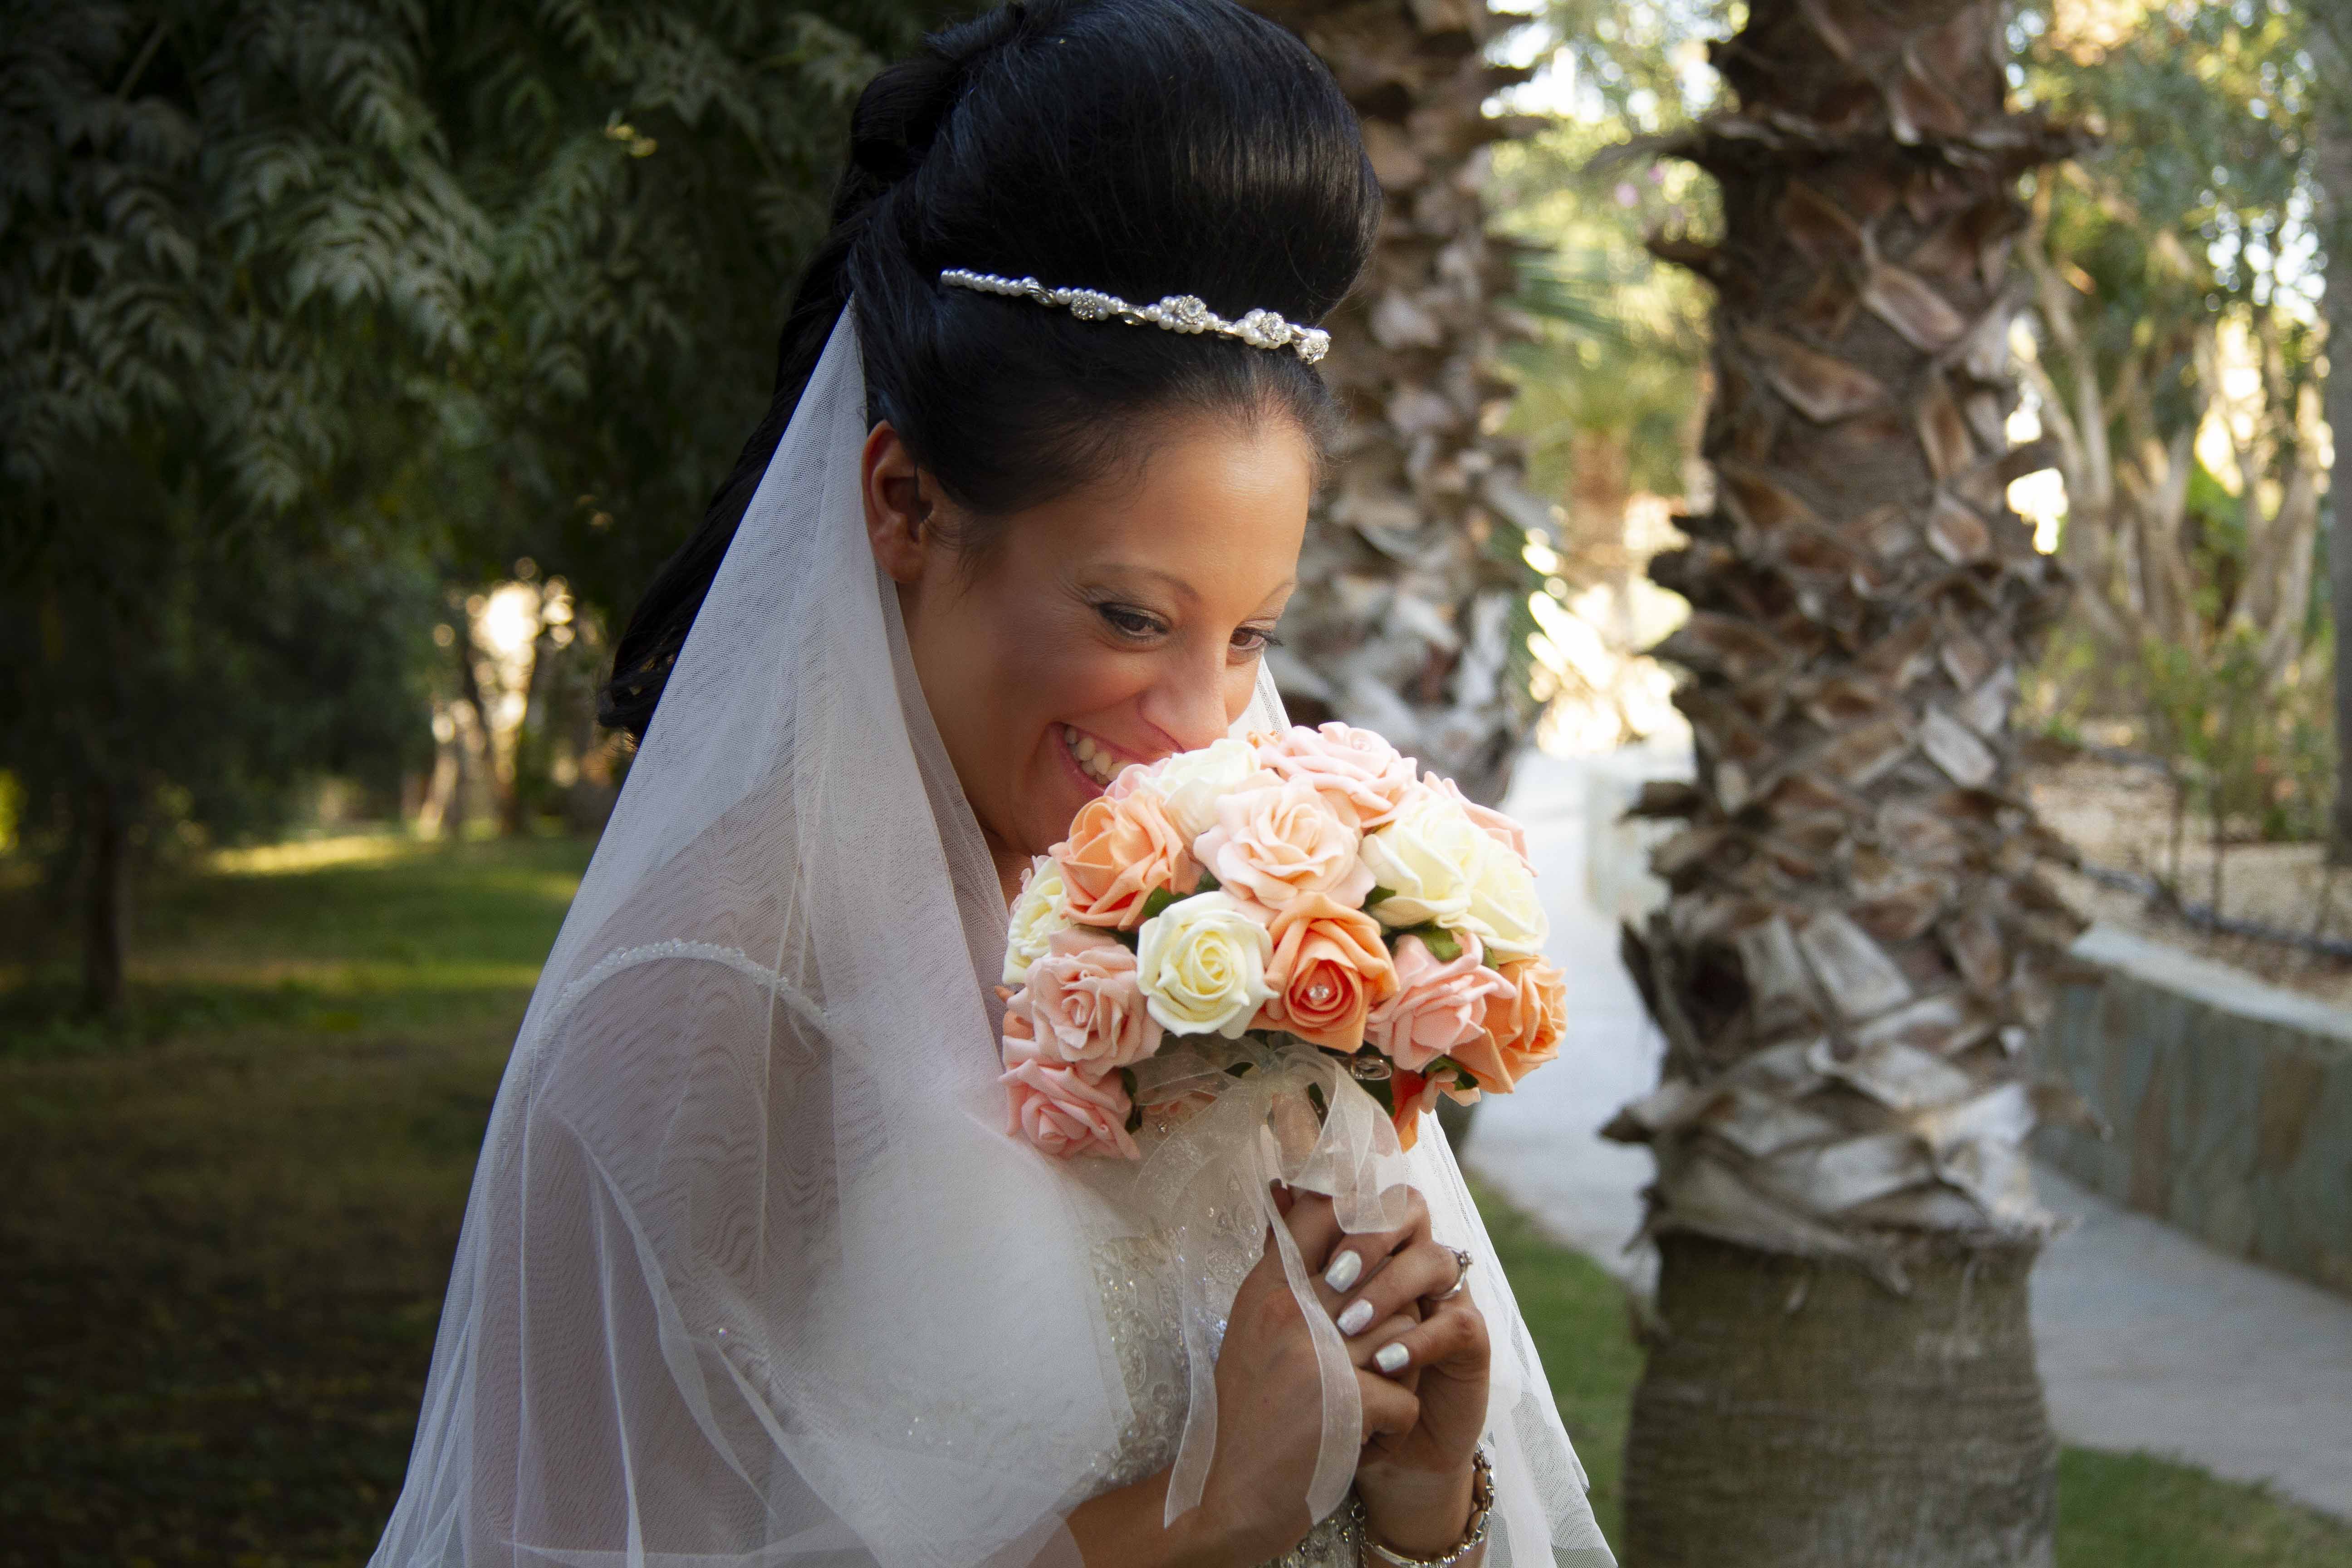
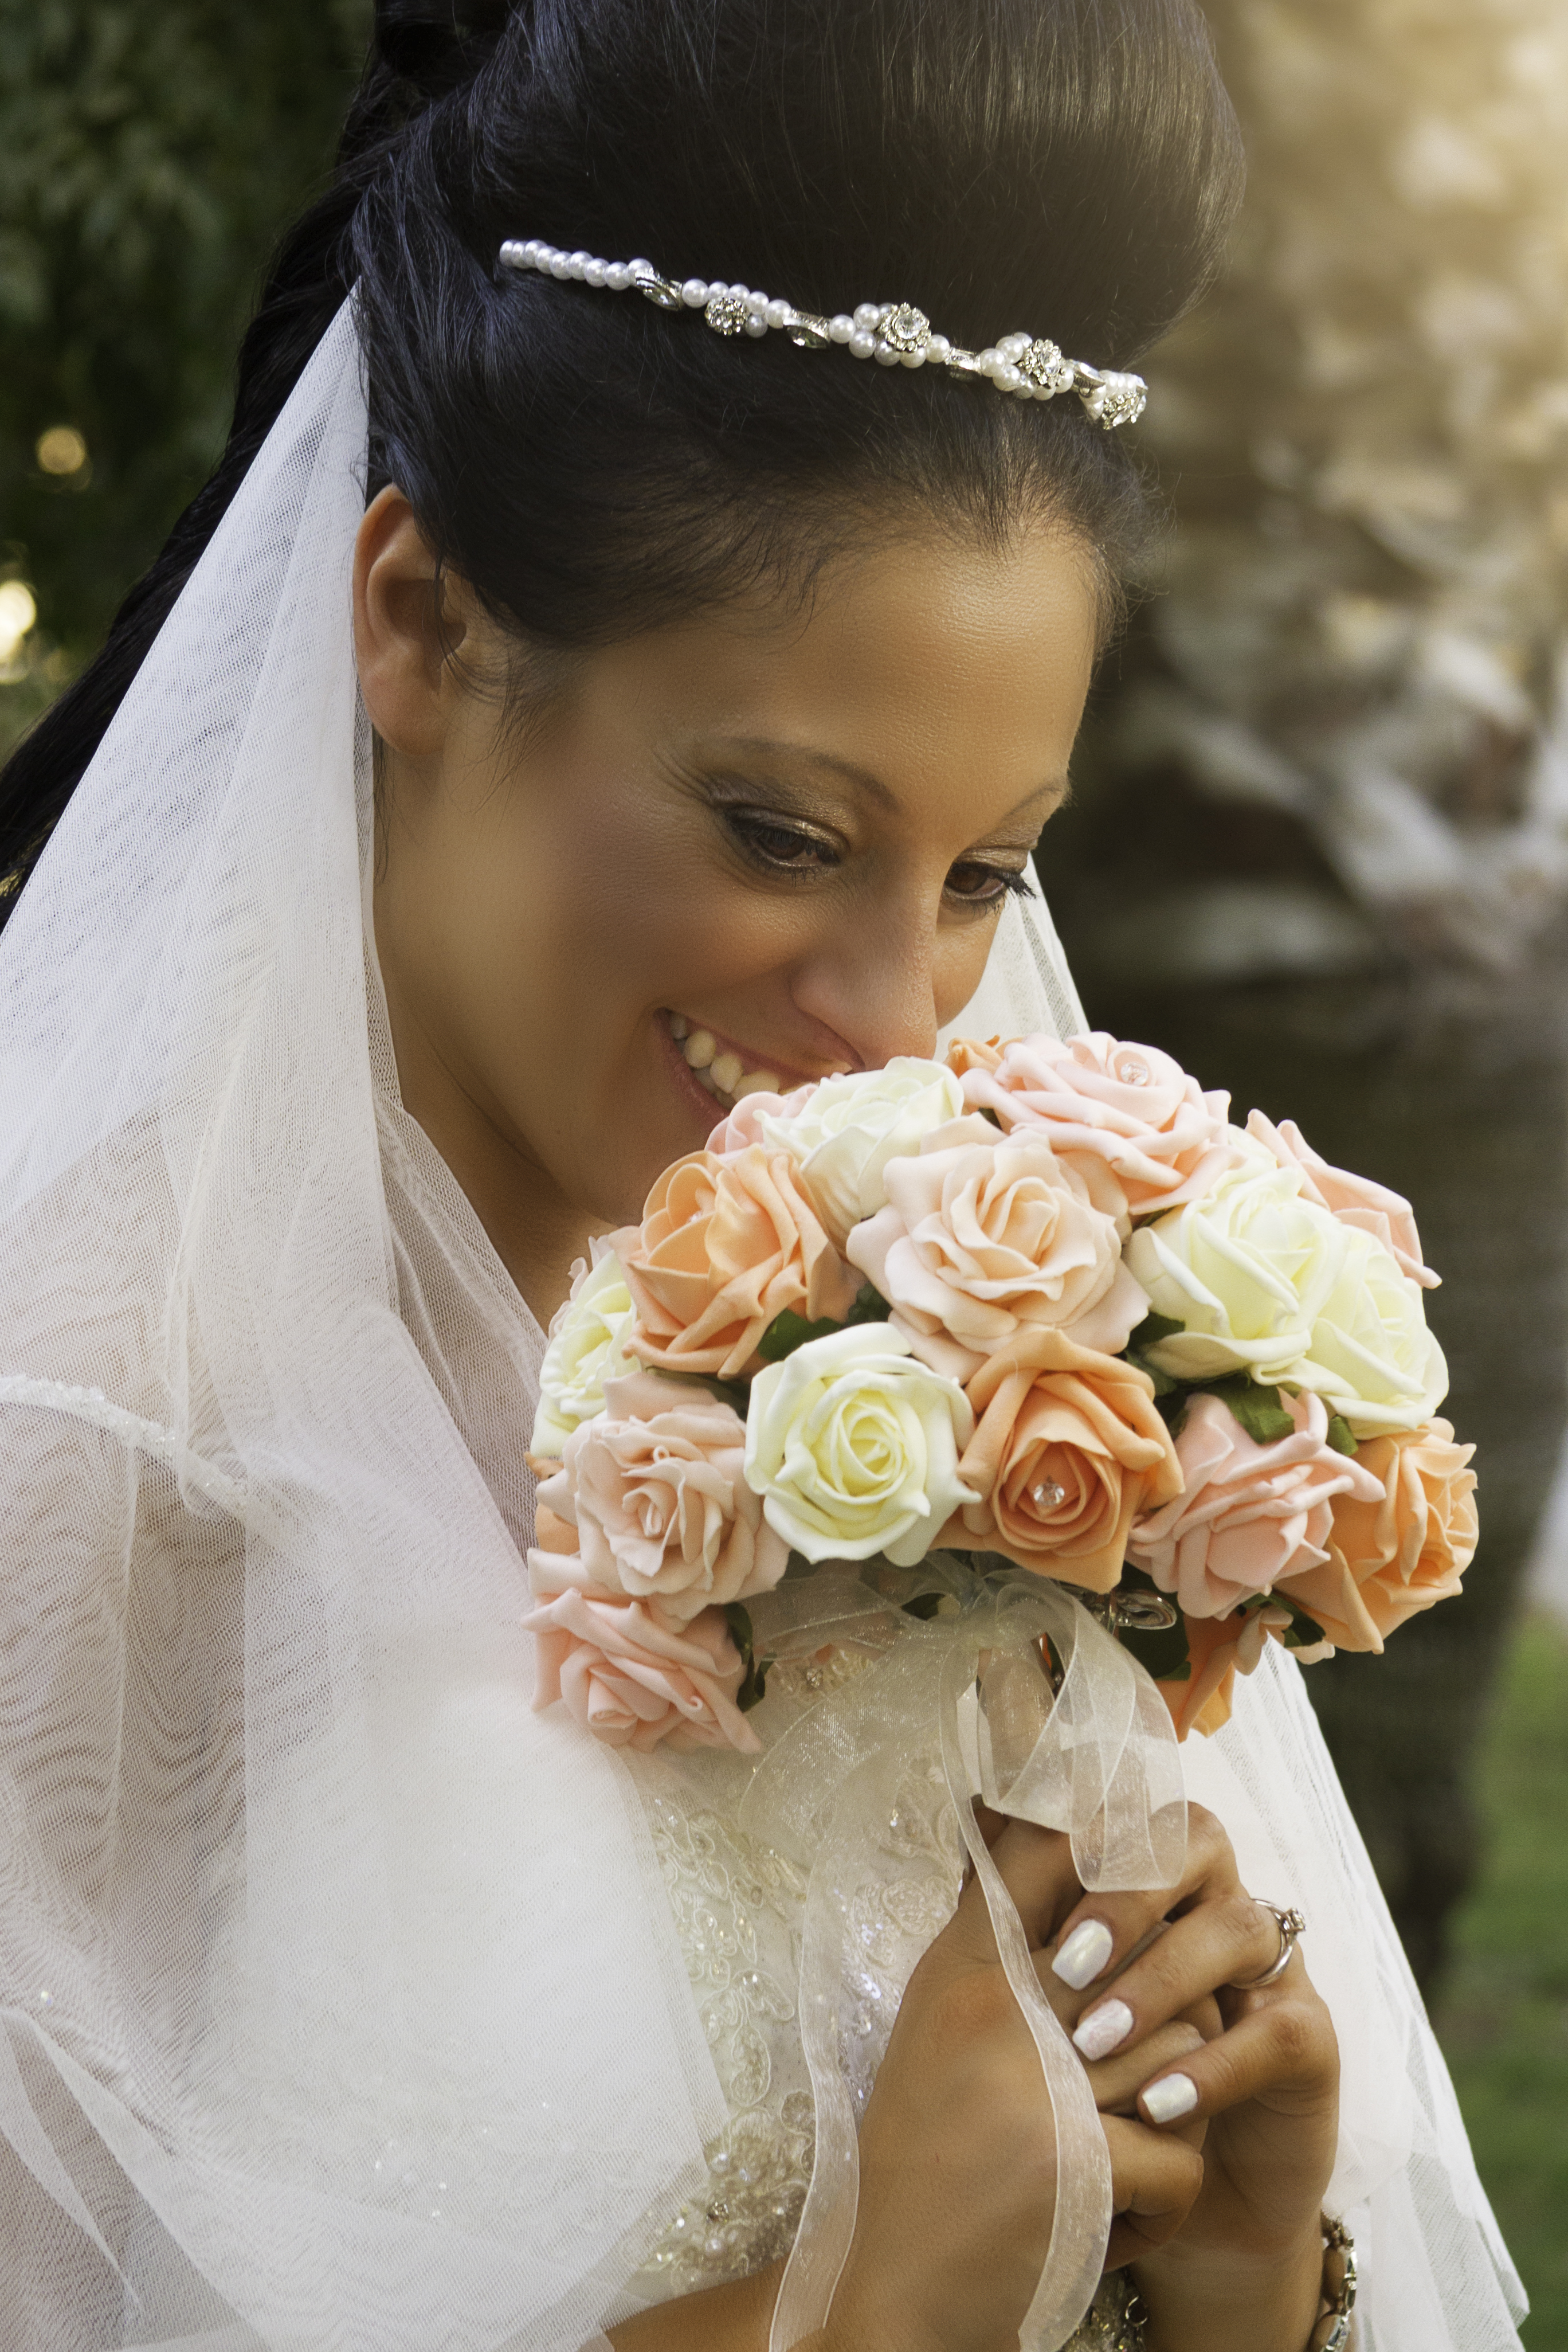
Final image
Digital Photographer is the ultimate monthly photography magazine for enthusiasts and pros in today’s digital marketplace.
Every issue readers are treated to interviews with leading expert photographers, cutting-edge imagery, practical shooting advice and the very latest high-end digital news and equipment reviews. The team includes seasoned journalists and passionate photographers such as the Editor Peter Fenech, who are well positioned to bring you authoritative reviews and tutorials on cameras, lenses, lighting, gimbals and more.
Whether you’re a part-time amateur or a full-time pro, Digital Photographer aims to challenge, motivate and inspire you to take your best shot and get the most out of your kit, whether you’re a hobbyist or a seasoned shooter.
