How to make your own lightbox for next to nothing
Here's how to quickly build your own lightbox to take backlit images
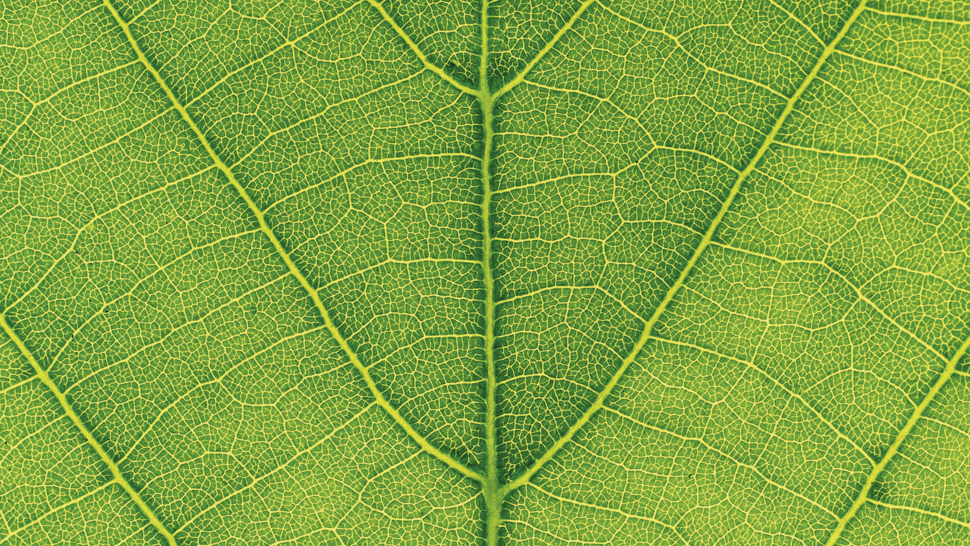
Lightboxes are designed to illuminate a subject from behind. A favourite of artists, they’re also perfect for shooting close-ups of semi-translucent subjects.
Ready-made lightboxes or even light tables can be pretty expensive to buy, but you can build your own for next to nothing.
• Empty cereal box
• Scissors
• Tape
• LED fairly lights
• Greaseproof or tracing paper
Take an old cereal box, some translucent material such as greaseproof or tracing paper, and some fairy lights. You might need to do a bit of jiggling to get the light to spread evenly, but it works brilliantly for capturing close-ups.
Read more: How to make a flash diffuser for next to nothing
Anything semi-translucent that allows some of the light from the box to shine through, such as this lime tree leaf, makes a good subject to shoot. You don’t even need to use a macro lens – we used an inexpensive close-up filter. Try lots of leaves for a variety of textures and shapes, and try shooting both sides of the leaves, as the top layer may be more detailed than the underside.
Step 1 - Prepare your lightbox
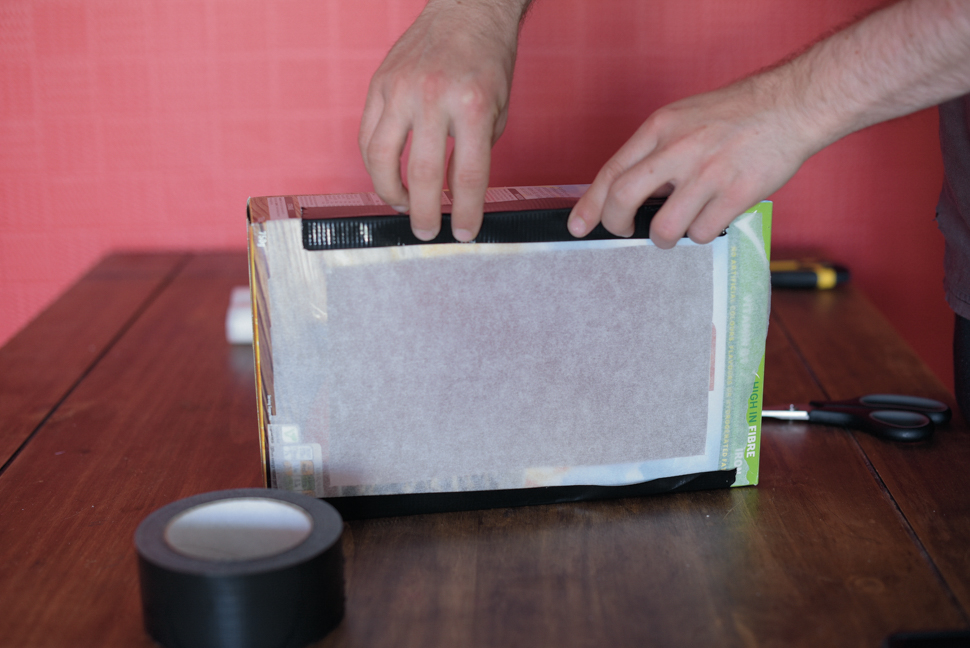
Get an empty cereal box and cut a hole out of the front and back, leaving a frame around the edge. Tape some greaseproof paper over one hole, and feed your fairy lights in through the back hole. Press them around the edge of the box and tape them in place.
Step 2 - Position your camera
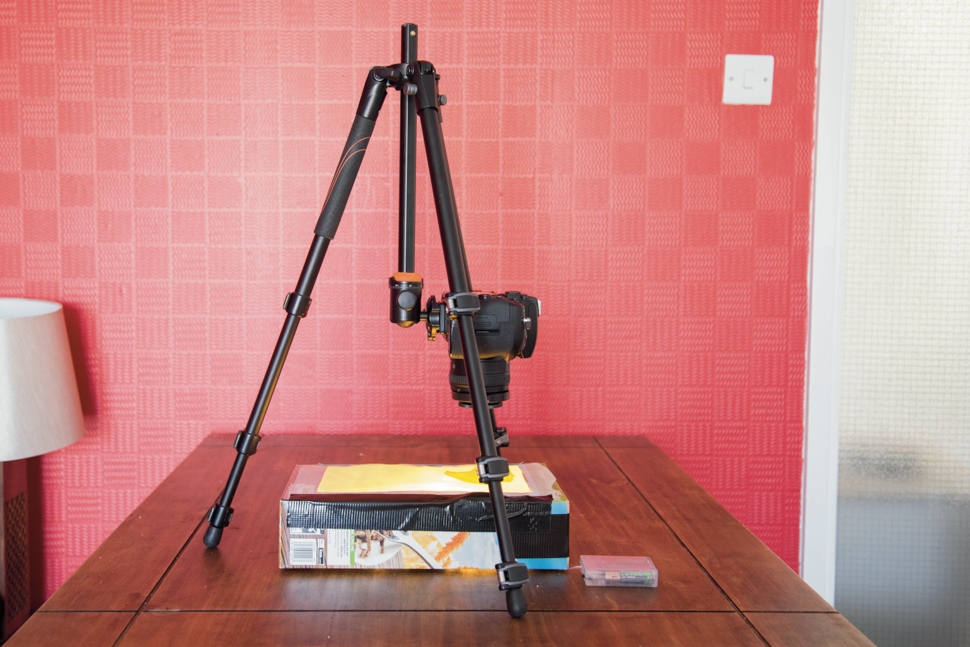
Mount your camera on a tripod; a model that holds the camera upside down, or that has a centre column that folds out, is best, as this will help you to get really close in for a top-down view. Level off the tripod head until the camera is parallel with the table.
The best camera deals, reviews, product advice, and unmissable photography news, direct to your inbox!
Step 3 - Set your exposure settings and self-timer
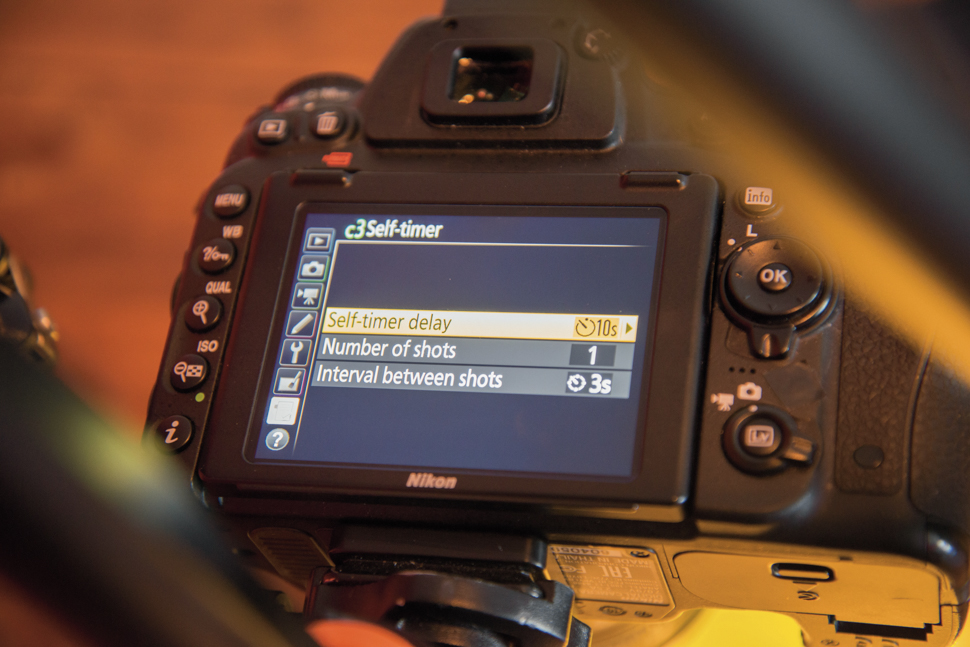
In close-up shooting the available depth of field is shallow, so opt for f/11 to maximise it. Choose ISO 100 and increase your shutter speed to get a good exposure; ours was 1.3 sec. To avoid camera shake when pressing the shutter button, use the self-timer option.
Step 4 - Check your focus and capture your image
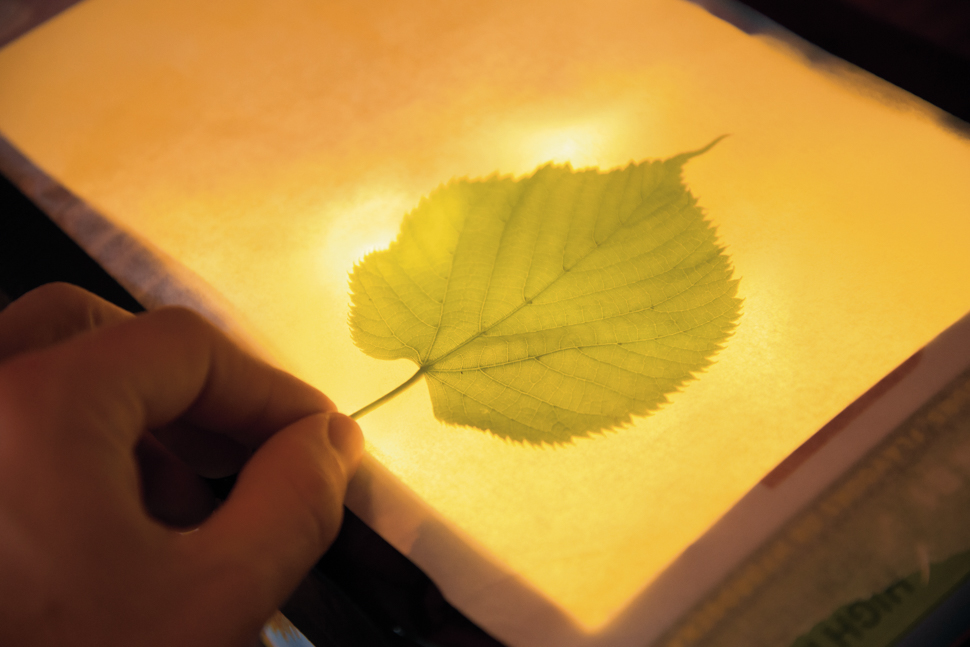
Turn off autofocus on the lens and engage Live View mode so that the image appears on the rear LCD. Zoom in and manually adjust the focus ring on the lens until the leaf looks crisp. When you’re happy that it’s pin-sharp, take your photo.

Liked this tutorial? Why not subscribe to Digital Camera magazine and get lots more like this every month!
The sister print publication to this website, Digital Camera Magazine is Britain's best-selling photography publication – and it can also be purchased outside the United Kingdom as Digital Camera World.
Digital Camera Magazine is packed with more expert advice and more inspirational images than any other title, with the sole aim of helping you become a better photographer. Every issue we also bring you a selection of great gifts which are designed to help you get more from your photography – everything from tips cards and cheat sheets to free software and bookazines.
In addition to inspirational images, interviews, projects, mini tests and tutorials, each issue is packed with news, reviews and comparisons, as well as photographer vs photographer shootouts and head-to-head challenges using the best photo editing software.
The magazine is captained by Editor Niall Hampton.
