How to master manual focus
Manual focus is not just still alive in an era of more sophisticated autofocus – it is being reborn. Find out what it's all about and how to master it.

What is manual focus all about?
Despite the advances that camera manufacturers have made in terms of autofocus performance, with systems that include more sensitive and precise AF points, faster acquisition times and better tracking, there are still occasions where only manual focusing will do.
Autofocus isn’t infallible: it can lock onto the wrong part of the scene that you’re photographing, and it can struggle when there’s not enough light available or when there’s not enough of a contrast between the subject and the rest of the scene for the AF sensors to detect it.
In these situations, the lens will repeatedly focus backwards and forwards, ‘hunting’ for something to lock onto before eventually giving up. Shooting through obstacles such as long grass, branches or windows can also prove frustrating, as the camera’s autofocus system will tend to settle onto the object closest to it rather than the subject beyond. Unsurprisingly, moving subjects pose a particular set of problems for autofocus, especially if they enter the frame at speed or from an unexpected location.
Manual focus vs Autofocus
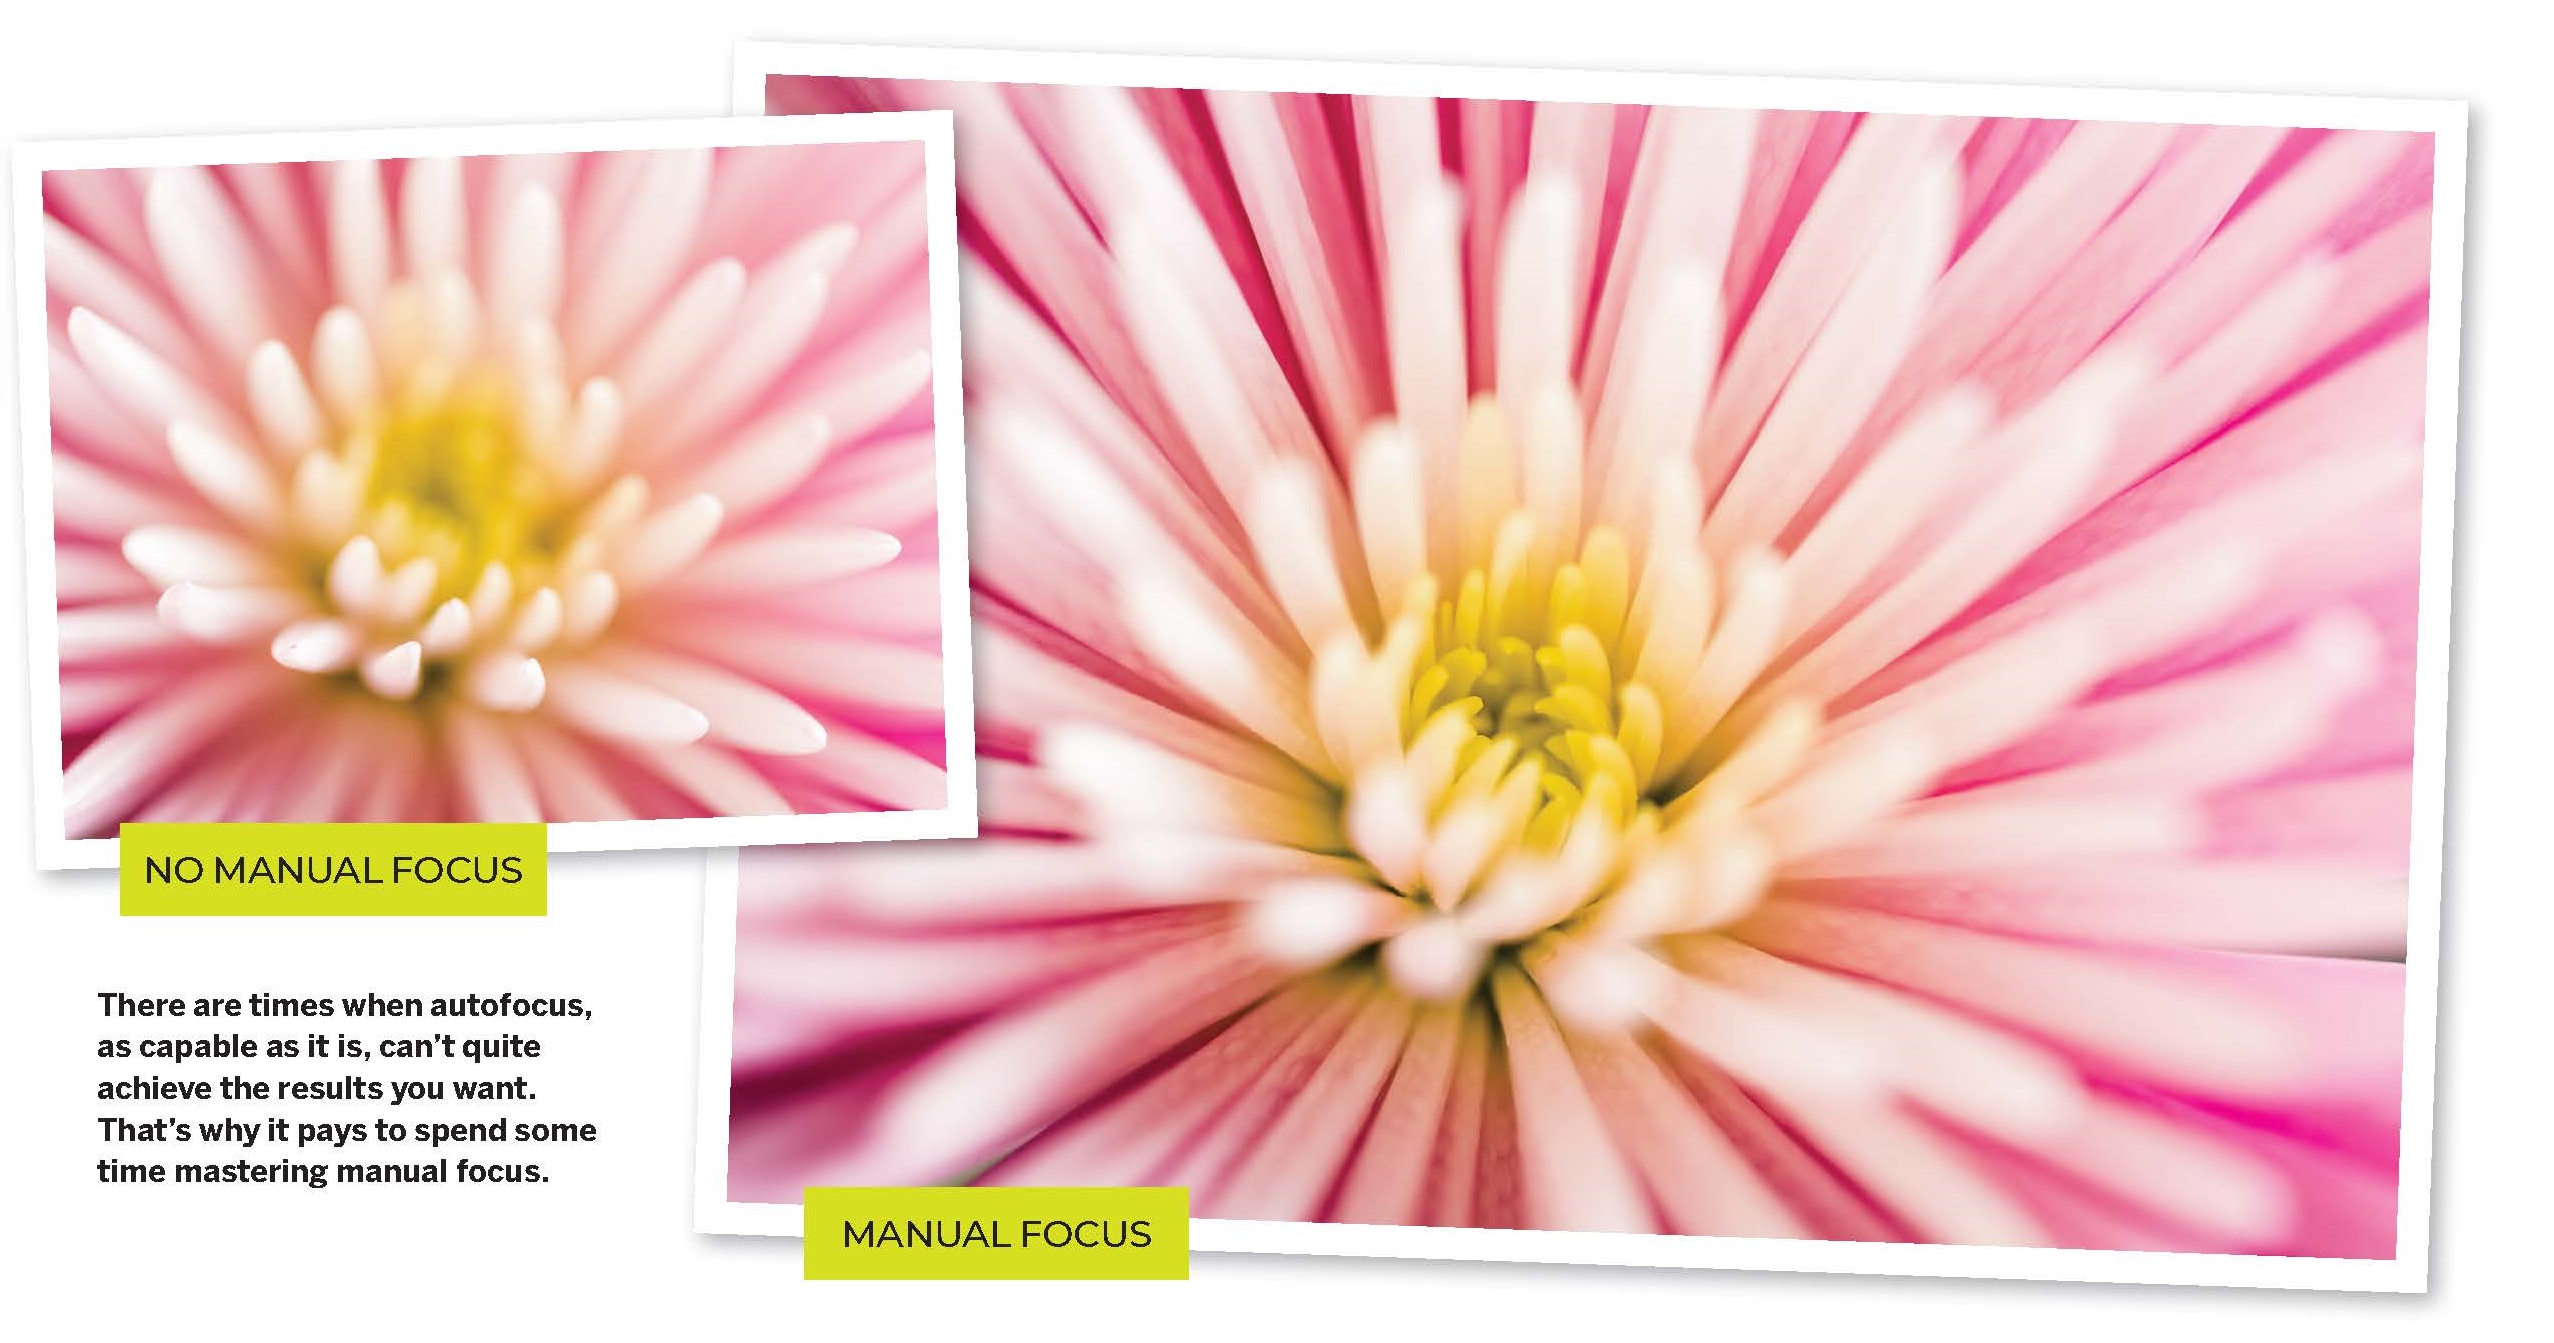
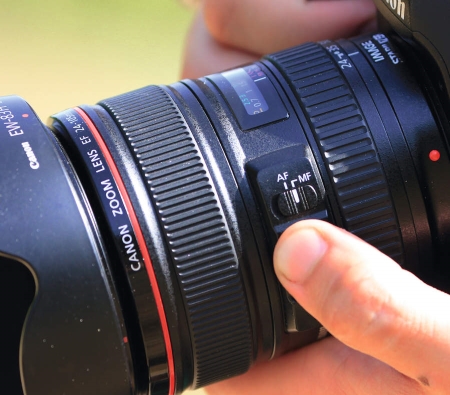
Manual focusing can get you out of tight spots like these. You can correct autofocus inaccuracies and set the focus distance in situations where the camera can’t find anything to bite onto. Manual focusing provides consistency: once the focus is set, the camera can’t focus anywhere else.
That doesn’t mean it’s a walk in the park. If you’ve tried focusing manually while you look at the scene through a digital SLR’s bright optical viewfinder, you’ll know how hard it can be to judge where the sweet spot of sharpness is positioned as you turn the focusing ring, especially if you’re using a wide-angle lens, where pretty much everything can appear sharp pretty much all of the time.
Fortunately, you’re not left to fly solo. The camera’s focusing sensor continues to work, with the focus indicator in the viewfinder displayed when the feature covered by the active AF point(s) is in focus. Chances are you’ll want to check the result to make sure you have focused accurately – and make the necessary adjustments before trying again if you haven’t – so the process can be a little long-winded.

Live View with manual focus
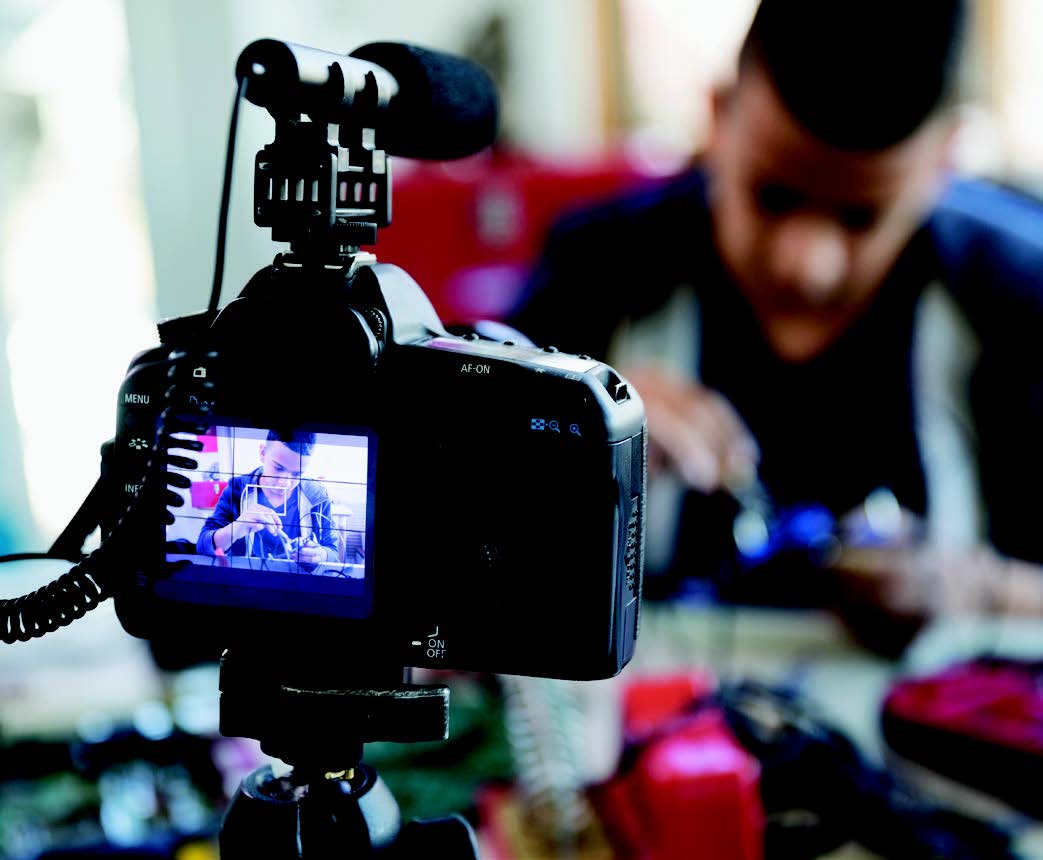
Live View has redefined the manual focusing experience. Not only does the large, backlit screen make it easy to focus in low light, where you can hardly make anything out through an optical viewfinder, being able to magnify an area of the image enables you to check that the smallest details are in sharp focus. And you can do all of this before you take the shot.
However, there are some drawbacks to using Live View to help place the focus. Apart from the additional drain on battery power, it can be harder to support the camera during an exposure when you’re shooting without a tripod, and any movement of the camera backwards or forwards will change the focus distance. It can also be difficult to see the screen when you’re shooting in daylight.

Some types of photography are a natural fit for manual focusing. The slower pace of landscape photography, for example, means you can afford a bit more time to position the focus exactly where you want it. Working with a tripod-mounted camera also means that you can take advantage of the rear Live View display. With a lens or camera set to manual focus, the focus distance that you set will be locked in. This means you’ll get consistent results from frame to frame.
Benefits of electronic viewfinders
Mirrorless cameras equipped with electronic viewfinders (EVFs) have largely made these challenges null and void. Unlike an optical viewfinder, which shows a reflected image on the focusing screen that’s taken straight from the lens – an EVF is essentially a miniature Live View display showing the live feed from the camera’s imaging sensor.
As a result, you aren’t faced with the same problems shooting in bright light or supporting the camera during an exposure. Of course, there’s the same risk of getting out-of-focus results if you move the camera after setting the focus distance. Crucially, an EVF benefits from the same manual focusing aids as the main Live View display, such as being able to magnify a part of the image and ‘focus peaking’, which adds an overlay to show which areas of the picture are sharp. This means you don’t have to take your eye away from the scene in front of you while you focus.
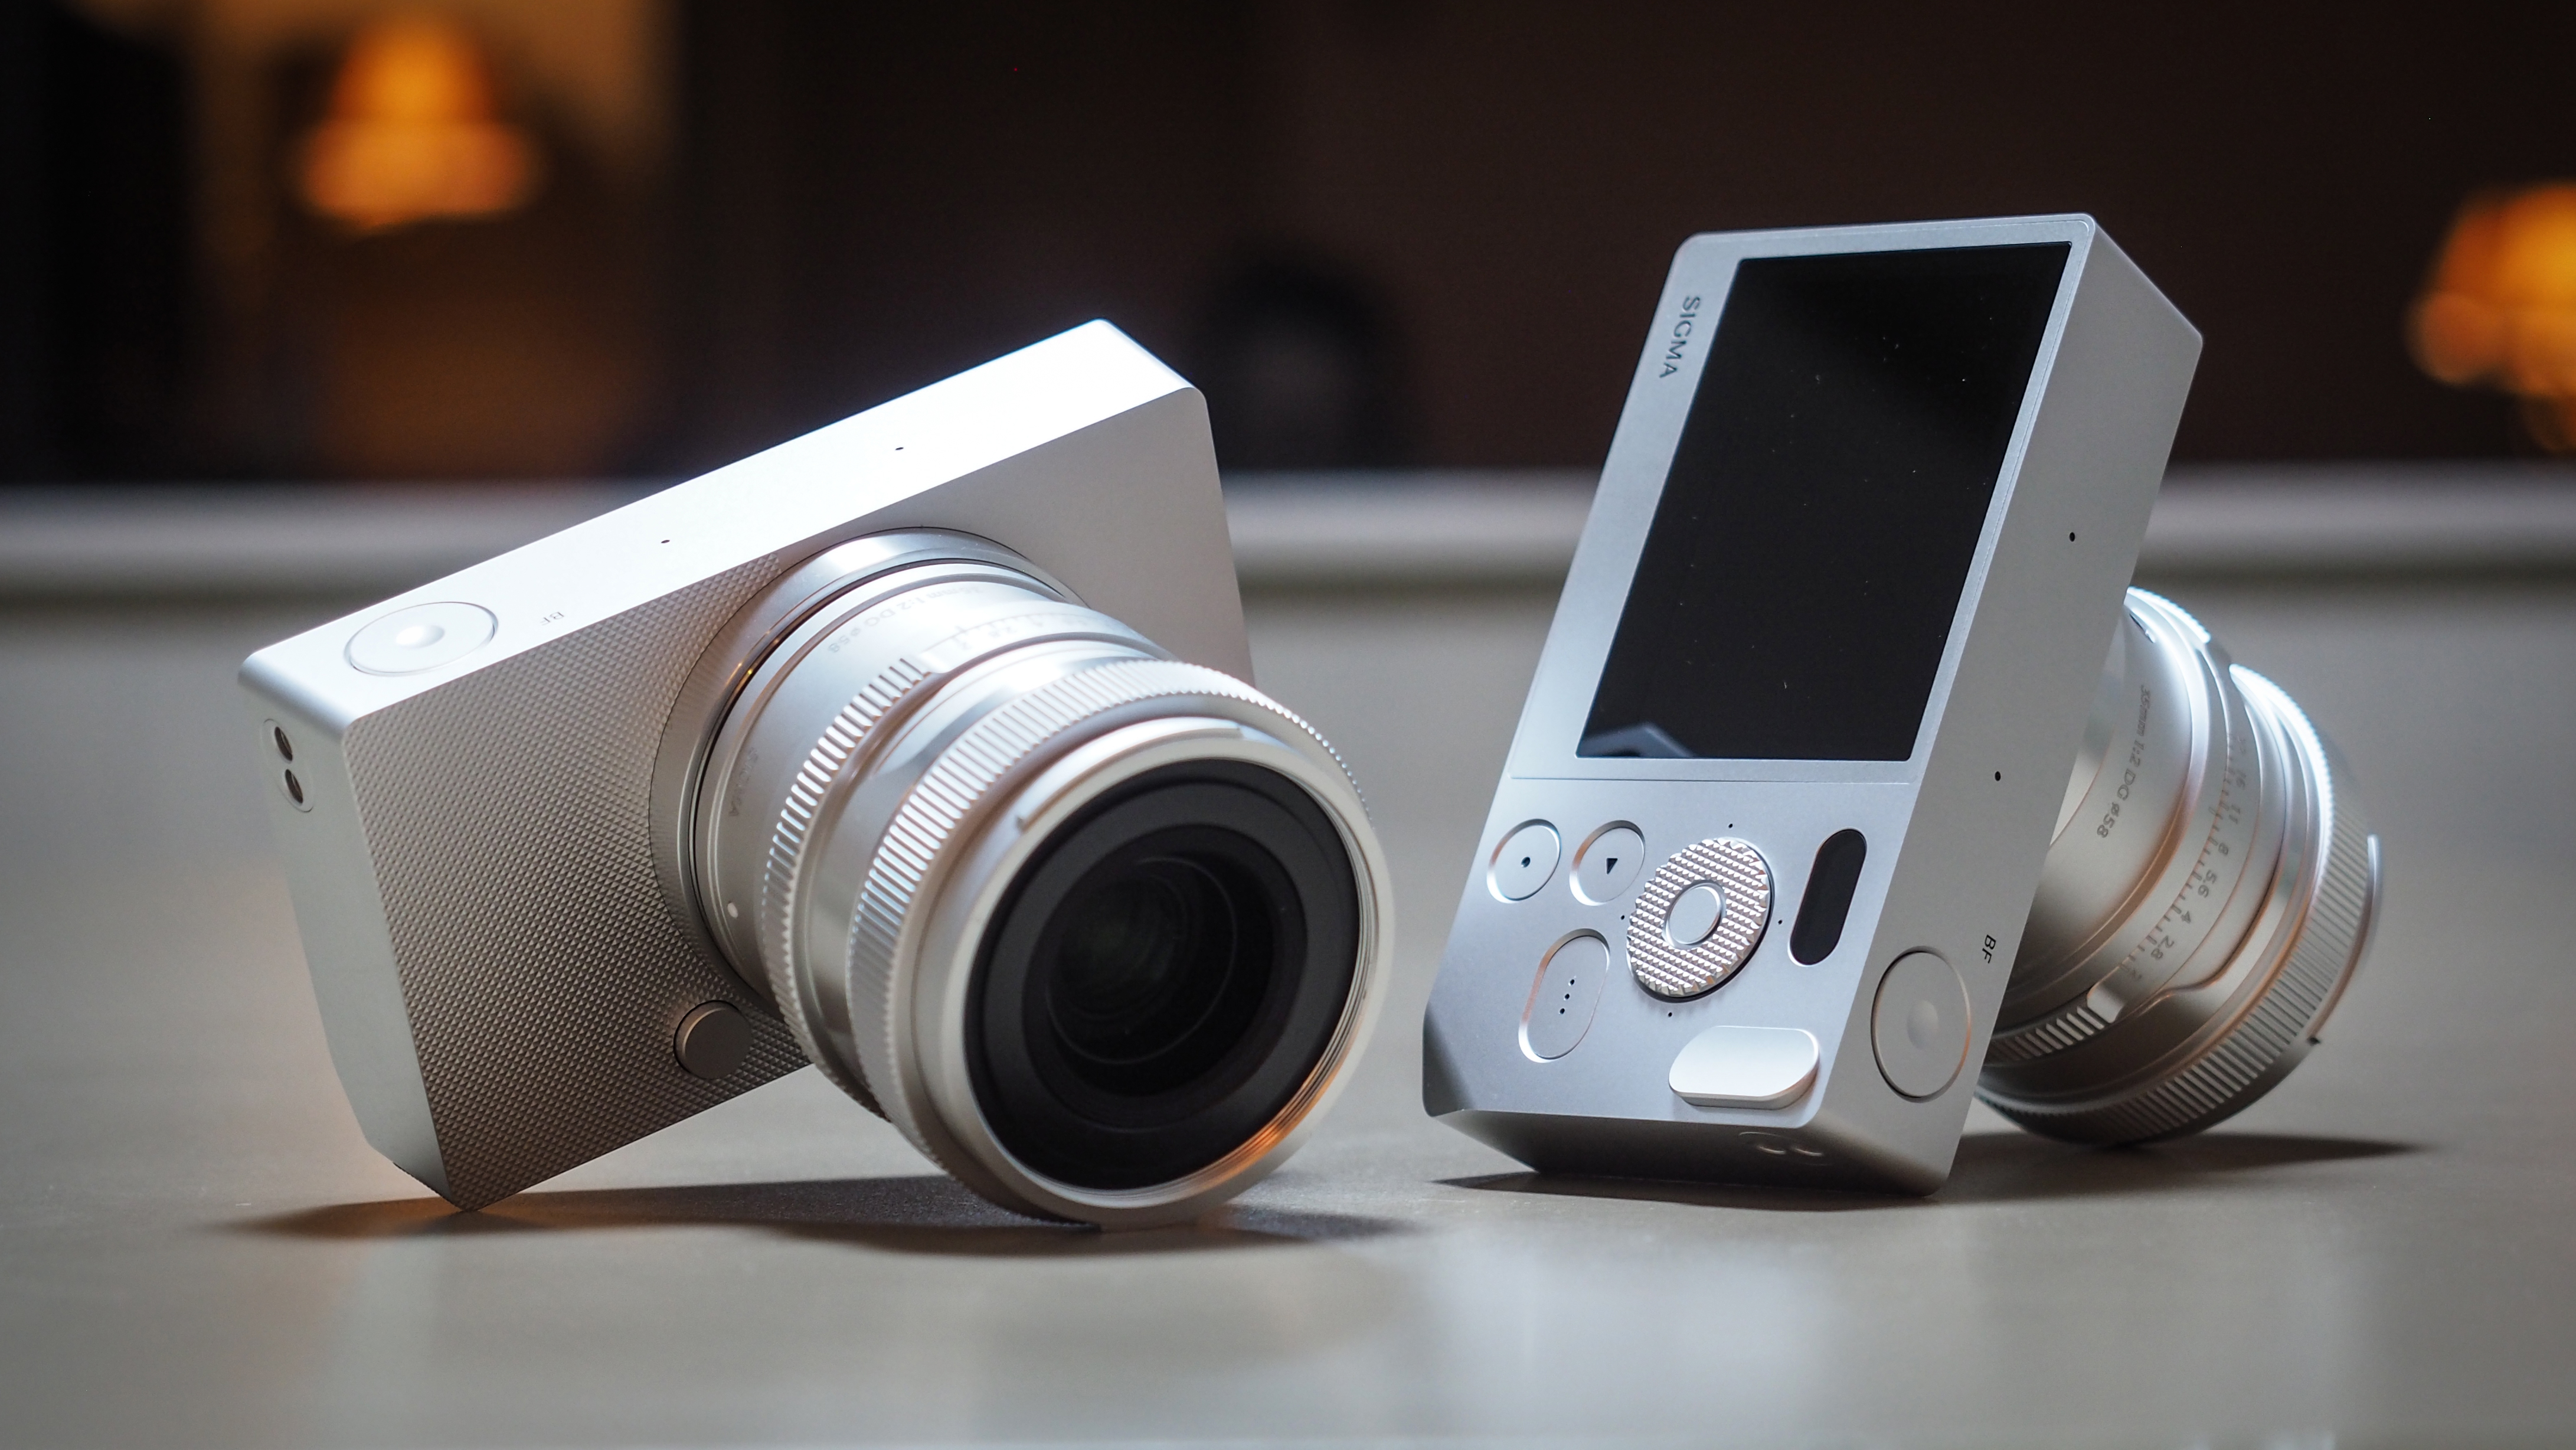
You also get a better guide to depth of field with an EVF (an optical viewfinder gets darker when you use a camera’s depth of field preview), so you can see which parts of the image will appear acceptably sharp beyond the point you’re focusing on. It’s this step-change in the ease and flexibility of manual focusing that has given rise to the rebirth of manual-only lenses, particularly macro and fast-aperture primes, which can benefit from the precision afforded by magnifying details on the Live View display.

Creative benefits of manual focus
A cottage industry has built up in this area, with a wide range of focus rigs – camera housings that enable the focus to be finely adjusted for cinematic focus-pull effects when shooting video – macro focusing rails and timelapse sliders available for anyone who wants to explore the creative potential of manual focusing.
Choosing a manual-only lens might seem odd when autofocus lenses can be focused manually. The trouble is, many AF lenses are designed with short focus travel – a small turn of the focus ring makes a big difference to the focus point position. While this enables faster focusing, it makes it hard to make small manual adjustments. That being said, some AF lenses have wider grips and electronic ‘focus-by-wire’ operation, enabling a longer focus throw for a more satisfying manual focus experience.

The do's and don'ts of manual focusing
DO: Focus before zooming
Once you’ve set your focus distance, avoid zooming the lens as this can cause the focus to shift and you may end with blurred results
DO: Consider getting a loupe
It can be hard to see a Live View display in daylight. An LCD screen viewer or loupe can both shield the screen and magnify the image.
DON'T: Forget your rotation
Knowing which way to turn the focus ring to move the focus point can mean you don’t miss shots in the heat of the moment.
DON'T: Focus too quickly
Focusing steadily back and forth across the detail you want in focus makes it easier to see where the image snaps into sharp focus.
Read more:
Get all of our great cheat sheets here
How to mimic the tilt-shift effect
23 things you should check when buying a new lens
Get the Digital Camera World Newsletter
The best camera deals, reviews, product advice, and unmissable photography news, direct to your inbox!
The sister print publication to this website, Digital Camera Magazine is Britain's best-selling photography publication – and it can also be purchased outside the United Kingdom as Digital Camera World.
Digital Camera Magazine is packed with more expert advice and more inspirational images than any other title, with the sole aim of helping you become a better photographer. Every issue we also bring you a selection of great gifts which are designed to help you get more from your photography – everything from tips cards and cheat sheets to free software and bookazines.
In addition to inspirational images, interviews, projects, mini tests and tutorials, each issue is packed with news, reviews and comparisons, as well as photographer vs photographer shootouts and head-to-head challenges using the best photo editing software.
The magazine is captained by Editor Niall Hampton.

