How to photograph a moody seaside sunset using an ND filter
Embrace a cloudy evening and shoot a seaside sunset photograph with a dramatic twist, using a neutral density filter
Landscape shopping list
• Best cameras for landscapes
• Best lenses for landscapes
• Best tripod for photographers
• Best camera bag for travel
Watch video: How to photograph a moody sunset
Heading out to shoot a sunset on a cloudy evening is always a bit of a gamble, because if the clouds completely obscure the sun you might miss the big event altogether. If the light is right, however, a cloudy sky can present a dramatic backdrop as the sunset illuminates the cloud cover.
An effective way to add even more drama to the sky is to shoot through one of the best neutral density filters, so you can dial in a long exposure and capture a sense of movement in the clouds. Another element to consider when photographing a moody landscape is your subject. Gnarled trees, craggy rocks and crashing waves look particularly intense against a dark and brooding backdrop.
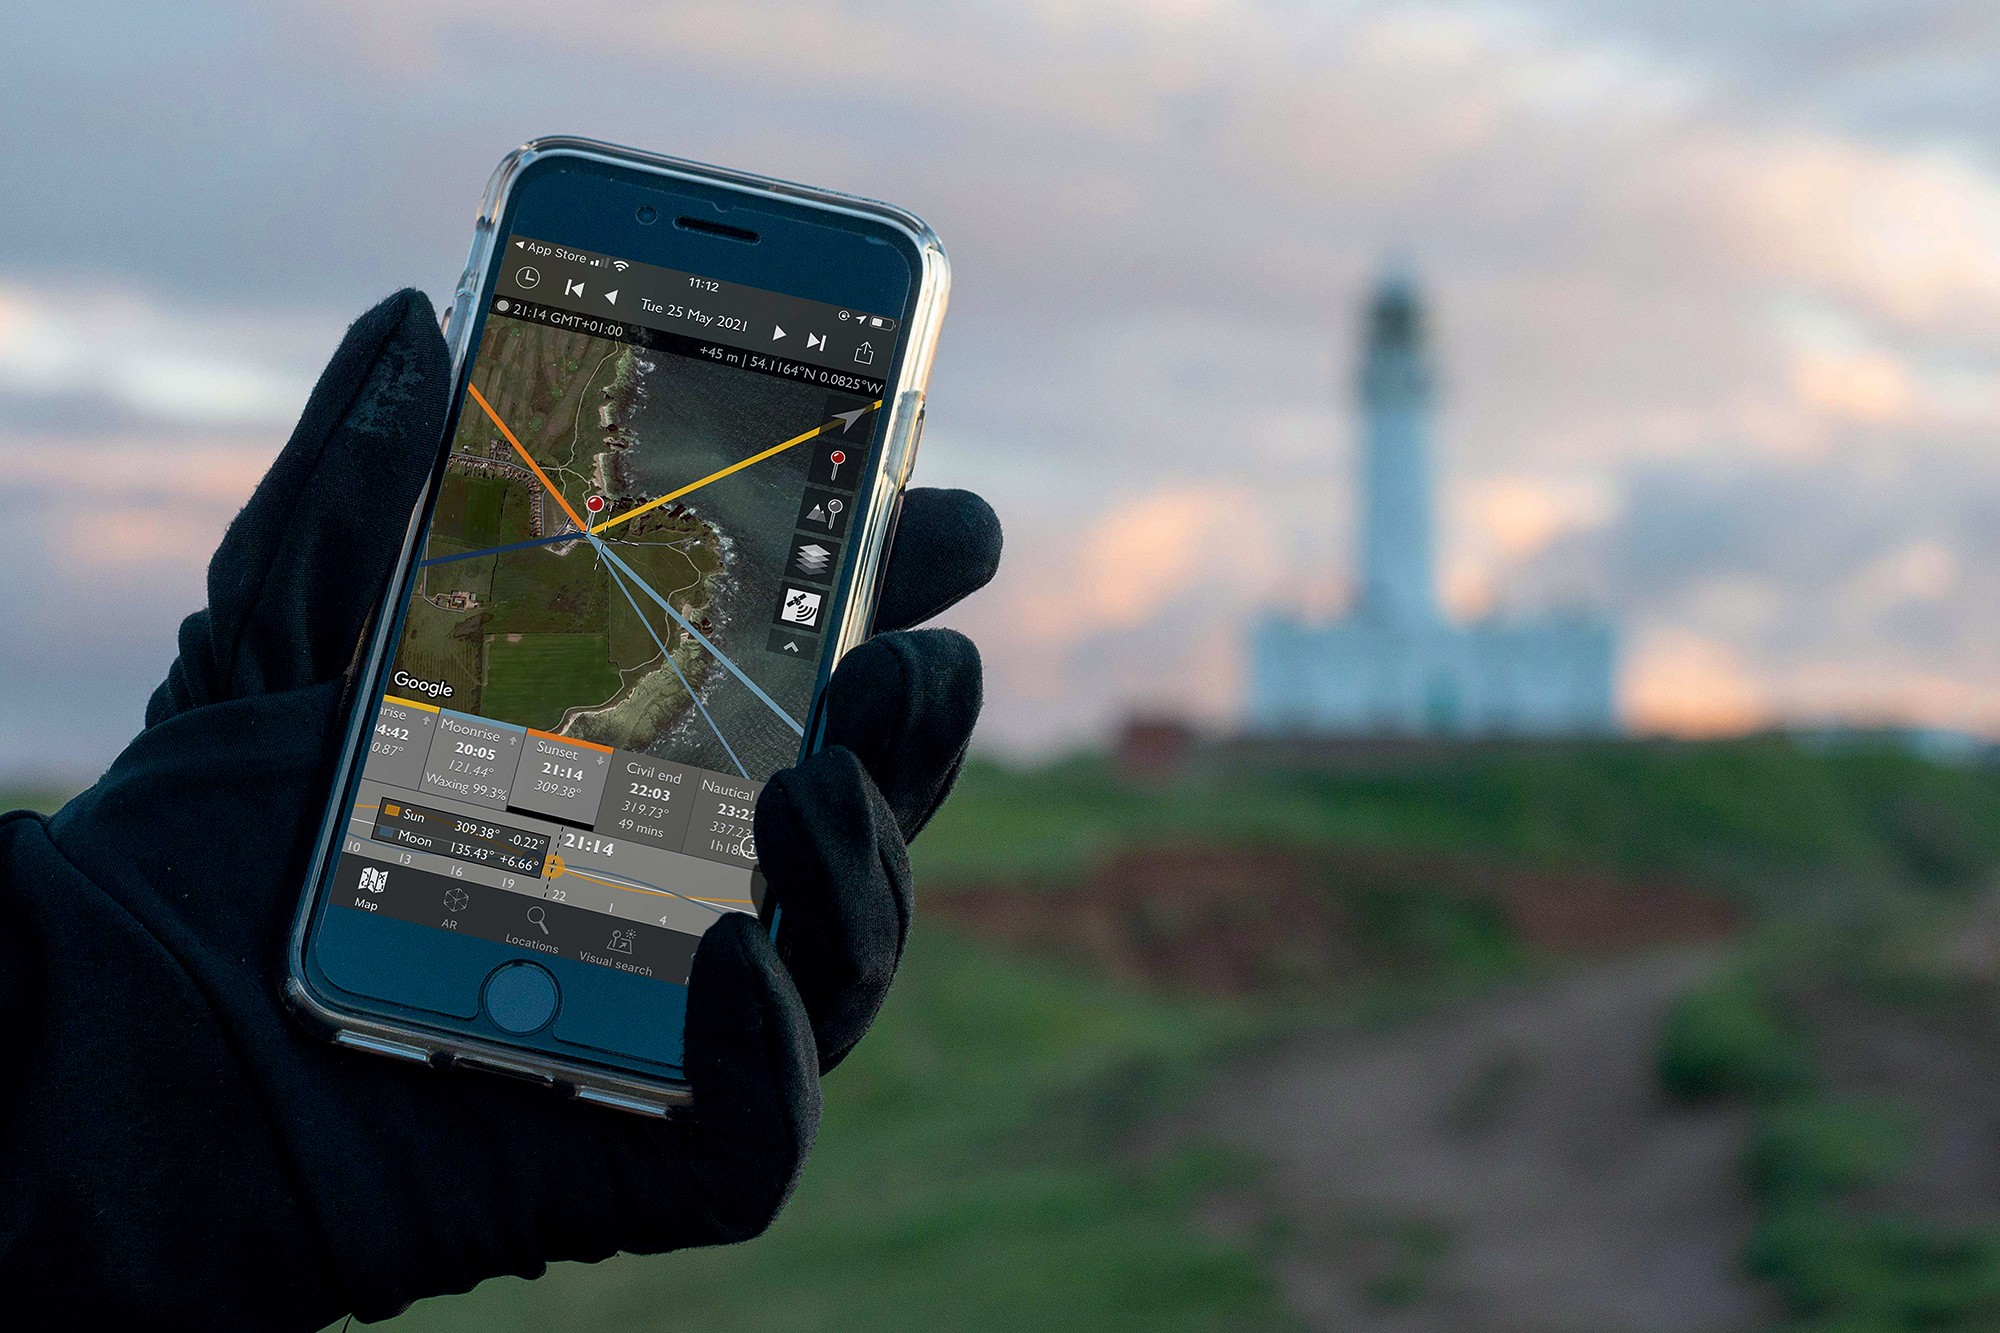
We decided to photograph Flamborough Lighthouse in East Yorkshire, England. Not only are lighthouses synonymous with stormy weather, but the bright white structure would stand out effortlessly against the darker sky. We used The Photographer’s Ephemeris app to quickly work out where the sun – setting in the northwest – would be in relation to our subject. This enabled us to work out the angle we’d need to photograph the lighthouse in order to capture the best light.
It certainly paid off because not only was there plenty of definition in the clouds, but the subject itself was framed via an attractive strip of side lighting, further pulling it from the dark background. As with most landscapes we underexposed our image so we had plenty of detail to work with in post. The final step was a bit of color grading.
How to photograph a moody seaside sunset
1. Subjects matter
Choosing a subject that complements your dramatic sky will help to elevate your image to the next level. Once you’ve selected your location, a companion app such as The Photographer’s Ephemeris will enable you to pinpoint where the sun will set in relation to your subject. This means that you can work out the optimum angle from which to shoot.
2. Test shot
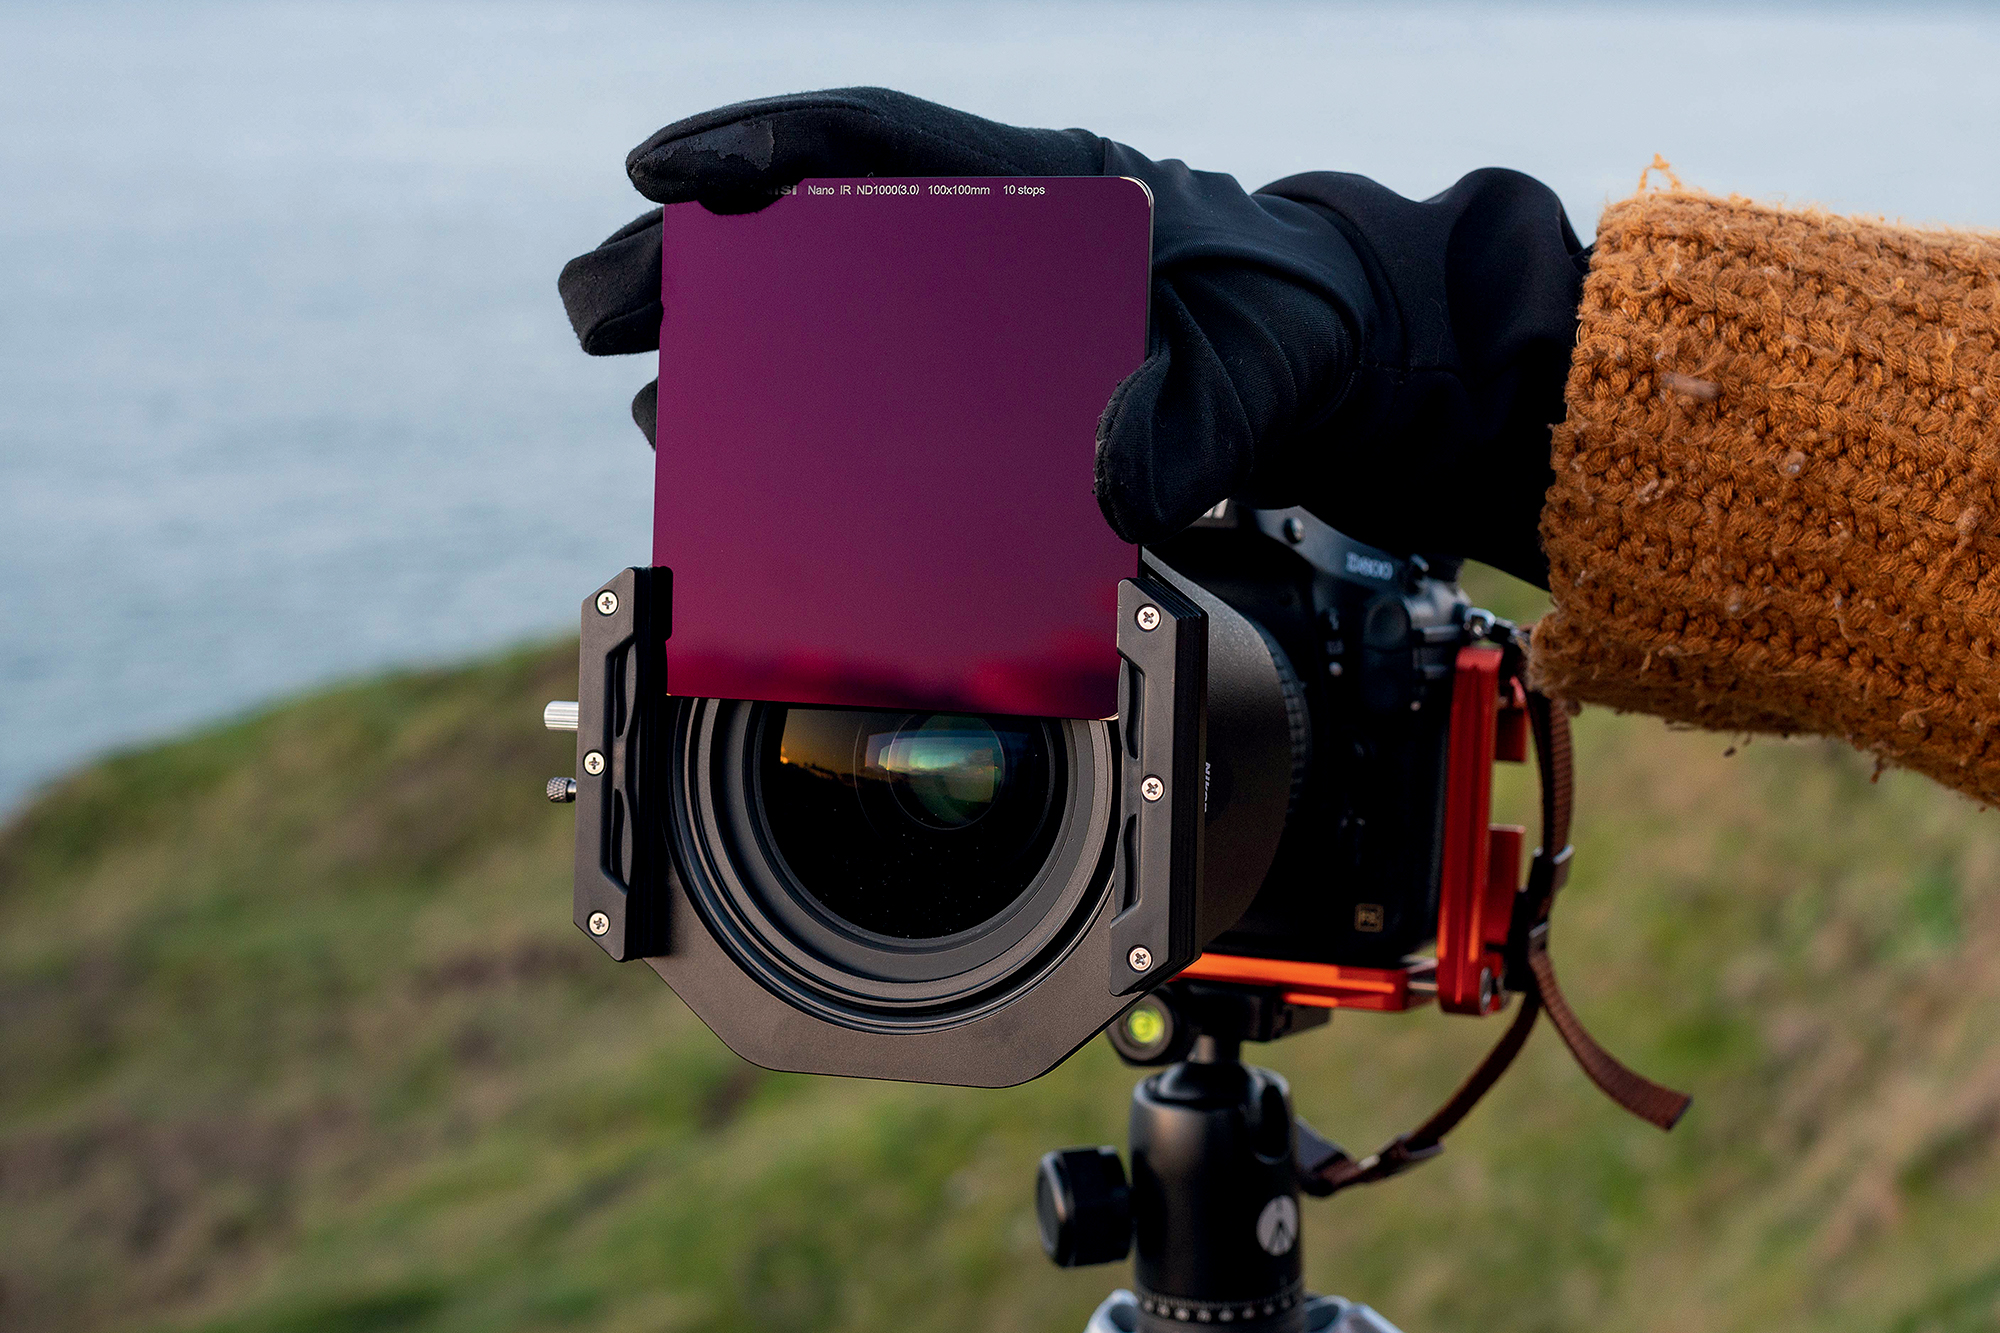
Fix the camera on a tripod and frame your image. If you’re using a filter holder make sure that it’s attached to the lens, but refrain from attaching a filter. Set the camera up for a slightly underexposed image and take a test shot. Once happy, attach your filter. We used a 10-stop ND from NiSi Filters.
3. Set for success
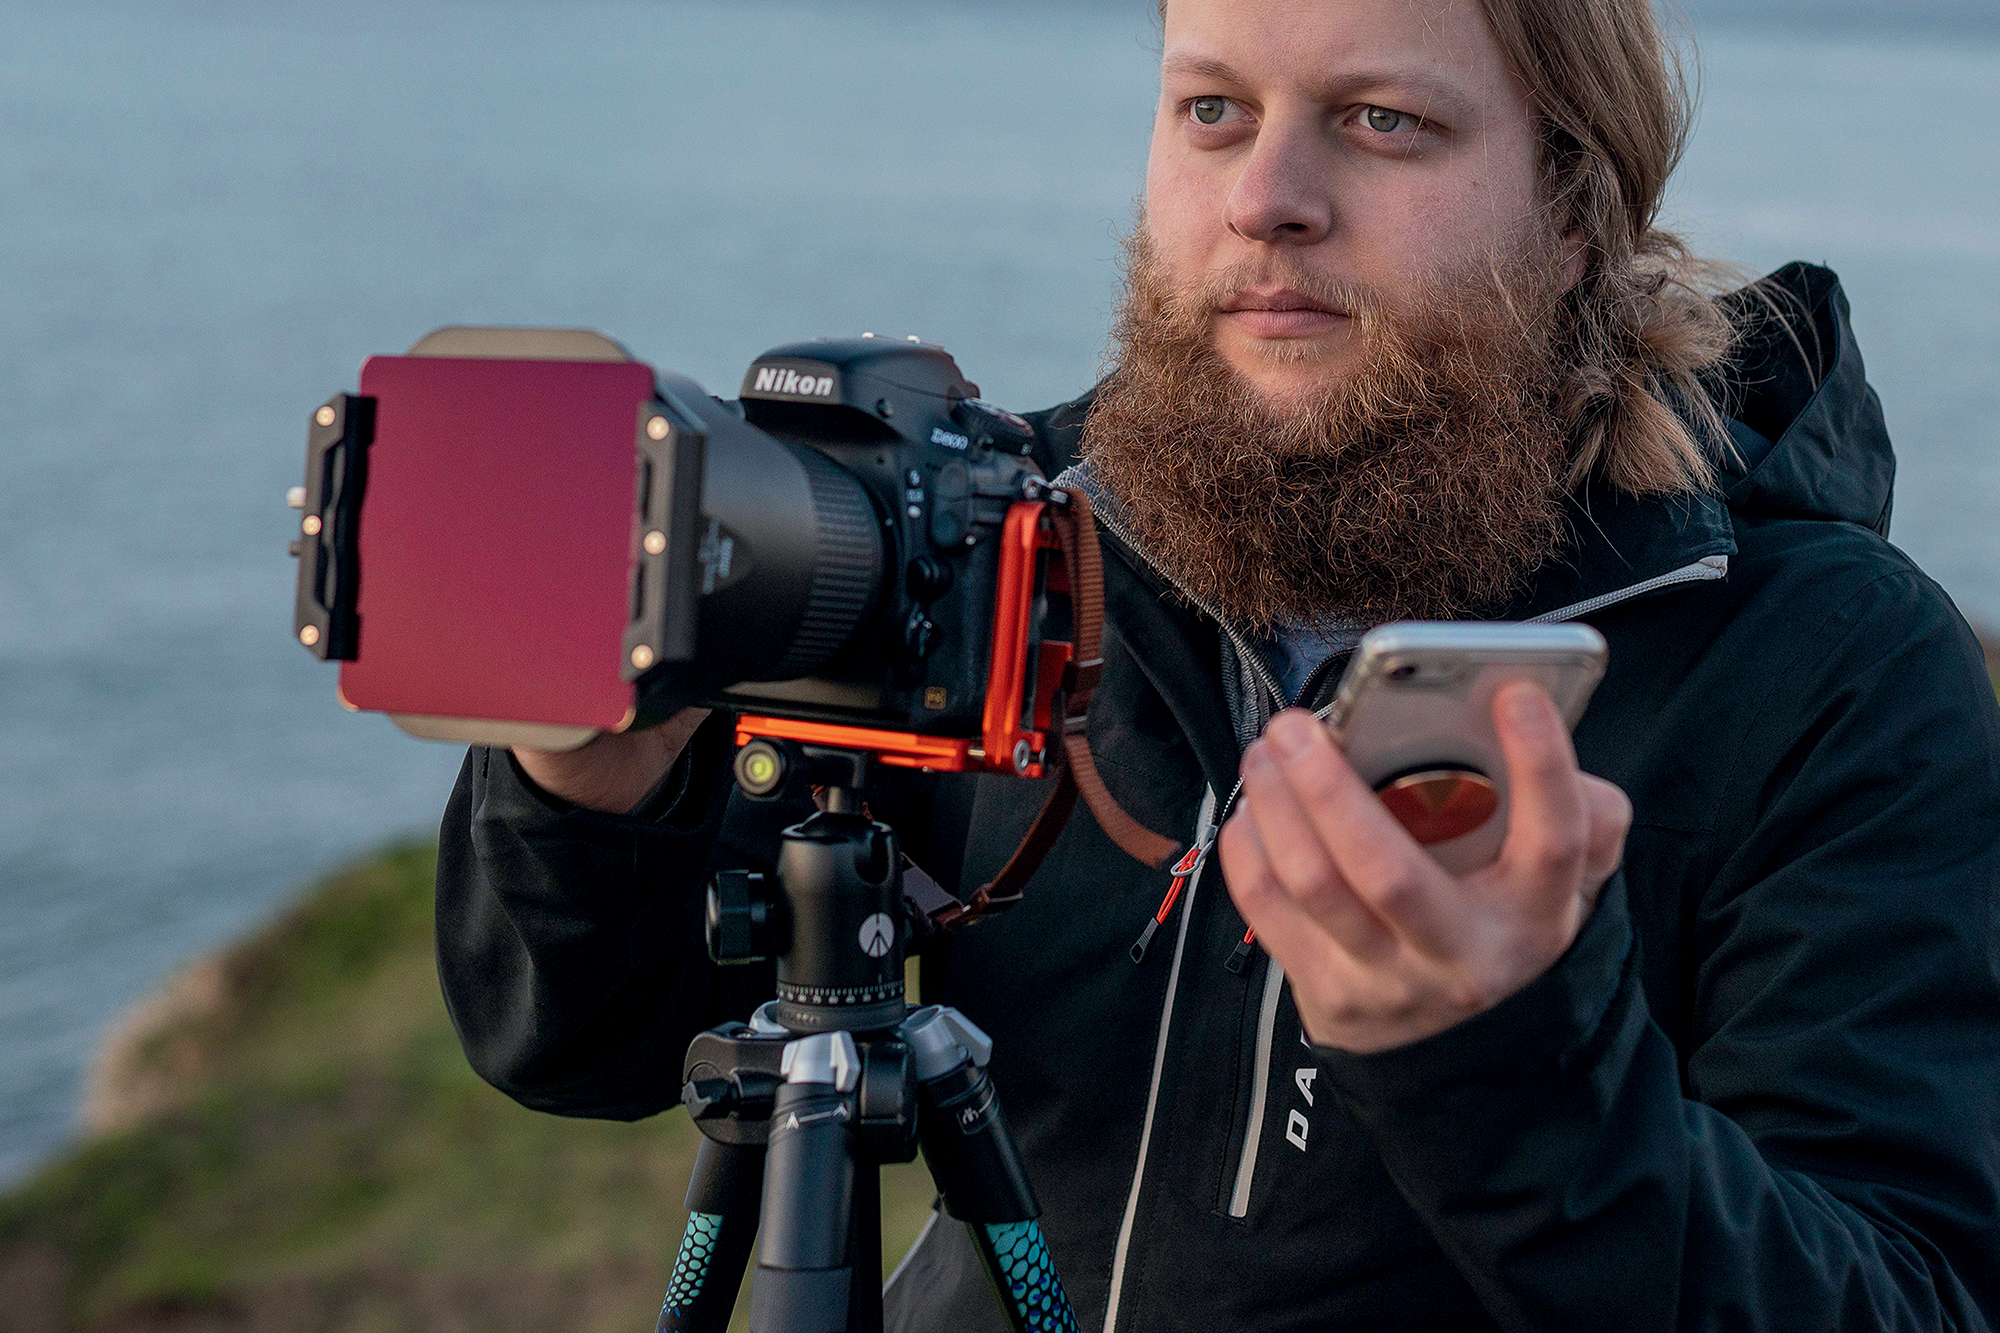
Switch to manual focus to prevent your camera from refocusing when you press the shutter button. If you don’t have a remote shutter release, set a two-second self-timer to help prevent camera shake – and if (like us) your maths isn’t up to scratch, use an exposure calculator app to work out your required exposure settings.
• Best camera remotes and remote shutters
4. Just keep shooting
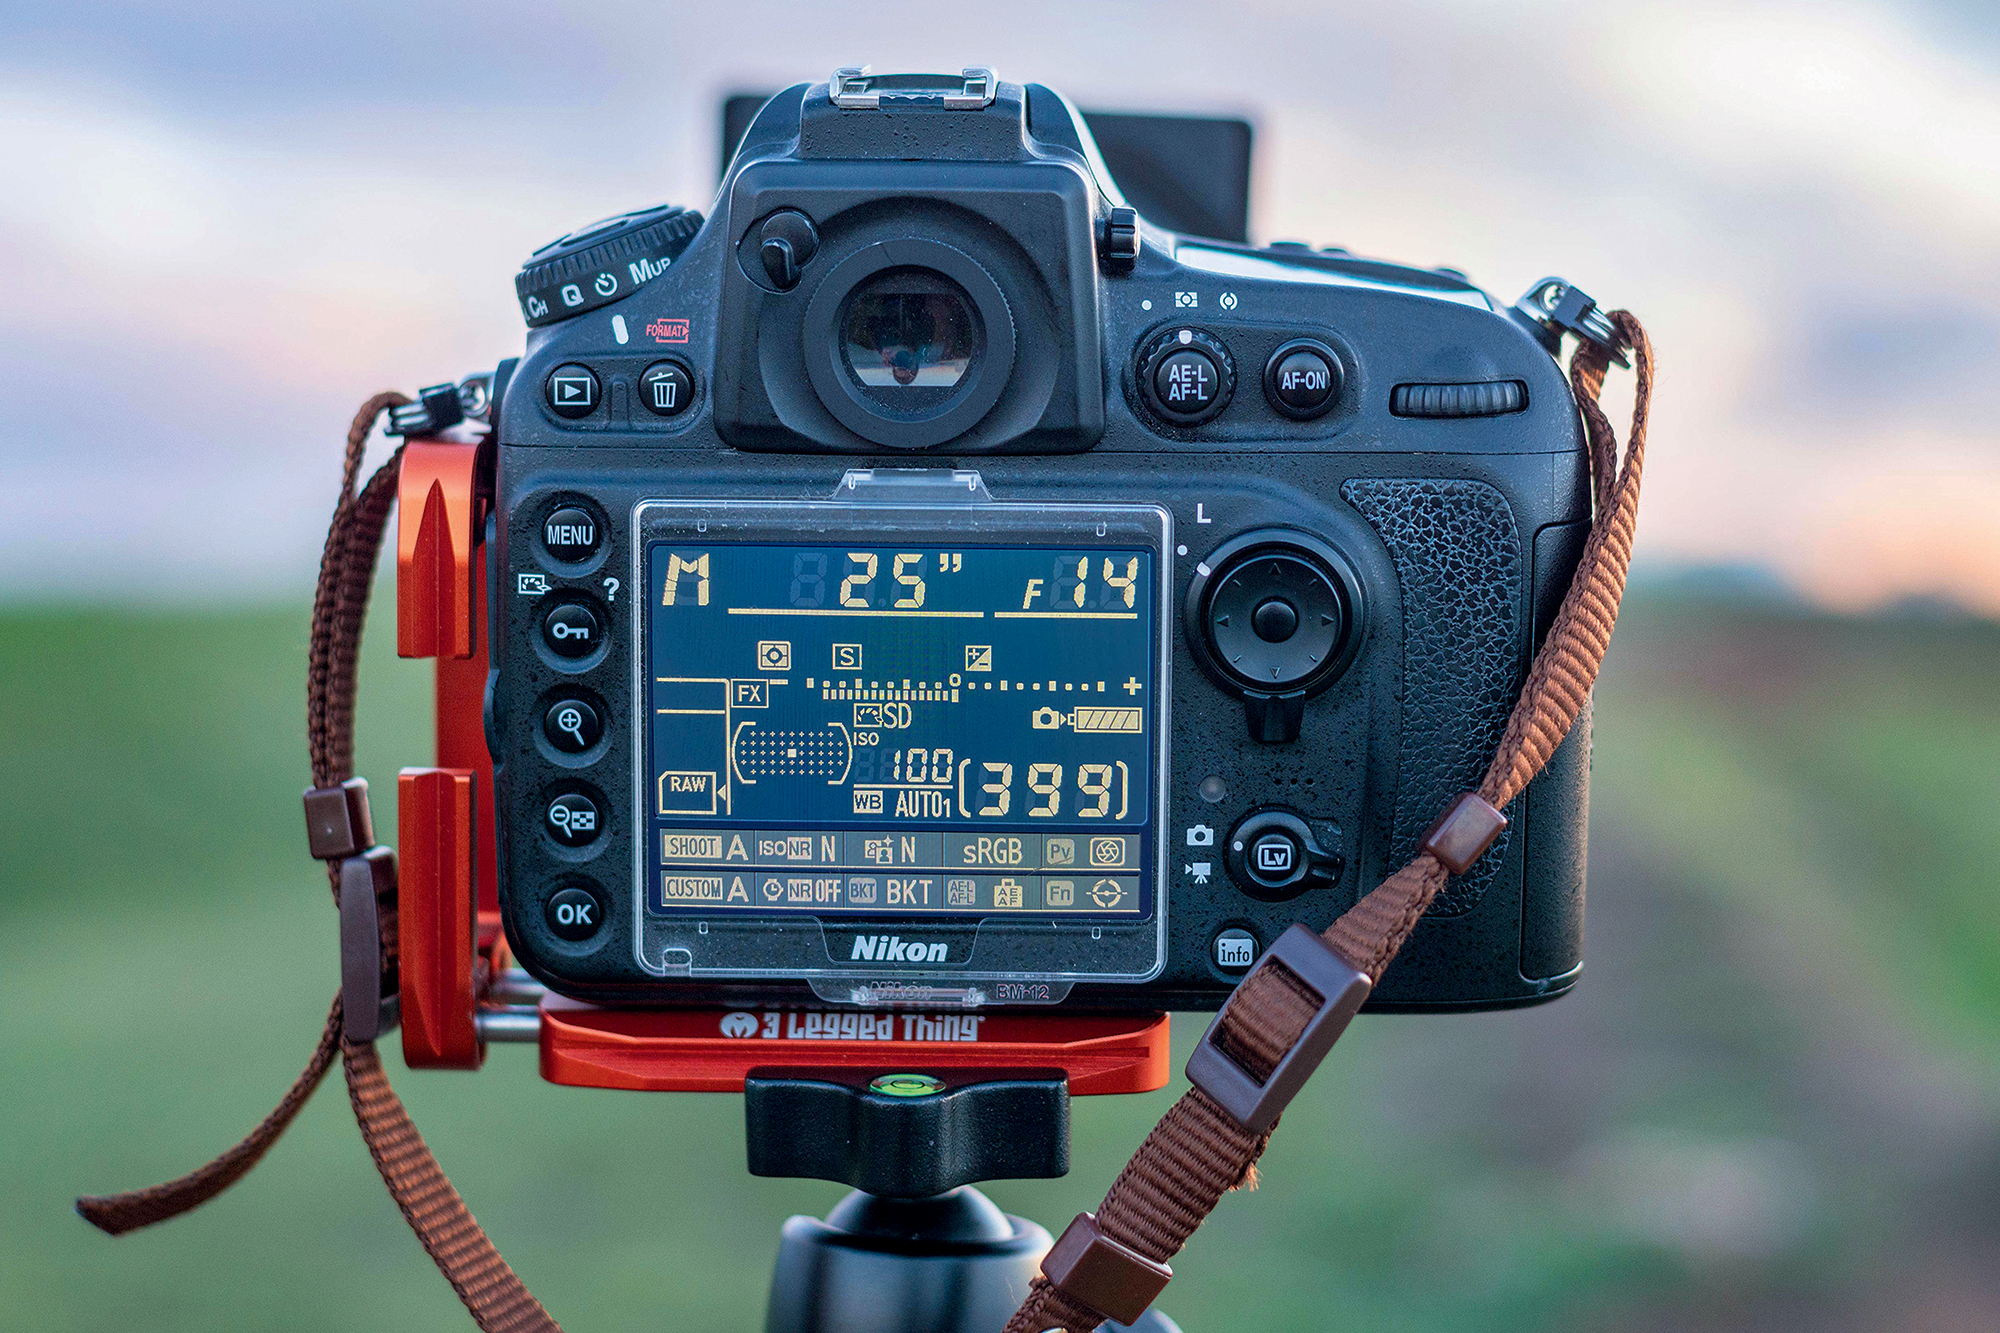
We suggest apertures between f/8 and f/11 when shooting landscapes for the best image quality, but ended up using f/14 with ISO100 to allow for a longer exposure of 25 secs. When you’ve bagged a keeper, don’t stop! The light and clouds will continue to change, so shoot the whole sunset so you have lots of images to choose from.
5. Boost the colors
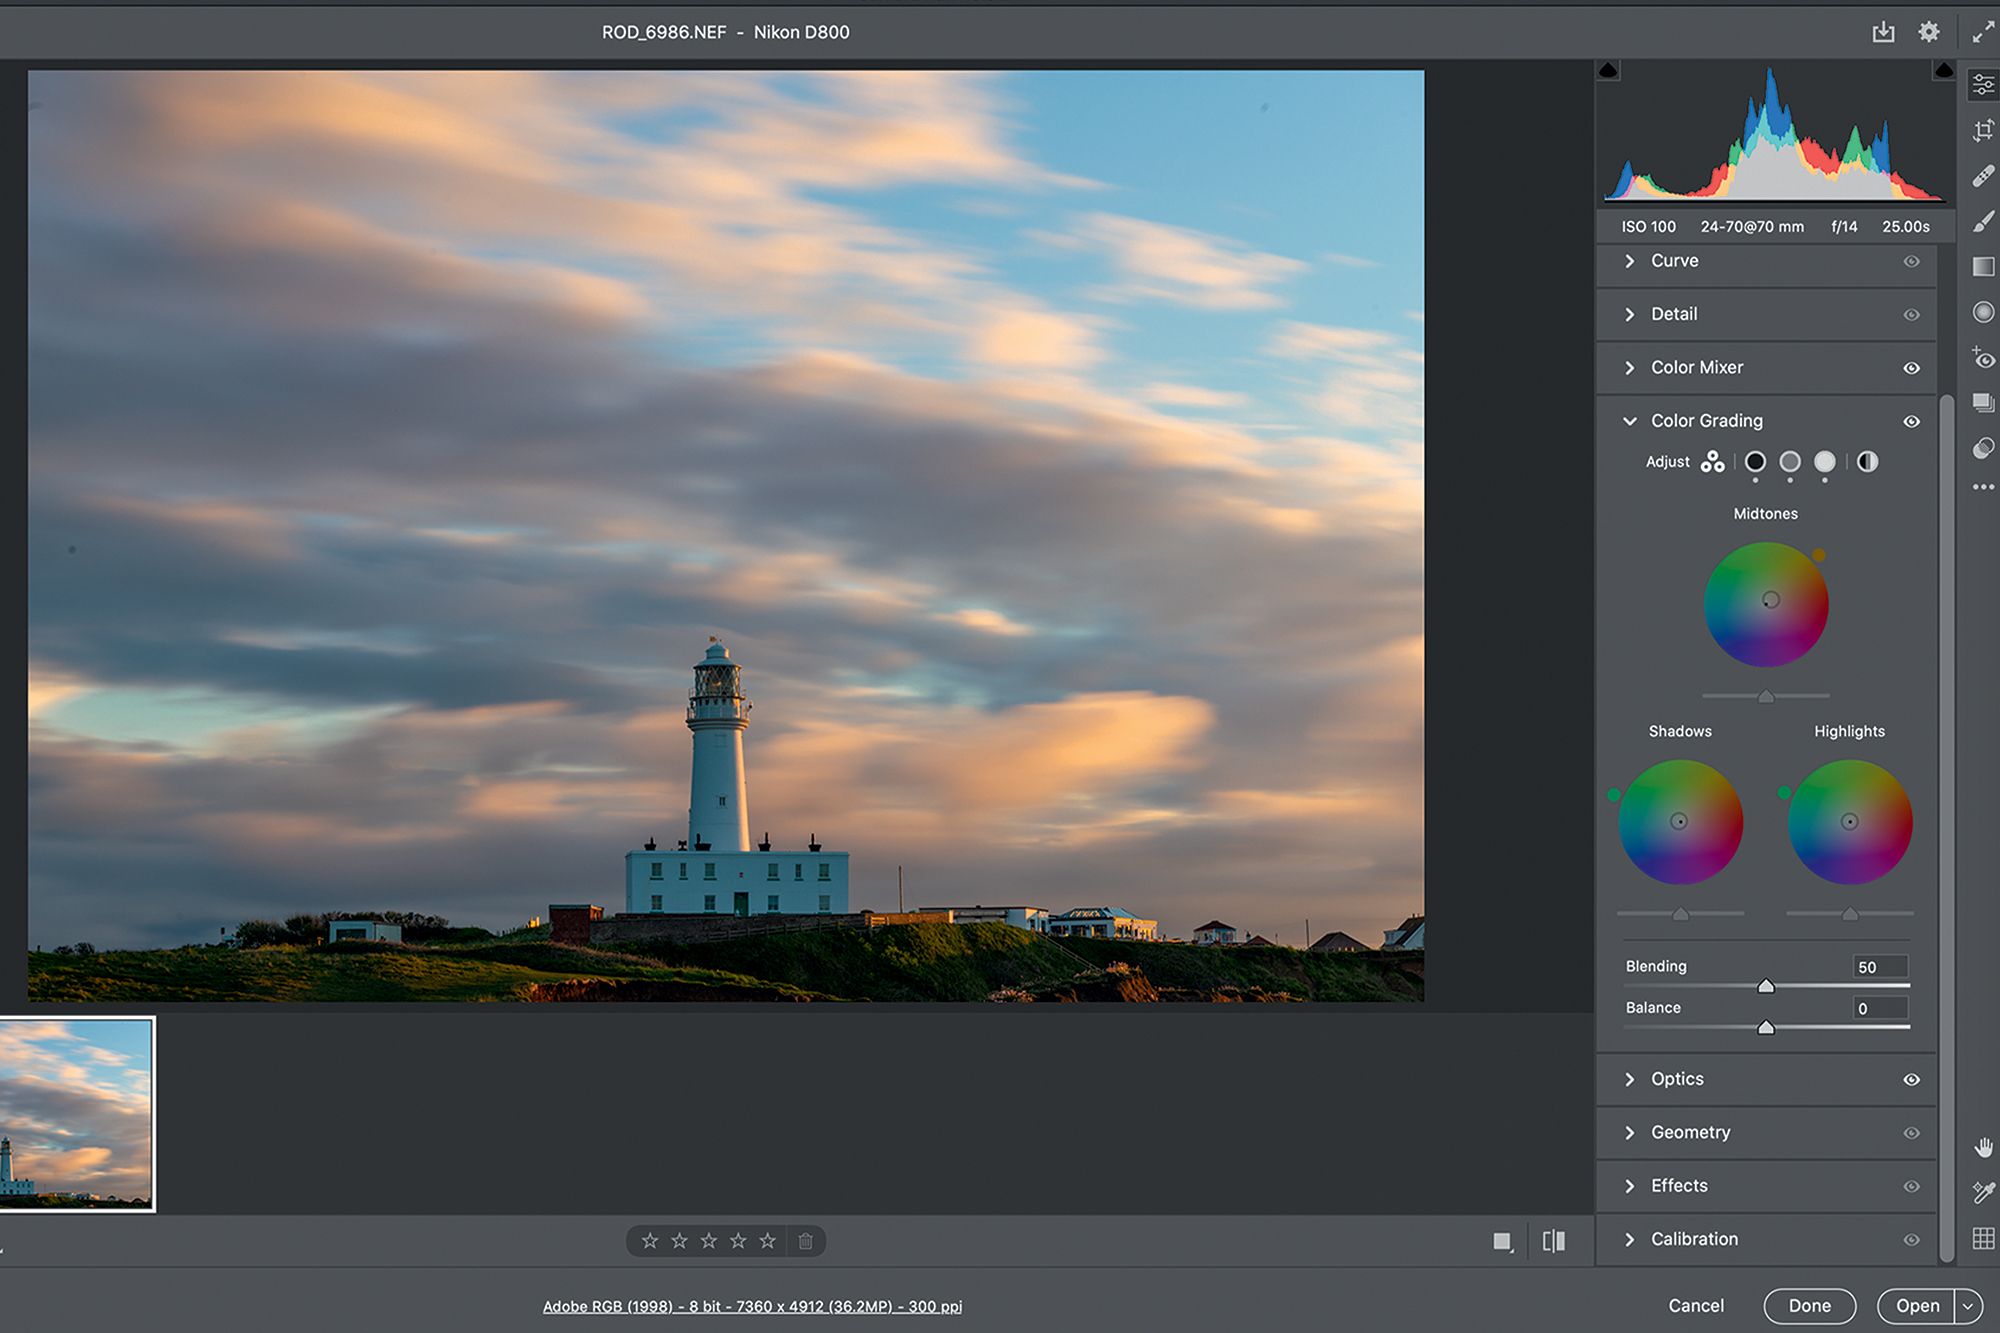
Post production is where you can make your sunset come alive. Adobe Camera Raw’s Color Mixer panel enables you to control the saturation and luminance of colors, while the Color Grading panel affects the hue, saturation and luminance of midtones, shadows and highlights. We focused our attention on warm colors to add plenty of punch.
6. Plot points
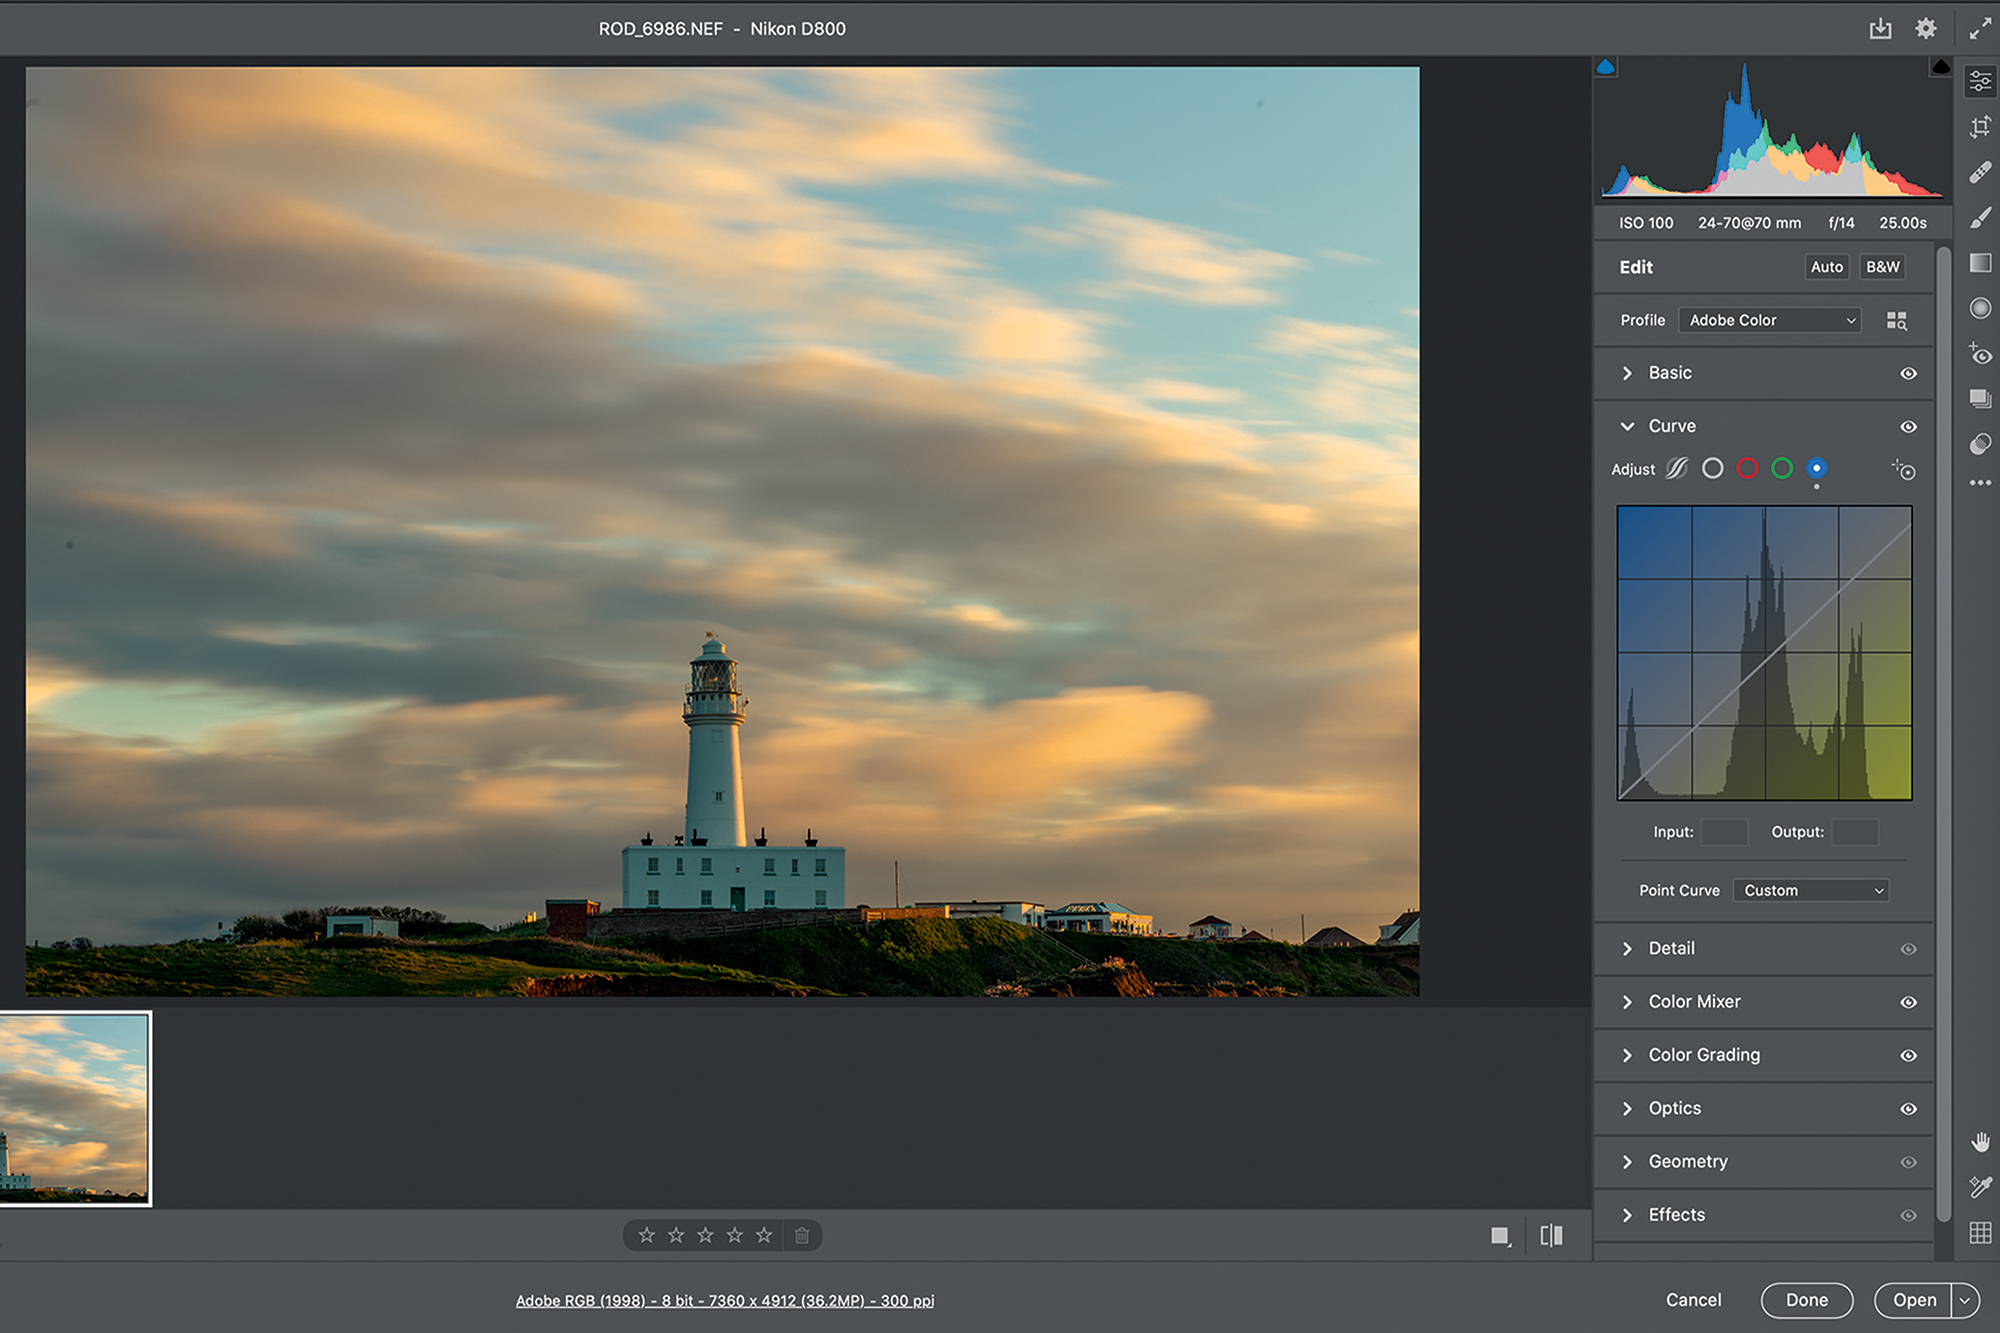
Another neat color grading trick is to enter the Curves panel and select the Blue Channel. By dragging the top anchor point down slightly, you can add a touch of yellow to the highlights to really enhance the golden light.
N-Photo: The Nikon Magazine is a monthly publication that's entirely dedicated to Nikon users. For the best news, reviews, projects and more, subscribe to N-Photo today!
Read more:
The best tripod for photographers
Best cameras for landscape photography
The best camera bag for travel
Get the Digital Camera World Newsletter
The best camera deals, reviews, product advice, and unmissable photography news, direct to your inbox!

Mike is Digital Camera World's How To Editor. He has over a decade of experience, writing for some of the biggest specialist publications including Digital Camera, Digital Photographer and PhotoPlus: The Canon Magazine. Prior to DCW, Mike was Deputy Editor of N-Photo: The Nikon Magazine and Production Editor at Wex Photo Video, where he sharpened his skills in both the stills and videography spheres. While he's an avid motorsport photographer, his skills extend to every genre of photography – making him one of Digital Camera World's top tutors for techniques on cameras, lenses, tripods, filters and other imaging equipment – as well as sharing his expertise on shooting everything from portraits and landscapes to abstracts and architecture to wildlife and, yes, fast things going around race tracks...

