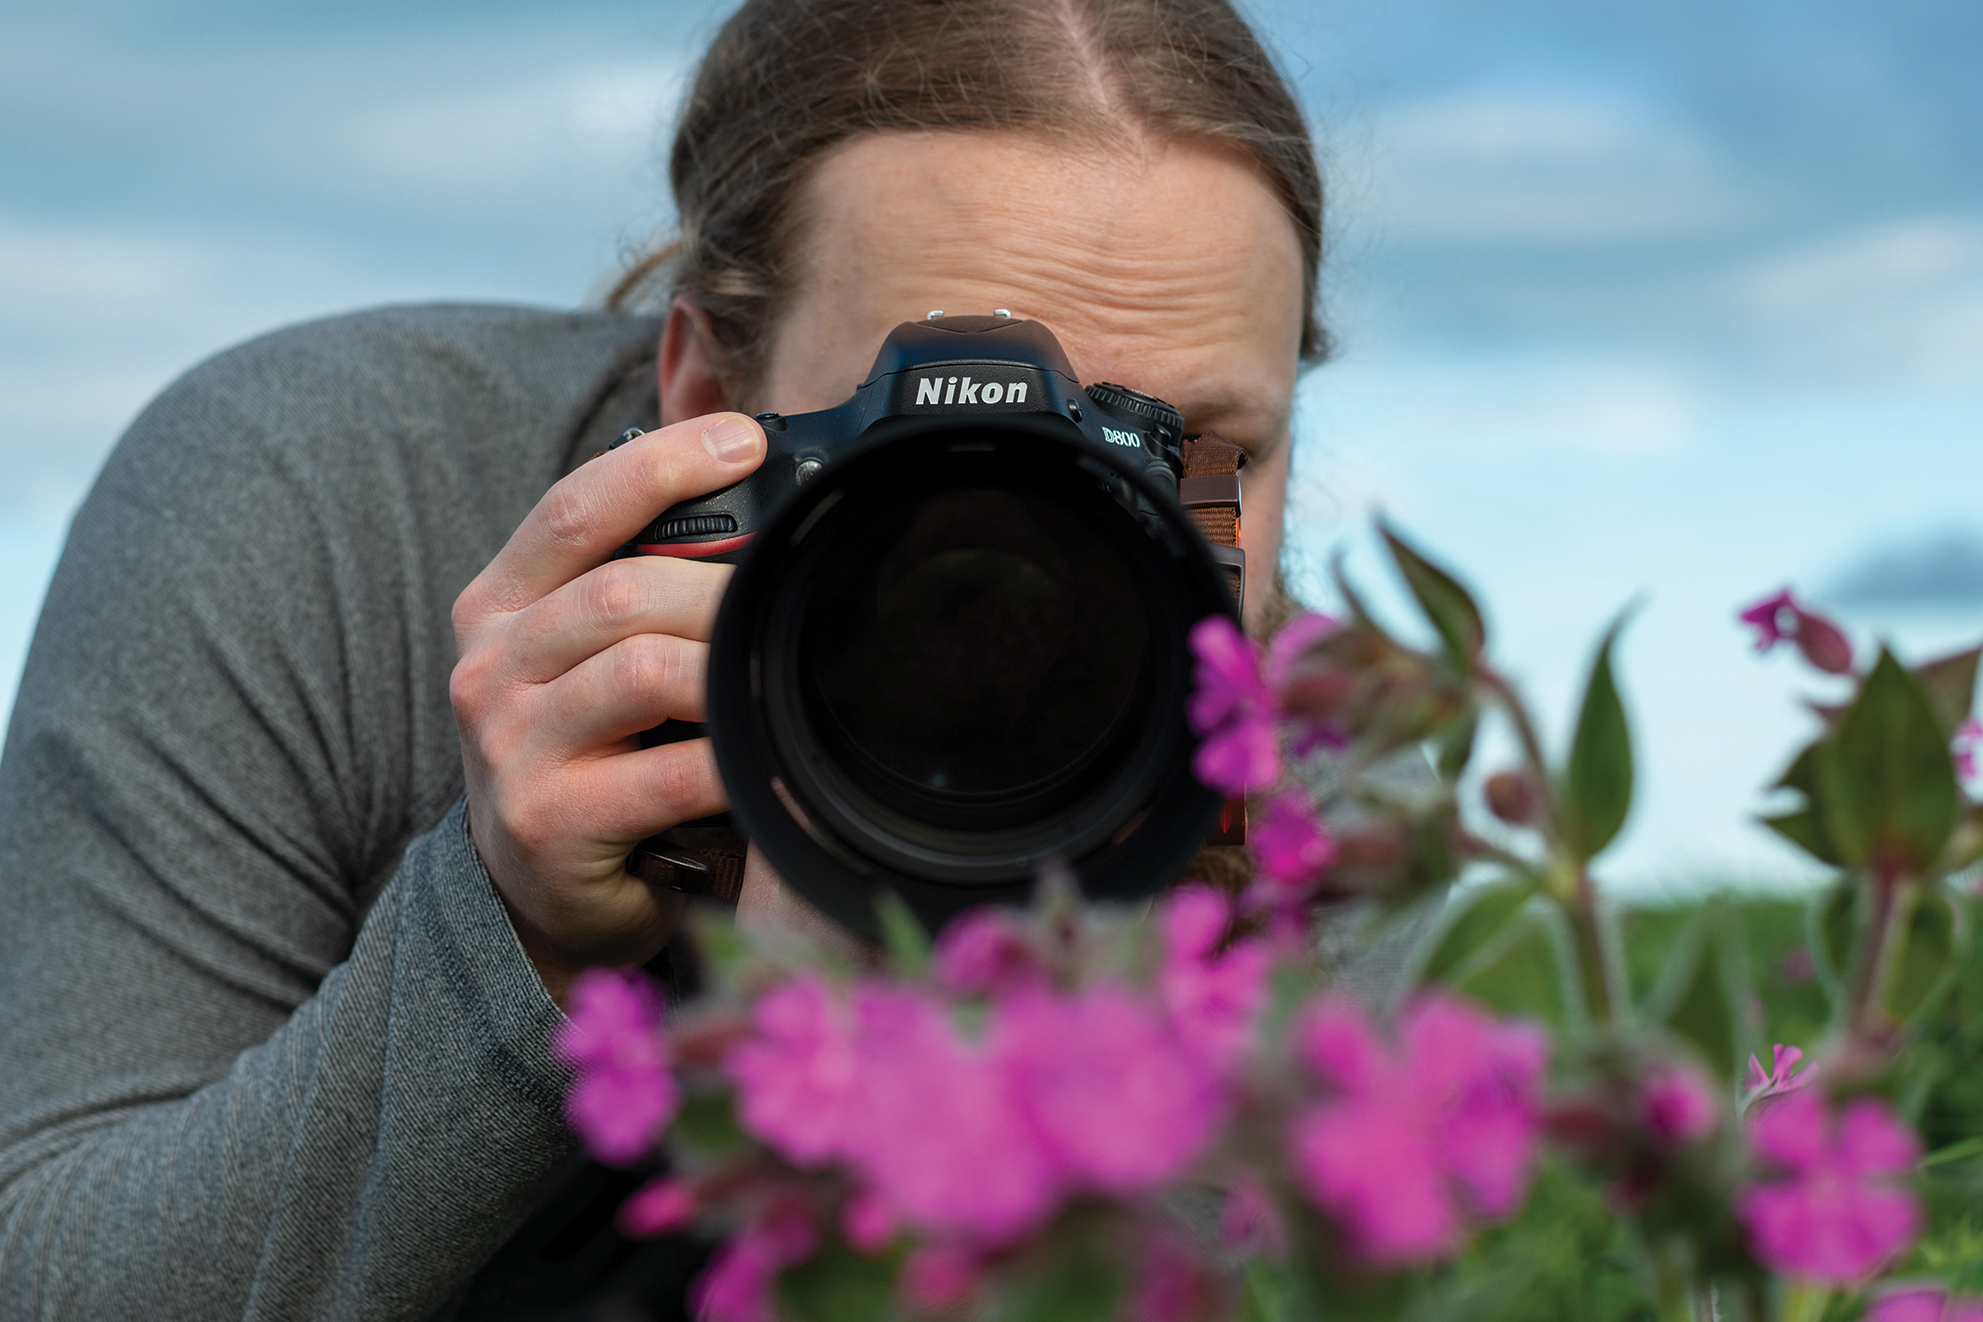
How to photograph birds using a teleconverter
Can’t get close enough? Here's how to use a teleconverter to photograph birds without breaking the bank!
Wildlife shopping list
• Best lenses for bird photography
• The best camera for wildlife
• The best binoculars
• The best portable hides
Watch video: How to photograph birds using a teleconverter
The Nikon AF-S 600mm f/4E FL ED VR is razor-sharp, super-fast and built like a tank. It also costs well over 10K! Fortunately for us photography mortals there’s a cheaper alternative. Sure, it won’t match the ultra-high-end performance of a premium super-telephoto prime, but it’ll get you in the right ballpark.
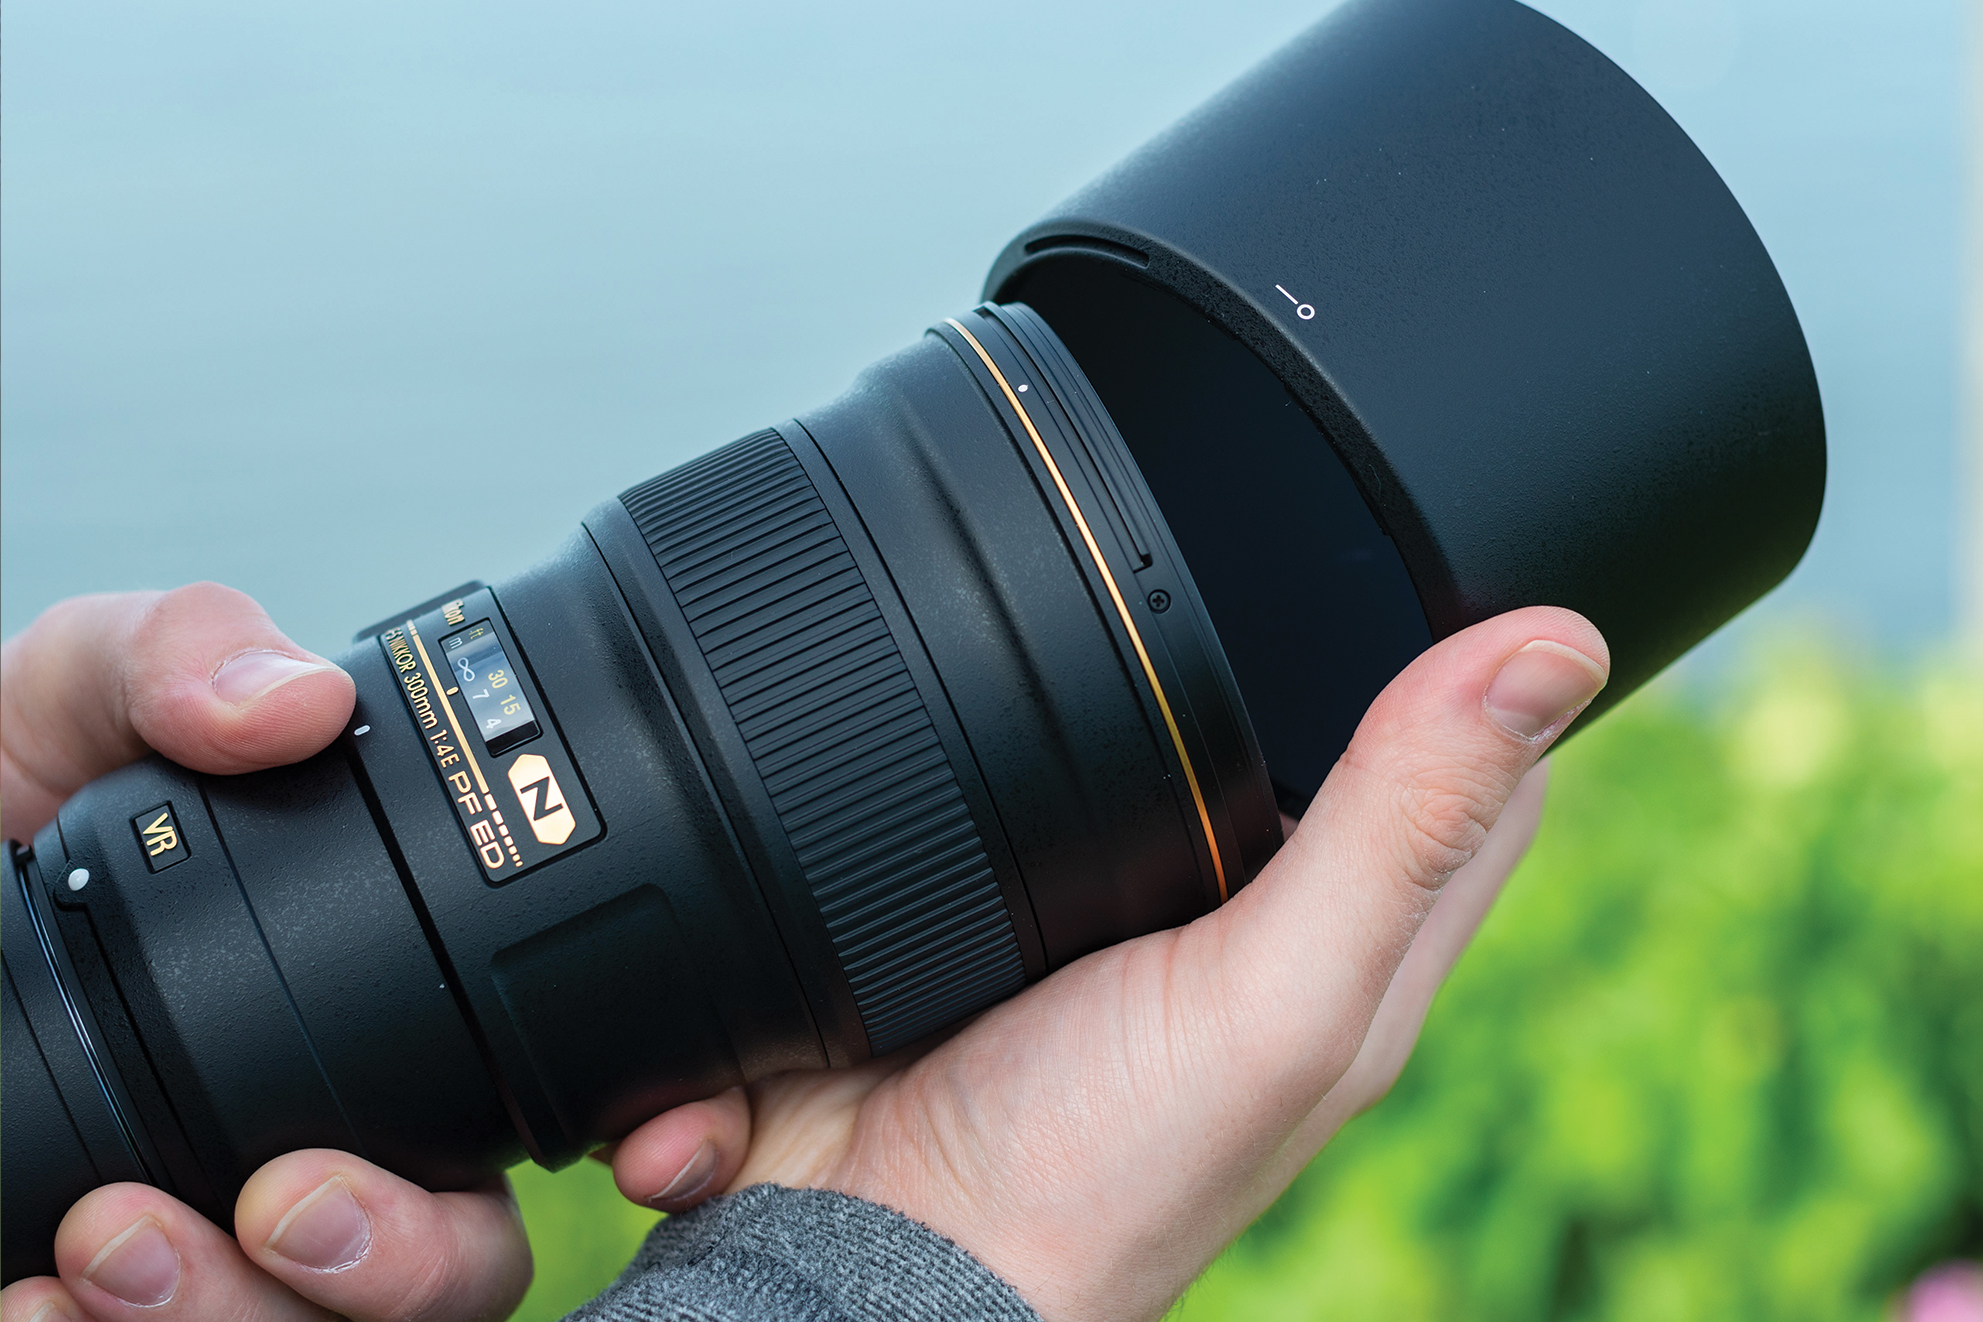
By pairing the Nikon AF-S 300mm f/4E PF ED VR with the AF-S Teleconverter TC-20E III we were able to shoot at 600mm with an aperture of f/8 – effectively giving us one of the best lenses for bird photography. At the time of writing this combo still totaled well over 2K, but depending on the lens you choose (and if you’re prepared to shop second-hand) this could be a lot cheaper. No matter what system you use, the best teleconverters boost magnification and come in a variety of strengths.
For example, Nikon’s current range of F-mount converters are available in 1.4x, 1.7x and 2x, with Z-mount options available in 1.4x and 2x. Unsurprisingly, increasing the magnification can impact image quality depending on a number of variables – including the brand, strength of magnification and, indeed, the lenses used.
Light gathering is also affected by teleconverters, with 1.4x, 1.7x and 2x losing 1 stop, 1.5 stops and 2 stops of light respectively. With that in mind our 300mm f/4’s widest aperture was f/8 (right on the AF threshold) when paired with our 2x teleconverter. However, the extended reach of a quality teleconverter will far outweigh the negatives. So if you’ve been struggling to get close to your wildlife subjects, here’s how to use one…
How to photograph birds using a teleconverter
1. Double the distance
The best camera deals, reviews, product advice, and unmissable photography news, direct to your inbox!
Attach your teleconverter to the rear of your lens and mount this pairing onto your camera. Since this adds another layer of complication to swapping lenses, make sure that everything is secure and take extra care to prevent dust or dirt working its way inside your setup.
2. Attach a hood
Overcast weather is ideal. The cloud acts as a giant diffuser, providing soft shadows that will flatter your subject. Even in dull conditions, we’d recommend attaching a lens hood. It will protect your front element – useful when shooting through foliage.
3. Keep it steady
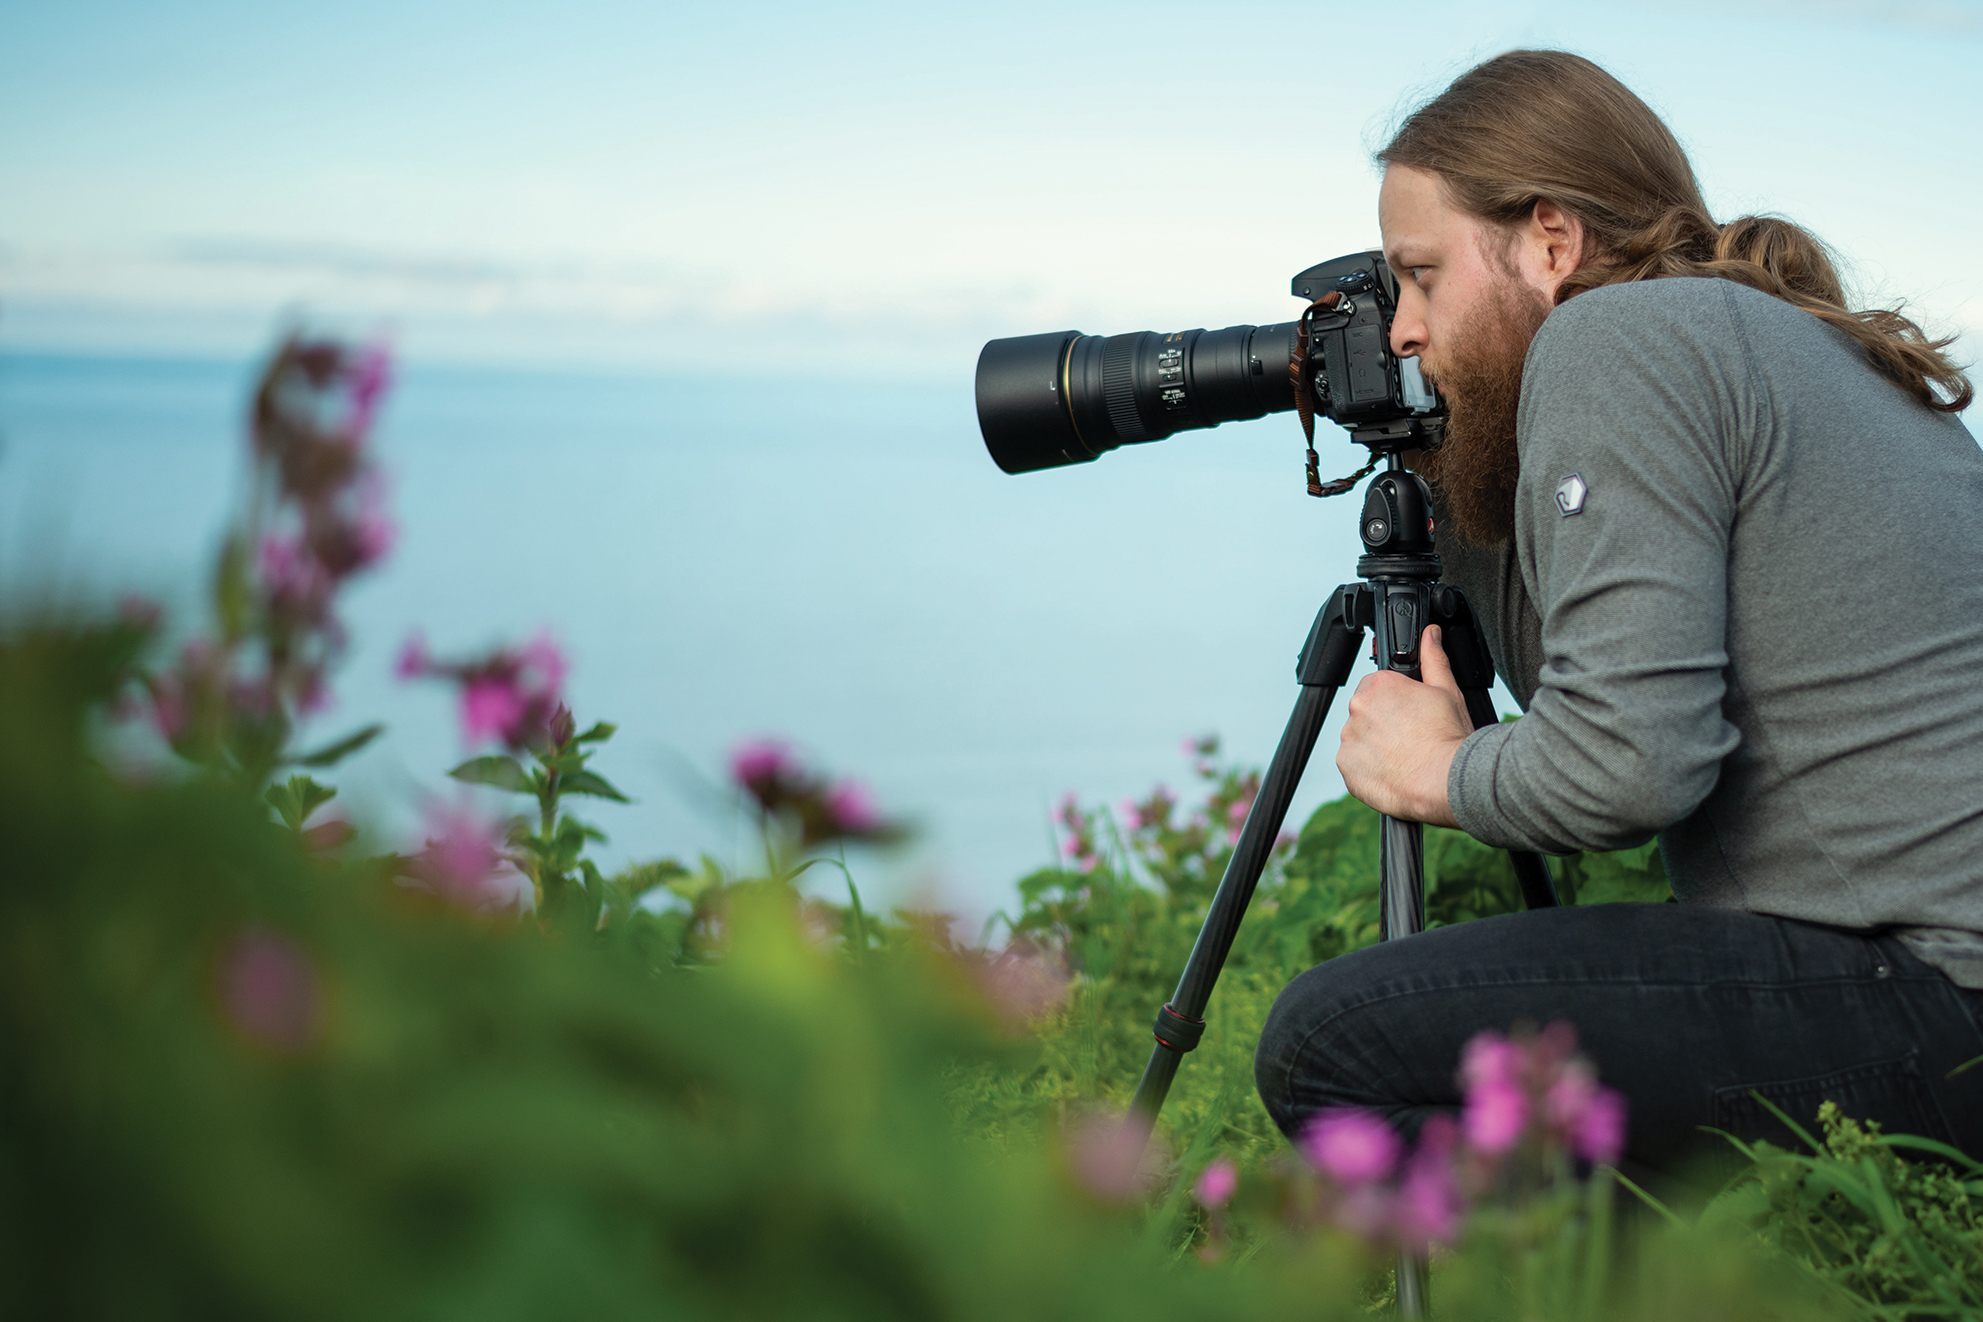
You can use a tripod and a loose ball head (or monopod) to provide some stability when photographing your subject, but the Nikon 300mm f/4 is so small and light that it’s easy to handhold, too. We shot at 1/4000 sec – it’s worth noting that stabilization is most effective when shooting below 1/500 sec.
4. Camera settings
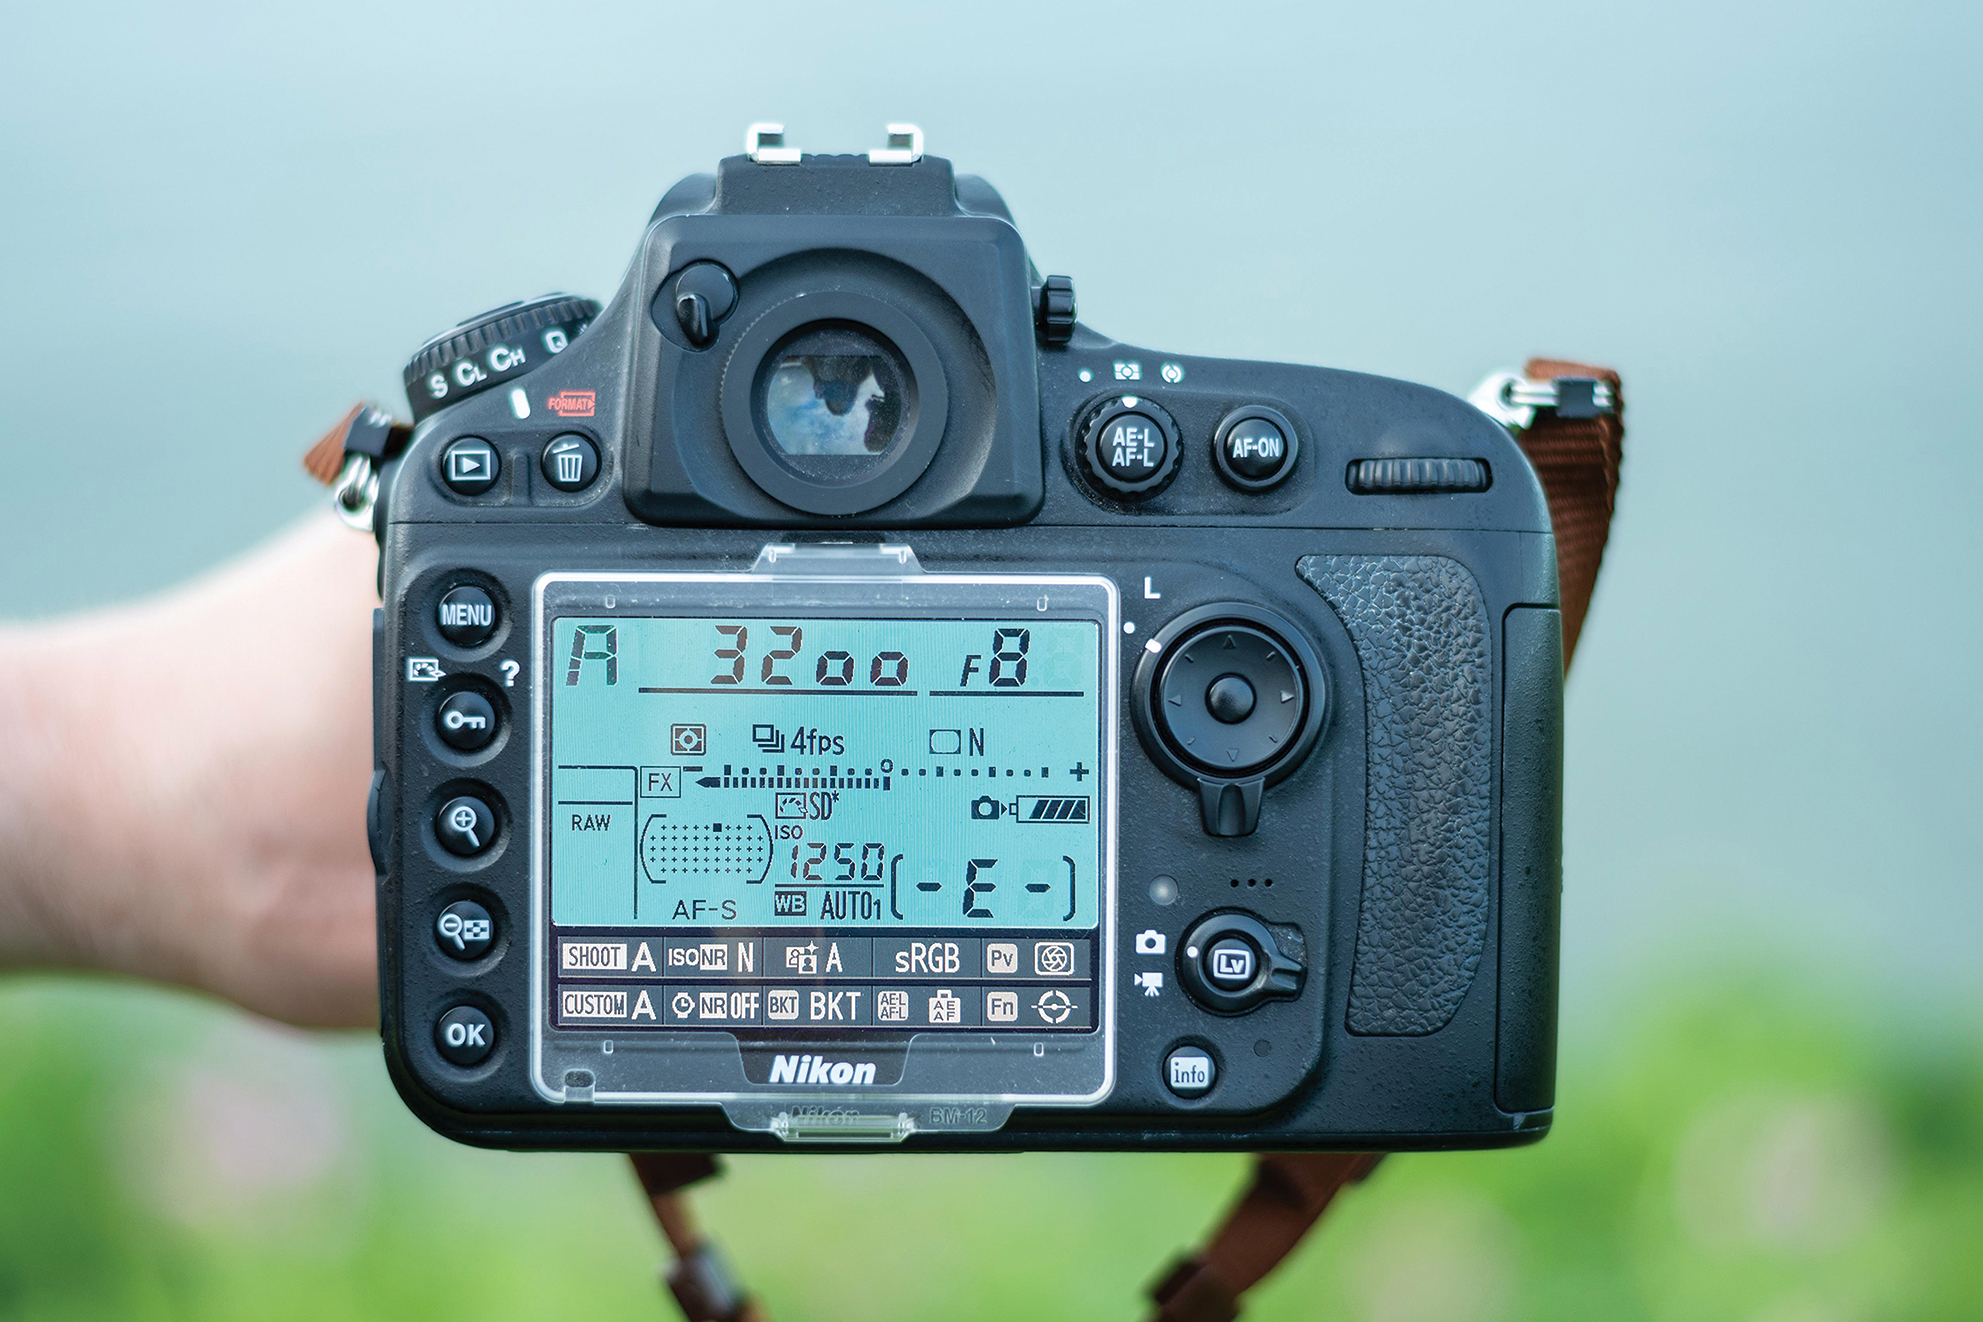
We used Aperture Priority to retain an aperture of f/8, and a high ISO to ensure that the shutter speed remained above 1/1000 sec – a little noise is a good trade-off if you capture a tack-sharp shot. Continuous High burst mode increases your chances of landing the perfect moment.
5. Find your focus
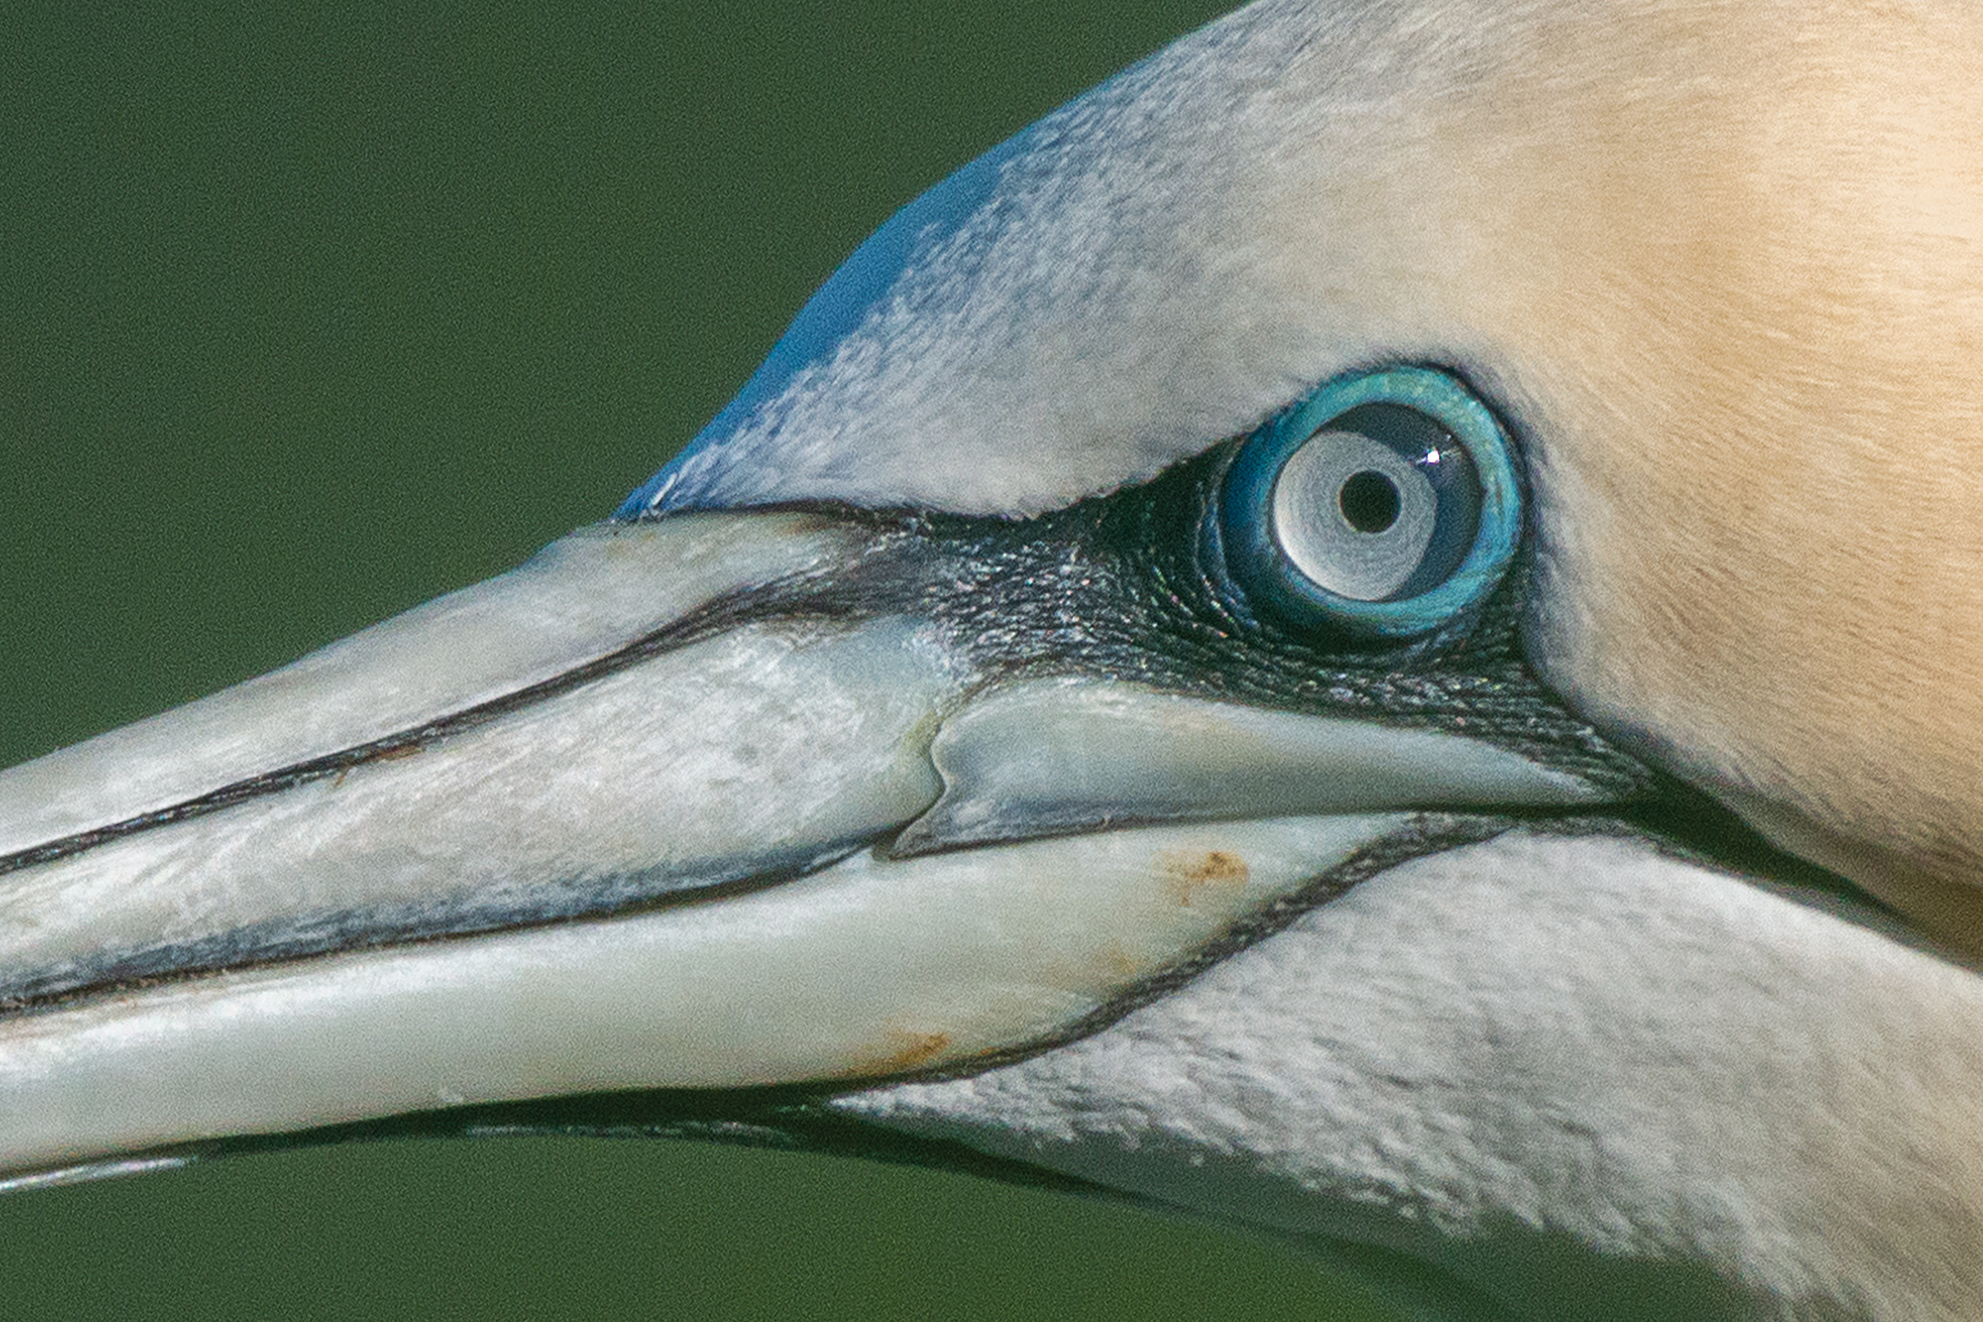
We used AF to focus on our subject’s eye. The Nikon D4 and many Nikon DSLRs released thereafter are able to autofocus at f/8 or wider, when using a compatible lens and teleconverter combination (this used to be limited to f/5.6 or wider). So be sure to find out where your camera stands.
6. Composition
Once you’re all set, concentrate on framing your subject. We shot through foliage to create dreamy foreground blur and created a super-shallow depth of field by ensuring that there was a large distance between our subject and the background. Finally, we used the focus-and-recompose method to compose plenty of negative space to the left of the frame.
N-Photo: The Nikon Magazine is a monthly publication that's entirely dedicated to Nikon users. For the best news, reviews, projects and more, subscribe to N-Photo today!
Read more:
The best camera for wildlife photography
12 top tips to photograph local wildlife
The best trail cameras

Mike studied photography at college, honing his Adobe Photoshop skills and learning to work in the studio and darkroom. After a few years writing for various publications, he headed to the ‘Big Smoke’ to work on Wex Photo Video’s award-winning content team, before transitioning back to print as Technique Editor (later Deputy Editor) on N-Photo: The Nikon Magazine.
With bylines in Digital Camera, PhotoPlus: The Canon Magazine, Practical Photography, Digital Photographer, iMore, and TechRadar, he’s a fountain of photography and consumer tech knowledge, making him a top tutor for techniques on cameras, lenses, tripods, filters, and more. His expertise extends to everything from portraits and landscapes to abstracts and architecture to wildlife and, yes, fast things going around race tracks...

