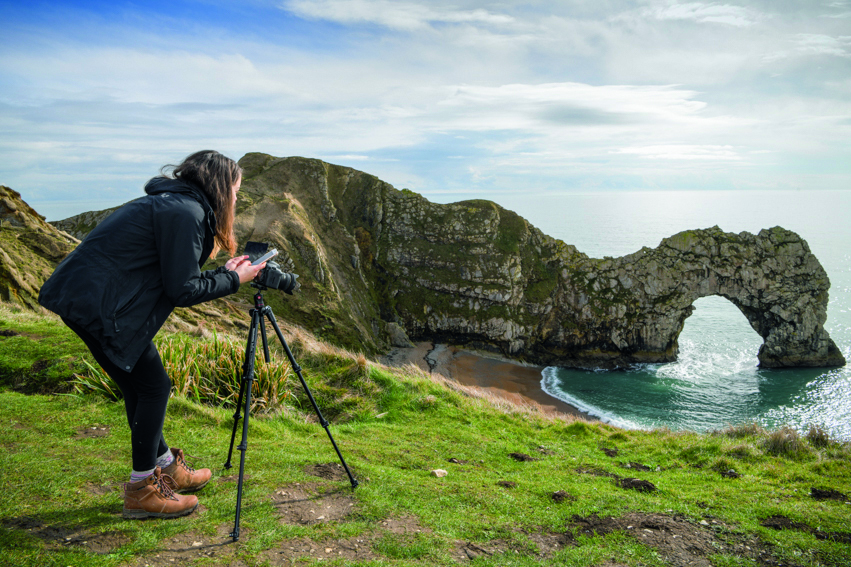
Sweeping coastlines and craggy cliffs make for dramatic photographic subjects. Many of the general landscape photo rules remain relevant for coastal shots, but seaside scenes benefit from more detailed planning.
This is because coastal locations are constantly changing, both over the course of a day and across the seasons. For example, tides transform the mood and composition of shots, and spring flowers inject striking colours into otherwise drab cliff-faces.
To improve your clifftop captures
Time needed: 60 minutes
Skill level: Intermediate
Kit needed: Tripod, wide-angle lens, filters (ND, ND grad, polarizer)
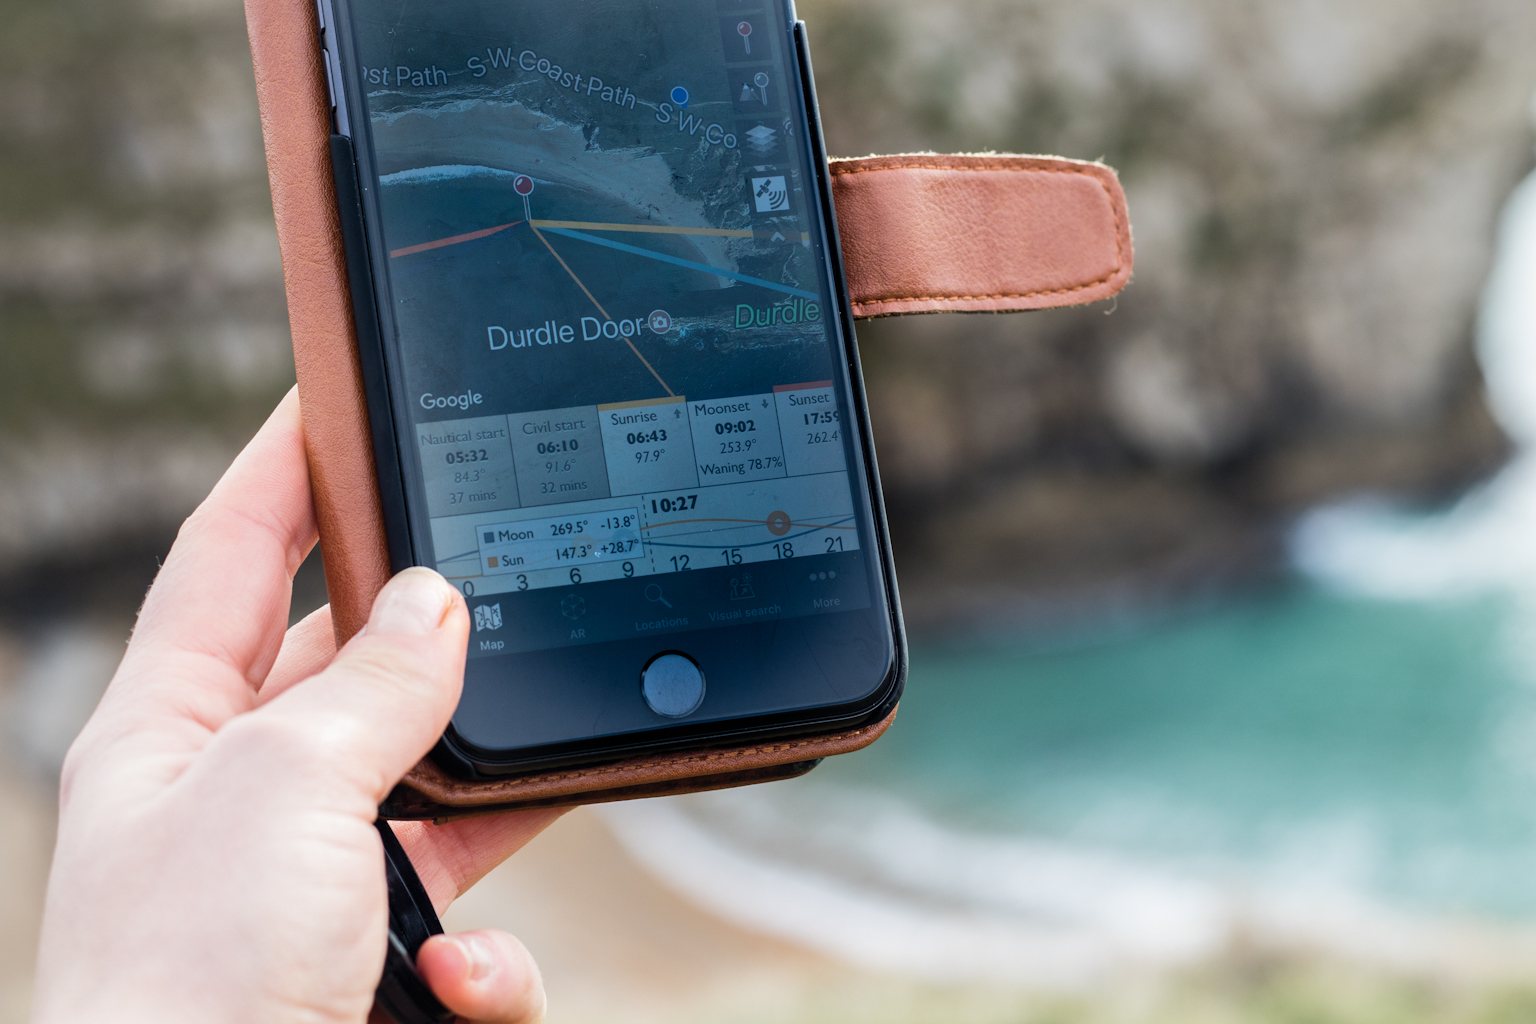
Arriving in the right place at the right time for that money shot is easier said than done. Online or OS maps will help you scout out potential new shooting grounds. Apps such as The Photographer’s Ephemeris will help you to determine which direction the sunrise and sunset will fall at your chosen vantage point. Lighting is key for this type of shoot, but you can still get dynamic results, even when the sun isn't shining.
Read more: 15 of the best photo apps: top editing apps for iOS and Android devices
Another challenge is to come up with a composition that leads the viewer’s eye into the frame. The rule of thirds is cliché for a reason, so use it if you’re struggling to frame a shot.
In this project we’ll share our best advice for kit and settings, then you can tailor the tips to suit your means. Why not revisit your favourite shooting spots throughout the year and see how the cliff tops transform?
Kit required
DSLR
While you can use any DSLR or mirrorless camera for this, one with a full-frame sensor is the best option. This will capture more light than a camera with a smaller sensor, which bodes well for image quality, and it's likely to have a better dynamic range too.
Wide-angle lens
For an exaggerated perspective, or to incorporate more of the coastline, shoot with a wide-angle lens. A focal length of 28mm or wider should do the trick.
Tripod
A sturdy base is a must for mounting your DSLR onto, both in terms of honing the composition and for shake-free long exposures. When you mount your camera on the tripod, make sure that the horizon is level (a spirit level is very handy here).
Filters
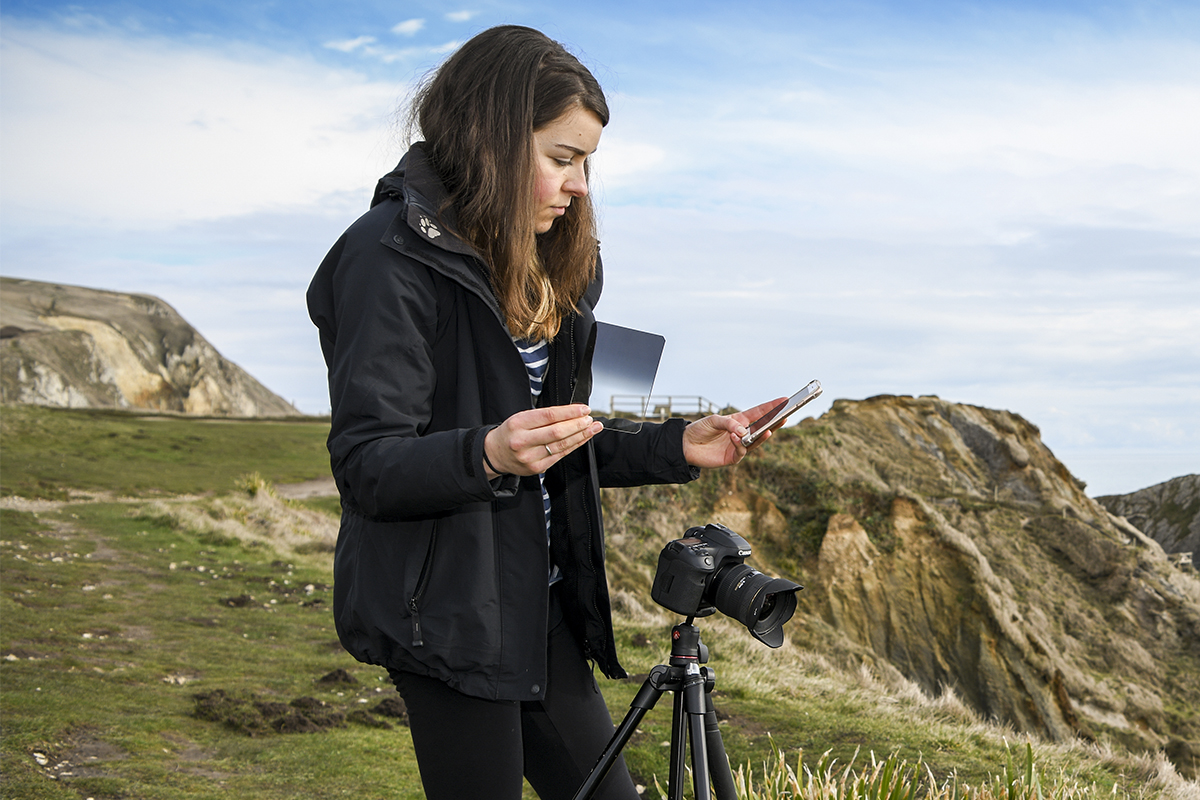
Having a variety of filters is useful for good seascapes. An ND filter will enable you to lengthen exposures and blur water movement, and a graduated ND will balance brighter skies. A polarizer helps to minimise reflections and glare.
Handy apps
Use tide tables, maps and apps to plan and research before a shoot. It’s important that you can predict the tides and weather conditions when out in the elements.
The right rig-out
Even in spring and summer, the coast can be a wet and windy domain. Take or wear plenty of layers, including a waterproof coat should the weather turn nasty.
Step-by-step guide
We visited the picturesque Durdle Door near Lulworth in Dorset, England. It’s a natural limestone arch on the Jurassic Coast, which was perfect for the rugged coastline we wanted to photograph.
1. Arrive in time
Check the sunrise (or sunset) and tidal information for your location and give yourself plenty of time to arrive and set up for the right lighting conditions. If the spot requires a walk to get to, make sure you factor this in.

2. Find the view
Every seascape needs a key focal point. With a clifftop vantage point like ours, the rock stack was the main point of interest. When you’ve decided on your viewpoint, finalise the composition on a sturdy tripod.
3. Composition
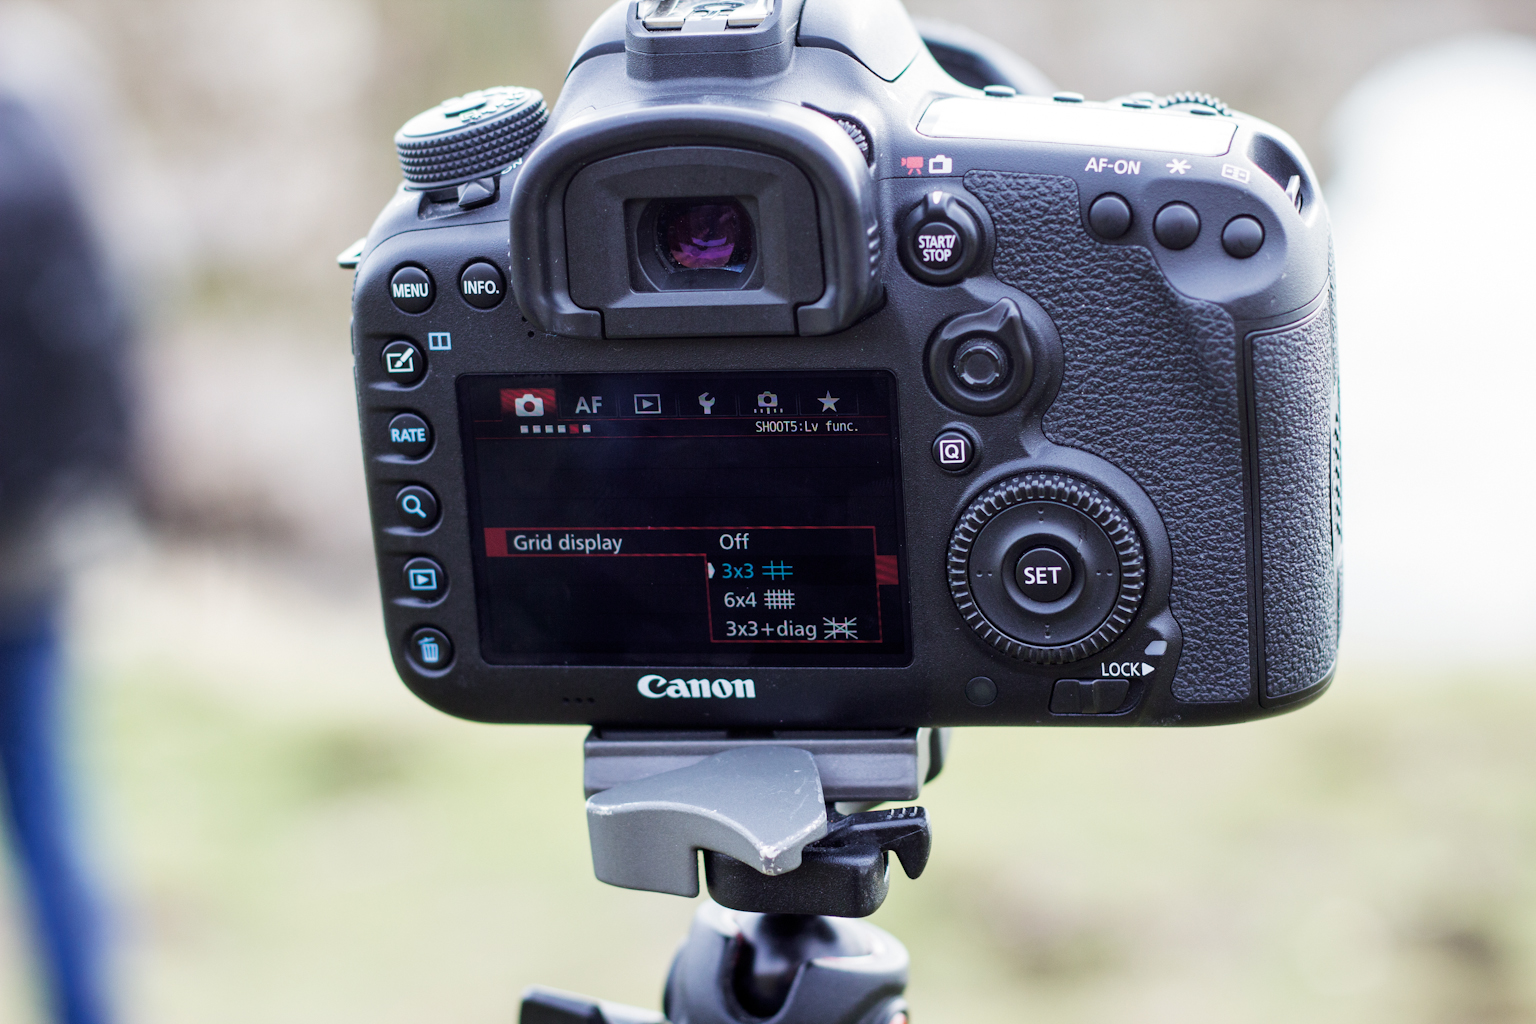
Next, ensure the horizon of the sea is level by using the camera’s in-built spirit level. Shoot in Live View mode and turn on your grid function to help with composition. Set it to 3x3, then use the rule of thirds to create a balanced frame. We framed up the final shot with a 10-20mm wide-angle lens at 20mm.
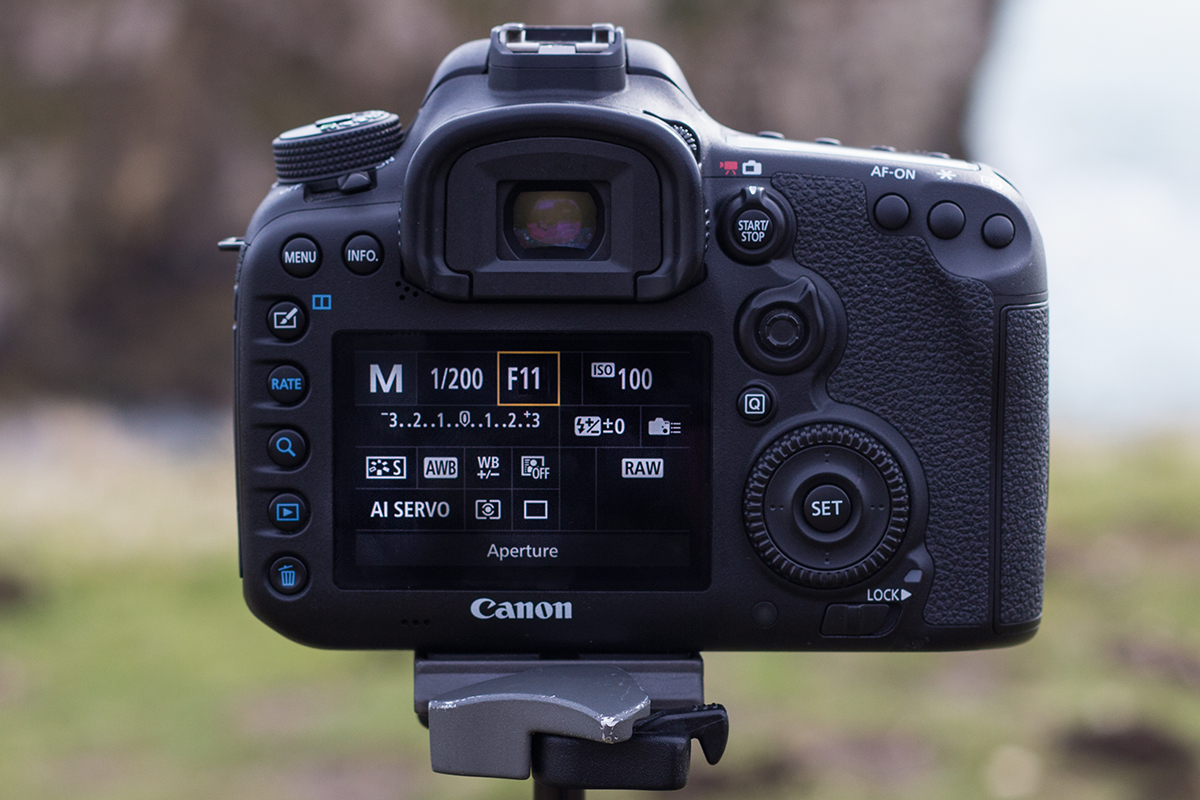
4. Camera settings
Switch to Manual mode and set a narrow aperture of around f/11, to keep the foreground and horizon as in-focus as possible. Set the ISO to the lowest possible value and keep the White Balance on Auto. If your lens is struggling to focus, switch to manual focus and focus a third of the way into the scene.
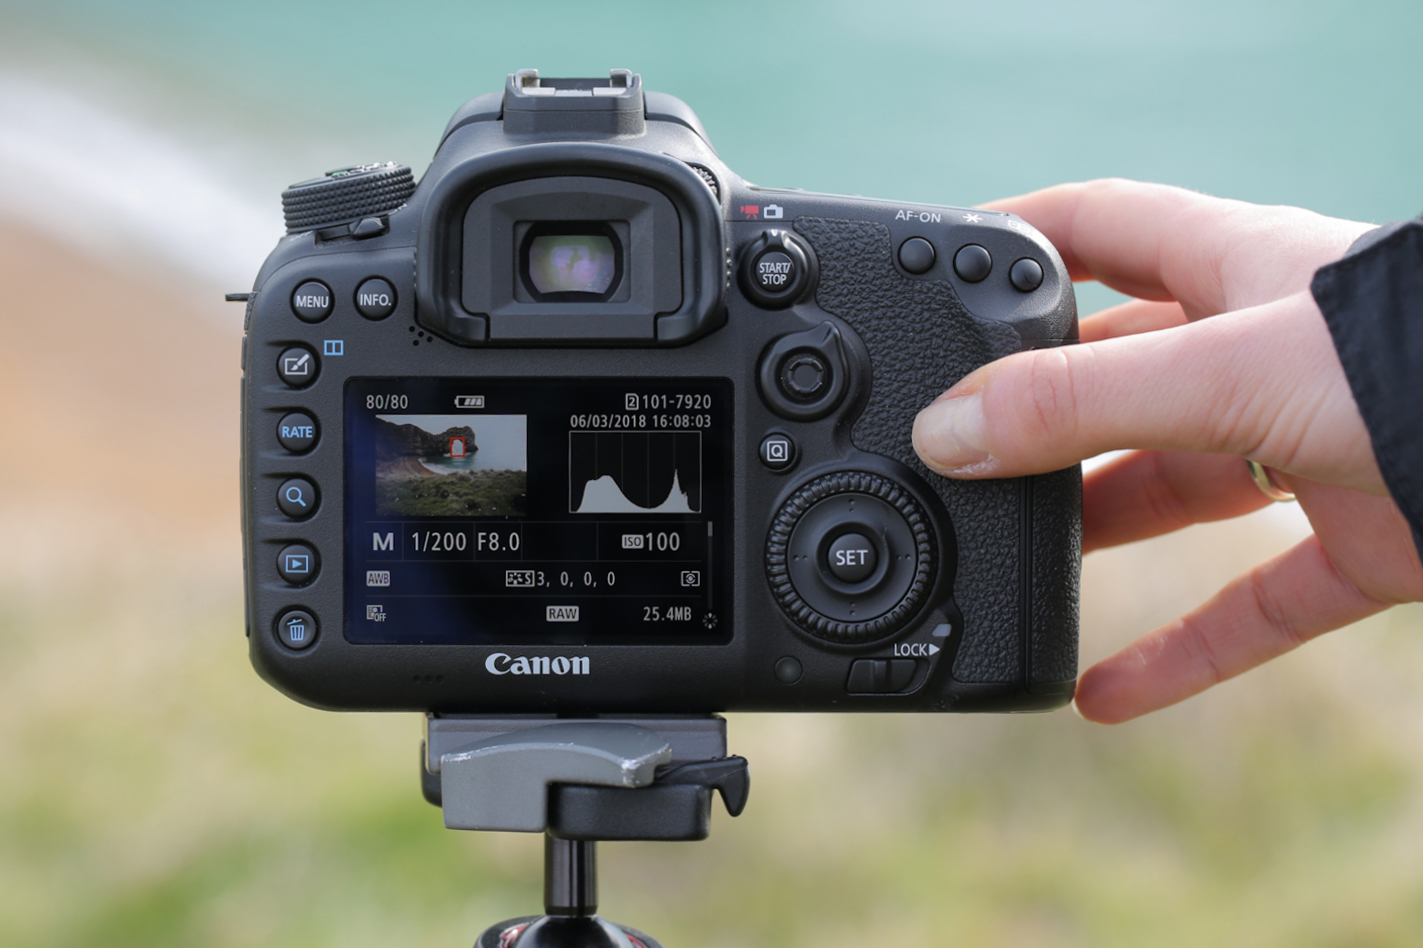
5. Tweak the exposure
When you’re ready, fire a few test shots with a remote control or cable release (to avoid any motion blur). Review your images and the histogram, checking that you’re not clipping any highlight or shadow details.
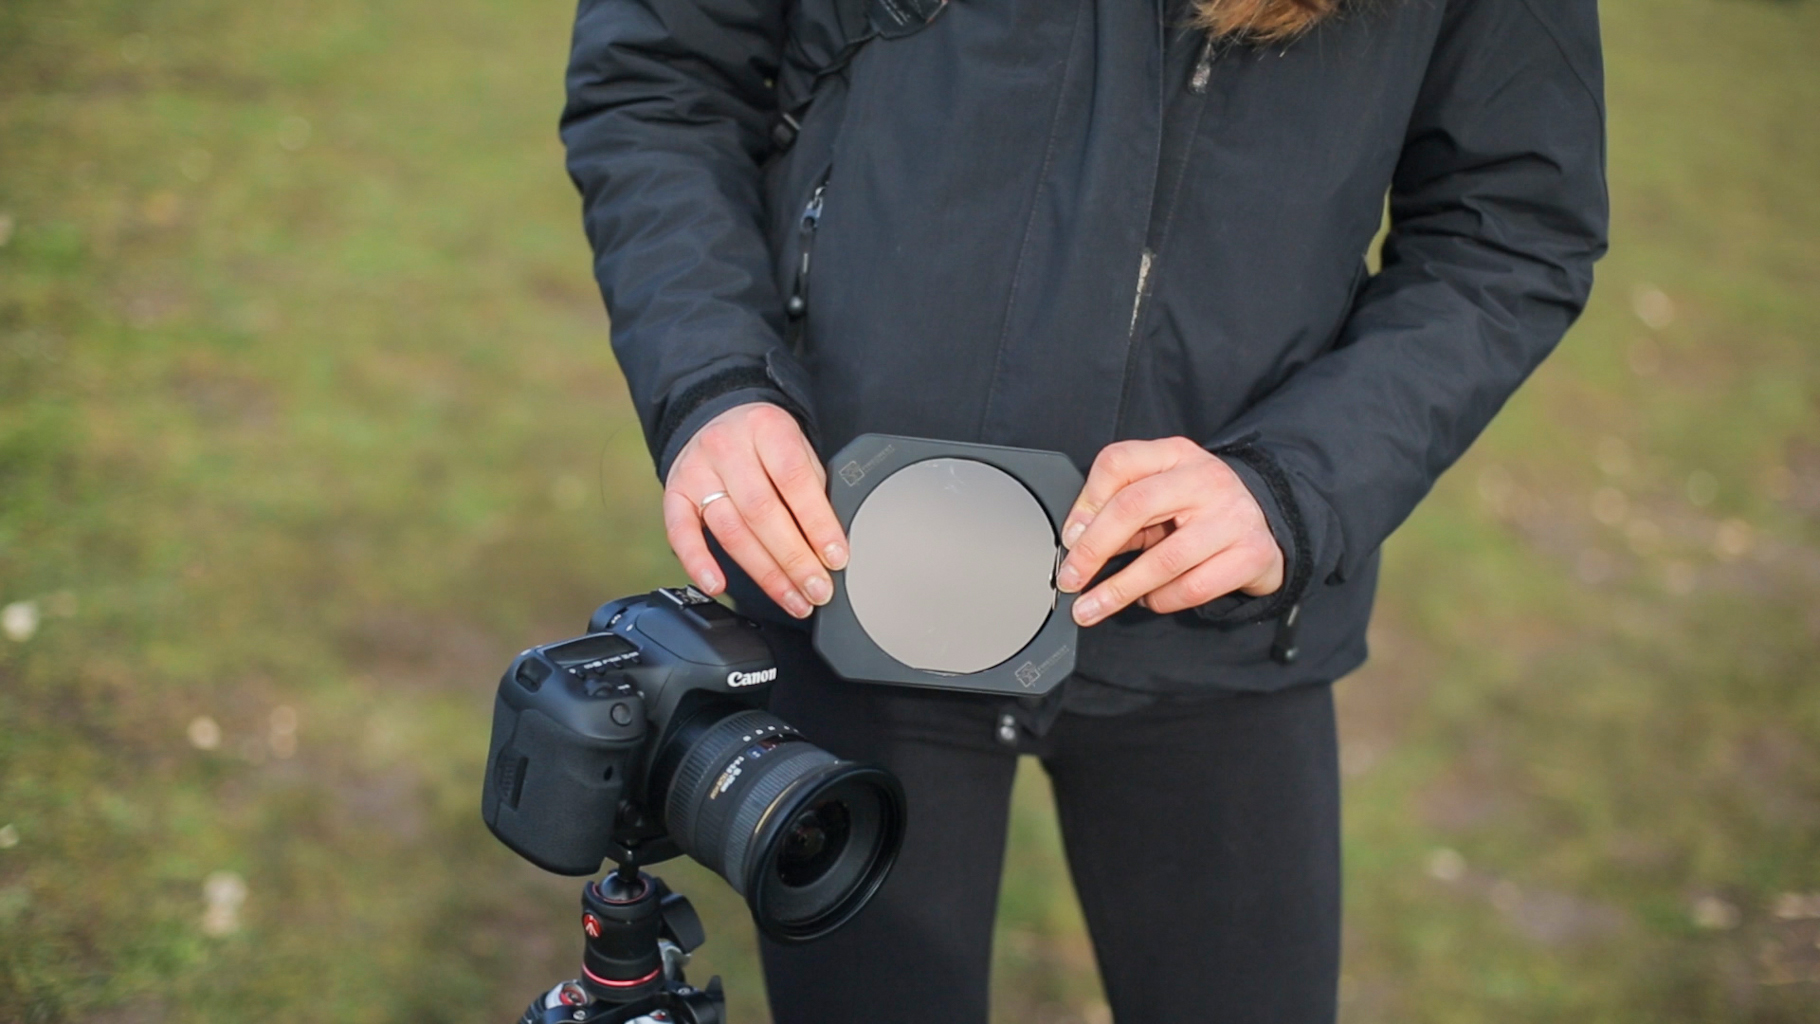
6. Add filters
To experiment further, we used a graduated ND filter to balance the brighter sky with the darker rocks. To blur water movement around the rock feature, we could have screwed a 10-stop ND filter onto the lens.
Enjoyed this feature? Subscribe to PhotoPlus today
Get the Digital Camera World Newsletter
The best camera deals, reviews, product advice, and unmissable photography news, direct to your inbox!
PhotoPlus: The Canon Magazine is the world’s only 100% Canon-focused title on the newsstand. Launched in 2007, for 14 years it has delivered news, reviews, buying guides, features, inspirational projects and tutorials on cameras, lenses, tripods, gimbals, filters, lighting and all manner of photography equipment.
Aimed squarely at enthusiast photographers who use the Canon DSLR or mirrorless camera systems, all content is tailored to Canon users – so everything from techniques to product tests are tailored to those using the EOS camera system.
Editor Peter Travers brings 14 years of experience as both a journalist and professional photographer, with Technique Editor Dan Mold shoring up the magazine with his 6 years of expertise.


