How to photograph flower close-ups in natural light
Photograph flower images with a beautiful bokeh-filled background using a superzoom lens
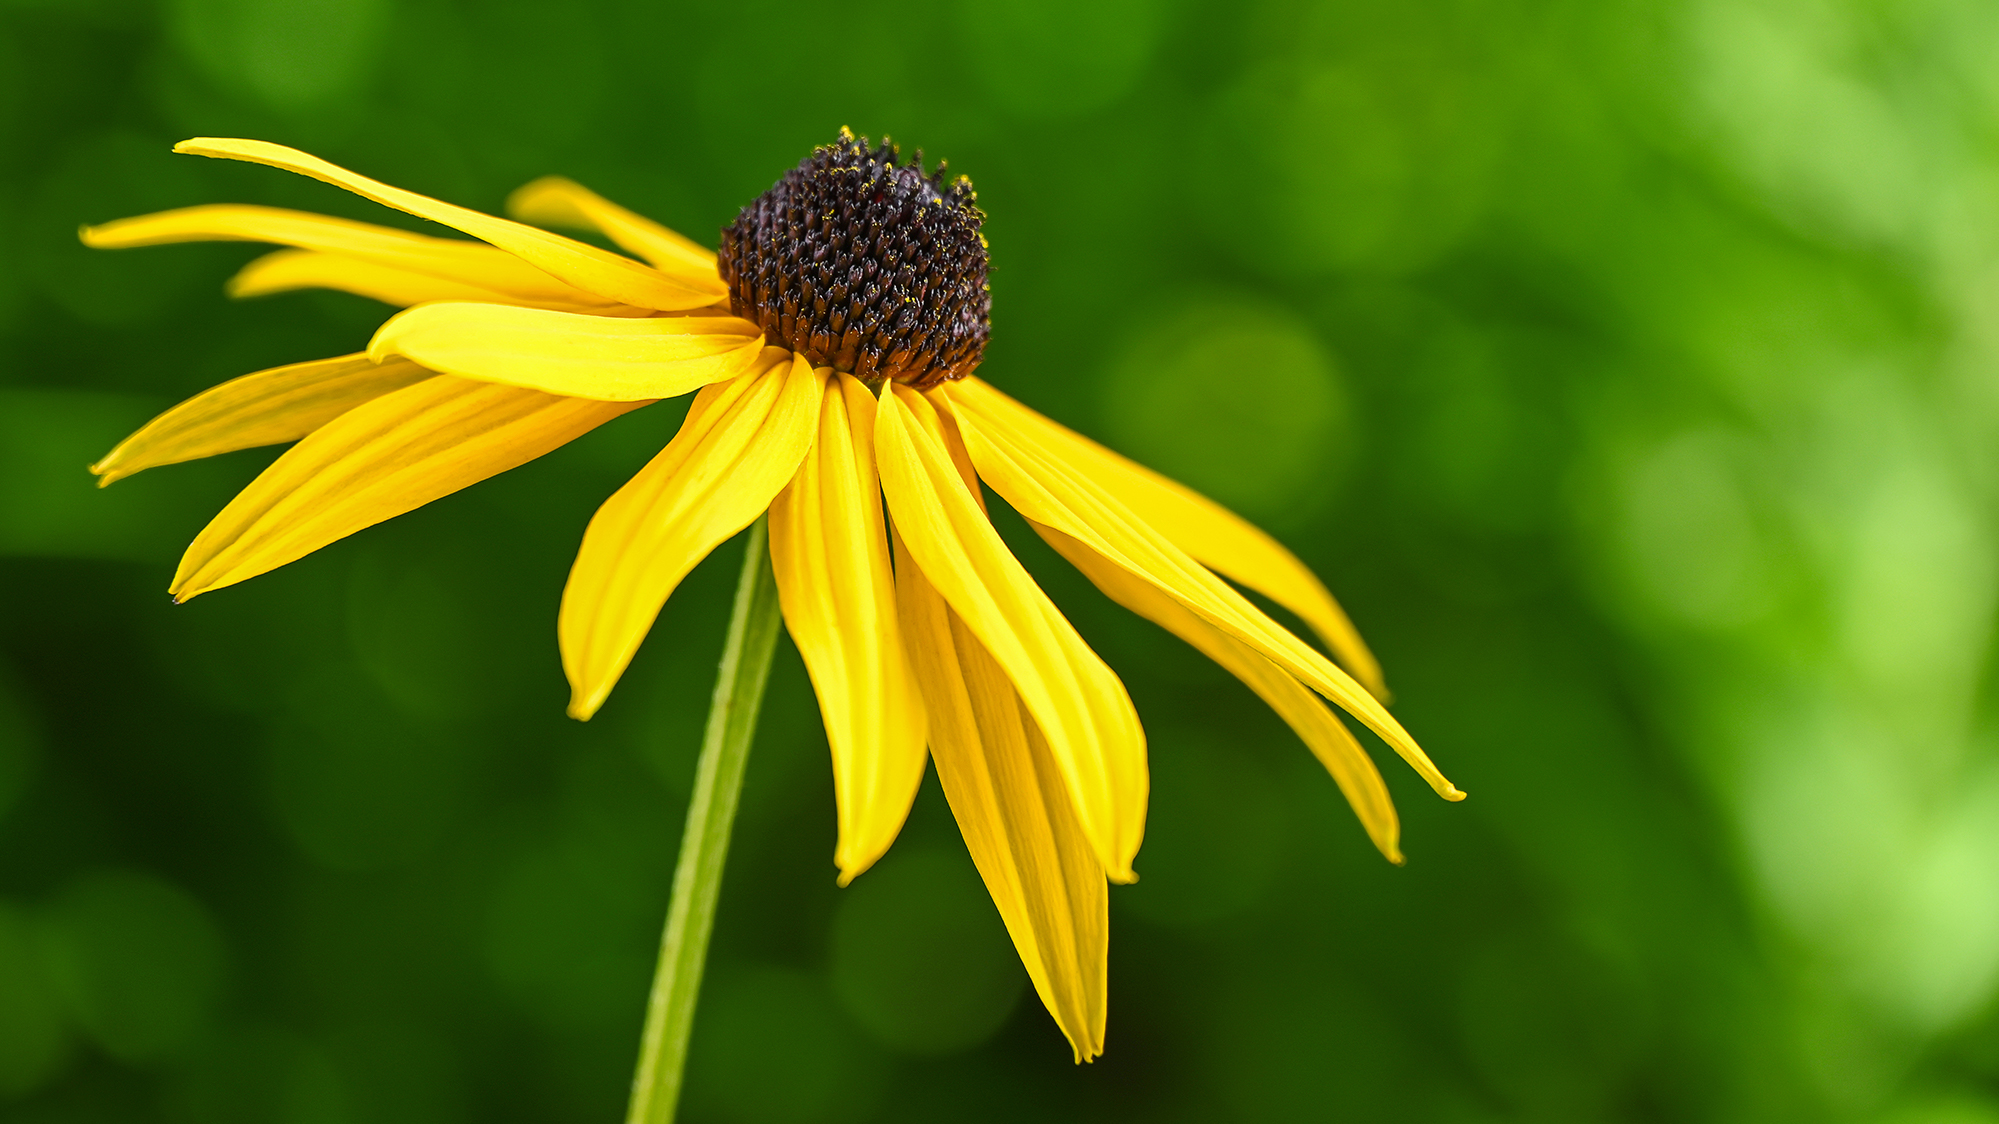
Photograph flowers with a superzoom lens to capture beautiful, bokeh-filled imagery.
Photography project inspiration
• 14 tips for fantastic flower photography at home
Useful wildlife photography kit
• Best superzoom lenses
• Best close-up filters for photography
• Best ringflash for macro photography
• How to shoot close-ups without a macro lens
Harsh midday sunlight isn’t ideal when you photograph flowers, so you’re always better off choosing an overcast day or periods when the sun is lower in the sky. But while natural light doesn’t offer the absolute control of studio lighting, you can still manipulate it. Here’s how to capture a floral close-up and realize the budding flower photographer in you.
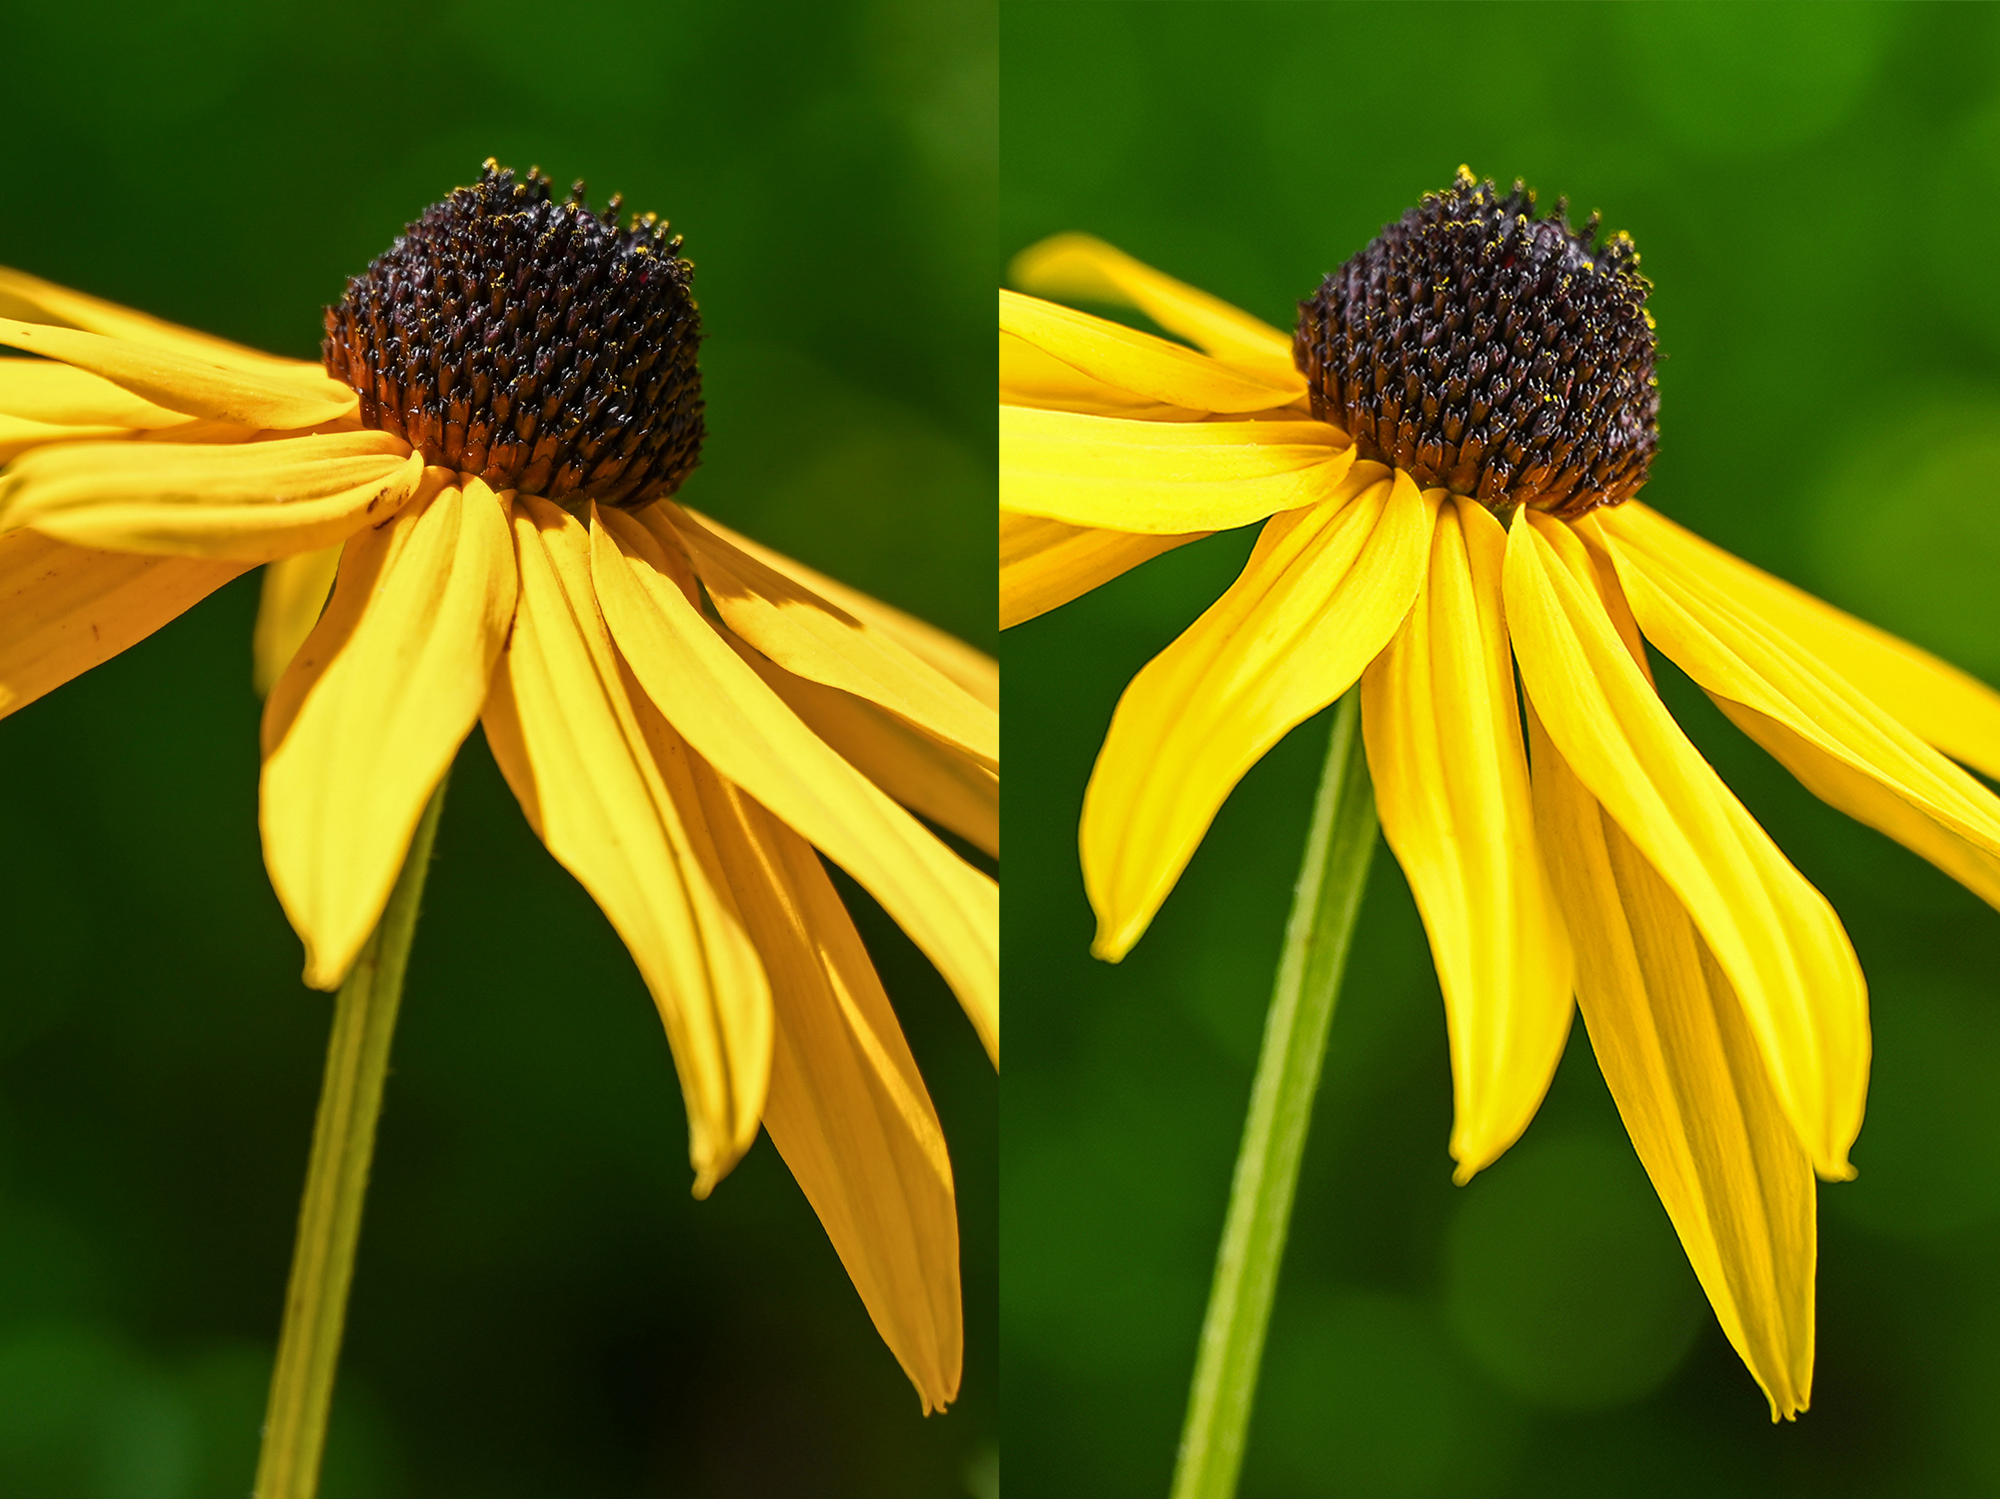
You might think only a macro lens is suitable for stunning close-up flower photos, but you can capture beautiful flora portraits with a superzoom lens. We photographed our black-eyed Susan with the new Nikon Z5 and Z 24-200mm f/4-6.3 VR lens.
• Looking for photoshoot ideas?
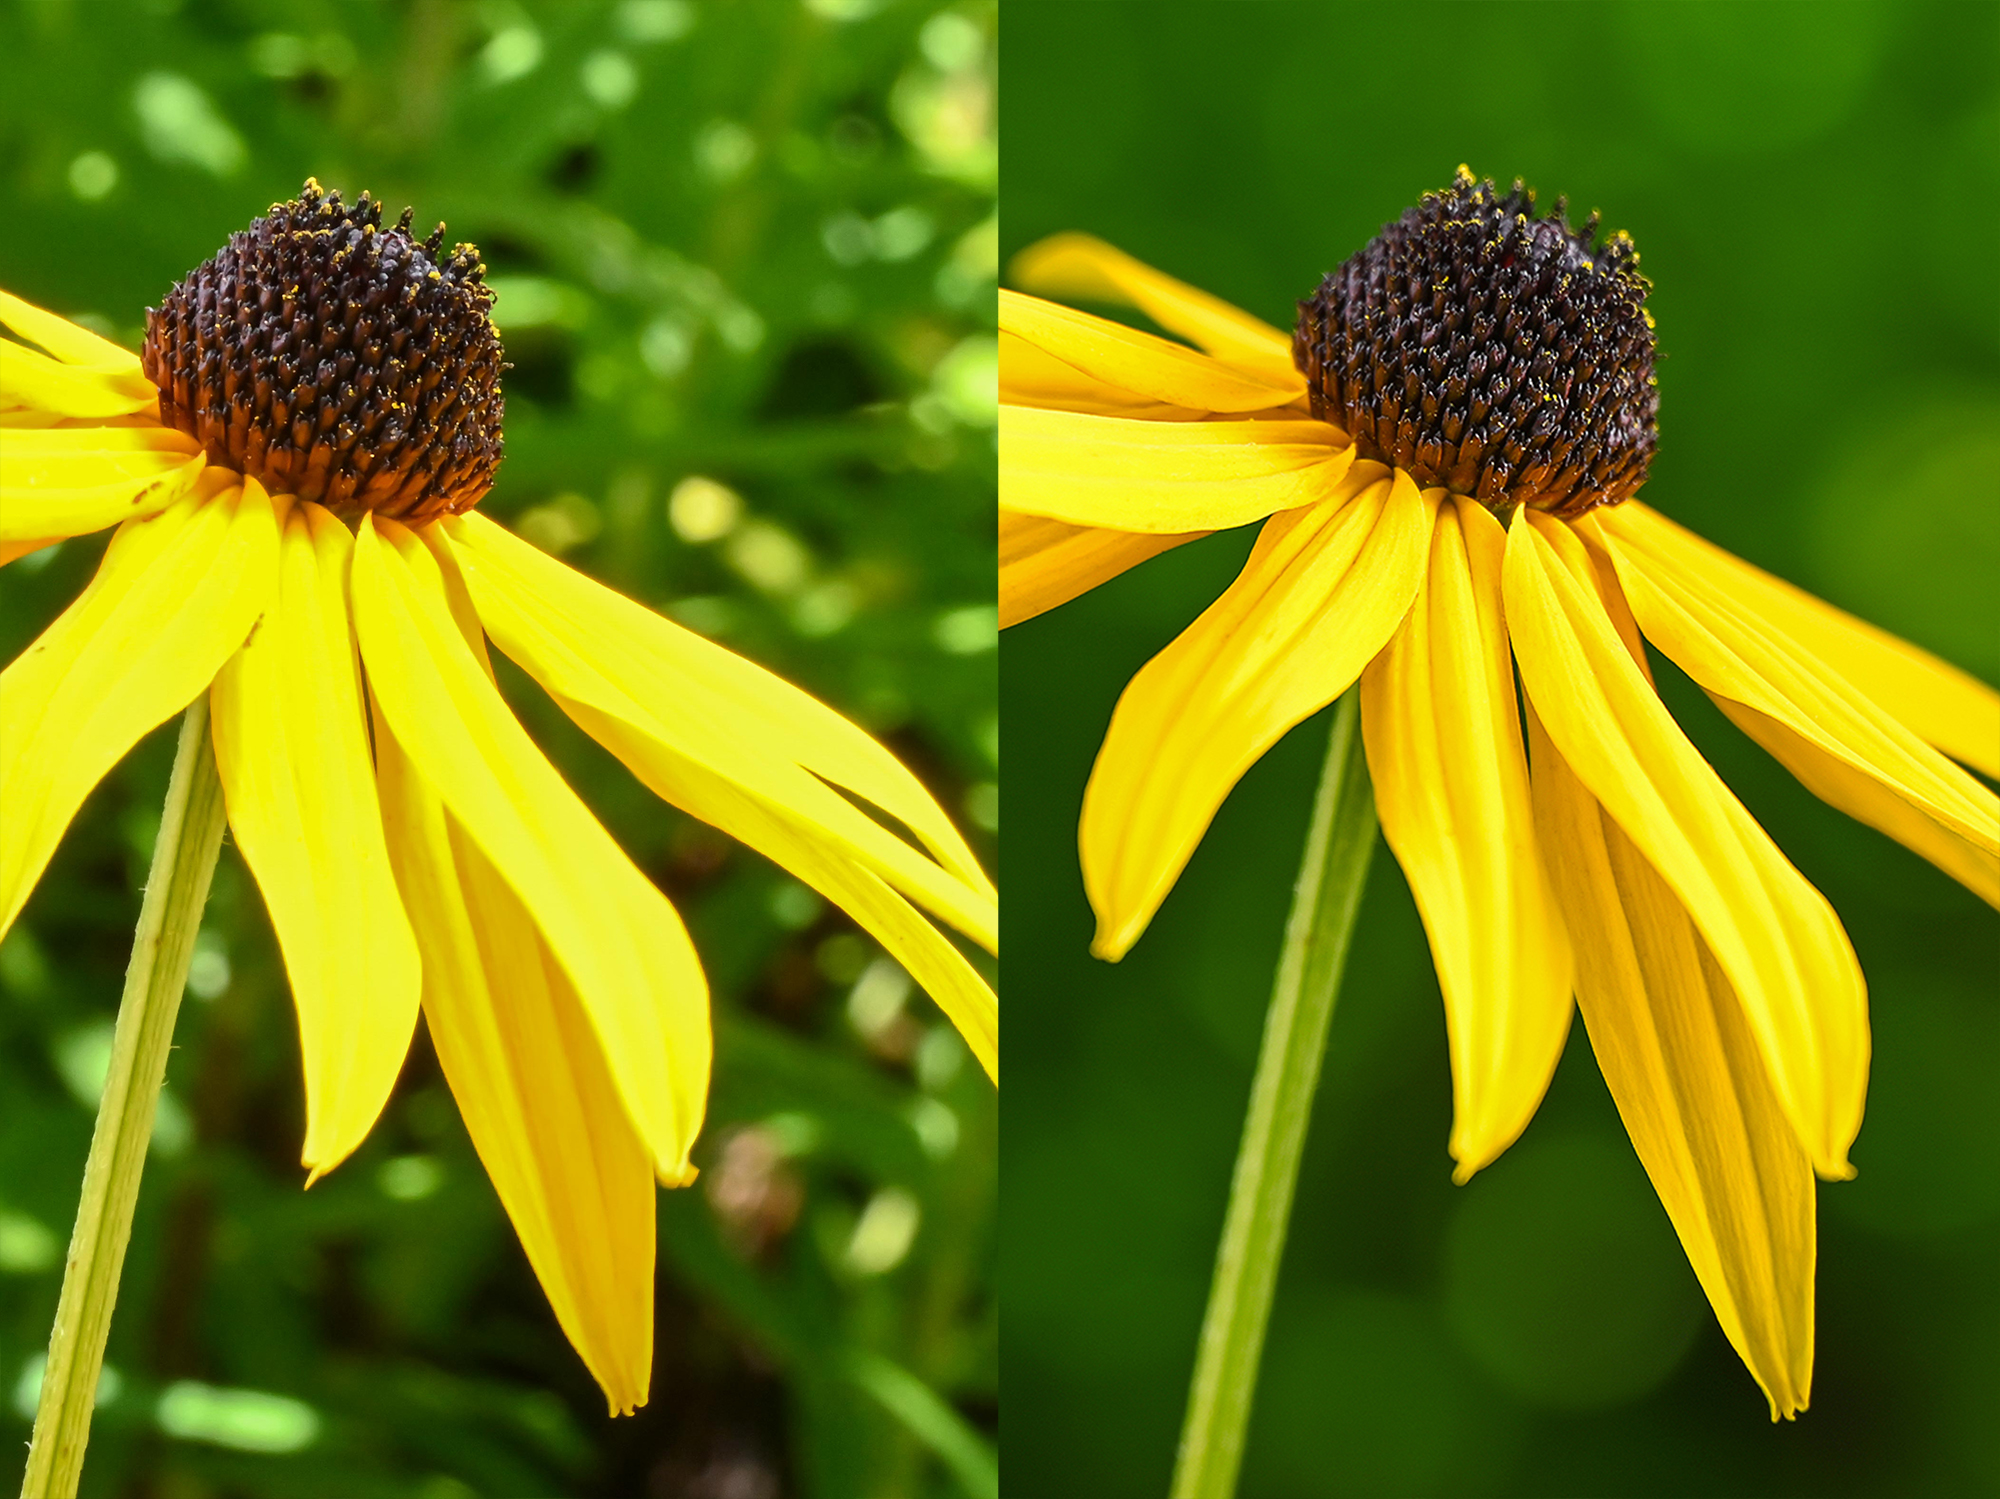
The optic’s 0.7m minimum focus distance allowed us to get close enough to our subject so that it filled a good portion of the frame. The lengthy distance between subject and background also allowed us to capture large discs of bokeh, despite the modest aperture.
How to photograph a flower close-up
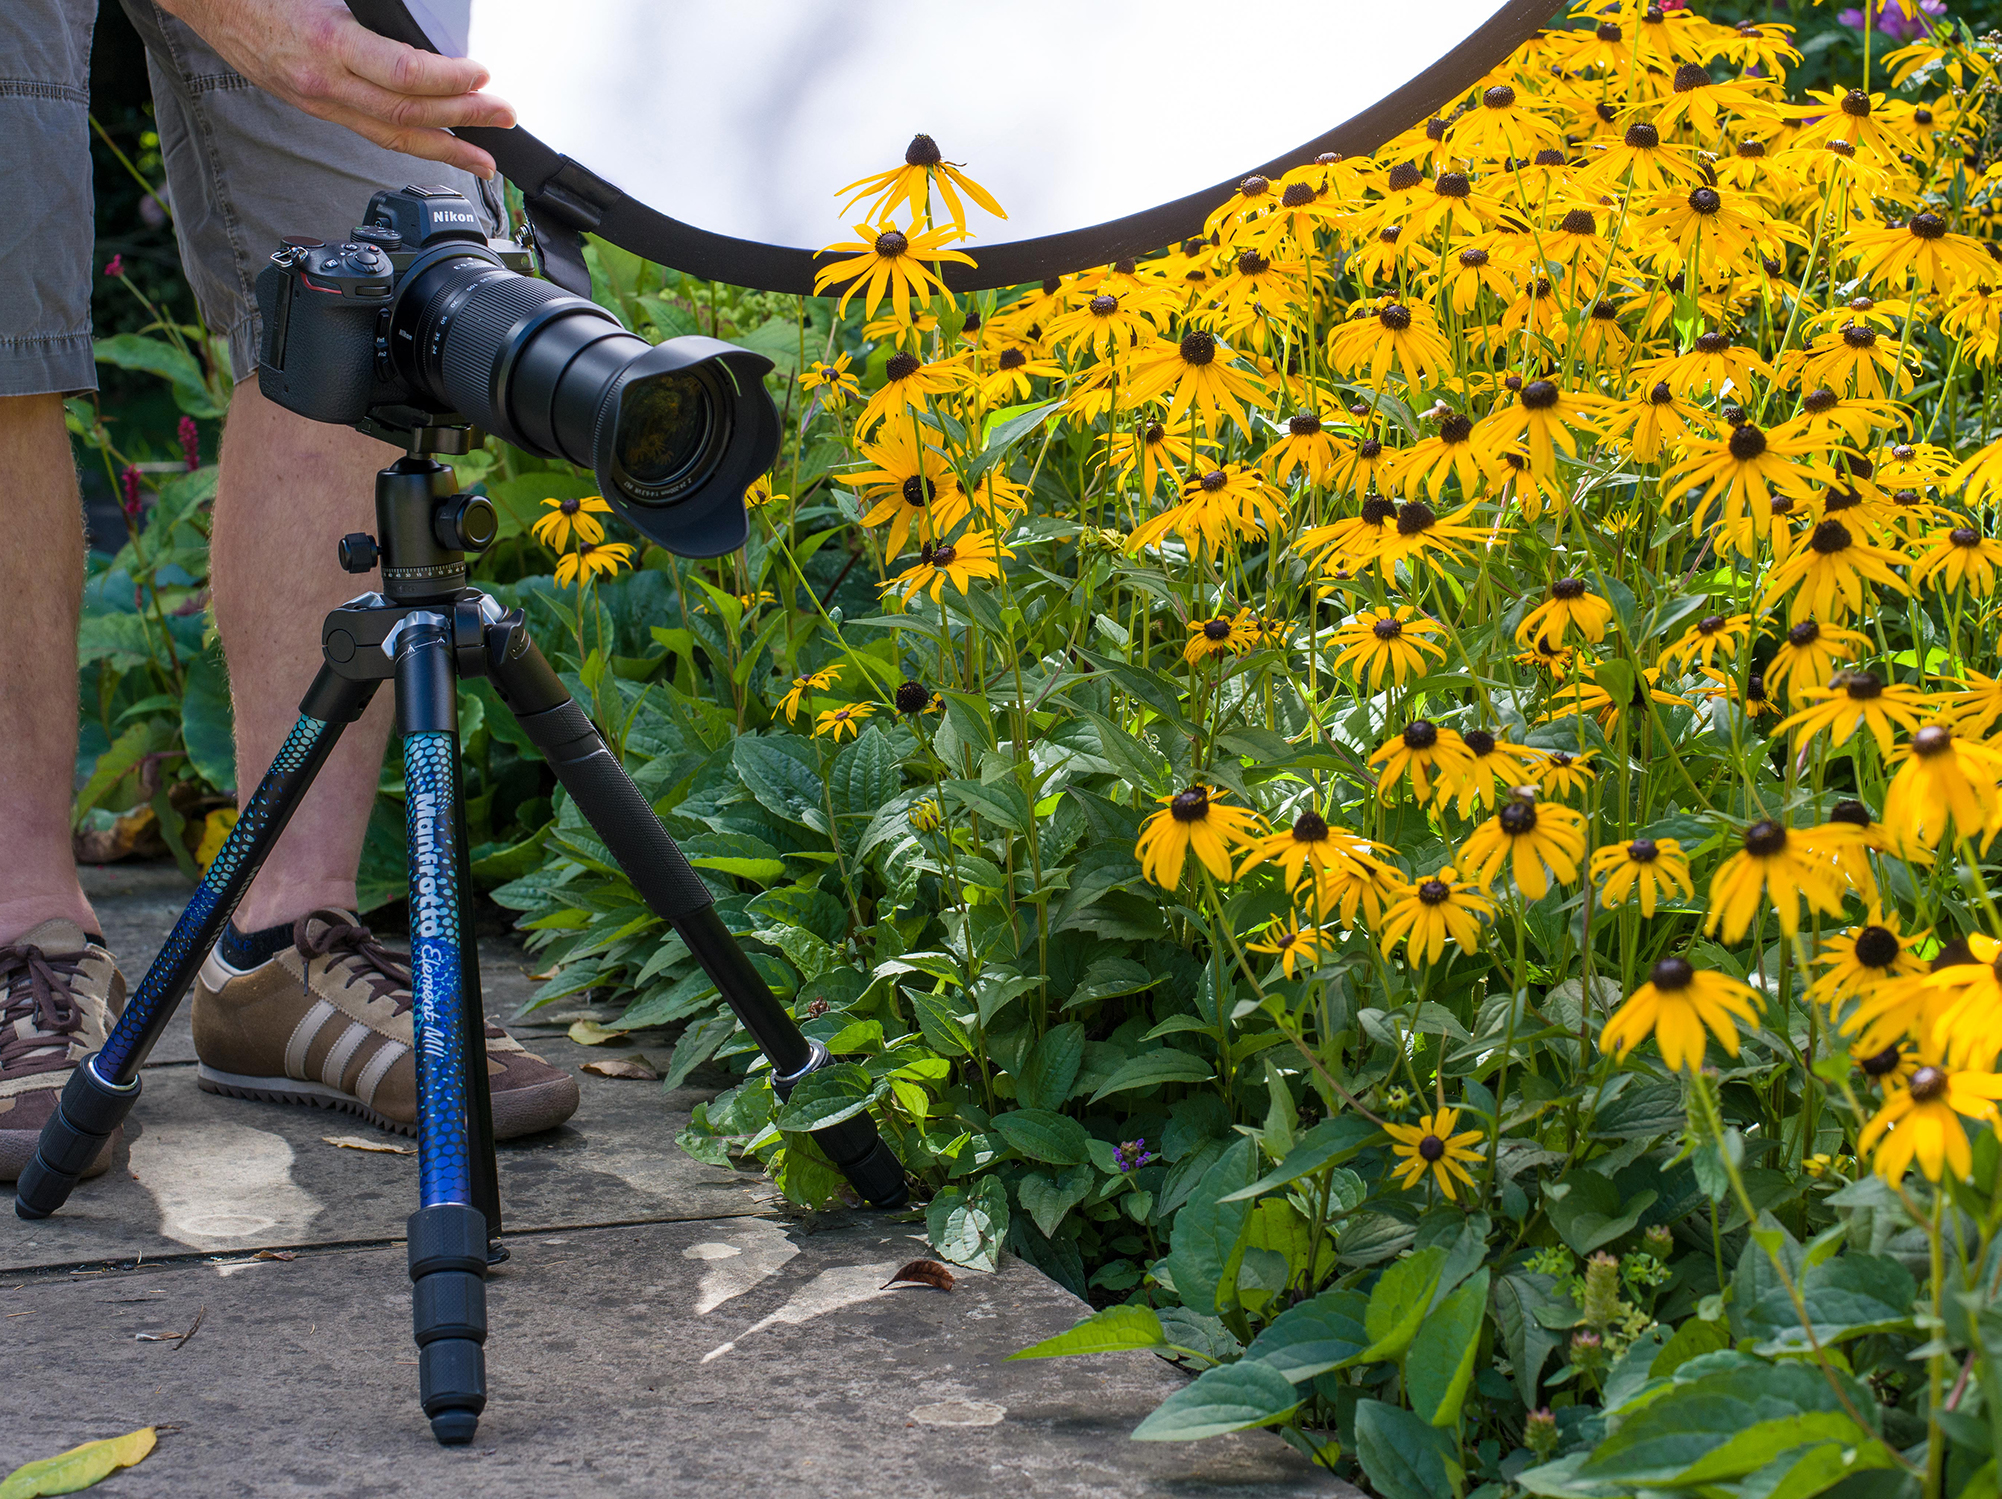
1. Dutch tilt
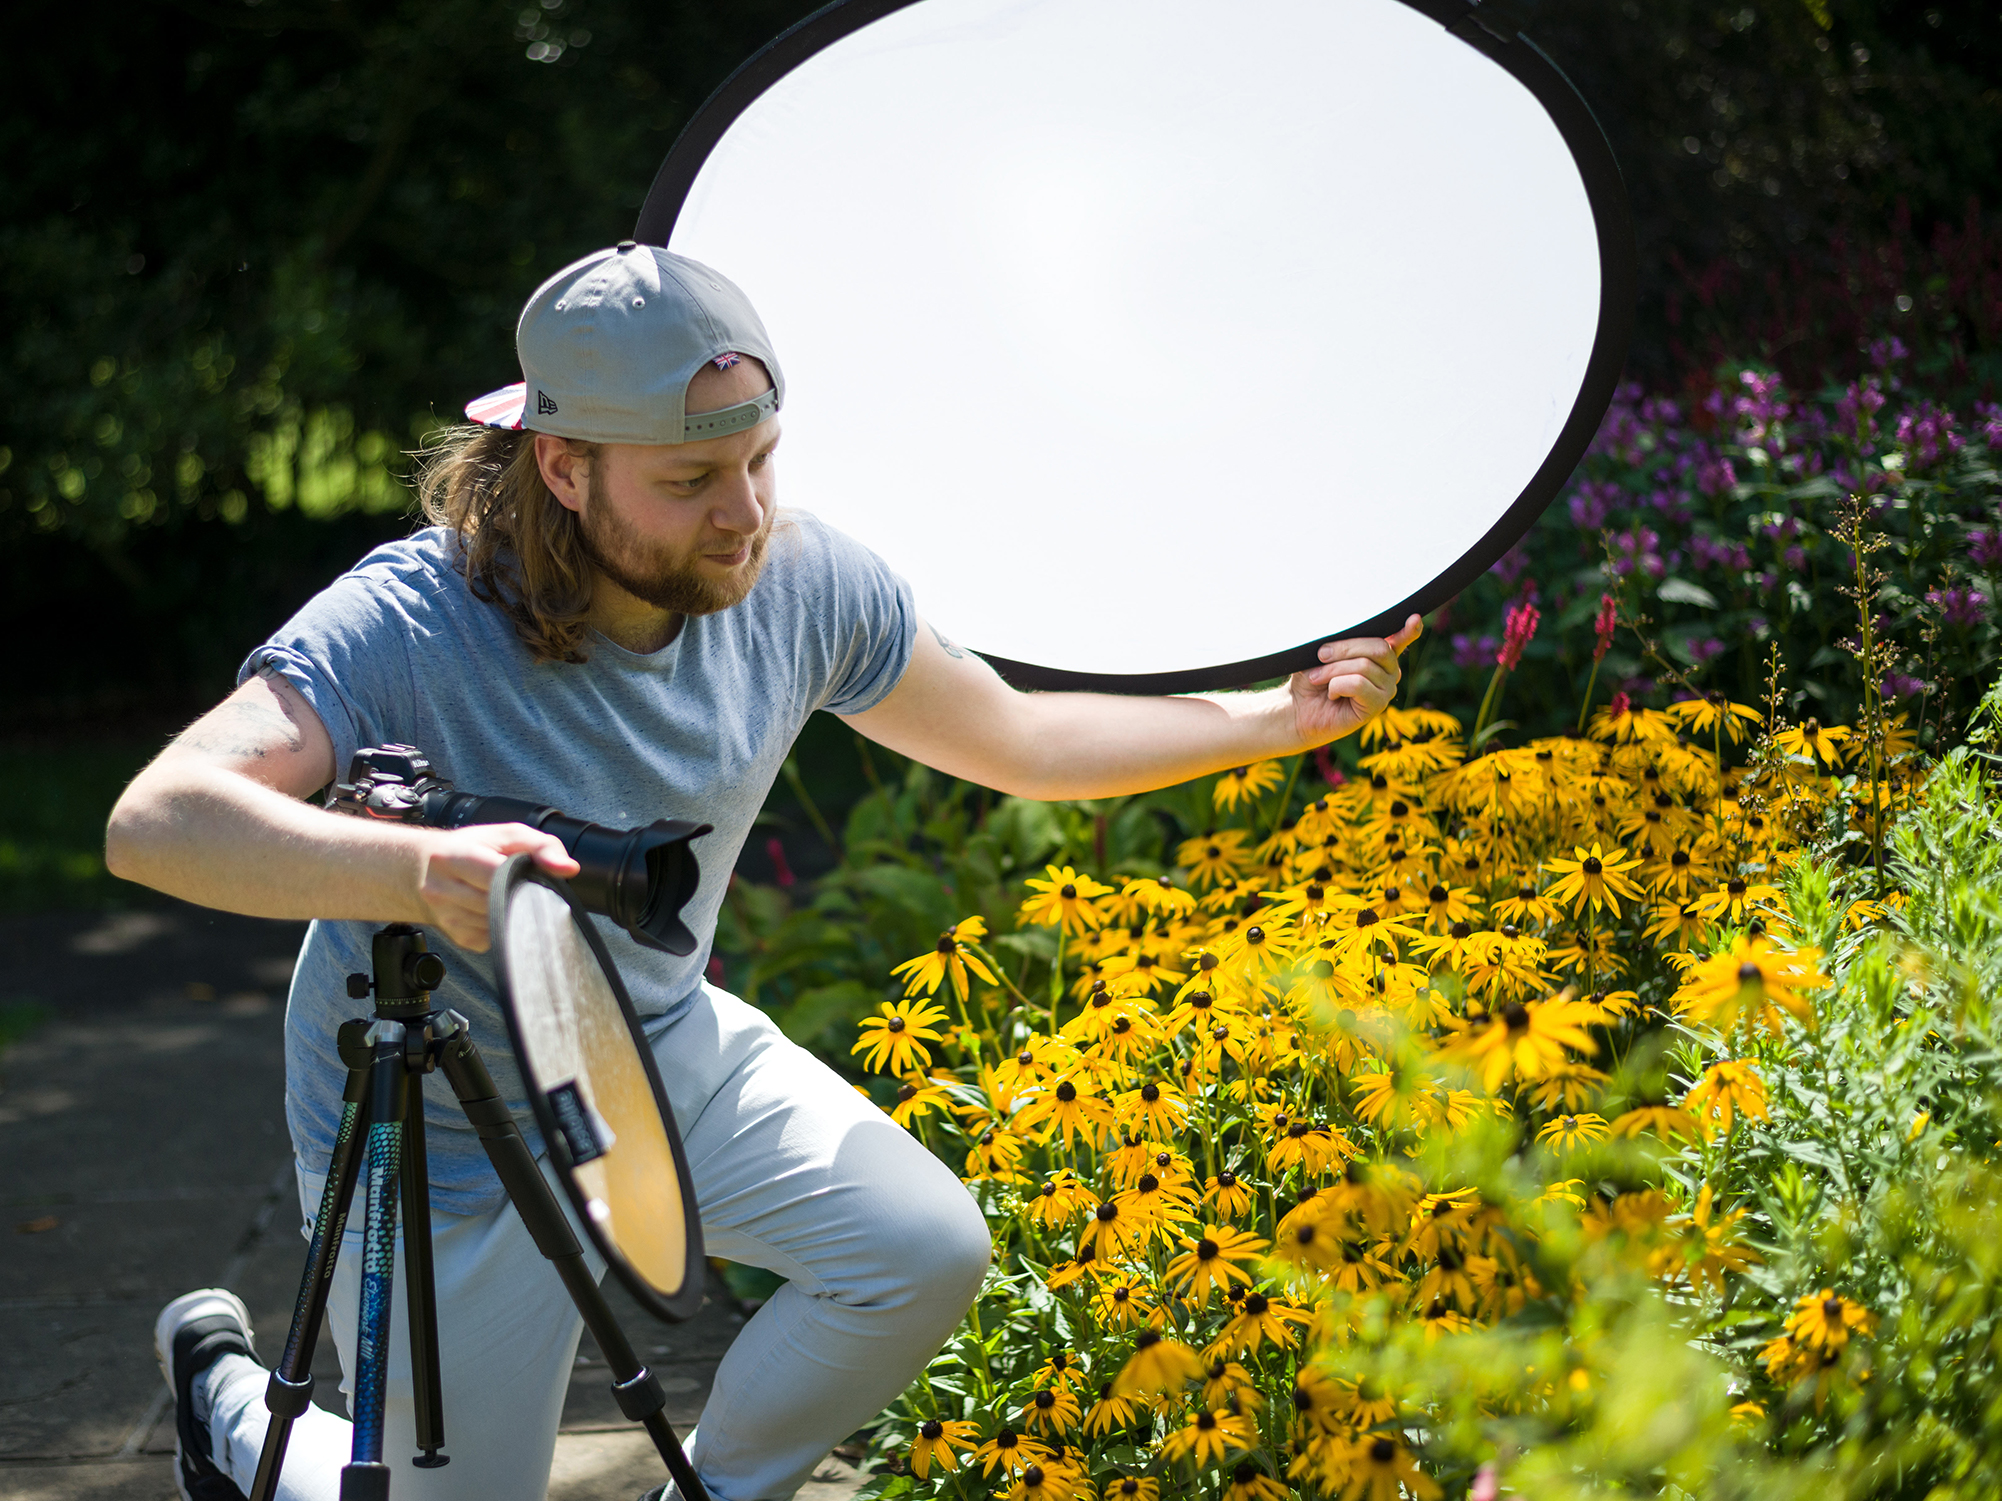
A tripod will allow you to refine your framing, and free up your hands so you can hold a reflector and diffuser (should you need them). Don’t be afraid to tilt your camera if it improves your composition, there’s no reason why your frame needs to be perfectly level.
2. Clean as a whistle
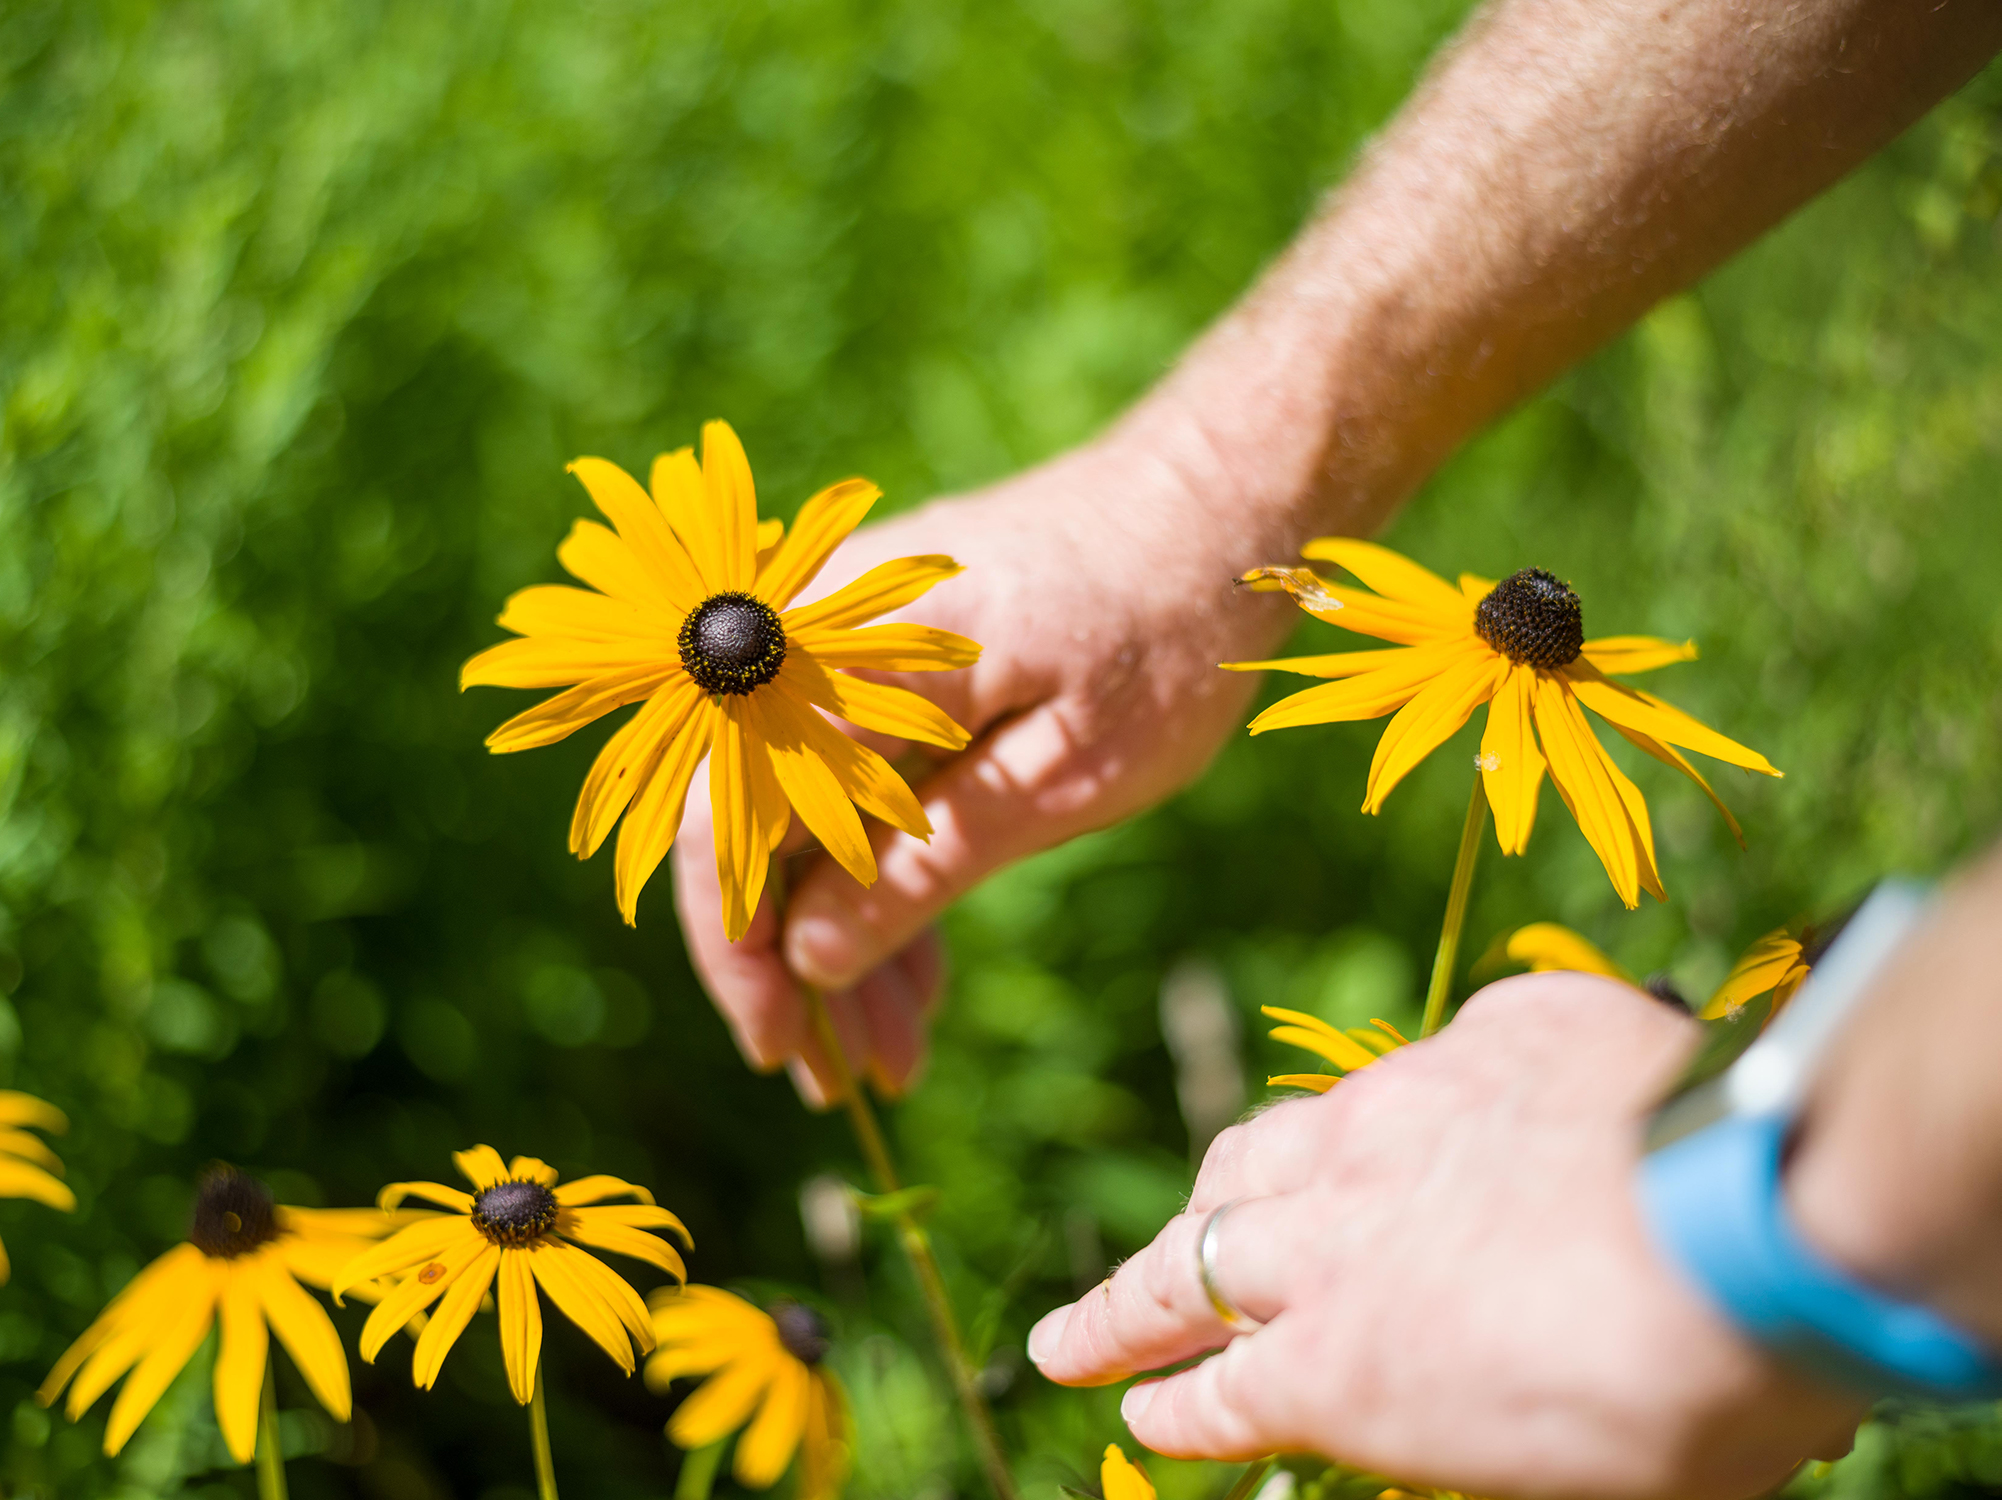
A clean background will direct attention to your subject. You may have to gently reposition it or nudge nearby flowers aside to achieve this (you can purchase specialist clamps to help). Do not risk damaging any plants. If in doubt, search for a more suitable subject.
3. Diffuse the situation
We’d recommend photographing flowers on an overcast day or when the sun is lower in the sky, so the light isn’t overly harsh. If you have to shoot in the middle of a sunny day, angle a diffuser between your subject and the sun to soften the light, and prevent the formation of dark shadows.
4. Camera settings
Set your aperture wide open. Despite our modest f/6.3 aperture, the lengthy 185mm focal length and decent distance between our subject and background produced a suitably shallow depth of field. We used a shutter speed of 1/250 sec to mitigate movement caused by a slight breeze.
5. Find the stigma
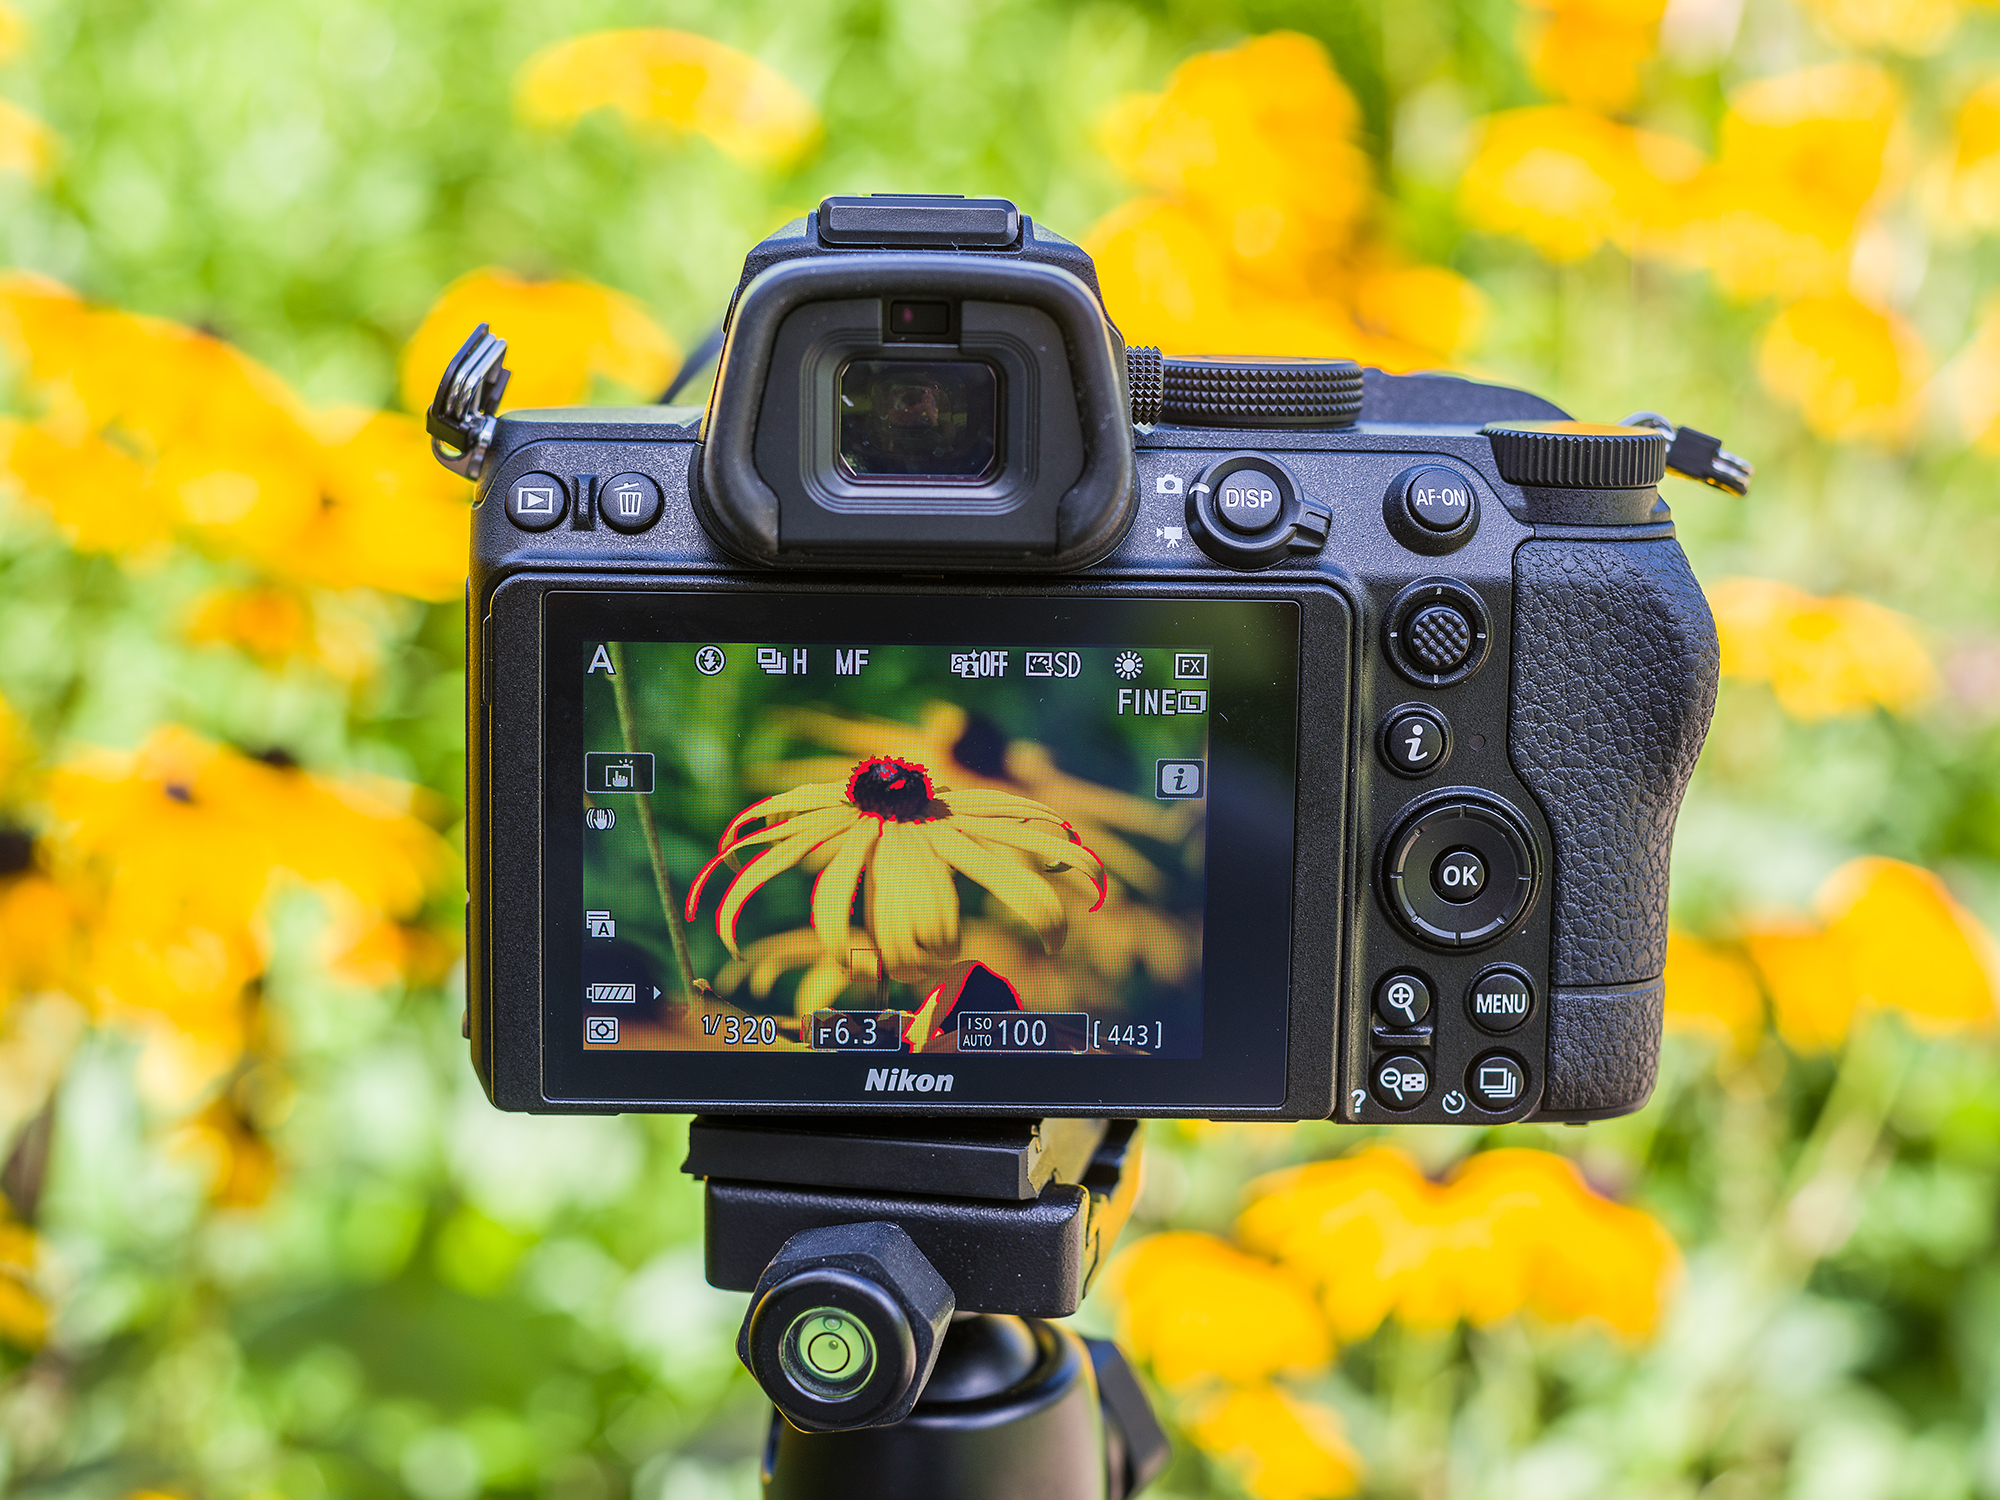
The centre of your flower, or the stigma or stamens should be your focal point (if visible). We used single-servo AF and placed a single focus point on the centre of our black-eyed Susan. We then checked our area of focus was perfect using the Z 5’s handy focus peaking overlay.
6. Reflect the light
Use a reflector to direct light onto your subject, and fill in any shadows. Wait until there’s no breeze and fire the shutter. You can use a remote shutter release or self timer if you need your hands free to hold a diffuser and reflector. However, the latter may take a little trial and error as it’ll be more difficult to time your shot between gusts of wind.
N-Photo: The Nikon Magazine is a monthly publication that's entirely dedicated to Nikon users. For the best news, reviews, projects and more, subscribe to N-Photo today!
Read more
Best superzoom lenses
Best close-up filters for photography
Best ringflash for macro photography
Camera equipment every photographer should have in their bag
Get the Digital Camera World Newsletter
The best camera deals, reviews, product advice, and unmissable photography news, direct to your inbox!

Mike is Digital Camera World's How To Editor. He has over a decade of experience, writing for some of the biggest specialist publications including Digital Camera, Digital Photographer and PhotoPlus: The Canon Magazine. Prior to DCW, Mike was Deputy Editor of N-Photo: The Nikon Magazine and Production Editor at Wex Photo Video, where he sharpened his skills in both the stills and videography spheres. While he's an avid motorsport photographer, his skills extend to every genre of photography – making him one of Digital Camera World's top tutors for techniques on cameras, lenses, tripods, filters and other imaging equipment – as well as sharing his expertise on shooting everything from portraits and landscapes to abstracts and architecture to wildlife and, yes, fast things going around race tracks...
