How to photograph live music
Fancy photographing your favourite bands? Pro music photographer Matt Higgs reveals his secrets to getting great shots at concerts
Best camera settings for live music photography
When it comes to music photography, choosing the right settings can sometimes feel like a challenge, and often, what works for one show will need some adjustment for another – even if it's in the same venue.
Here’s how I approach each of my camera's major settings.
Exposure mode
In the fast-paced environment of the concert, the most important thing, in my opinion, is to be so familiar with controlling your camera that its operation feels natural. For that reason, I opt to always shoot in the Manual exposure mode, as I enjoy the ability to adjust my shutter speed, aperture and ISO settings in response to changing light.
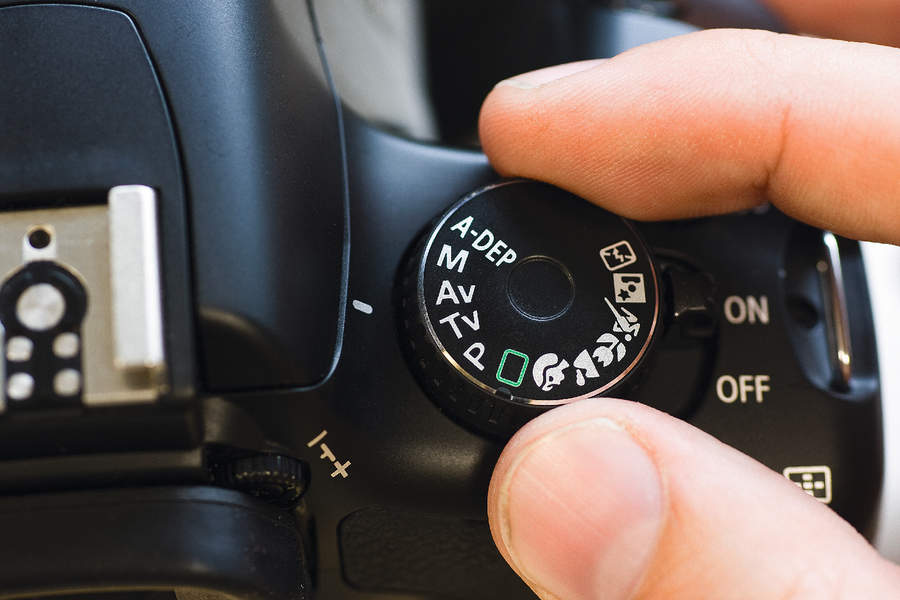
Some concert photographers I know prefer to shoot using the Aperture Priority mode, where they can set an aperture and ISO level, and then use exposure compensation as required instead. Both methods can work brilliantly.
Read more: What are the differences between the PASM modes on your camera?
The benefit of being in the Manual mode is total control over exposure so that you don’t get any surprises when a camera’s metering system has misjudged a split-second moment of light, but its downside is the time it takes to make changes.
The benefit of being in Aperture Priority is a faster and less involved control of exposure that leaves you free to focus on composition, but its negative is occasional underexposure and overexposure.
Aperture
Generally speaking, I’ll normally try and keep my aperture at around f/2.8 to allow lots of light into my sensor while maintaining a depth of field that keeps the majority of a subject in focus. In particularly dark venues I’ll open this up to f/1.8 on lenses capable of it, while in particularly bright ones and at outdoor festivals, I may go as narrow as f/5.6 for tack-sharp subjects that still have a blurry background.
Shutter speed
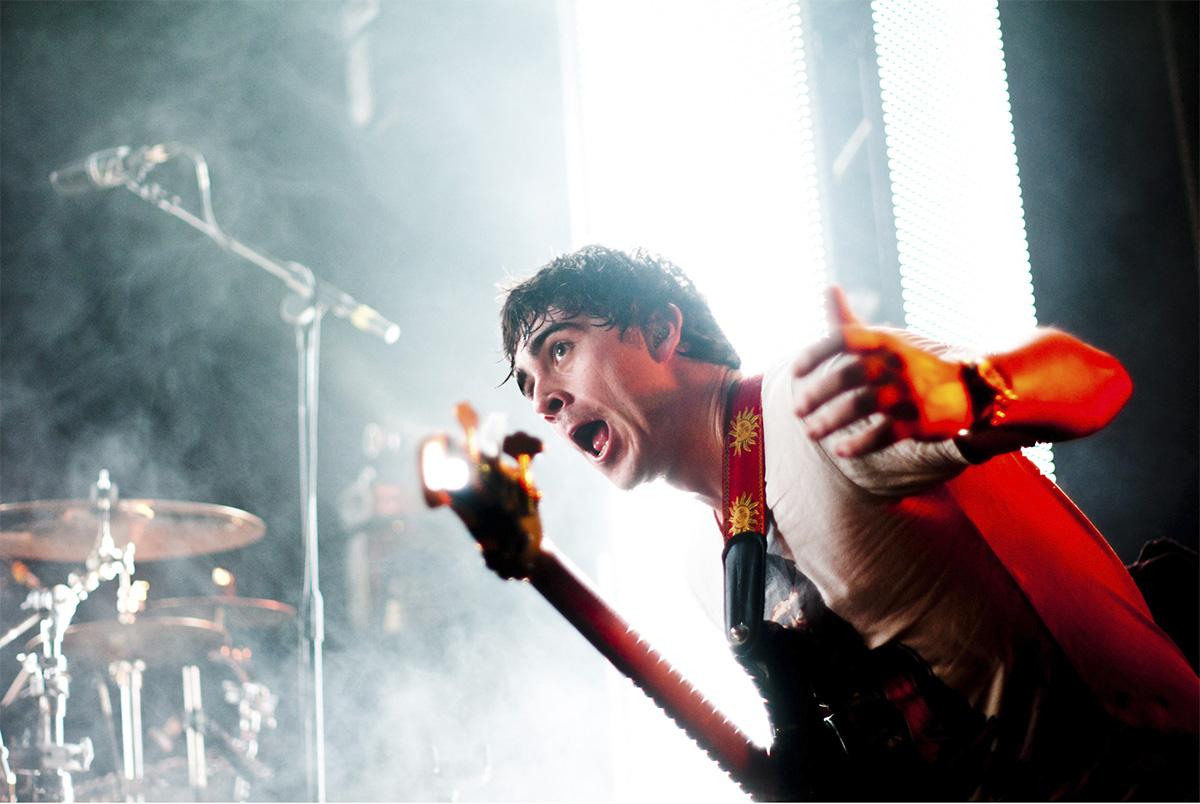
As a minimum, I try to avoid ever dropping my shutter speed below 1/200sec in order to ensure sharp shots of all but the fastest-moving subjects. Where there are particularly active band members, or where light allows, I’ll try to push this up to 1/500sec, and sometimes even beyond.
Read more: Cheat sheet - Which shutter speed should you be using?
If I’m struggling to get a well-exposed image at 1/200sec, I prefer to increase my ISO level at the expense of image noise, rather than lose sharpness due to increased motion blur.
ISO
When I arrive at most venues I’ll begin with my sensitivity at ISO 1600 – a setting I know produces an amount of noise I find acceptable – and adjust it upwards if required to get me to the aforementioned minimum shutter speed and aperture.
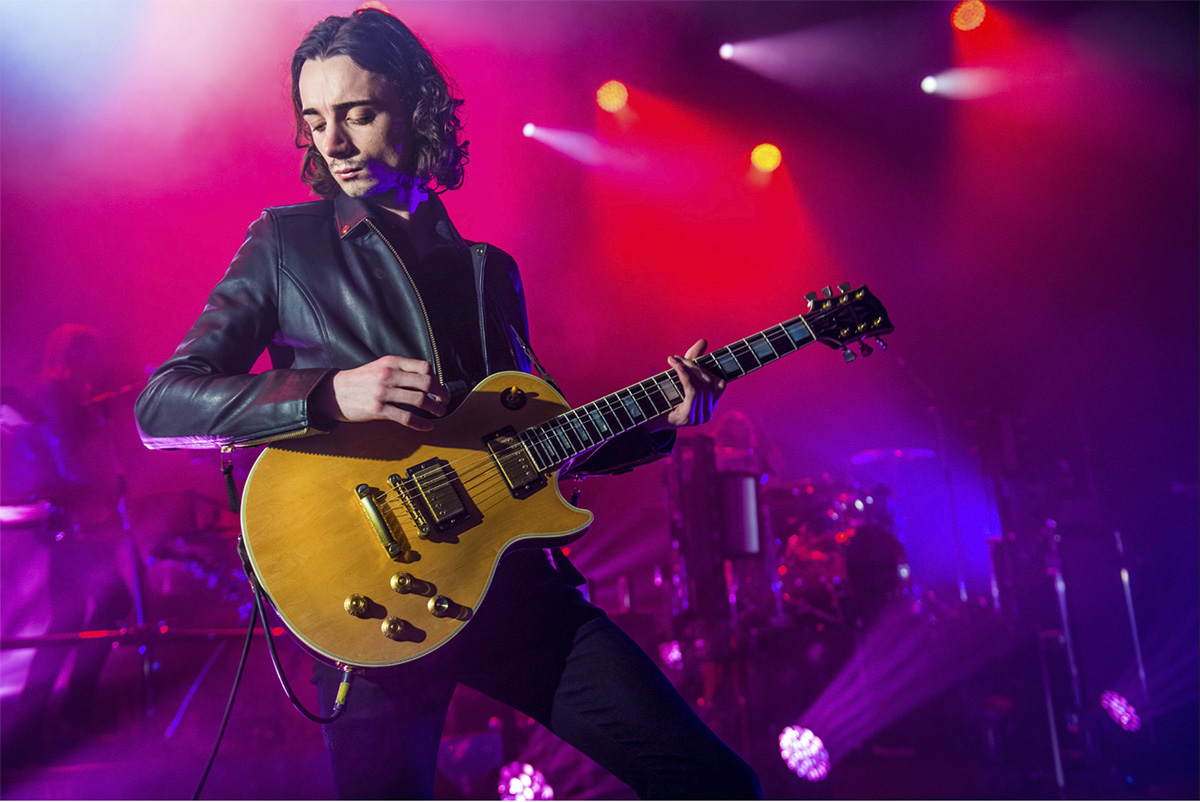
In particularly bright conditions, where I’m able to narrow my aperture down and increase shutter speed, I’ll try and lower ISO to either 400 or 800 for even cleaner results.
Focusing
Normally a camera’s most sensitive autofocus point is its central one and, for this reason, I normally have my device’s single-point focus mode active, and set to the central point. This way, I can half-press the shutter-release button to focus on the subject’s face, before recomposing and taking a photo.
Other photographers sometimes decide to track their subject with continuous focusing, or quickly change their focus point after deciding on their composition first. These techniques can work too, but in low light, it can sometimes lead to mis-focused shots. Try them all out, and see which feels most natural to you, and which leads to a better hit rate with your particular camera.
Metering mode
Unless I’m capturing a wide image of an entire venue or stage, I’ll normally always have my camera set to its spot-metering option.
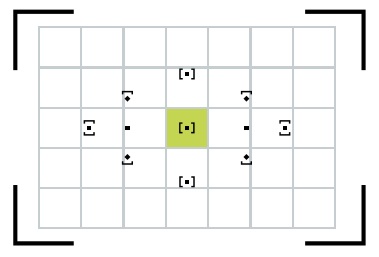
With this tied to my focus area in the centre of the frame, when I focus on an artist’s eyes, that'll be the area that’s most accurately exposed. Many scenarios have massive differences between highlights and shadows, which can throw a camera's metering system, but this generally works for me.
Burst rate
I’ll normally have my camera’s frame advance rate set to the continuous low option. This allows me to quickly capture several shots in quick succession if I hold the shutter-release button, but at a rate that shows some difference in a subject’s movement or expression, so that I don’t end up with ten shots that all look the same.
If I see an artist look like they are about to jump off something, that’s the one time I’ll consider switching my camera to its continuous high setting.
File type
Raw, Raw, Raw. The much greater file information captured in a Raw file compared to a JPEG is essential if you want to produce the best results during processing.
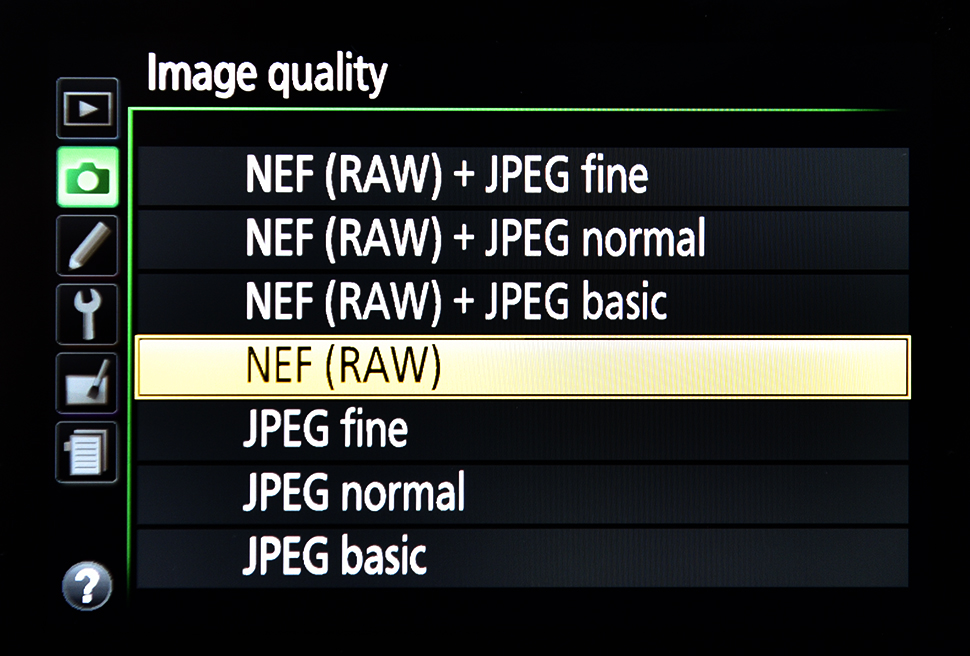
No matter how competent a music photographer you become, you’re never going to nail every single exposure you take perfectly. Raw files provide more scope to bring back detail In highlights and shadow than a JPEG, and also allow you to control the amount of noise reduction applied to images for results that look natural.
How to frame concert photography
So you’ve chosen your setup and selected your settings – now it’s time to talk about what images to take, and how to frame concert photography.
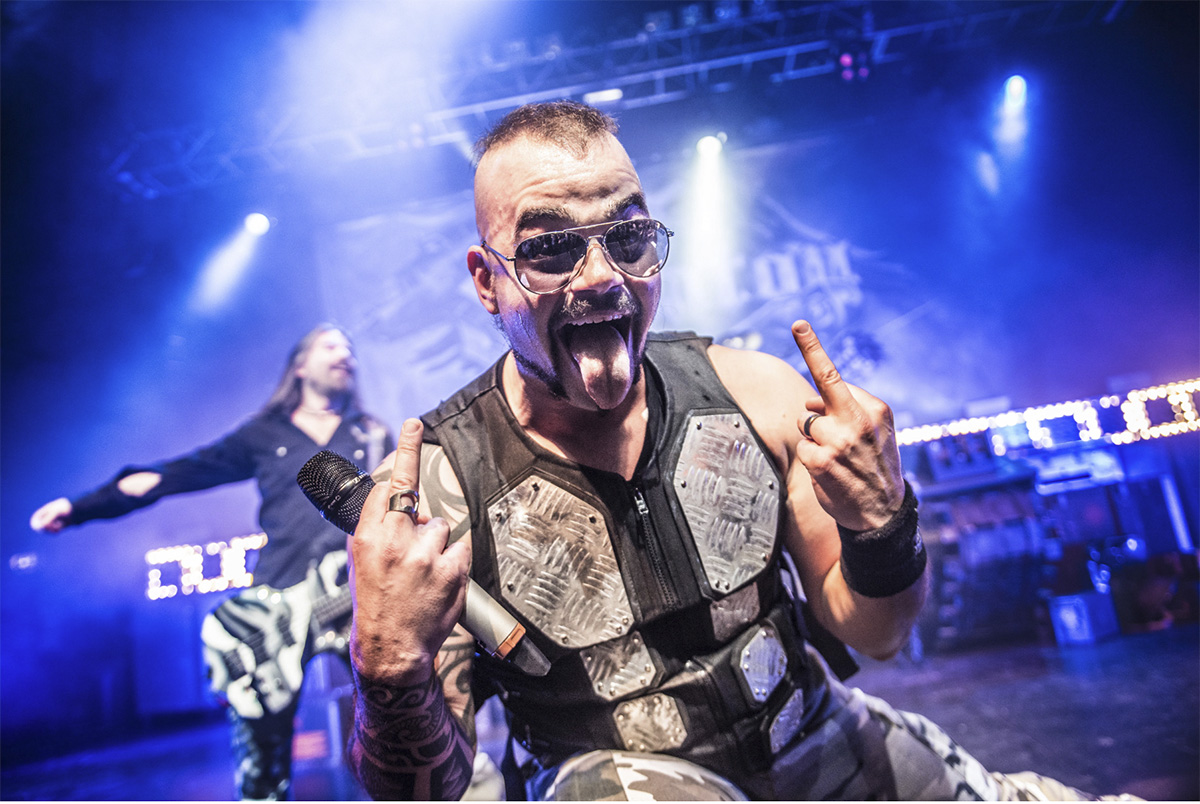
Variety is key. No matter what lens you are using, try to shoot a range of orientations and compositions at every show, so that you end up with a set of photos that keeps viewers interested, and has a range of potential uses in other media.
A tight shot of the frontman's or front-woman’s face may make for a great portrait print, but if all you have are hundreds of similar images, you won’t have revealed much about the concert itself, such as its atmosphere or audience. Try getting close to subjects to make the most of dramatic depth, or go wide and show the whole band interacting.
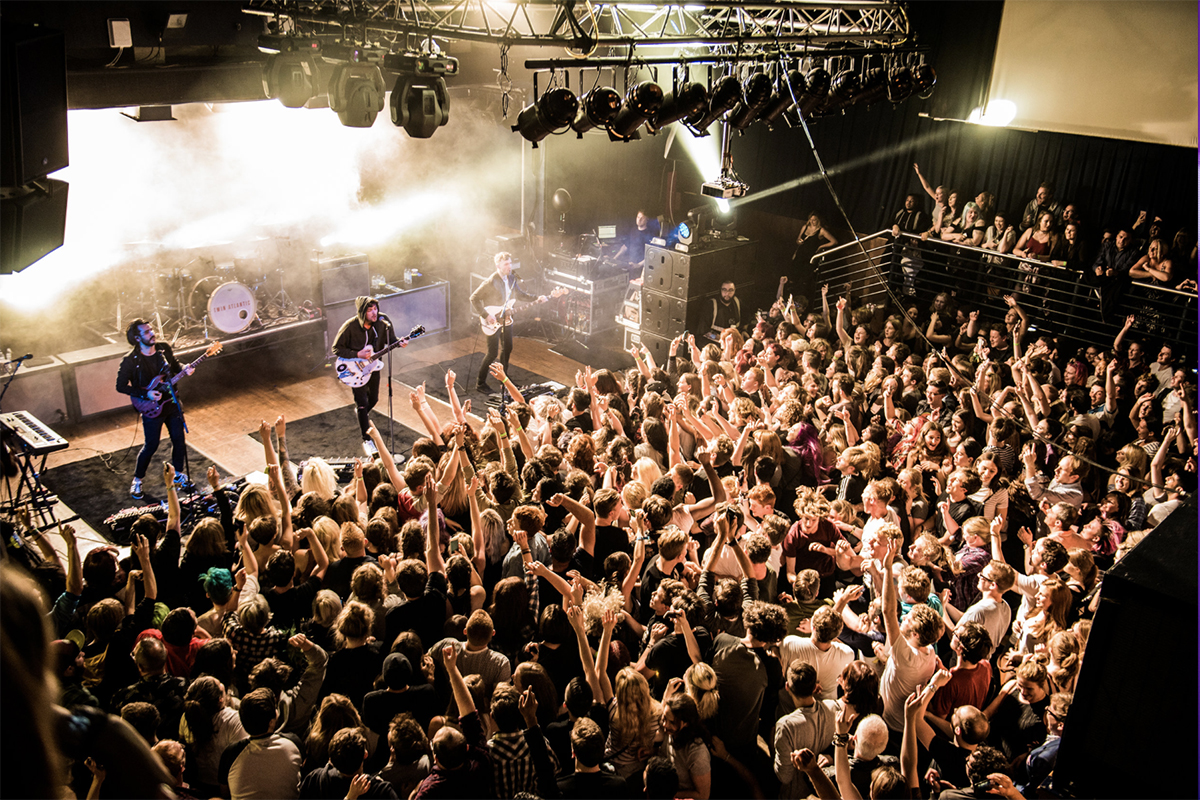
Don’t forget to capture the audience enjoying the performance too, and consider grabbing a few detail images of setlists and instruments. If you take a set of photos that include all of these things, you’ll have taken something that will appeal to everyone.
Be aware of clutter on stage, and try to avoid placing microphones and their stands, parts of instruments and other members in front of your image’s focal point, as they’ll create distractions and make photos feel unconsidered and unprofessional.
Try to wait for moments where a venue’s lighting seems to place artists within a spotlight for greater impact, and position them so that the eyes appear to look across, rather than out of, the frame.
Final thoughts
Like all photographic subjects, the more you shoot live music, the better you’ll get at capturing it. With experience, you’ll not only be able to respond to situations quicker when selecting settings but will also develop more of a sense for what an artist may do next, meaning you’ll be ready to grab the perfect shot when it happens.
Don’t expect to take award-winning images at every show though, and don’t be downhearted if someone gets a photo that you didn’t, with so many factors outside of your control, there’s always an element of luck when photographing live music. Most importantly, have fun!
Read more: 10 top tips for shooting portraits
Get the Digital Camera World Newsletter
The best camera deals, reviews, product advice, and unmissable photography news, direct to your inbox!
