How to print professional-quality black and white photos at home
Mike Harris proves that printing high-quality imagery at home isn’t nearly as daunting as it might seem
Watch video: How to create professional-quality prints at home
Photography trends come and go, however, black-and-white images are always in vogue. It stands to reason then that you might want to immortalize a selection of your favorite monochrome photos as prints.
And while you shouldn’t be intimidated by home printing your black-and-white masterpieces, there are a few things to consider if you’re serious about physically replicating exactly what’s on your computer screen.
• Read more: Best photo printers
You might be surprised to learn that color management is still hugely important when printing in black and white. There’s simply nowhere to hide if your printer is producing washed-out grey tones, so a good printing profile is a must.
Fotospeed offers free custom ICC profiles with its own-brand papers, but if you’re itching to get started, the paper manufacturer also offers a number of generic profiles for your printer and paper combinations.
So long as your monitor has been recently calibrated, a good printer profile gives you piece of mind that what you see on screen is going to very closely resemble what comes out of your printer.
It took us less than an hour to install our printer, download the necessary ICC profile and prepare our image for printing in Adobe Lightroom Classic CC. There’s really no need to be intimidated by printing jargon; our step-by-step guide takes you from installing a profile to marveling at your finished physical print, and proves that good-quality home printing doesn’t have to be overly time-consuming or complicated.
Top tips for creating high-quality prints at home
Think about how you can prepare your image for printing. We like to add a small border by inputting our paper dimensions into Photoshop’s Crop tool and enlarging the canvas before importing the image into Lightroom.
You may also want to sharpen your image slightly (which some photographers refer to as "output sharpening") or add a little film grain for a retro look.
Step by step: How to create pro-quality prints at home
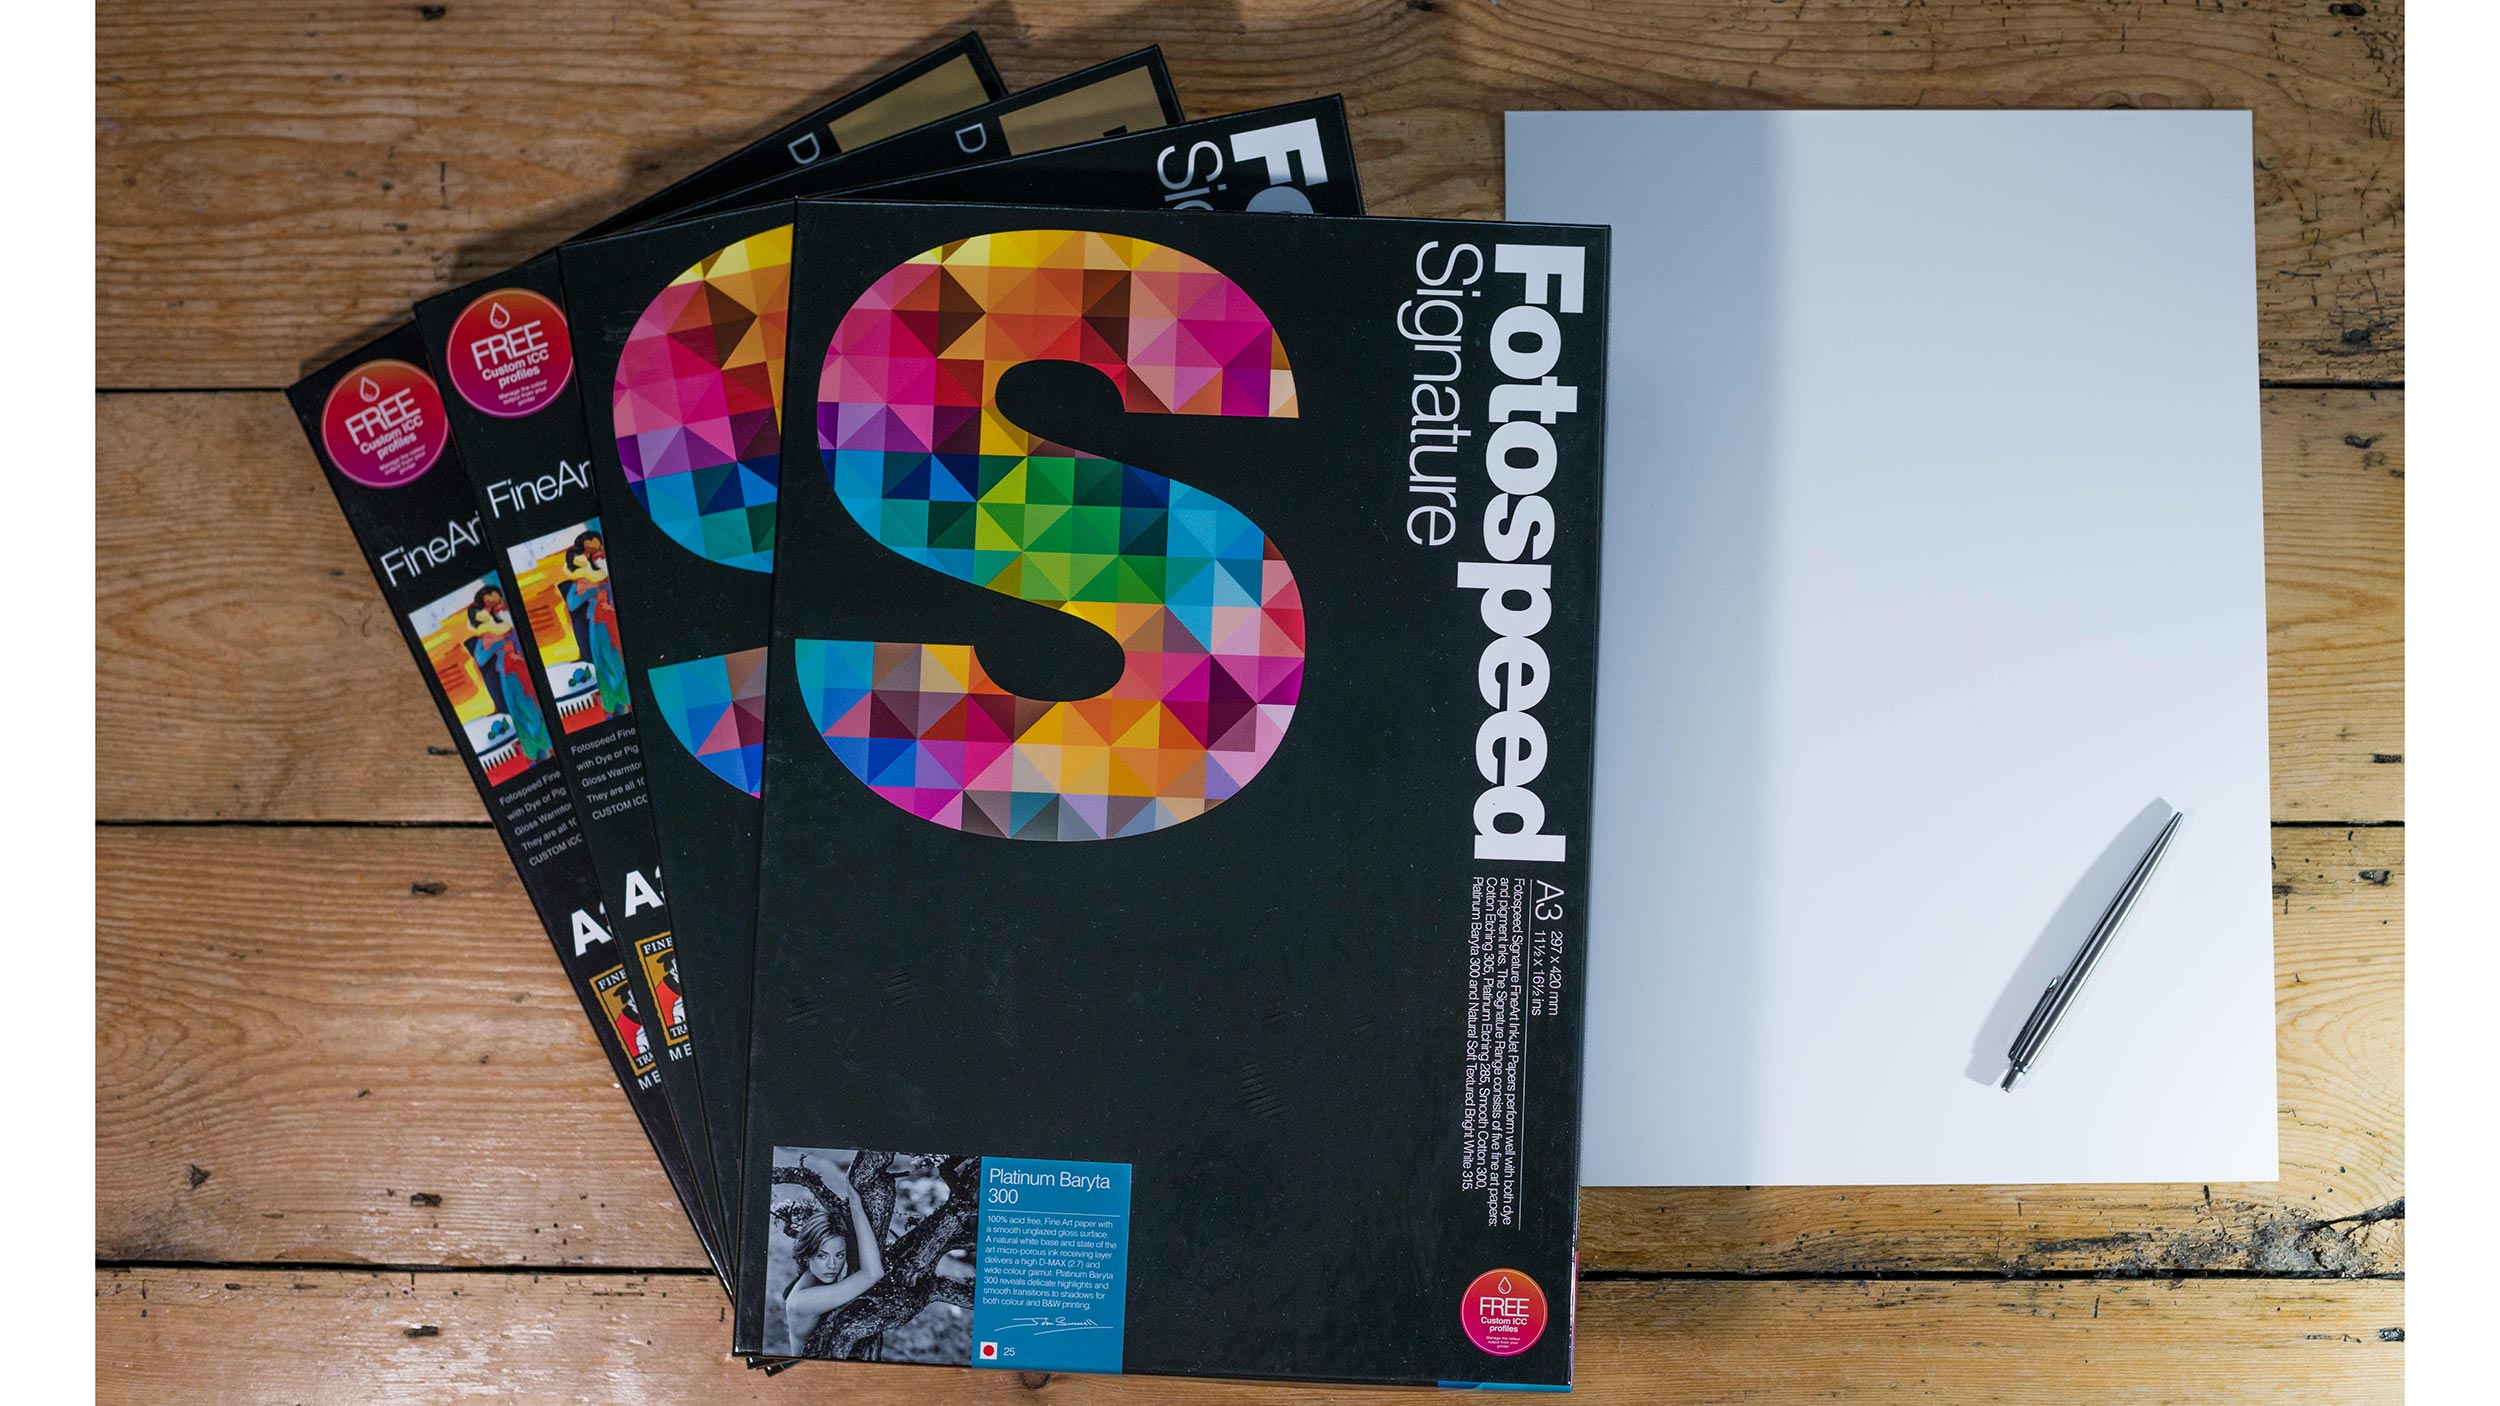
01. Pick your paper
Paper choice comes down to personal preference. But if you don’t know where to start, Fotospeed recommends its Platinum Gloss Art Fibre 300, Legacy Gloss 325 or Platinum Baryta 300 papers. We used the latter, which produces very deep blacks and plenty of detail. It’s fibre-based (which is suitable for archiving) and can be used with both pigment and dye-based inks.
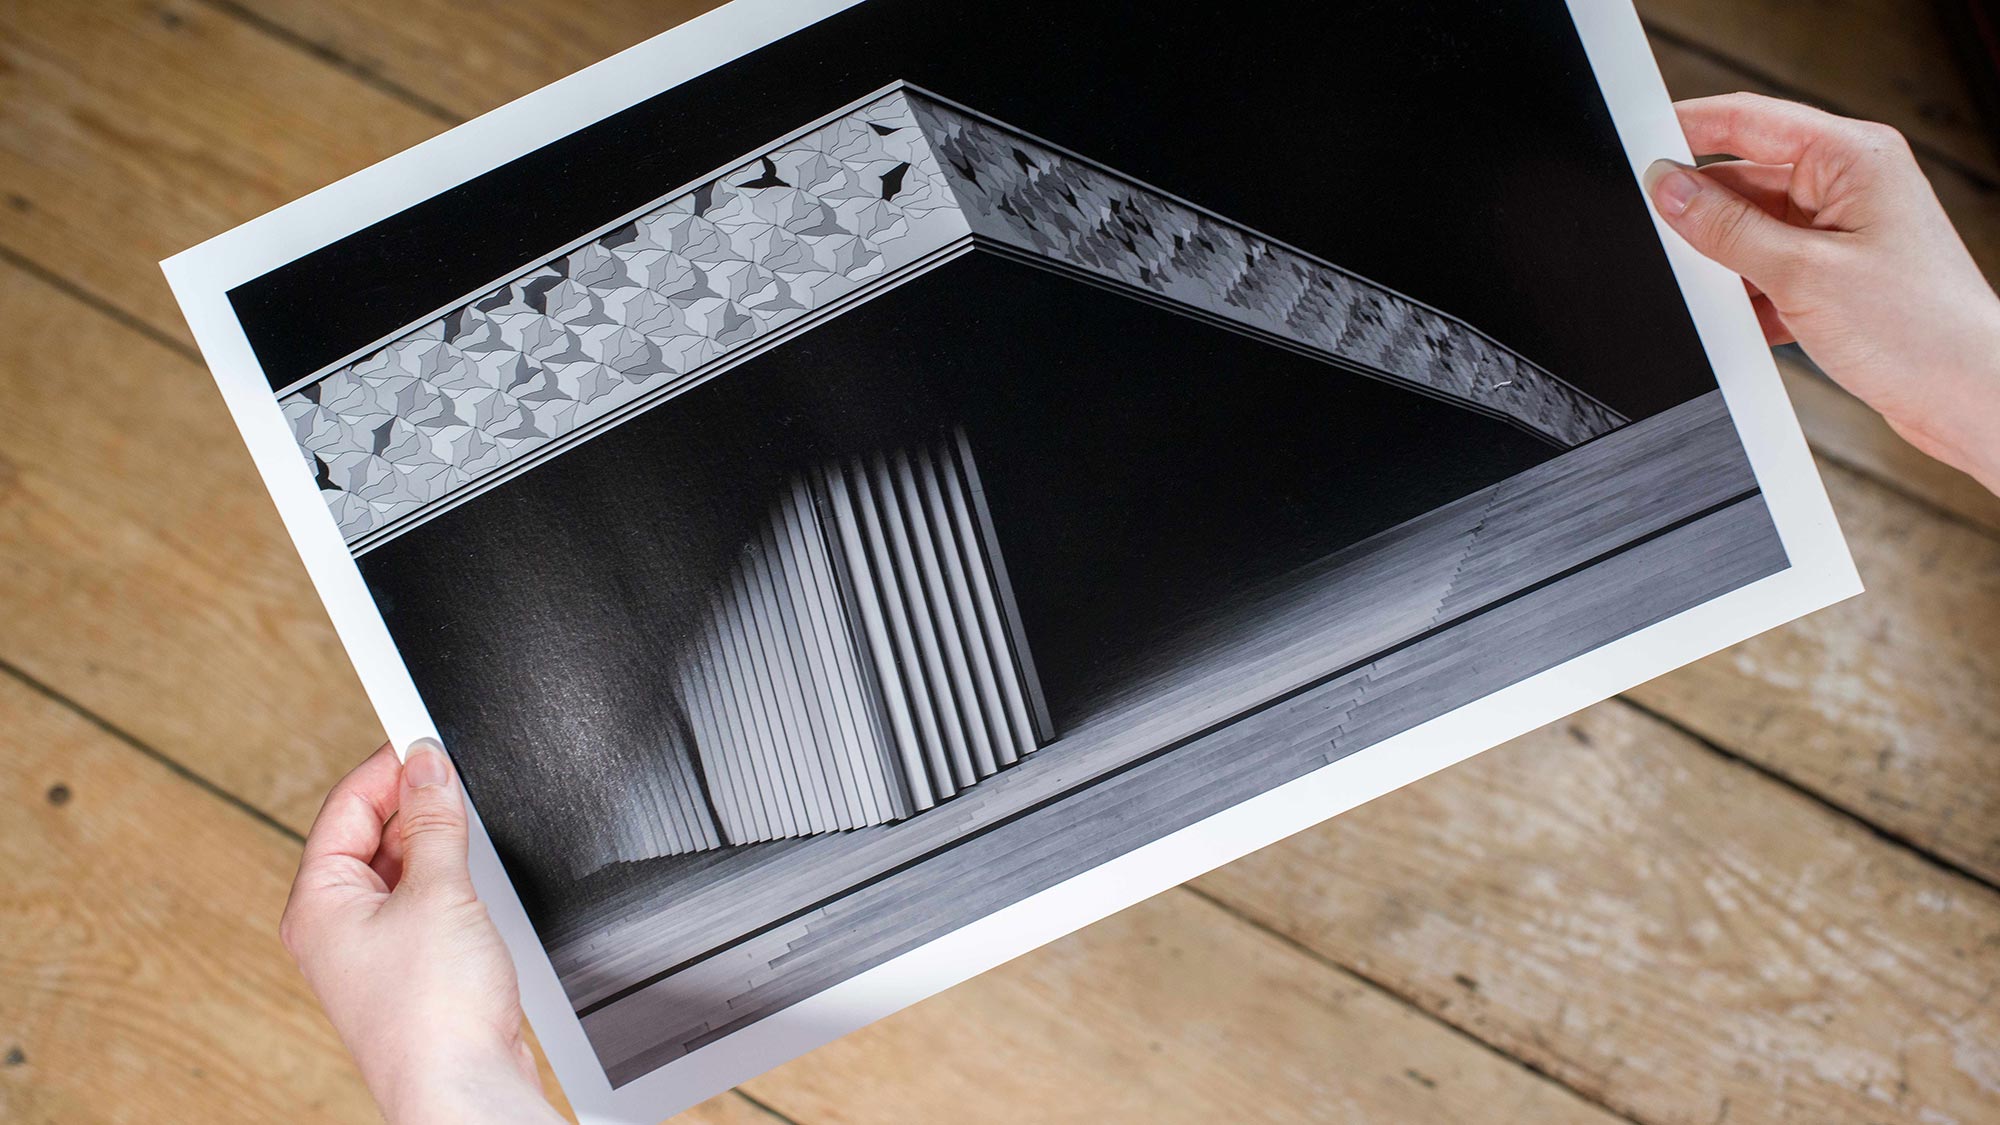
02. Get inked
Your printer will determine whether you can use pigment or dye-based inks. While you can create great-quality prints from both, pigment is the more premium option. Some printers use two types of black ink: photo black and matte black. Unless you’re working on matte paper, you’ll be using photo black, but you’ll have to tell the printer what kind of paper you’re using.
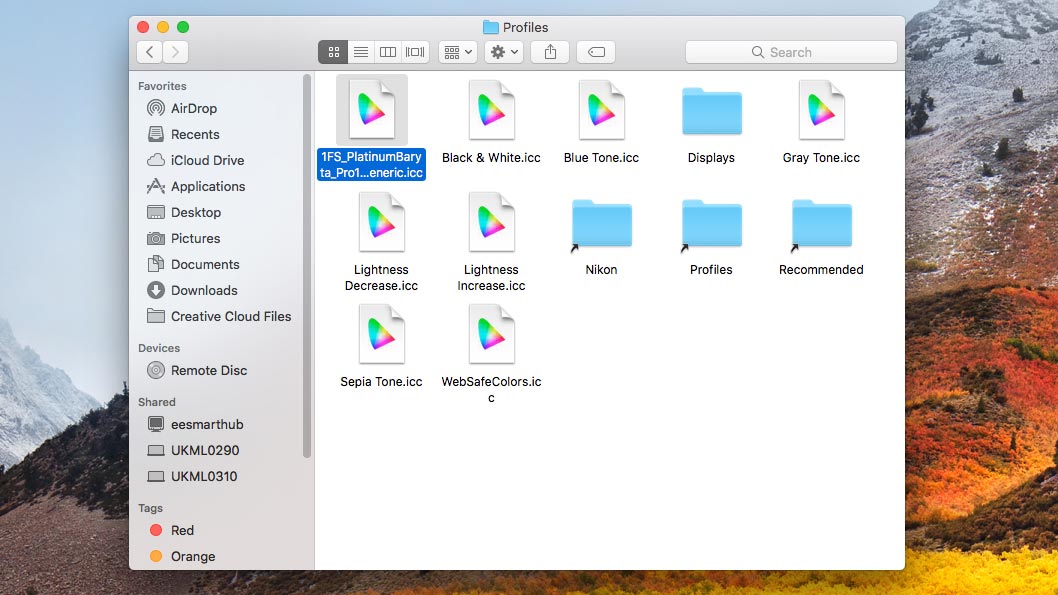
03. Install a profile
Both generic and bespoke ICC profiles are installed in the same way. Save the profile to your desktop. PC users simply need to right-click on the profile (it will have an RGB icon) and select Install Profile. Mac users need to head to the Finder toolbar and select Go>Go to Folder and type in ‘/ library’. Then open the ColorSync folder and drop the profile in the Profiles folder.
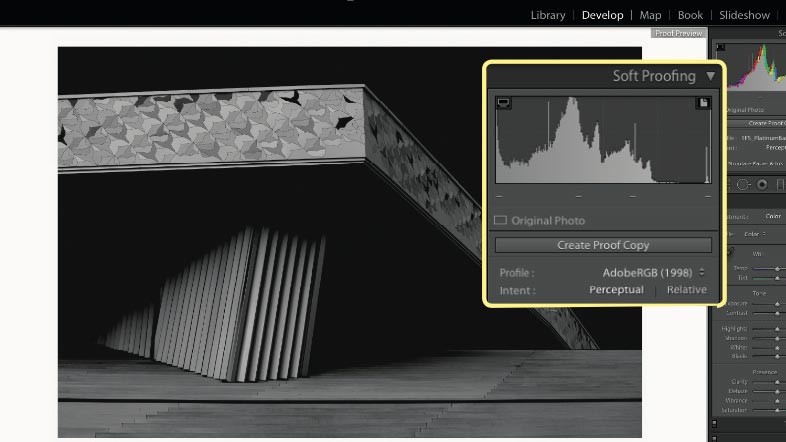
04. Soft proofing
Click Soft Proofing in Lightroom’s Develop module and select your ICC profile from the Proof Settings panel. This builds a preview of what your image will look like when printed and is why a properly calibrated monitor is so important; see the June issue (N-Photo 111). To make any last-minute tonal adjustments without changing your original image select Create Proof Copy.
05. Print settings
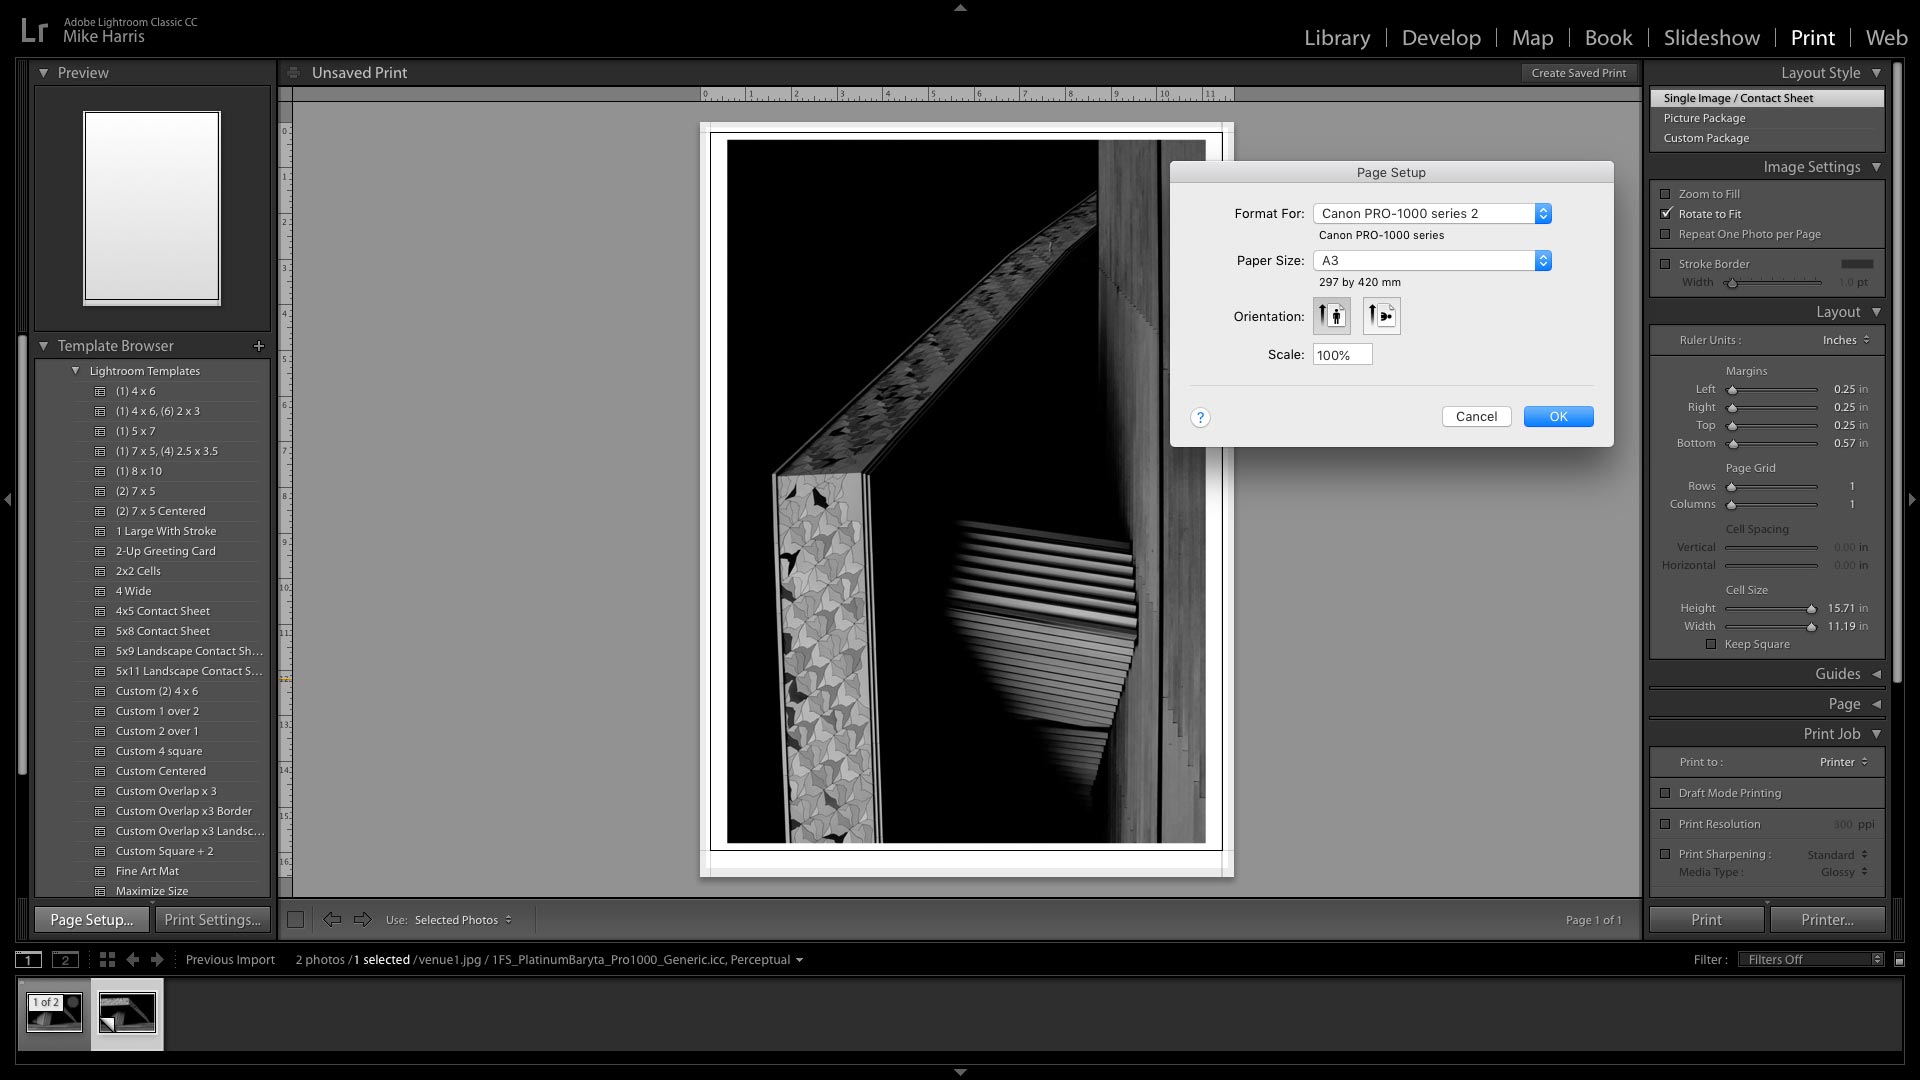
In the Print module head to Page Setup to select your printer and paper size, and uncheck Zoom to Fill and check Rotate to Fit in the Image Settings panel. If your image is too small on the page, increase the Cell Size sliders in the Layout panel. In the Print Job panel uncheck Print Resolution and Print Sharpening (we can tell the printer to print at its highest resolution later).
06. Finalize and print
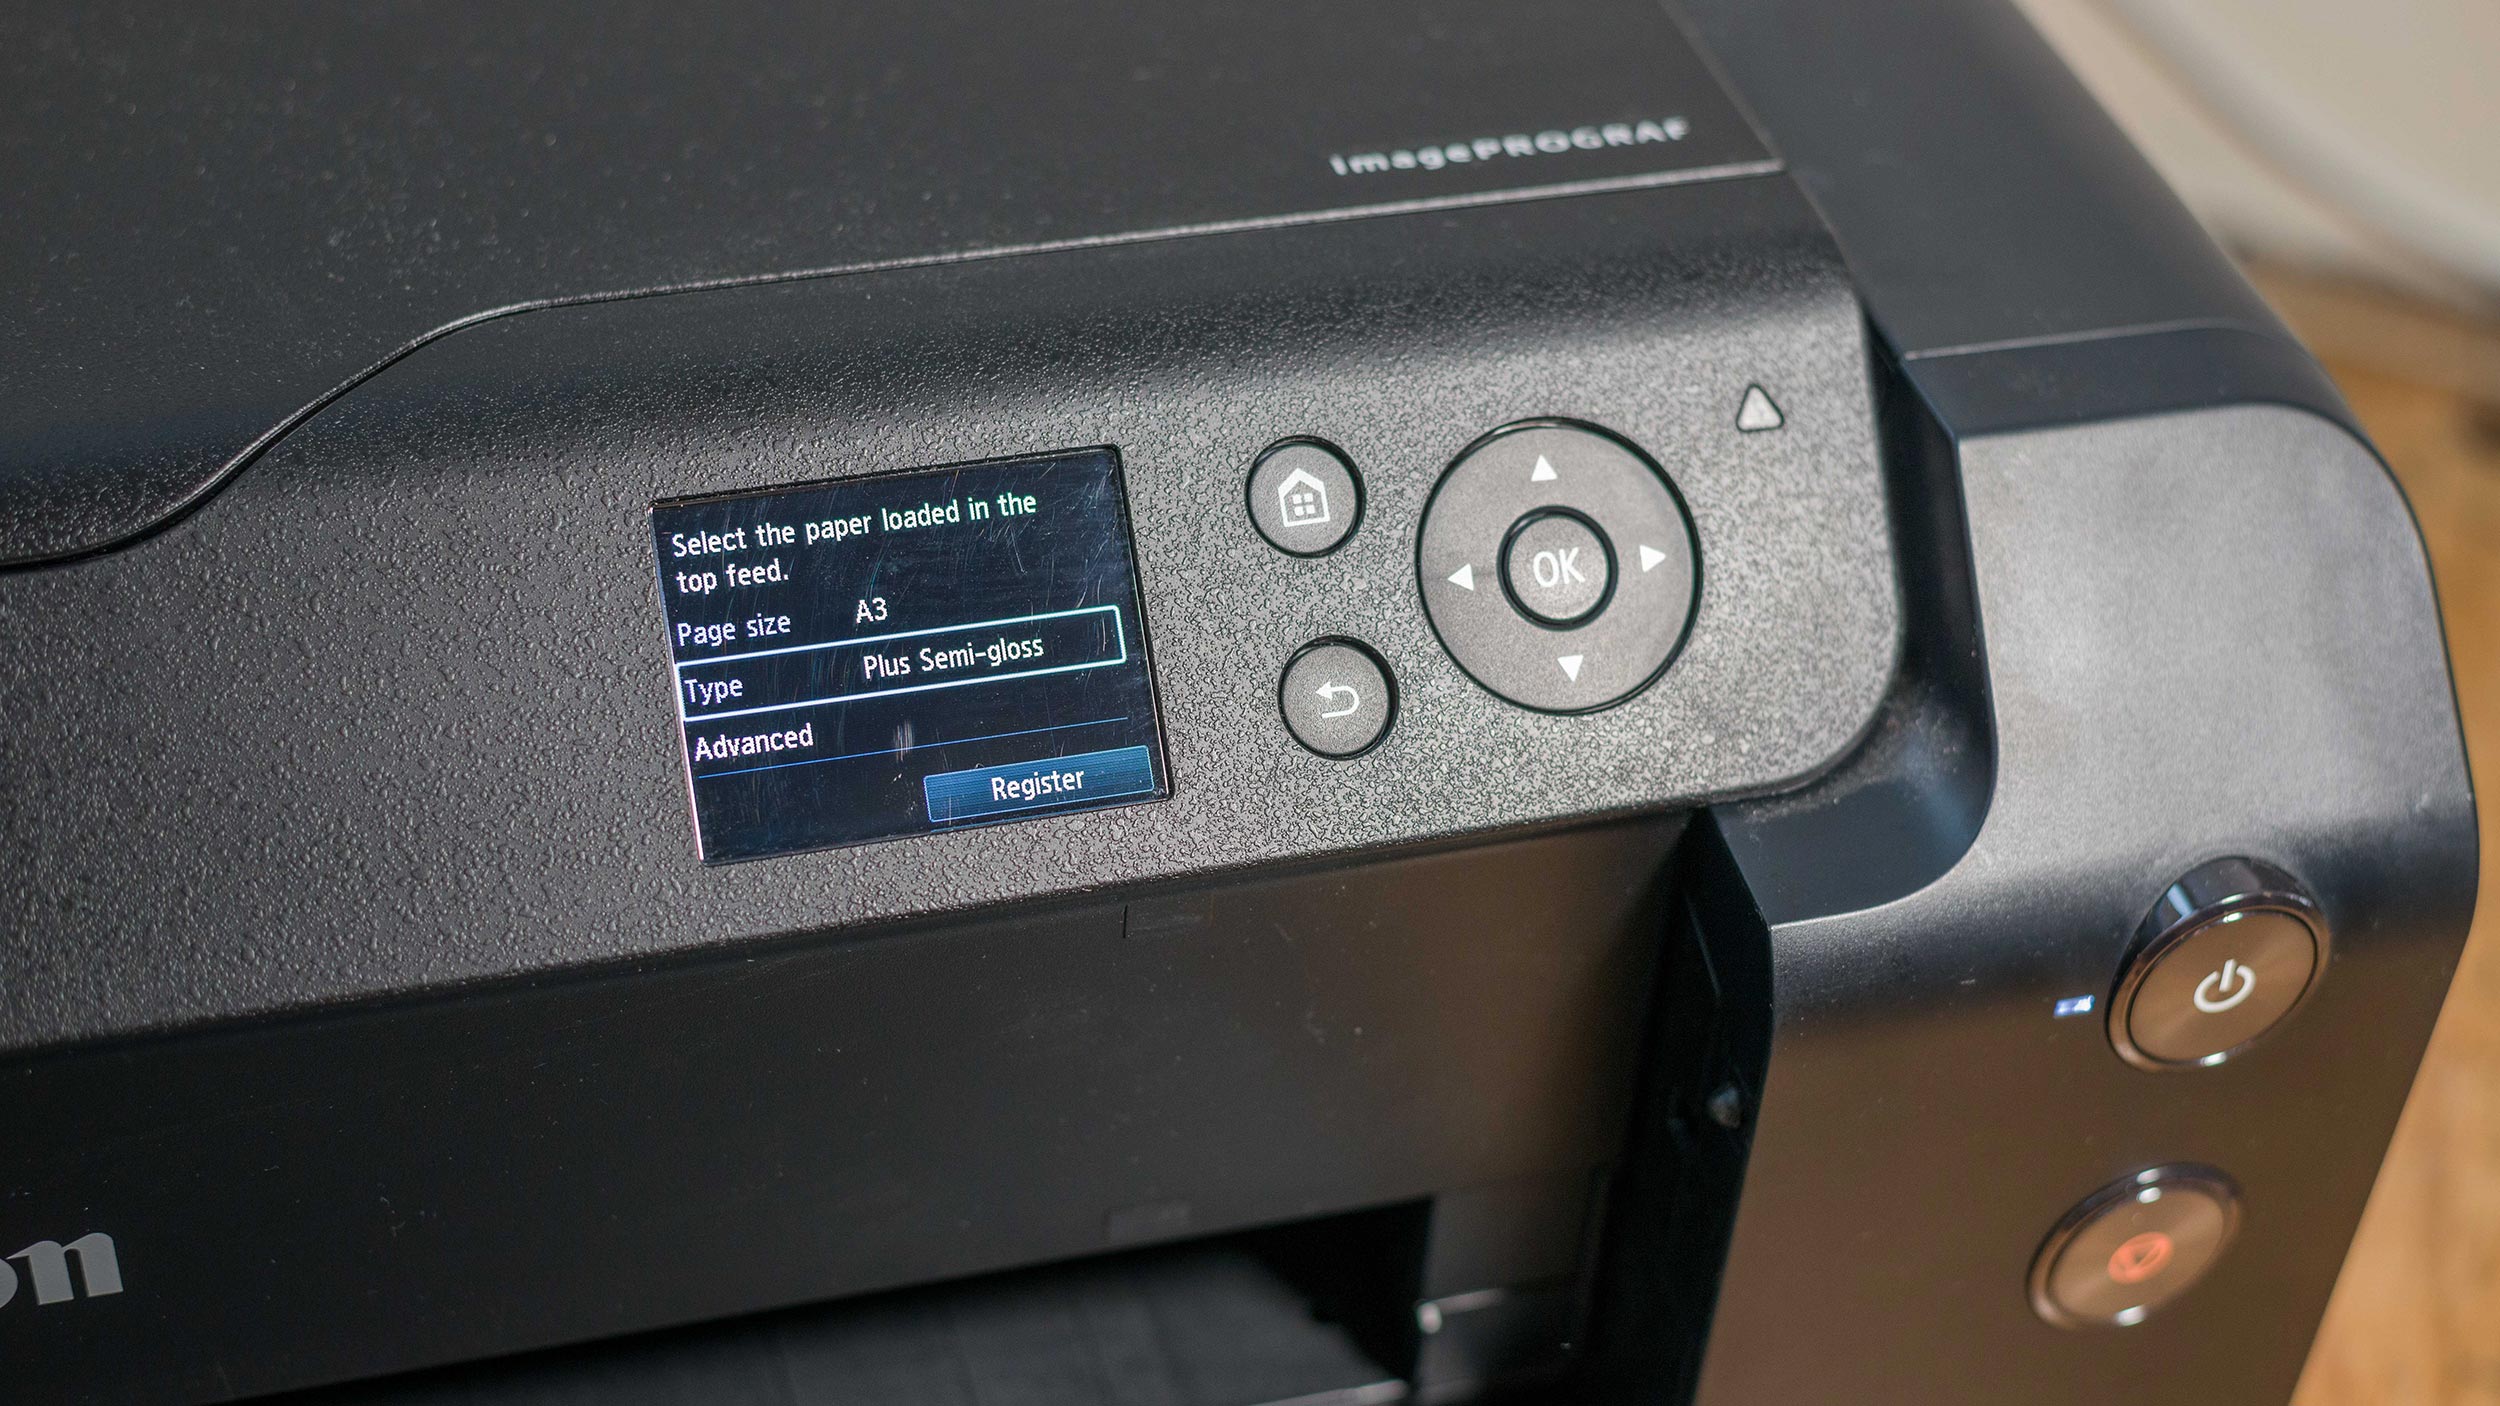
Only check 16 Bit Output if your printer is compatible. Select your ICC profile in the Color Management panel and click Printer in the bottom right corner. In the Layout dropdown menu click Quality and Media, and select your choice of paper. If your printer has a settings screen, check it is set up for your choice of media. Return to your computer, set Print Quality to Highest and hit Print.
Read more:
Best large format printer for photographers
Photography tips and techniques videos
The best photo printing online: top services from around the web
Best all-in-one printer for home working
Best darkroom equipment: enlargers, safelights, film tanks & more
Best 3D printers
Get the Digital Camera World Newsletter
The best camera deals, reviews, product advice, and unmissable photography news, direct to your inbox!

Mike is Digital Camera World's How To Editor. He has over a decade of experience, writing for some of the biggest specialist publications including Digital Camera, Digital Photographer and PhotoPlus: The Canon Magazine. Prior to DCW, Mike was Deputy Editor of N-Photo: The Nikon Magazine and Production Editor at Wex Photo Video, where he sharpened his skills in both the stills and videography spheres. While he's an avid motorsport photographer, his skills extend to every genre of photography – making him one of Digital Camera World's top tutors for techniques on cameras, lenses, tripods, filters and other imaging equipment – as well as sharing his expertise on shooting everything from portraits and landscapes to abstracts and architecture to wildlife and, yes, fast things going around race tracks...
