How to resize an image in Photoshop
Find out how to resize an image in Photoshop and what the difference between resizing and resampling is

Knowing how to resize an image in Adobe Photoshop is a must-know skill for photographers and creatives. Luckily, it's really easy to do. The most common reason for needing to resize an image is to make the file size smaller but you may also need to change a file size so that you can print it.
Some of the best mirrorless cameras and best DSLRs have such high-resolution sensors that the file size of the images can be enormous. The Sony A7 IV, for example, produces 123MB of uncompressed raw files which are absolutely massive. Not only would it take forever to process, but if you're uploading multiple images you’ll run out of space before you know it.
• Read more: Best photo printers
It’s much easier to make an image smaller (known as downsampling) than bigger, as unwanted pixels can be thrown away. Making an image larger, however (known as upsampling) uses interpolation which basically means Photoshop creates new pixels. The downside to upsampling is that it can degrade your image quality and make your image appear very pixelated. The general rule is that you shouldn’t make an image bigger than it is straight out of the camera.
If you’re creating your first photography website, the chances are that you’ll need to resize multiple images at the same time. To do this you’ll need to learn how to batch resize which we will come onto later – you do it in the same way, only you can create an action for it so that you don’t have to do each one individually.
So first, here's how to resize an image in Adobe Photoshop CC.
How to resize an image in Photoshop
1. Open your image in Photoshop
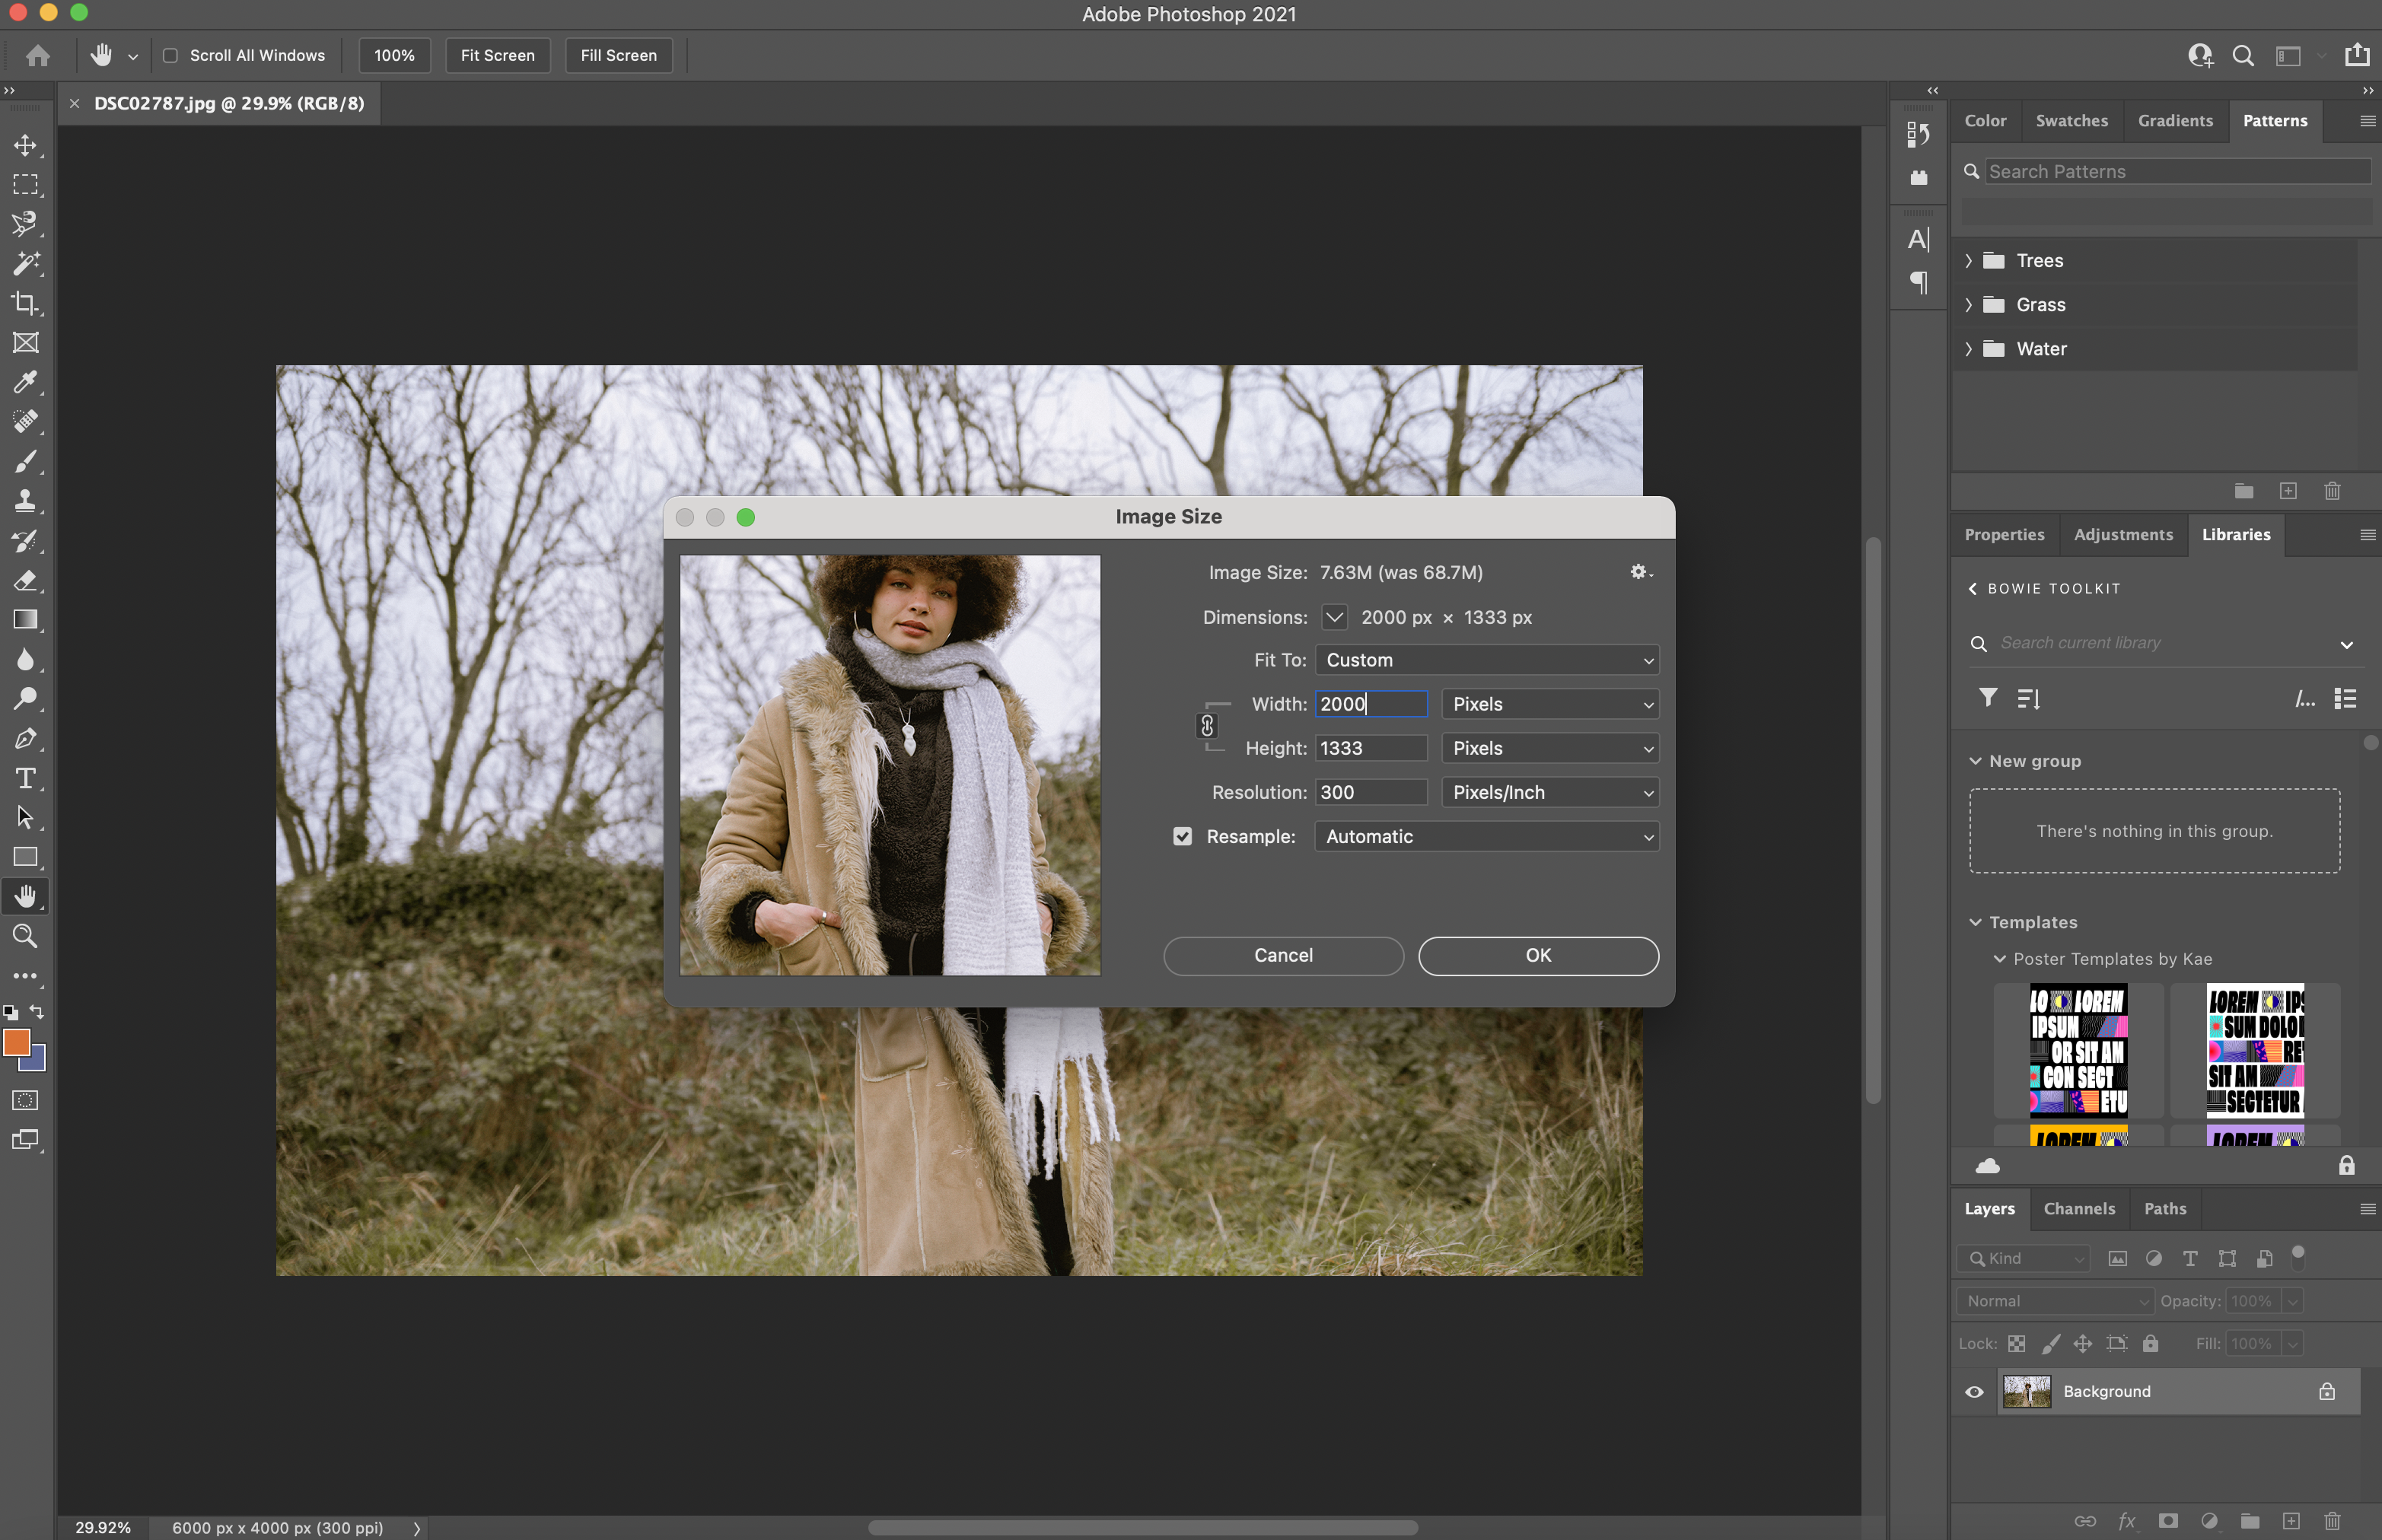
First, you need to open your image in photoshop by going File > Open and select the image you want to resize.
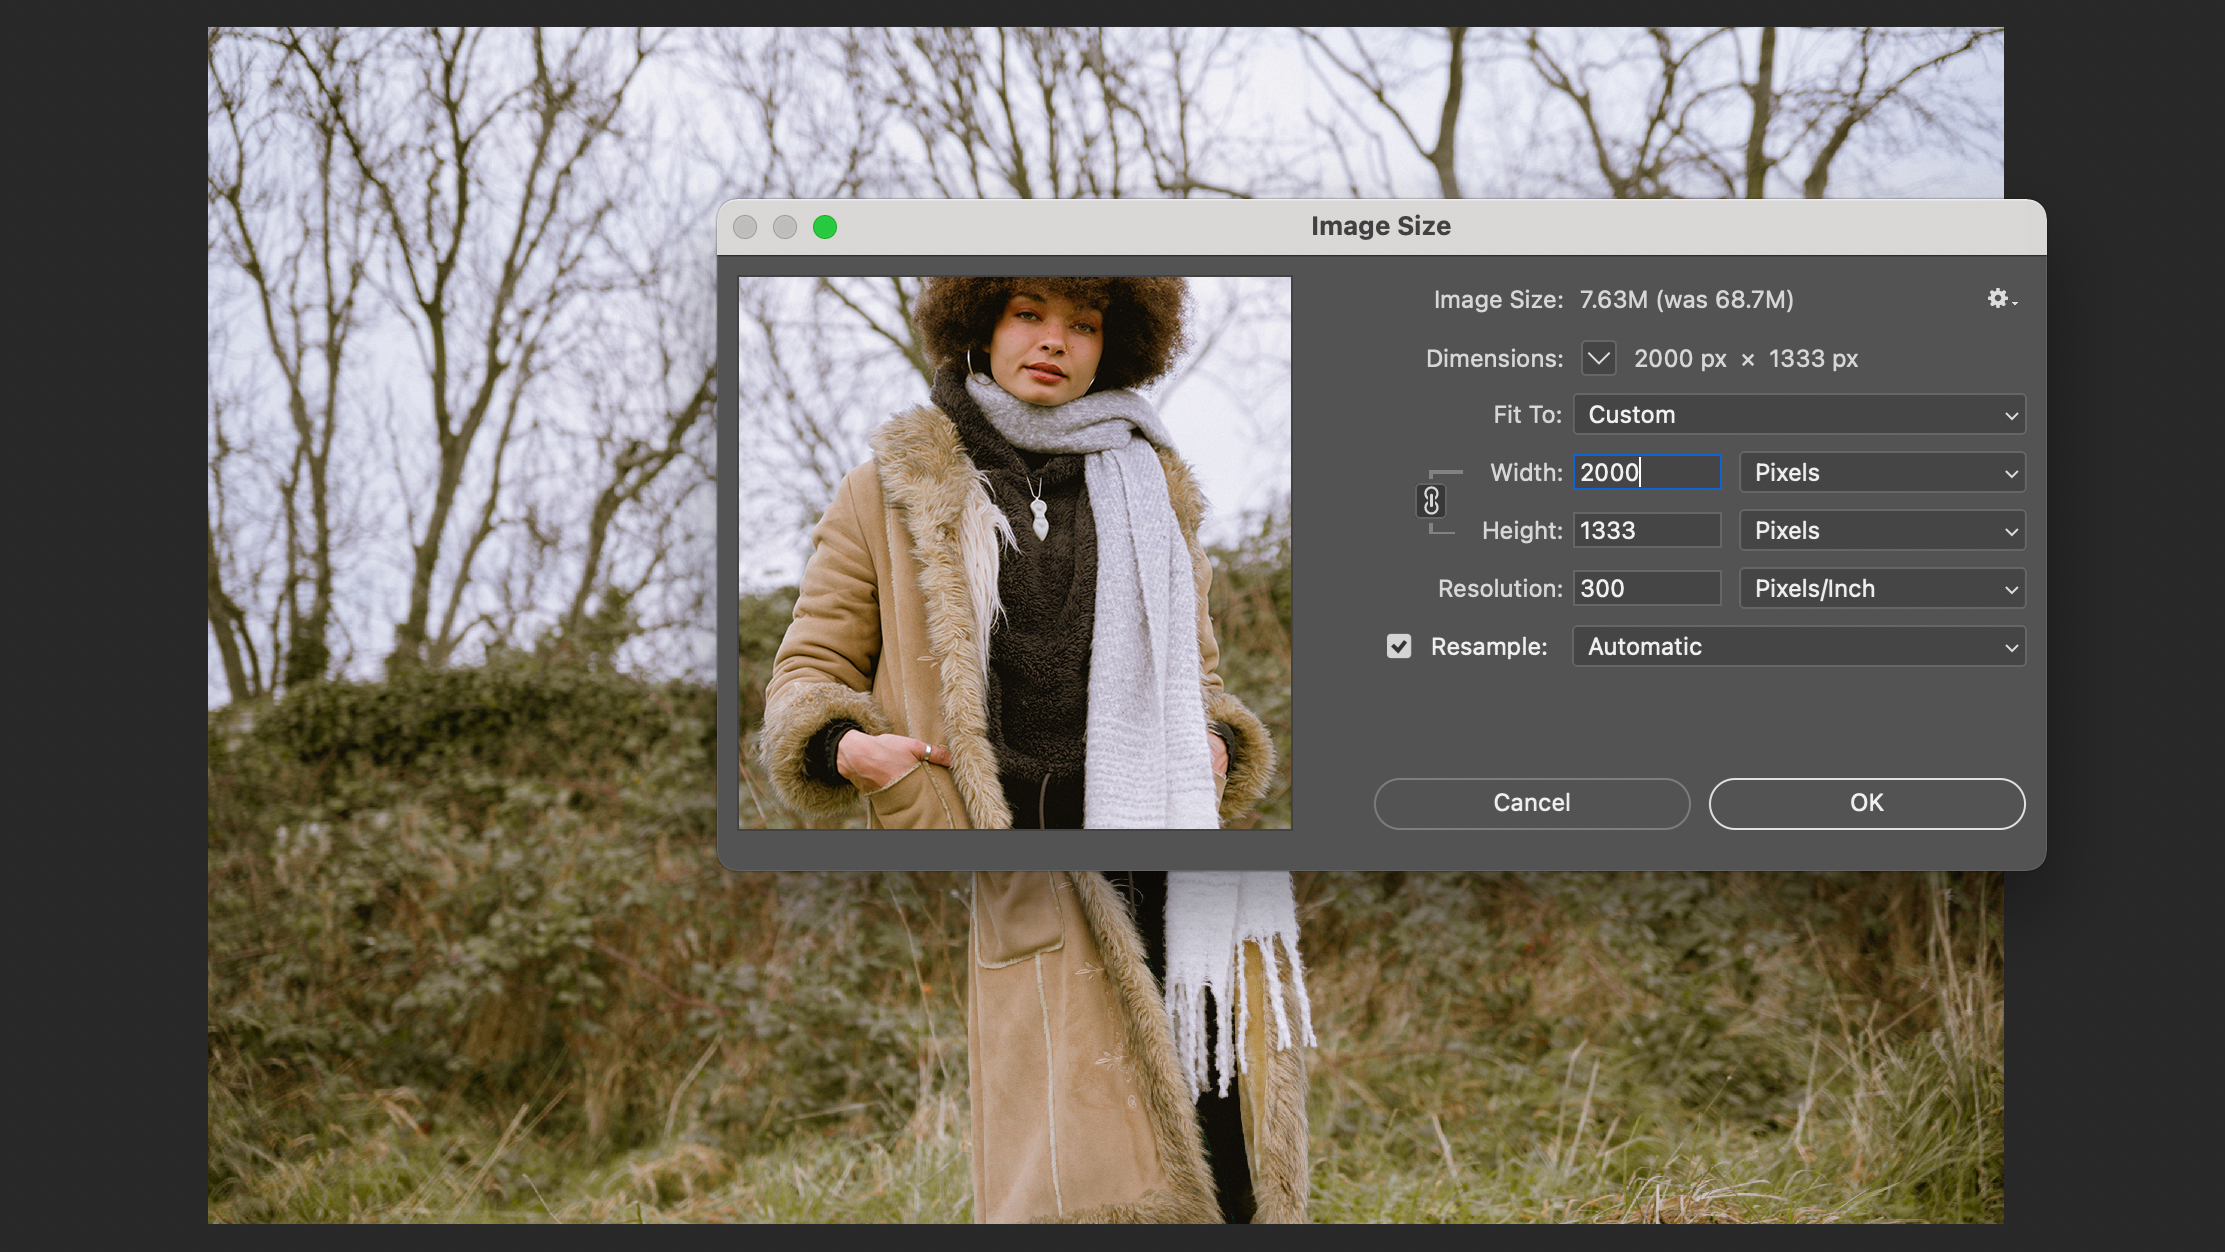
Once your image is open click on Image > Resize Image and make sure the ‘constrain aspect ratio’ is selected. This is important otherwise when you resize your image the aspect ratio will always change. Input how big you want your new image to be, you can input it in either cm, pixels, inches or points.

2. Check settings
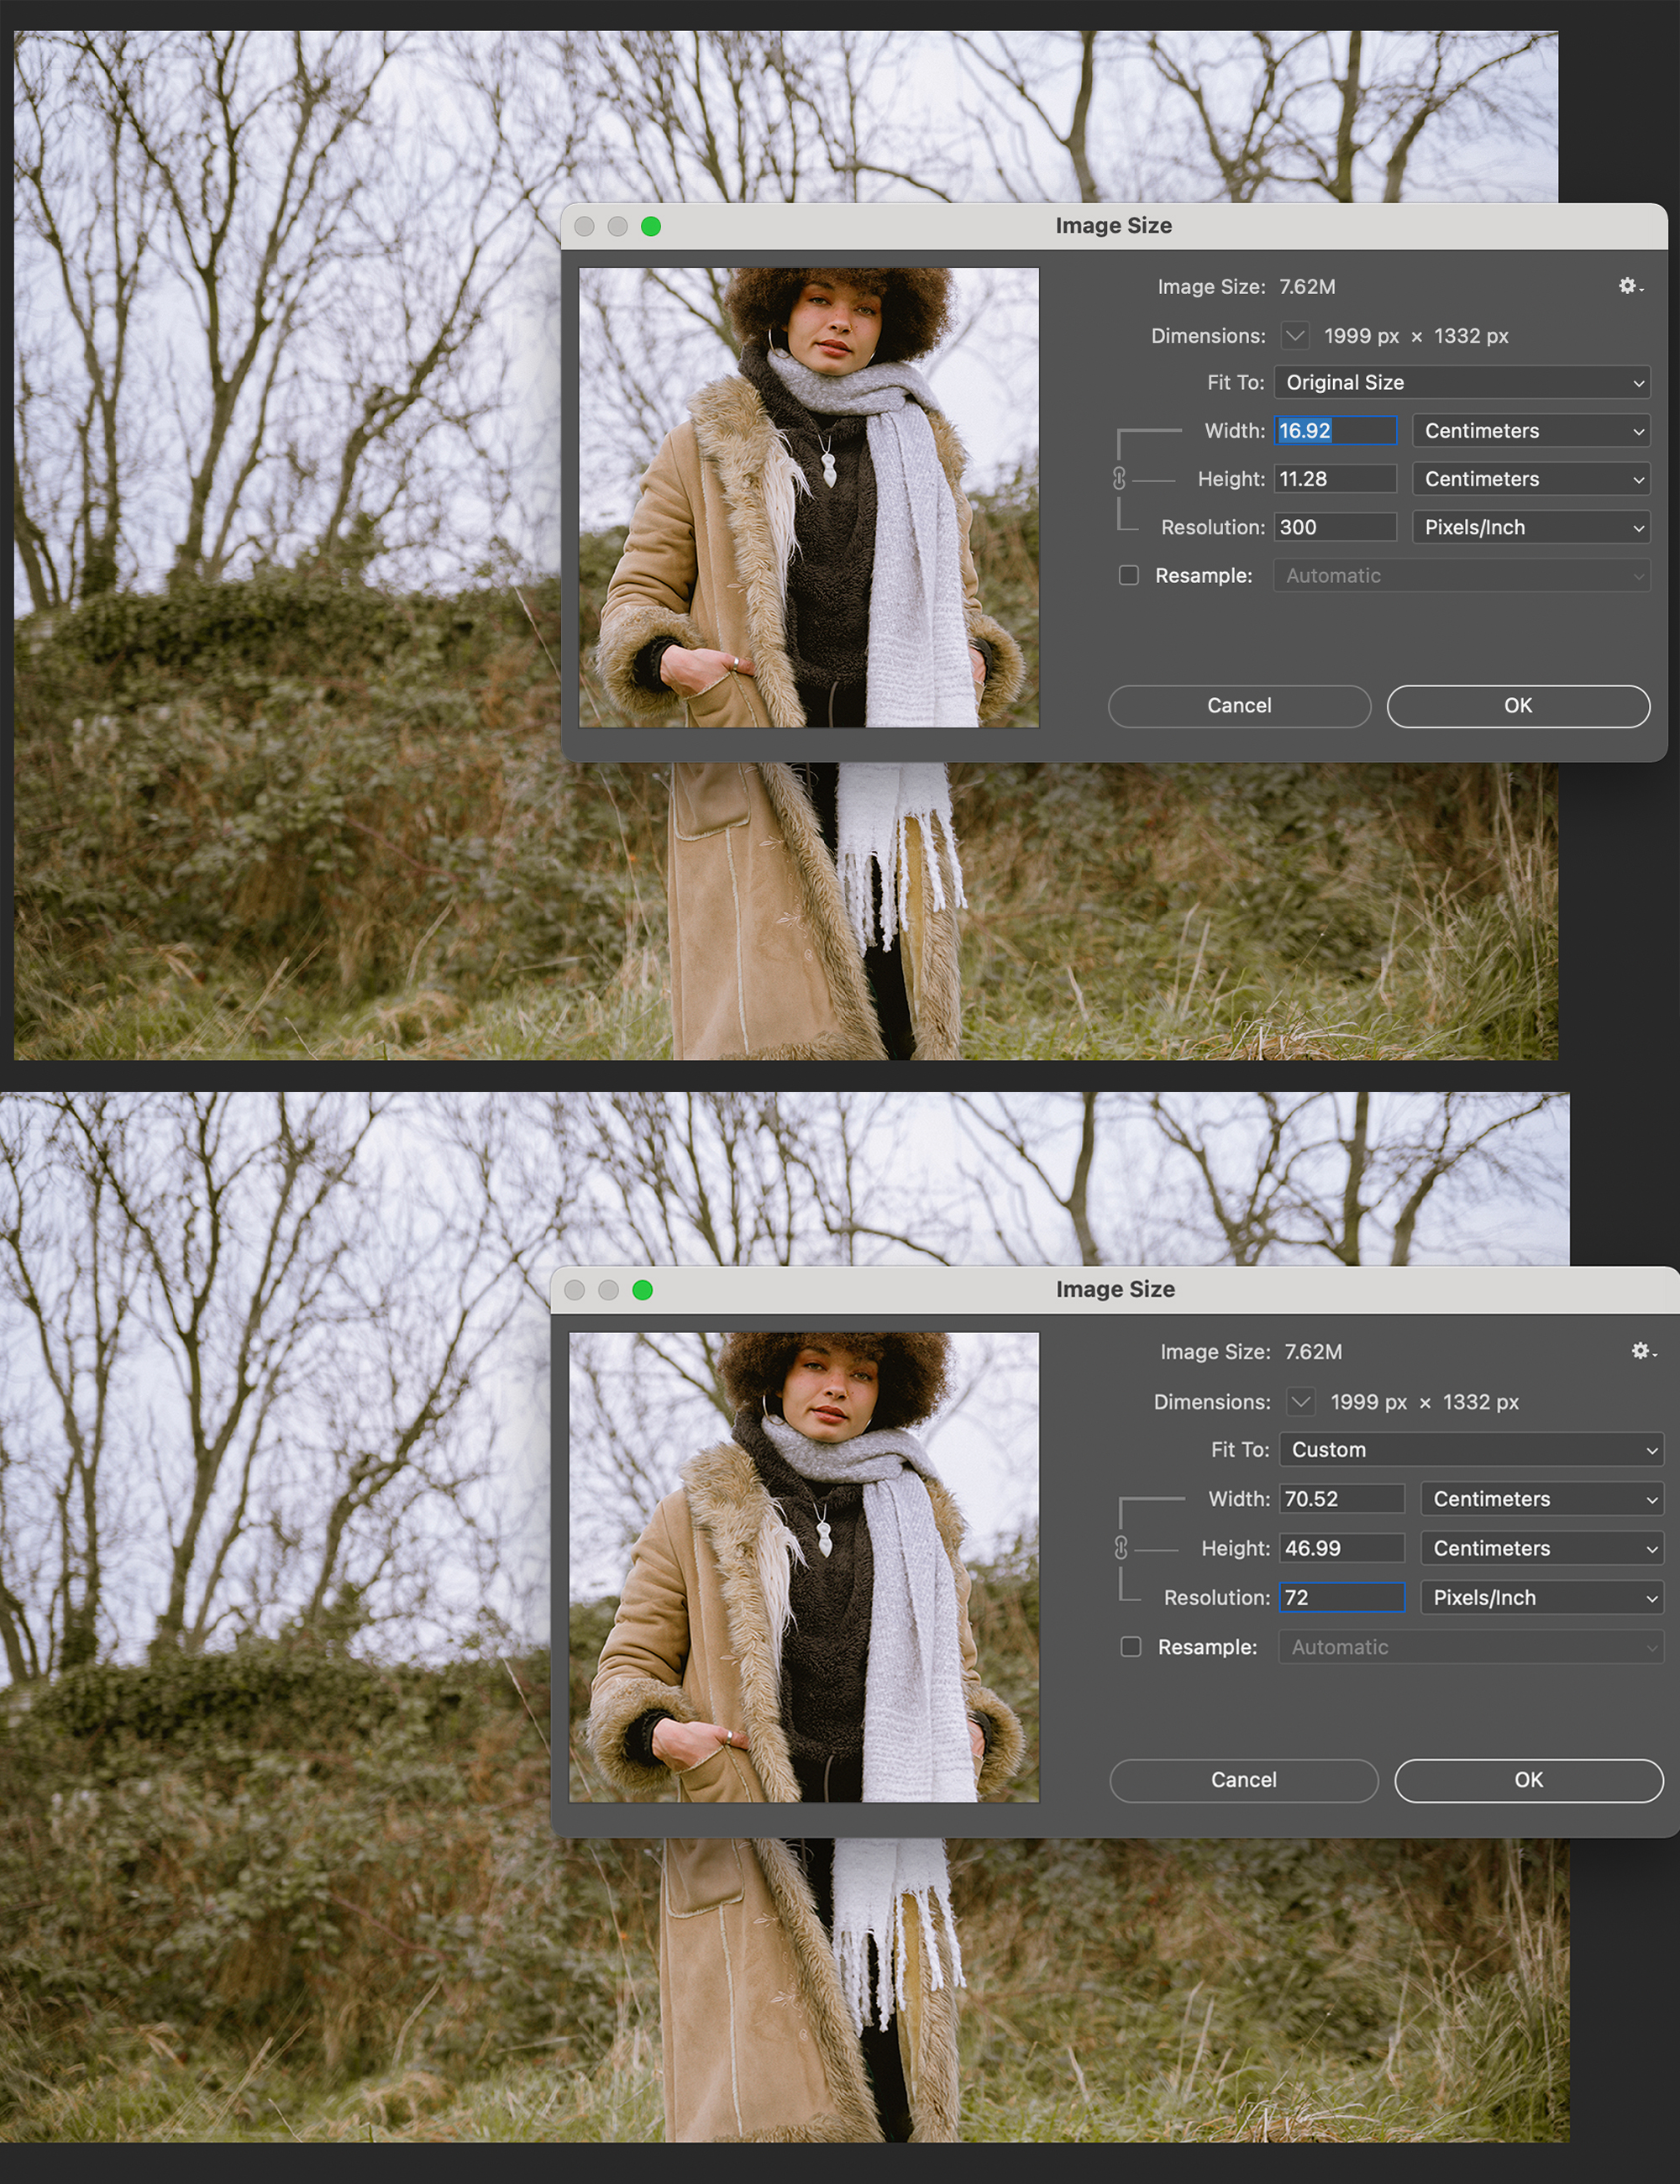
If you want to increase the resolution of your image for print you will need to make sure the resample option is unchecked otherwise your image will be interpolated and the quality will degrade. You’ll notice that when you change the resolution of your image, the size of your image will decrease. This is because those same 72 pixels per inch are now having to cover 300 pixels per inch.

3. Know your PPI & DPI
When referring to a digital image you use PPI which means pixels per inch whereas when you're talking about an image to be printed you use DPI which is dots per inch.
Once you’ve set the size of your image, checked the constraint crop is linked and he resolution is correct, Photoshop will show you how big your new file size is. Click ok to apply the changes.

4. Export your image
If you’re happy with the size of it you can click File ≥ Export > Save for web if you’re planning on sharing it online or export as if you want to print. Save for web will ensure it is saved as the smallest file possible with colors that are web-safe.
We'll be updating this article with many more methods for resizing your images. If you're looking for more Photoshop tutorials, check out these 100 editing tips. If you haven't got Adobe Photoshop already, here's how to download it.
Get the Digital Camera World Newsletter
The best camera deals, reviews, product advice, and unmissable photography news, direct to your inbox!

Having studied Journalism and Public Relations at the University of the West of England Hannah developed a love for photography through a module on photojournalism. She specializes in Portrait, Fashion and lifestyle photography but has more recently branched out in the world of stylized product photography. Hannah spent three years working at Wex Photo Video as a Senior Sales Assistant, using her experience and knowledge of cameras to help people buy the equipment that is right for them. With eight years experience working with studio lighting, Hannah has run many successful workshops teaching people how to use different lighting setups.
