Nikon Webcam Utility: how to set it up and make your camera a super webcam
Here's how to set up Nikon Webcam Utility and use your camera as a webcam – say goodbye to scratchy web video!
Watch video: How to set up Nikon Webcam Utility
Nikon Webcam Utility enables you to use your Nikon camera as a webcam – making the scratchy, noisy and just plain nasty video that comes out of your computer or laptop's built-in camera a thing of the past!
By making use of Nikon Webcam Utility, the best Nikon cameras – both DSLRs and mirrorless cameras – you can get the best possible quality for your video calls, online meetings and Zoom chats.
While this might seem a bit like using a Bugatti Veyron to do the school run, the built-in cameras on laptops and computers aren’t known for their image quality. Another option is to pick up one of the best webcams but, if you already own a Nikon that's compatible with Nikon Webcam Utility, you've got everything you need already.
You can take full advantage of fast glass to create a shallow depth of field and shoot in low light, squeeze the whole family into the frame using a wide-angle lens, or use your camera’s Picture Controls as snazzy filters.
Compatible cameras include the Nikon Z fc, Nikon Z50, Nikon Z5, Nikon Z6, Nikon Z6 II, Nikon Z7, Nikon Z7 II, Nikon Z9, Nikon D5, Nikon D6, Nikon D810, Nikon D850, Nikon D780, Nikon D500, Nikon D7500, Nikon D5600, Nikon D5500, Nikon D5300 and Nikon D3500. The software is currently available from the Nikon download center for 64-bit Windows 10 computers, or Macs running MacOS High Sierra (version 10.13) or above.
When it comes to connecting to your computer you have two options. You can use the USB cable that came with your camera, or pair a HDMI cable with a third-party video capture device. The latter will produce better quality video, but for casual users, the former will be perfectly fine.
Just make sure to keep an eye on your camera’s temperature, as Nikon states that it “may rise… after periods of extended use.” We’d suggest using a fully charged battery, too, as Live View will drain power fast. The Nikon Z5 can be powered via USB-C, which makes it super handy for long sessions.
Step by step: Nikon Webcam Utility
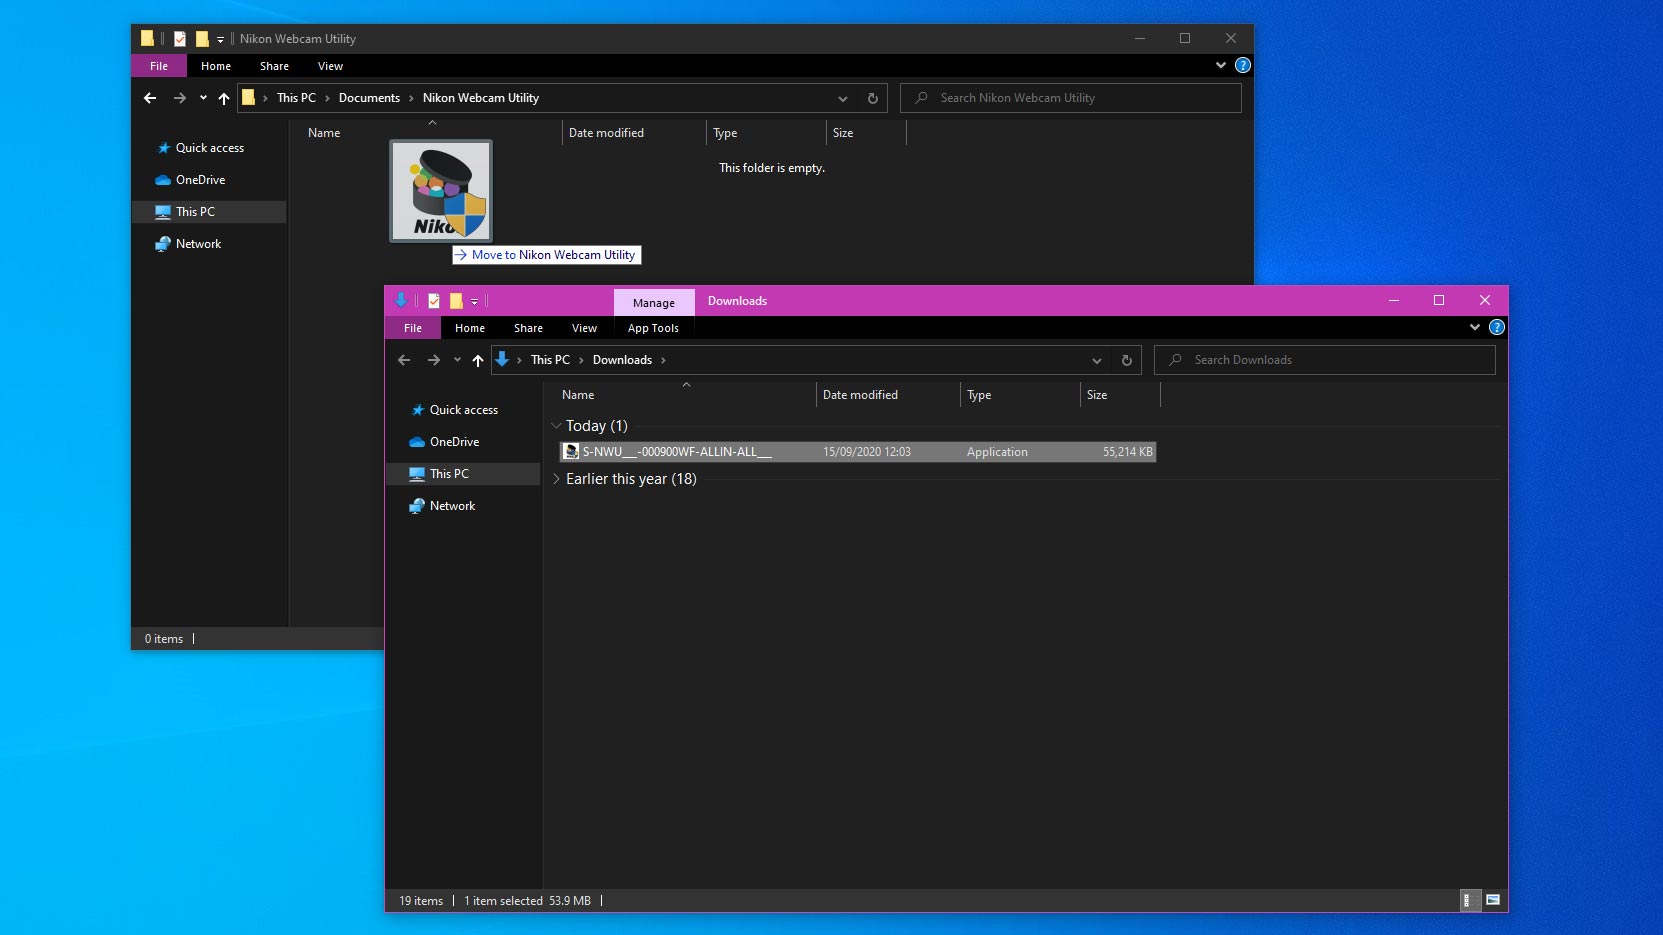
01. Download it
Go to Nikon’s Download Center. Check that your computer meets the system requirements, then select your region and tick the box to accept the T&Cs, and click Download.
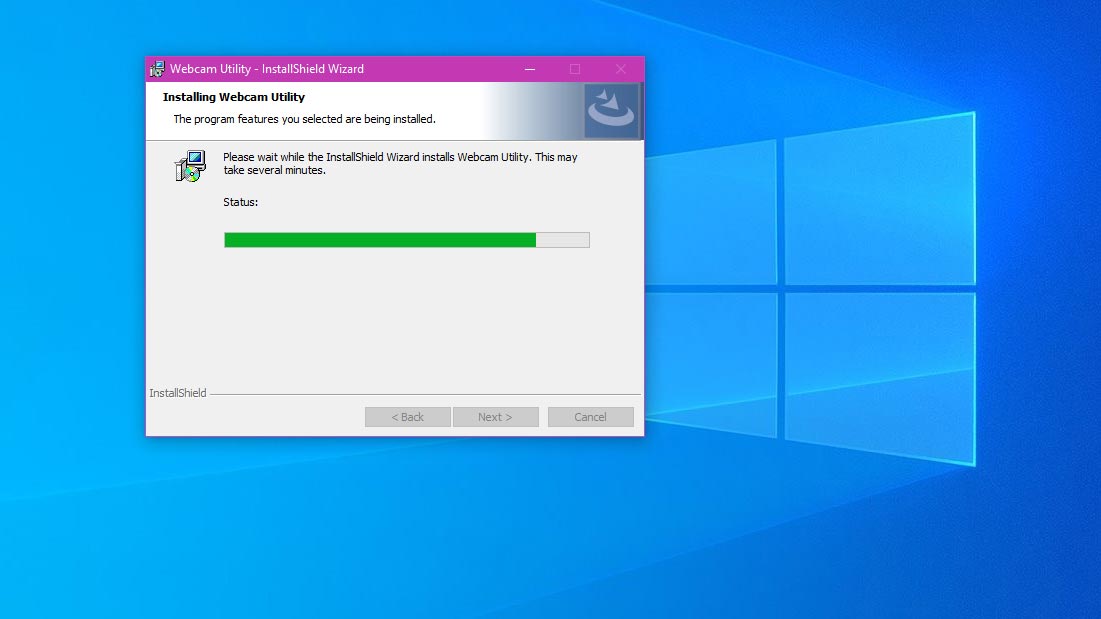
02. Follow the wizard
Double-click the file to start the installation wizard. Simply follow the on-screen instructions and wait until the program has downloaded. You won’t find a desktop shortcut. The software works via your chosen video-conferencing software.
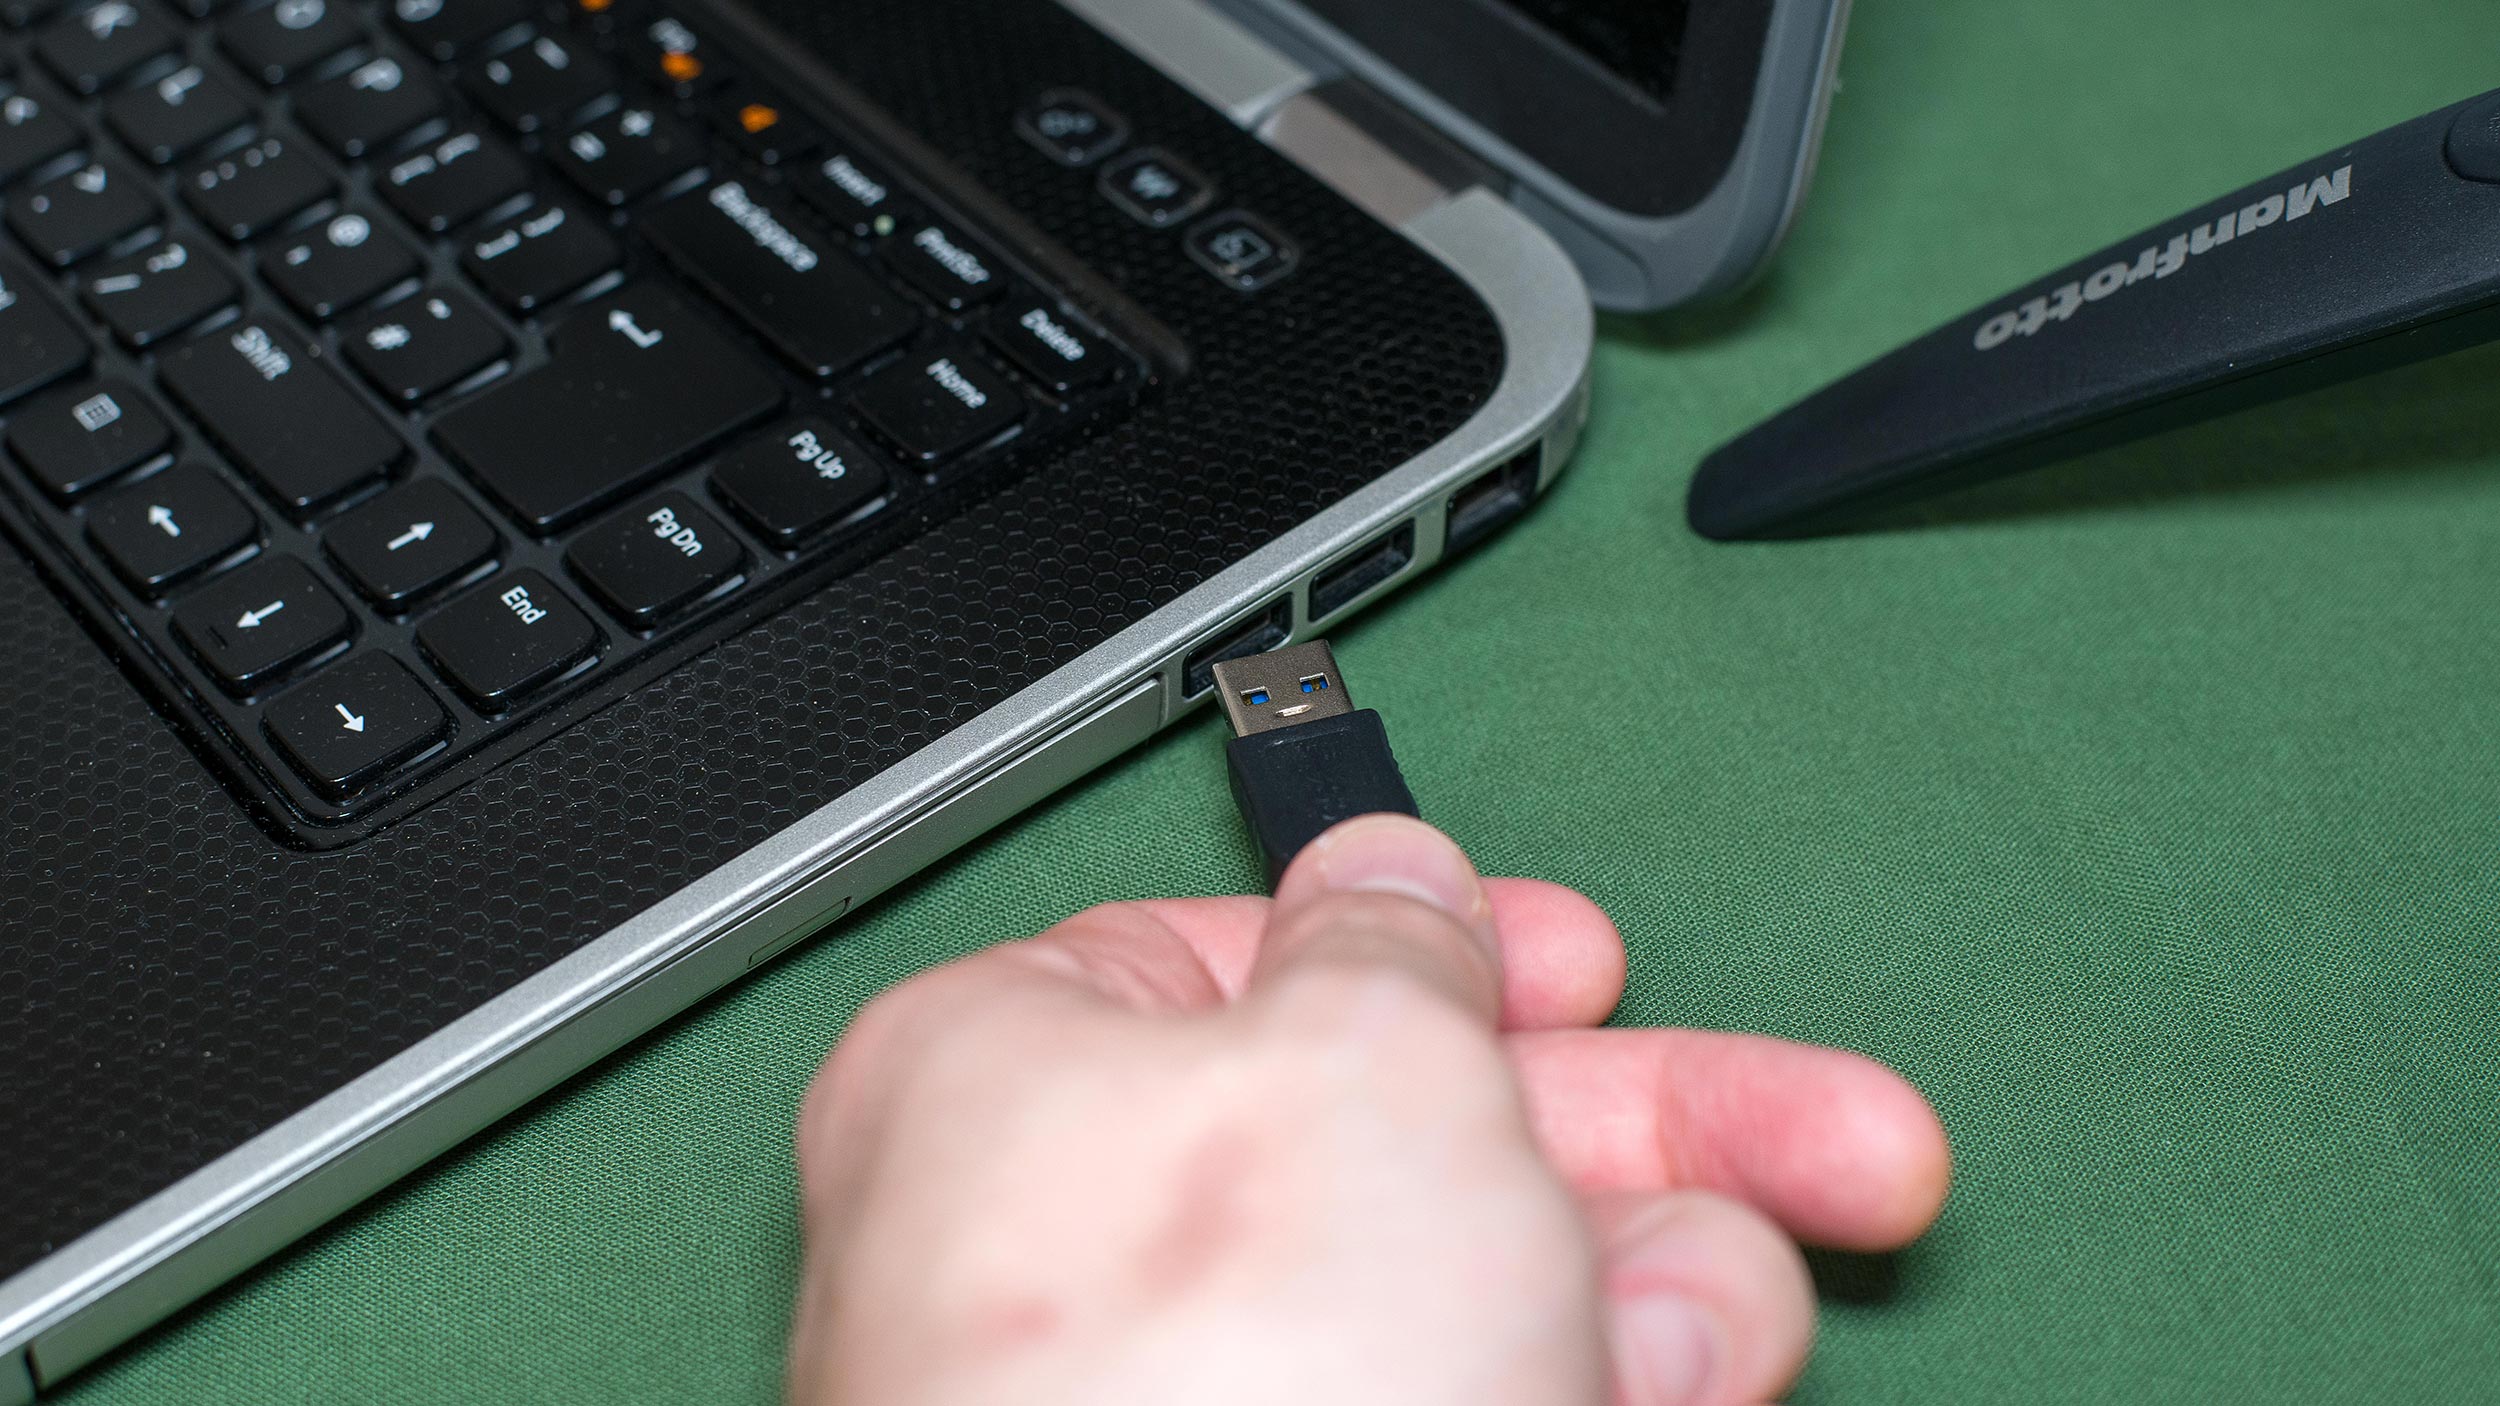
03. Get connected
Connect your camera directly to your computer via its USB cable. You can also connect your camera via HDMI, but you must go through a third-party capture card like the Elgato Cam Link – this enables you to stream the highest quality, and will connect any camera (not just a Nikon).
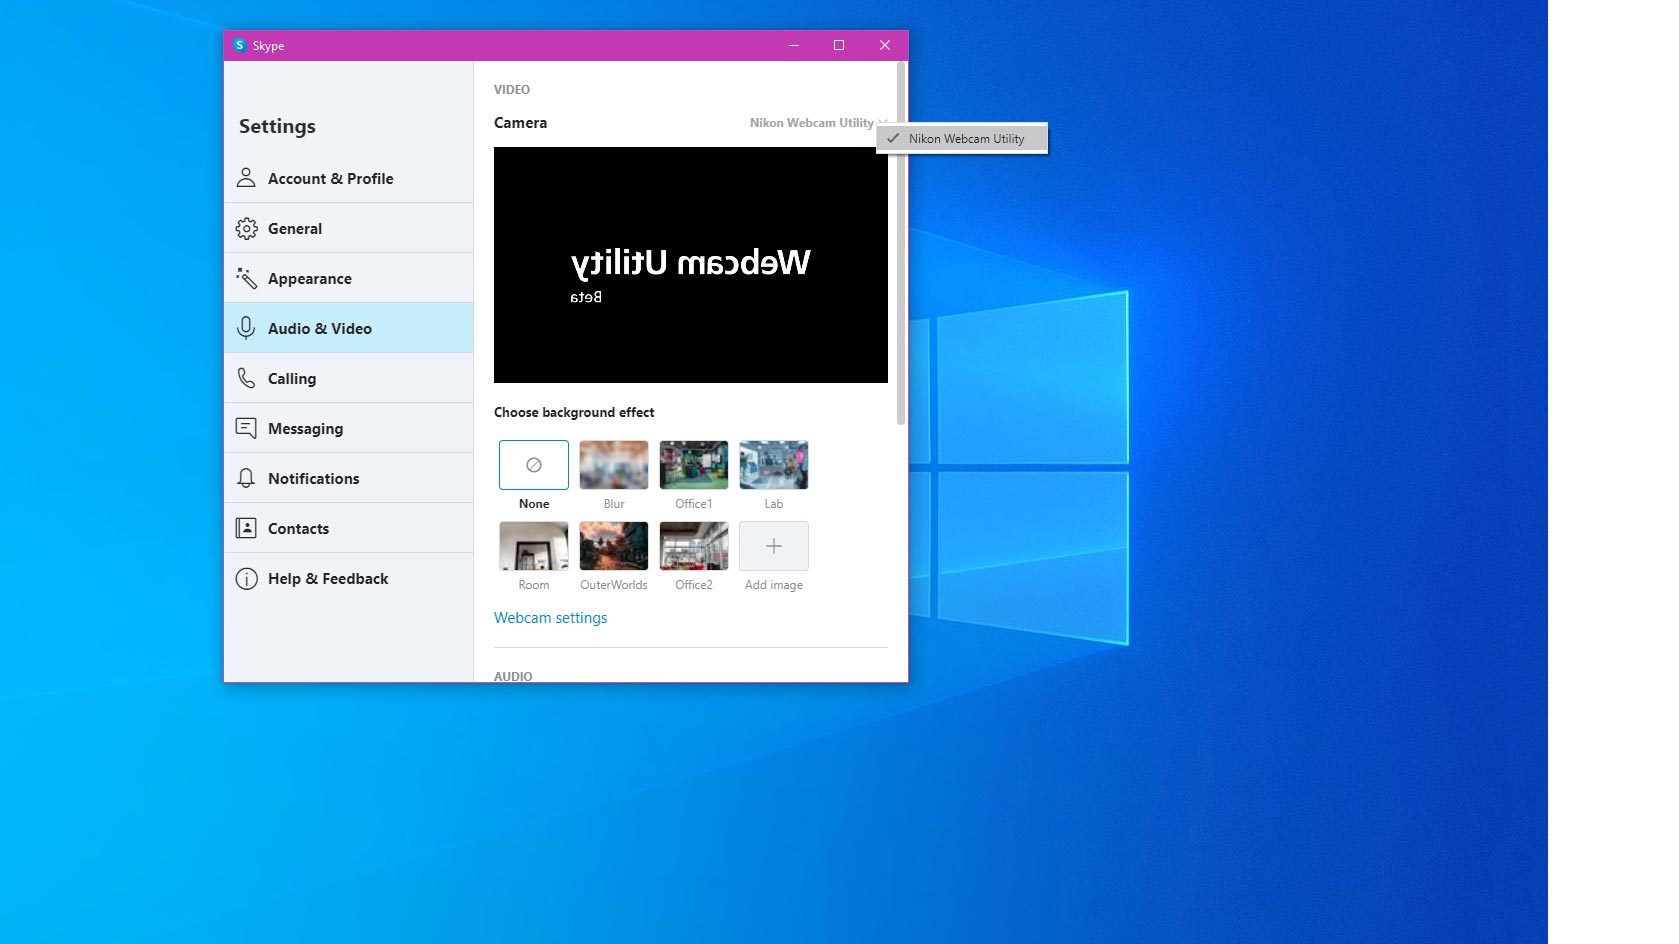
04. Detect it
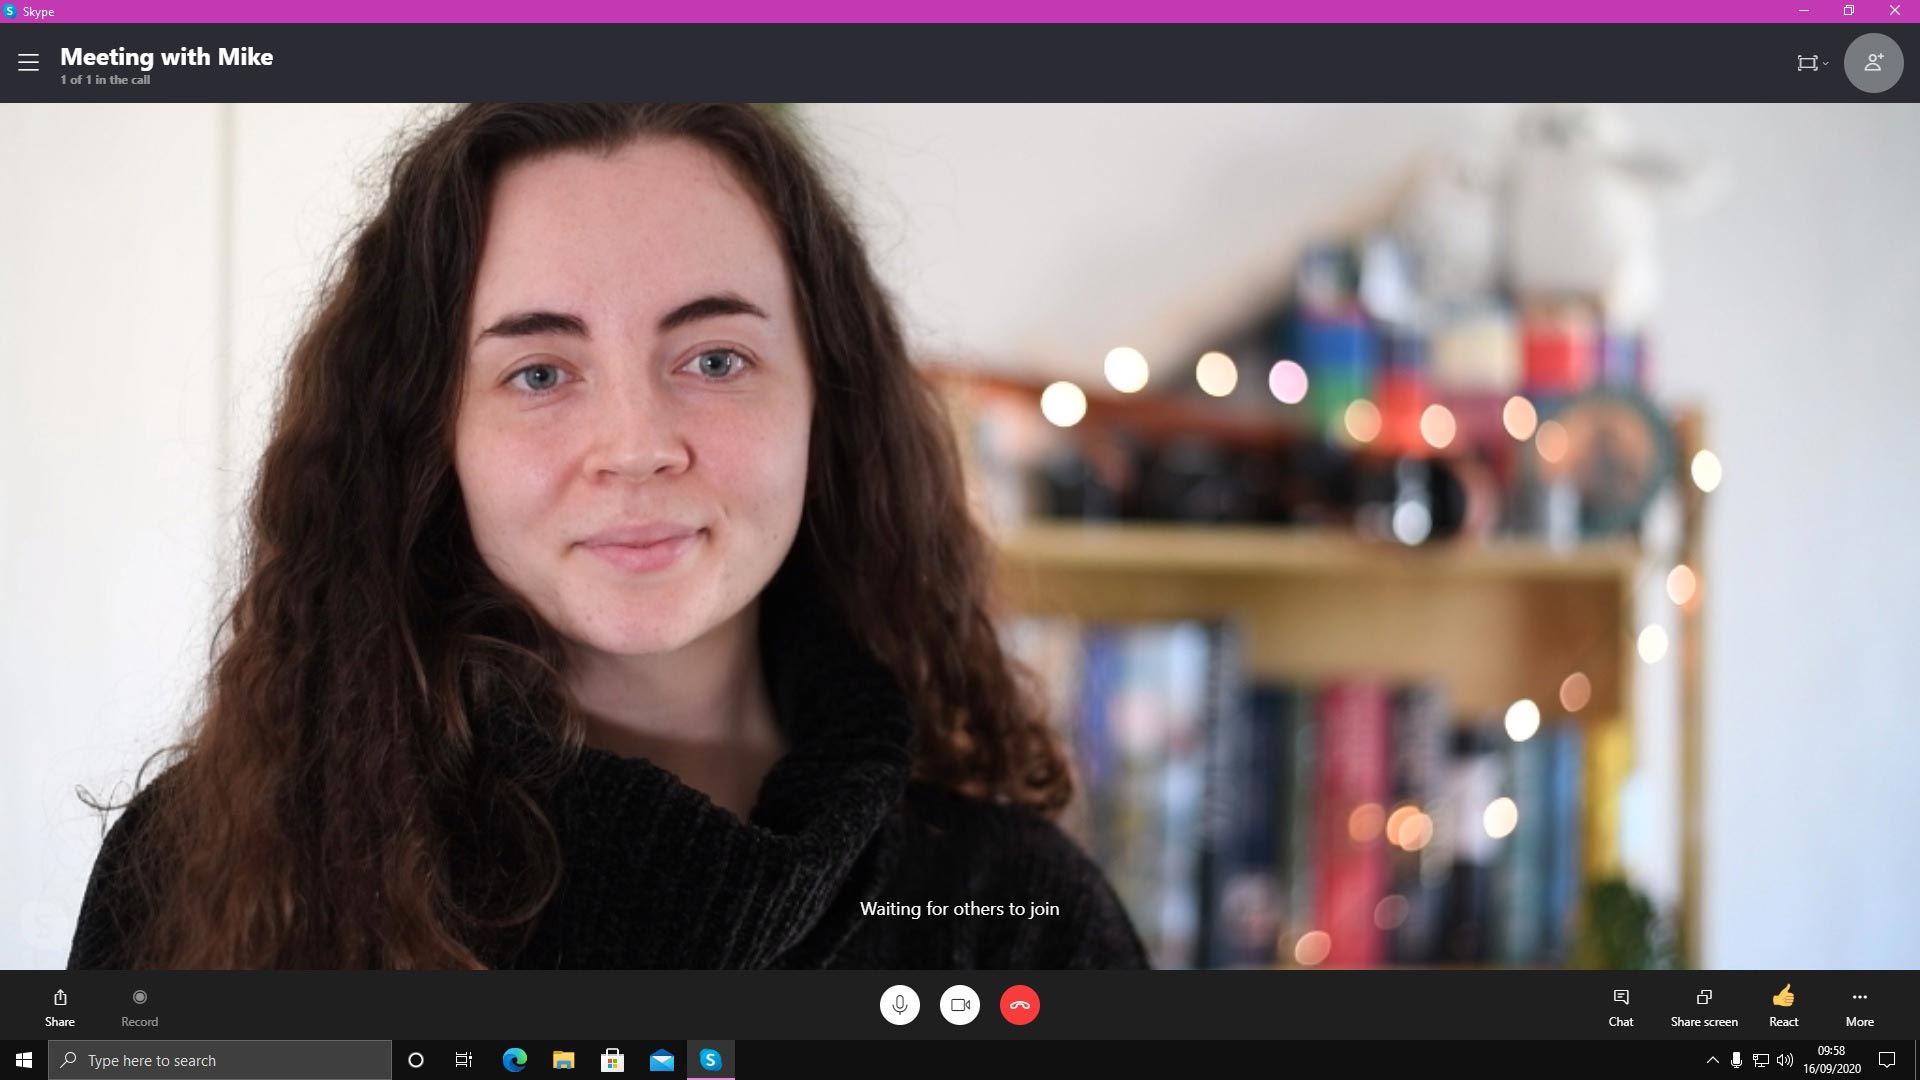
When you boot your chosen video conferencing software you may have to tell it to stream via Webcam Utility. Exactly how you do this will depend on your software, so look around for a settings or preferences icon. While using Skype, Webcam Utility was detected automatically.
05. Camera settings
Turn on your camera and switch it to Live View video mode. From here you can adjust the settings, allowing you to achieve a shallow depth of field, push the sensor’s sensitivity, or make use of Nikon’s Picture Control to add a stylish filter to your on-screen footage.
06. Ace your audio
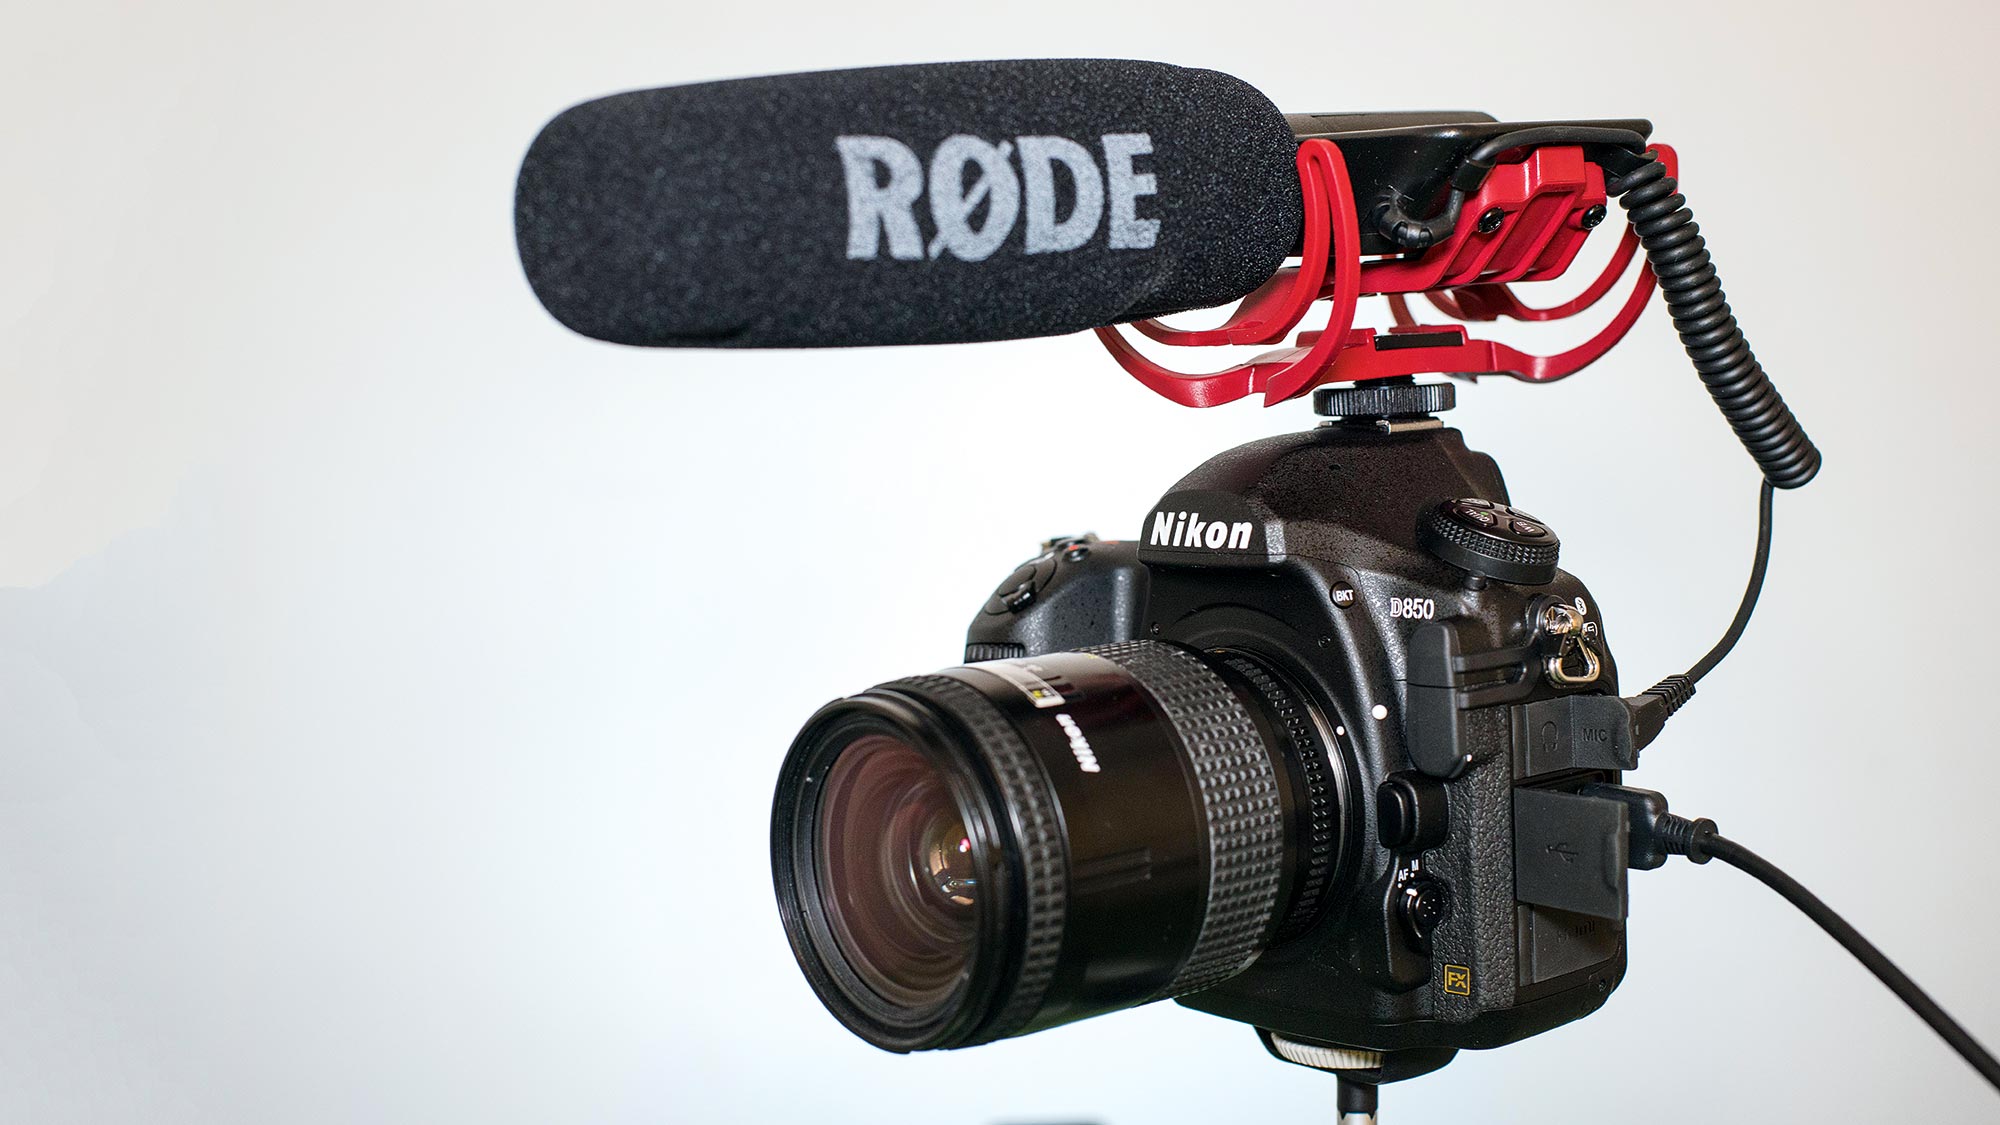
If you use your computer’s built-in mic or a mic connected to your computer, your audio and video might not sync. For casual use this probably won’t matter much, but it is possible to fix this in software. The easiest way around this though is to record audio into your camera via one of the best microphones for video, like our Røde VideoMic Go.
Read more:
Best Nikon camera
Best cameras for streaming
Best video conferencing app
Best PTZ cameras for streaming, web conferencing & video production
Best streaming services
How to use your camera, or GoPro as a 4K webcam
Get the Digital Camera World Newsletter
The best camera deals, reviews, product advice, and unmissable photography news, direct to your inbox!

Mike is Digital Camera World's How To Editor. He has over a decade of experience, writing for some of the biggest specialist publications including Digital Camera, Digital Photographer and PhotoPlus: The Canon Magazine. Prior to DCW, Mike was Deputy Editor of N-Photo: The Nikon Magazine and Production Editor at Wex Photo Video, where he sharpened his skills in both the stills and videography spheres. While he's an avid motorsport photographer, his skills extend to every genre of photography – making him one of Digital Camera World's top tutors for techniques on cameras, lenses, tripods, filters and other imaging equipment – as well as sharing his expertise on shooting everything from portraits and landscapes to abstracts and architecture to wildlife and, yes, fast things going around race tracks...
