How to set up the GPS on your Canon camera
Set up the GPS on your Canon camera to geotag images, and even create an interactive map of your camera's journey
Watch video: How to set up the GPS on your Canon camera
At one point or another, you’ve probably been scrolling through a folder of files on your computer and thought, “I wonder where I shot that?” Thankfully, a number of Canon DSLRs have in-built GPS functions that can identify where your files were taken – and they can also track the journeys you take with your camera.
• Read more: Best camera with GPS
Whether you’re out shooting nature, wildlife, travel, stock images or even just your own personal photography, geotagging will help you keep track of where all your photos and videos were taken. Starting with the Canon EOS 6D, and continuing with the Canon EOS 6D Mark II, Canon EOS 7D Mark II, Canon EOS 5D Mark IV, Canon EOS-1D X Mark II and Canon EOS-1D X Mark III, a number of EOS bodies can tag images and videos using global positioning systems.
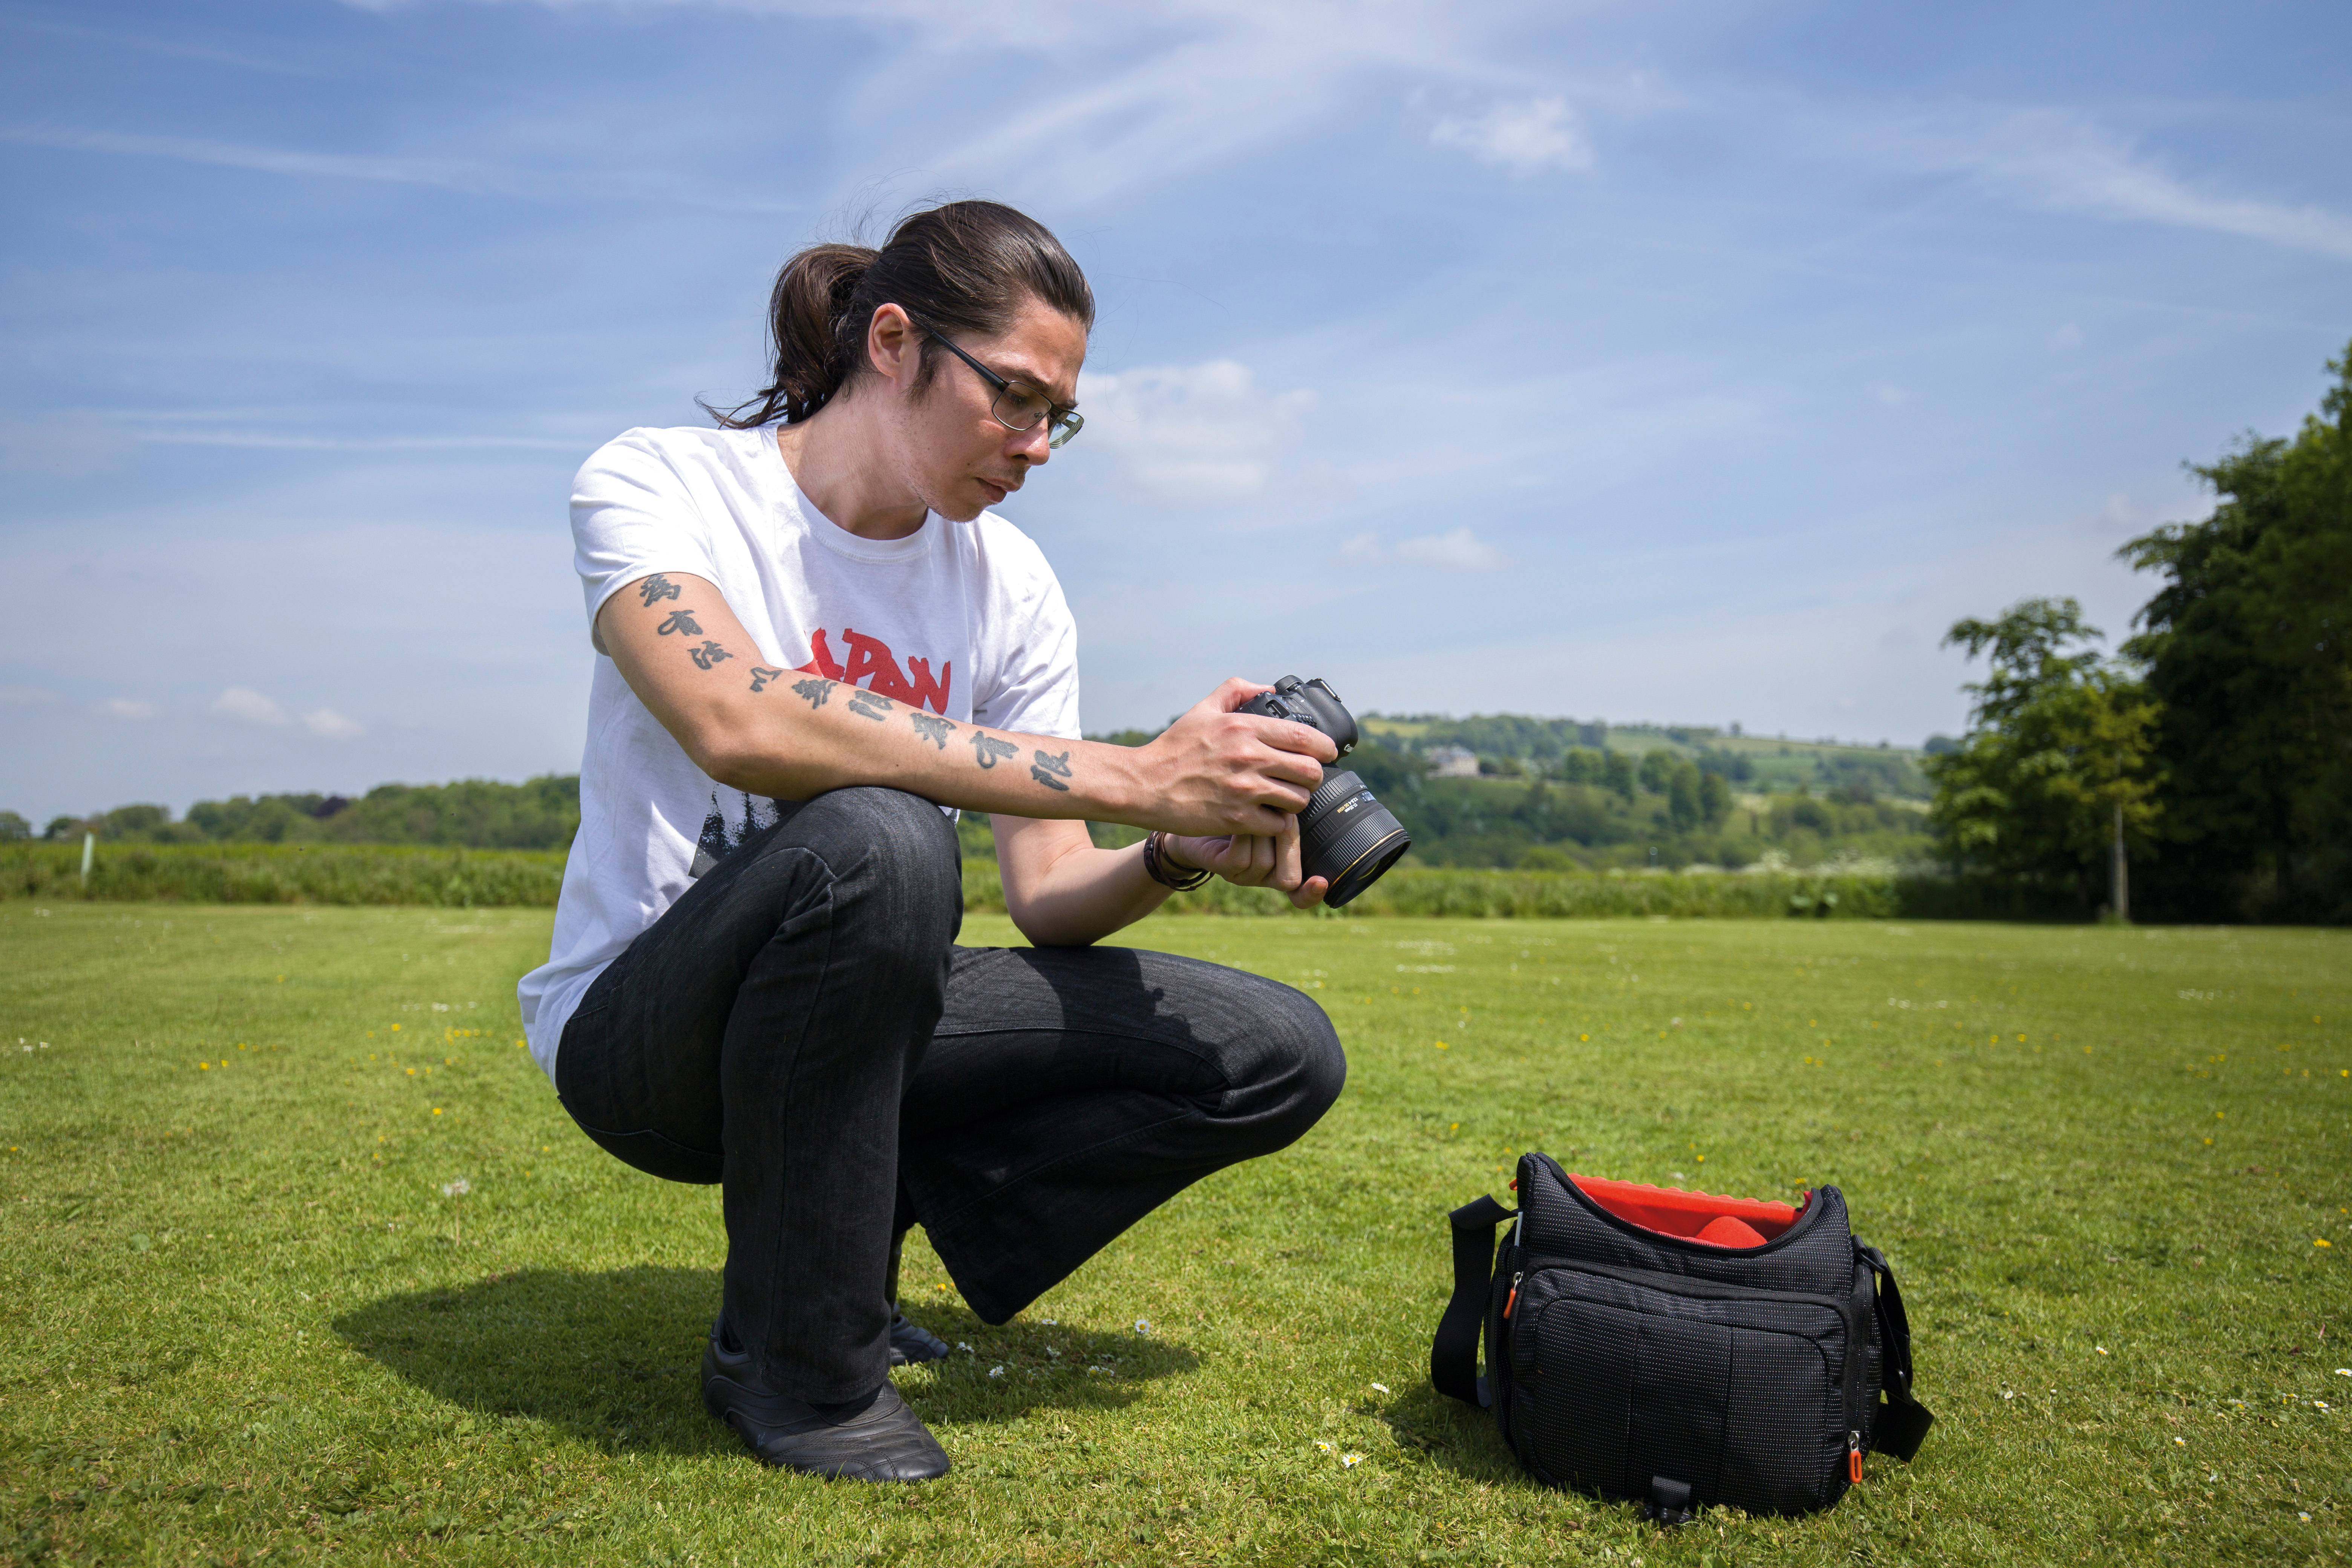
Once you’ve enabled the GPS on your camera, location data will be saved with the rest of the EXIF information in your files. This includes UTC (coordinated universal time), the global time standard, which you can set while connected to the GPS satellites. In addition, you will be able to create a separate log file that can track your camera’s movements over a 24-hour period.
Opening your files in dedicated software, such as Canon’s free MapUtility or other third-party programs, will enable you to view your photos as pins dropped on a map. You can also follow each 24-hour journey that your camera took, displayed as a map route. Just remember that the GPS can be very draining on your camera battery, so be aware of that when you enable it!
How to set up the GPS on a Canon camera
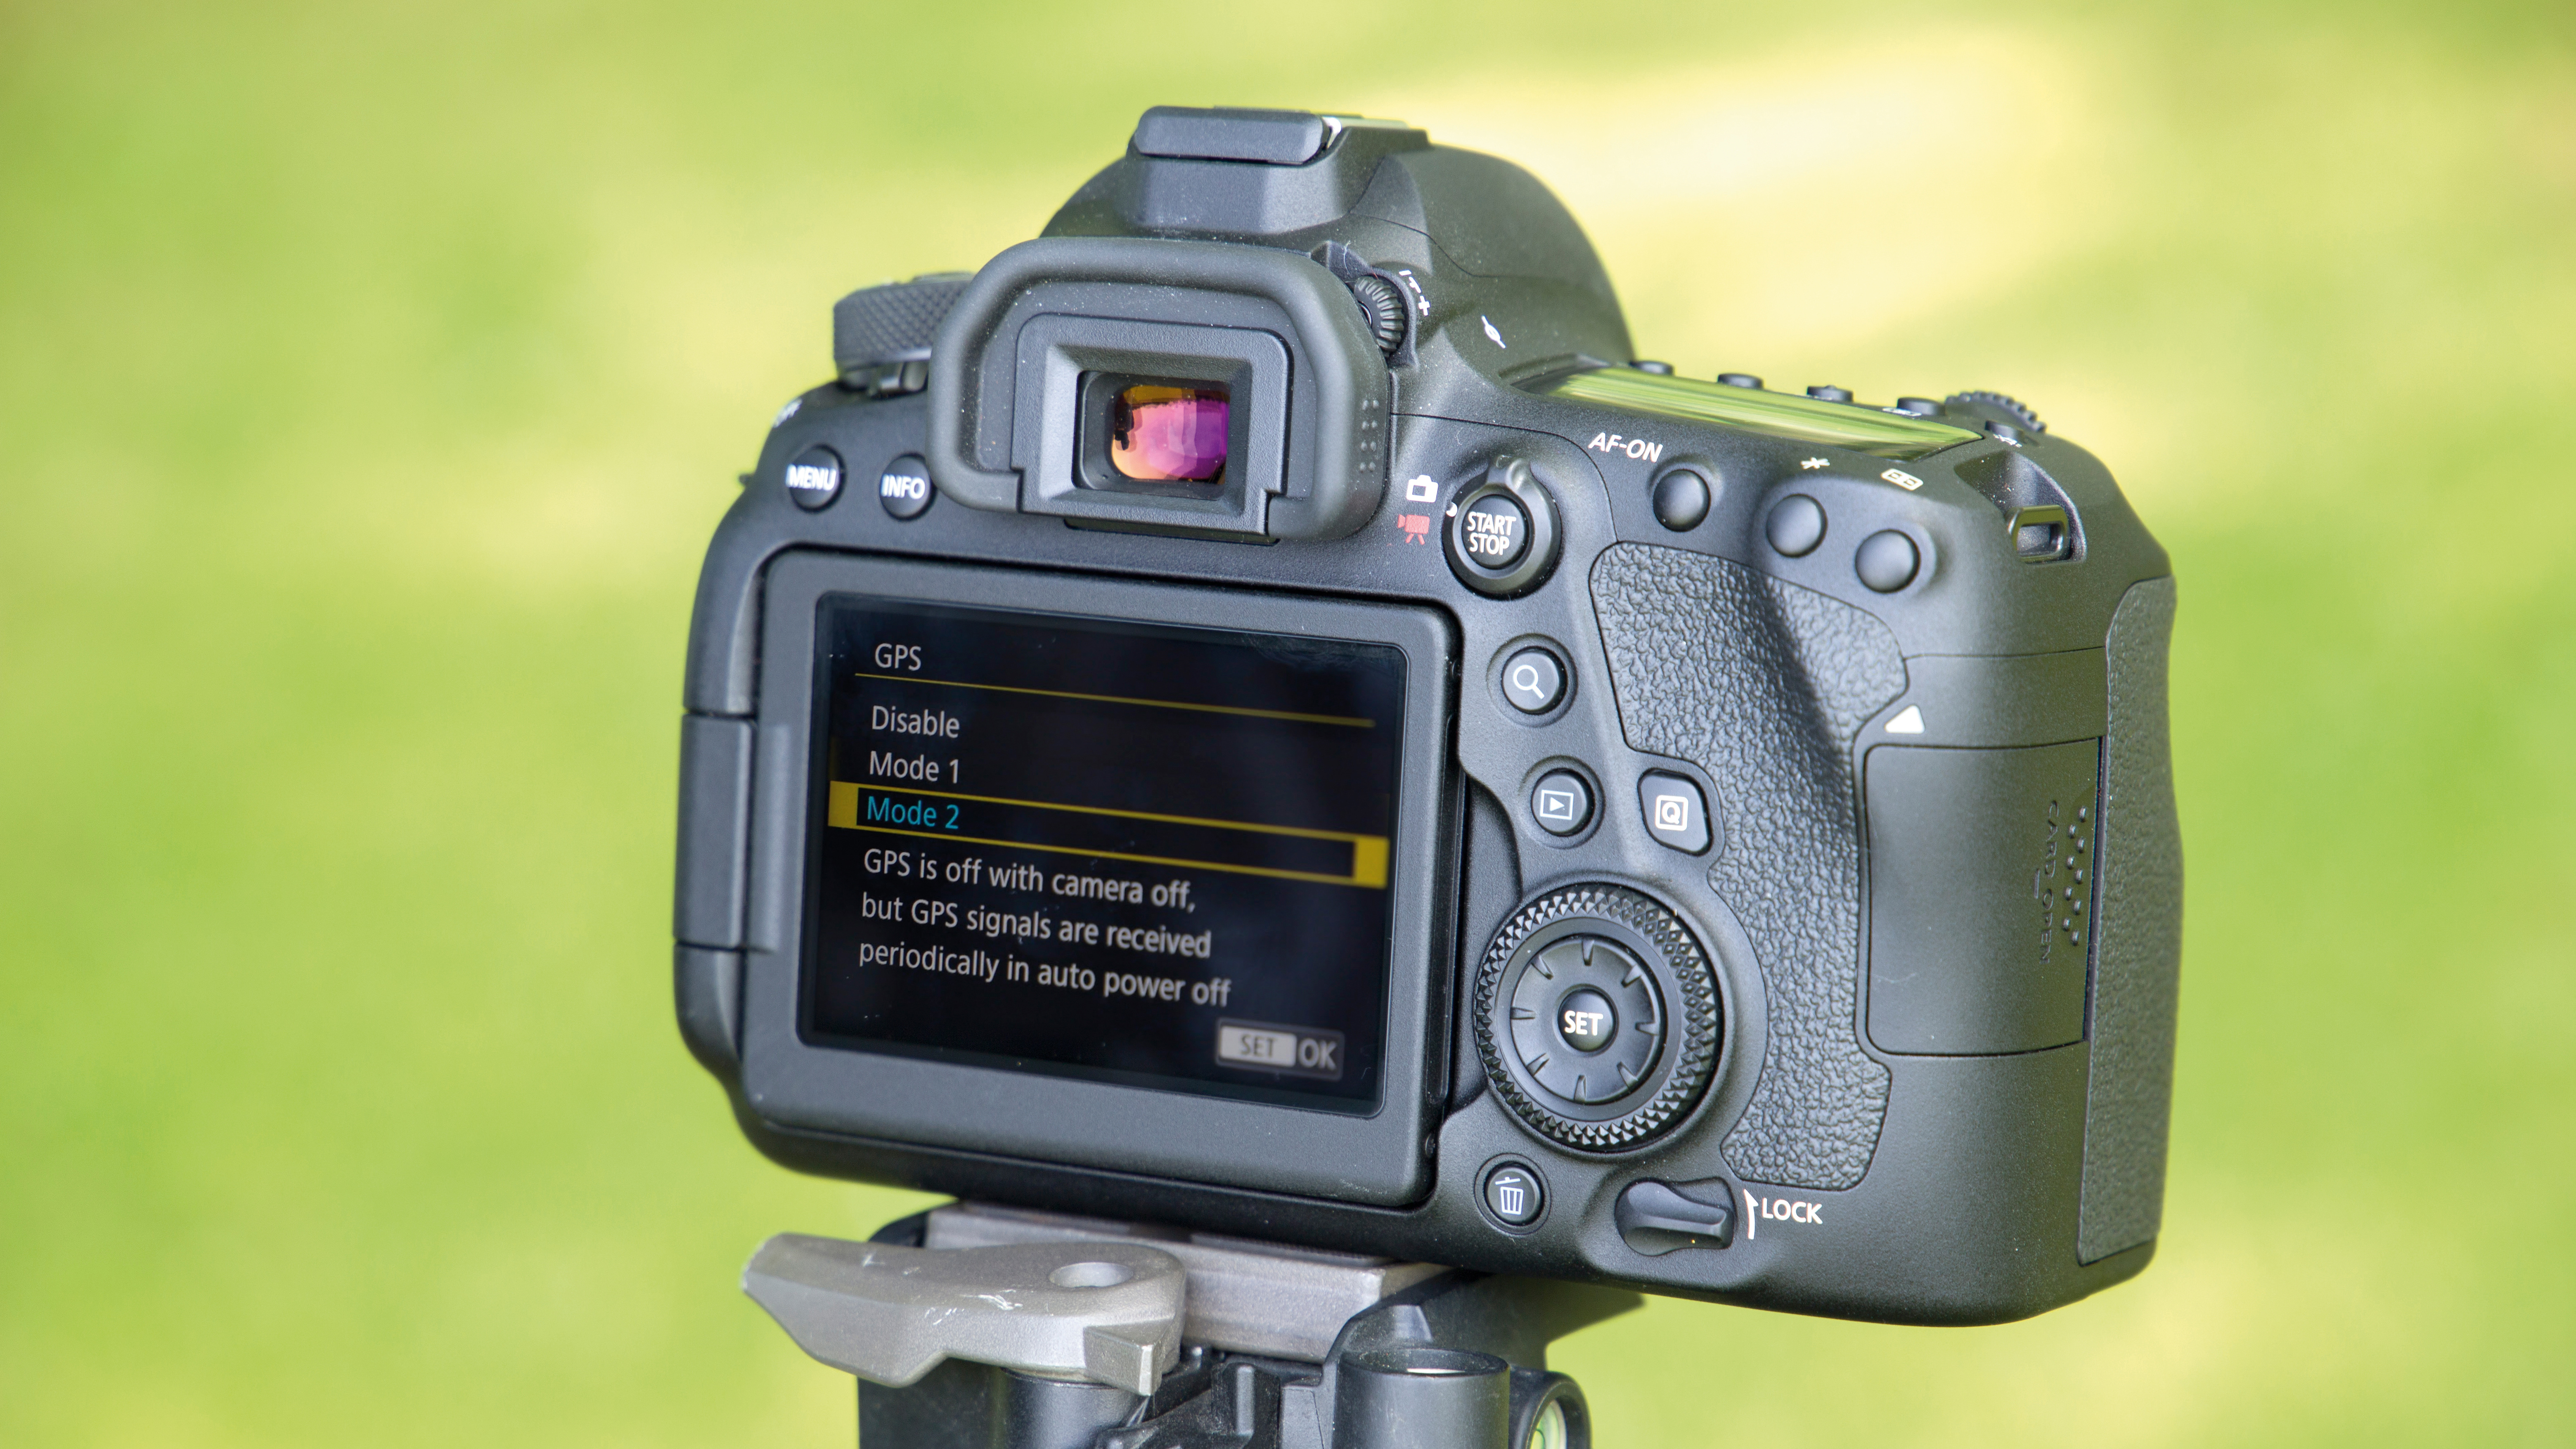
1) To be or not to be always on?
Press MENU and go to the Setup menu. In GPS Settings choose either Mode 1 (where the GPS will stay on even when the camera is turned off – which is very battery intensive!) Or Mode 2 (the GPS turns off with the camera).
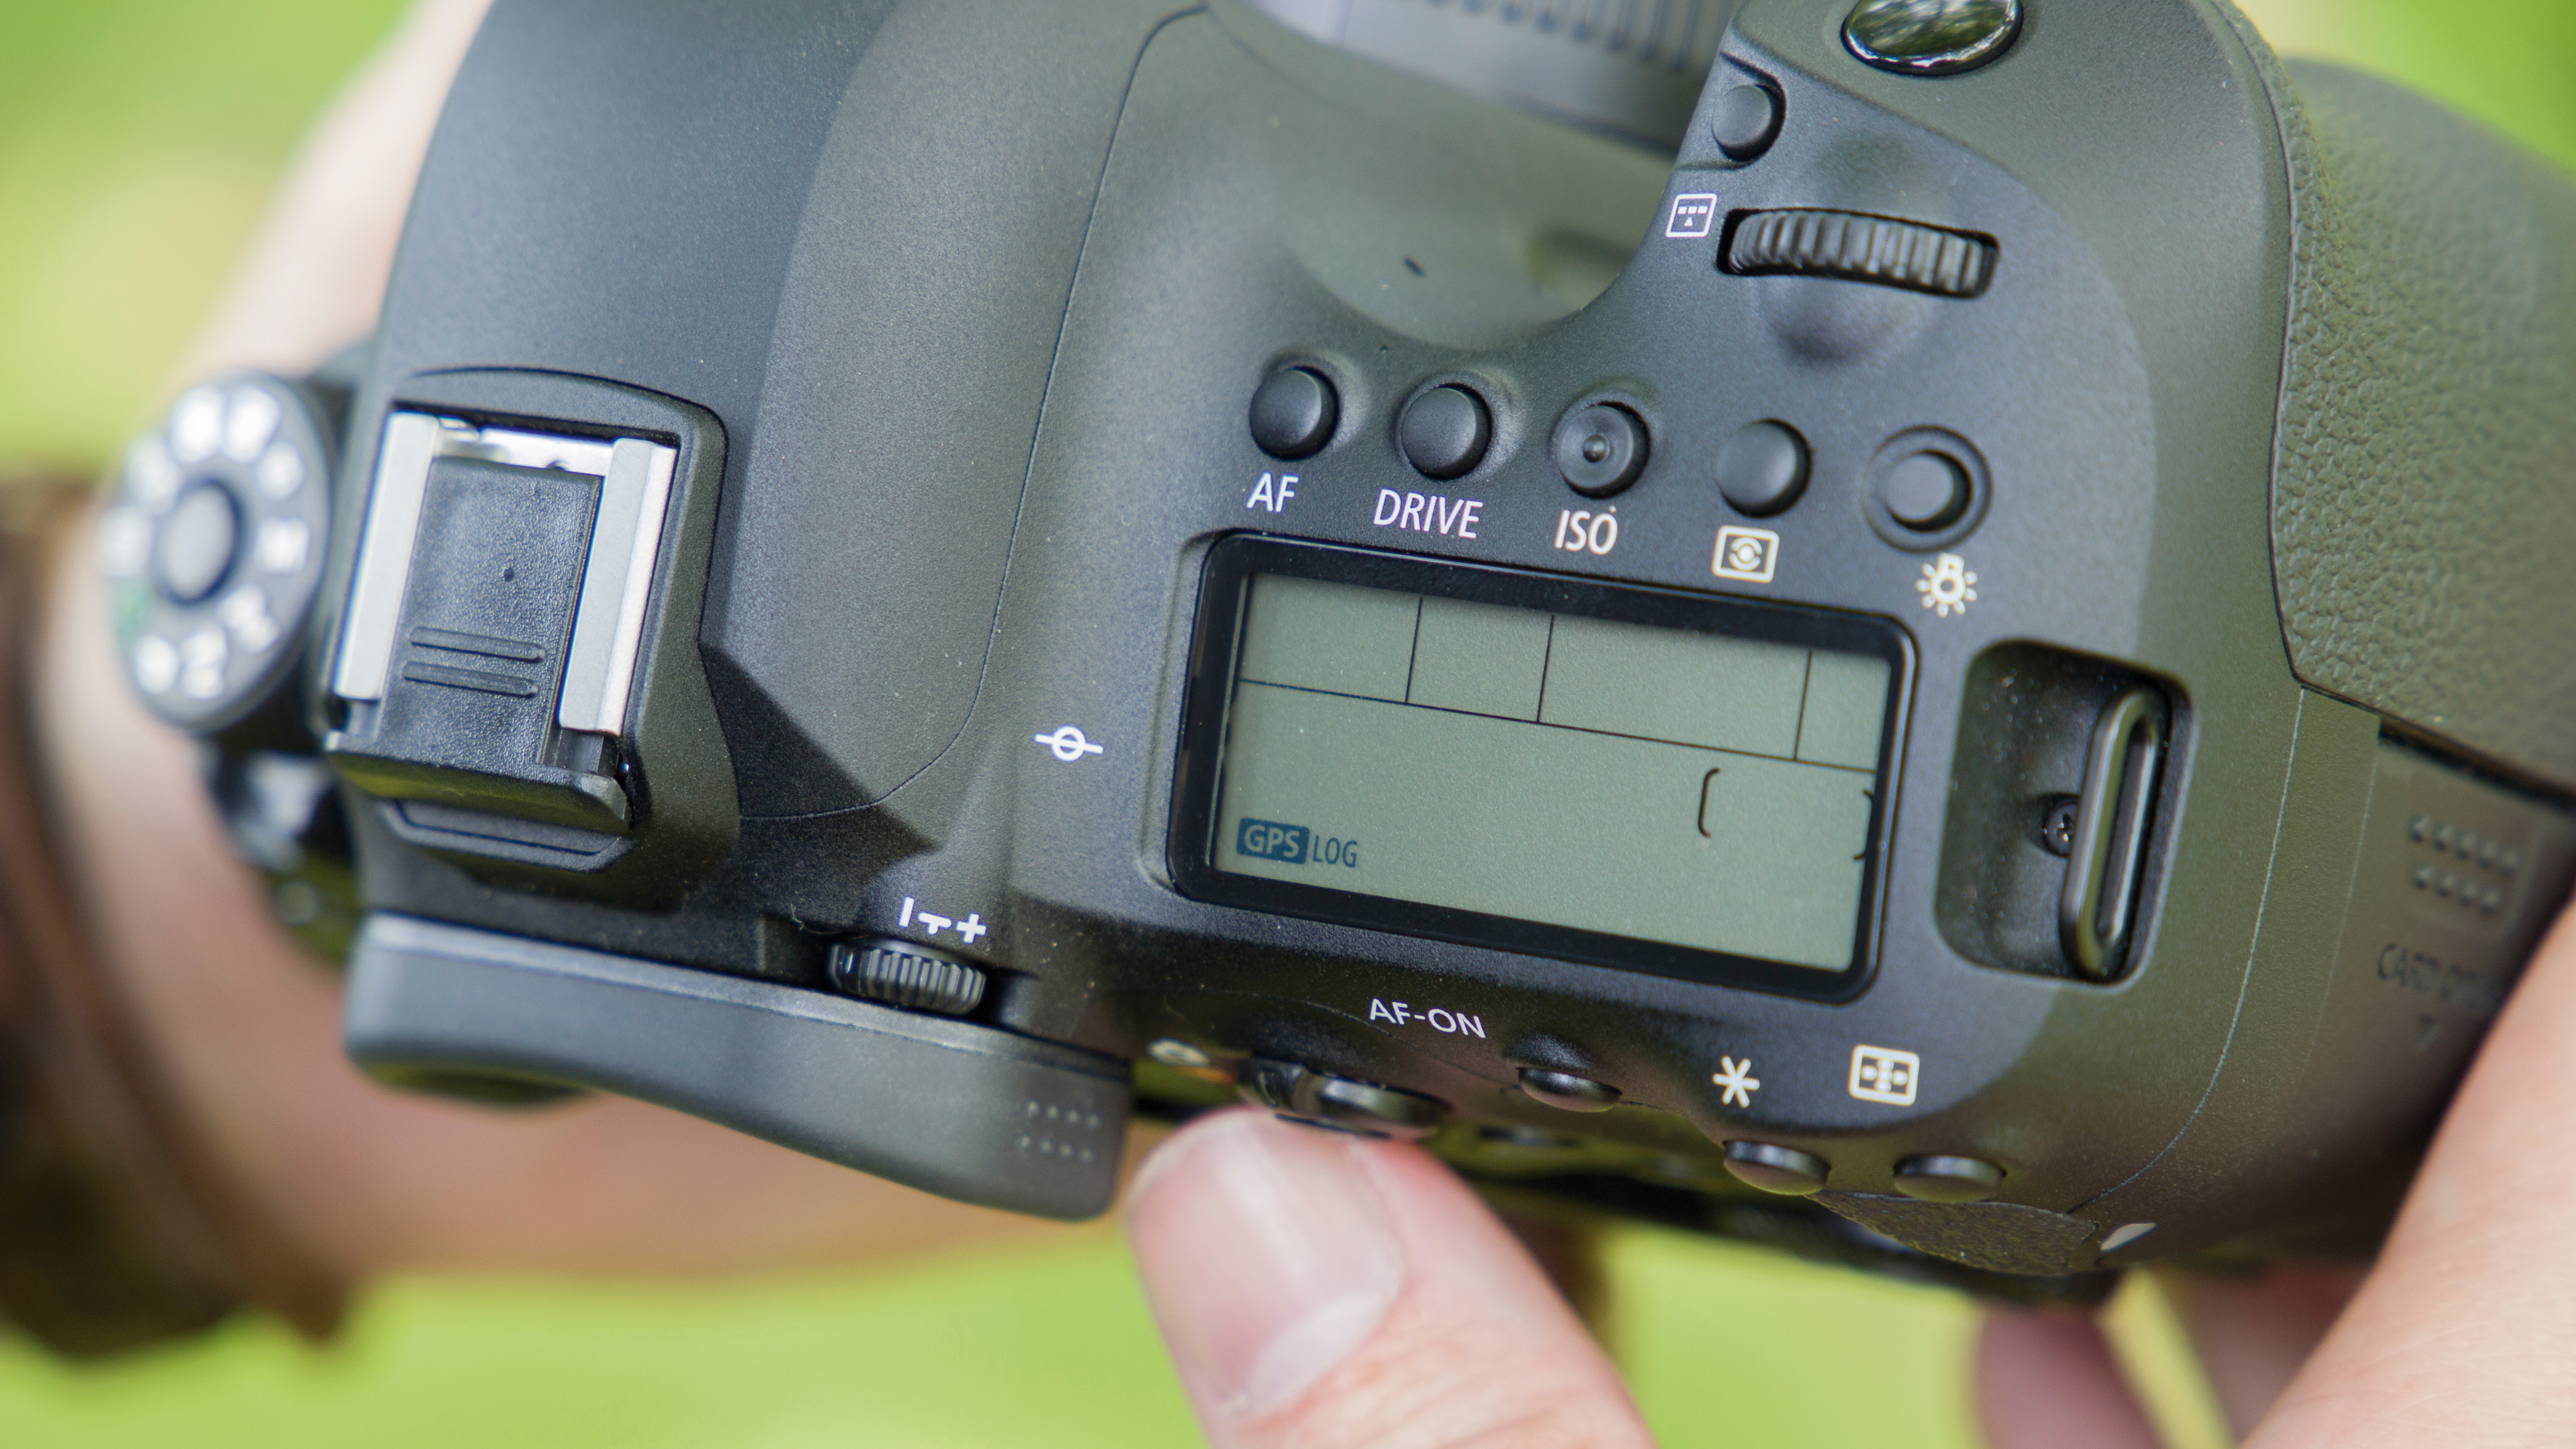
2) Get connected
It can take 30-60 seconds to connect to the GPS satellites – this process may not work indoors, so you might need to go outside where your camera has a clear view of the sky. The GPS icon on the LCD screen will blink while connecting and will turn solid when connected. Your location data will now be saved with your files.
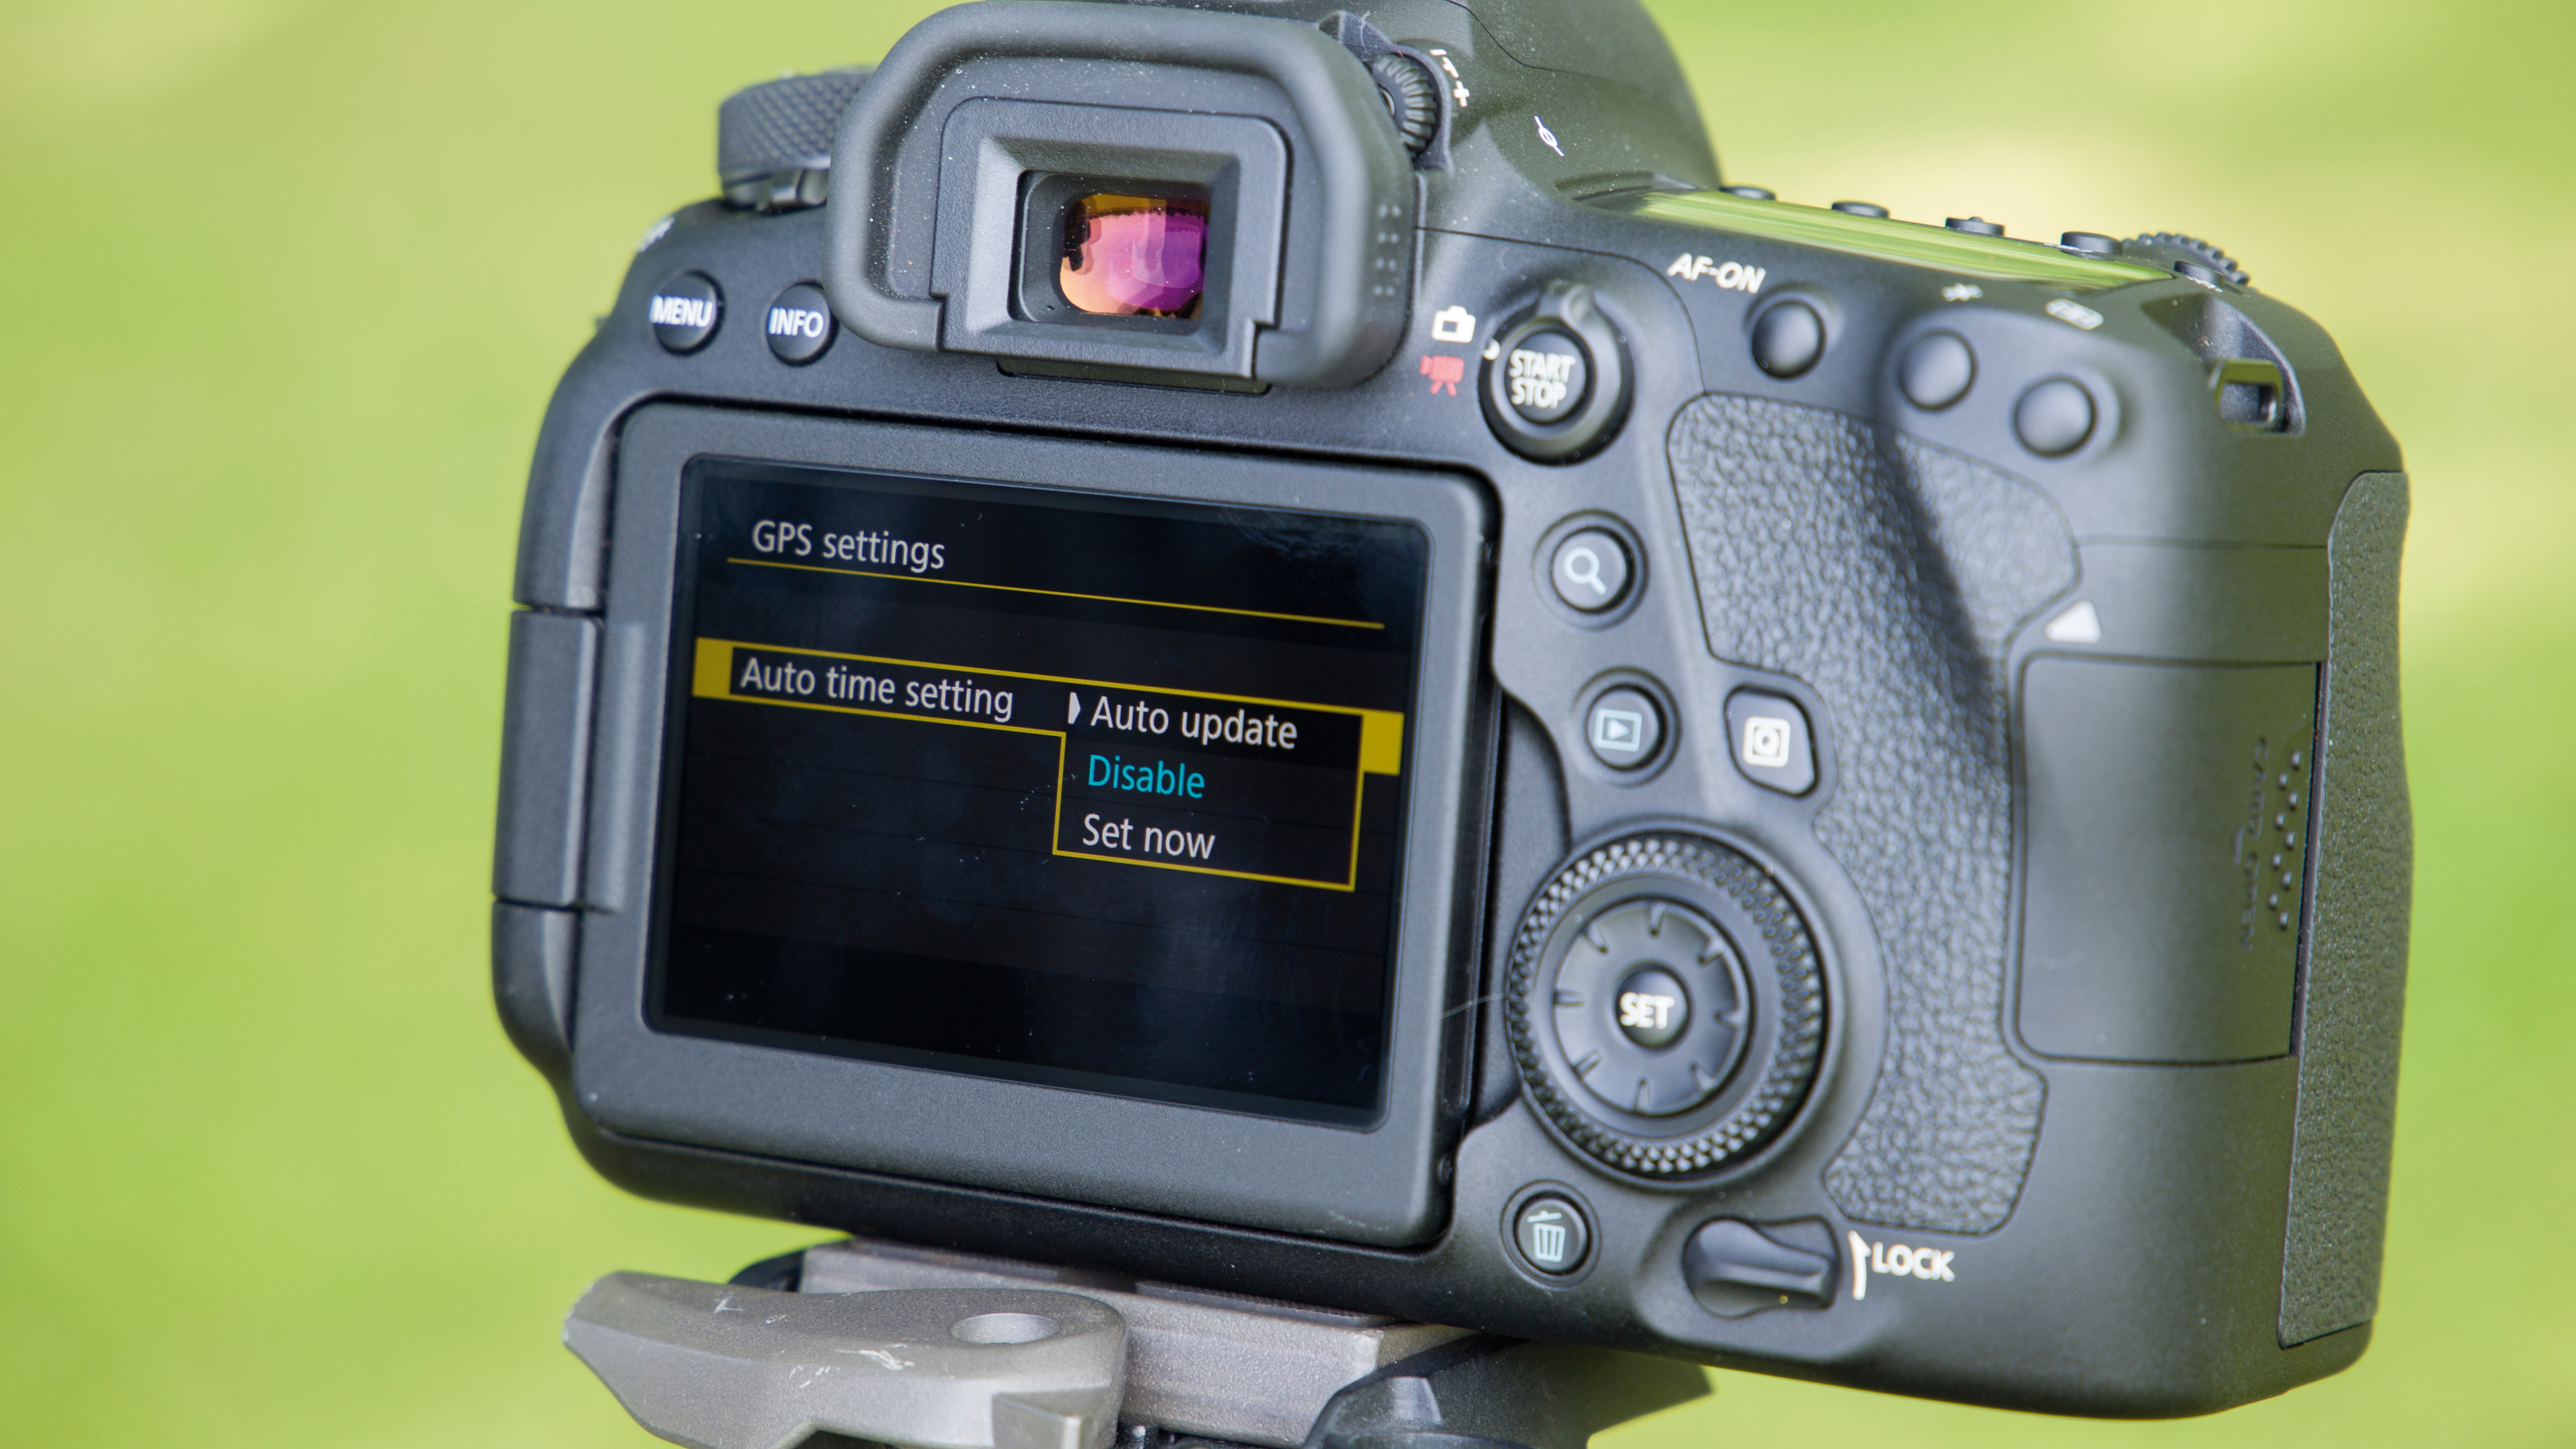
3) Time check
With the ‘Auto time’ setting you can record UTC time data with your images, which is accurate to within a second. You can auto-update every time a GPS connection is made, or update the time as a one-off.
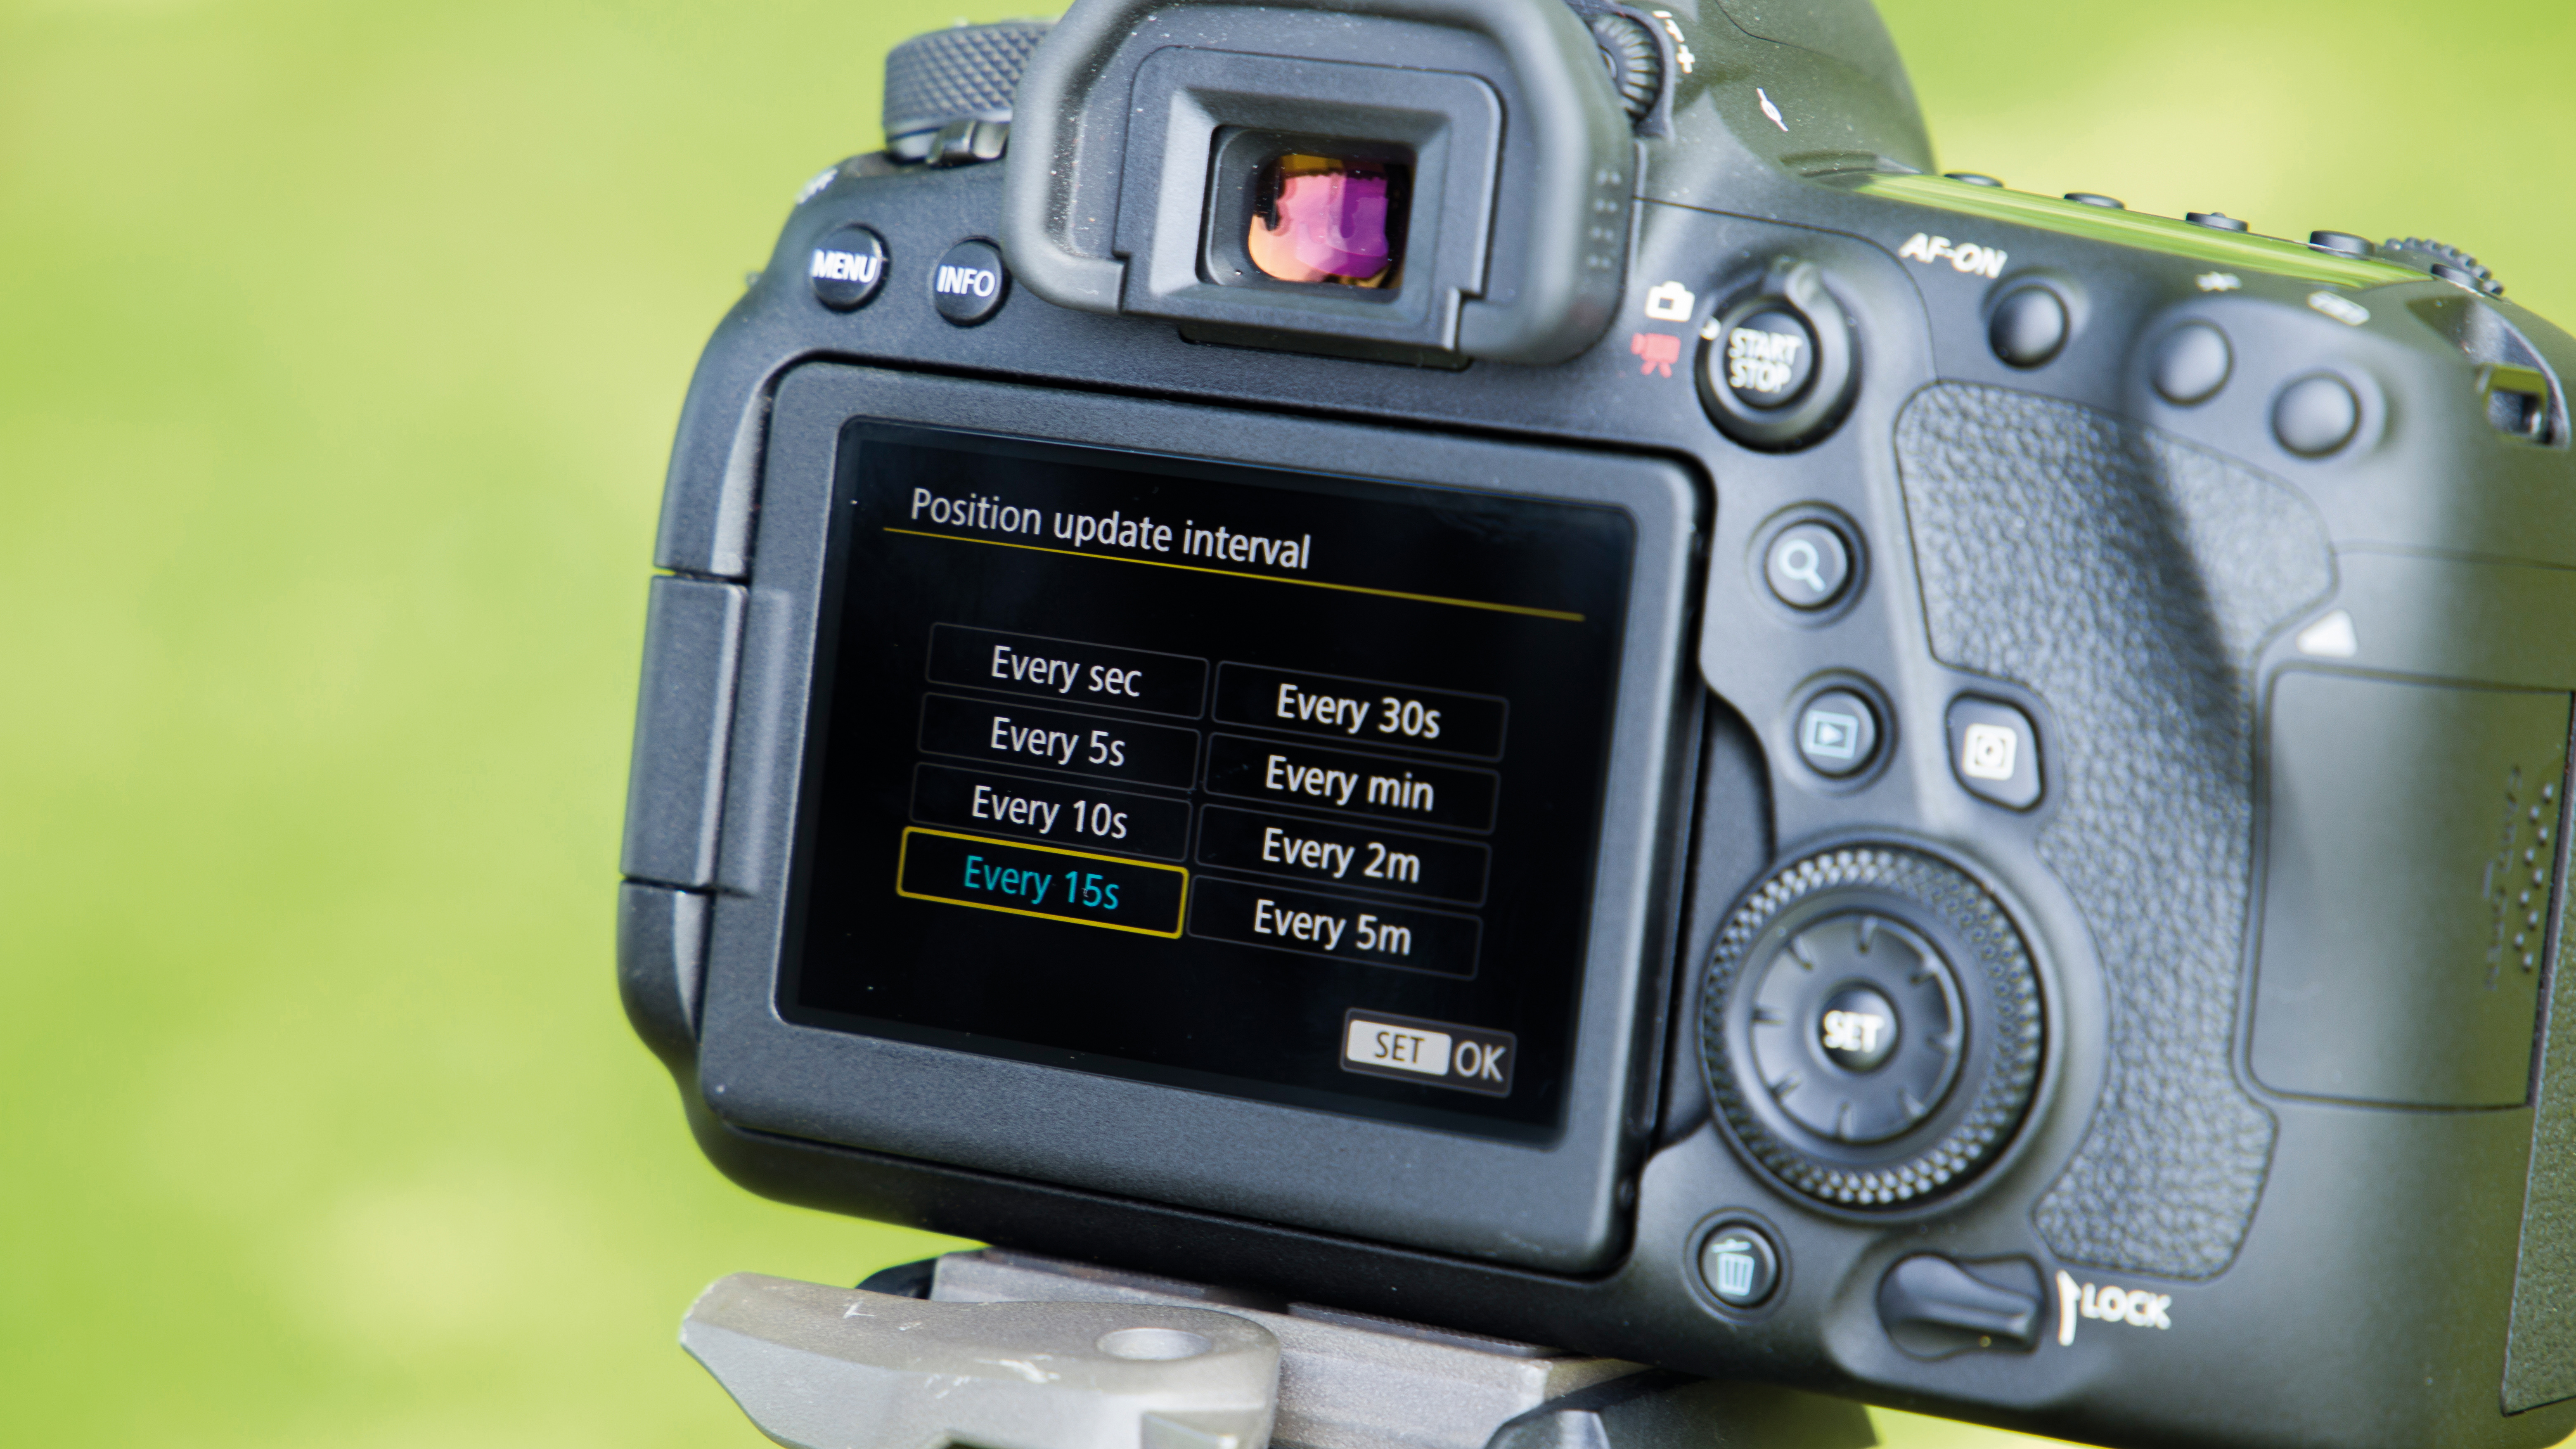
4) Keeping updated
‘Position update interval’ affects how often the camera receives location information. Set this between 15 and 30 seconds if you're walking or hiking, or between 1 and 5 seconds if you're in a moving vehicle.
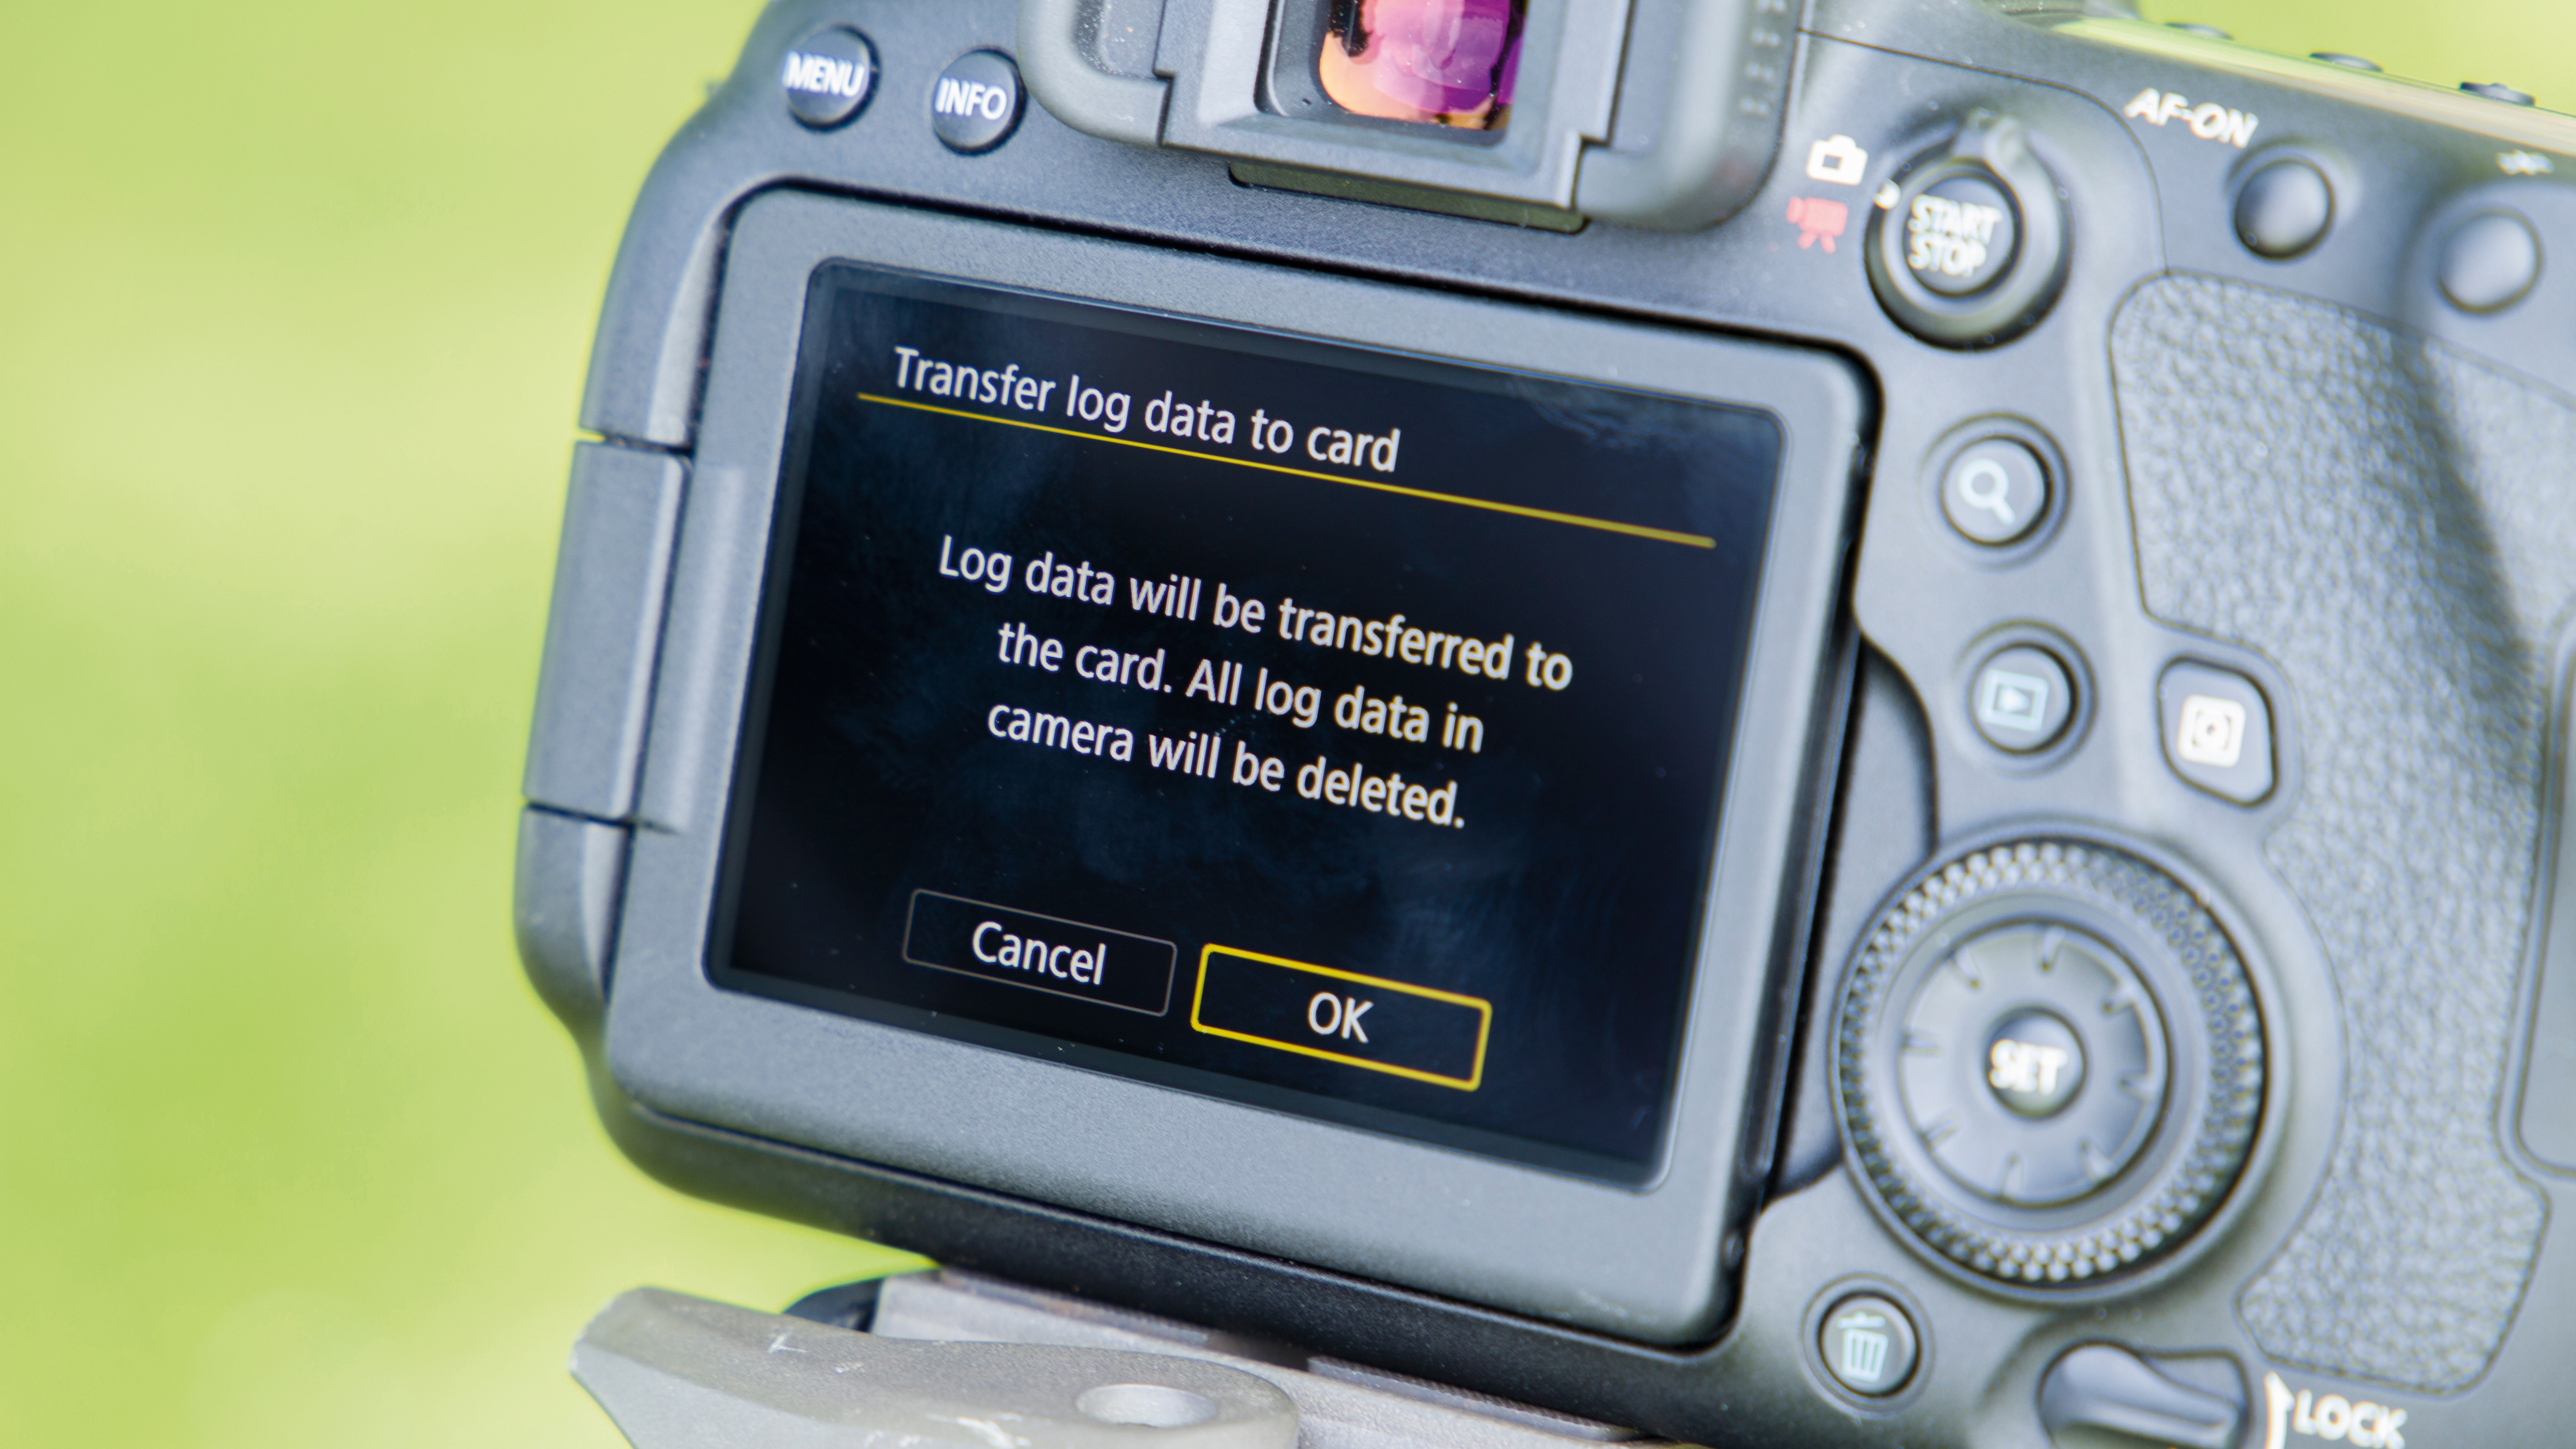
5) GPS logging
‘Log GPS position’ tracks your camera’s movement over a 24-hour period. This is stored in-camera, so you will need to select ‘Transfer log data to card’ which will create a “MISC” folder on your memory card containing your log(s).
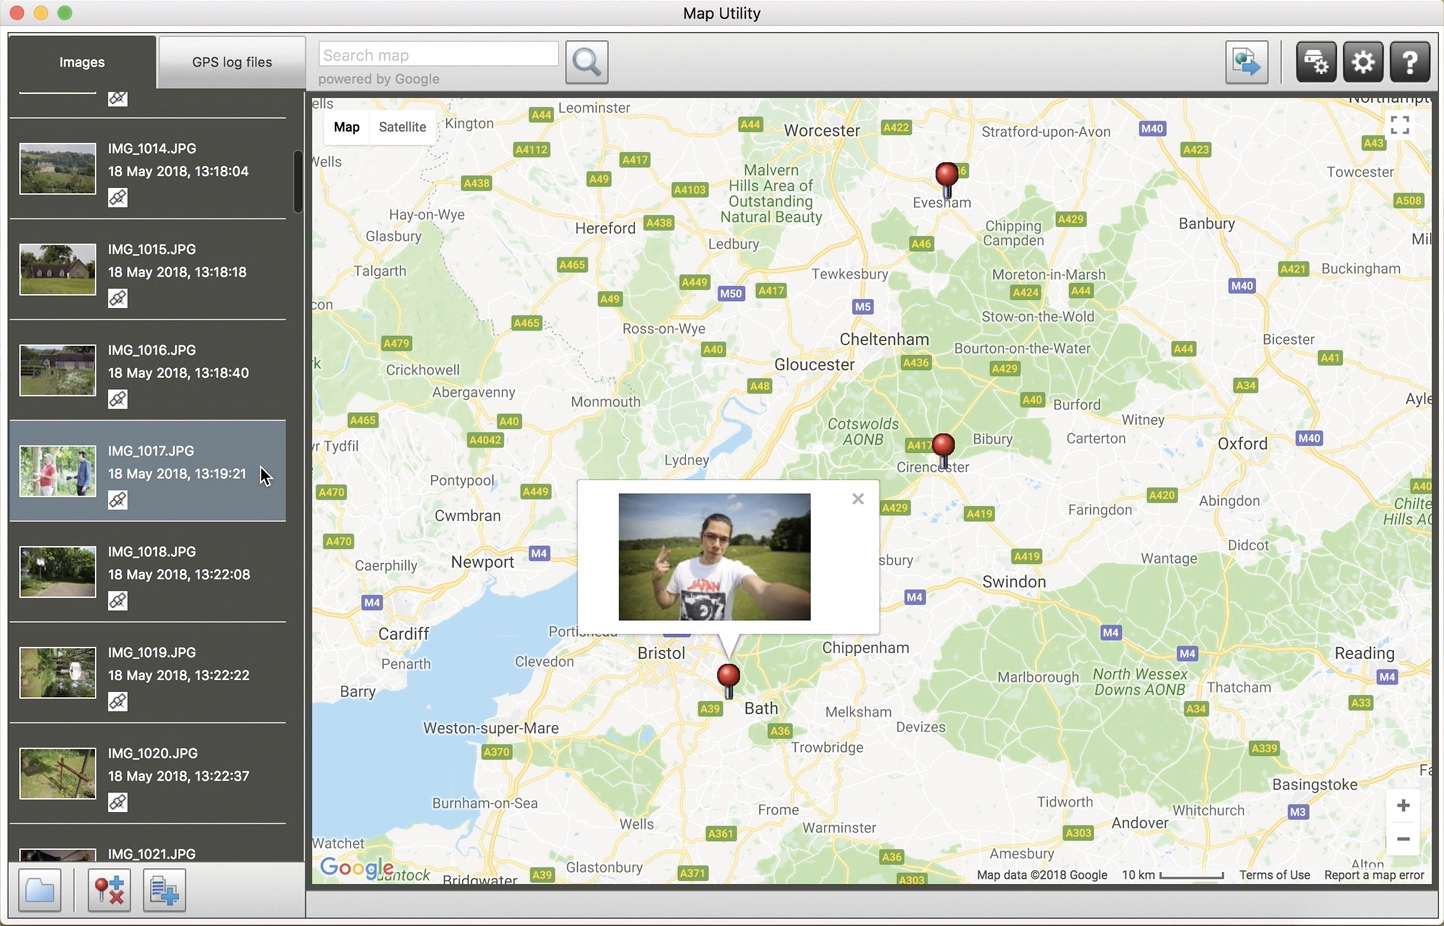
6) Check the map
With Canon’s MapUtility, or compatible third-party programs, your photos will display as pins on a map, while your log(s) will generate a route showing where your camera travelled during a 24-hour period.
Read more:
Canon EOS 6D Mark II review
Canon EOS 7D Mark II review
Canon EOS 5D Mark IV review
Canon EOS-1D X Mark II review
Canon EOS-1D X Mark III review
Get the Digital Camera World Newsletter
The best camera deals, reviews, product advice, and unmissable photography news, direct to your inbox!

James has 22 years experience as a journalist, serving as editor of Digital Camera World for 6 of them. He started working in the photography industry in 2014, product testing and shooting ad campaigns for Olympus, as well as clients like Aston Martin Racing, Elinchrom and L'Oréal. An Olympus / OM System, Canon and Hasselblad shooter, he has a wealth of knowledge on cameras of all makes – and he loves instant cameras, too.
