How to shoot close-ups without a macro lens using a reversing ring
Try macro photography without having to buy a specialist lens by using a reversing ring
To shoot macros on a budget
Time: 30 minutes
Skill level: Intermediate
Kit needed: D-SLR, lens with an aperture ring, flashgun (optional), flash bracket (optional), wired flash trigger (optional), inflatable diffuser (optional)
Many photographers will tell you that you need a macro lens to shoot macro images, but this simply isn’t the case.
Macro lenses are often expensive and can be cumbersome, so you’ll need to take a lot of macro images to justify forking out for one. But, with the technique shown here, you can use some of the cheapest lenses available – even decades-old lenses – to achieve brilliant results.
All you need to do is turn the lens around. By reversing the lens on your camera body, your focusing distance suddenly becomes incredibly close, and gives you high-magnification capabilities into the bargain.
You could just ‘free-lens’ and hold the lens in front of the camera, but for accuracy and to reduce light leaks it’s better to use a reversing ring to fix the lens onto your camera. This frees your hands to make other adjustments.
In this tutorial, we’re going to be photographing flowers, which are still, colourful and easy to photograph indoors. You might opt to shoot insects, or anything else small that takes your fancy – it’s up to you. It’s a fun, cheap way to get started with macro photography, and opens up a whole world of mini photo opportunities.
On Location: What you need to get up close
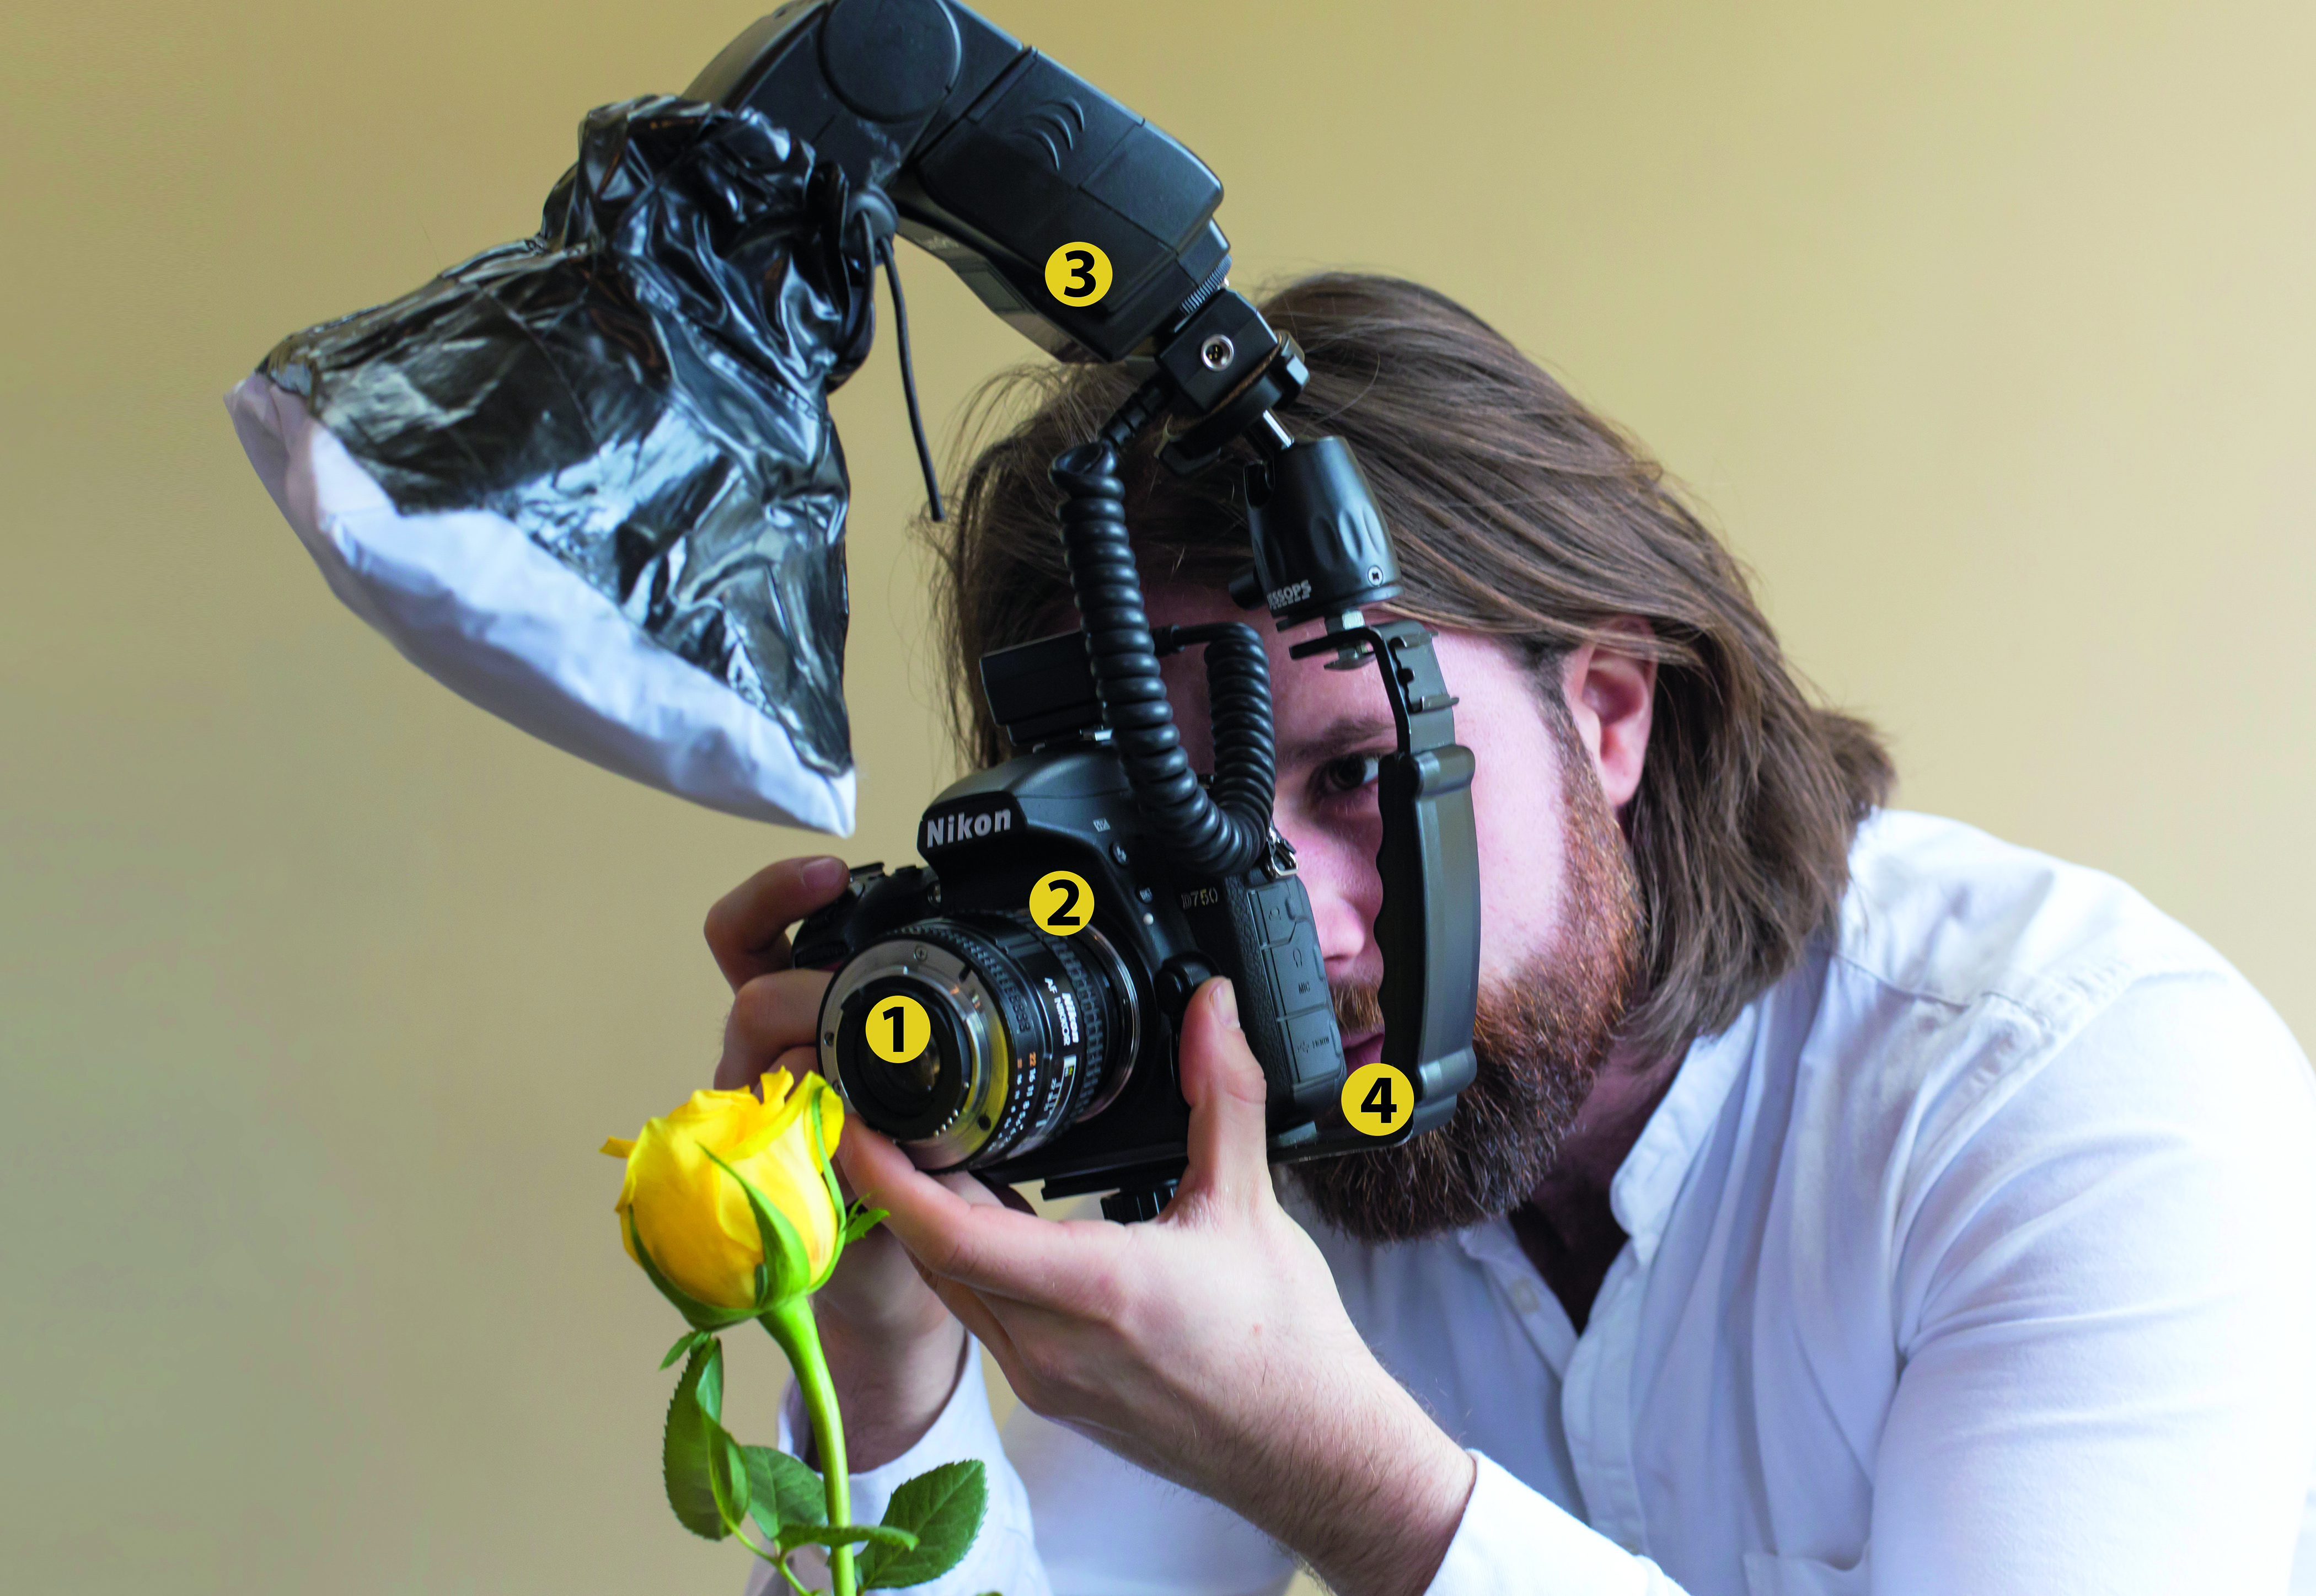
1. Suitable lens
You need to use a lens with an aperture ring so you can change the aperture, and hence control depth of field, manually – but they’re not expensive. You can, for example, pick up a 50mm f/1.8D for as little as £50/$75.
2. Reversing rings
Reversing rings come in lots of different thread sizes, and can be bought with or without a built-in mount for your camera (see Mount Options, below). They screw into the filter thread at the front of your lens.
3. Flash with softbox
A flash isn’t essential for this project, but it can help to throw light into shadows, and tease out subtle texture and detail. A softbox, such as the inflatable model pictured above, will help soften the light.
4. Flash bracket
Useful for holding the flash, so that you can keep both hands free for adjusting the camera. It also gives you flexibility when shooting, because every time you move your camera, the flash will move with it.
Key Skills: Keep things clean and close
If you’re shooting arthropods, many of them are attracted to the colours green and yellow. Include these colours around your lens while shooting, to keep them interested, and looking in the right direction.
1. Pick a card
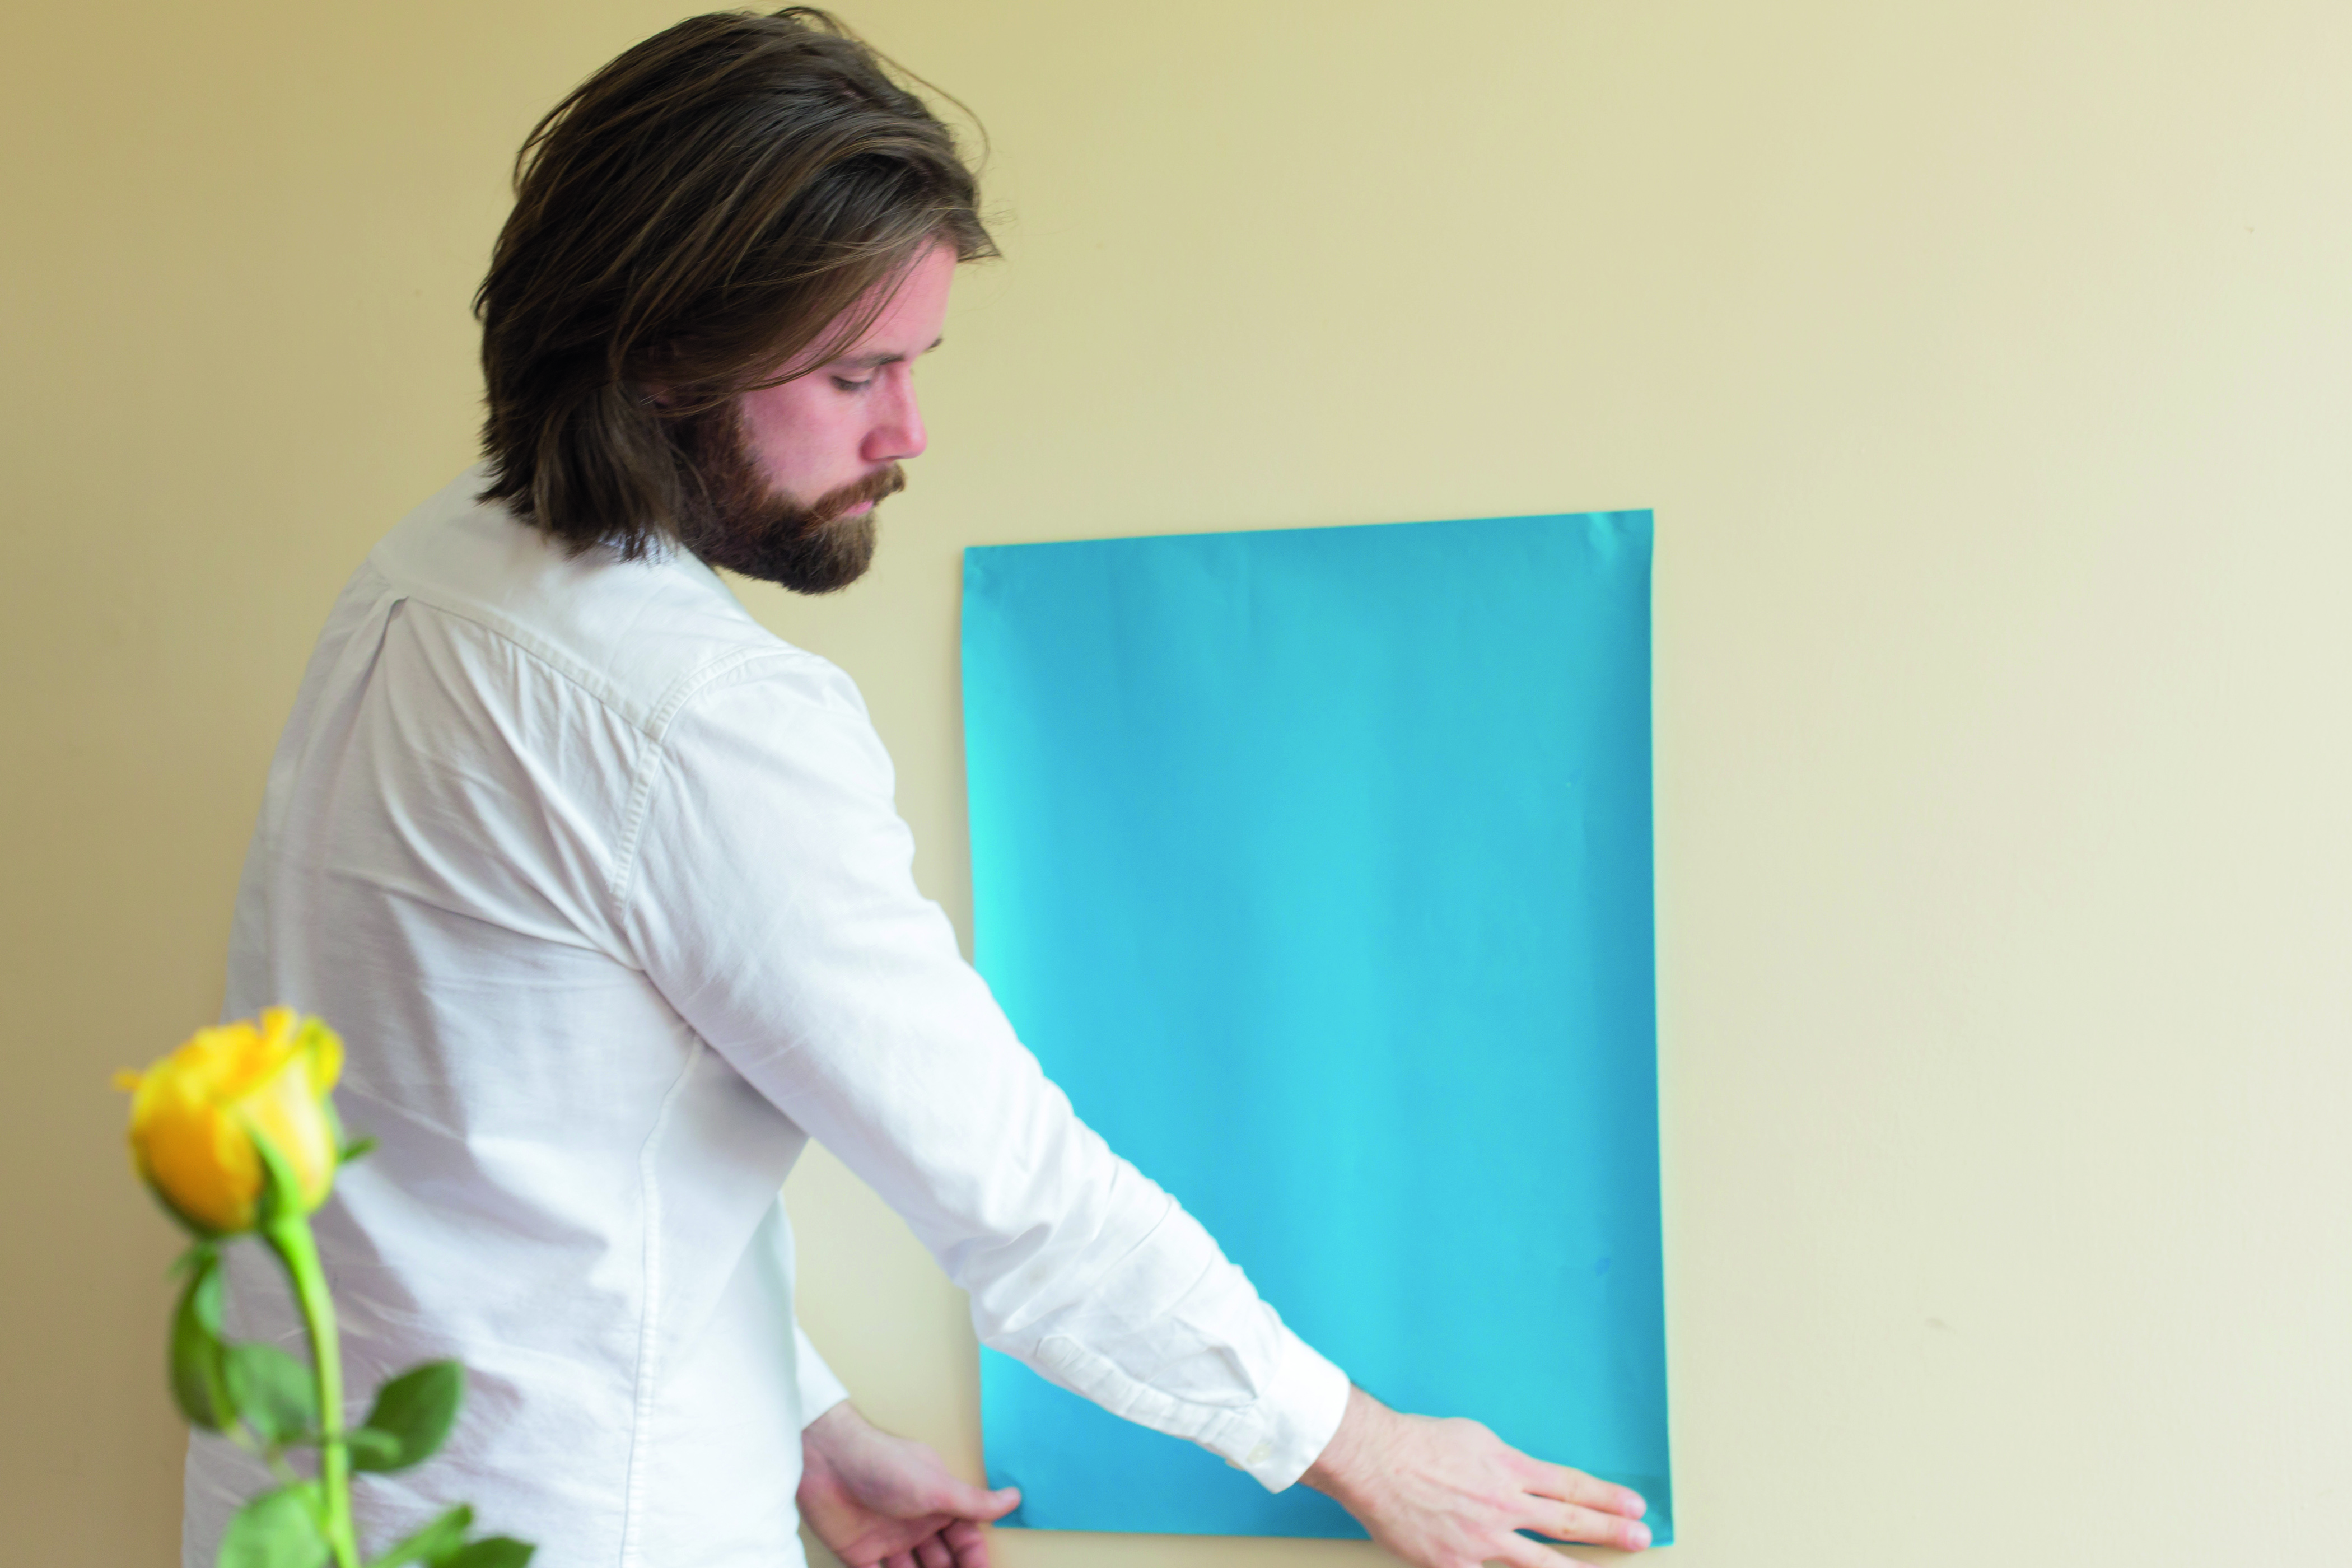
A busy background can be distracting, especially if your macro subject is already quite complex. You can pick up coloured card from craft shops to position behind your subject. If you don’t have any card to hand, you can use a sponge as a colourful, non-reflective background.
2. Go wide
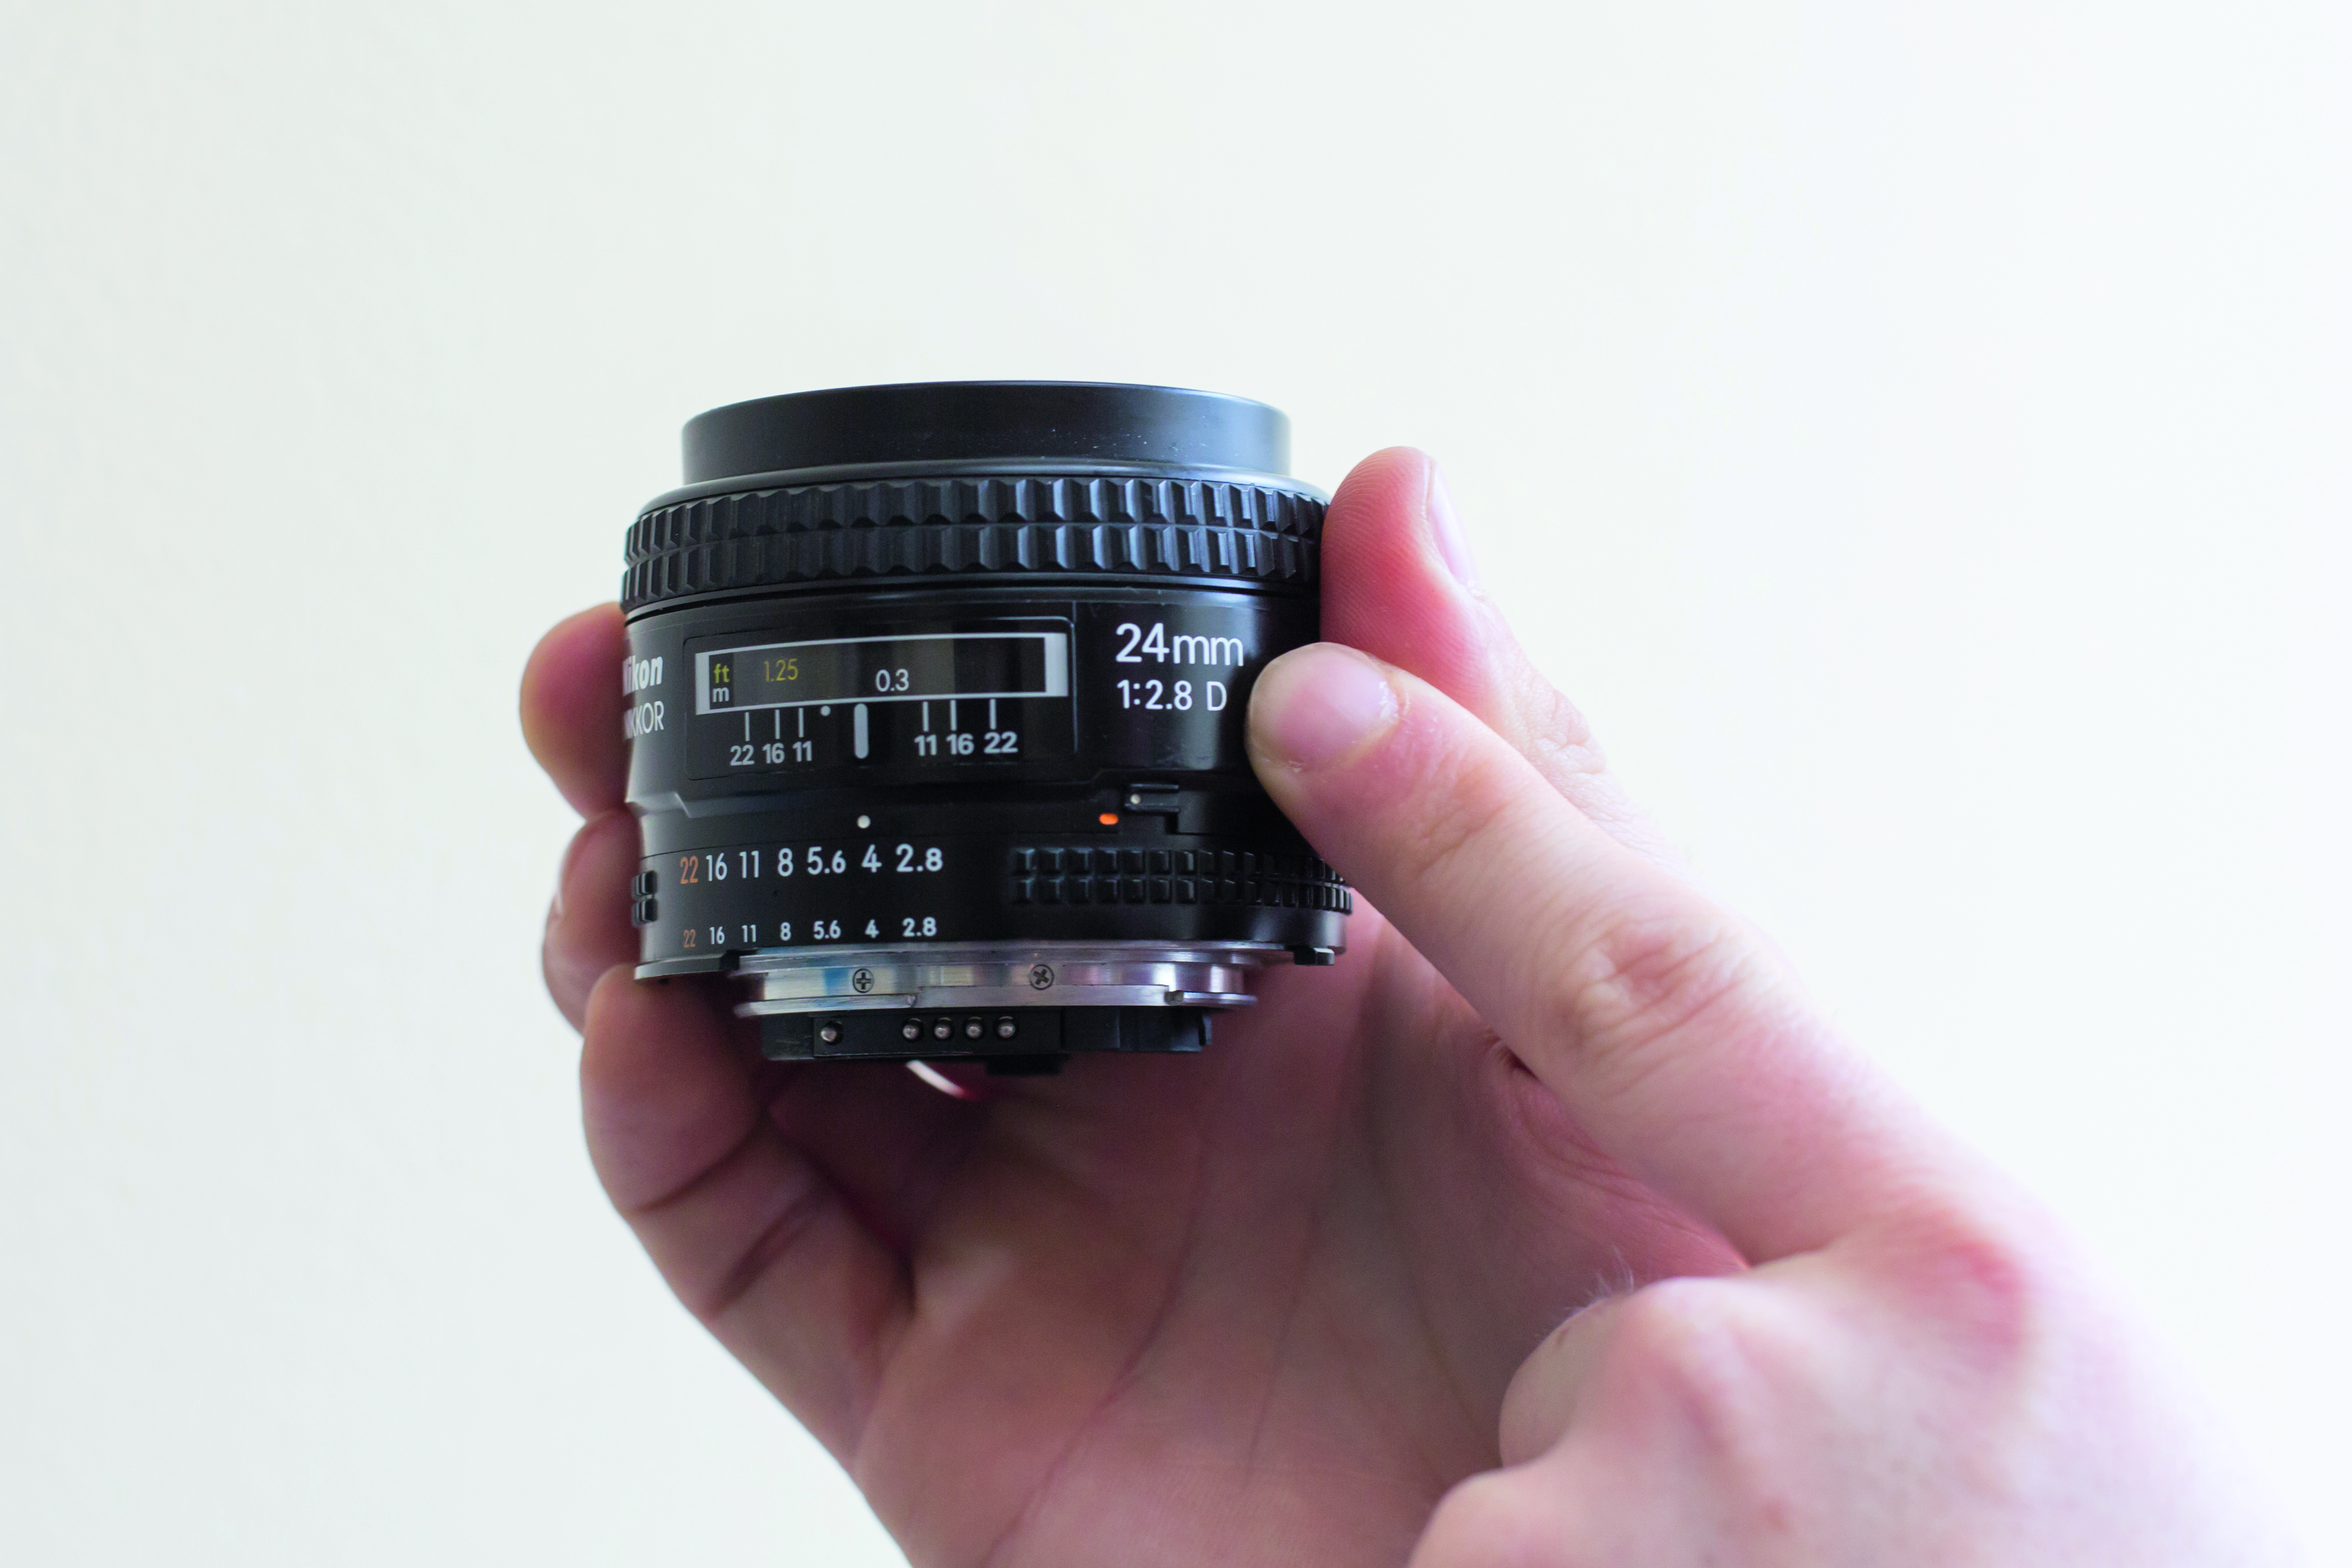
Wide-angle lenses tend to work best for this reversed lens technique. They boast a wide field of view, reducing the risk of vignetting, but more importantly they give greater magnification than a reversed telephoto lens could. Want to get closer? Use a wider lens.
Step by step: Shoot an extreme close-up
1. Pick a flower
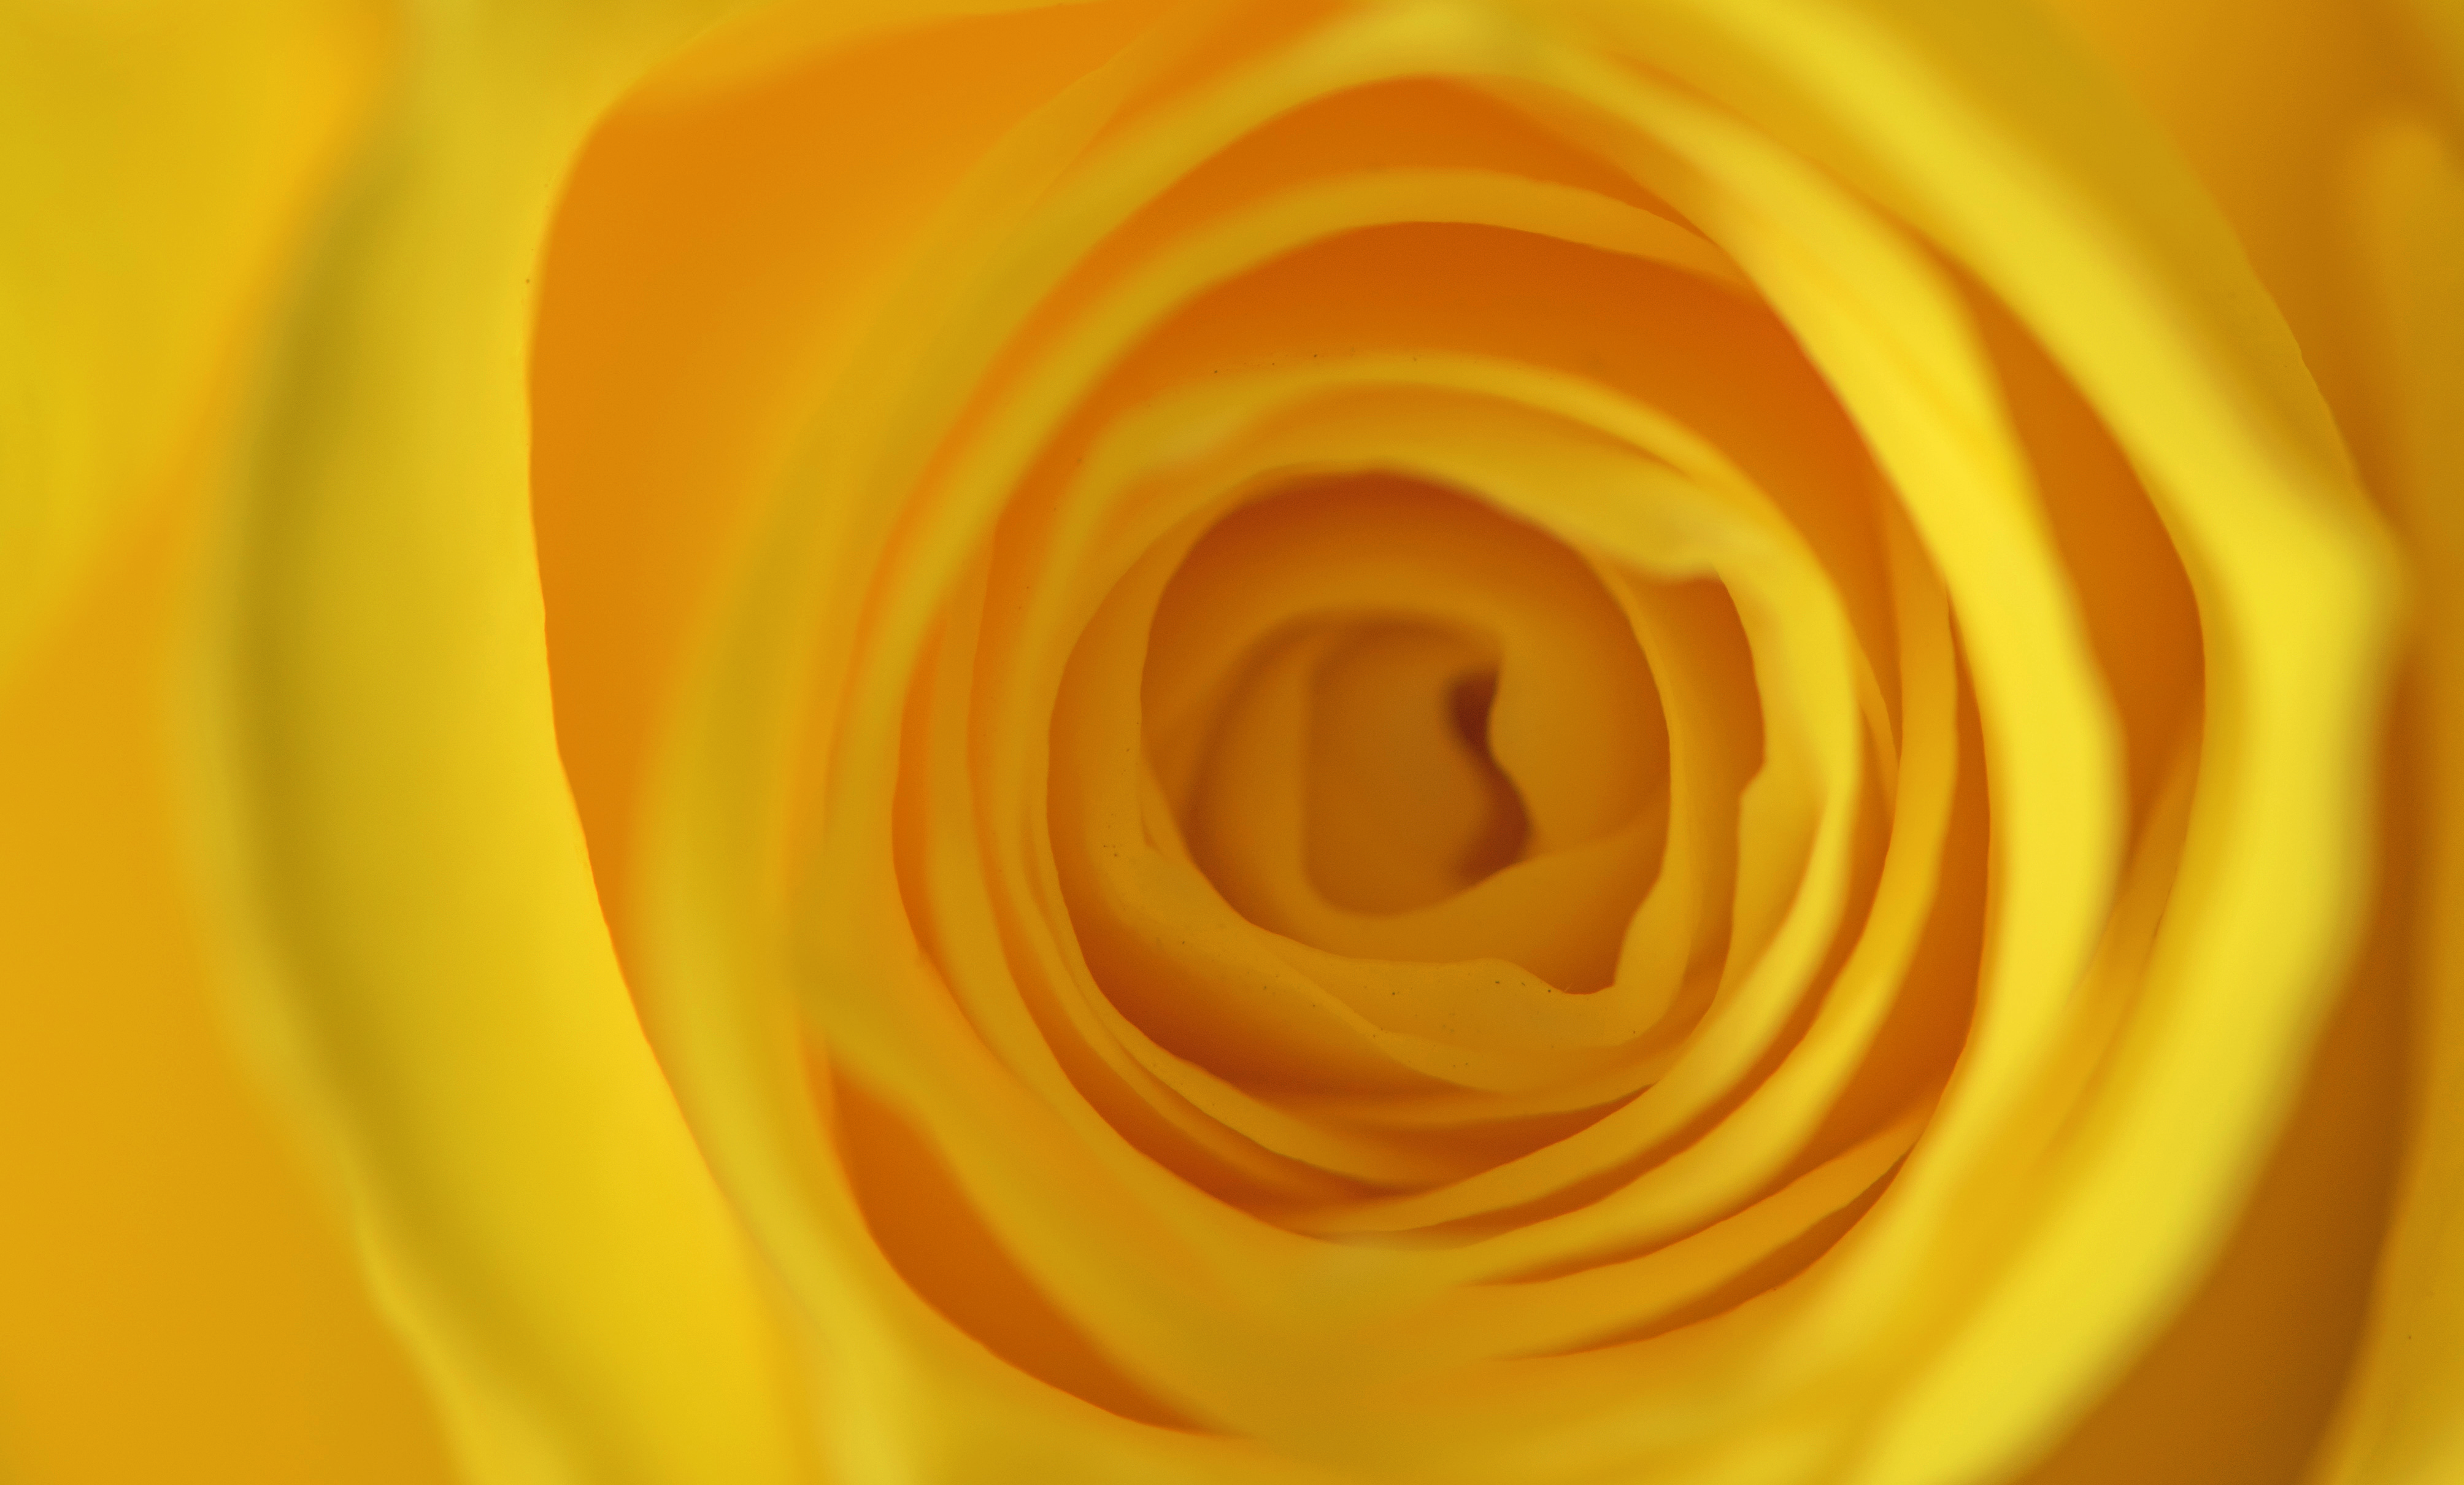
Finding the right subject is quite easy. Look for a flower that will look good when seen close up. Interesting stamen/stigma combinations will immediately stand out, but if you opt for a simple flower, keeping the shot symmetrical will enhance its simplicity.
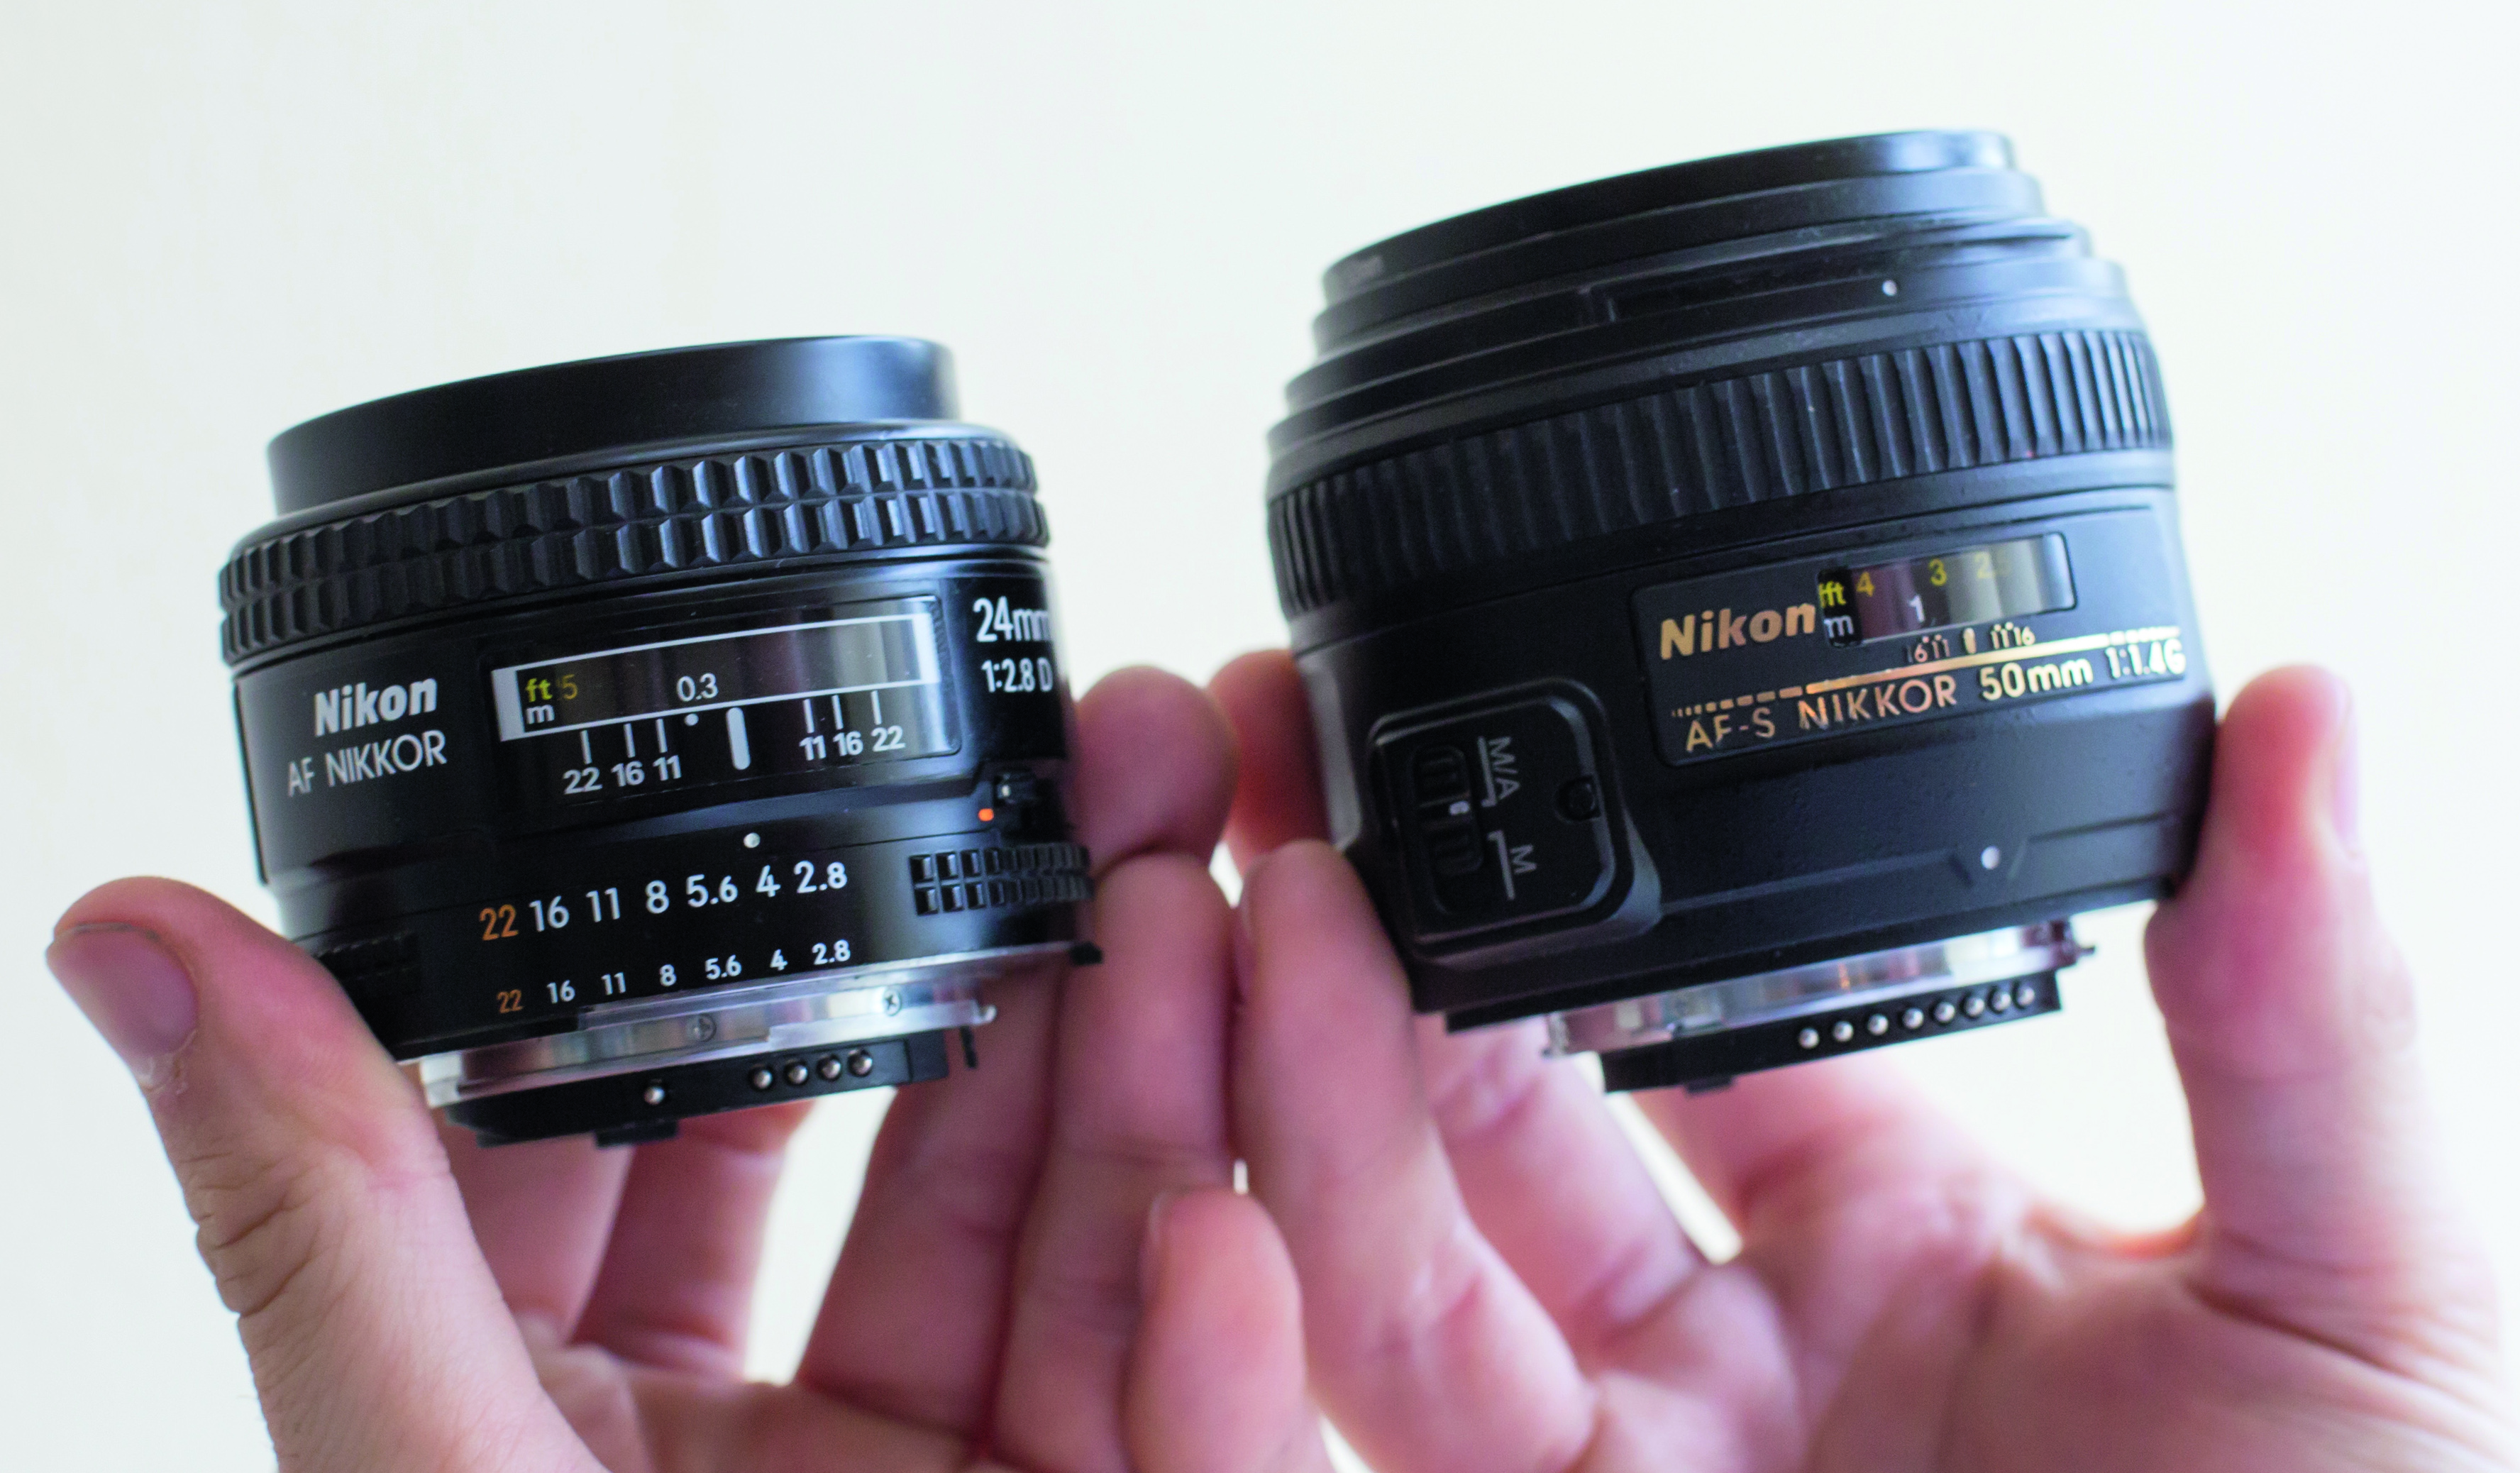
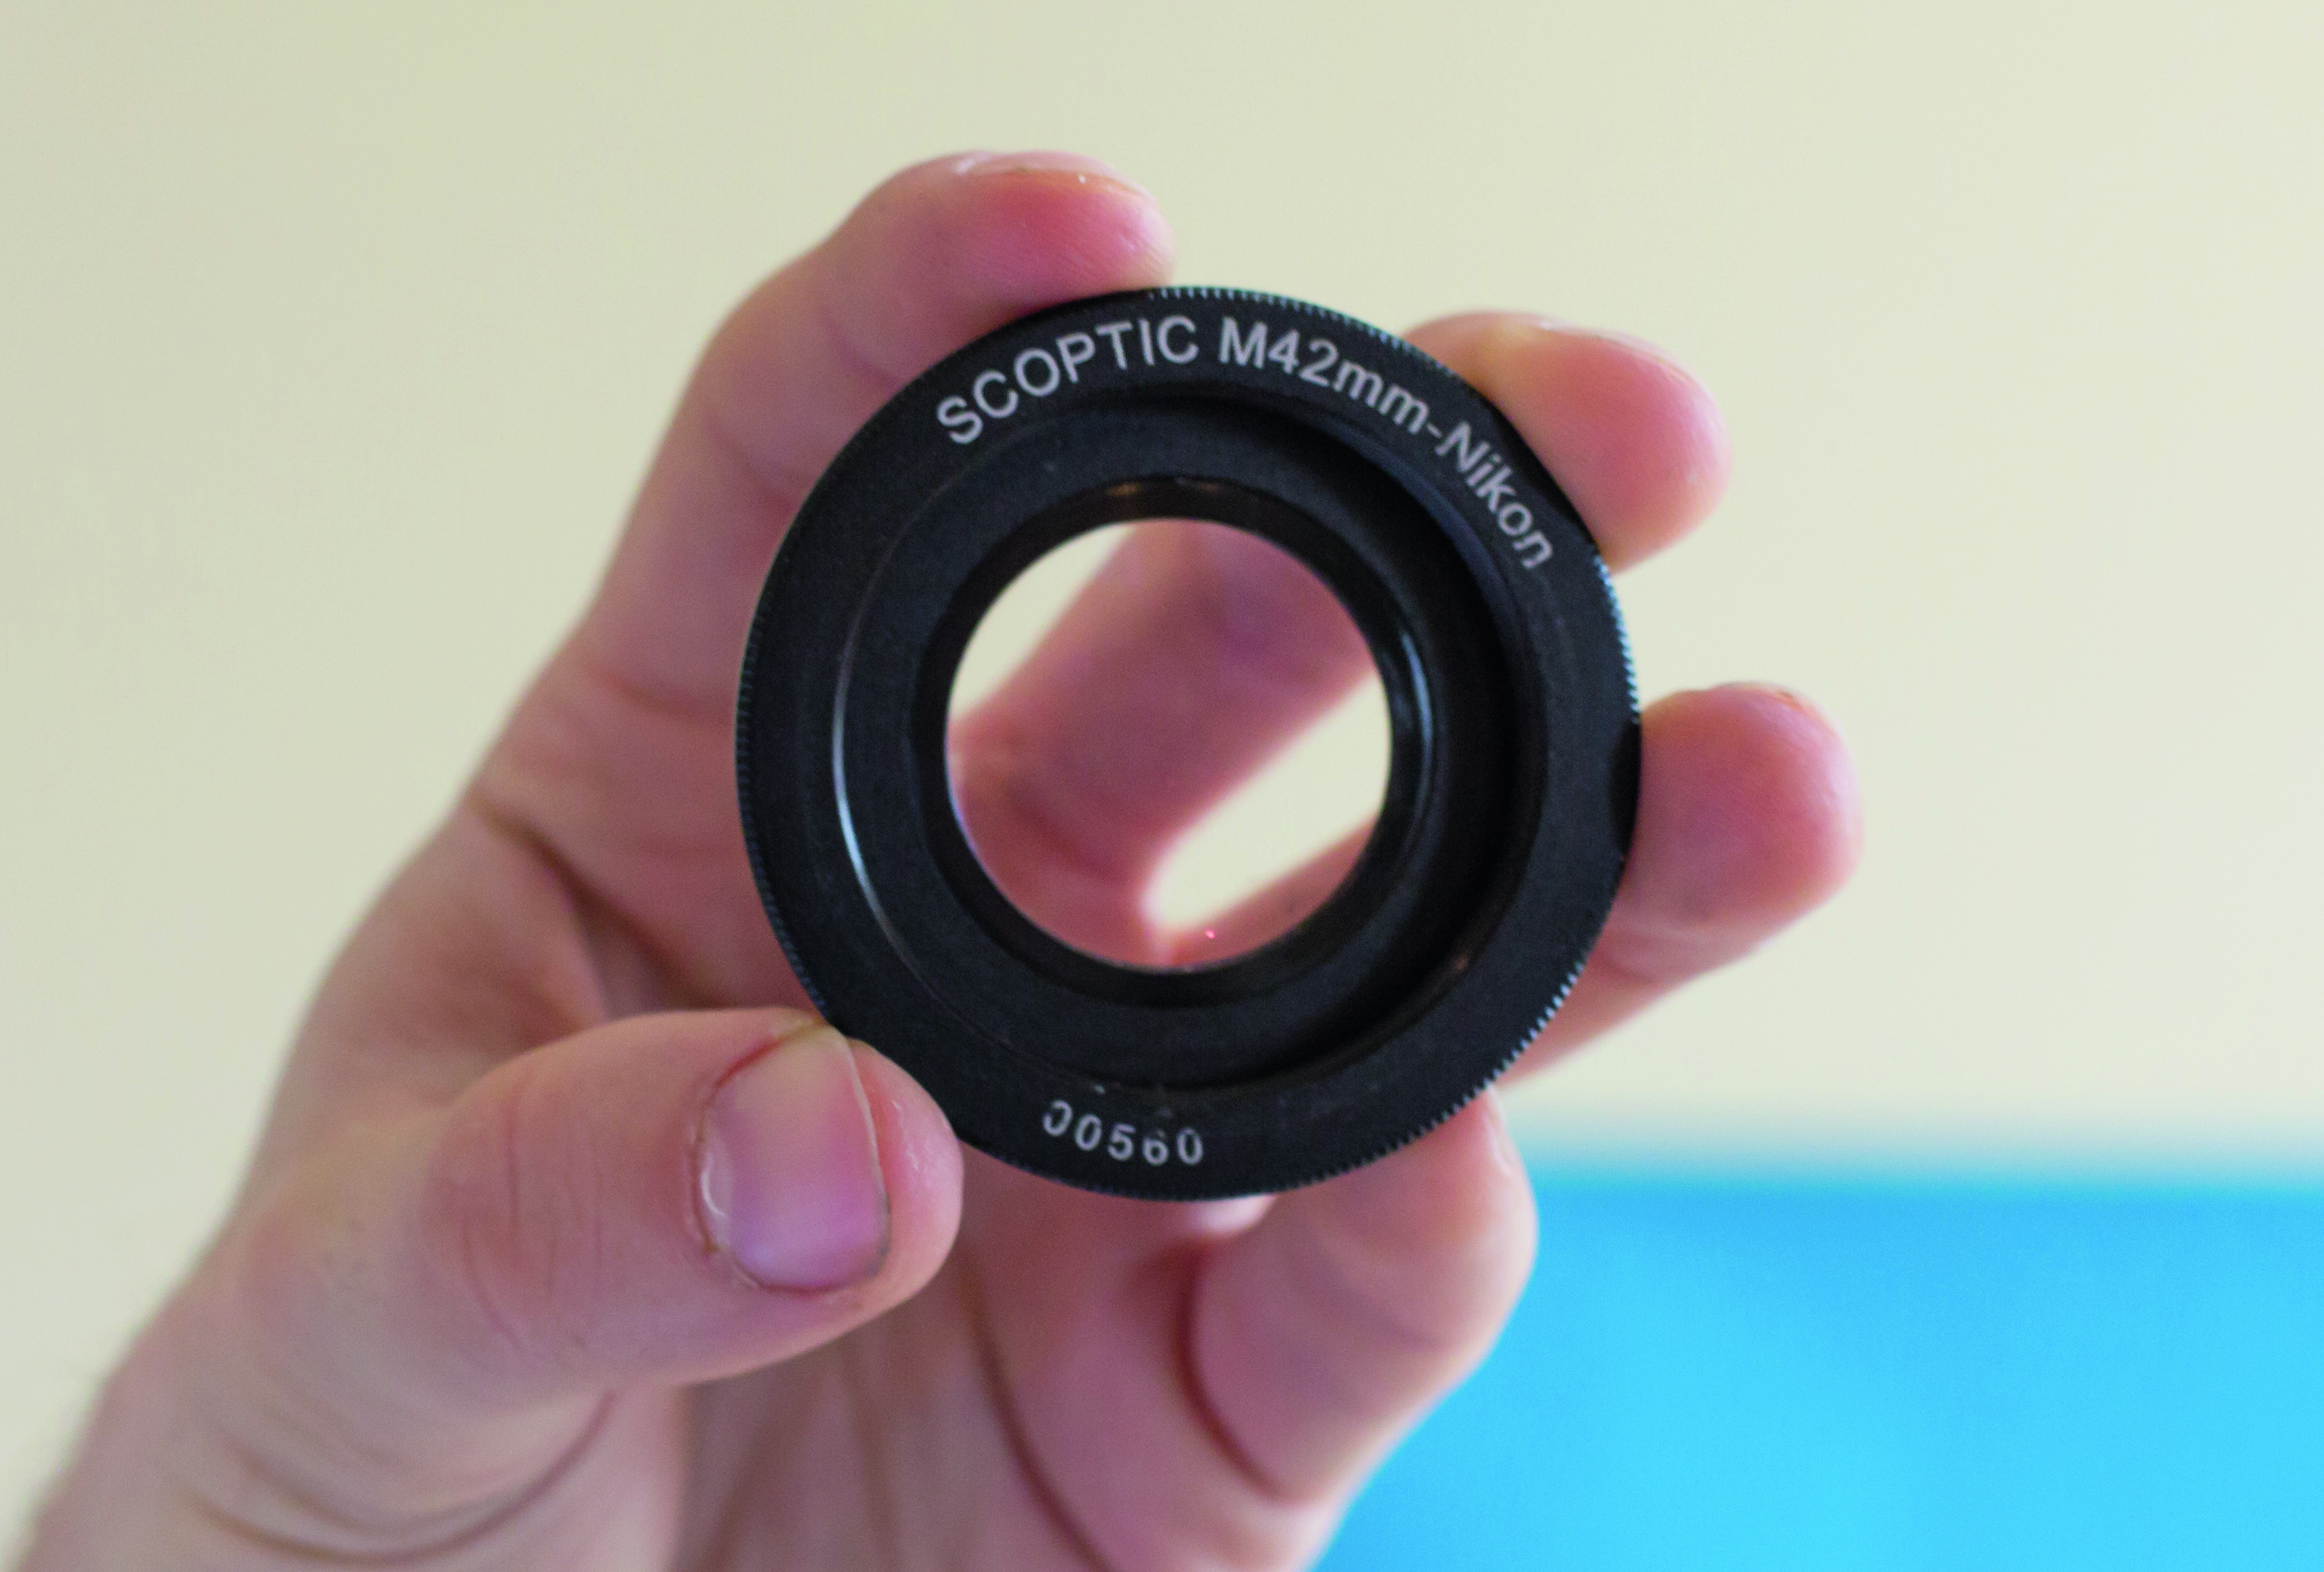
It is possible to buy reversing rings with a built-in camera mount, but these tend to be more expensive (up to £25/$40) than reversing rings without a mount (£5/$8), and if you have lenses with different thread sizes, you’ll need to buy a reversing ring with a built-in mount for each. If this is the case, a better option is to buy the cheaper, standalone reversing rings (without mounts) at each of the different thread sizes, plus a single adaptor for your specific camera – as we did for our flower shoot.
2. Take a step back
A lens with a mechanical aperture ring is essential as in-camera aperture control won’t work when the lens is reversed. An aperture ring enables you to change the f-stop manually and so control the depth of field.
3. Choose a ring
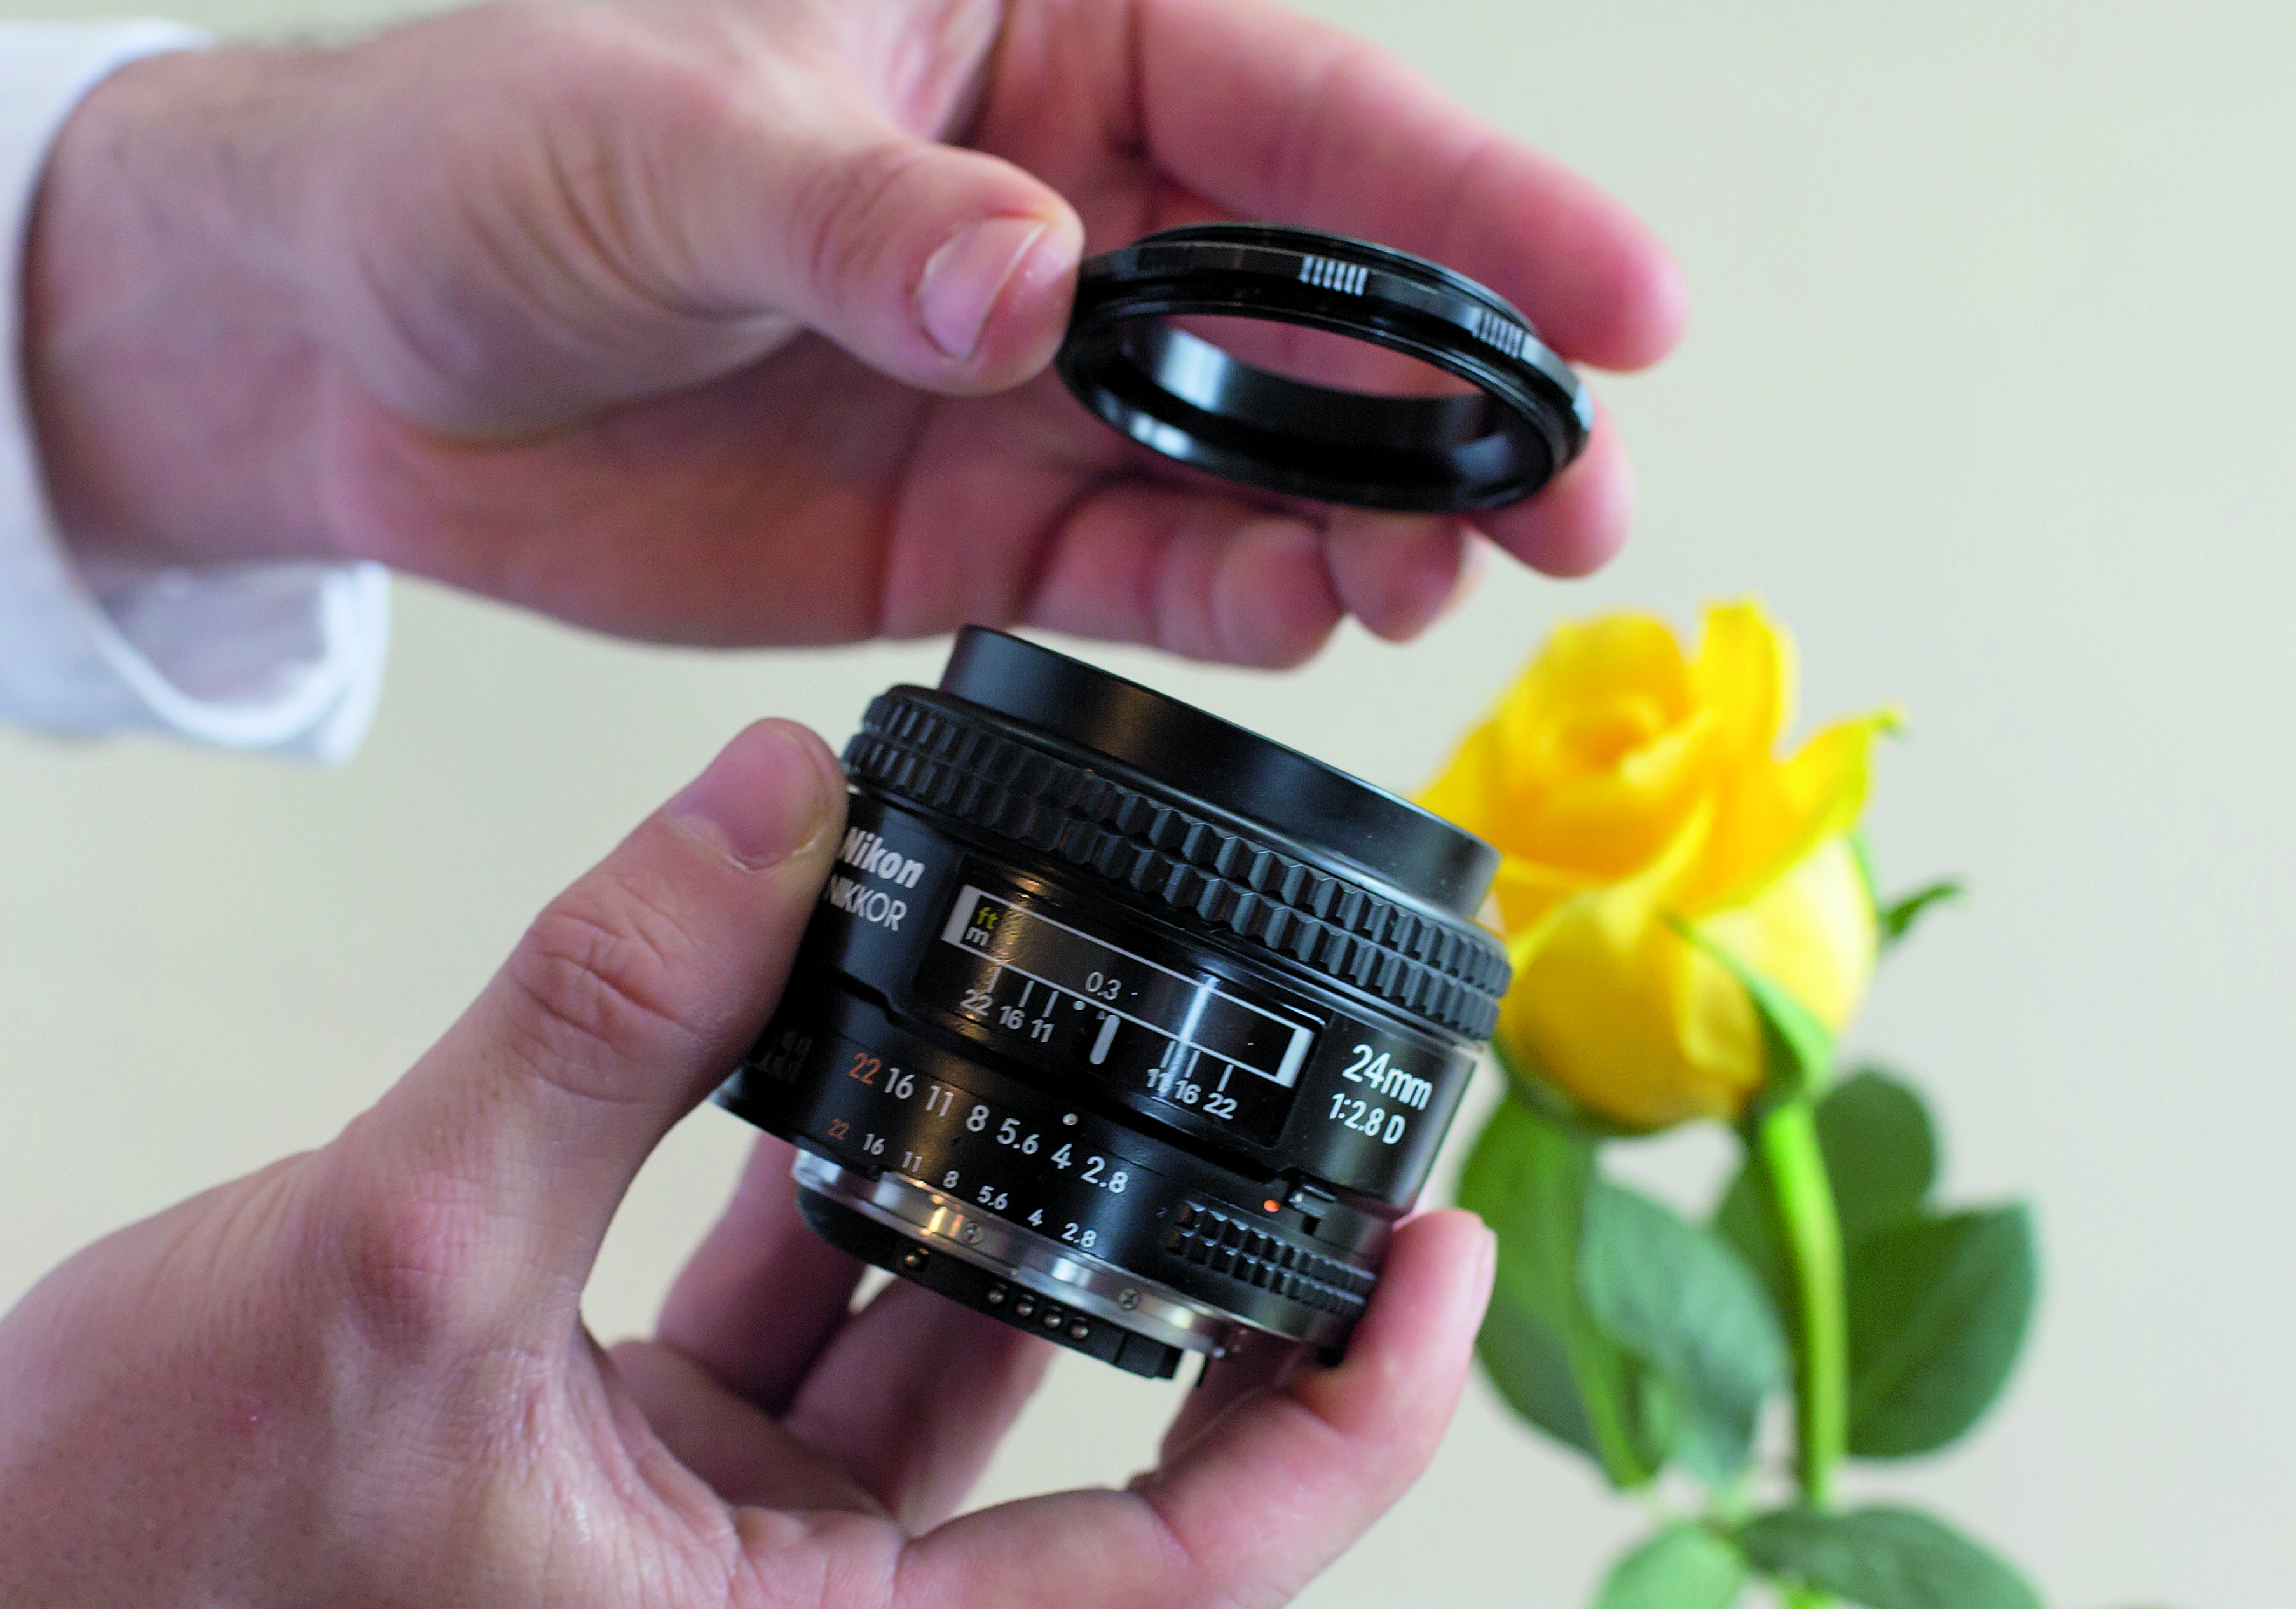
Make sure your reversing ring matches the thread size of your lens. It is possible to buy step-up or step-down rings to get round this, but they’re a bit fiddly, plus they can jam easily, and are more prone to light leaks. Attach your reversing ring to the filter thread of your lens.
4. Turn things around
With your reversing ring mounted, attach the front end of your lens to your camera using the mount built into the reversing ring, or a separate mount (see Mount Options). Your lens will now be mounted in reverse, and you’ll be able to see a faint image in the viewfinder.
5. Fit fresh batteries
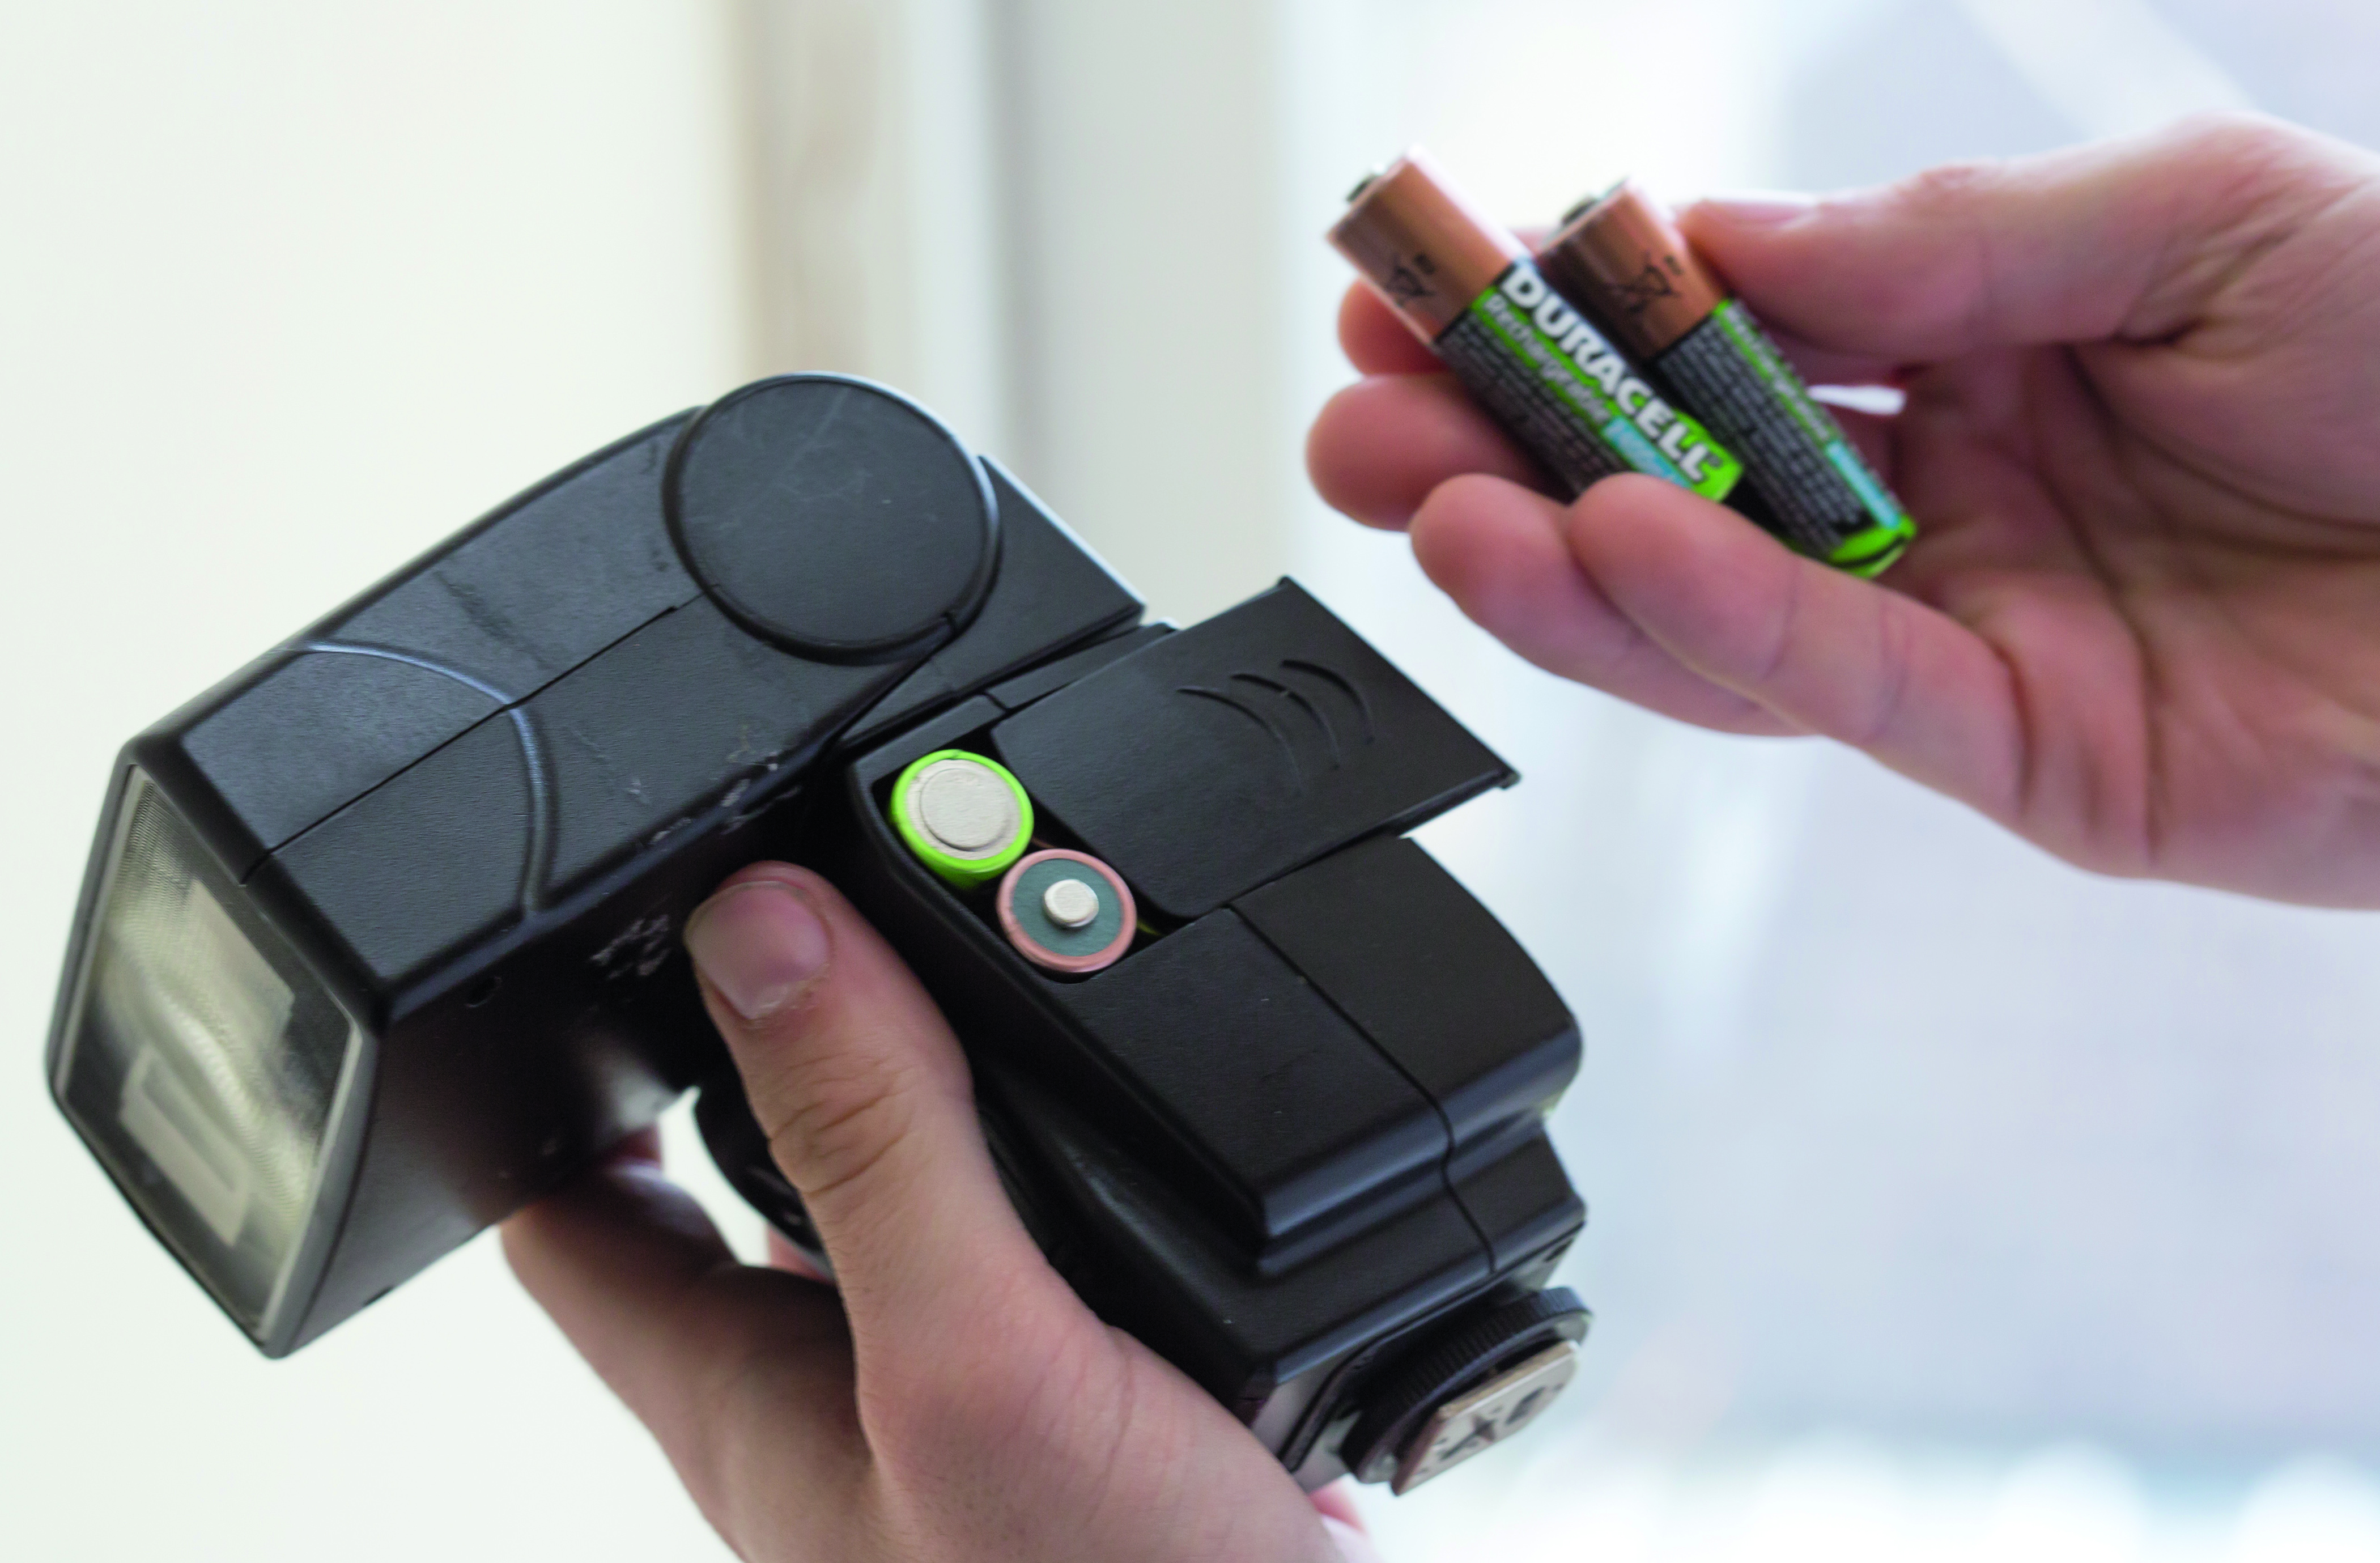
Make sure your flashgun is fitted with charged batteries. Brand-new alkaline batteries are good enough – some people opt for lithium-ion ones, but they’re not essential. Good-quality rechargeable batteries will provide the flash with enough energy to keep recycle times to a minimum.
6. Attach a flash
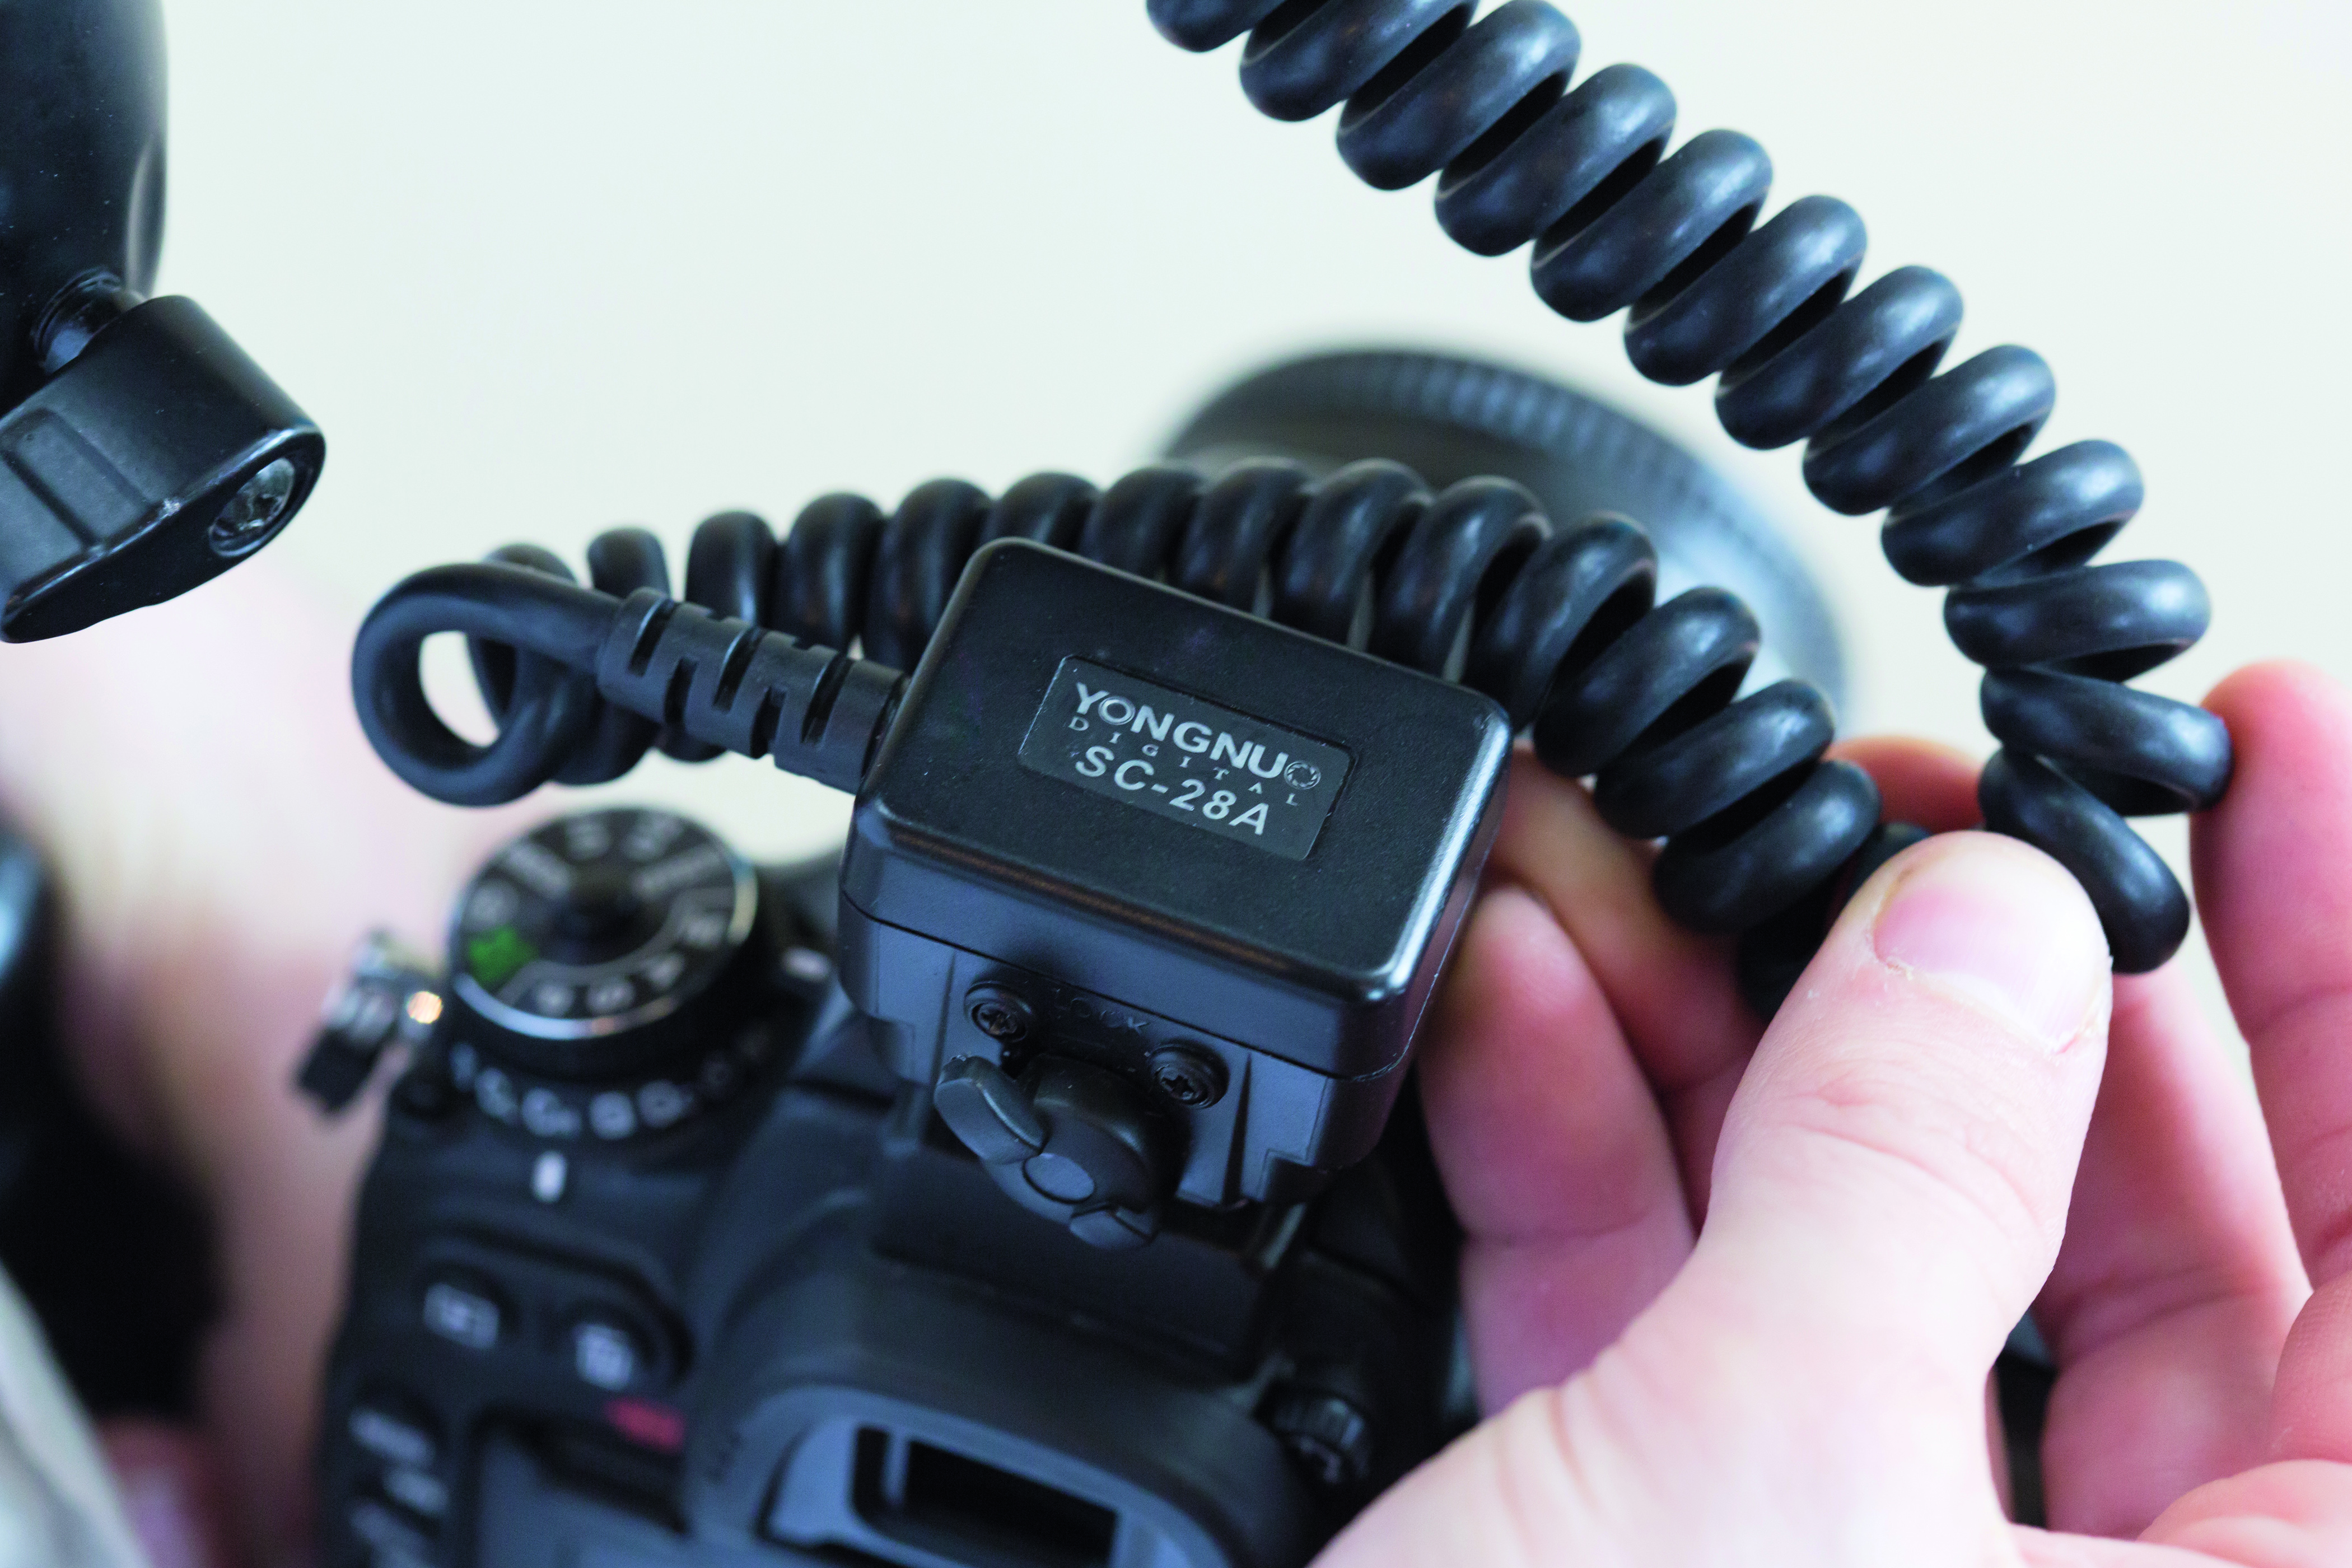
The most reliable way to trigger an off-camera flash like this is to use a sync lead – we used a Yongnuo SC-28A. Fix one end to your camera's hotshoe and the other end to your flash. A wireless trigger would work too, but it’s not essential for close-up work like this.
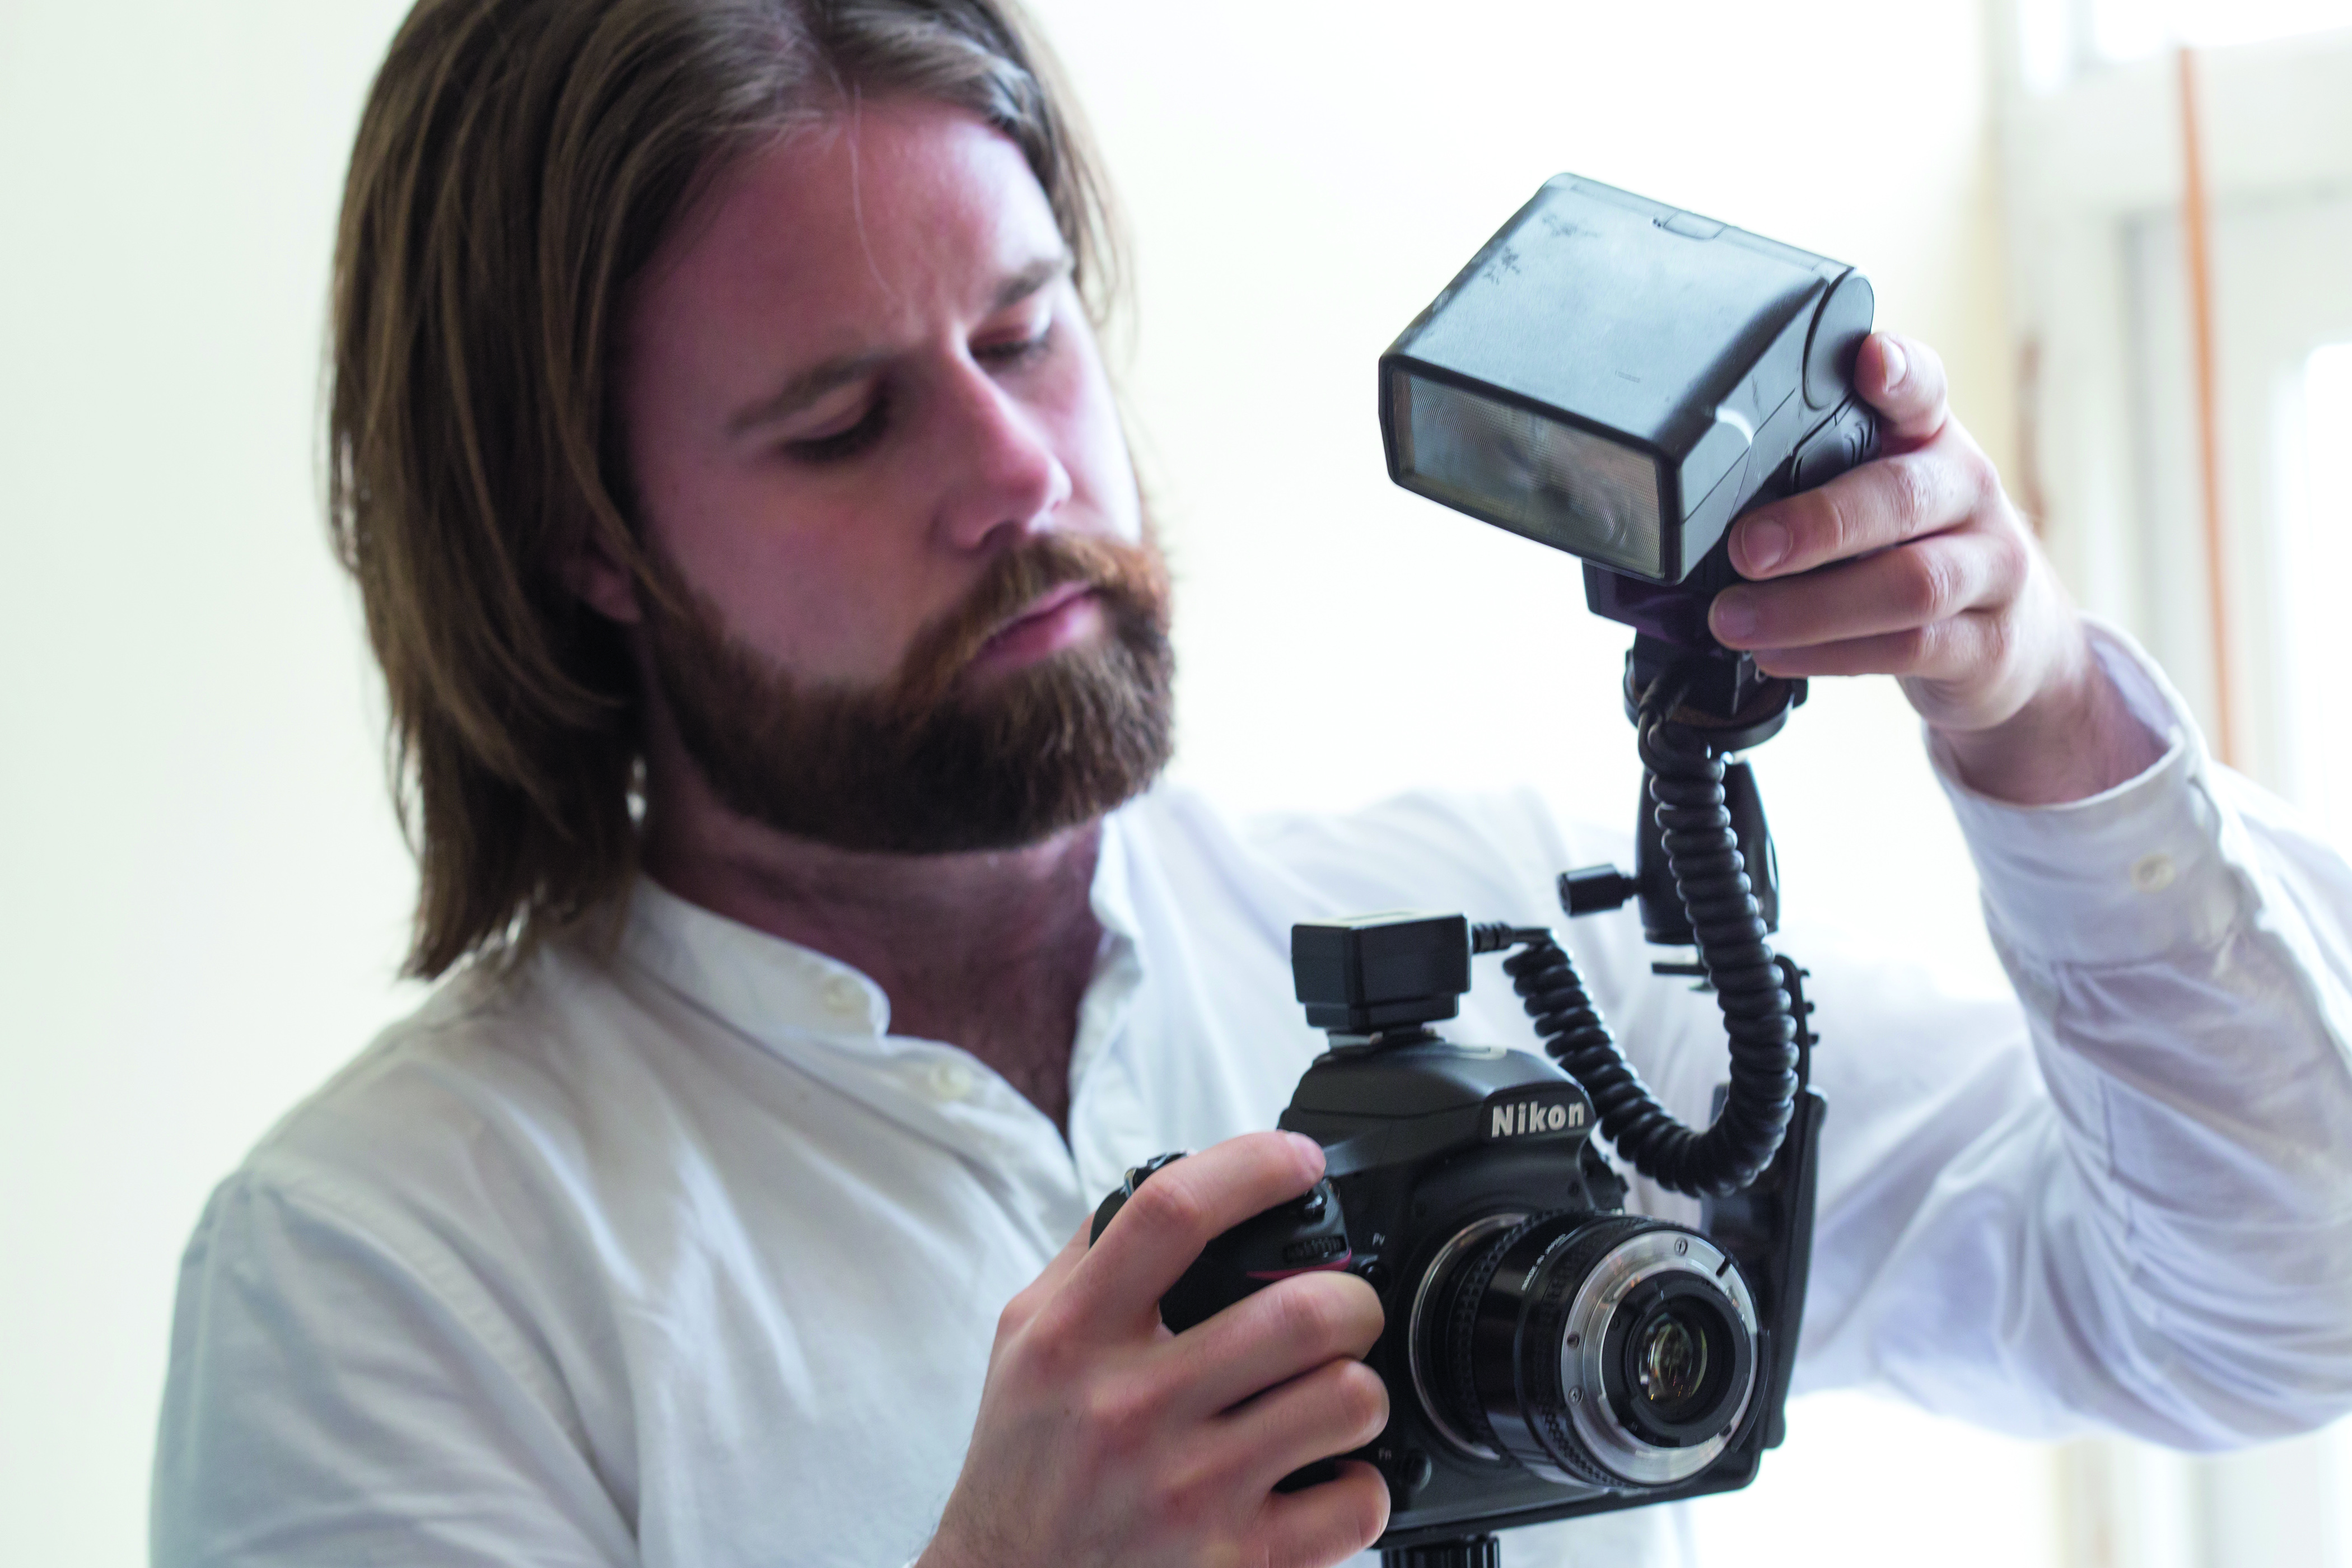
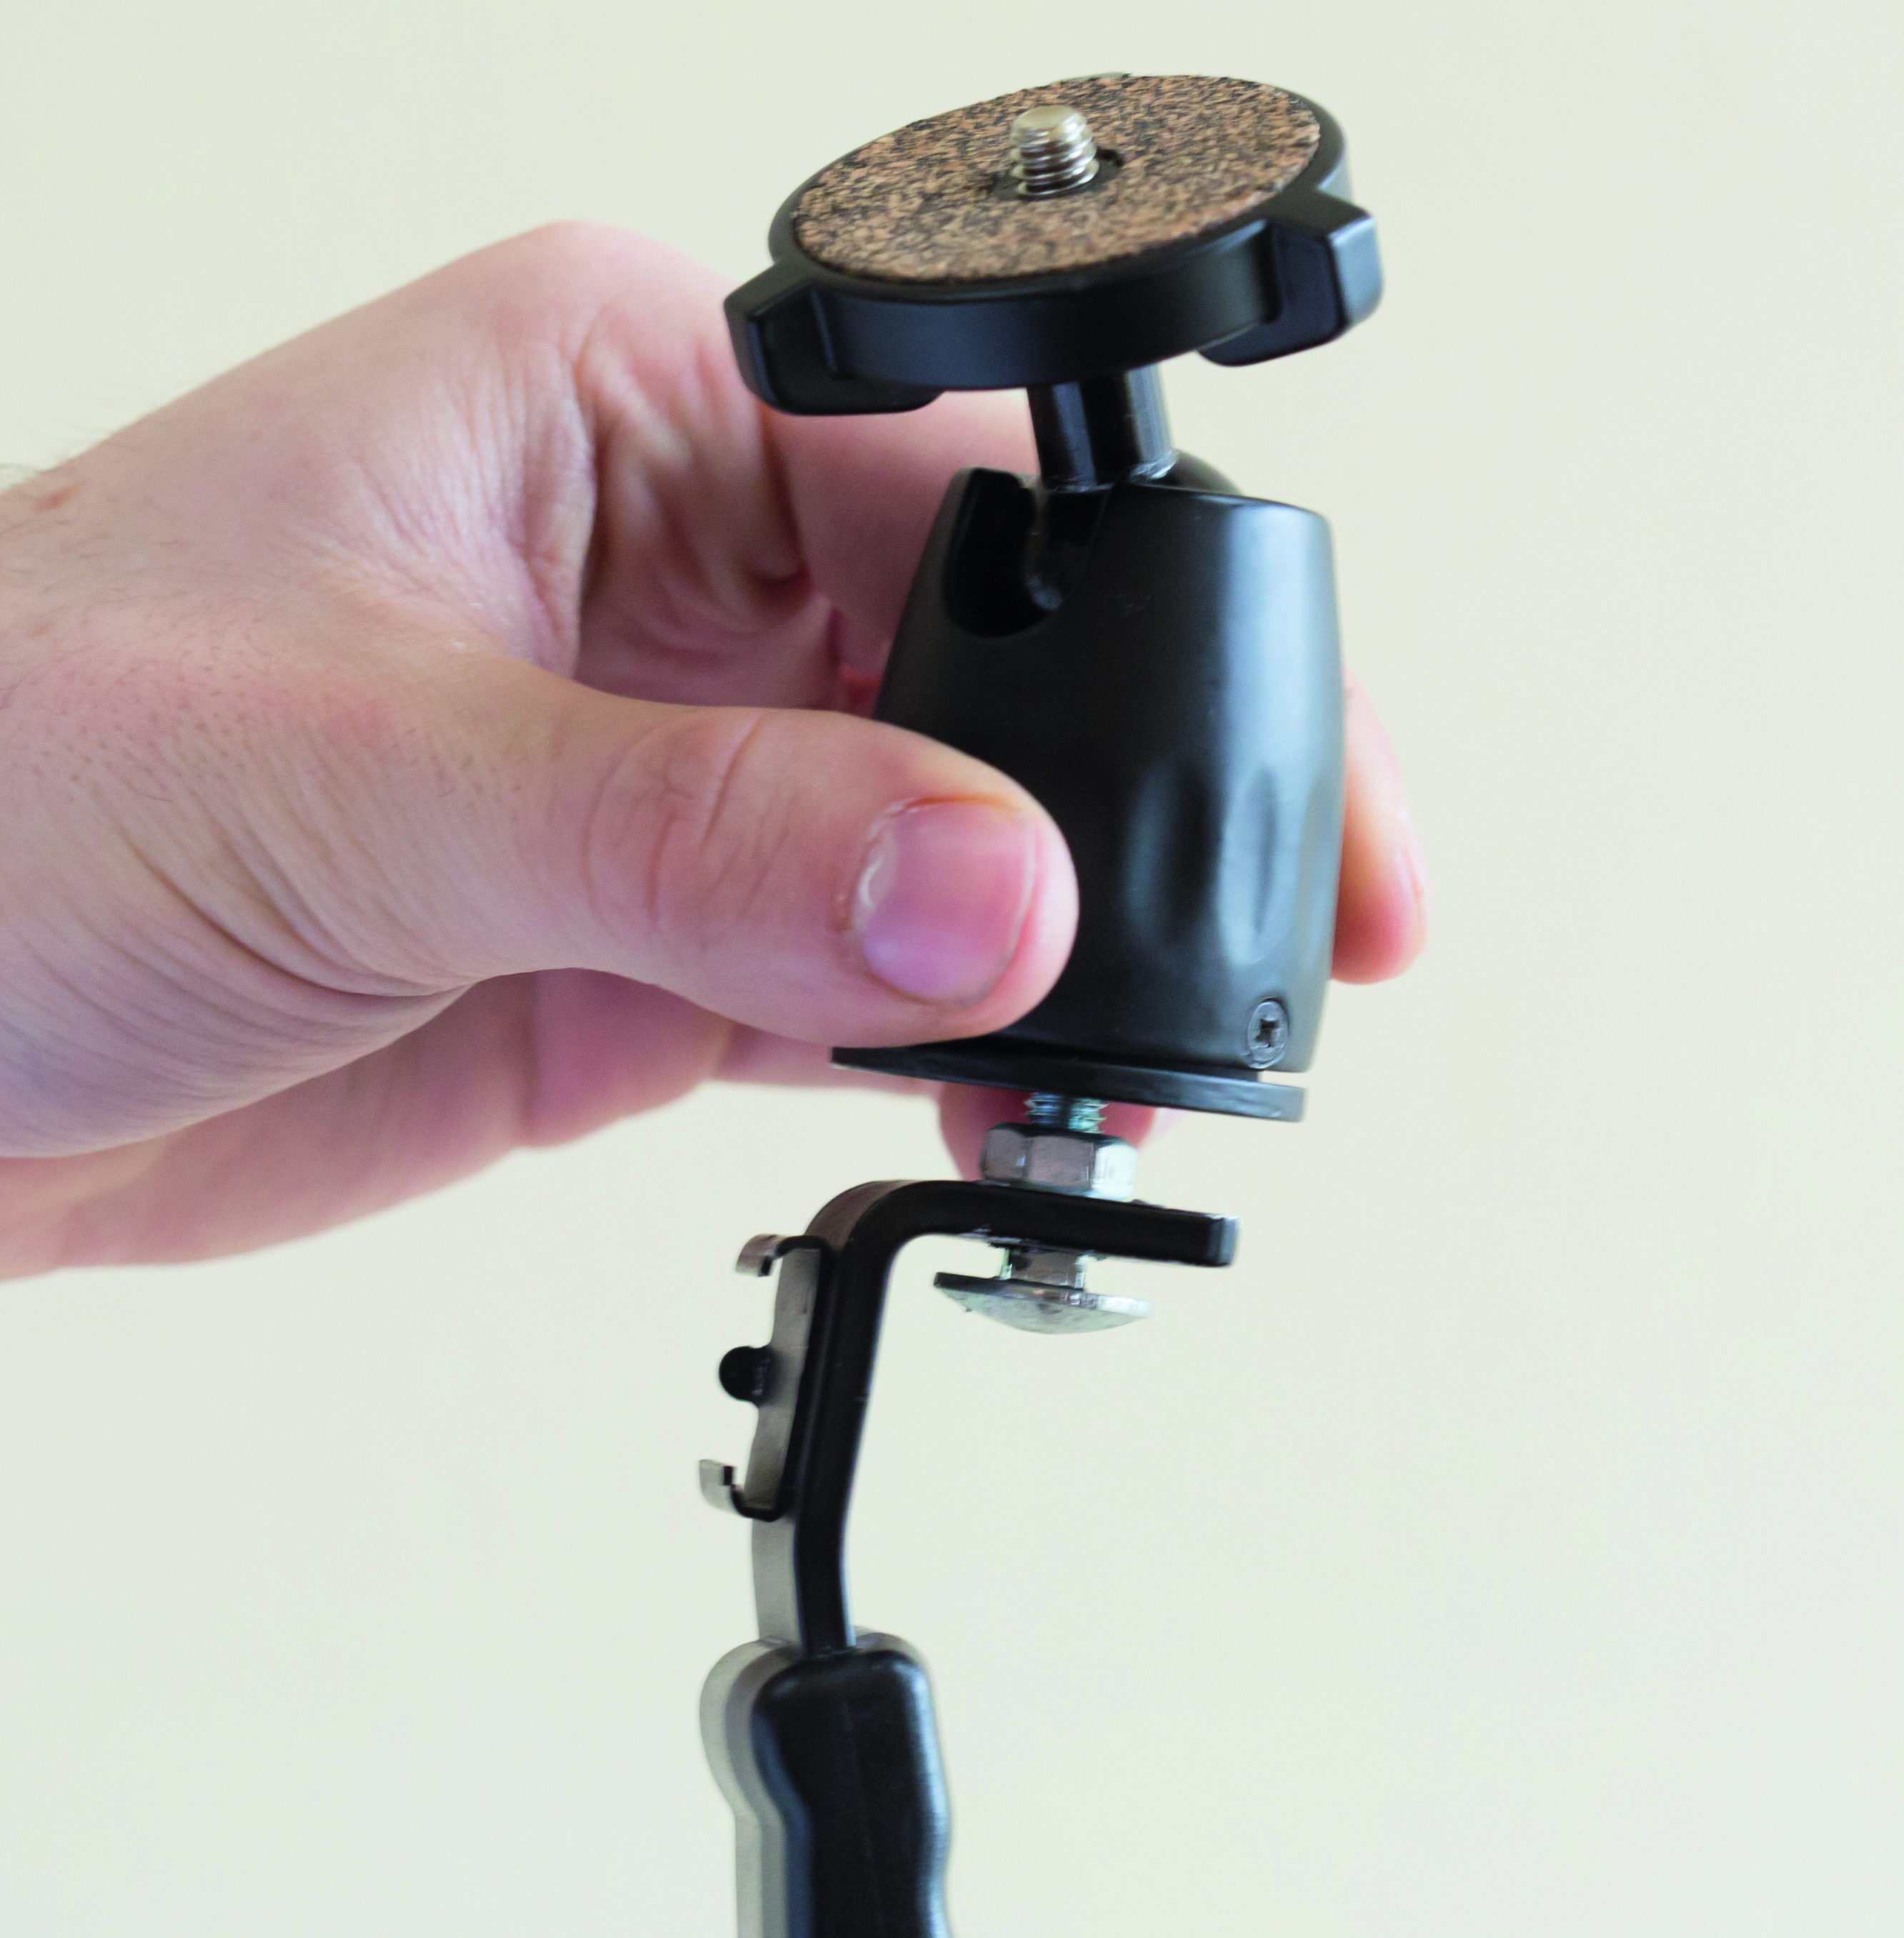
Attach a ball head to your flash bracket to give greater flexibility in the placement of your flash light. If you need to do a vertical shot and want to keep the flash high, a ball head will enable you to do exactly that.
7. Bracket your shots
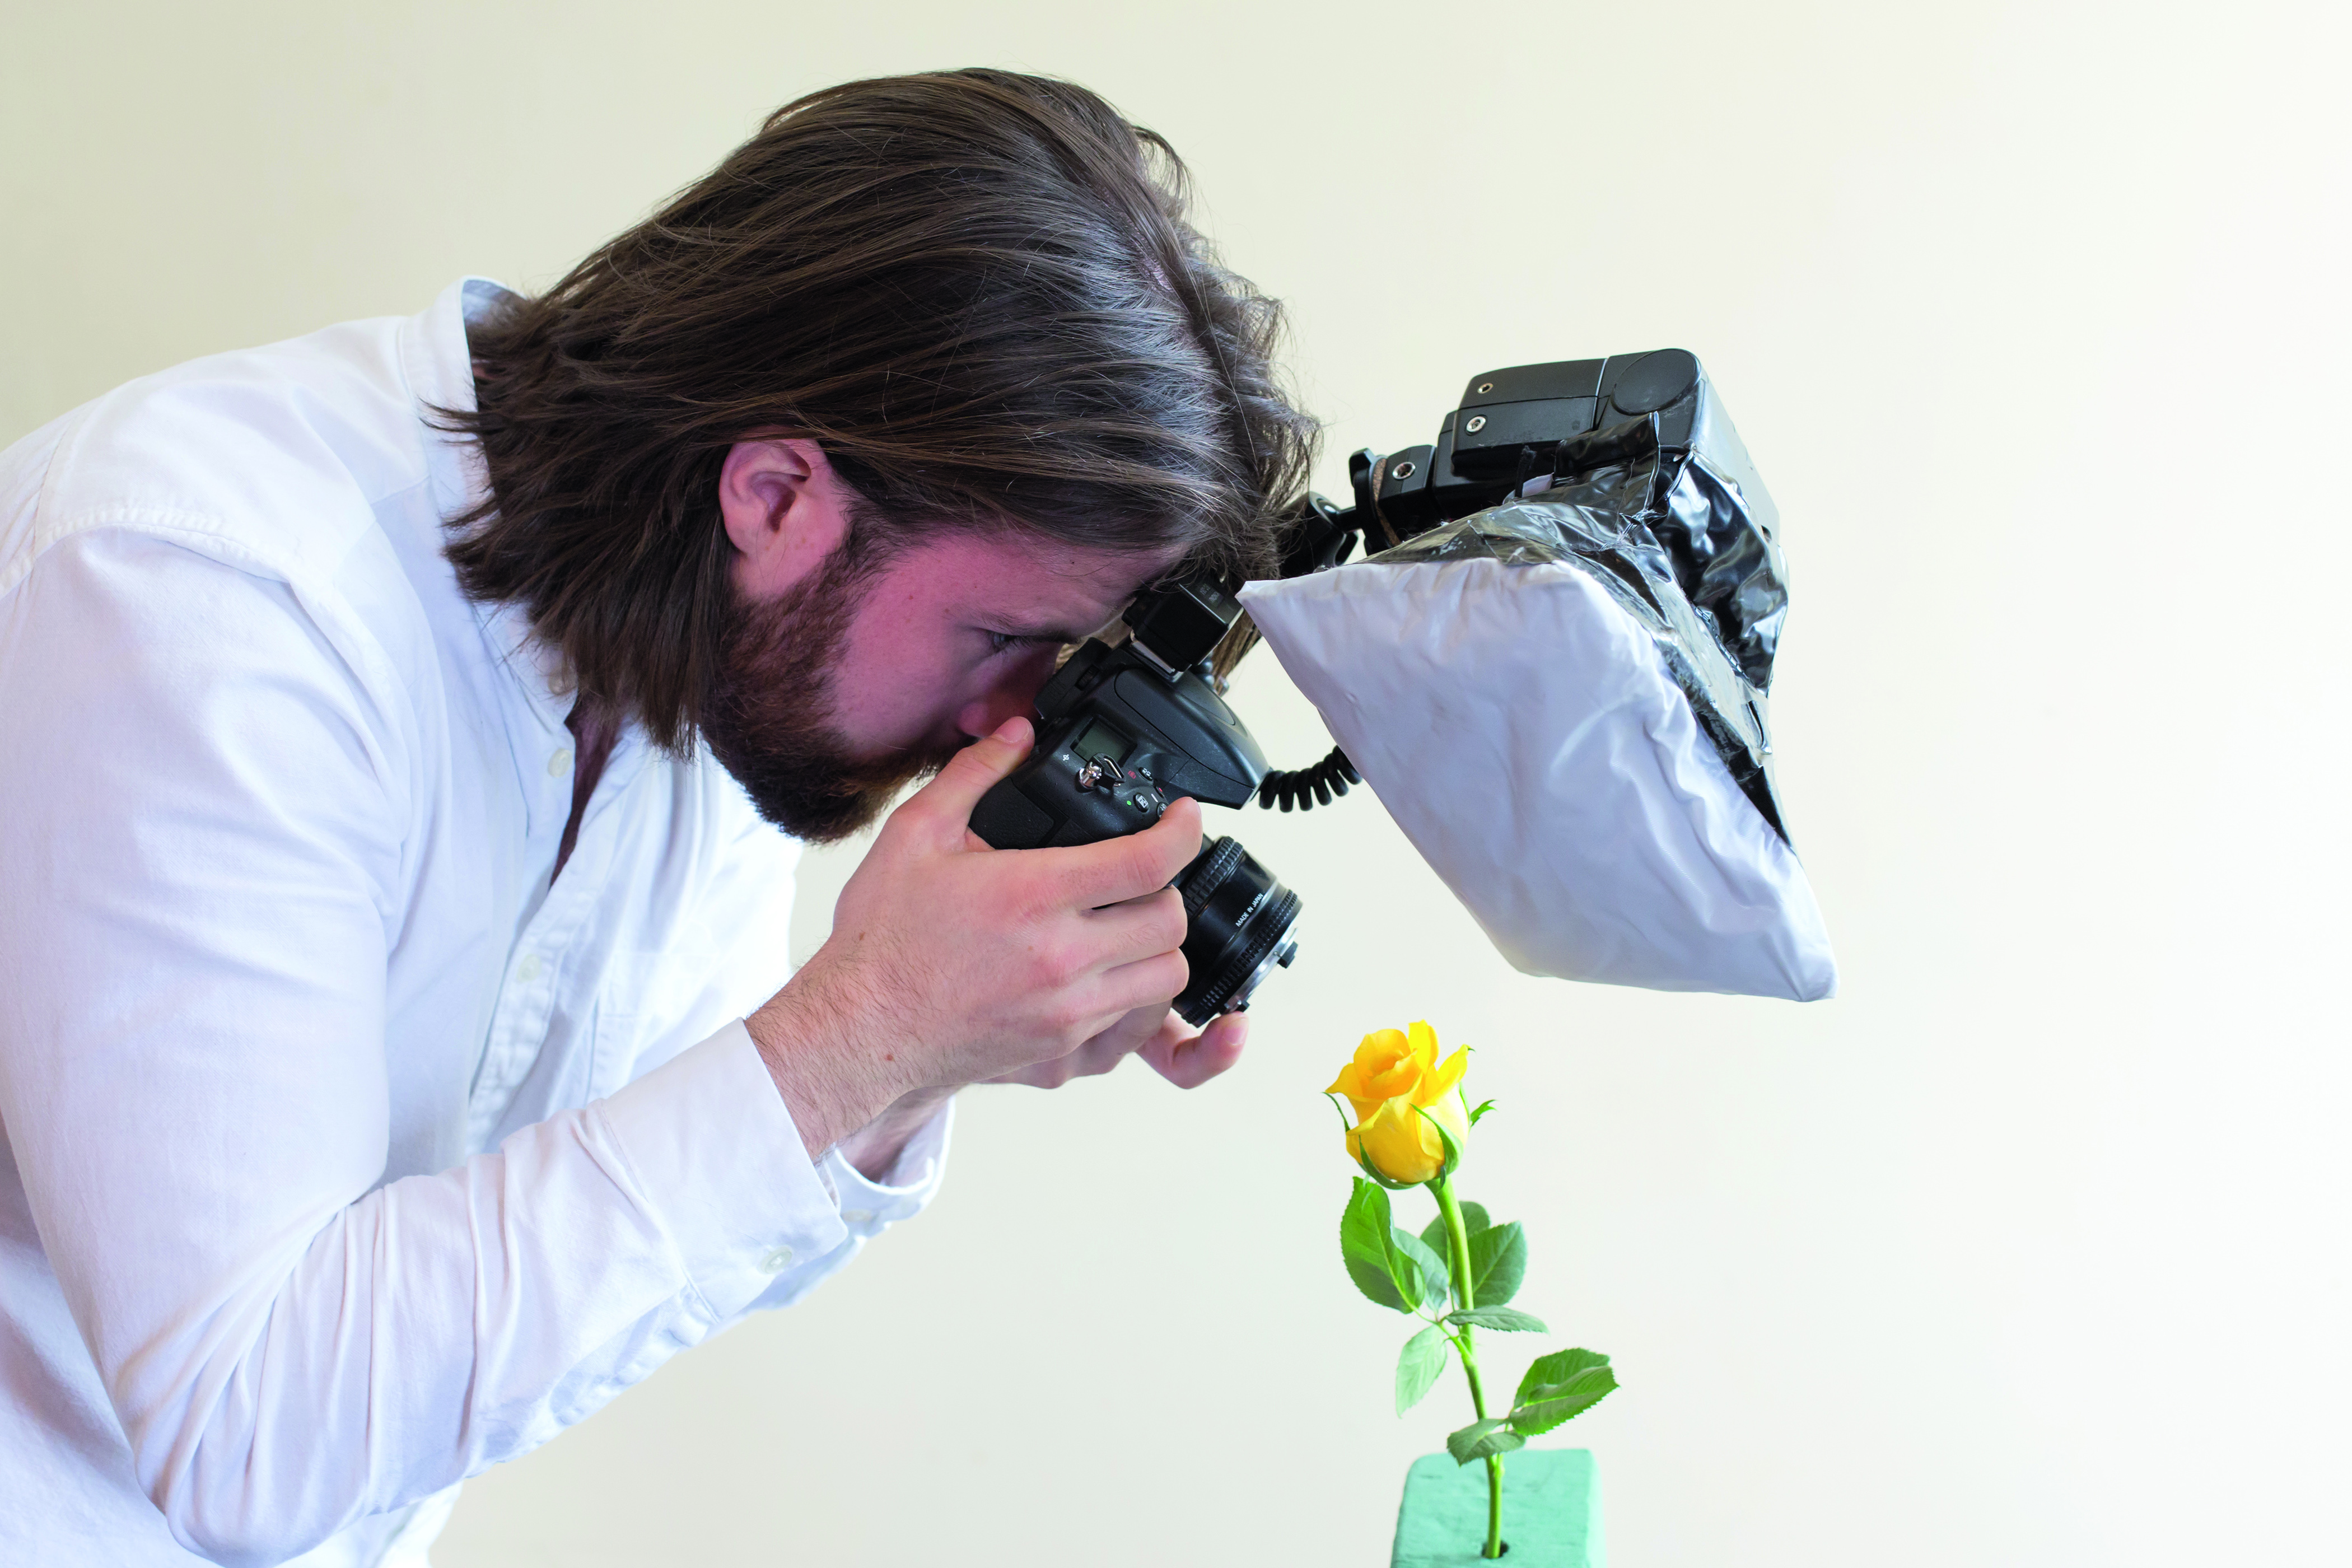
You need to be able to move the flashgun around as you move your camera, so fix the flash bracket to the camera body, then attach your flash to the bracket. Do this on a table as it may be a little unwieldy, and you don’t want to drop anything.
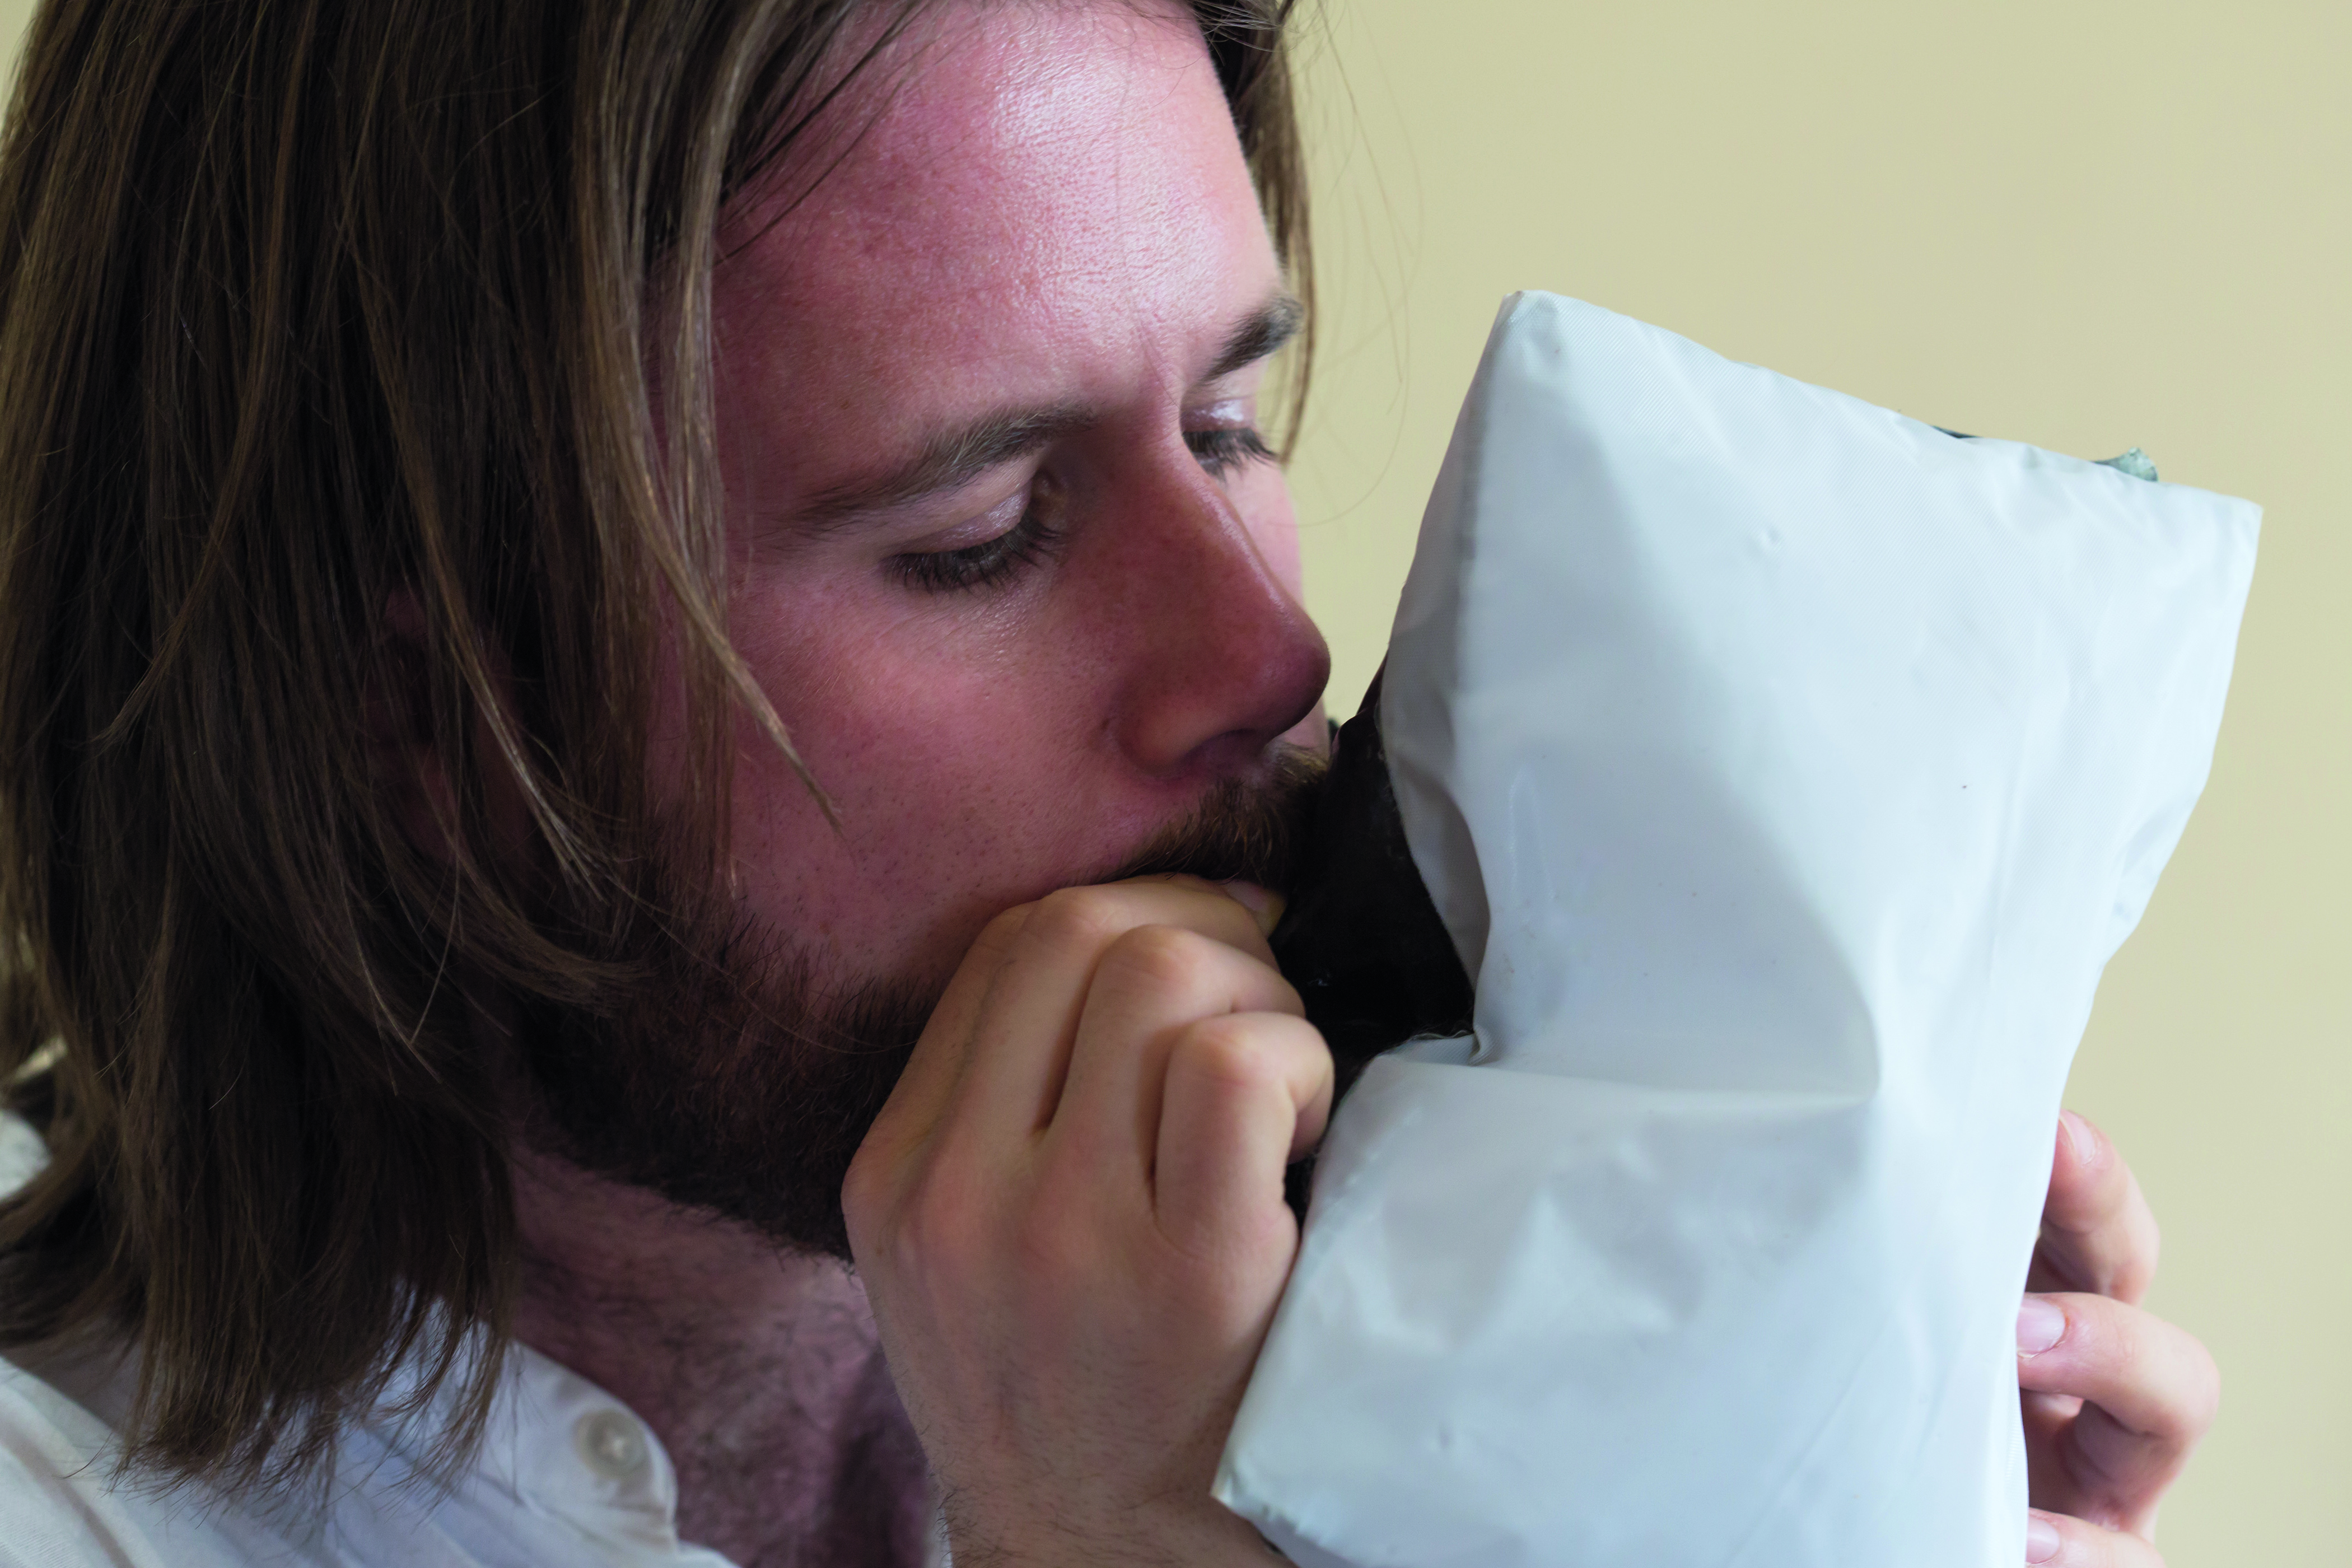
8. Take the soft option
An inflatable diffuser is especially helpful when shooting macro, especially outside. It stores flat, it’s light, and it tucks away in a bag. It diffuses the harsh, direct flash light, and so softens shadows. We taped a square of shower curtain to ours to make the light even softer.
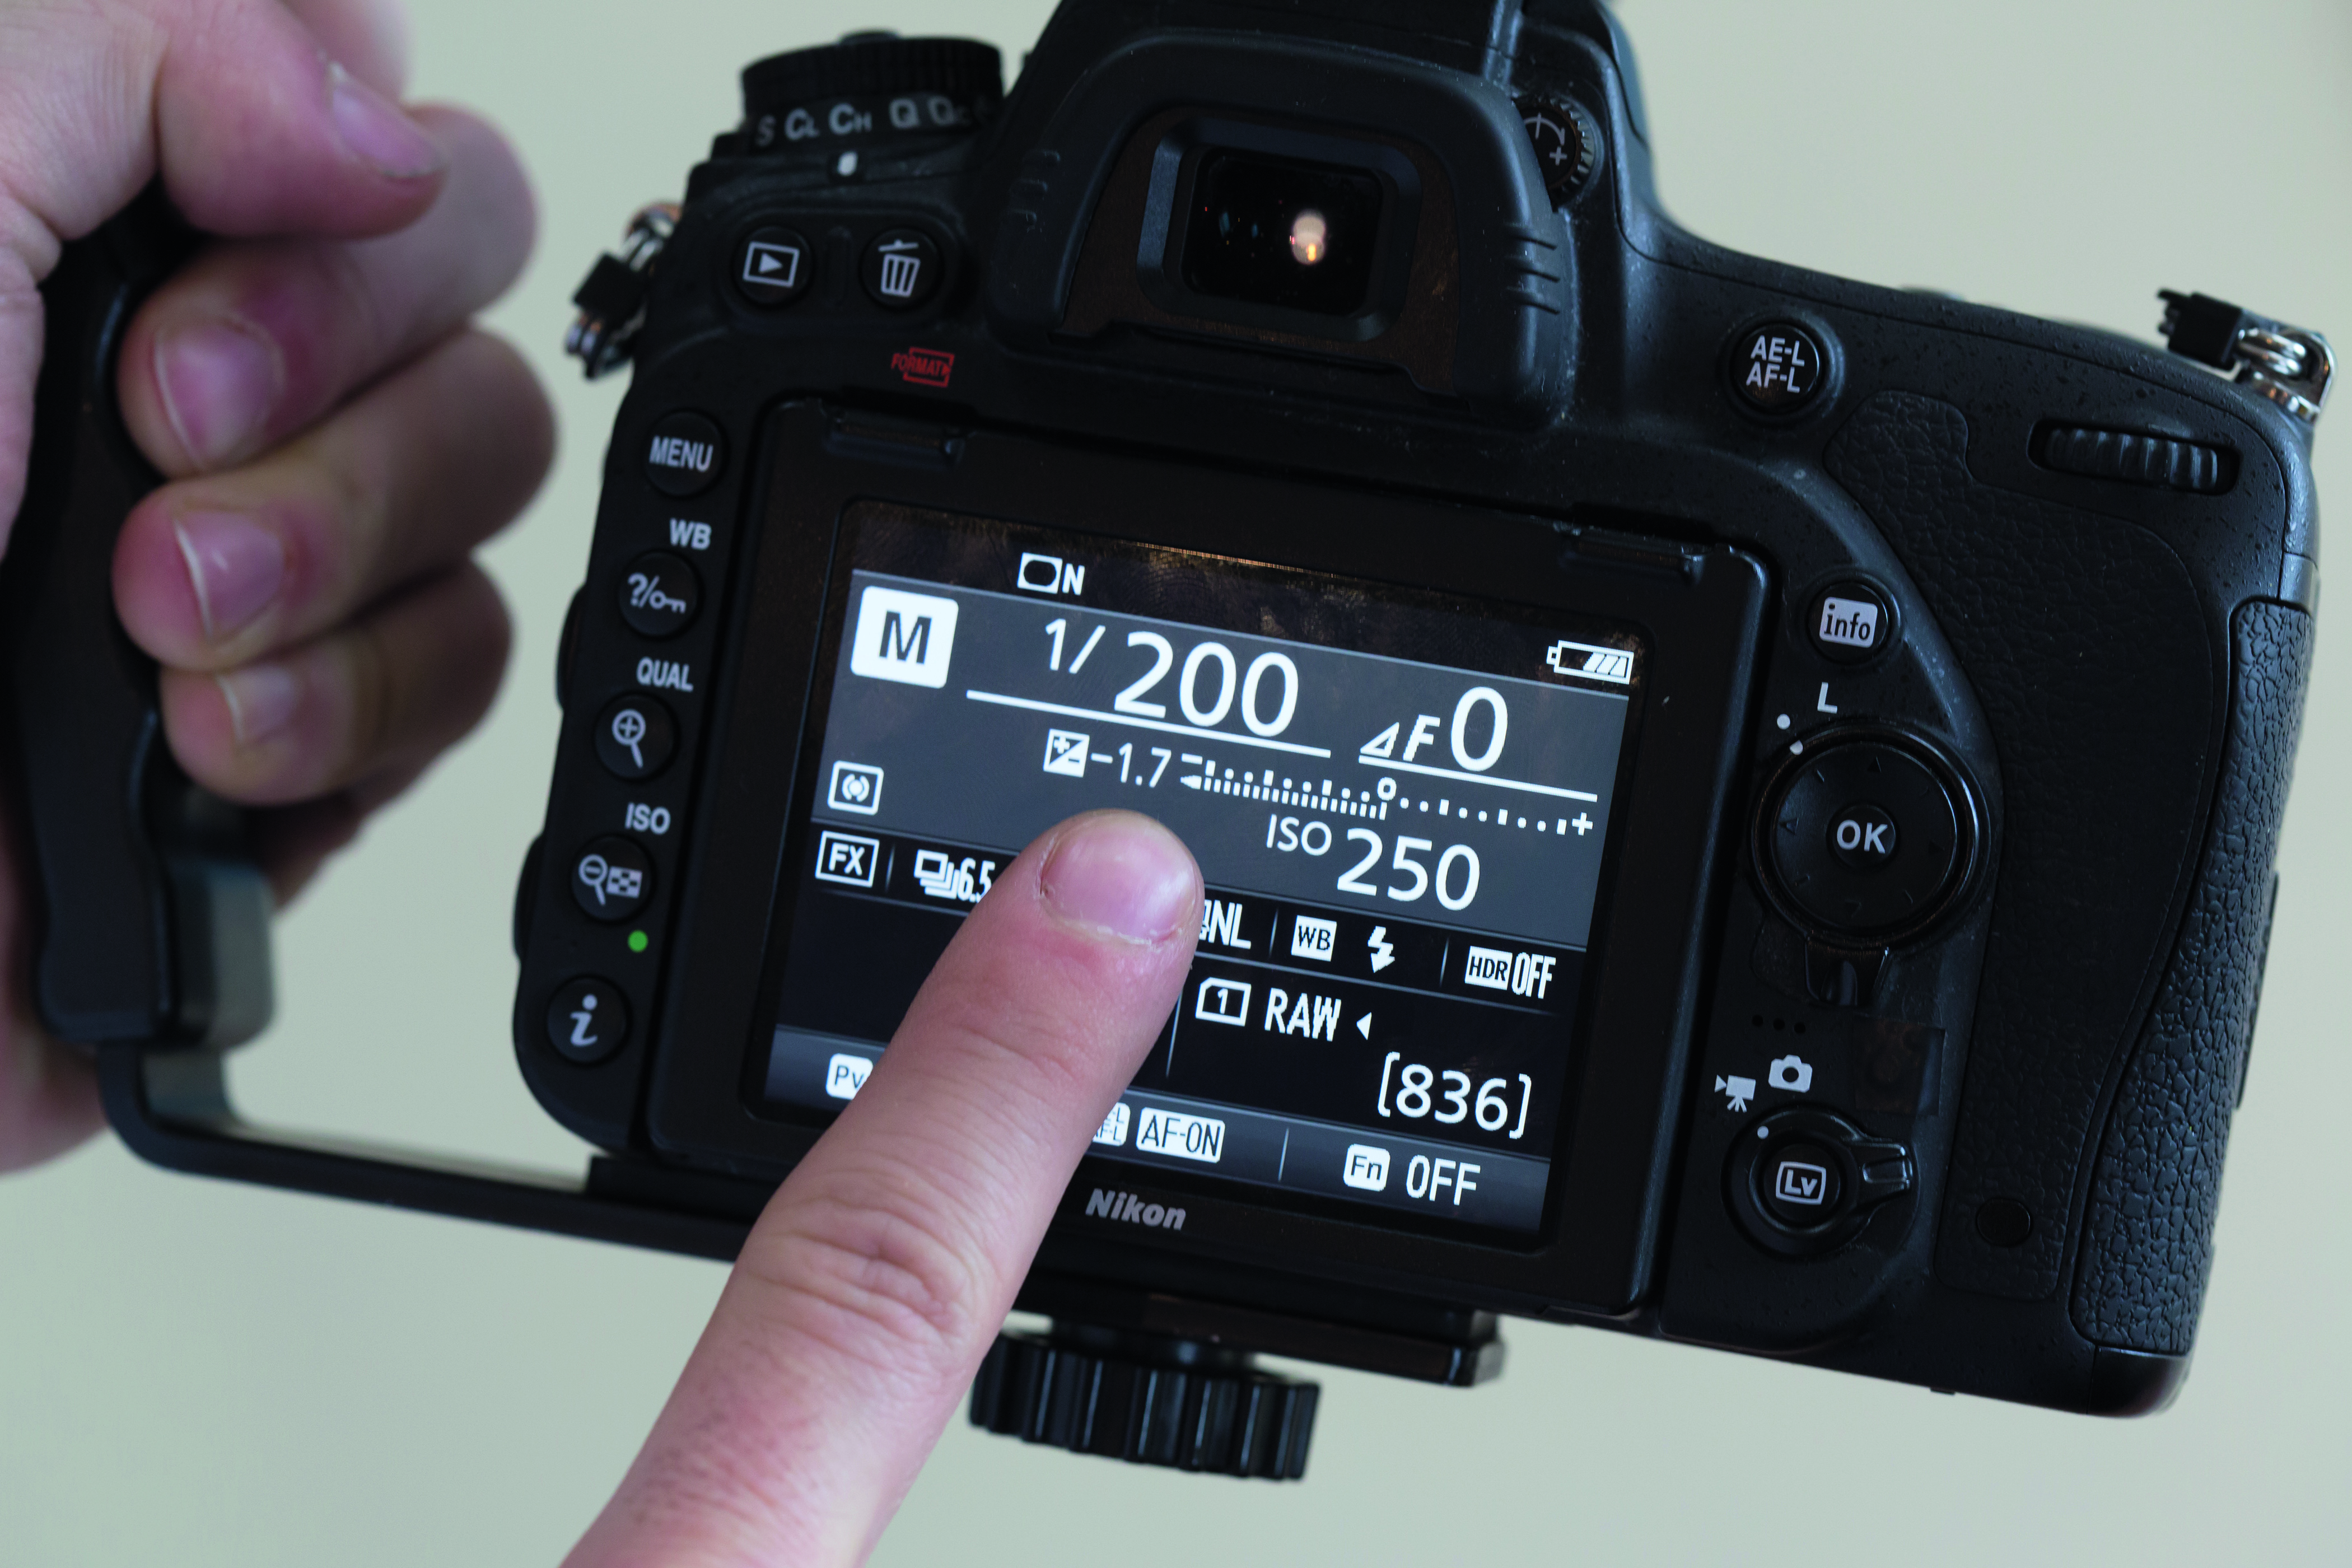
Use a high-capacity memory card. With continuous drive selected, you might find yourself filling up a 16GB card quite quickly.
9. Set the speed
Typical flash sync speeds run at 1/200 sec, but you can open the shutter for longer if you find the background is too dark, or you can bump up the ISO slightly. We set a shutter speed of 1/200 sec at ISO250 in manual mode, and an aperture of f/11.
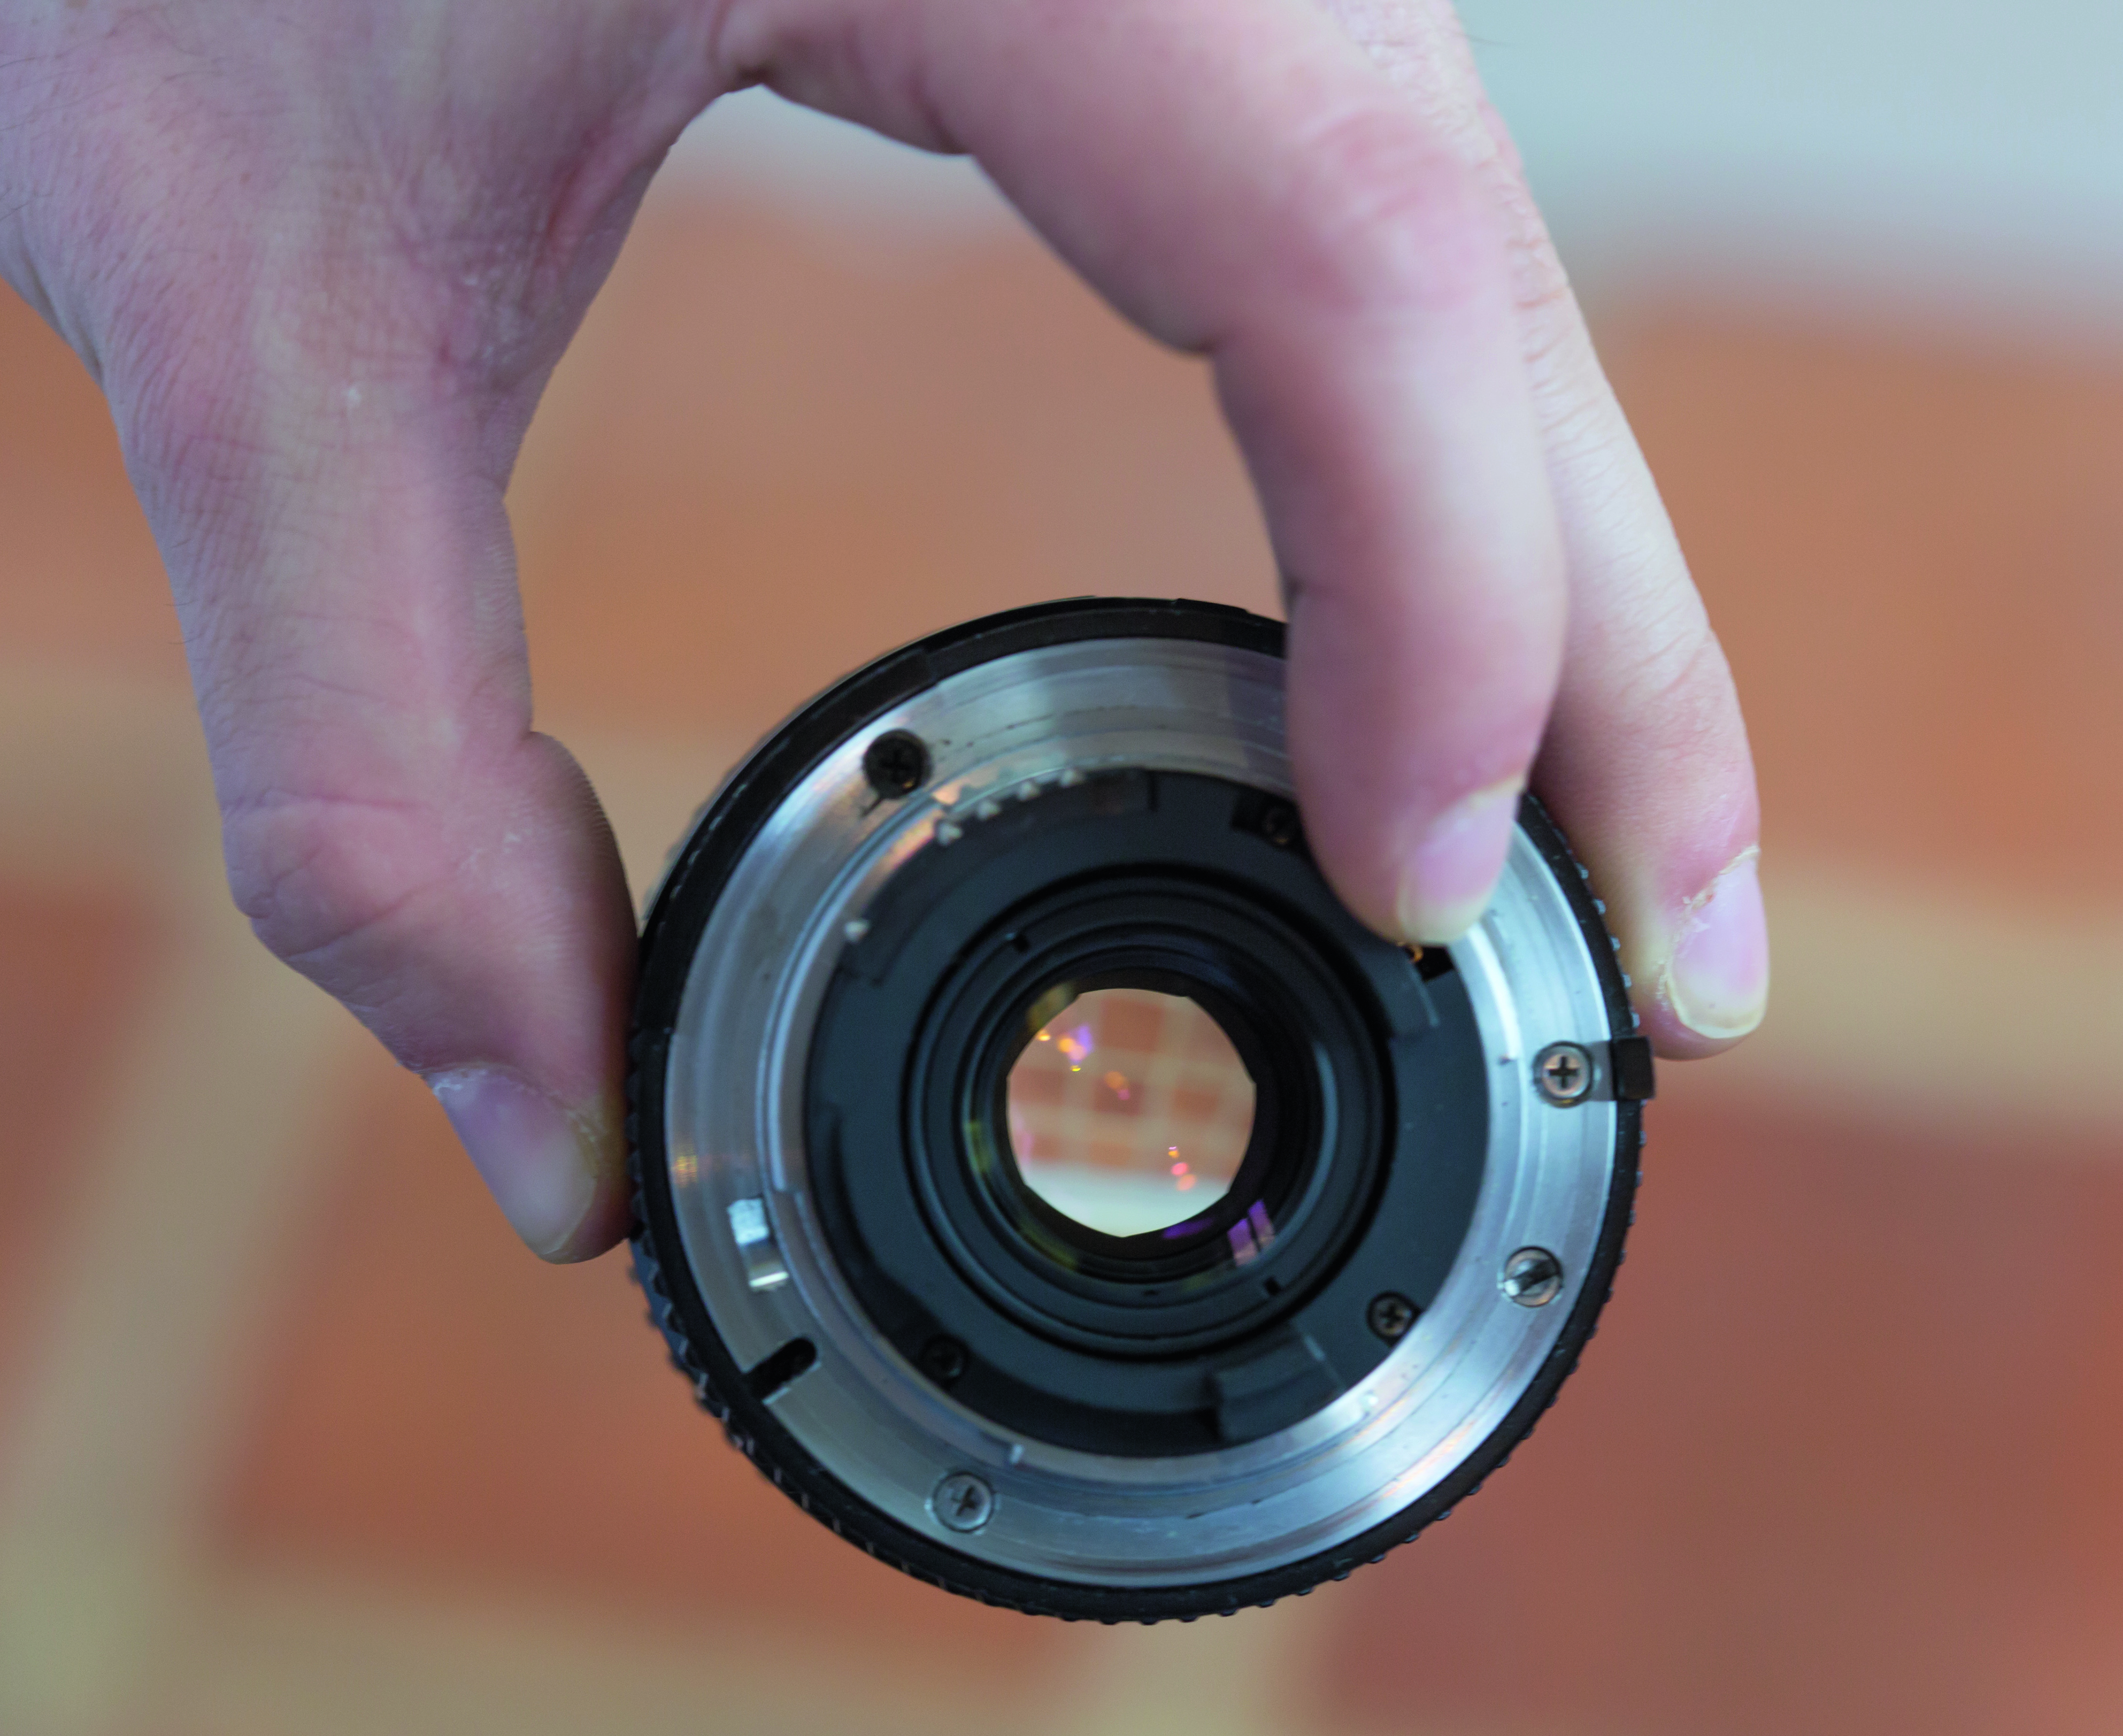
10. Let there be light
If you stop down your lens to, say, f/11, to increase depth of field, the view through the viewfinder will be very dark. The trick is to temporarily flick the aperture open, using the lever on the back of the lens, to compose and focus, and then let it go to take your shot at the aperture set.
11. Focus with care
Autofocus won’t work when the lens is reversed, so manual focus is a must. Moving the focus ring doesn’t change the focus point dramatically, so it almost doesn’t matter. Find the focusing distance by physically moving back and forth from your subject, then take some shots.
12. Shoot in bursts
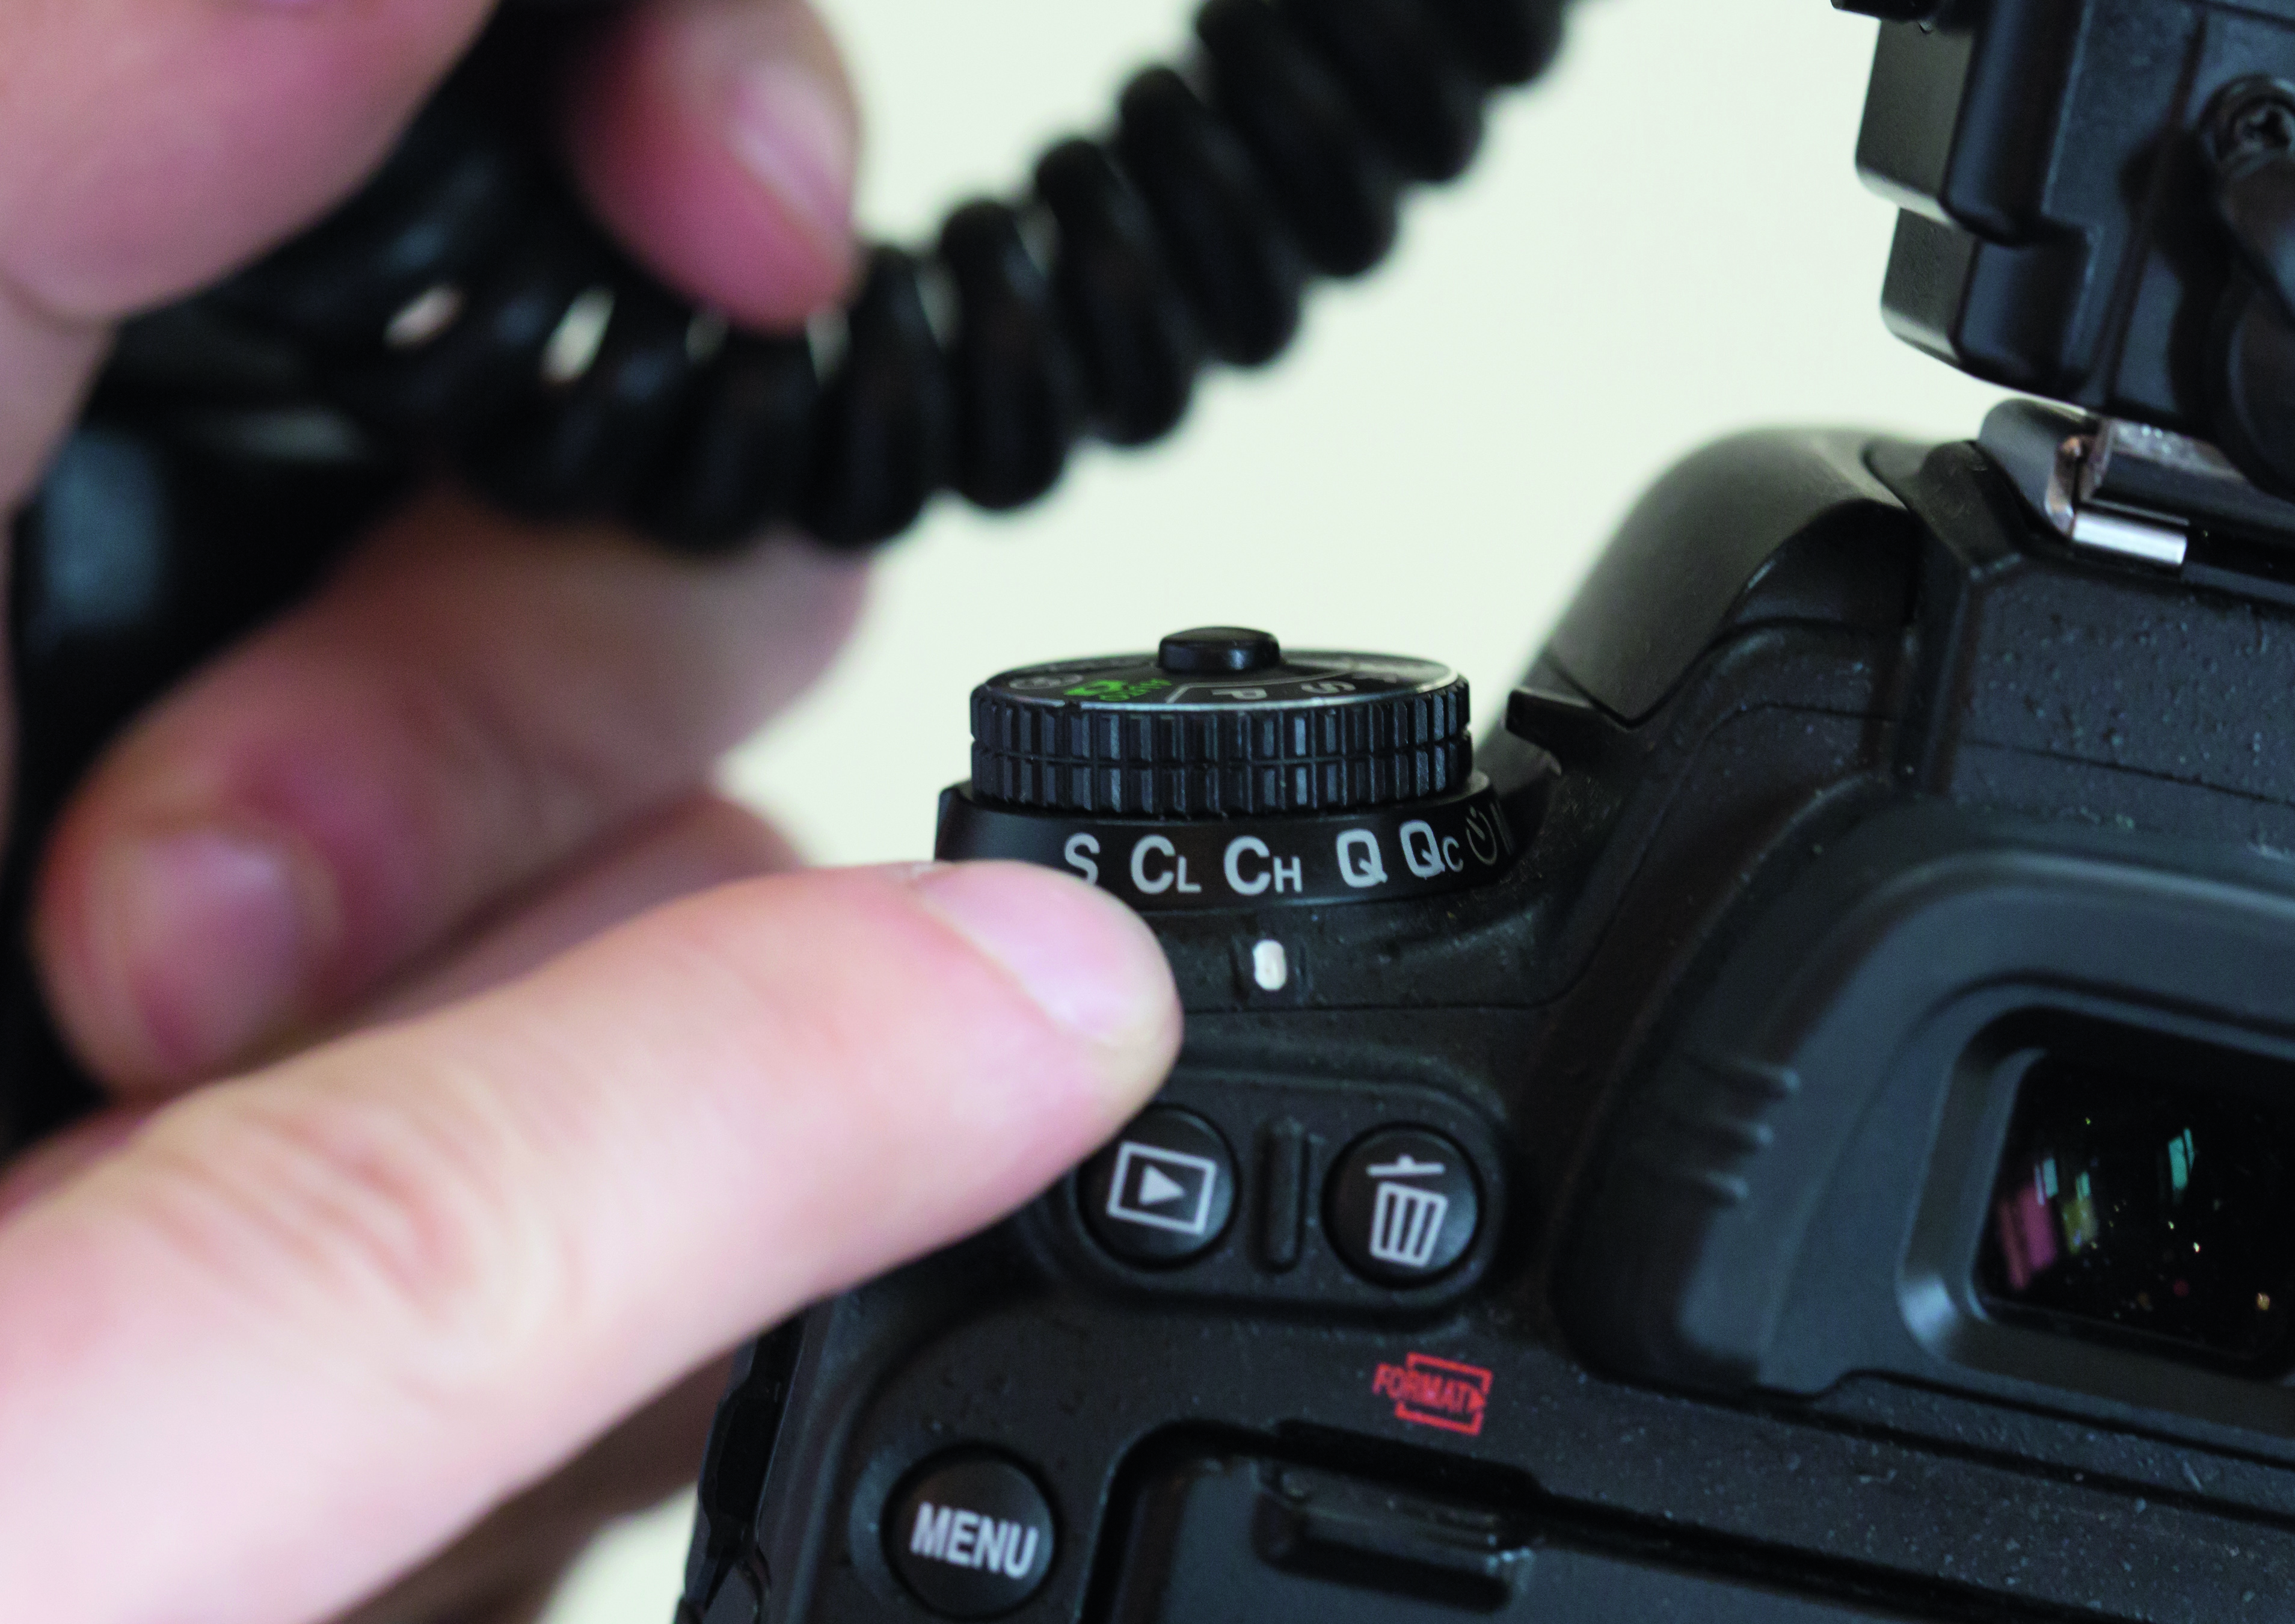
It’s easier to use the focusing method described in the previous step when you combine it with continuous drive mode. We shot at 6.5 frames per second as we moved gently back and forth, to ensure at least some of our shots would be pin-sharp.
Read more
Best close-up filters
Get the Digital Camera World Newsletter
The best camera deals, reviews, product advice, and unmissable photography news, direct to your inbox!
Jase Parnell-Brookes is an award-winning photographer, educator and writer based in the UK. They won the Gold Prize award in the Nikon Photo Contest 2018/19 and was named Digital Photographer of the Year in 2014. After completing their Masters Jase has spent a good chunk of two decades studying and working in photography and optics shooting and writing all over the world for big-name brands and media outlets. Now the Channel Editor for Cameras and Skywatching at Space.com their speciality is in low light optics and camera systems.

