How to shoot festive bokeh-filled close-ups using your Christmas tree
Turn your glittering Christmas tree lights into a festive bokeh-filled backdrop this holiday season
Close-up shopping list
• Best lenses for bokeh
• The best macro lenses
• Best tripod for photographers
• Best LED light panels
Watch video: How to shoot bokeh-filled Christmas close-ups
Nothing beats finding a new tripod, lens or camera beneath the tree on Christmas Day. But an obligation to spend time with the family can mean an agonizing wait before you’re able to head out into the field and put it through its paces... So, to save you from endlessly flicking through settings menus as you daydream about sprawling vistas, we’ve come up with a fun festive project you can do without ever leaving the Christmas tree.
We all love shallow depths of field. Soft backgrounds provide an attractive dream-like aesthetic and help sharp subjects stand out more. But the most impressive aspect of a shallow depth of field is when it turns lights into vibrant orbs of bokeh. Capturing bokeh isn’t a difficult task though. You simply select the best lens for bokeh that you have, one with a wide-open maximum aperture to create a shallow depth of field and ensure there’s a suitably large distance between your subject and the light source in the background.
But what really makes bokeh stand out is when there’s lots of it, and there’s no better time of year to find multiple sources of light than Christmas. By placing a Christmas ornament in front of the tree, you can capture a dazzling display of bokeh discs in the background. All you need is a relatively fast, close-focusing lens and a tripod. Portable LED lights are also useful, but if you don’t have any, torches will do.
Once you’ve arranged and framed your festive subject, you’ll need to focus with pinpoint accuracy, while preventing camera shake using the tips and tricks on the facing page.
How to shoot landscapes with a telephoto lens
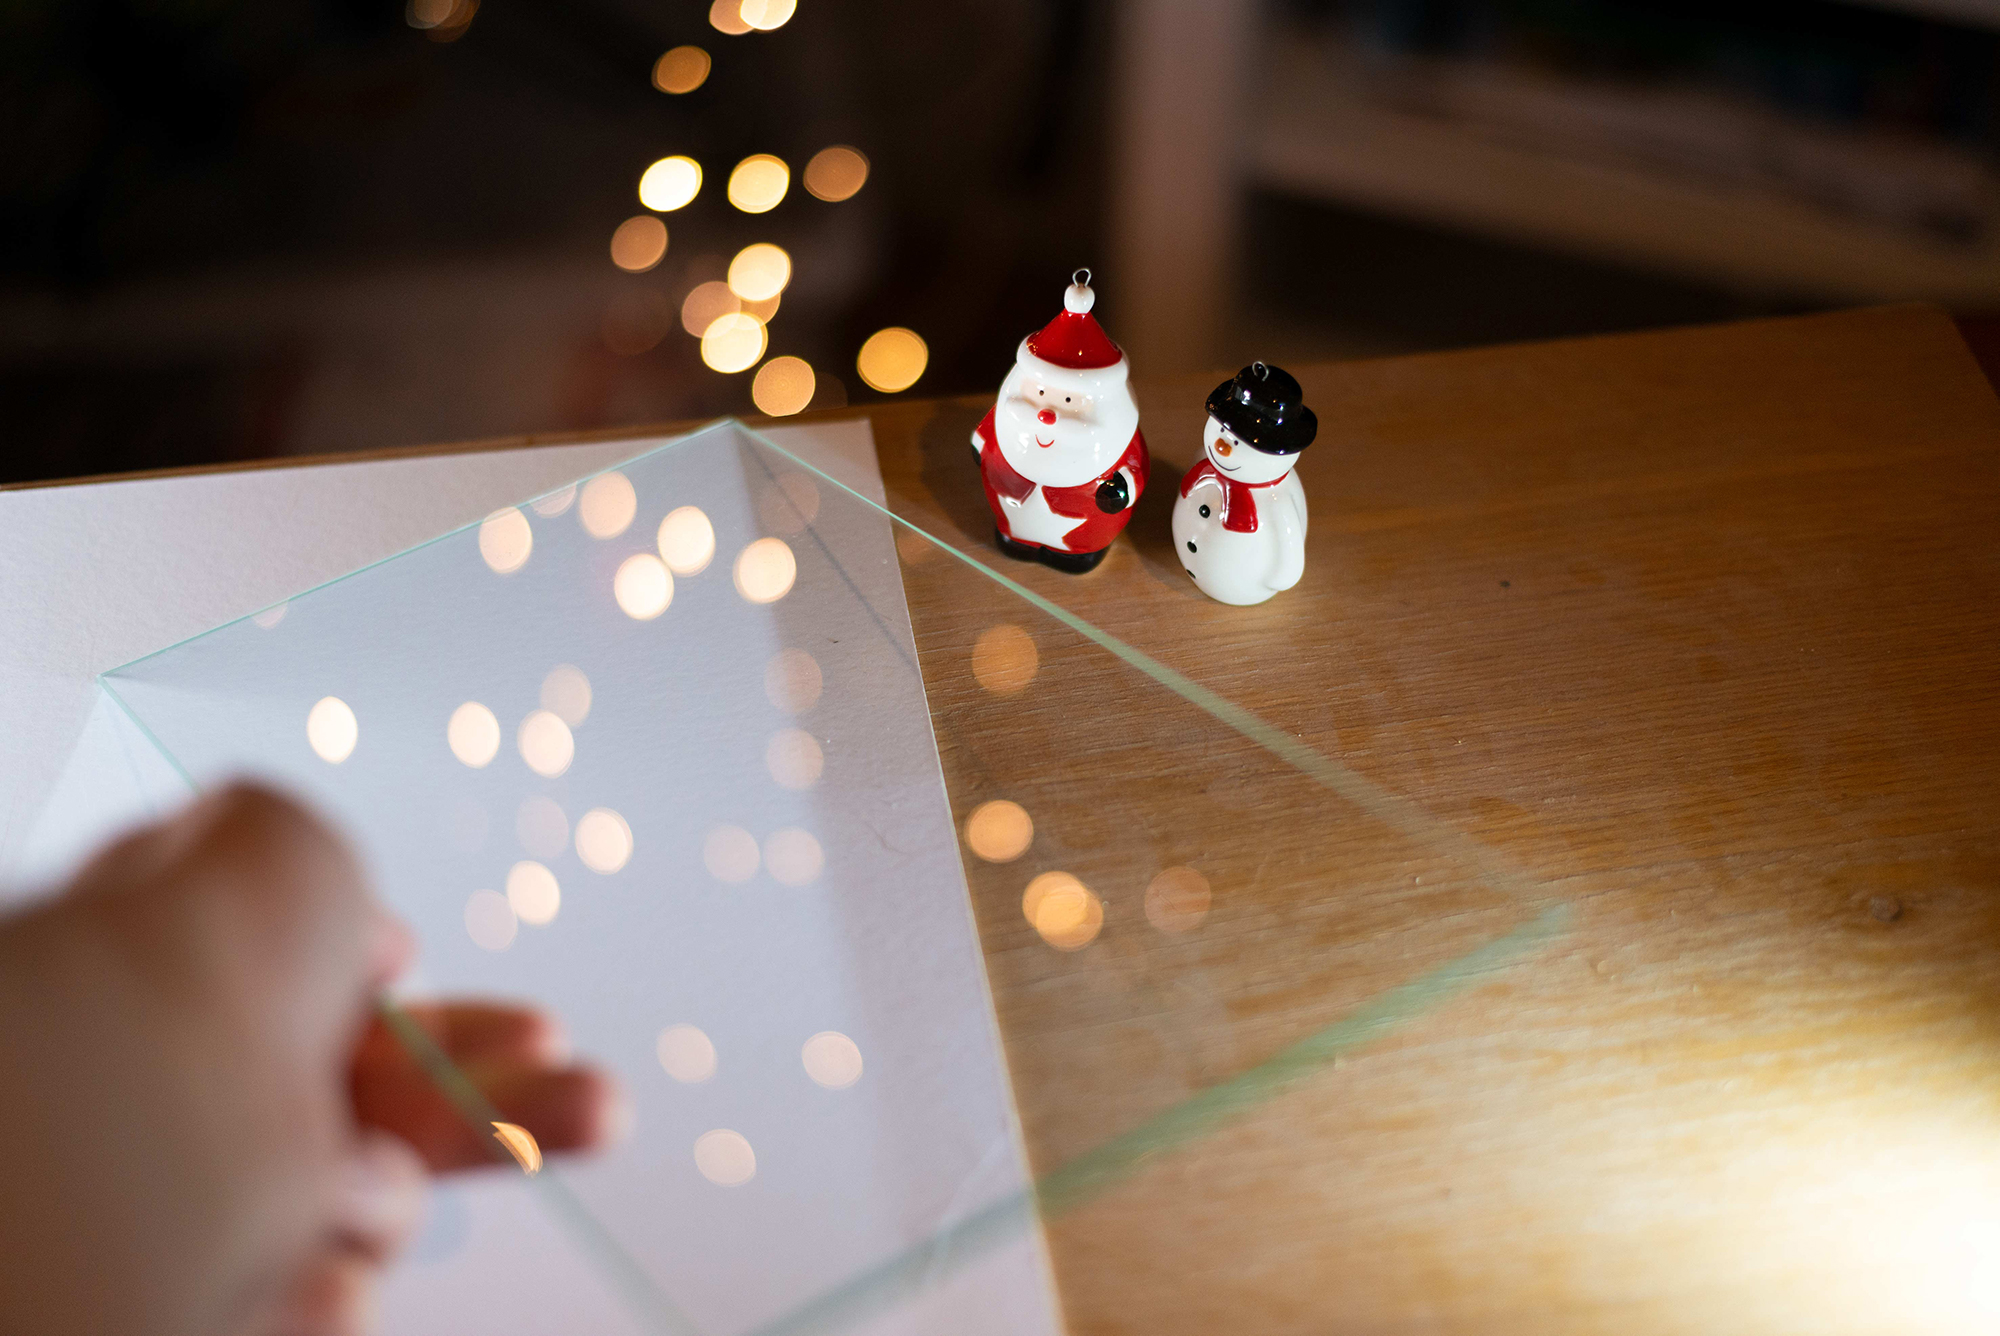
1. Glassy reflections
Place your Christmas ornaments on a shiny base to reflect the bokeh. We placed a clear sheet of acrylic on top of a white piece of paper to create a white reflective surface to connote ice or snow. It’s also worth buffing your base to ensure the surface is super shiny.
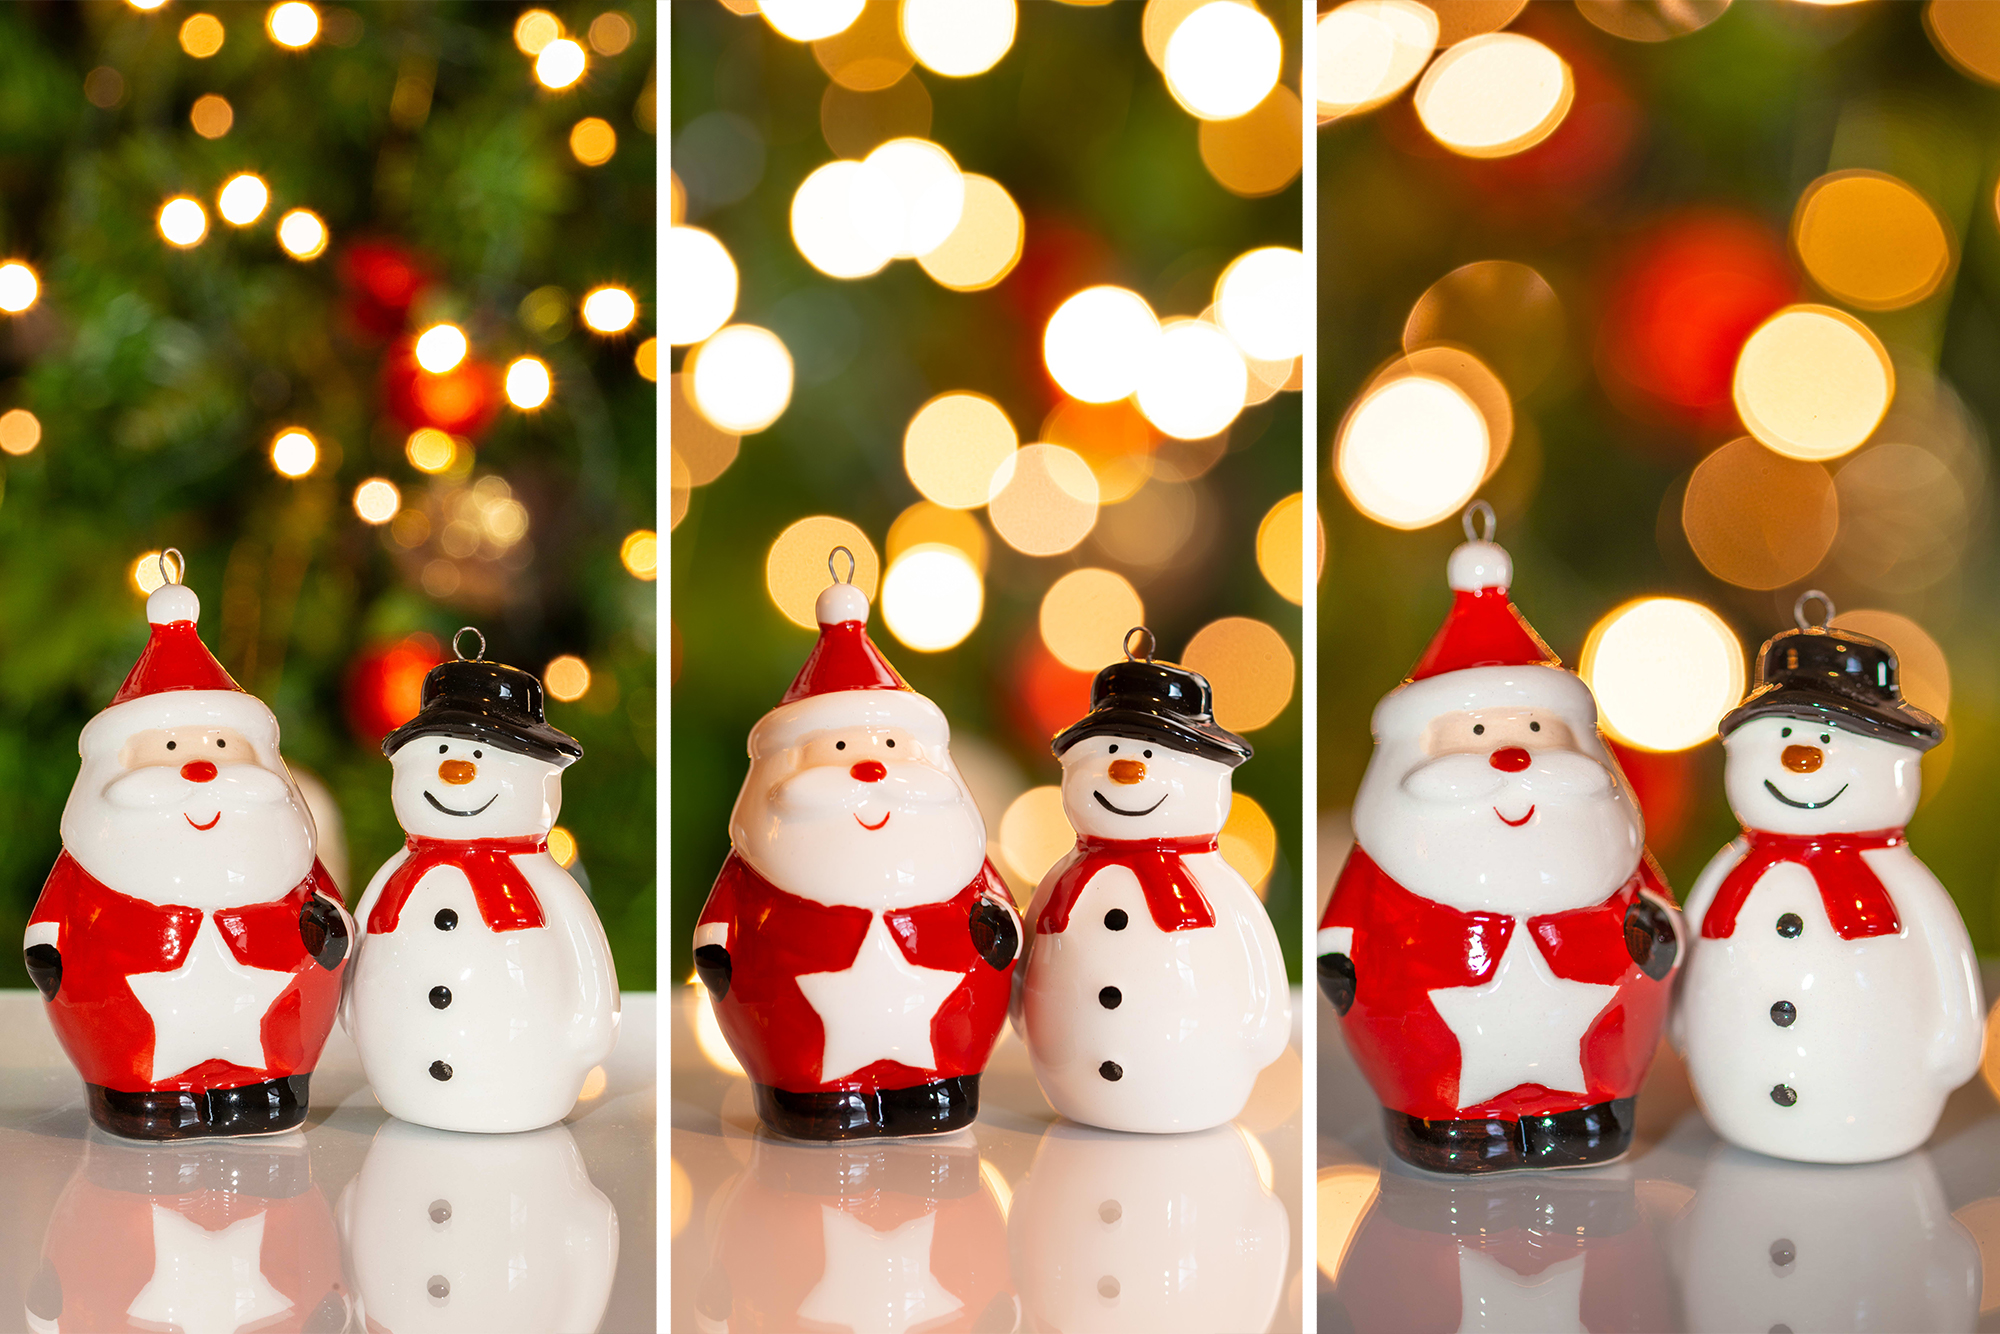
2. Super-size bokeh
The size of your discs of bokeh will depend on the aperture you use and how close your subject is to the background. The wider the aperture and the greater the distance between subject and background, the larger your glowing orbs of bokeh will be.
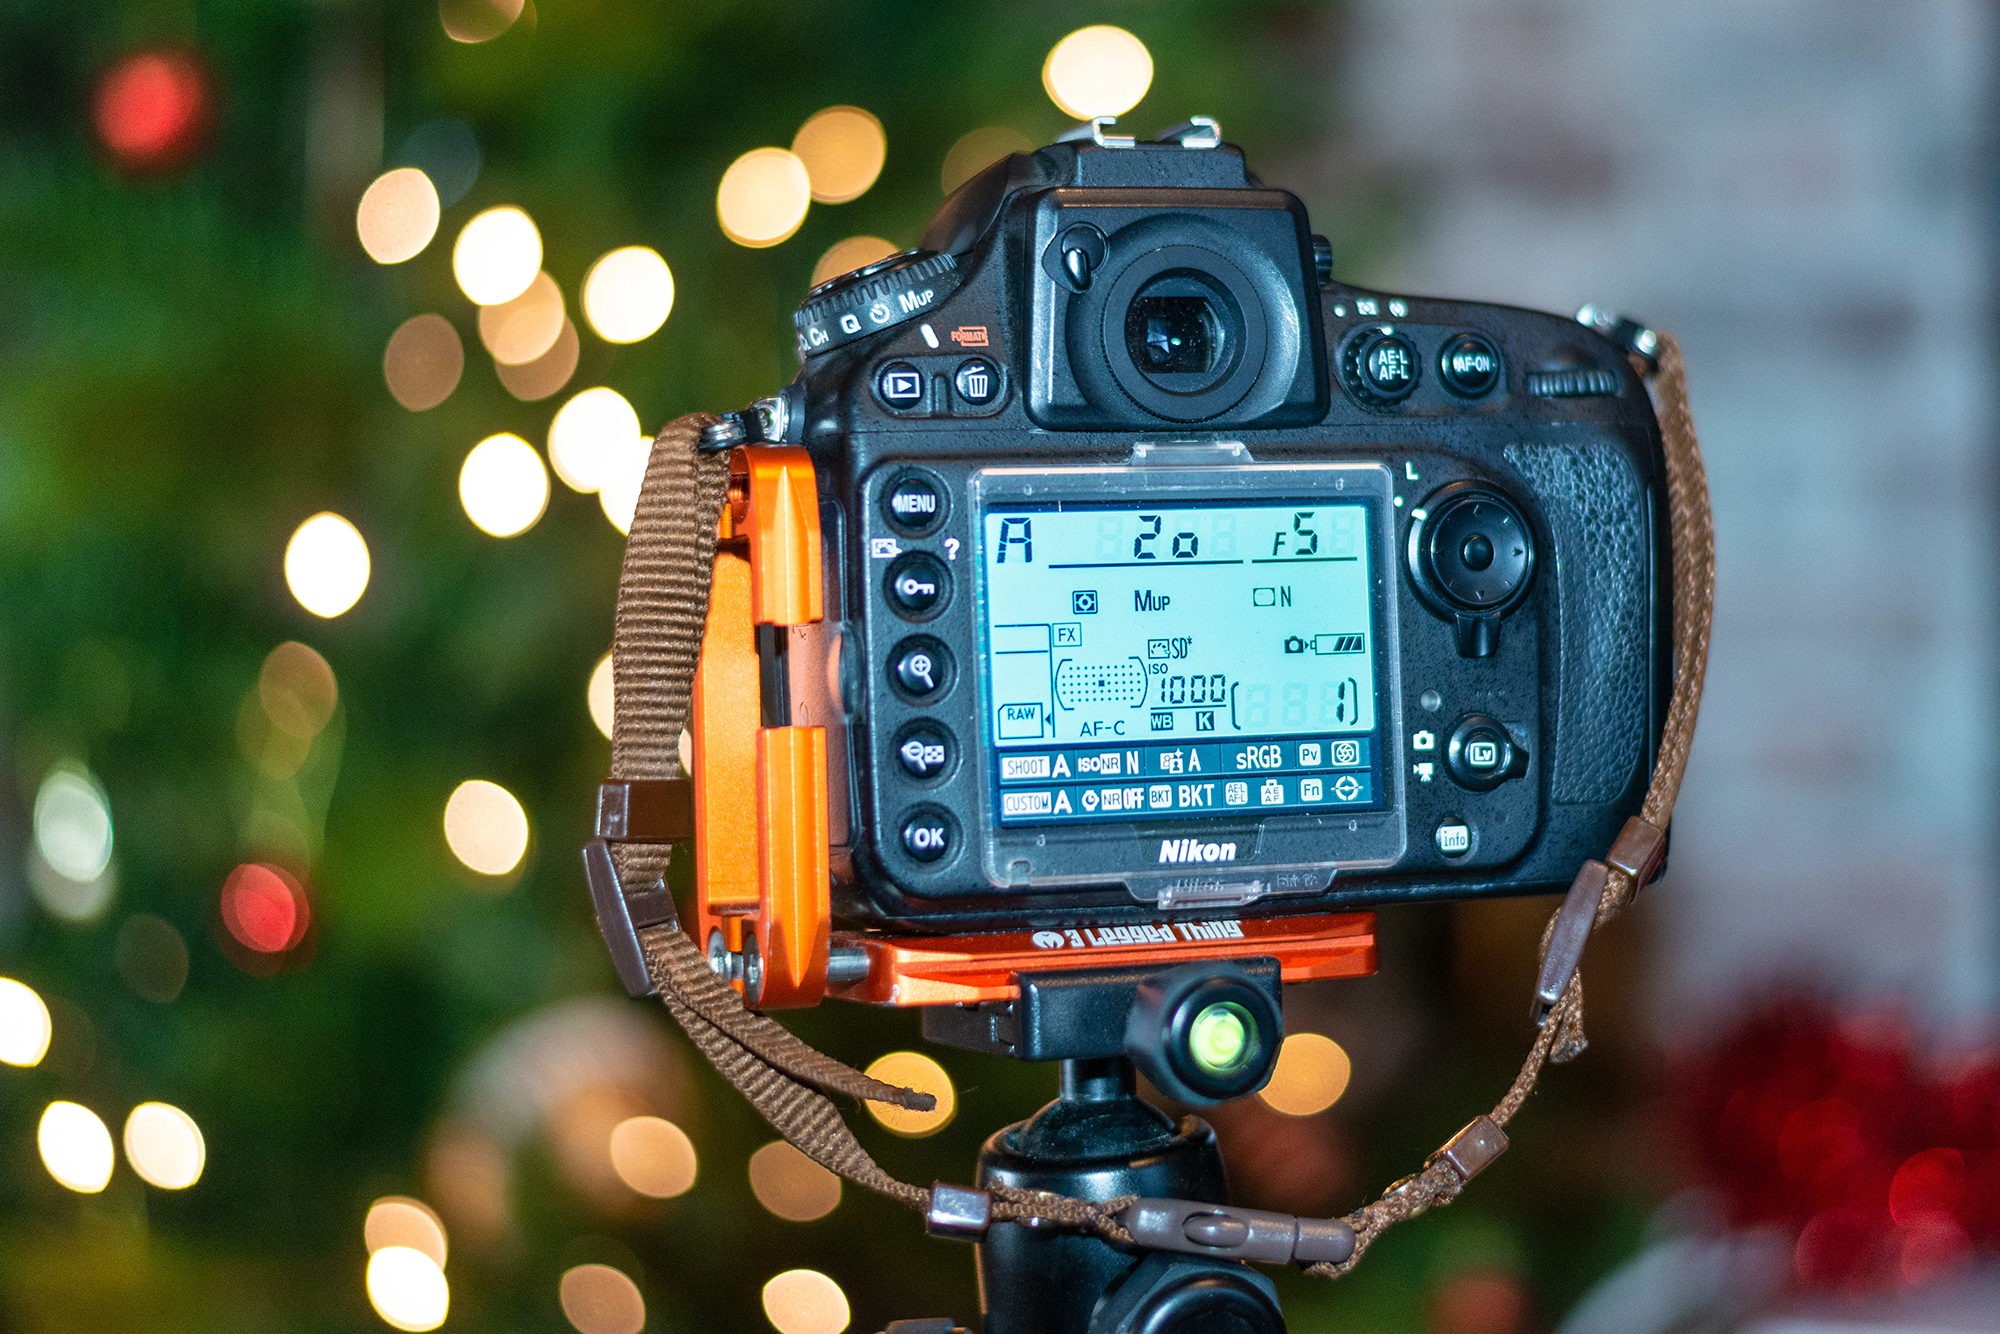
3. Camera settings
We placed our subjects about 3ft from our tree and used an aperture of f/5 to produce suitably large discs of bokeh. Turn any VR off and use Mirror-up mode and a remote shutter release to help mitigate camera shake. Using a tripod should allow you to shoot comfortably at ISO100.
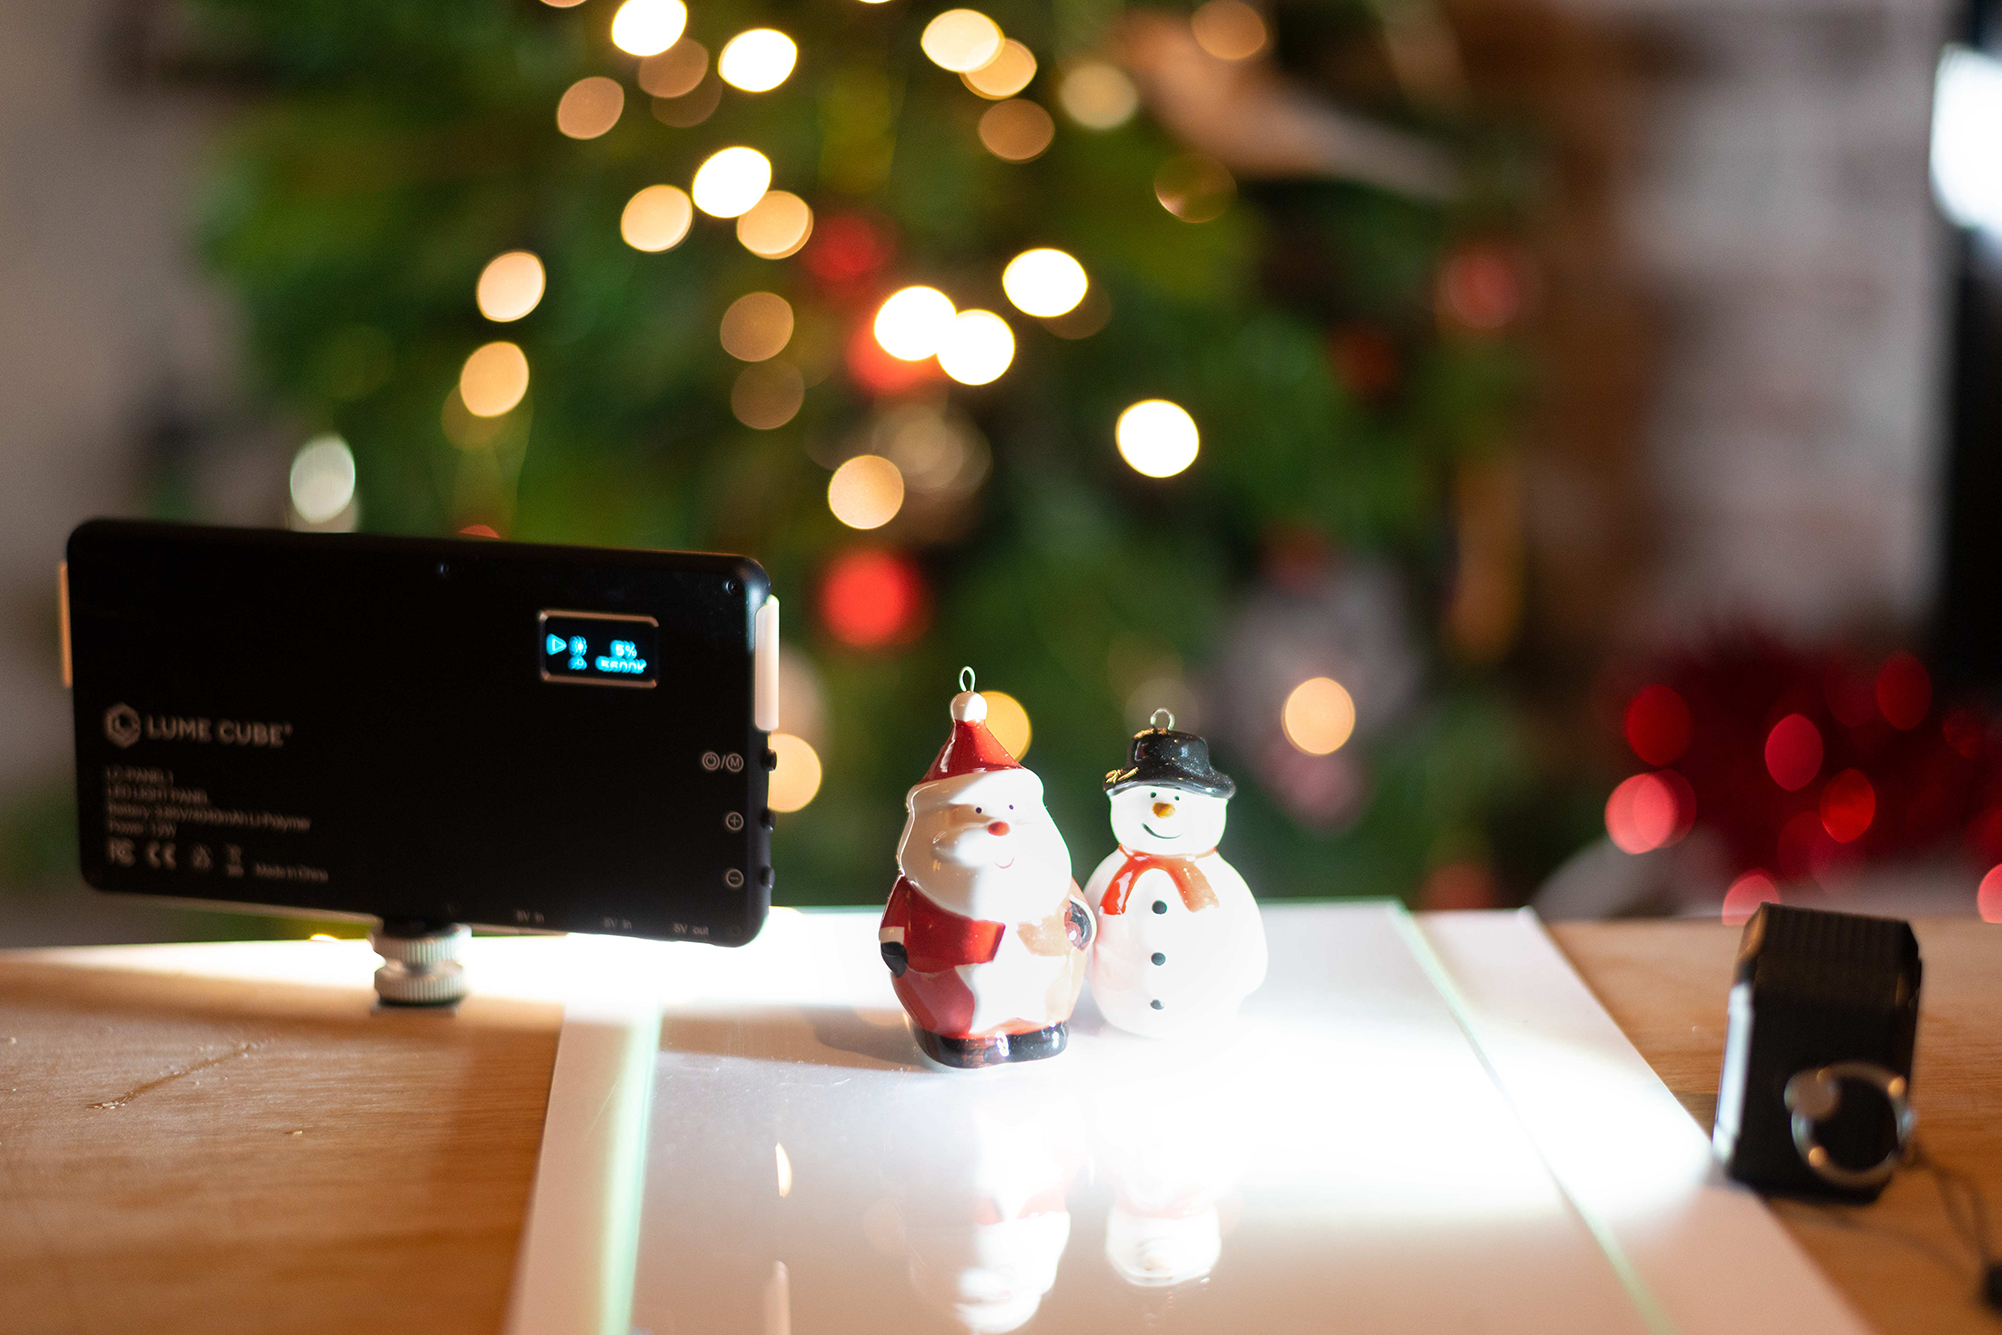
4. Christmas lights
A standard flashgun will likely prove too powerful for your Christmas close-up, so we recommend using a couple of continuous LED lights. Try directing one on your background to illuminate the green foliage of your tree and one on your subjects to pull them from the background.
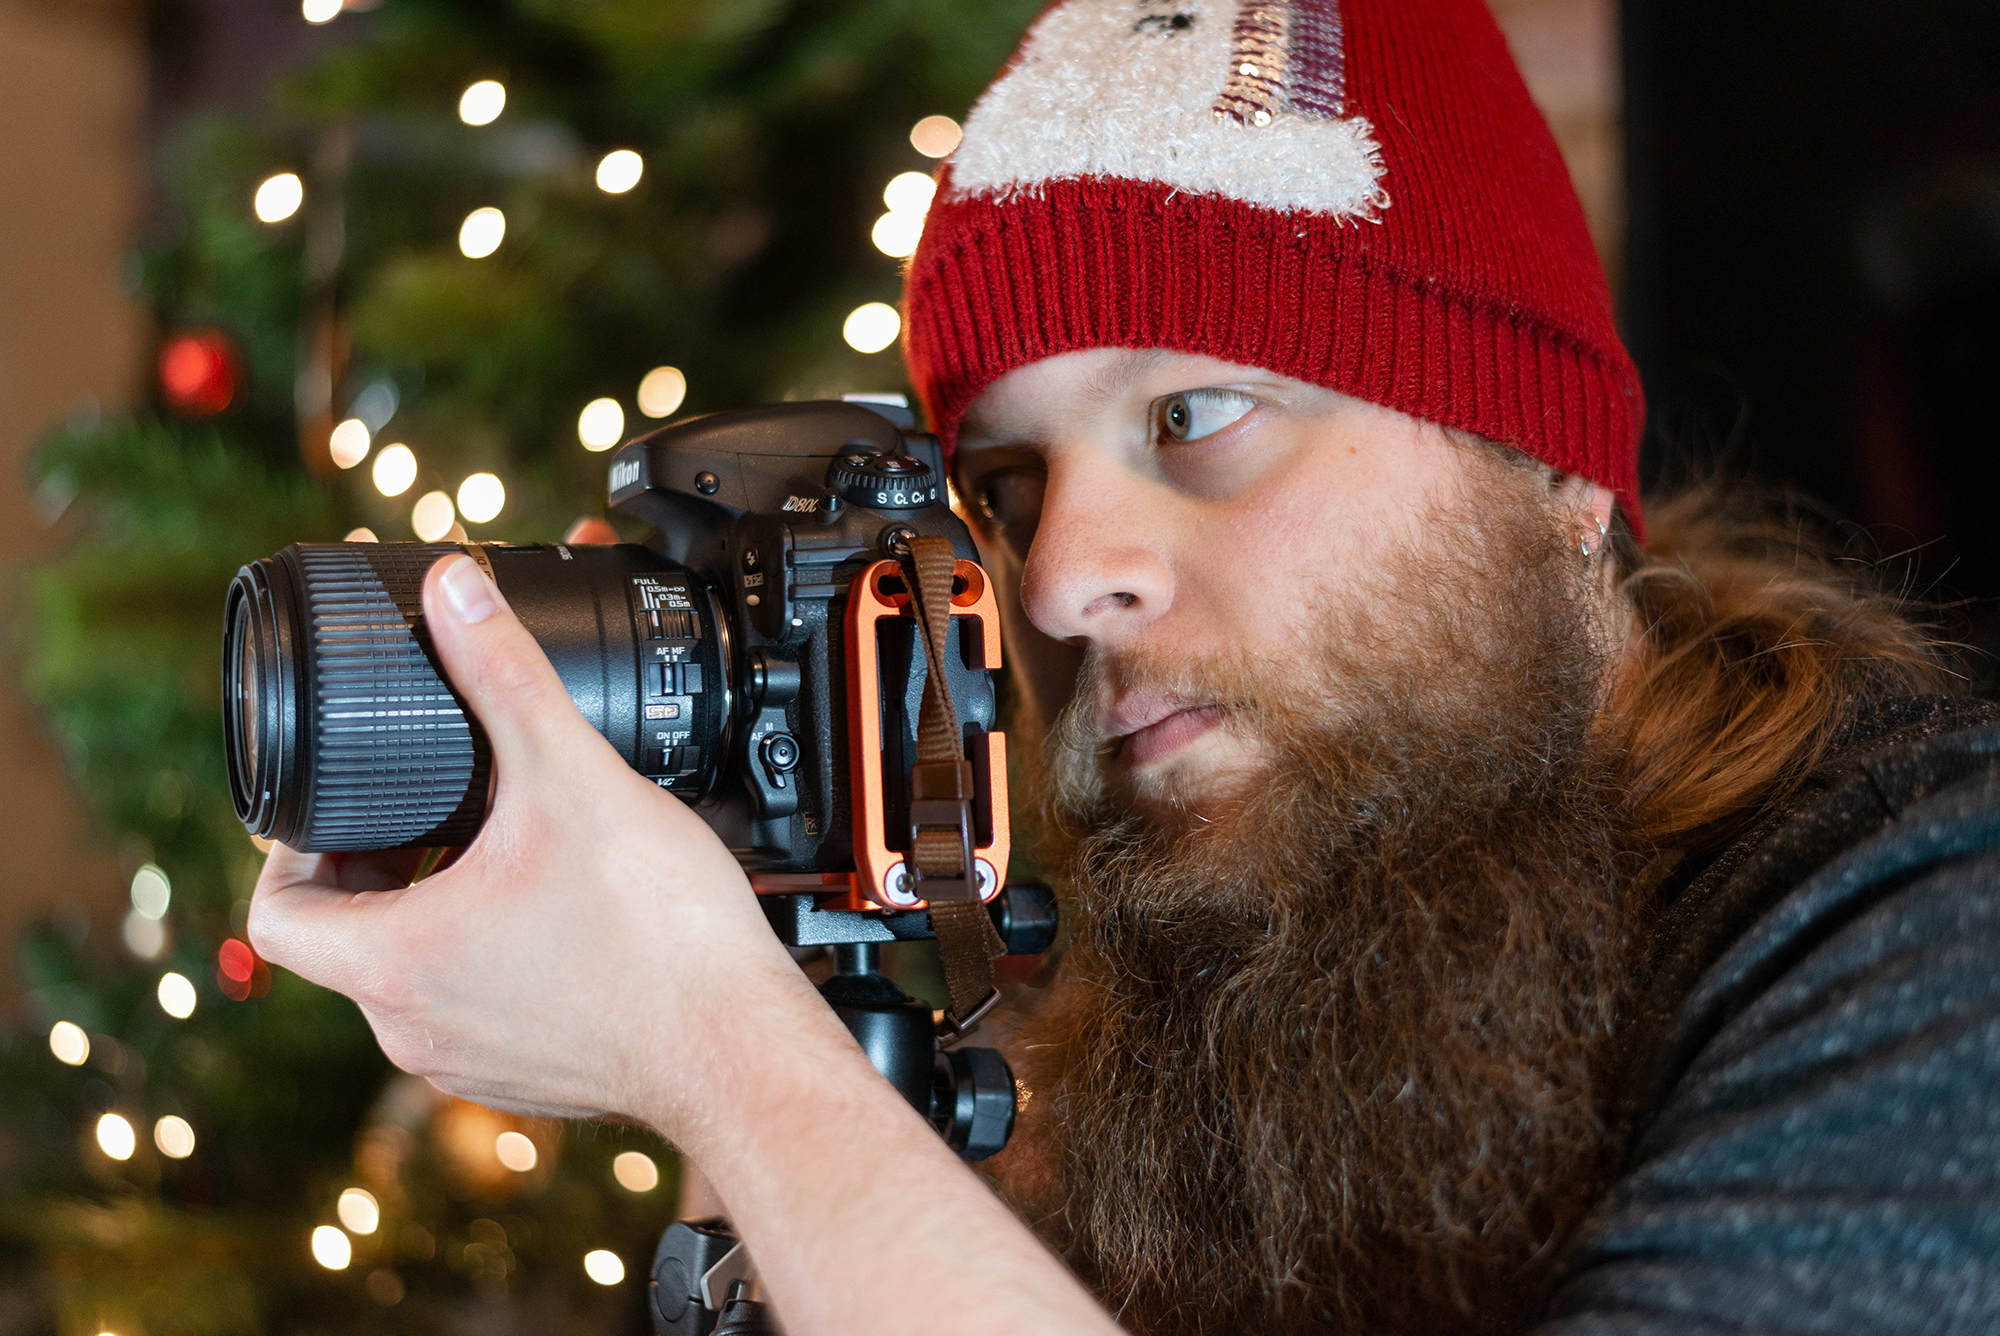
5. Focus manually
Use manual focus – AF has a tendency to hunt when shooting close-ups and will refocus when you press the shutter button (unless you’re using back-button focus). If your camera doesn’t feature a focusing aid, such as Focus Peaking, zooming into Live View will help you refine your focus.
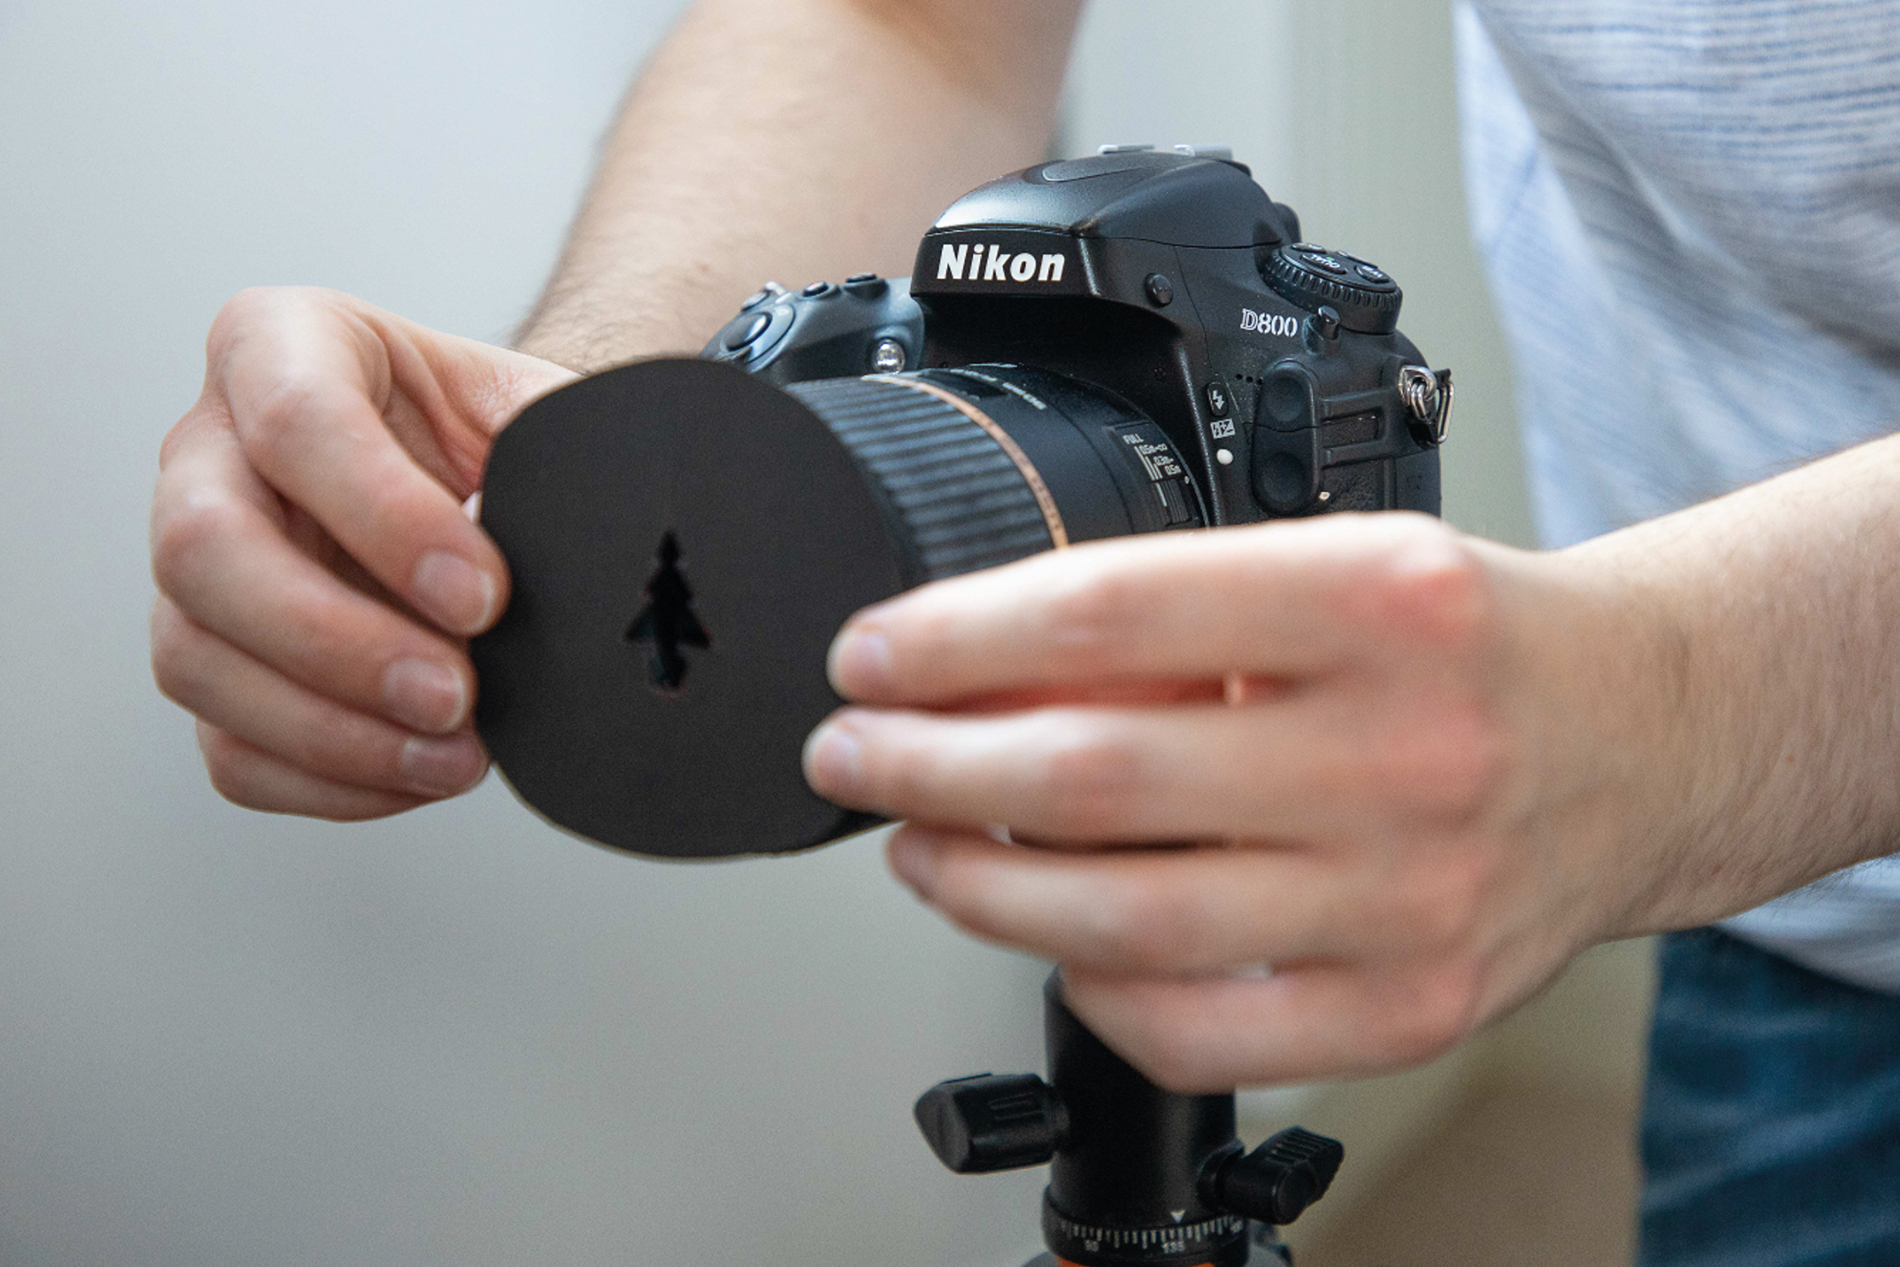
6. Mould your bokeh
You can modify the shape of your bokeh with a simple DIY accessory. Take a piece of black paper and draw around the front of your lens. Cut the circle out and draw a shape in the centre (we drew a Christmas tree). Carefully cut the shape out and set up your camera on a tripod. Hold the paper directly in front of your lens and take the shot to modify the bokeh.
N-Photo: The Nikon Magazine is a monthly publication that's entirely dedicated to Nikon users. For the best news, reviews, projects and more, subscribe to N-Photo today!
Read more:
Make your own DIY photography candle!
The best macro lenses
The best tripod for photographers
Get the Digital Camera World Newsletter
The best camera deals, reviews, product advice, and unmissable photography news, direct to your inbox!

Mike is Digital Camera World's How To Editor. He has over a decade of experience, writing for some of the biggest specialist publications including Digital Camera, Digital Photographer and PhotoPlus: The Canon Magazine. Prior to DCW, Mike was Deputy Editor of N-Photo: The Nikon Magazine and Production Editor at Wex Photo Video, where he sharpened his skills in both the stills and videography spheres. While he's an avid motorsport photographer, his skills extend to every genre of photography – making him one of Digital Camera World's top tutors for techniques on cameras, lenses, tripods, filters and other imaging equipment – as well as sharing his expertise on shooting everything from portraits and landscapes to abstracts and architecture to wildlife and, yes, fast things going around race tracks...
