Home photography ideas
• Home photography projects
• Photo projects to try indoors
• Photography tips, tutorials and videos
Useful home photography kit
• Best tripods
• Best lighting kits
• Best reflectors
• Best macro lenses
Originally my inspiration came from my love of formula one, I took a photo of a couple of F1 model cars I had. I really enjoyed the process of trying to make something small in scale look life-size, and to add an element of movement and action was the main goal. After that I had an image in my head of what I would love to do next, and that's where this picture came from.
I built the set from scratch, mainly from balsa wood and plasterboard. It was then painted and weathered. I picked up the figures on eBay for quite cheap, and again these were painted and weathered. This was all a lengthy process, but the more details I added the better the final result became.
After building the set I shot a few test shots on my camera phone, but I wasn't happy with the results so it was a case of trying new setups and positions until I was pleased with what the image would look like. Taking test shots on a phone is a lot quicker than setting up all your gear!
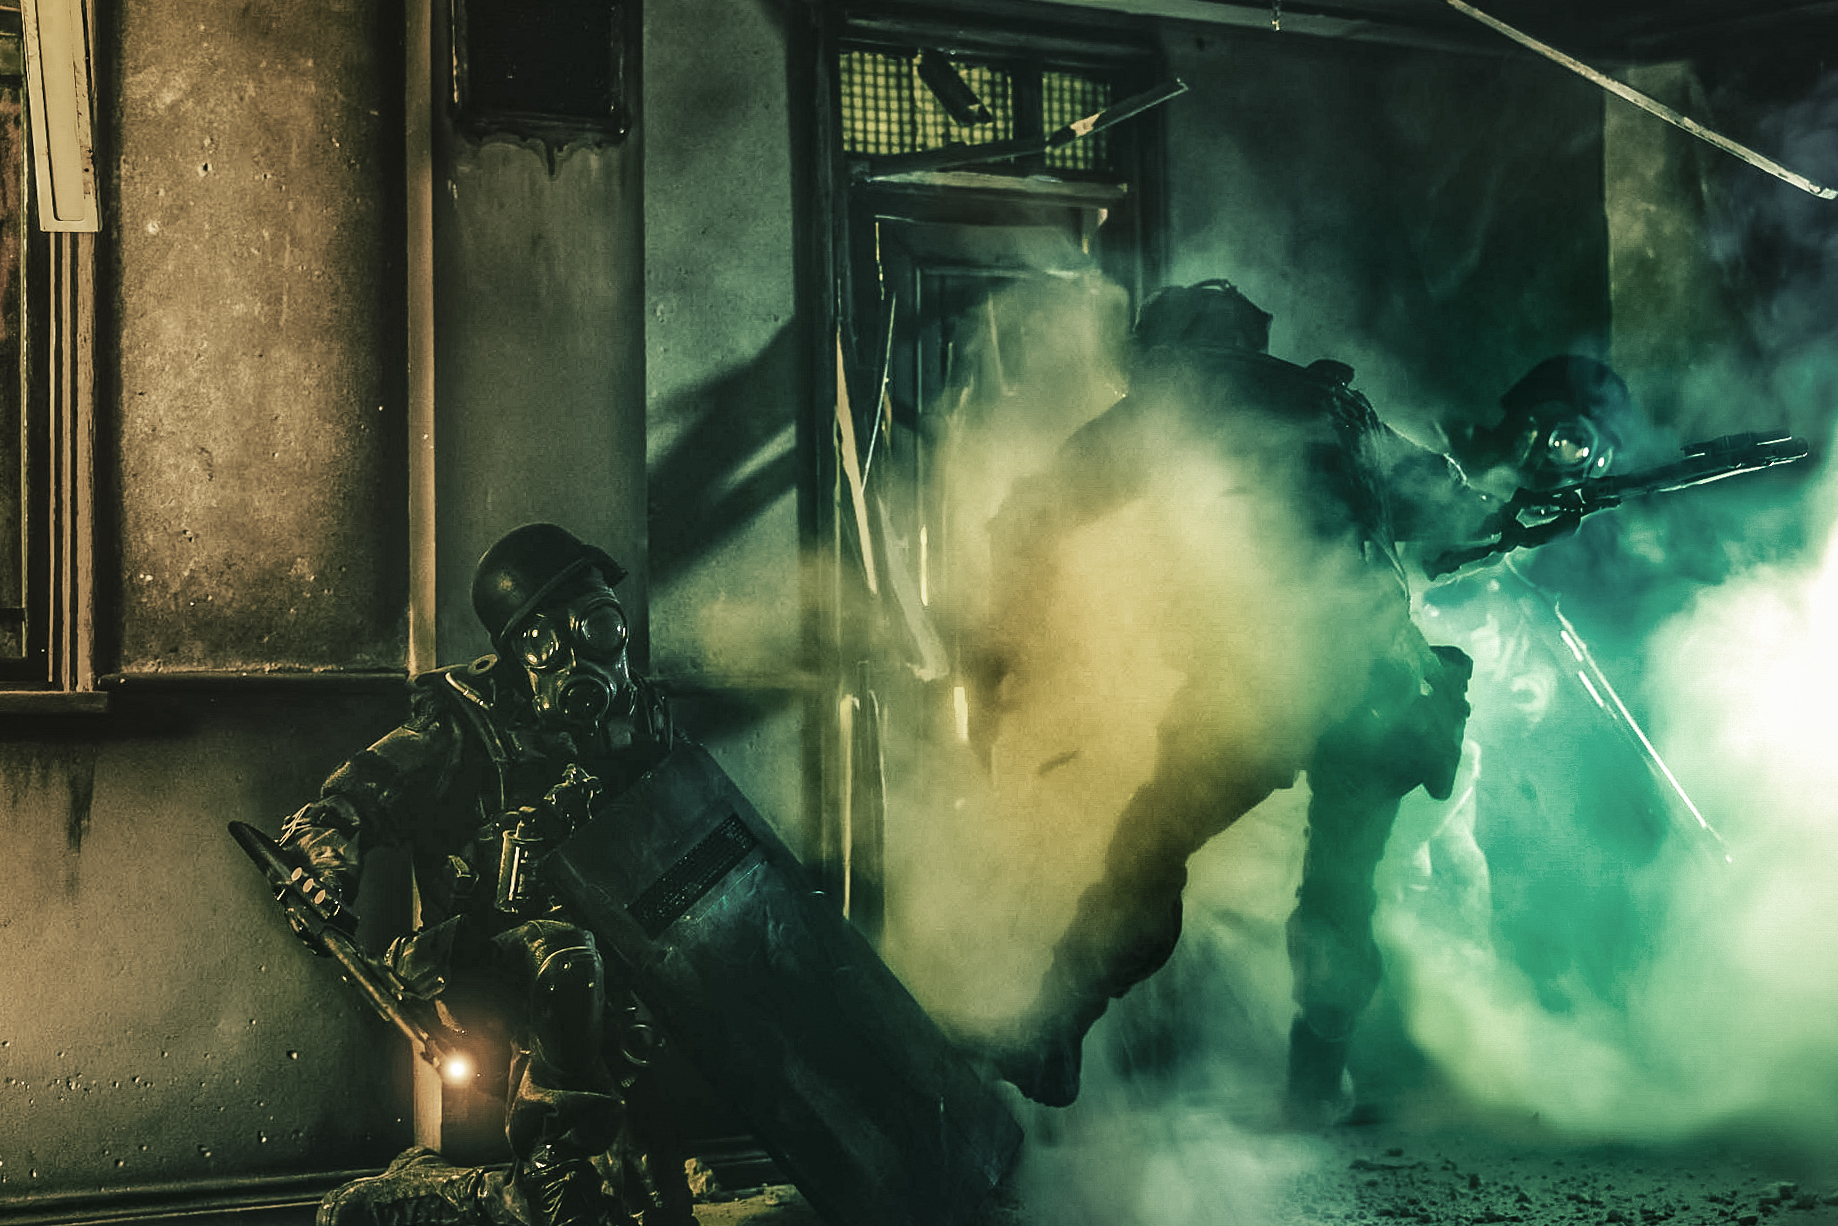
The next challenge was trying to find a camera angle and focal length that gave the model a sense of scale. I found that shooting low down, with an upwards tilt, gave the things some scale, while using a slightly longer focal length pulled the background forward, resulting in a larger looking scene.
The lighting was quite simple: I had an off camera flash diffused with crepe paper for the window, and then the light on a mobile phone for other highlights.
• Read more: Best flashguns
Step-by-step guide to shooting model toys
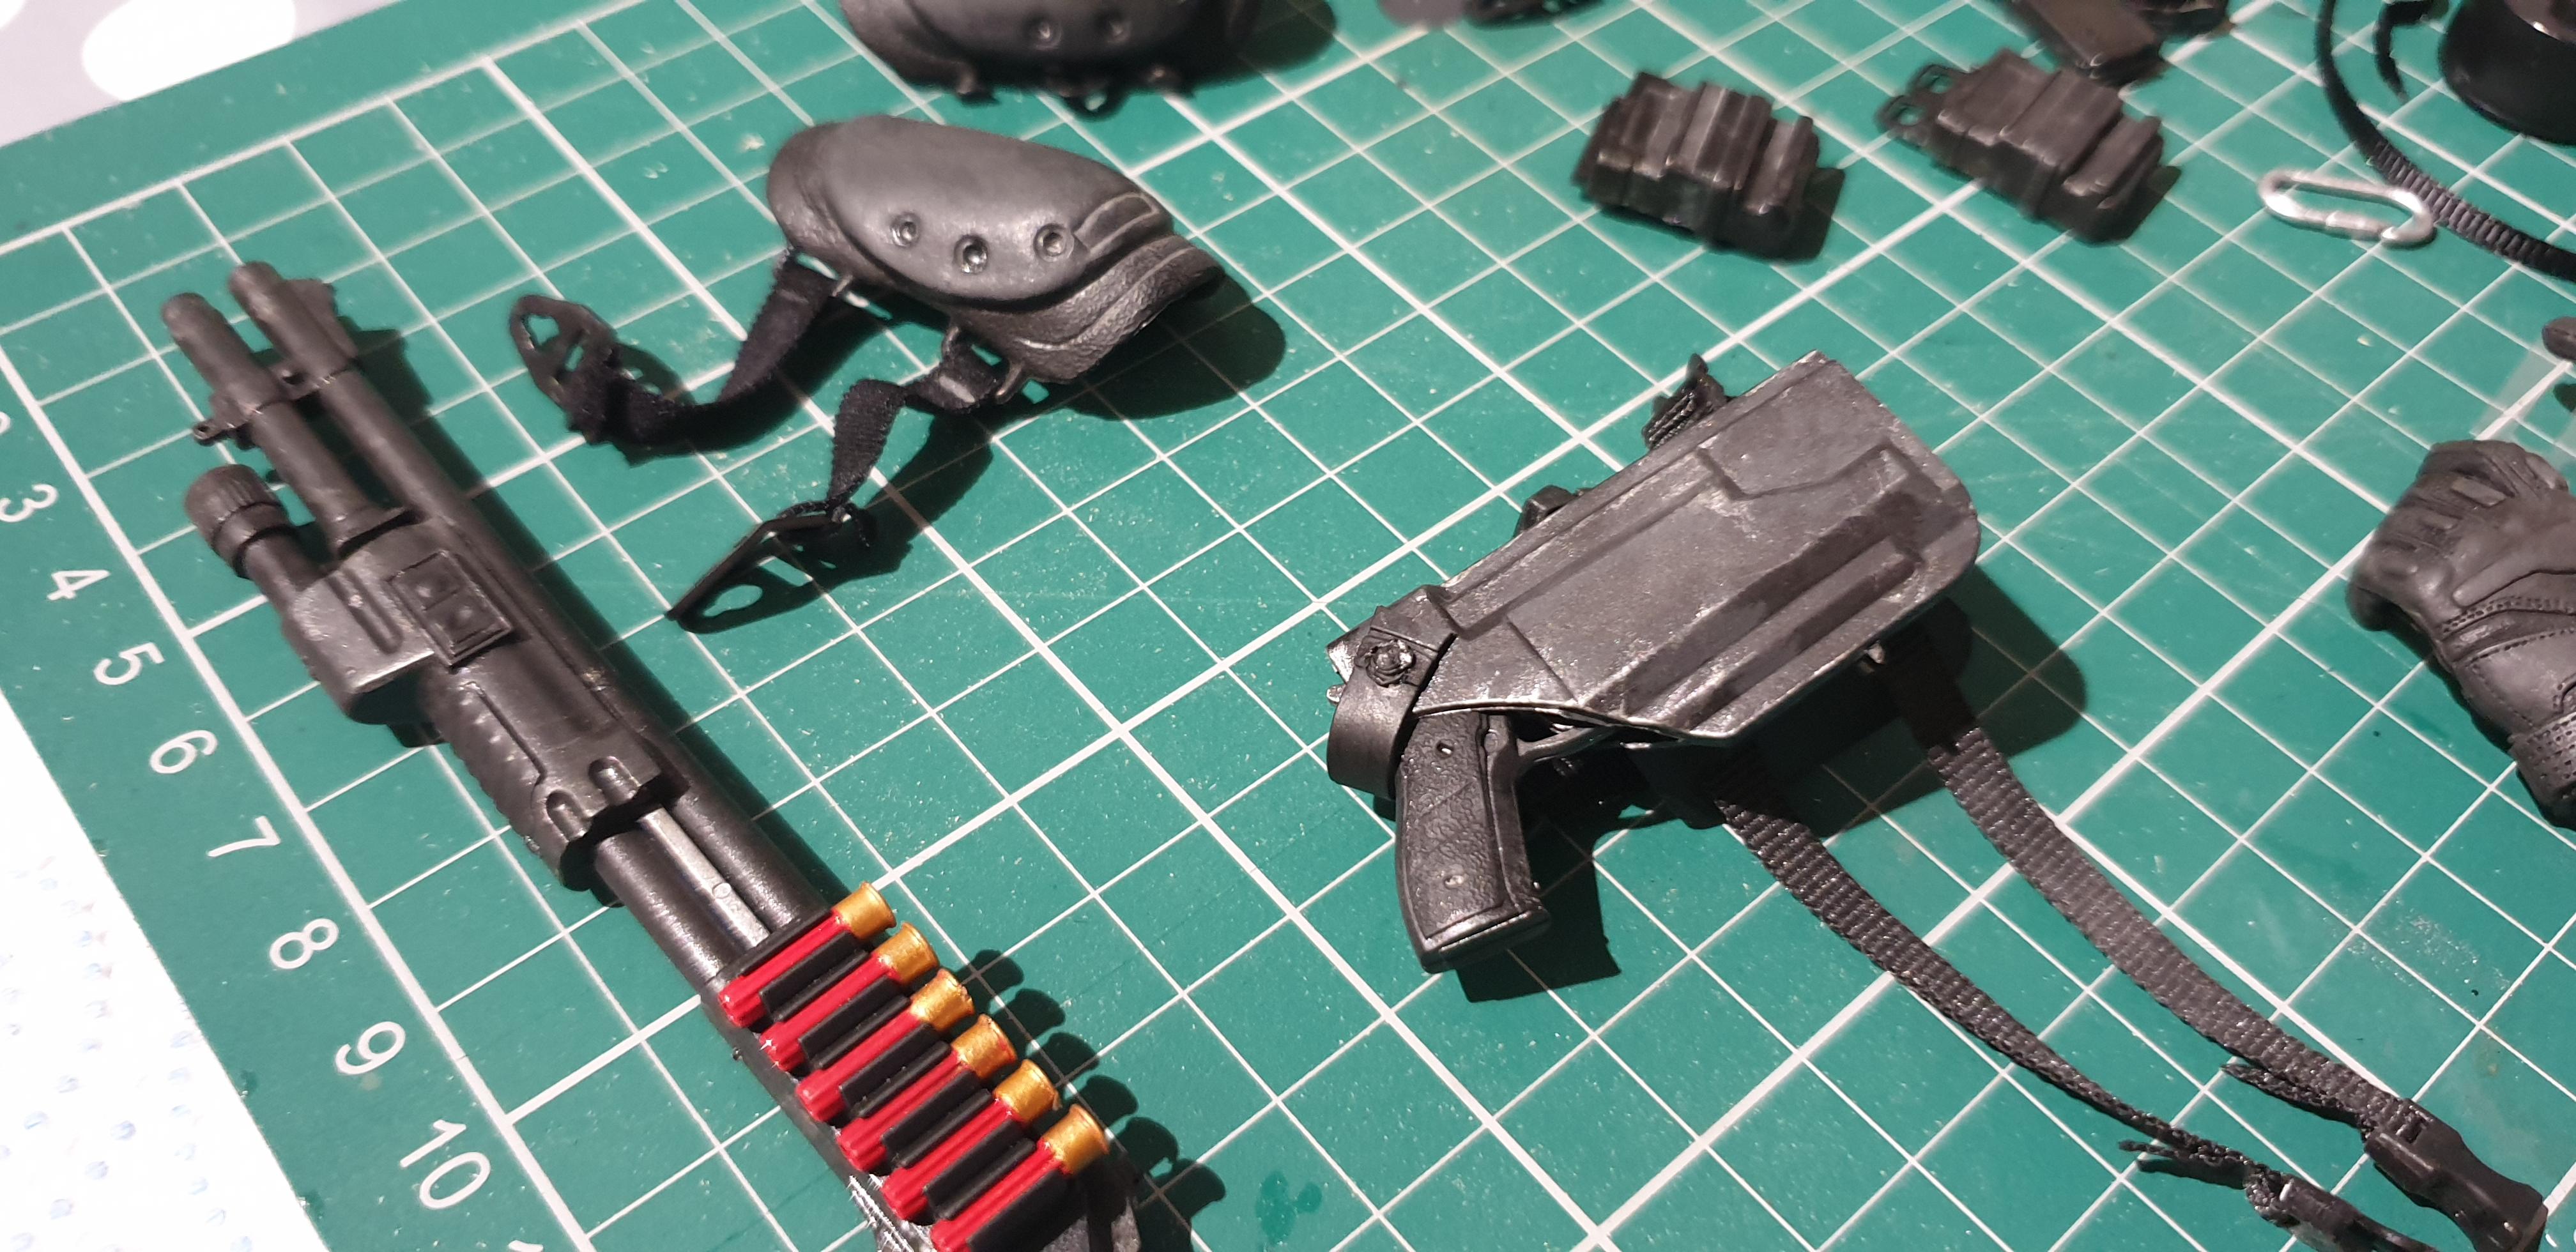
01) Source good props
To keep everything as authentic as possible I try to pick up extra accessories for the models, and then use the same paint and weathering across all the items to tie everything together.
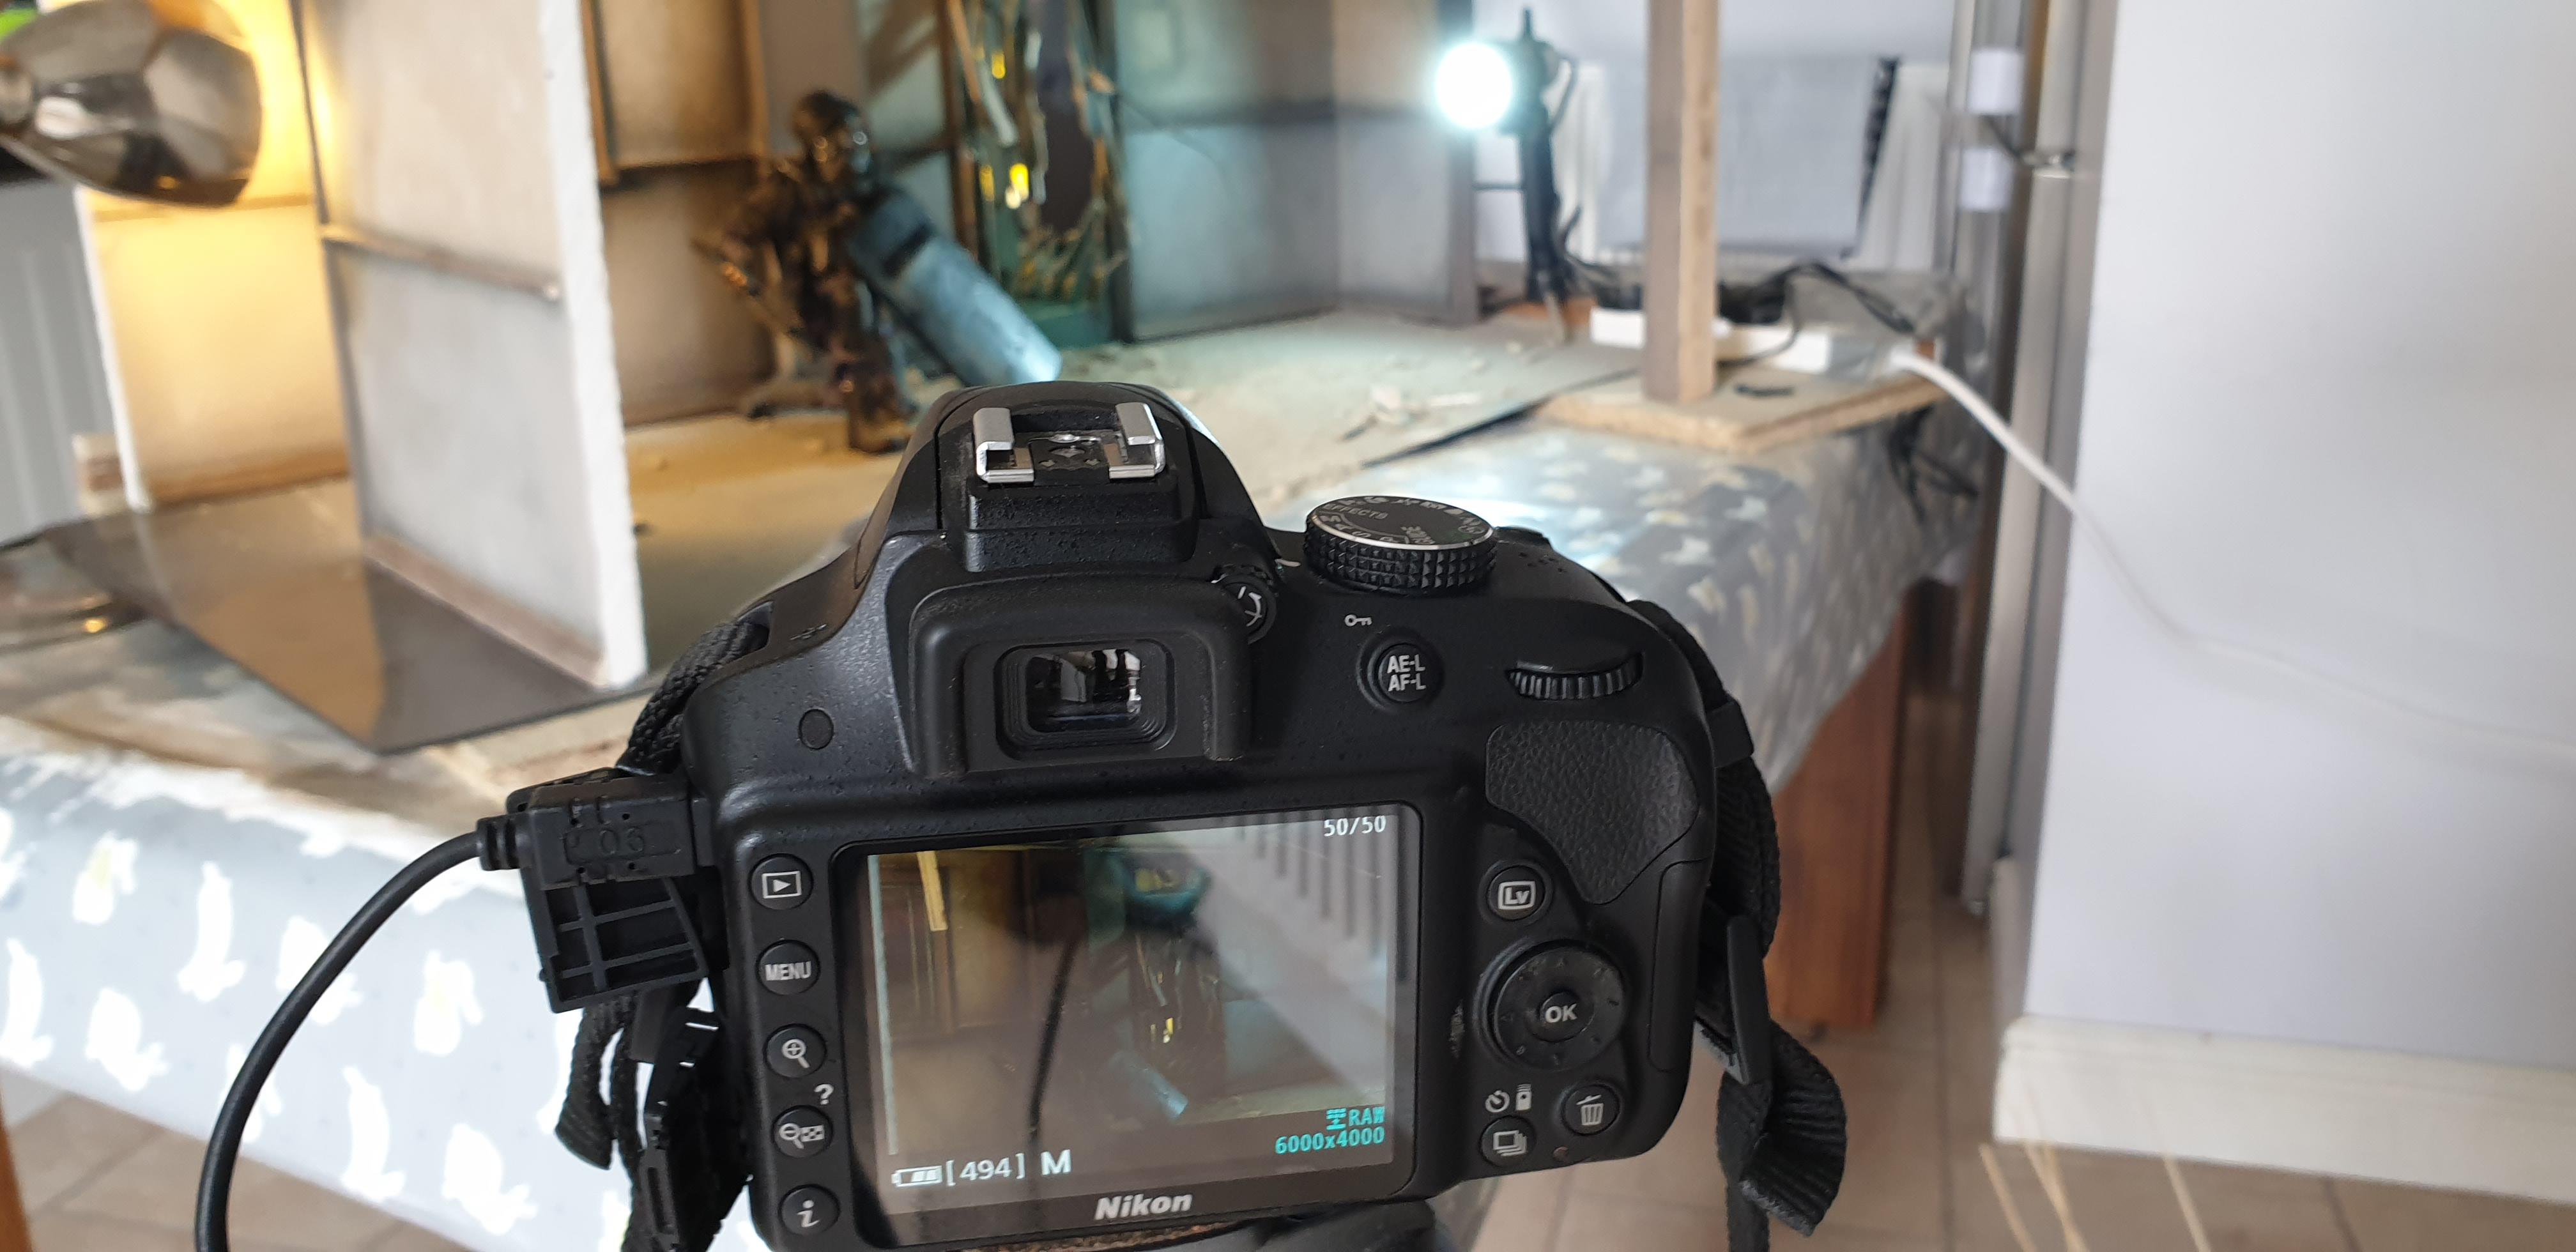
02) Getting set up
You’ll need to shoot on a tripod, as not only will it give you a steady shot but you'll also be able to shoot using a trigger. This enables you to stay near the models and concentrate on moving them around the scene. Try to keep your camera on a level similar to the scene or a touch lower.
• Read more: Best camera remotes
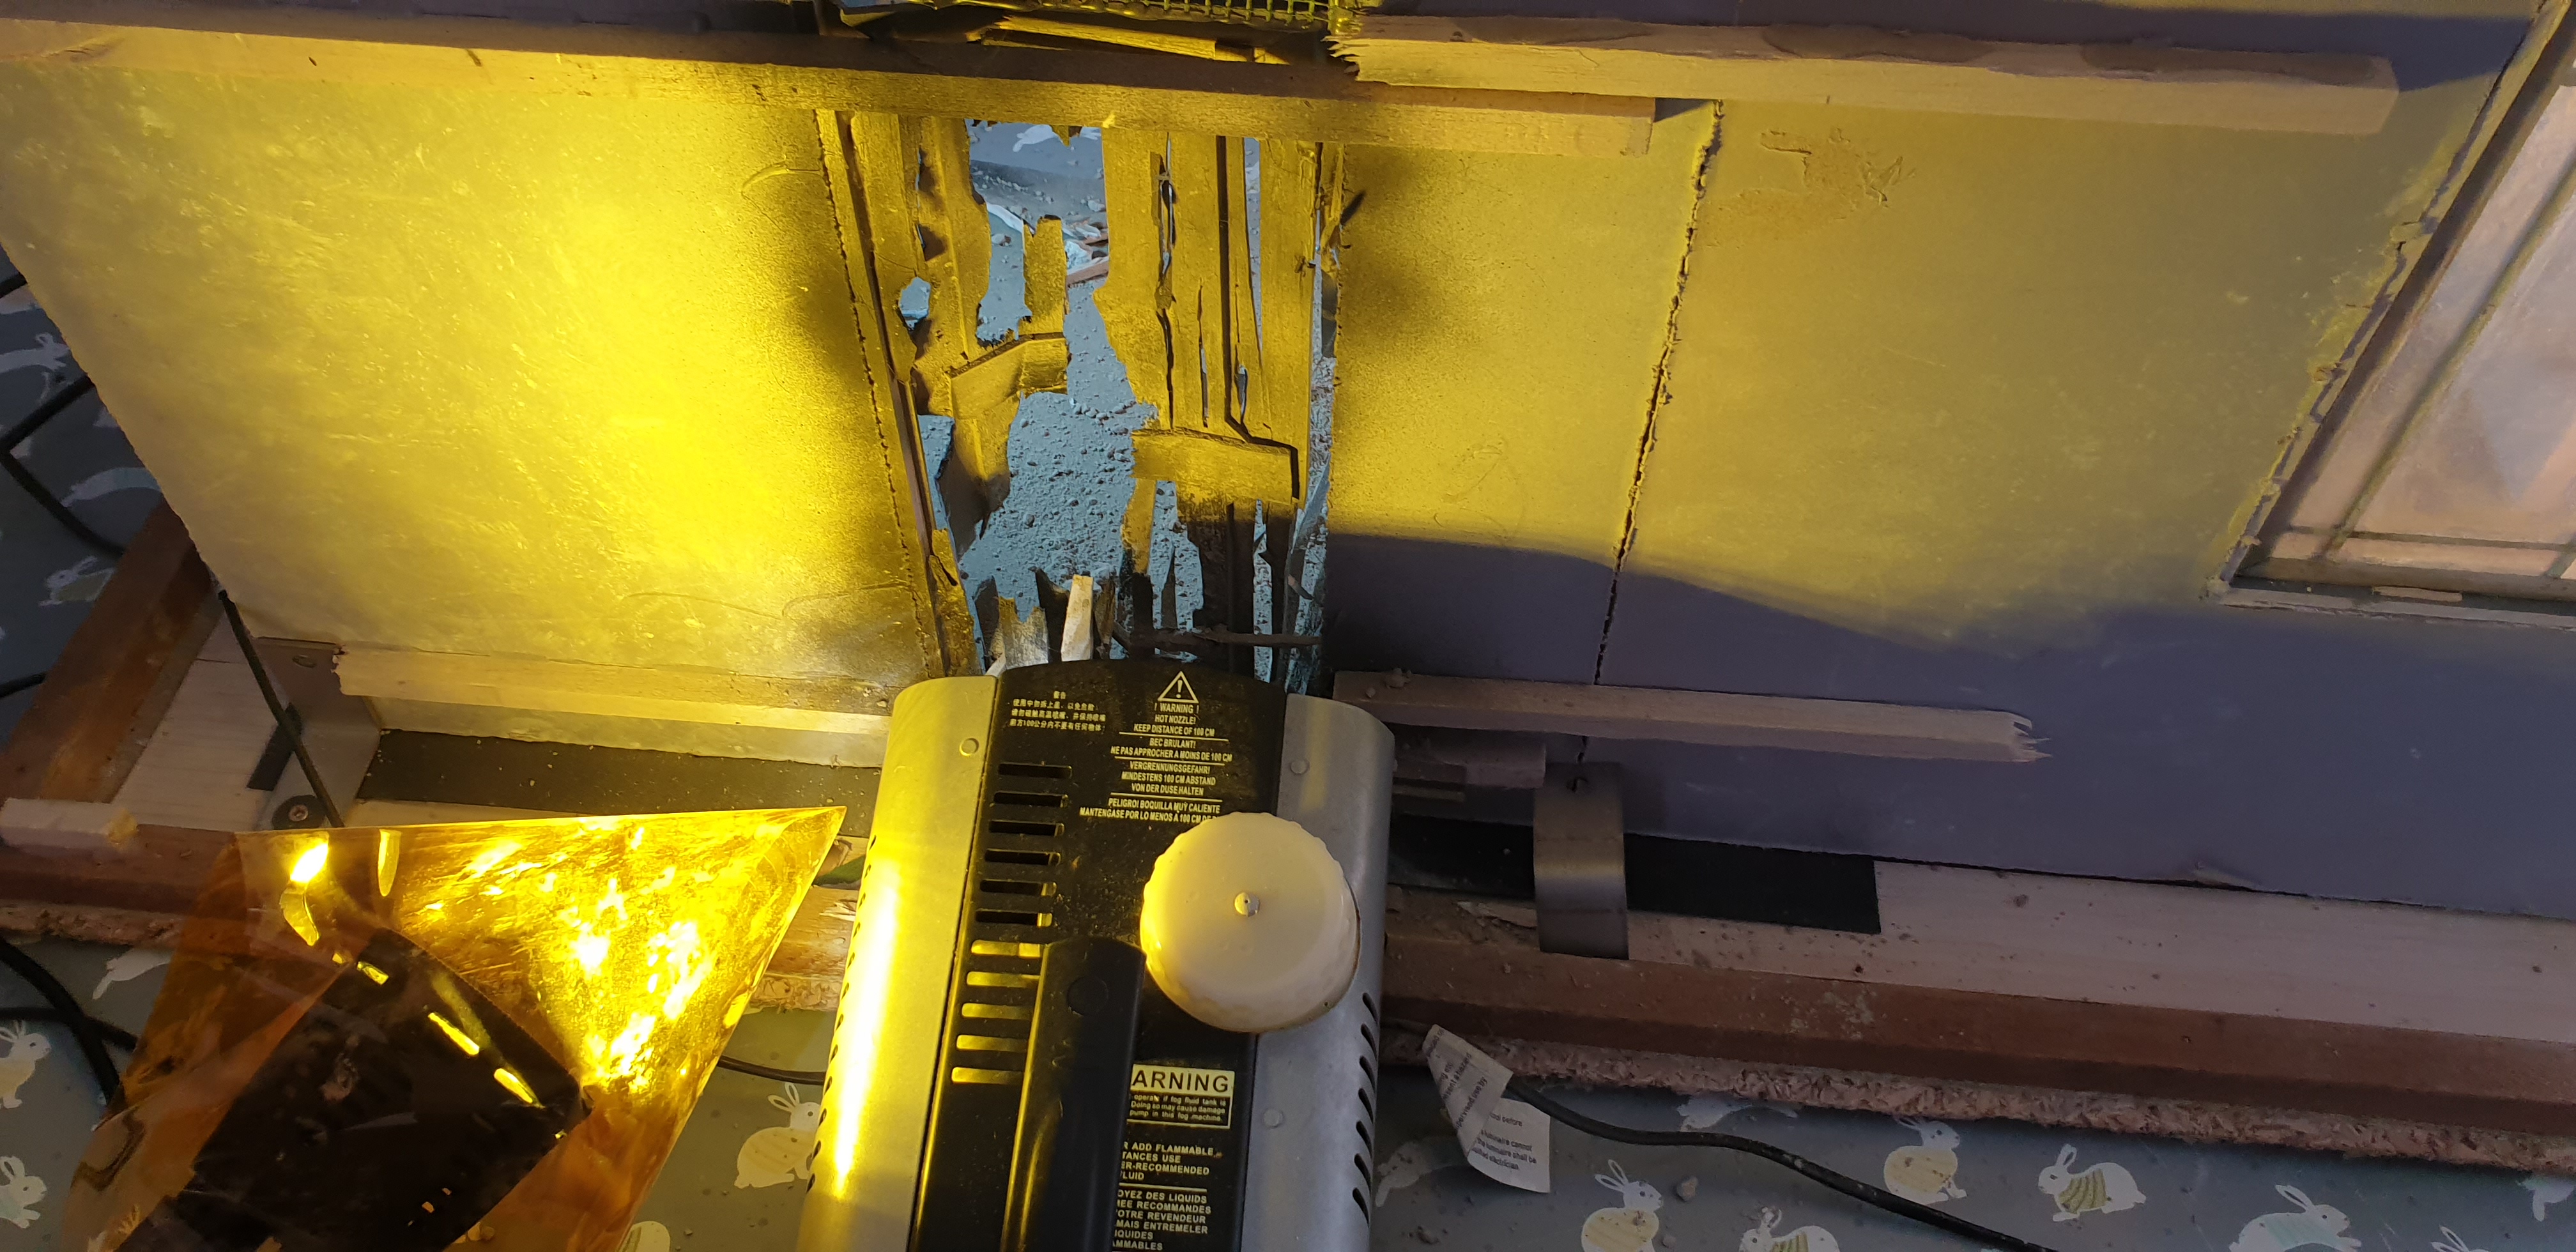
03) Bring in some smoke
For the explosion, a smoke machine was set up behind the broken door. I also had a hand pump that I kept filling with cement dust and ballast to simulate debris. A lesson learned here is to always check your camera settings, as I could have used a faster shutter speed to capture more debris coming through the door.
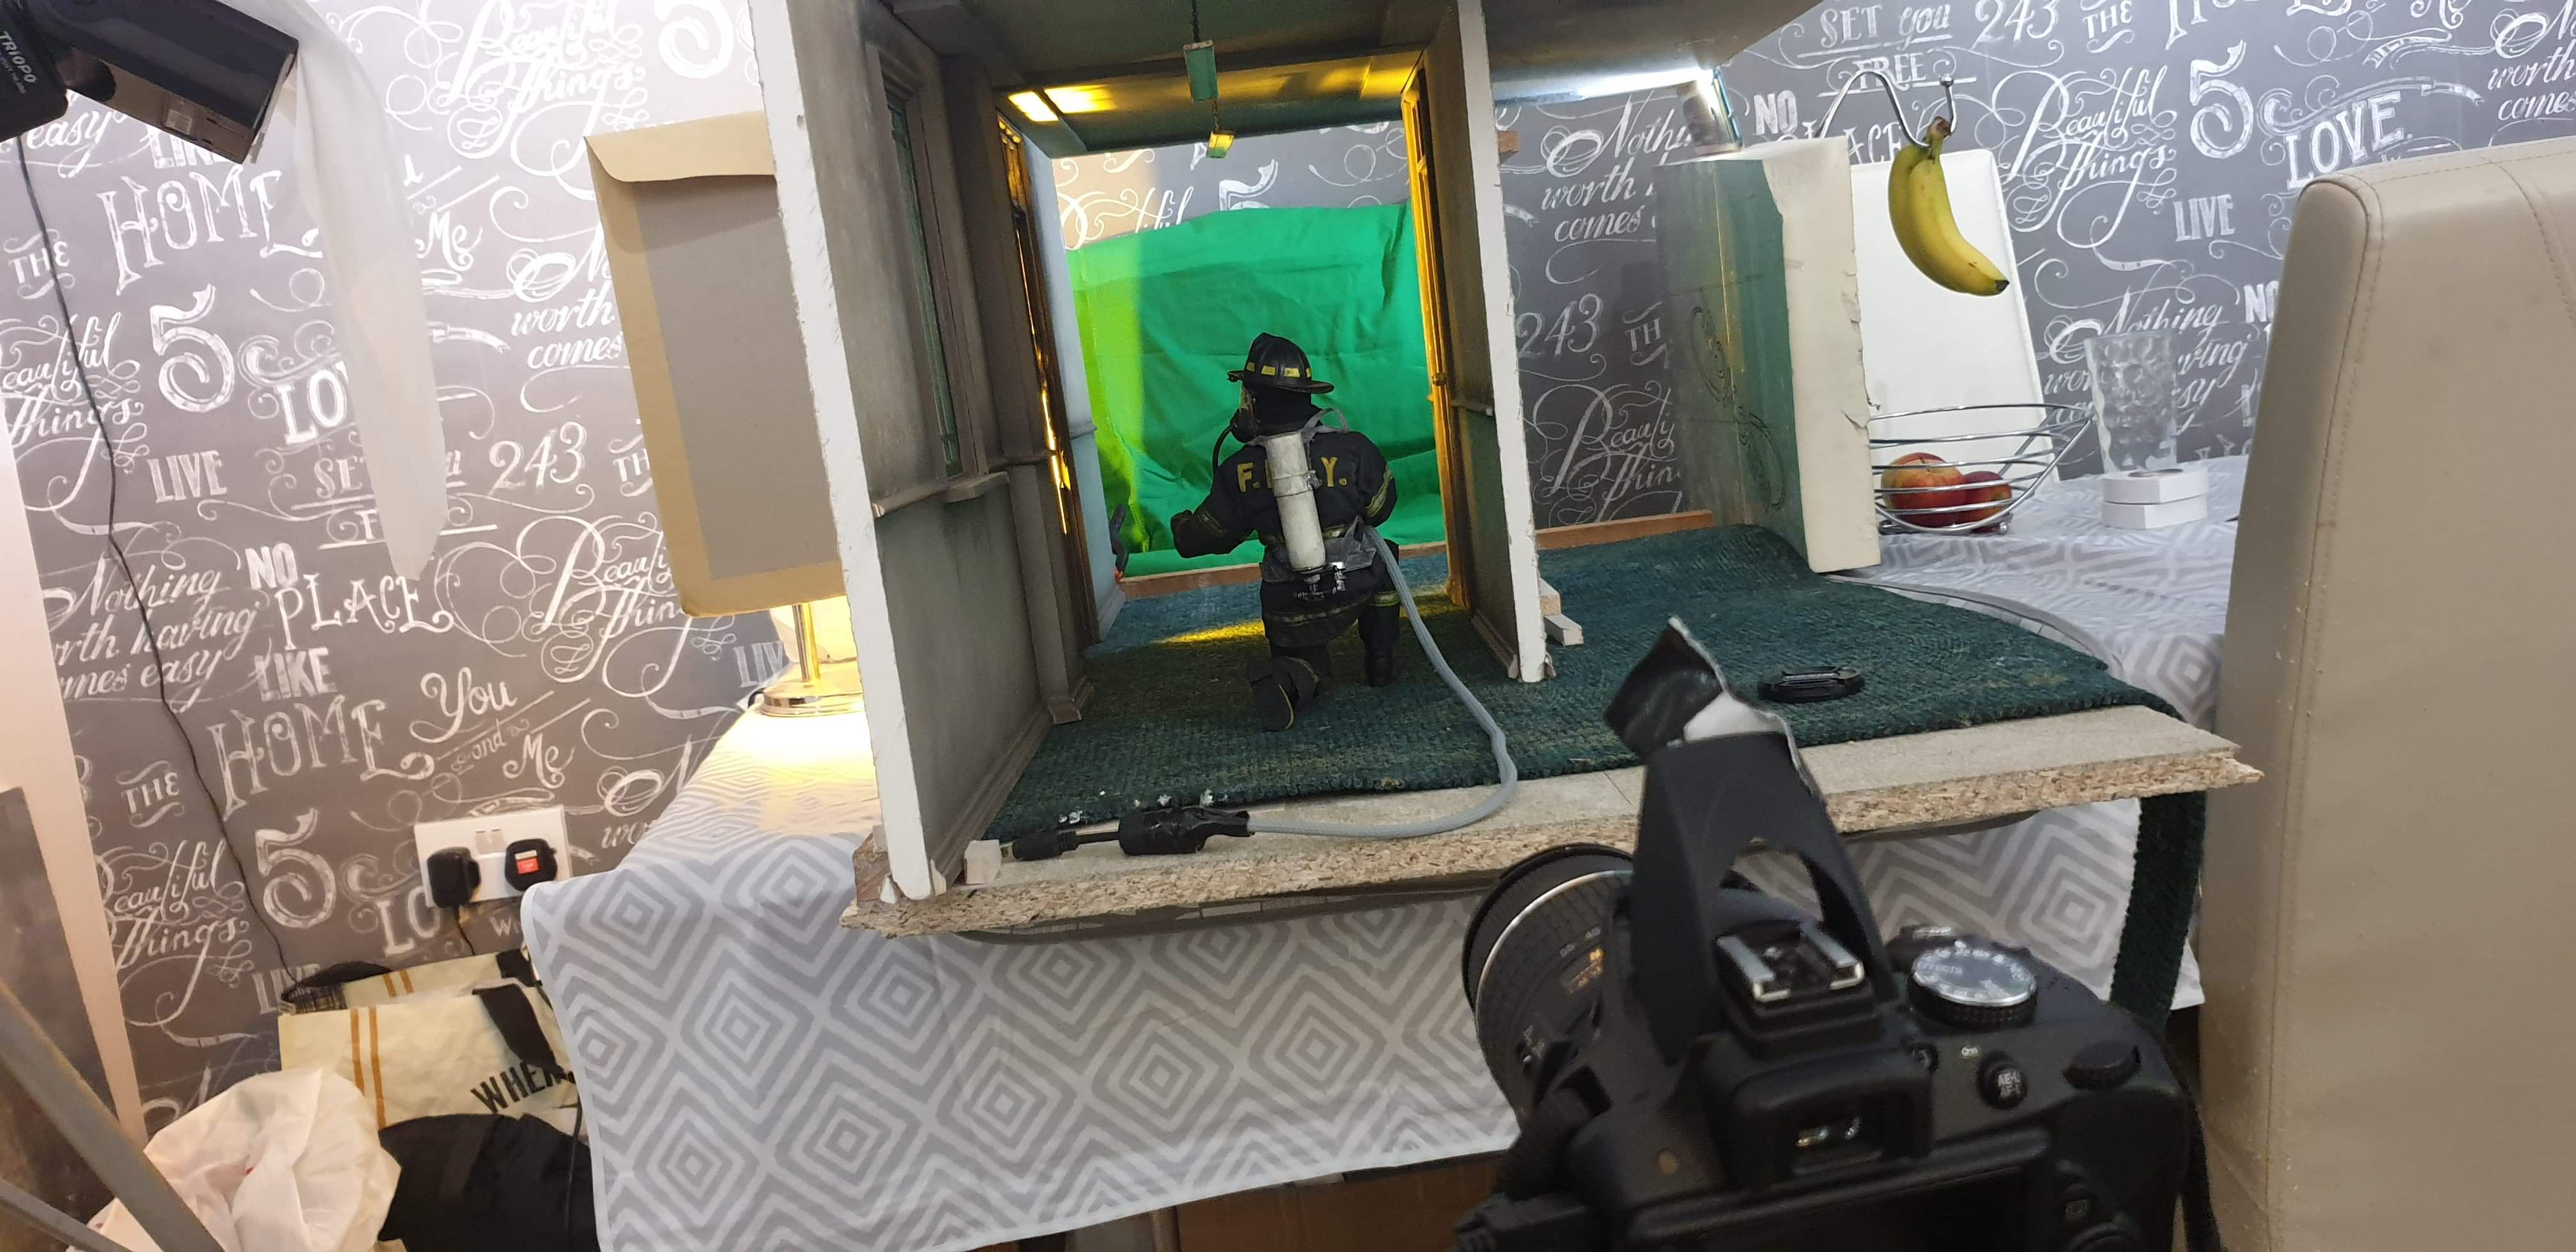
04) Use an off-camera flash
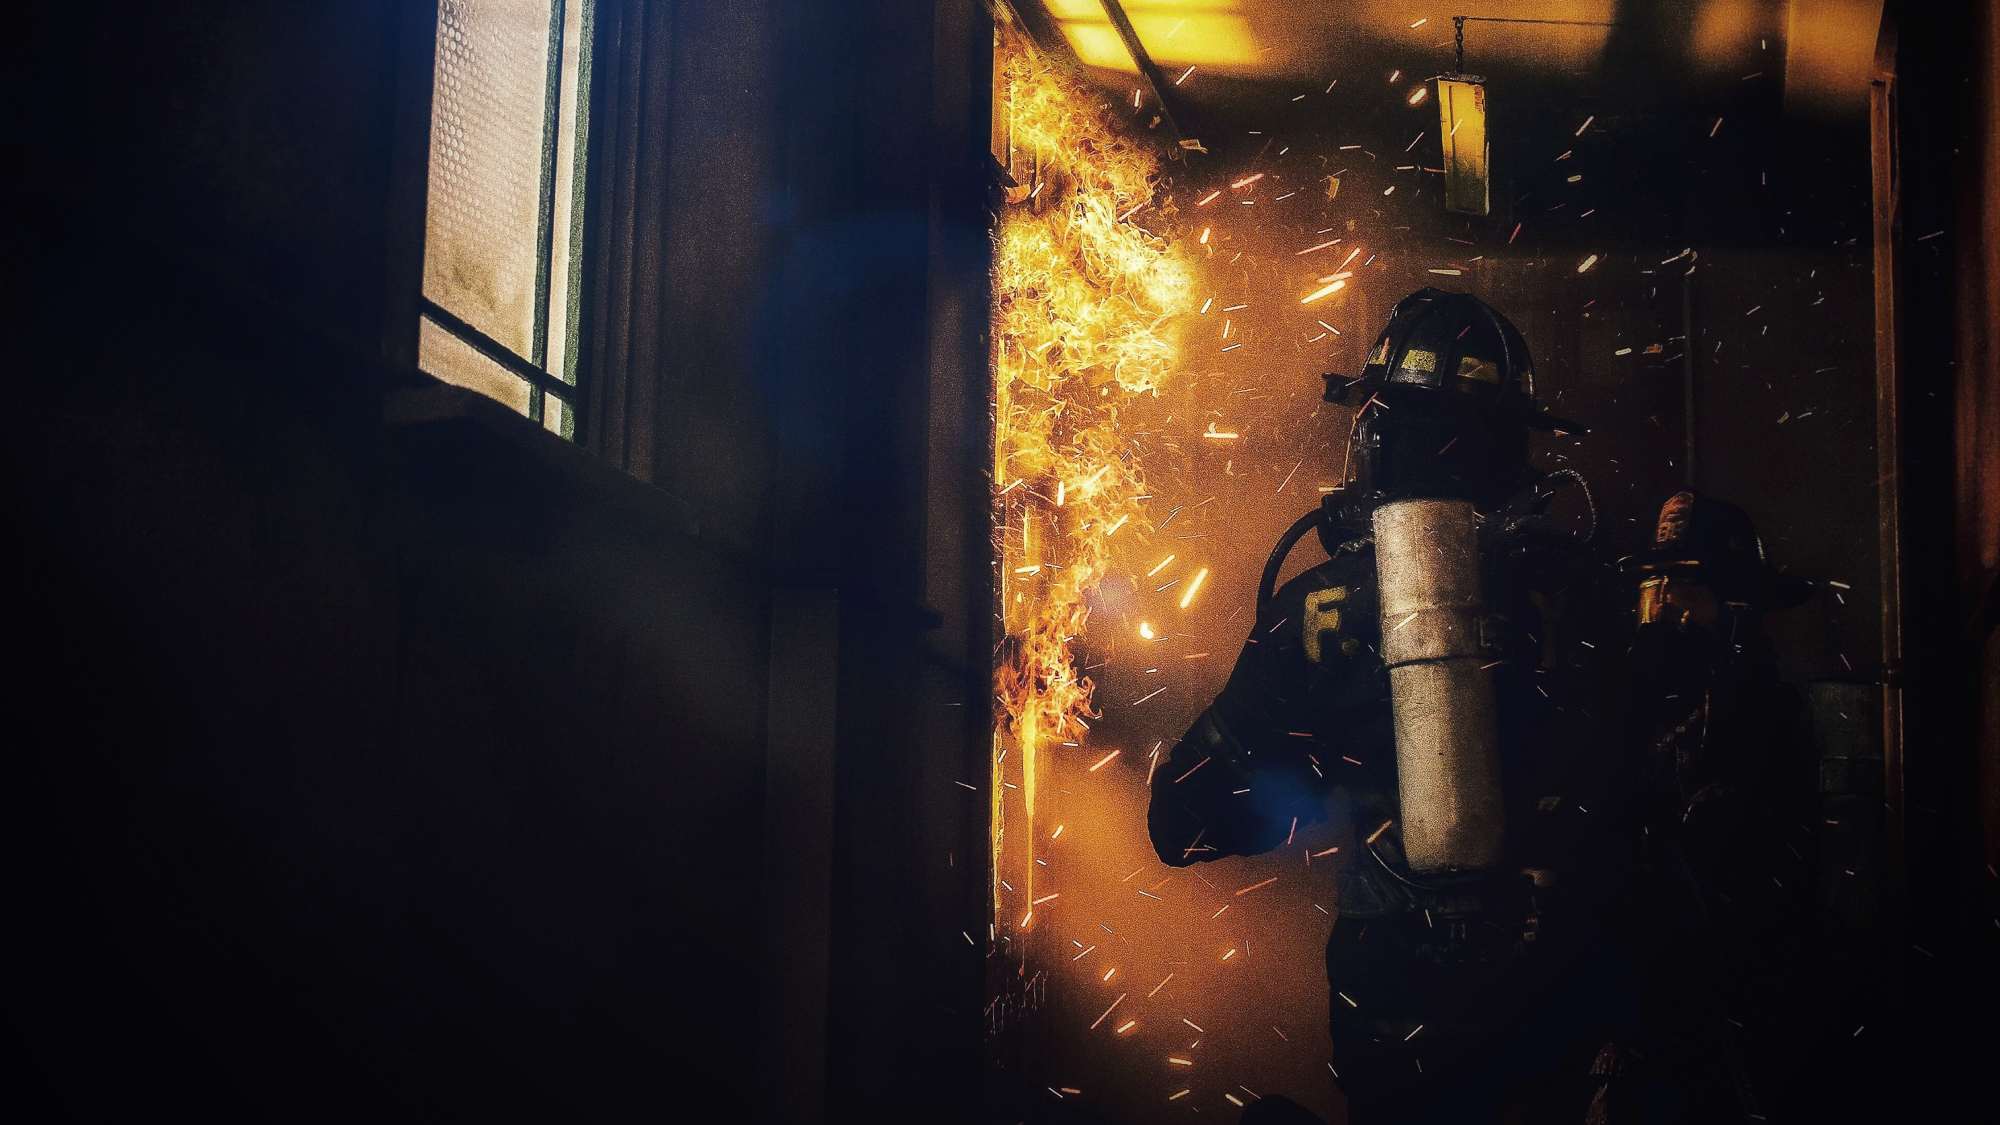
This firefighter image shows a setup using the same set as the SWAT image. Again a smoke machine was used for the practical effect, and the lighting is the same, but I used a diffused flash through the window on the left.
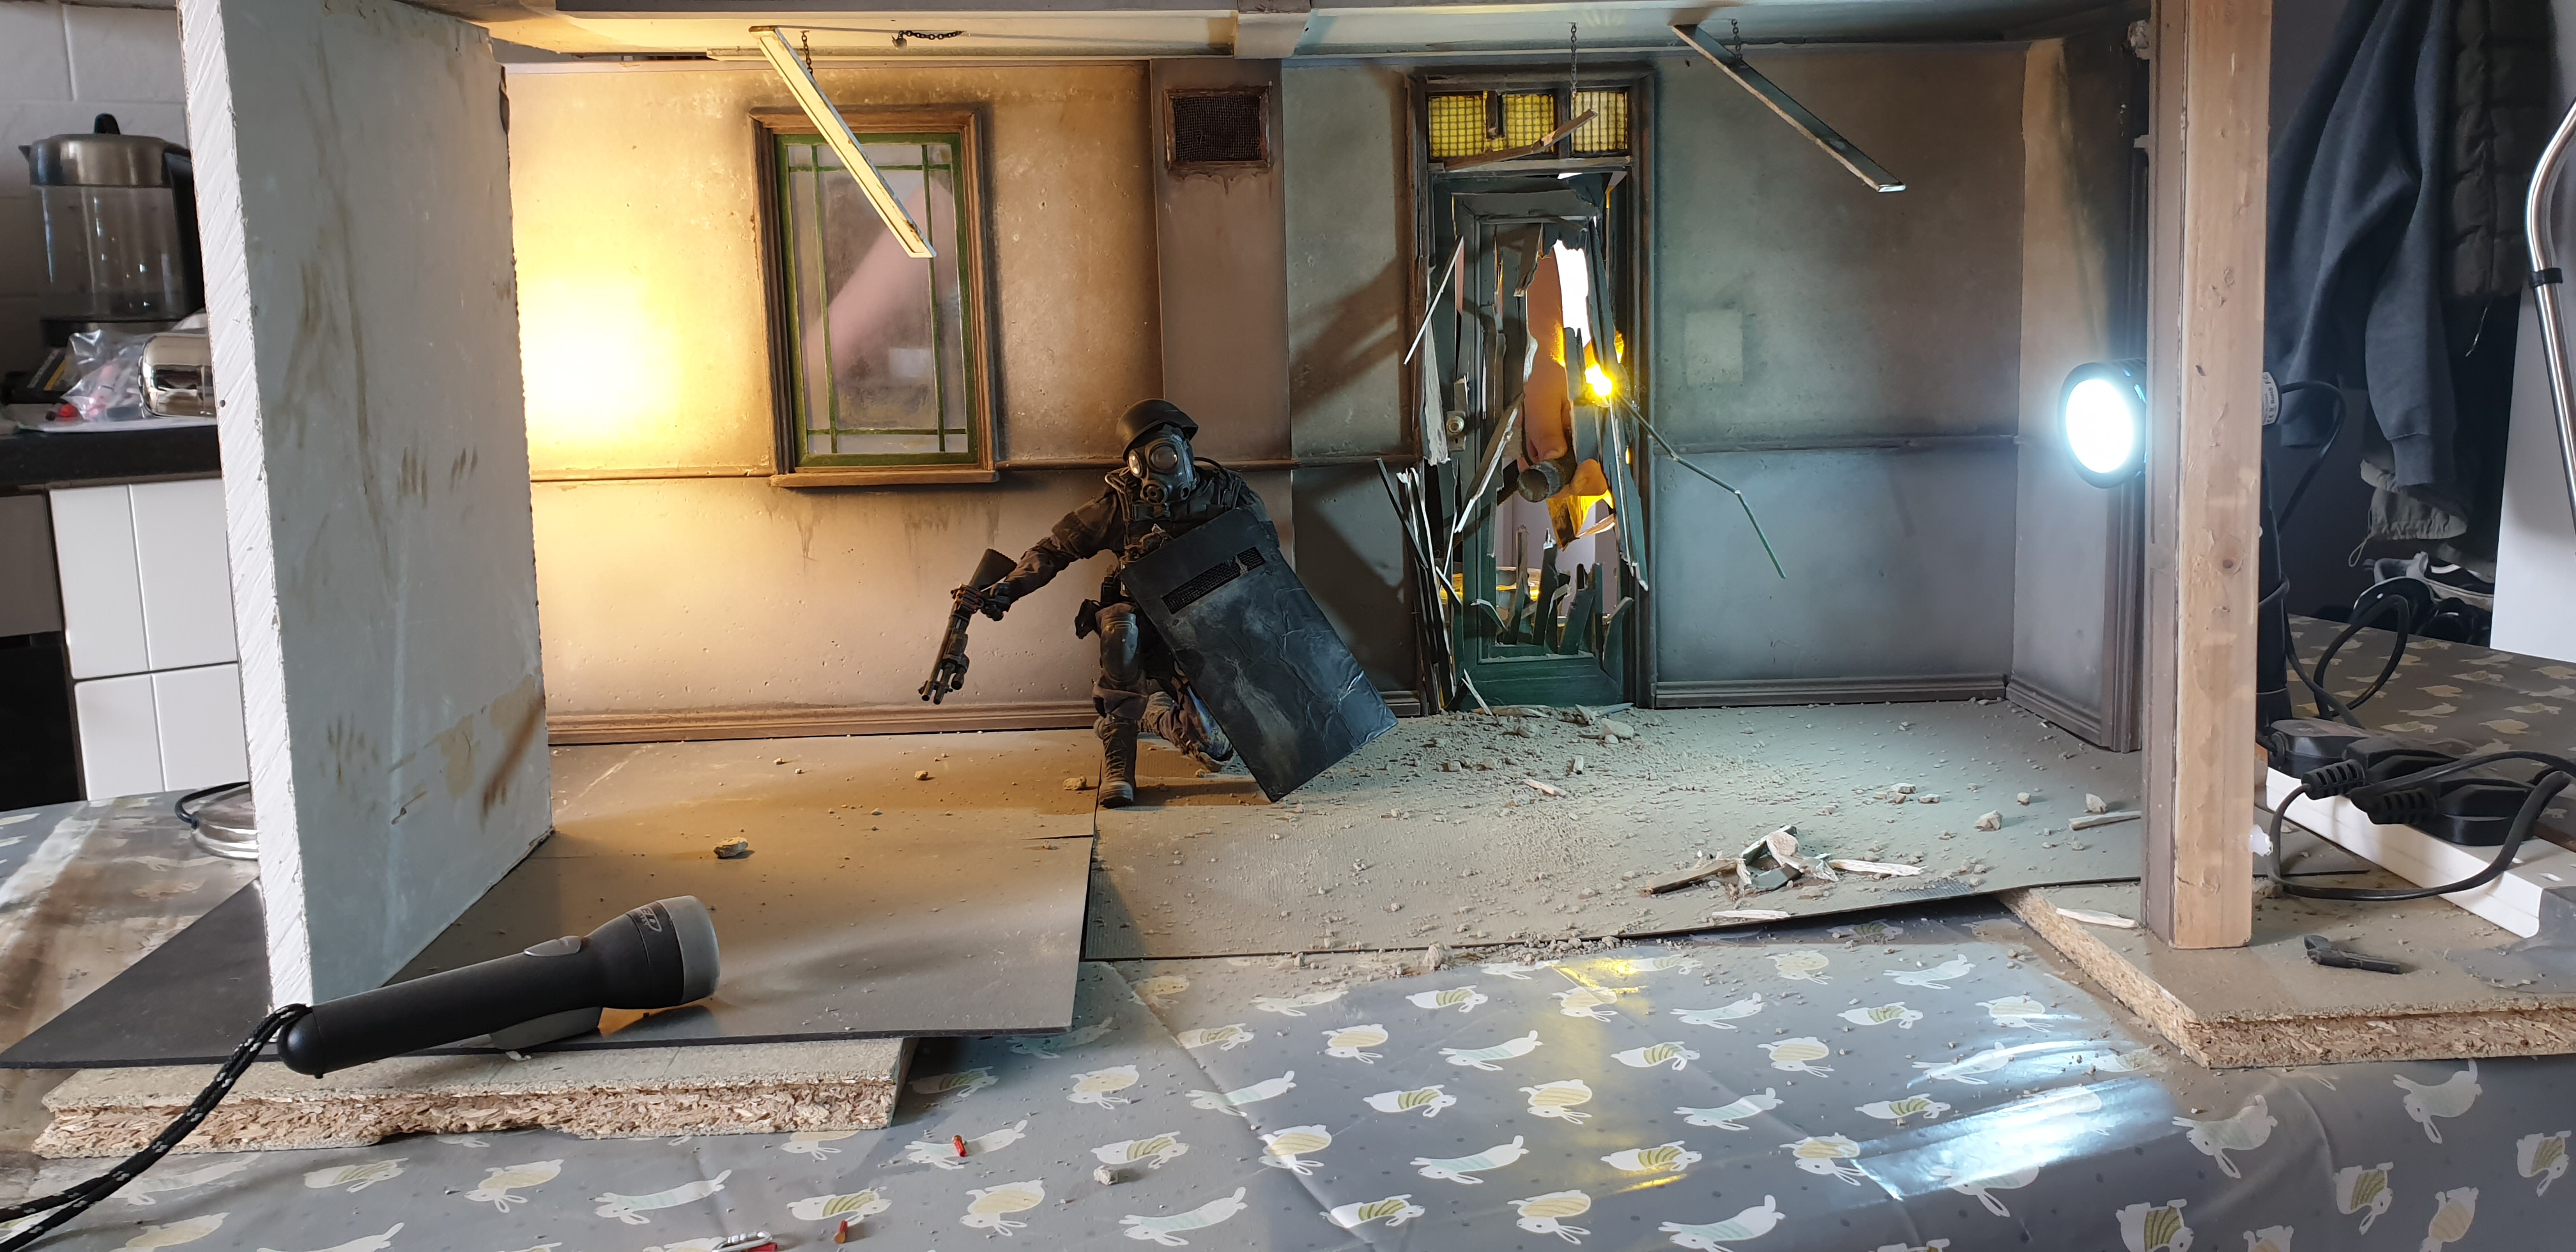
05) Lighting
The lighting consisted of a pair of Neewer table top lights, one with a blue gel attached to give a brilliant teal glow. The other was placed behind the broken door with an orange gel to replicate the explosion flare. And for a little extra light, a handheld torch was placed out of frame in front of the figure.
Read more:
Get the Digital Camera World Newsletter
The best camera deals, reviews, product advice, and unmissable photography news, direct to your inbox!
Digital Camera World is one of the leading authorities on camera and photography news, reviews, techniques, tutorials, comparisons, deals and industry analysis. The site doesn't just specialize in cameras, but all aspects of photography, videography and imaging – including camera phones, gimbals, lenses, lighting, editing software, filters, tripods, laptops, printers, photo books, desks, binoculars and more.
Whether you're using, looking to buy or trying to get the most out of a compact camera, action camera, camera drone, cinema camera, beginner camera or professional camera, Digital Camera World has a roster of experts with combined experience of over 100 years when it comes to cameras, photography and imaging.

