How to shoot nightscapes: camera gear and exposure settings
Stepping into the dark can be daunting, but it’s easier than you think to shoot nightscapes with the right settings and camera gear
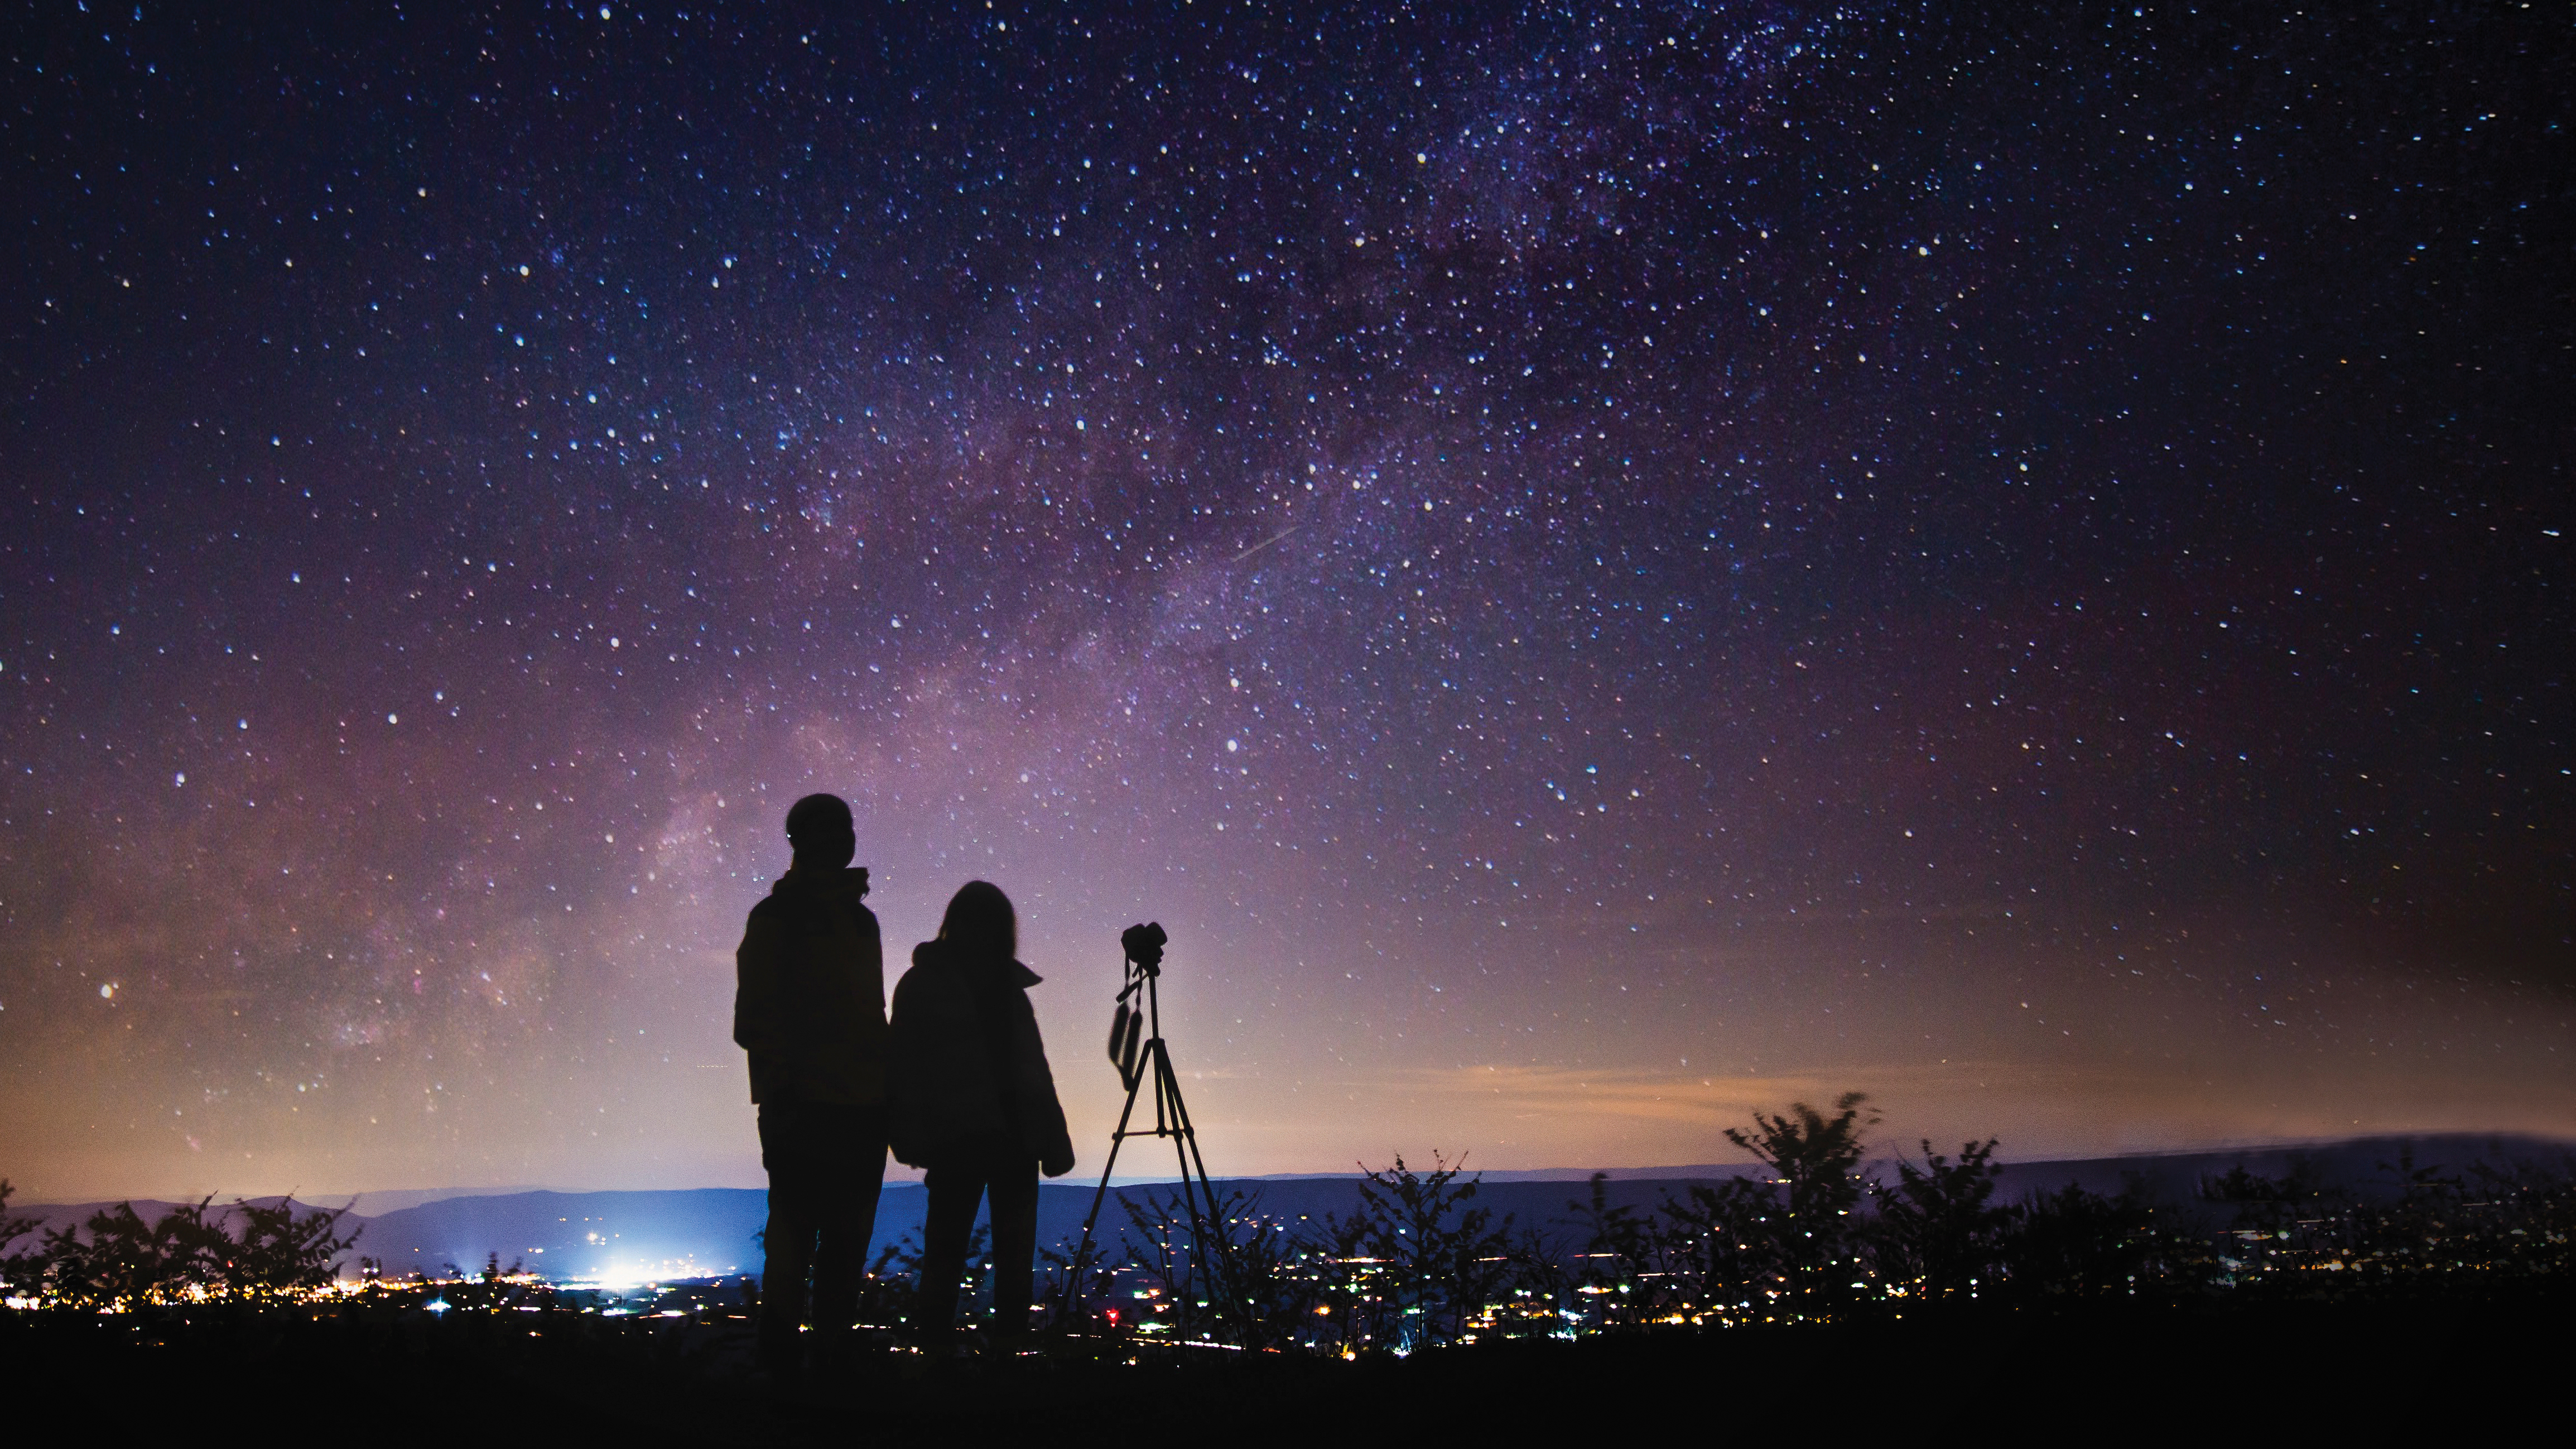
Experienced nightscape photographers seek out ultra-dark places away from civilization and only work under moonless skies. However, there is no need to wait for such a privileged situation to get started. For now, your back garden will do nicely, as the two most important things you need to learn are the camera settings required and how to operate your camera in total darkness.
Nightscape photography is the art of collecting limited light, and while having the best low-light cameras can help when shooting at night, they won't guarantee good results. Like any photography, that will come from balancing aperture (how much light reaches the image sensor), ISO (the light sensitivity of the imaging sensor) and shutter speed (how long the image sensor is exposed to light).
First, switch off all the lights at the back of your house; if there’s even a tiny light, your camera will find it during a long exposure. With your camera on a tripod, switch to MF (manual focus) on your lens and turn the focus dial to infinity (the ∞ symbol). In Manual mode on your camera, switch the white balance to tungsten and set the aperture to as wide open as the lens goes, maybe f/4.5 on a kit lens or f/2.8 on a wide-angle lens.
Set the ISO to 800, line up a shot that includes some of the night sky, and open the shutter. Your choice of lens will limit how long you can have the shutter open before stars begin to noticeably blur (after all, Earth is rotating at around 1,600kph). A 24mm lens can be open for around 20 seconds, and anything wider up to 25 seconds. Too dark? Increase the ISO to 1600 or 3200. Now too bright? Reduce the exposure time to 20 seconds.
Experiment, but before you do too much you need to check the focus because the infinity point on a lens isn’t always accurate. On the camera’s LCD, zoom in on a star in one of your photos and check how sharp it is. Experiment with the focus dial, and a few laborious test shots later you should have it (mark it on your lens with a sticker so you can go straight back to it next time).
With all that done you can concentrate on what’s really important; composition. Stars alone will not produce an eye-catching photograph, and the ‘rule of thirds’ applies; always put something interesting in the foreground, ideally around ten meters away.
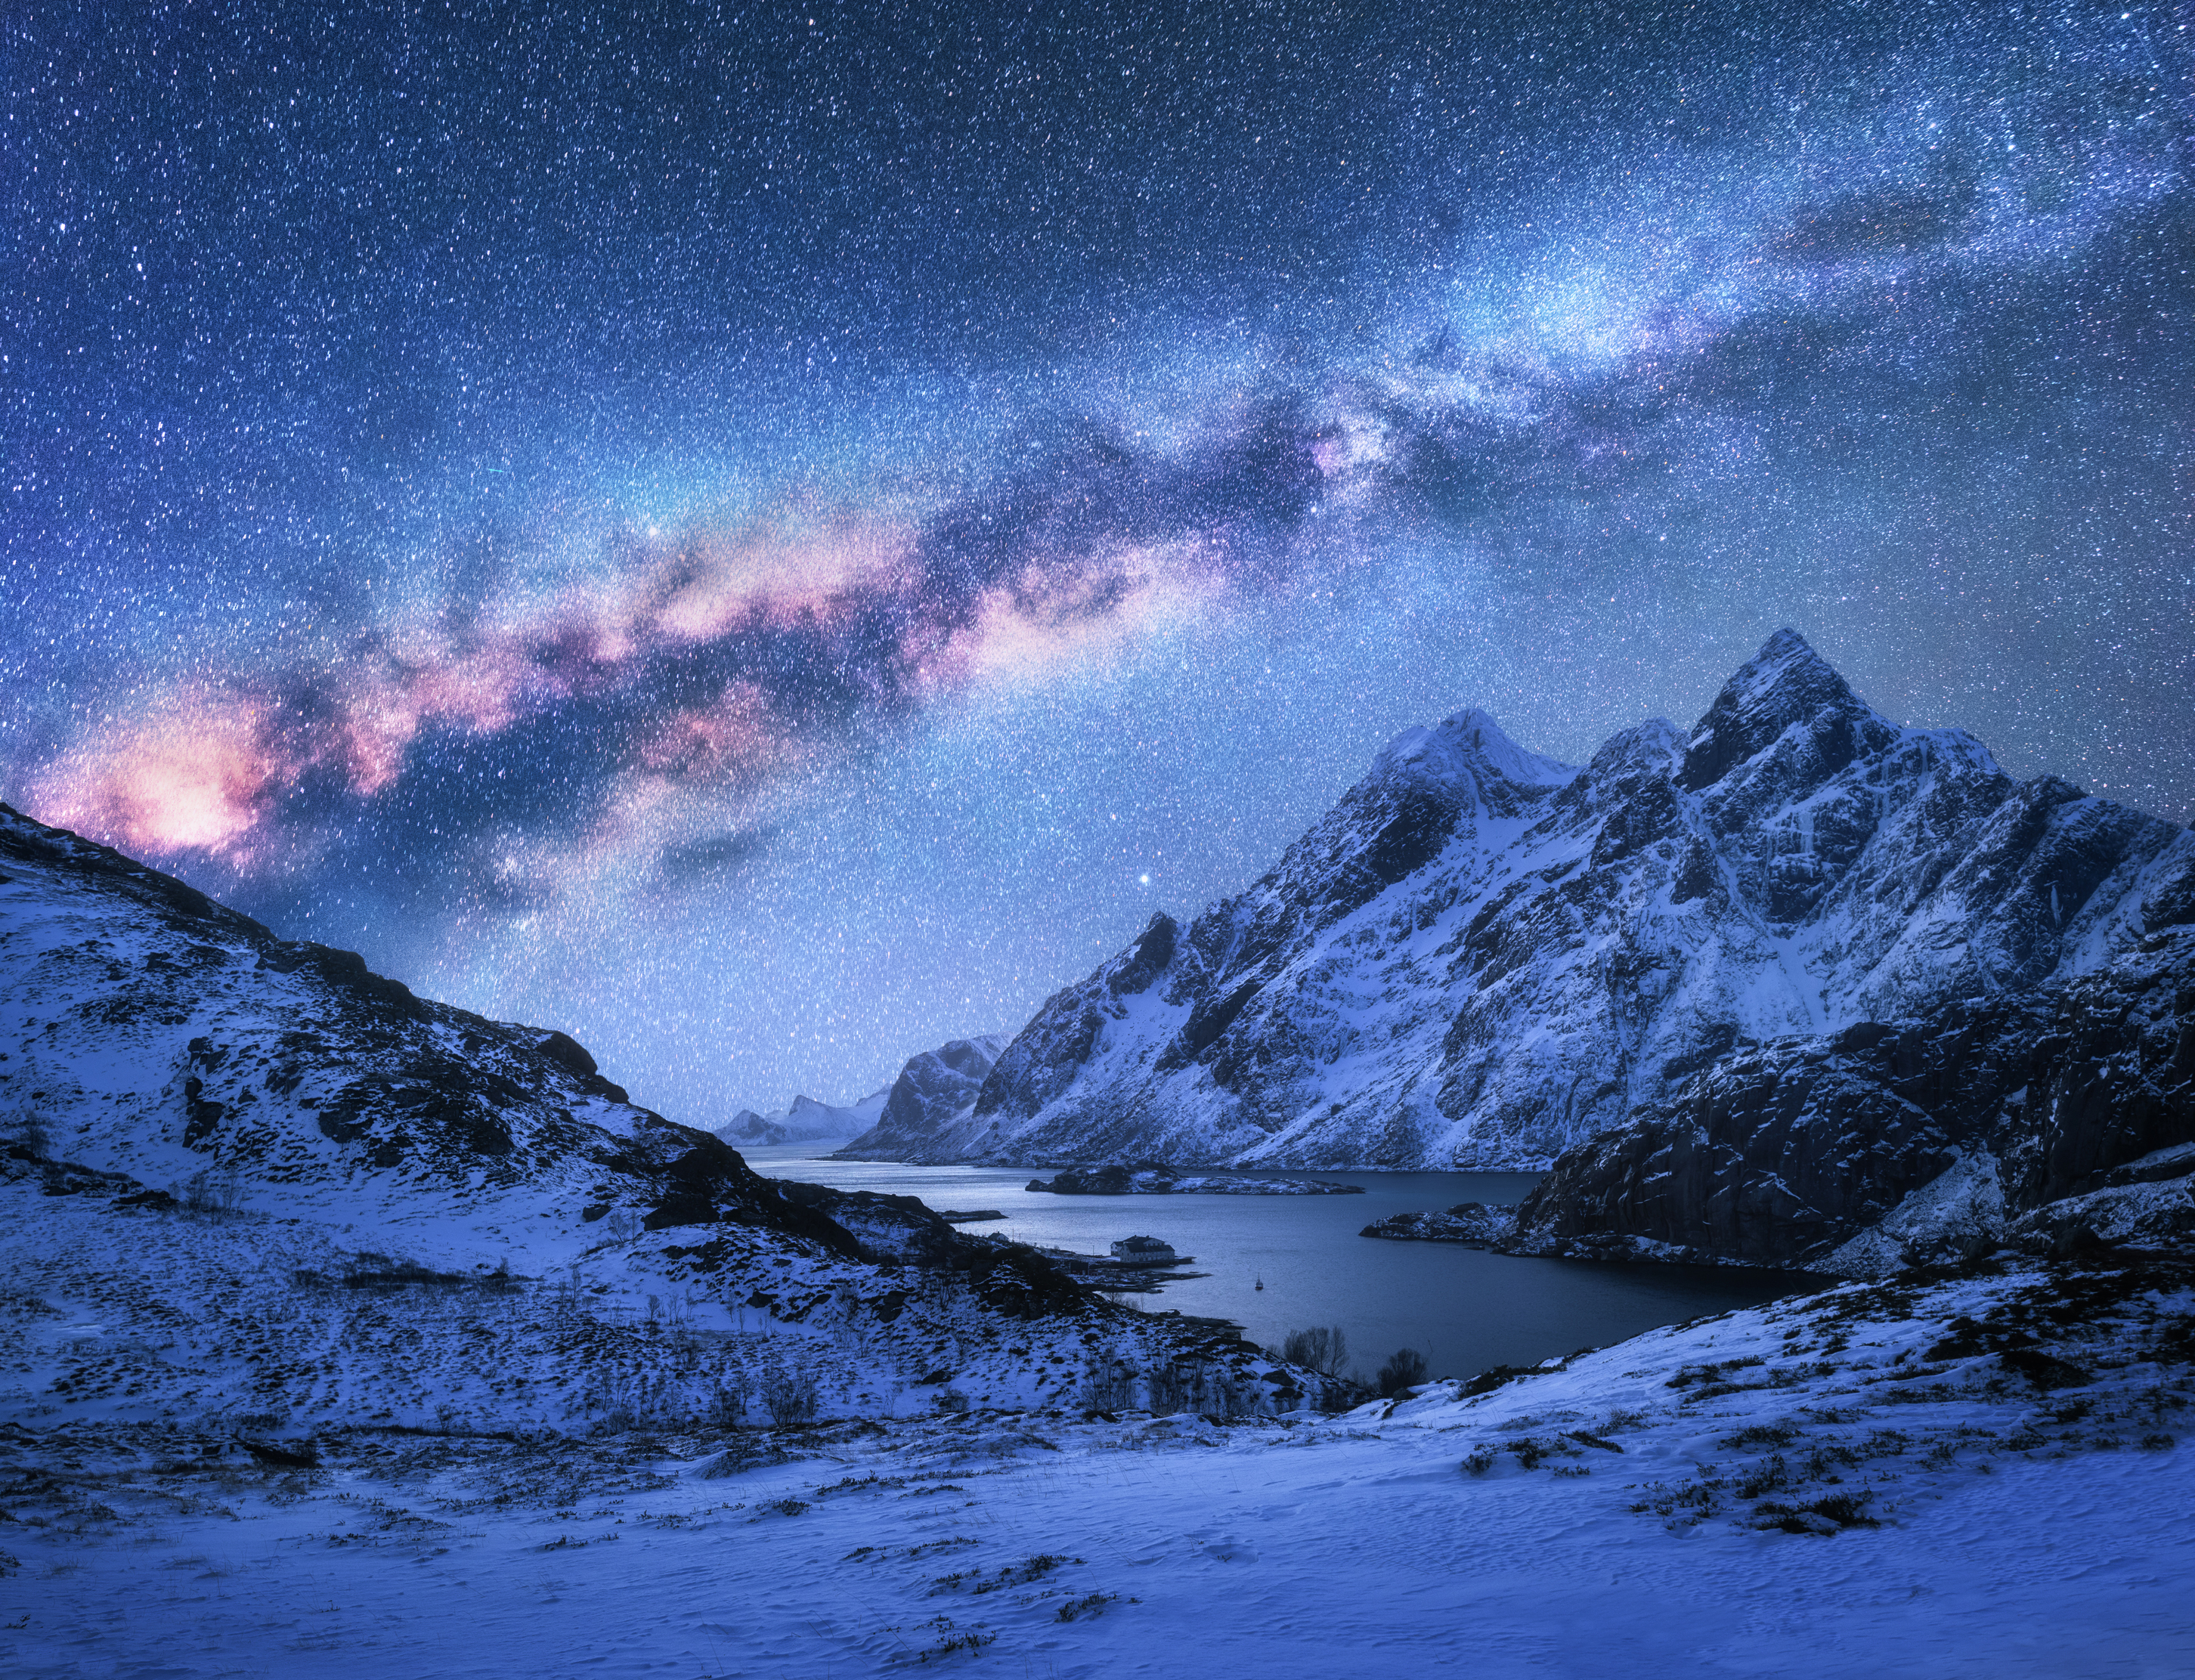
Get set up for shooting nightscapes
Like all photographers, nightscapers and astrophotographers obsess over the best cameras and equipment. Should you go for the very best mirrorless camera to get the best results? Do you need a full-frame camera? The answer to both of those questions is a resounding no, you do not; nightscaping is far more about how often you get outside at night and practice.
Yes, full-frame cameras produce a cleaner, brighter and more detailed image than a crop-sensor camera when shooting the night sky, but when you’re starting out, it’s really not important. All you need to get started is a manual camera, one that enables you to independently control ISO, shutter speed and aperture, and manually fix the focus on infinity.
Some compact cameras can do that, but you will also need a wide-angle lens – somewhere in the region of 14mm-18mm – to fit as much of the night sky as possible into one shot. That makes an interchangeable DSLR or mirrorless camera preferable, though if you don’t have a wide-angle lens you can still get started with the kit lens that came with your camera.
Add a tripod and a few more accessories – not forgetting a warm coat and fingerless gloves – and you’re ready for the night.
Specific gear you need to shoot nightscapes
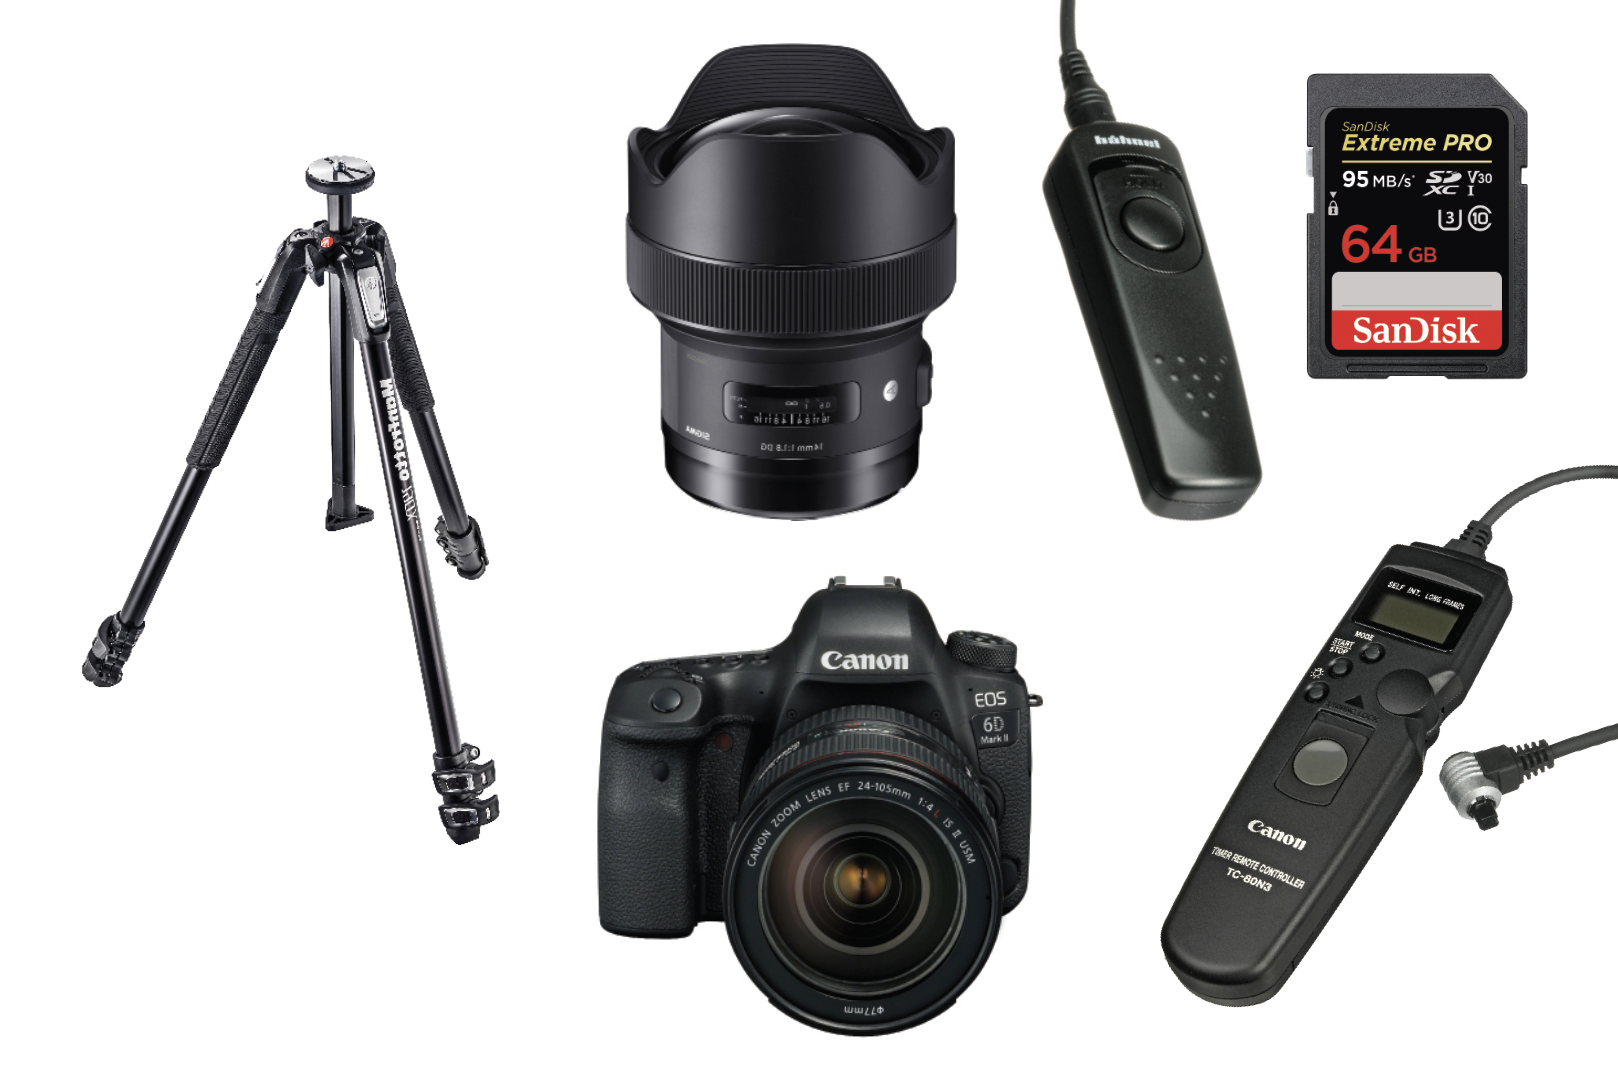
Manual camera
You will need to manually control focus, ISO, aperture and shutter speed, so you’ll need a camera with manual controls (a DSLR, mirrorless or a capable compact). Full frame is best but not essential.
Wide-angle lens
What lens you use will make a big difference. Use the widest angle lens you can get your hands on, such as 14mm, though an 18-55mm kit lens is fine to start with. A full-frame camera has a wider field of view than a crop-sensor camera.
Tripod
All night-sky photography requires long exposures, so you need to keep your camera as steady as possible. Small travel tripods are fine, but bigger tripods put everything at head height so are more convenient.
Remote shutter release cable
Any movement during a long exposure introduces blur, and that includes the vibrations from depressing the shutter button. So set a shutter delay of ten seconds, or use a wired remote shutter release cable to keep your camera perfectly still.
Large-capacity SD card
Always shoot in RAW. RAW image files contain minimally processed data from the image sensor. However, they are also much larger in size, so a larger SD card is helpful, especially for star trails, meteor showers and long trips. Check out the best SD card deals if you need any recommendations.
Intervalometer
An intervalometer attaches to a camera and controls how many shots are taken, how often, and for how long. It effectively makes your camera completely autonomous, which is handy when taking multiple long-exposure shots. Find out more about how to use an intervalometer.
If you want to improve your astro shots, check out the best camera for astrophotography and the best lenses for astrophotography. You'll find inspiration from the Astronomy Photographer of the Year, and we've also got more technical astrophotography tips to help you out too.
Get the Digital Camera World Newsletter
The best camera deals, reviews, product advice, and unmissable photography news, direct to your inbox!
Lauren is a writer, reviewer, and photographer with ten years of experience in the camera industry. She's the former Managing Editor of Digital Camera World, and previously served as Editor of Digital Photographer magazine, Technique editor for PhotoPlus: The Canon Magazine, and Deputy Editor of our sister publication, Digital Camera Magazine. An experienced journalist and freelance photographer, Lauren also has bylines at Tech Radar, Space.com, Canon Europe, PCGamesN, T3, Stuff, and British Airways' in-flight magazine. When she's not testing gear for DCW, she's probably in the kitchen testing yet another new curry recipe or walking in the Cotswolds with her Flat-coated Retriever.
