How to shoot the age of steam railway with your camera
Stoke the boiler and set off to explore the photographic possibilities at a heritage railroad

Most people have heard of Stephenson’s Rocket, but Robert Stephenson didn’t actually invent the first steam engine. That honour went to Richard Trevithick, a Cornishman whose Penydarren tram road engine hauled 70 men and 10 tons of iron some 10 miles at 5mph – 25 years earlier in 1804. Trevithick’s design was ignored, leaving it to Stephenson to grab the glory.
By the 1920s and 30s, the golden age of steam was in full flow. At the height of steam train popularity, there were over 30,000 miles of track in the UK, transporting goods, commuters and holidaymakers, but the Beeching cuts of the 1960s and then electrification meant that steam engines were consigned to the heritage sector.
In Britain alone, there are now over 100 heritage railways and 60 steam museums, staffed by enthusiastic volunteers. So, forget your overcrowded, late-running commuter trains and instead, discover what to photograph at a historic railway.
On the tracks
The best place to photograph steam trains is generally out in the countryside, whether that’s from afar or close up. The classic image of the steam locomotive has it chuffing away through the landscape but to get a great shot from a distance, it pays off to find somewhere where the track bends and then see whether there’s an elevated position to shoot down from.
Ensure that you get all of the engine in the shot, letting the rest of the carriages file behind it. This way, you have better lines leading through the image, rather than just a dead-straight railway line that cuts through. For this kind of distance shot, maximising the depth of field is the key so using an aperture of f/22 or f/16 and focusing roughly one third of the way into the scene will do that. Alternatively, if the train is not that far away, you can use f/5.6 or f/8 and focus on the engine itself, so that the train is clearly the sharpest part of the image.
The same ideas apply if you find that your access to a stretch of railway is also at a medium distance, but sideways on. For this, you’re really looking at creating symmetry, so let the train fill the frame but make sure it hasn’t started to go out of shot.

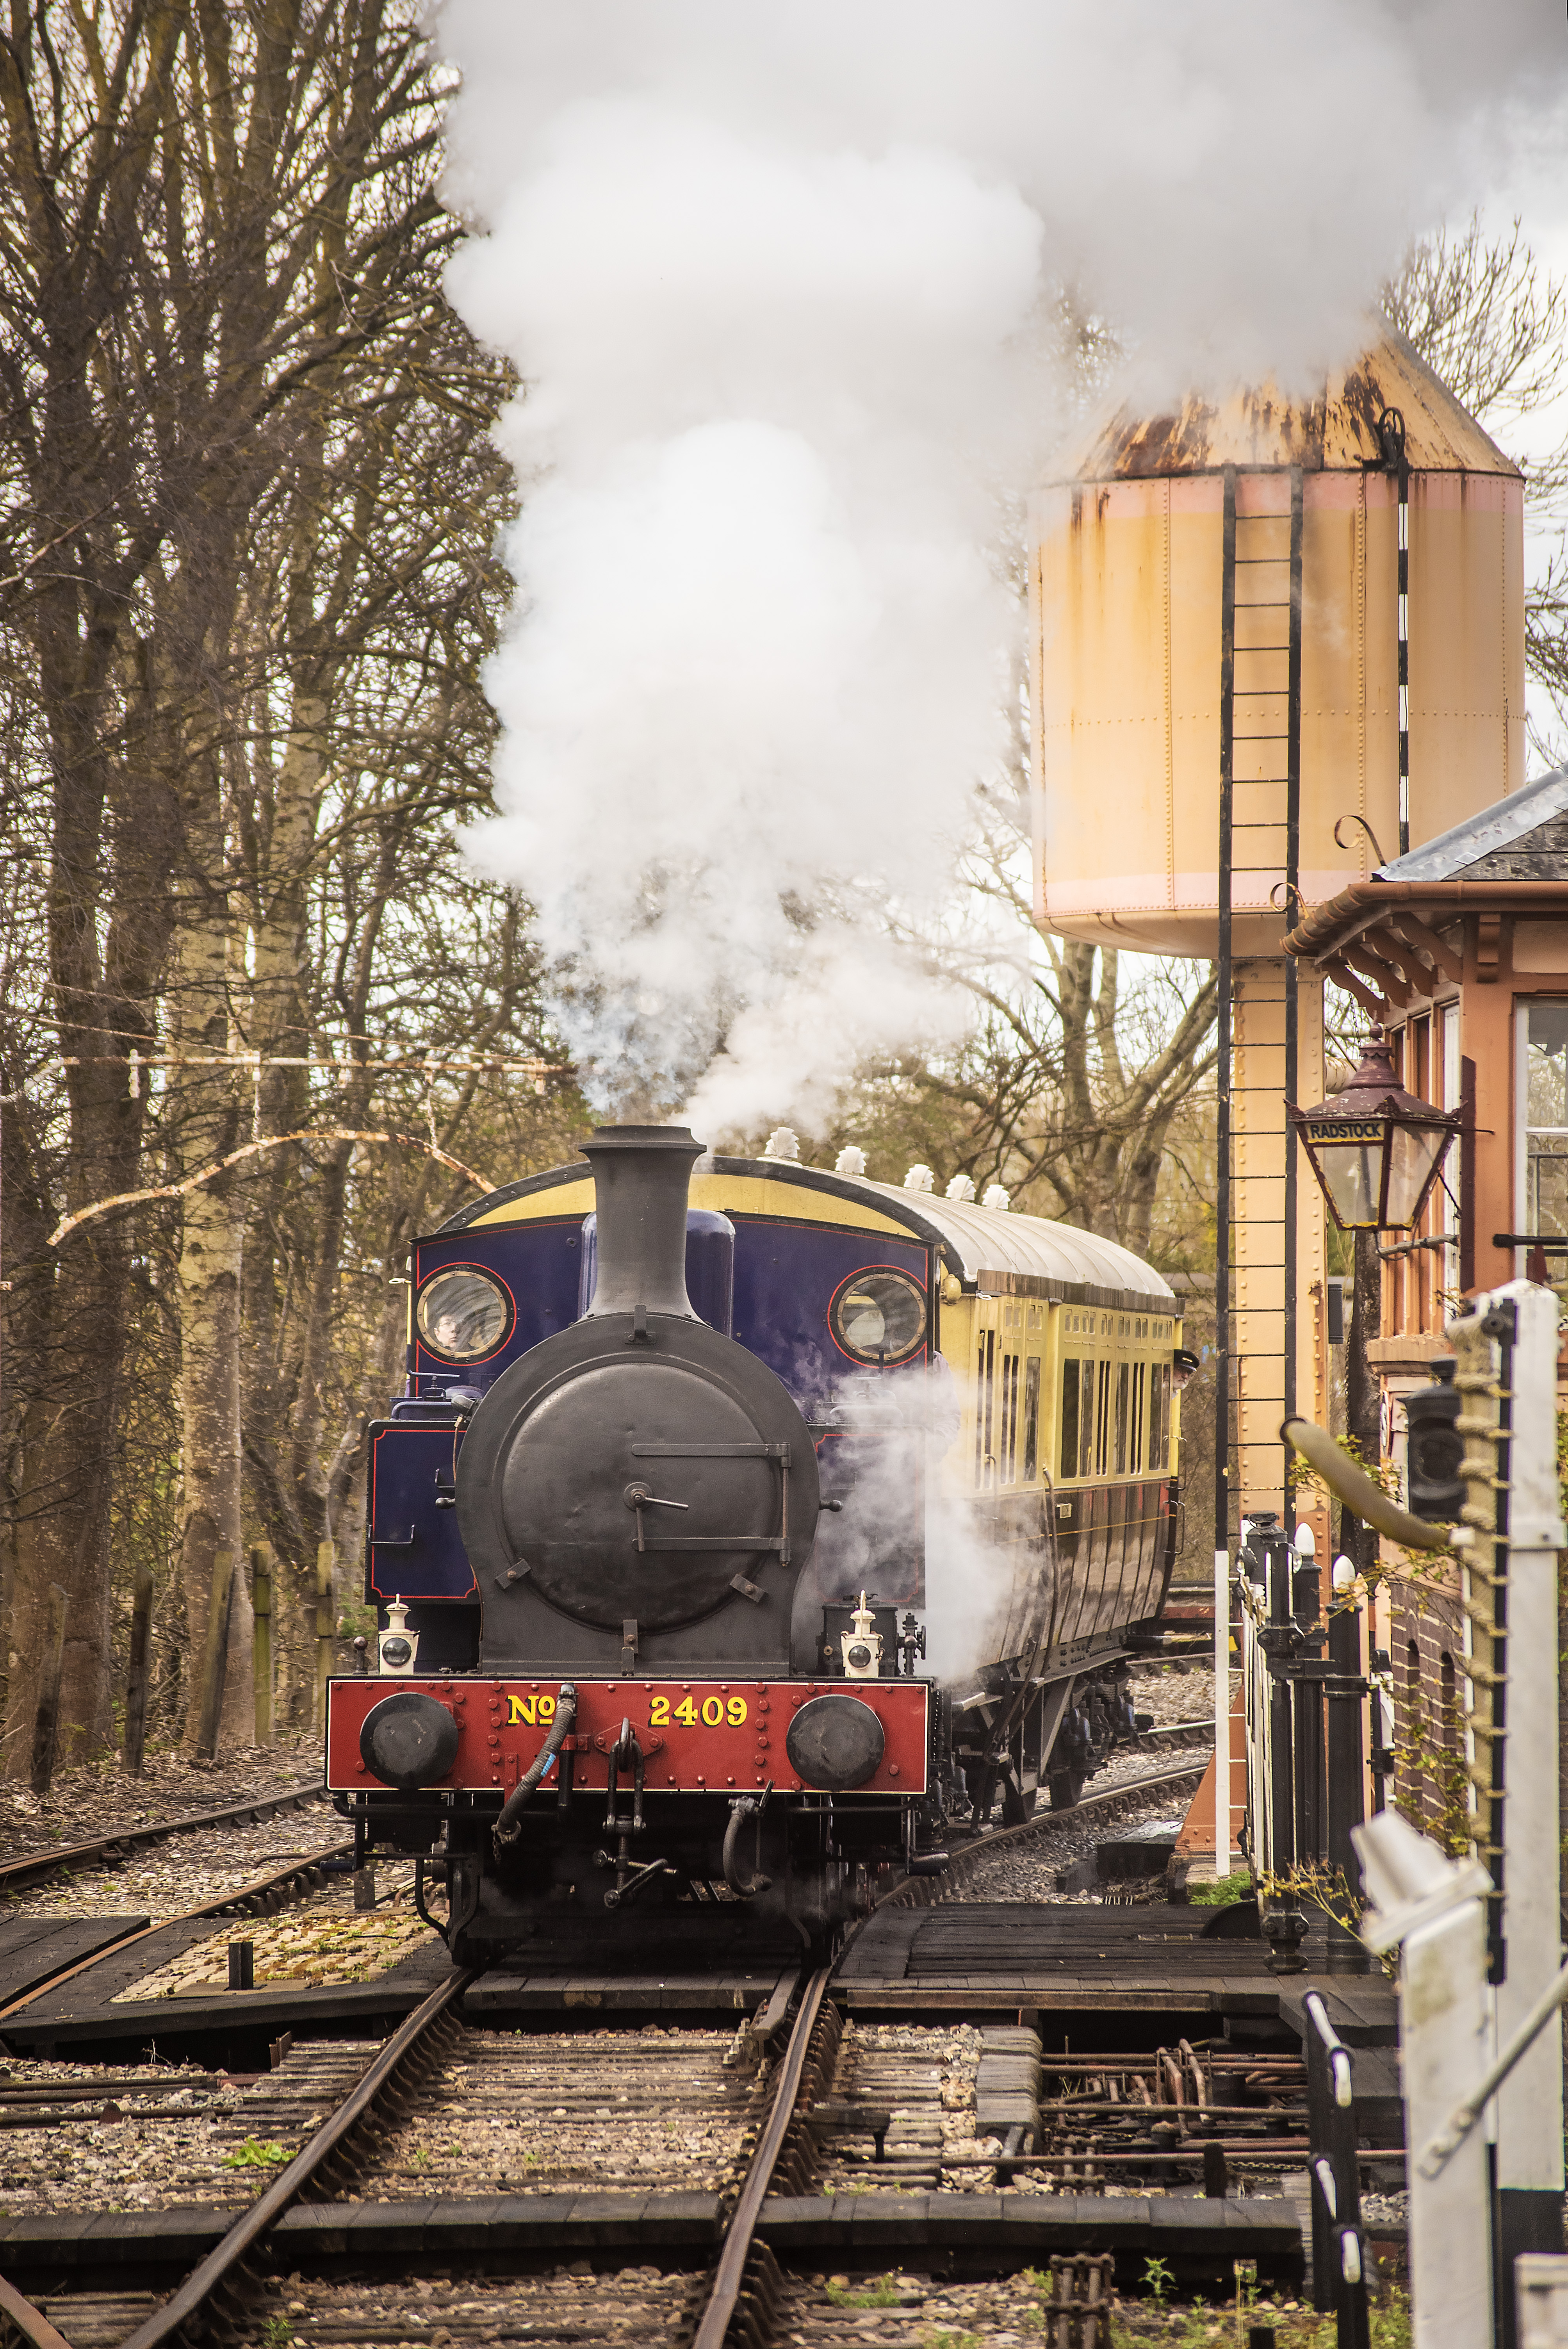
The final shooting distance when outside is close up, either on a platform, to the side of the track (at a safe distance) or on a bridge. Here, it’s worth looking at vertical compositions, especially if the train is coming head-on and the engine is putting out a lot of steam. Bear in mind that while you’ll have plenty of time to zoom in when it’s 150m away, as it approaches everything speeds up. It’s worth selecting Continuous drive mode instead of single shot, so you can fire off plenty of frames as the train rumbles past. Also, to keep the train in focus, switch the autofocus system to Continuous focus (AF-C) or use a focus tracking mode.
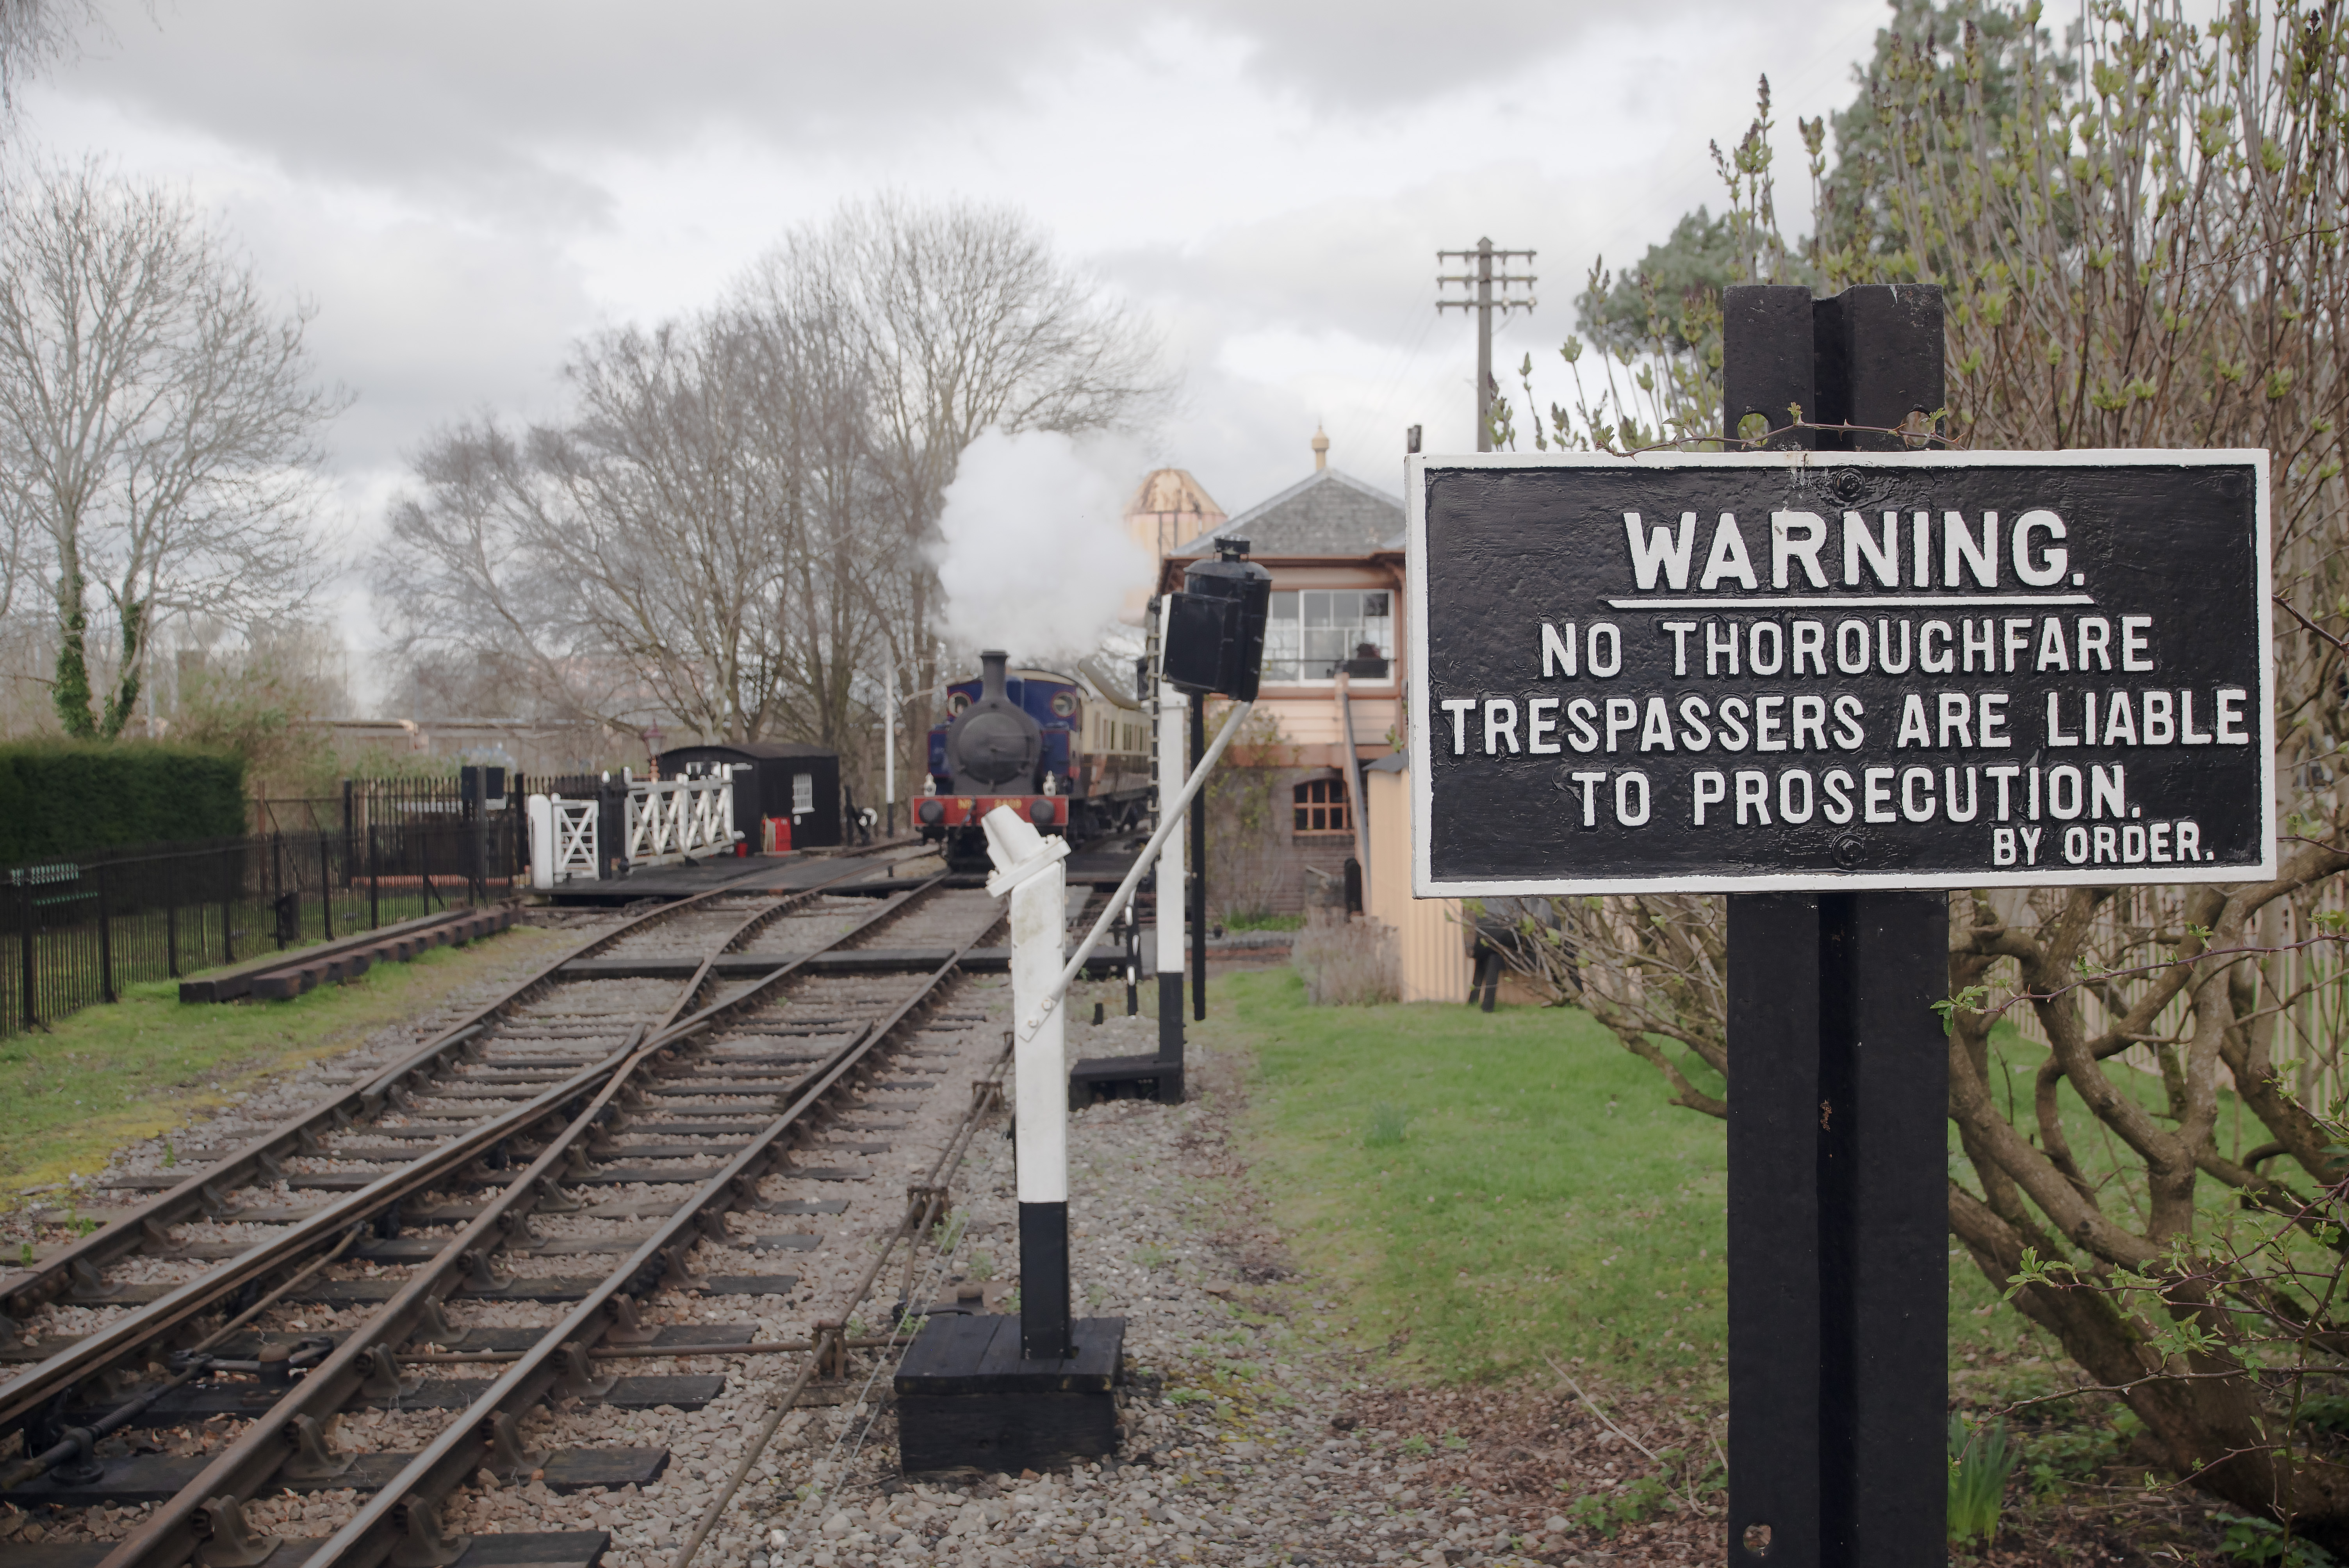
For trackside shots, a low shooting angle will emphasise the engine as well. If the train is at a platform and the engine is putting out steam, especially if this is a dusk or night-time shot, then try a long exposure, for which you will need a tripod. With a time of eight seconds or more, the steam will blur into a pleasing fog, which can look fantastic if there are artificial lights shining through the steam.

At the station
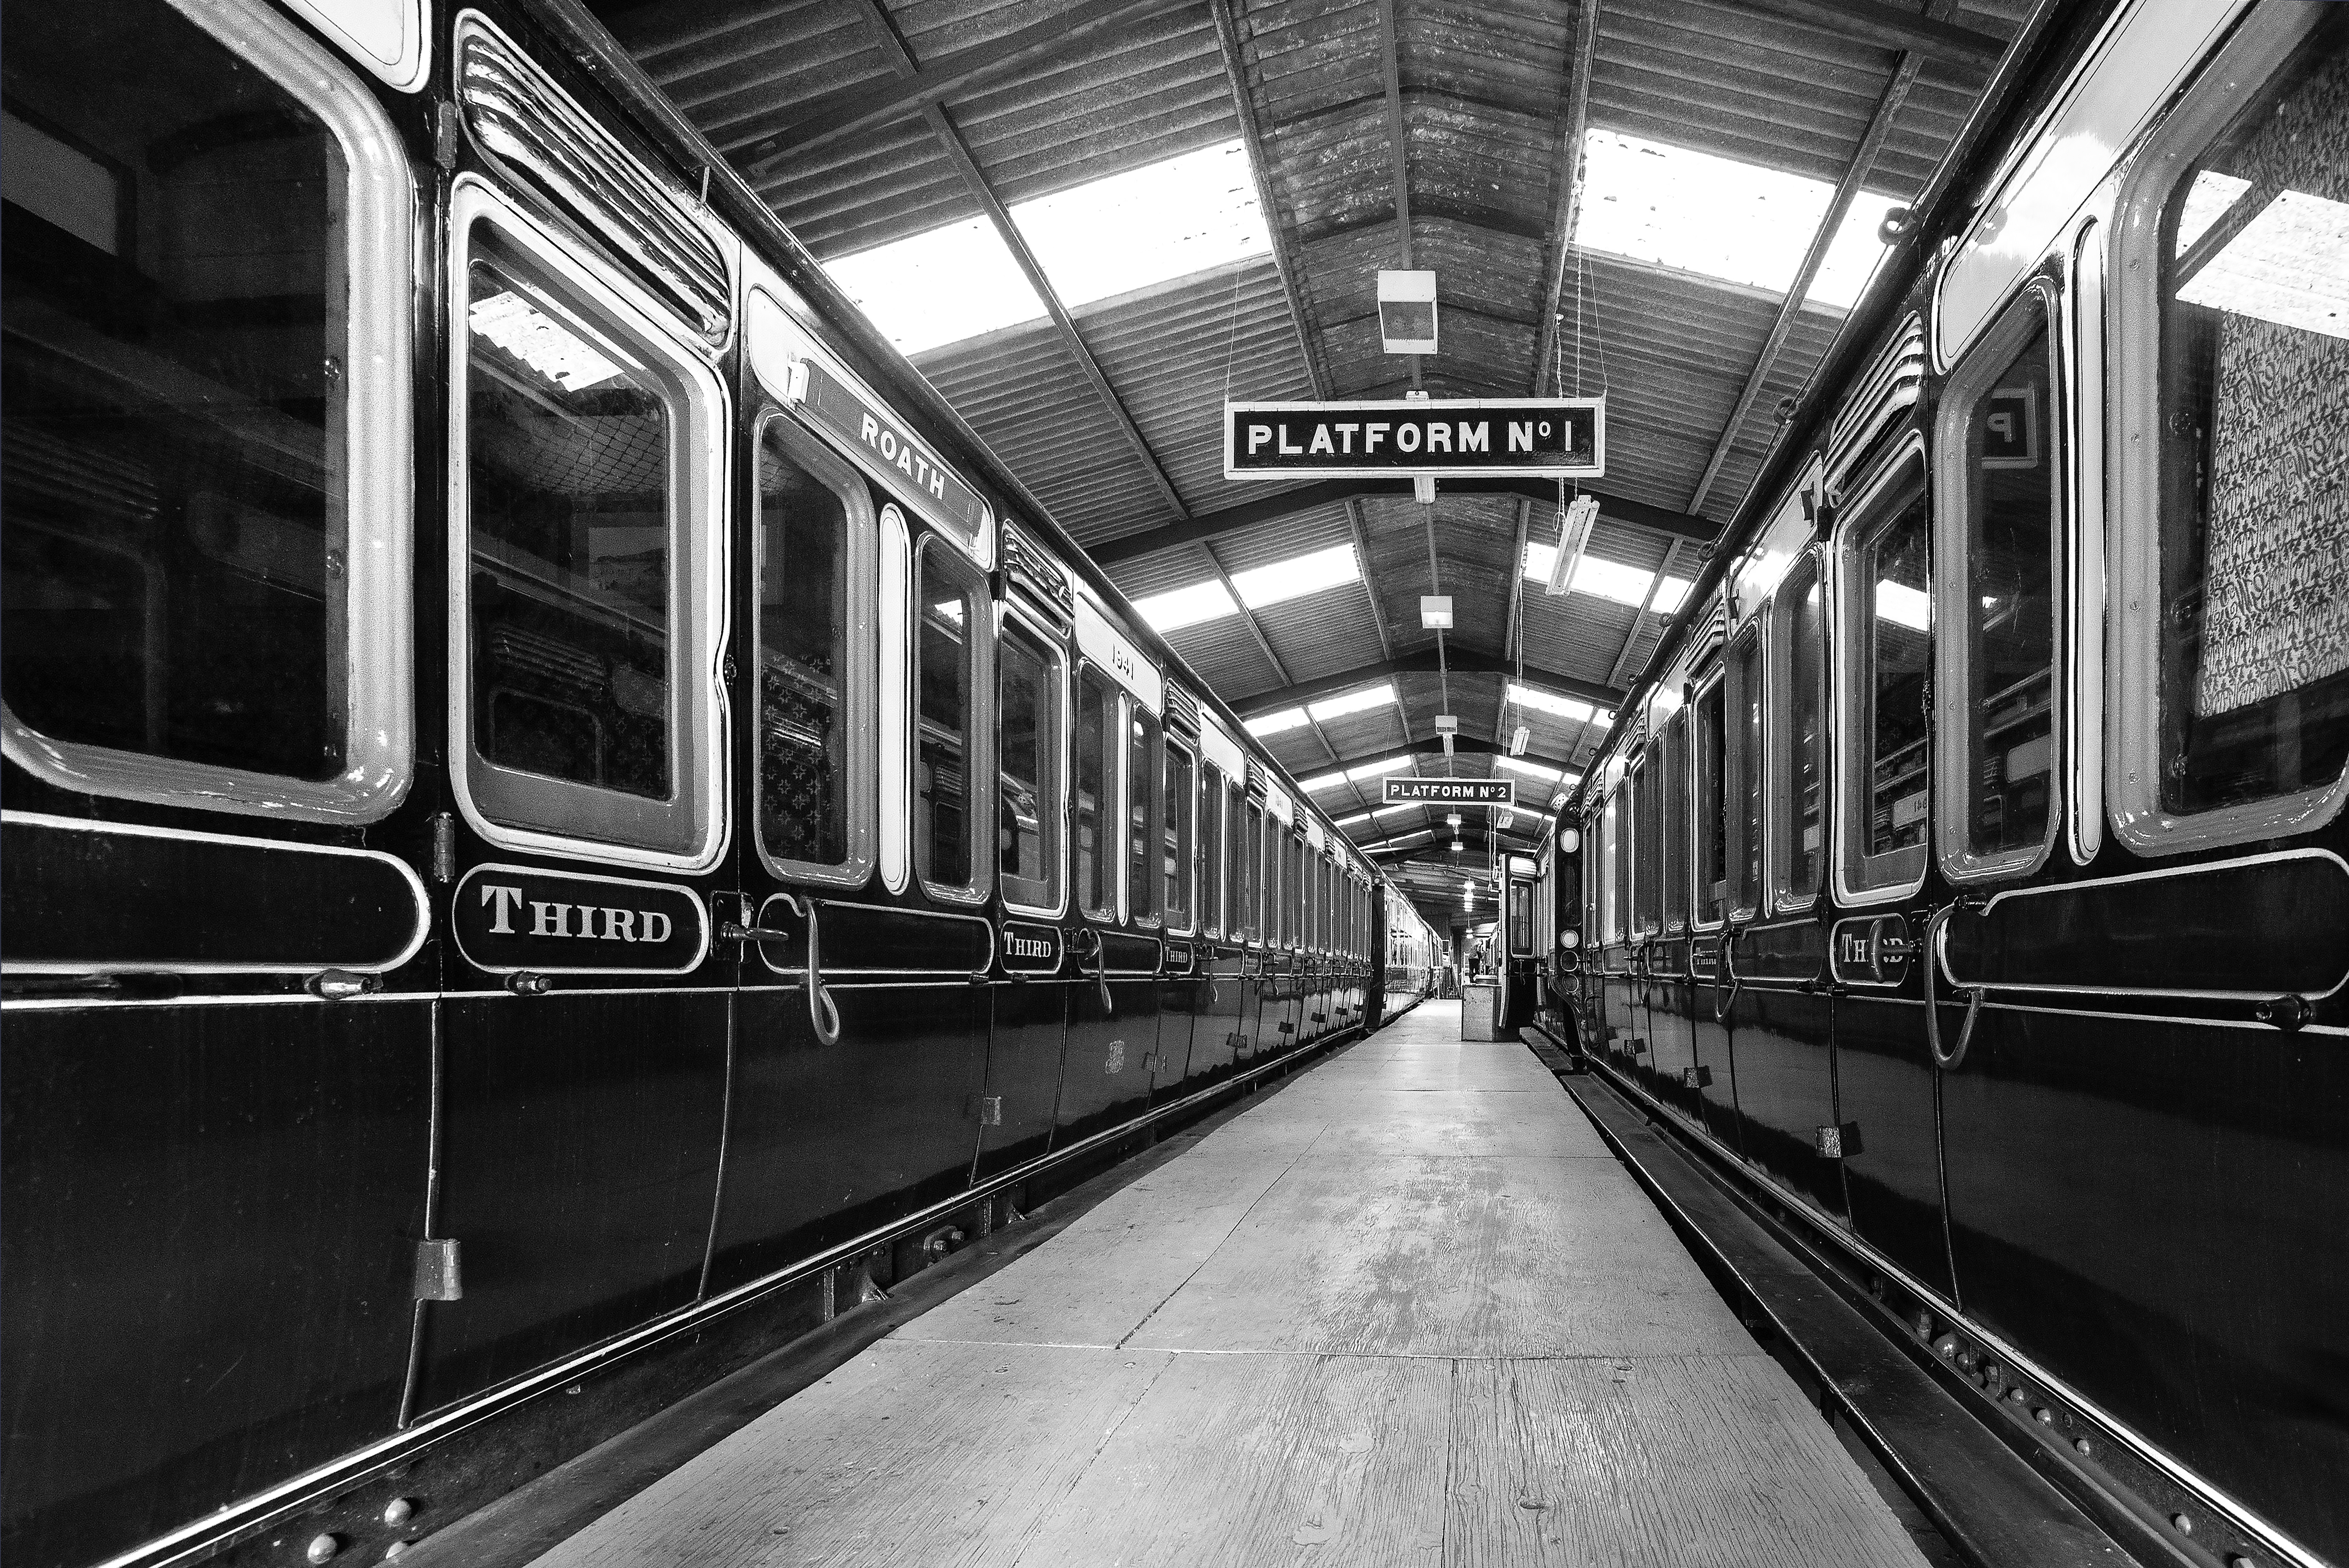
‘Station’ can also mean any museum that houses historic engines. There is still the opportunity to photograph vintage locos, but they are likely to be stationary exhibits. The shooting position is also likely to be close up so initially a wide-angle lens is called for and a polariser is usually a good idea if outdoors. Rotate the polariser around until it removes most of the reflections off the engine paintwork. Inside an engine shed, there won’t be an awful lot of light so a polariser might be impractical, even after increasing the ISO significantly. If you can shoot with an aperture of f/5.6 or f/8 then get in front of the train and focus on the engine, although using f/2 or f/2.8 isn’t a bad option as it will result in the back end of the train going out of focus where other visitors might be milling around.
To make the subject appear more dynamic, considering that it’s a static exhibit, get down as low as possible and use a wide-angle lens to give it a more dramatic look. If it’s dark or there is light coming from above or behind, then using the flash may be required to get any kind of shot. A remote flashgun is best but you can often still use the on-camera flash. Turn it on and take a shot. If the effect is too obvious, creating lots of highlights and dark shadows, dial in flash exposure compensation of -0.3EV or -0.7EV. It all depends on how much light there is and where it’s coming from but the idea is to try to balance it out or light up an area that would otherwise be virtually black, not flood the foreground with light.
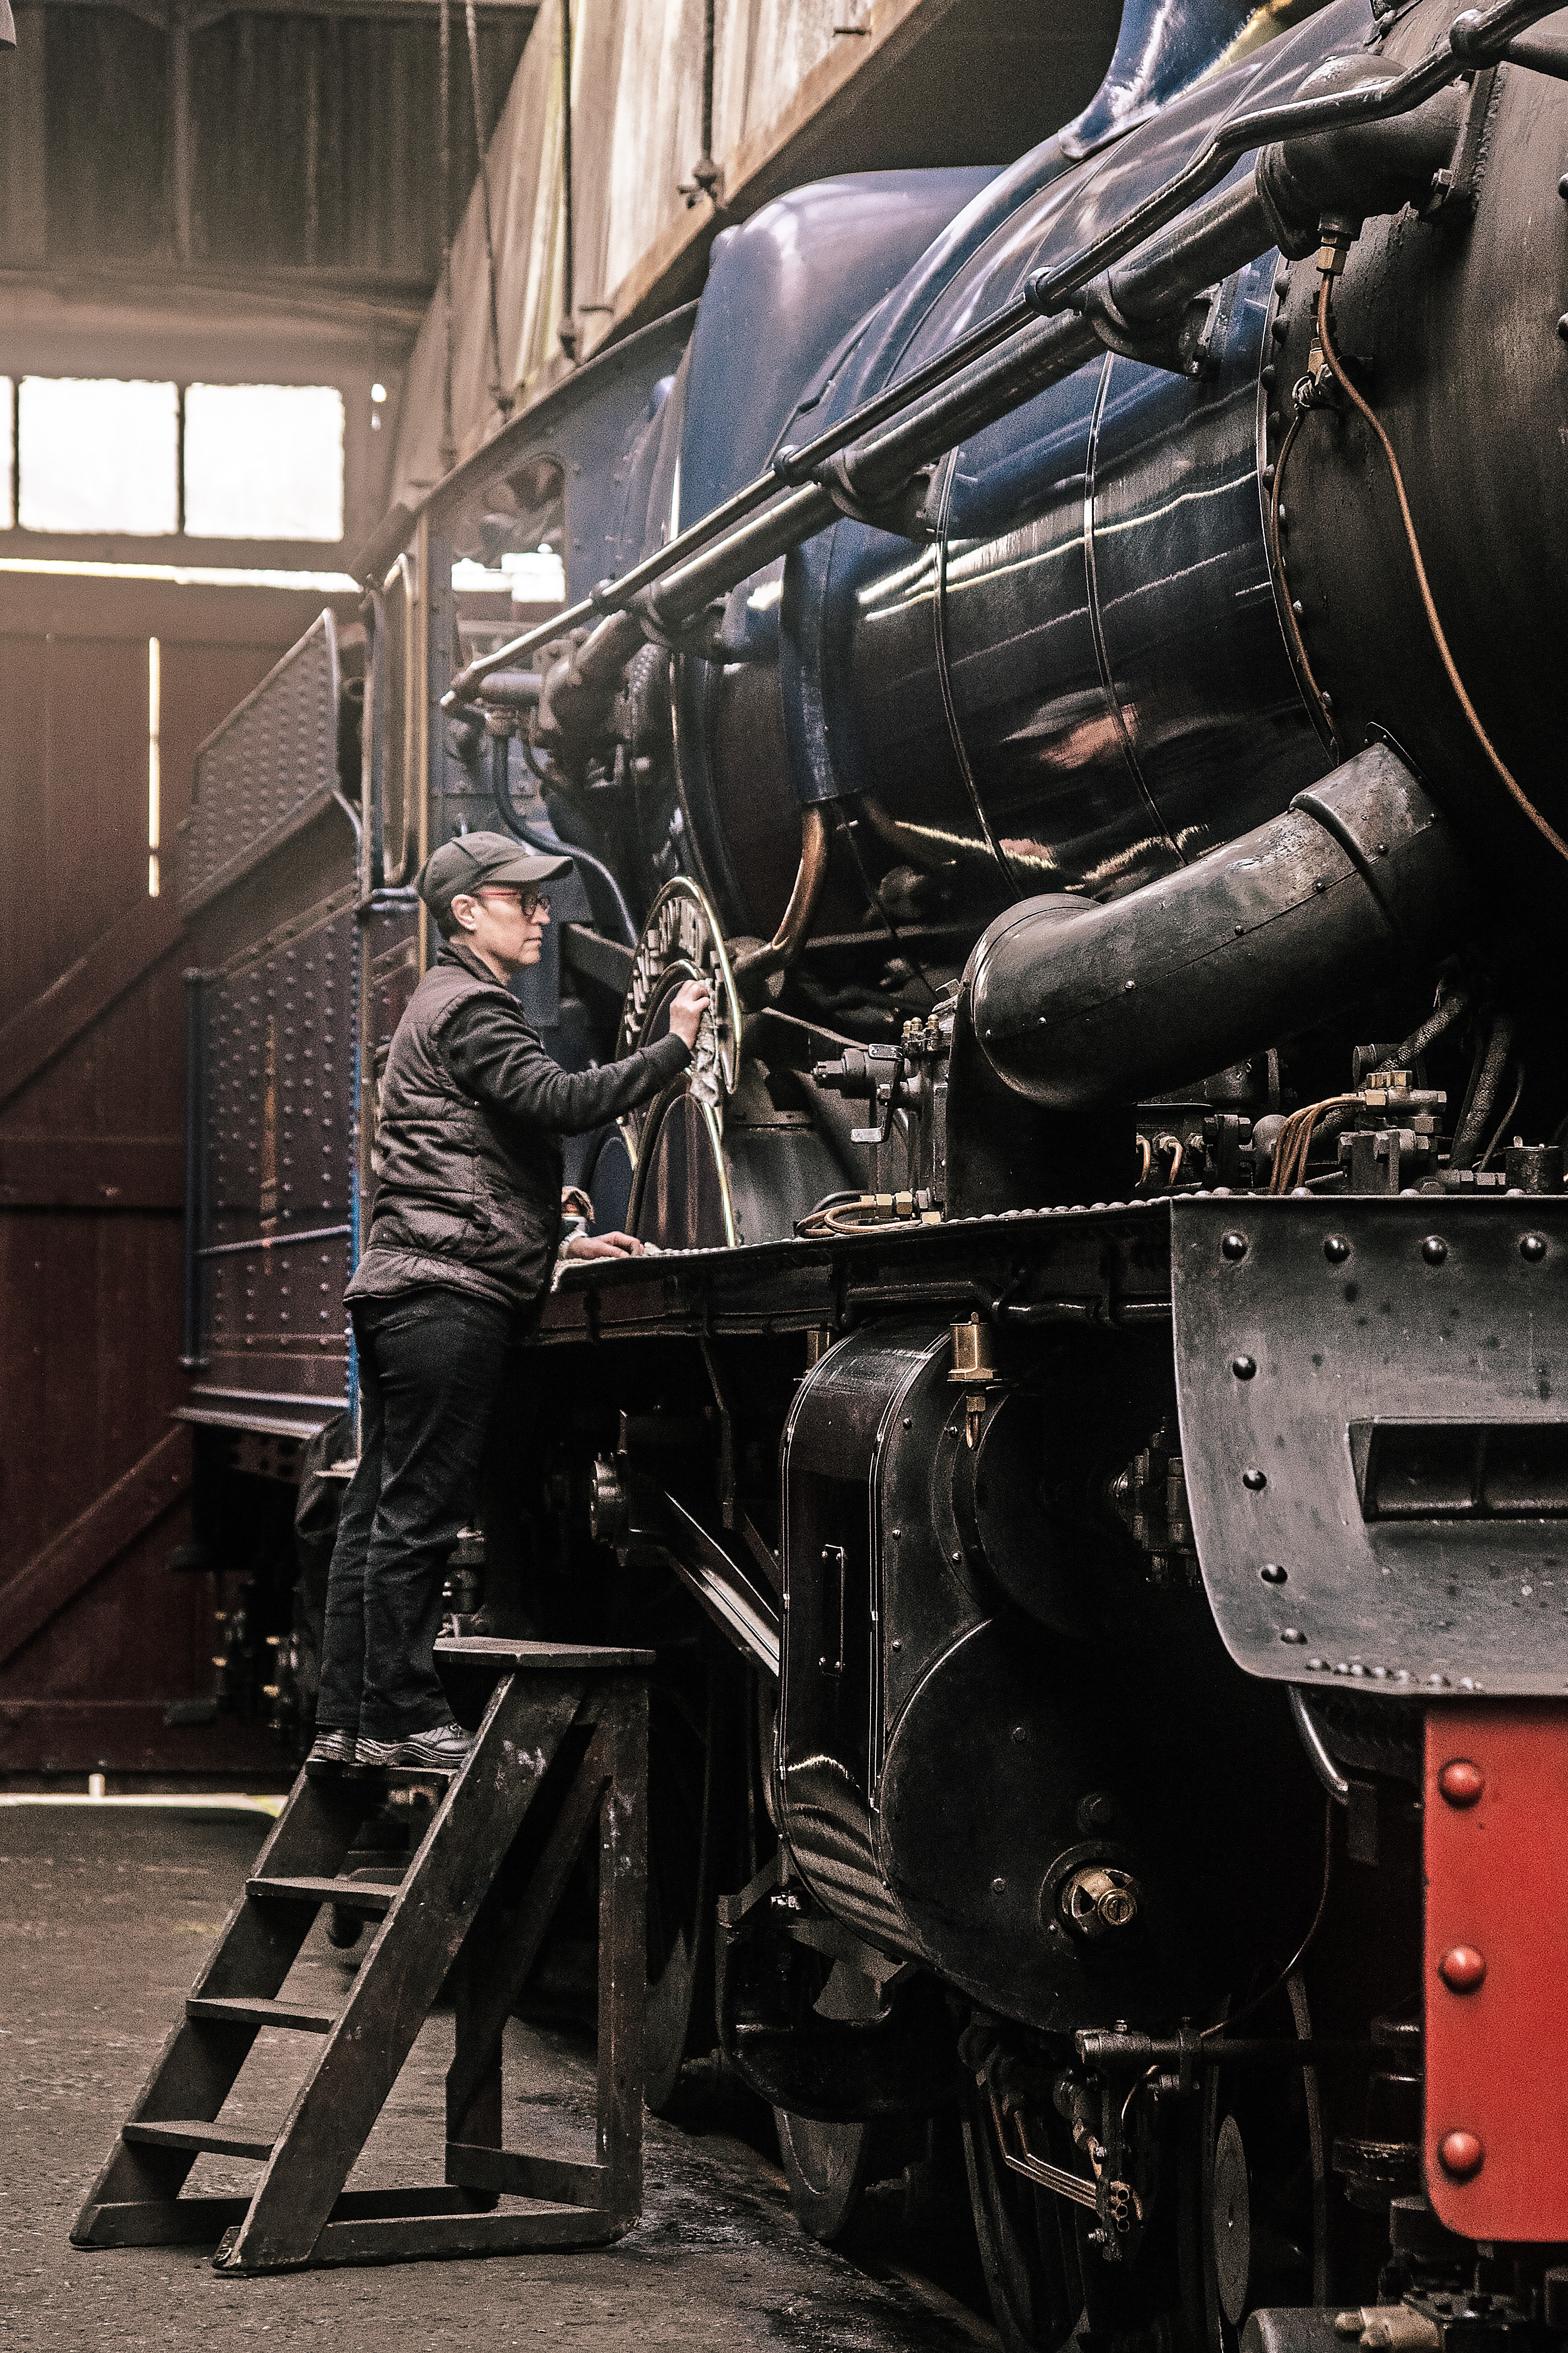
Something else worth looking out for in an engine shed is a member of staff carrying out maintenance on the engine or simply cleaning it. Zoom in from a distance to show them at work for a candid style photo. Low light and a telephoto means as wide an aperture as your lens can offer is required and probably upping the ISO too.
Next, it’s time to see what else the museum has to offer and this can include everything from junction boxes to recreations of entire platforms. Use a short telephoto to isolate these elements and use wide open apertures for creative-looking images of controls, switches and signs. Finish with wide-angle shots of platforms but be wary of the sides of station buildings becoming distorted.
Didcot Railway Centre
Our thanks to the living museum of the Great Western Railway for letting us roam around the site taking photos. You can explore the locomotives, carriages, engine shed and museum. Find out more at: didcotrailwaycentre.org.uk
Digital Camera World is the world’s favorite photography magazine and is packed with the latest news, reviews, tutorials, expert buying advice, tips and inspiring images. Plus, every issue comes with a selection of bonus gifts of interest to photographers of all abilities.
Get the Digital Camera World Newsletter
The best camera deals, reviews, product advice, and unmissable photography news, direct to your inbox!

Wendy was the Editor of Digital Photo User for nearly five years, charting the rise of digital cameras and photography from expensive fad to mass market technology. She is a member of the Royal Photographic Society (LRPS) and while originally a Canon film user in the '80s and '90s, went over to the dark side and Nikon with the digital revolution. A second stint in the photography market was at ePHOTOzine, the online photography magazine, and now she's back again as Technique Editor of Digital Camera magazine, the UK's best-selling photography title. She is the author of 13 photography/CGI/Photoshop books, across a range of genres.
