How to take a Polaroid picture or Instax photo
Want to know how to take a Polaroid picture or Instax photo? Here are 10 tips for using your instant camera

Instant photography is more popular than ever – but if you don't know how to take a Polaroid picture properly, or how to use your Instax camera, you'll literally be throwing money away!
Every time you snap a shot on your instant camera, it costs you money – and with film costing anywhere from $0.79 to $2.12 per exposure, it really pays to learn how to take a Polaroid picture.
So here are ten tips to help you get the best out of the best instant cameras…
1. Keep your distance to avoid a selfie fail
Most instant cameras have a minimum focus distance of 30cm to 60cm, which roughly equates to holding the camera at arm’s length if taking a selfie. So if you’re getting blurred shots, it may not be down to camera shake or lack of light – it could be because the lens is simply too close to the subject.
Check your camera's closest shooting distance, and make sure that you've got it set to the correct close-up or macro setting. On some Instax cameras, this might mean clipping on the Close Up Lens attachment.
2. Avoid subjects too small in the frame
The opposite of the previous nugget of advice is simply standing too far away from your subject. The smallest instant prints are credit card-sized, and the largest are barely bigger than a drinks coaster. So if your subject is too small in the frame they’ll be barely visible.
Generally speaking, you don’t want to be standing more than five or six feet away from your subject – unless you’re trying to squeeze a landscape or piece of architecture into the frame. You might want to get closer still if you’re looking to maximize impact.
3. Don’t allow fingers in the shot or obscure the flash
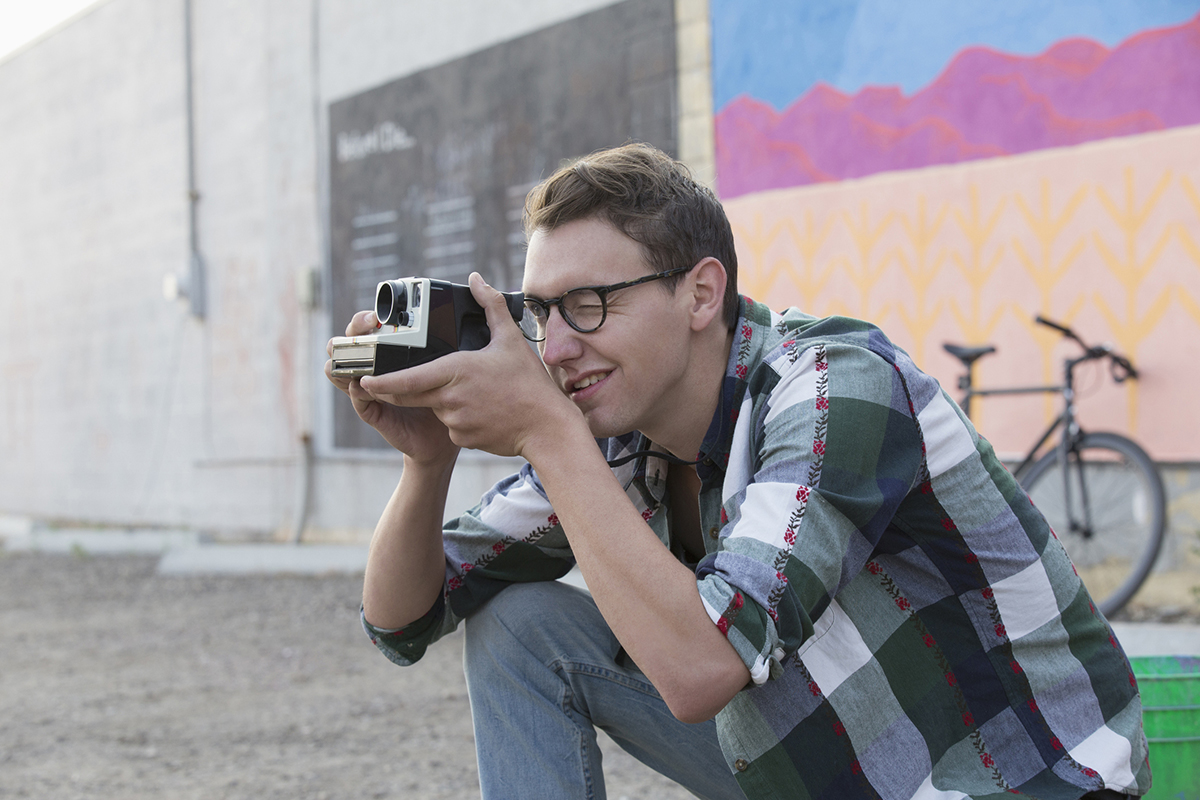
On the more diminutive cameras, like the Polaroid Go Gen 2 and Instax Mini 12, seeing the ends of fingers intruding in the frame is a common complaint – even if you don't see them in the viewfinder. This is because the finder is slightly offset from the lens, and doesn't show you exactly what's in your frame!
Another complaint is that fingers sometimes obscure the built-in flash – because, on smaller cameras, there aren’t many places to put your digits. So before you shoot an image, it’s worth checking there’s no operator error in play up front.
4. Use natural light where possible
This tip applies to any type of photography, but particularly to instant photography – where a combination of high-speed film and a camera that wants to automatically fire the flash can lead to disappointingly washed-out-looking results.
Again, experimentation is key, but you may well find that deactivating the flash and using only natural light – even indoors, at times – will yield results with better contrast and subject definition.
5. Try the same subject from different angles
While you obviously don’t want to waste lots of expensive instant prints, consider how the subject might appear from a different angle than the first one that pops into your head.
Again, standard photographic principles and advice apply. Try crouching down low, or alternatively standing on a wall or a chair. Simply standing right in front of our subject and pressing the shutter doesn't always yield the most effective results – so try moving around!
6. Good subjects for instant photography
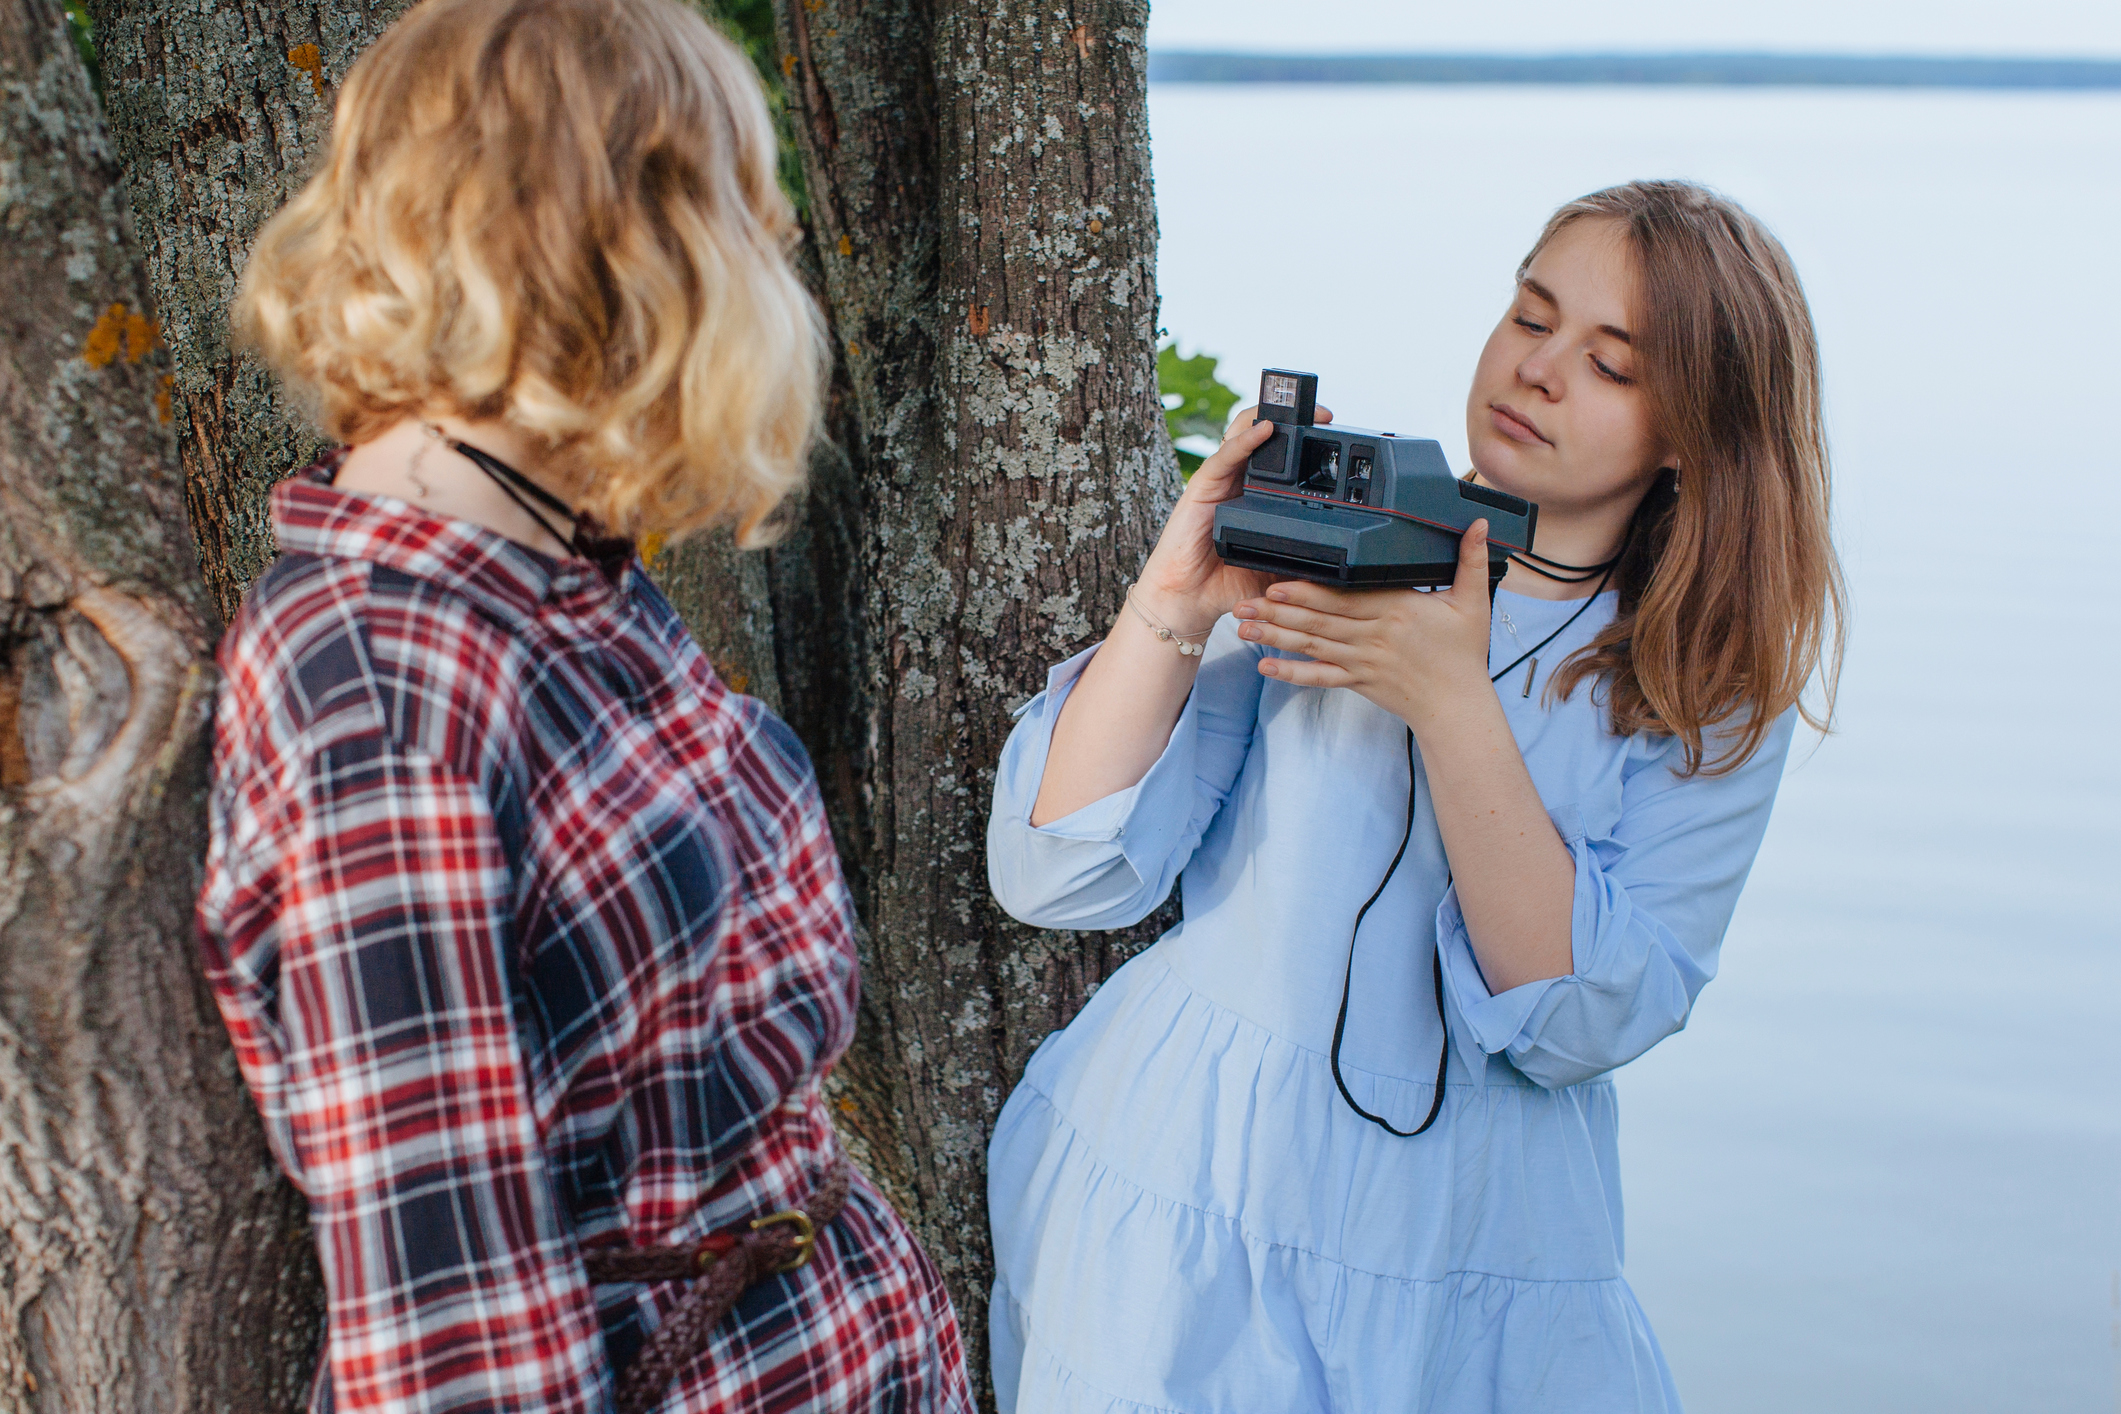
As indicated by the above tips, close-up portraiture tends to be the favored field for instant photography – as your subjects lend themselves to the smaller, at times almost passport-sized dimensions of instant film prints.
Yes, you can certainly shoot landscapes or architecture – but you'll want the biggest prints possible. Look to the biggest instant camera formats like the Instax Wide 400 and Polaroid Now+ Gen 2, which offer jumbo-sized photos.
7. Contrast your subject with their background
A blank, white or light-colored background is often the preferred choice for a portrait shoot. However, you can play around with this to add contrast and avoid your subject disappearing into the backdrop.
Try photographing someone in dark or detailed clothing if the background is light or uniform, or shoot a subject in light-colored attire if the background is busy.
Whichever way you spin the setup, you want your subject to stand out – which is also why firing the flash if your subject is outdoors is a good idea. Otherwise, they may be rendered in silhouette.
8. Experiment with double exposures
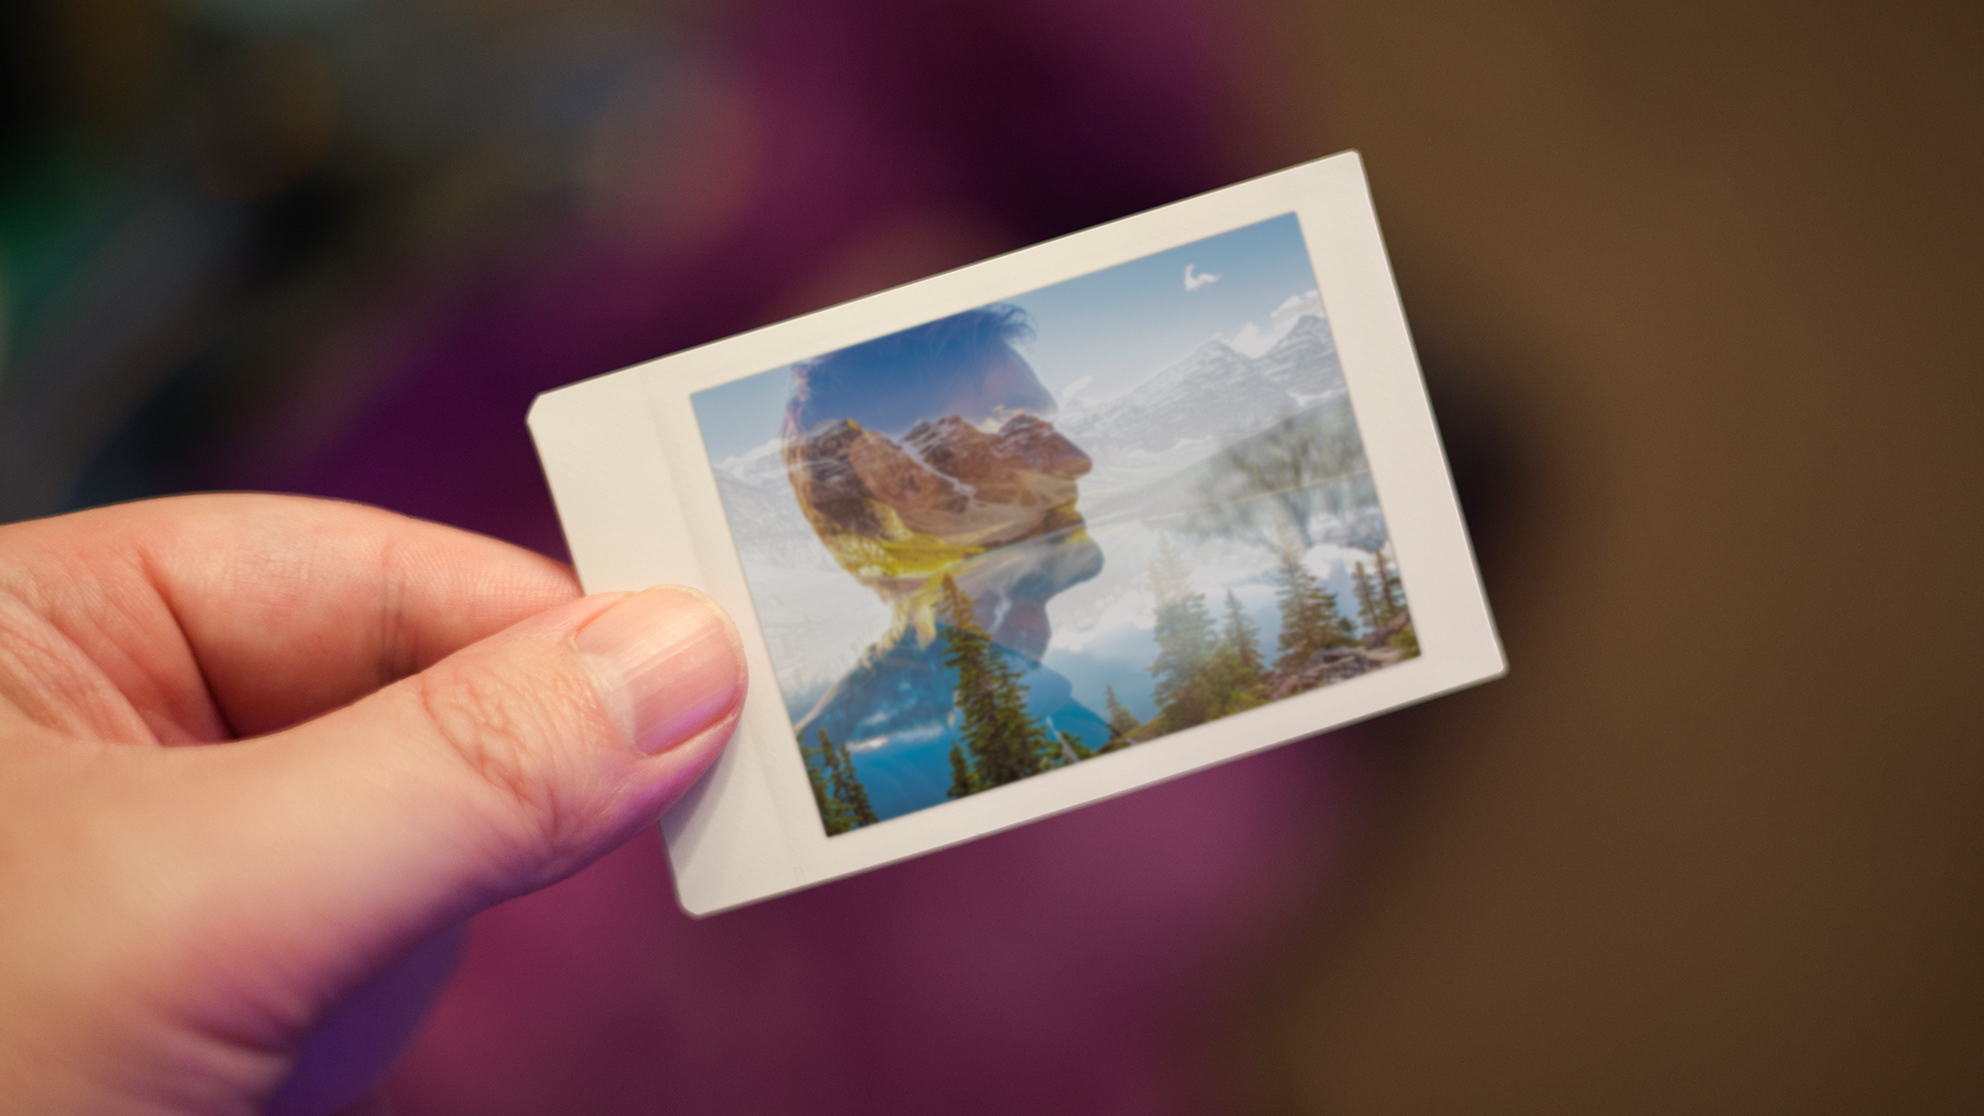
Some instant cameras enable you to shoot double exposures – such as the Instax Mini 99, and Polaroid Now+ and Polaroid Go. This is where you take one shot and then move the camera before taking a second shot, which produces a finished photograph that combines the two.
This can produce happy accidents or a bit of a mess, but a lot of winning creativity comes out of experimentation. (Some of the best digital instant cameras, like the Instax Mini Evo, make the process a lot easier as you can see the results on-screen before you print your picture.)
9. Try to be candid
Simply sitting the subject in front of your camera and alerting them to the fact that their photo is being taken doesn’t always lead to the best results. Most people tend to strike stiff poses when the camera is on them with the hope of, ironically, looking their best.
As with other types of photography, in some situations candid snaps can work better, helping to tell the story of an event or a day better than more rigid, formal photography.
10. Use instant photography to break the ice
A photographer being able to give their subject an instant print in order to show them what's being achieved – or the look that the photographer is aiming for – has long been a creative device when shooting portraiture.
You can use your instant camera in the same manner. Handing someone a print at a party helps break the ice, and can help encourage people to get into the spirit of things.
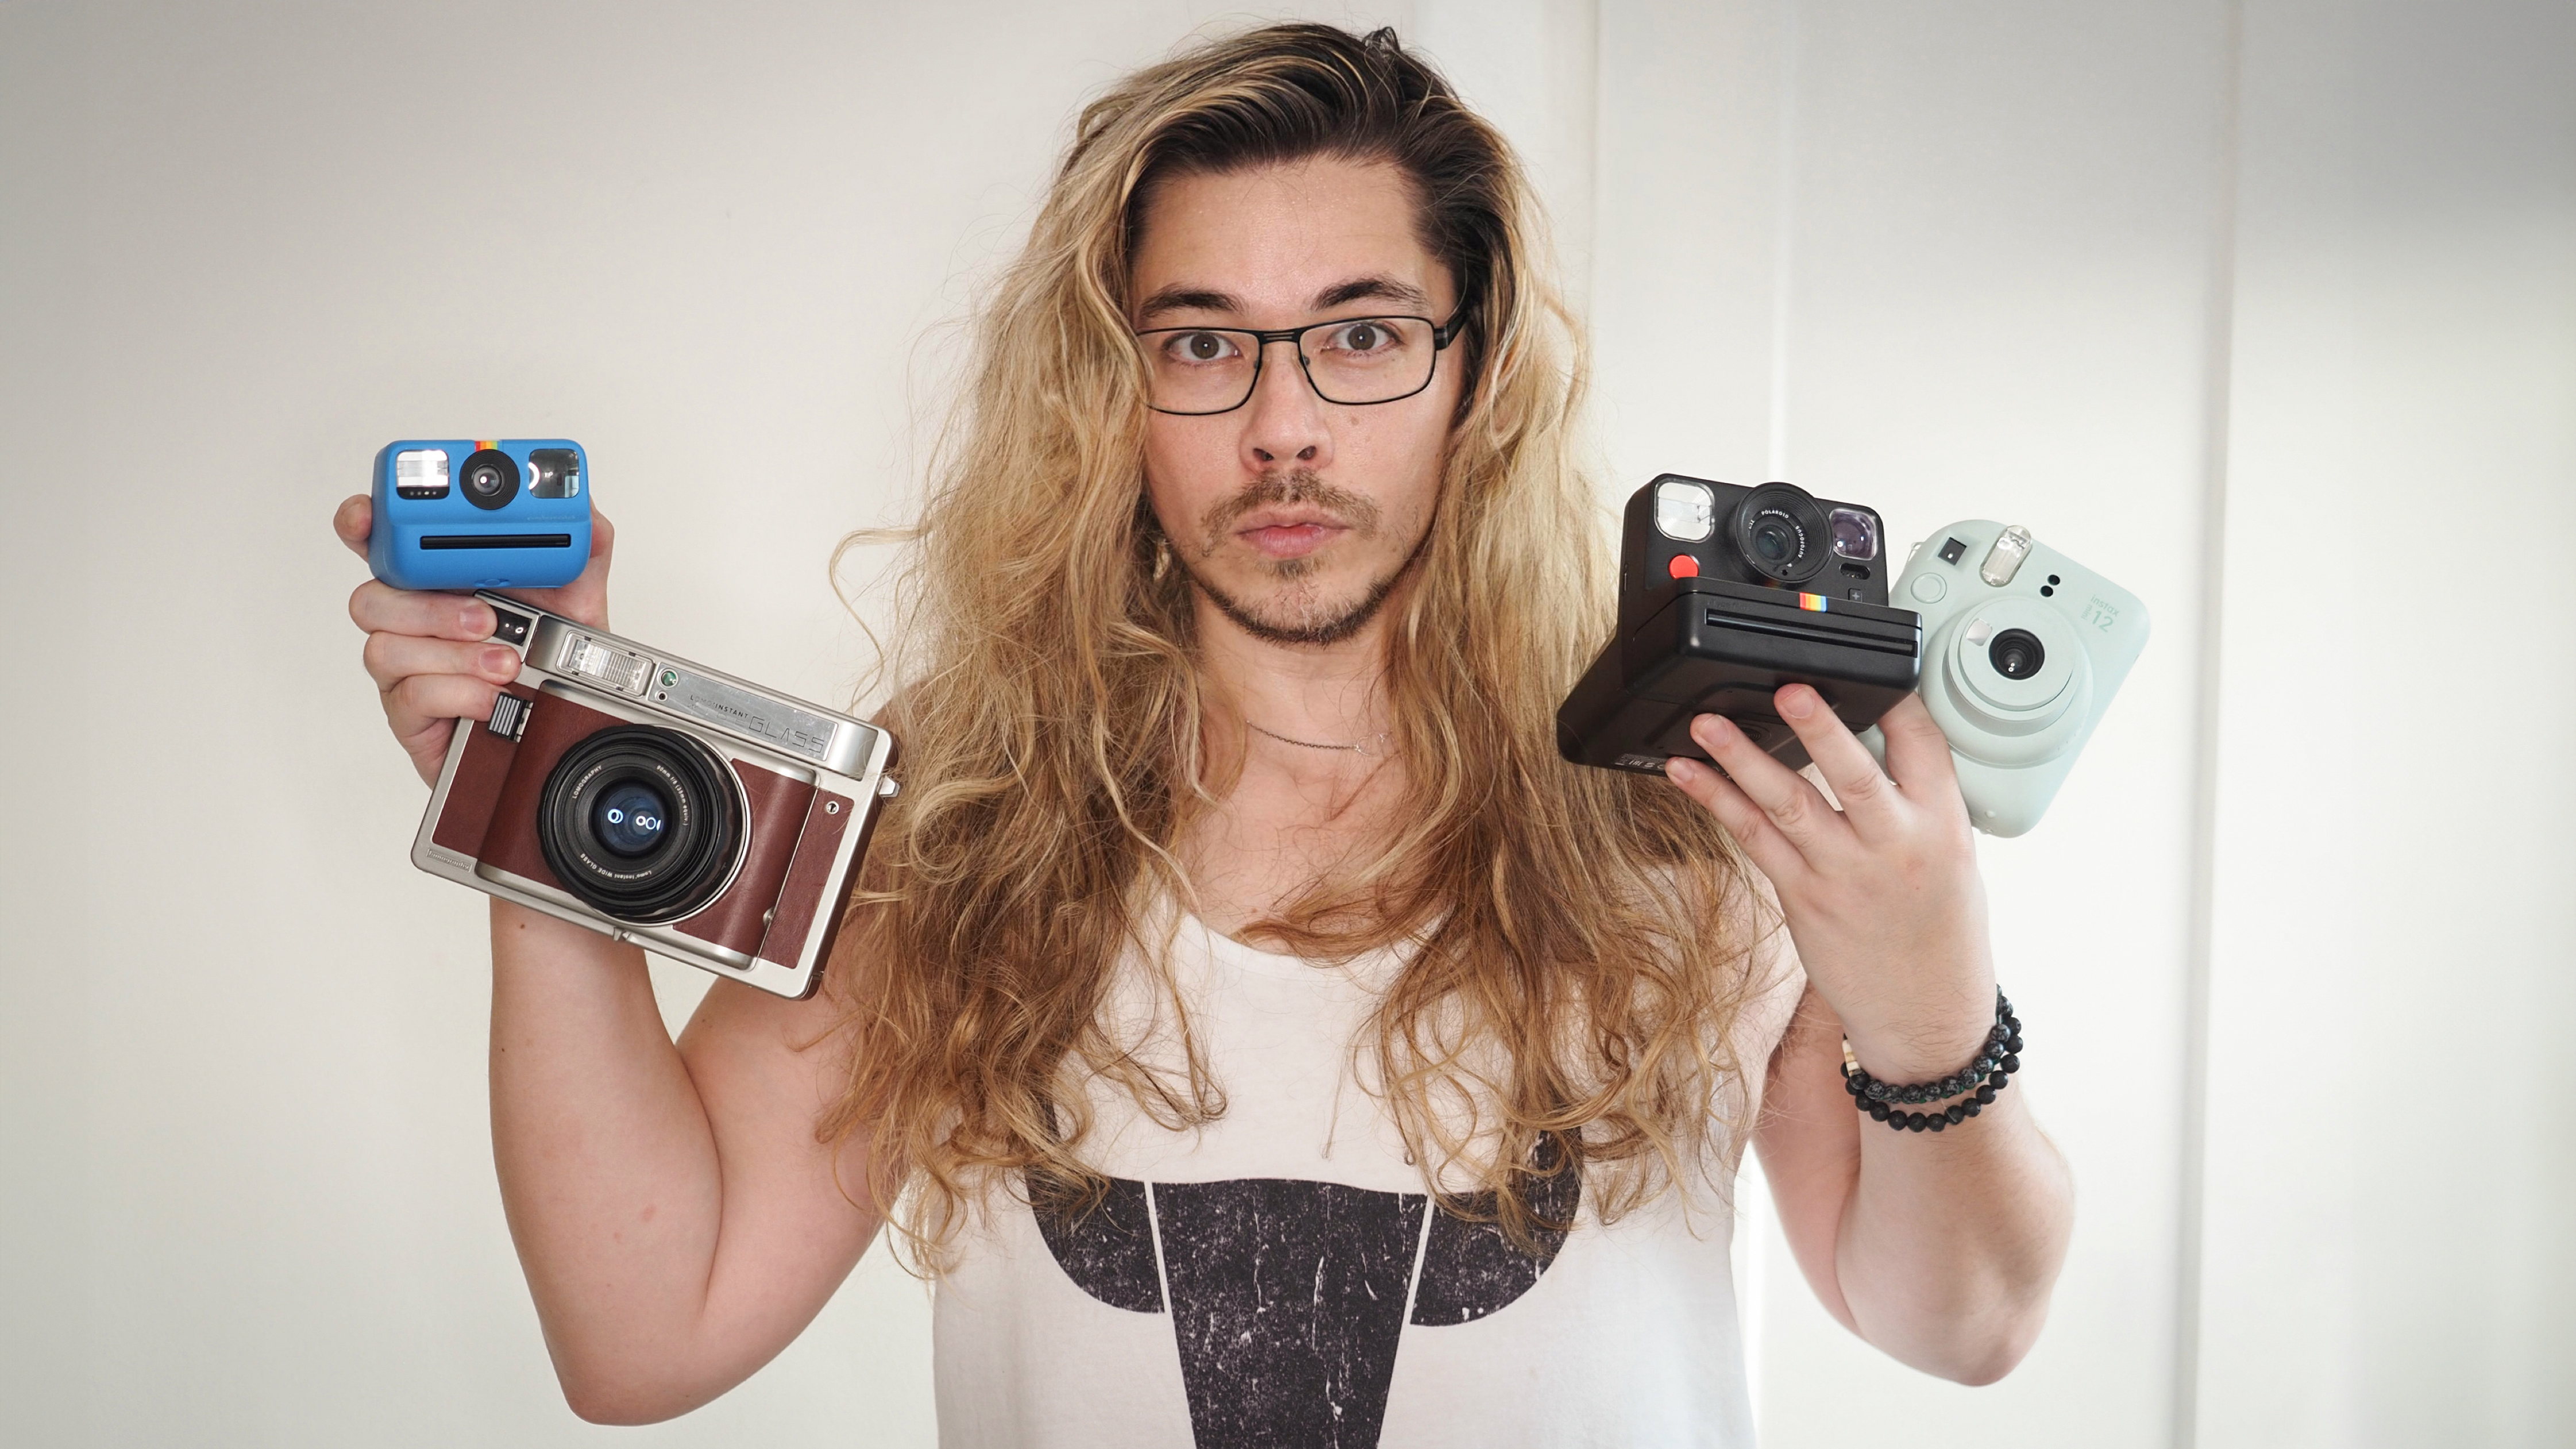
If you're also asking what type of instant film do I need, make sure to check out our guide – and take a look at this Instax vs Polaroid comparison of the two formats.
Get the Digital Camera World Newsletter
The best camera deals, reviews, product advice, and unmissable photography news, direct to your inbox!
Gavin has over 30 years’ experience of writing about photography and television. He is currently the editor of British Photographic Industry News, and previously served as editor of Which Digital Camera and deputy editor of Total Digital Photography.
He has also written for a wide range of publications including T3, BBC Focus, Empire, NME, Radio Times, MacWorld, Computer Active, What Digital Camera and the Rough Guide books.
With his wealth of knowledge, Gavin is well placed to recognize great camera deals and recommend the best products in Digital Camera World’s buying guides. He also writes on a number of specialist subjects including binoculars and monoculars, spotting scopes, microscopes, trail cameras, action cameras, body cameras, filters and cameras straps.
- James ArtaiusEditor in Chief

