How to get the best camera set up to take perfect black-and-white images
While black-and-white conversion using editing software offers flexibility, creating monochrome images at the moment of exposure has its own benefits
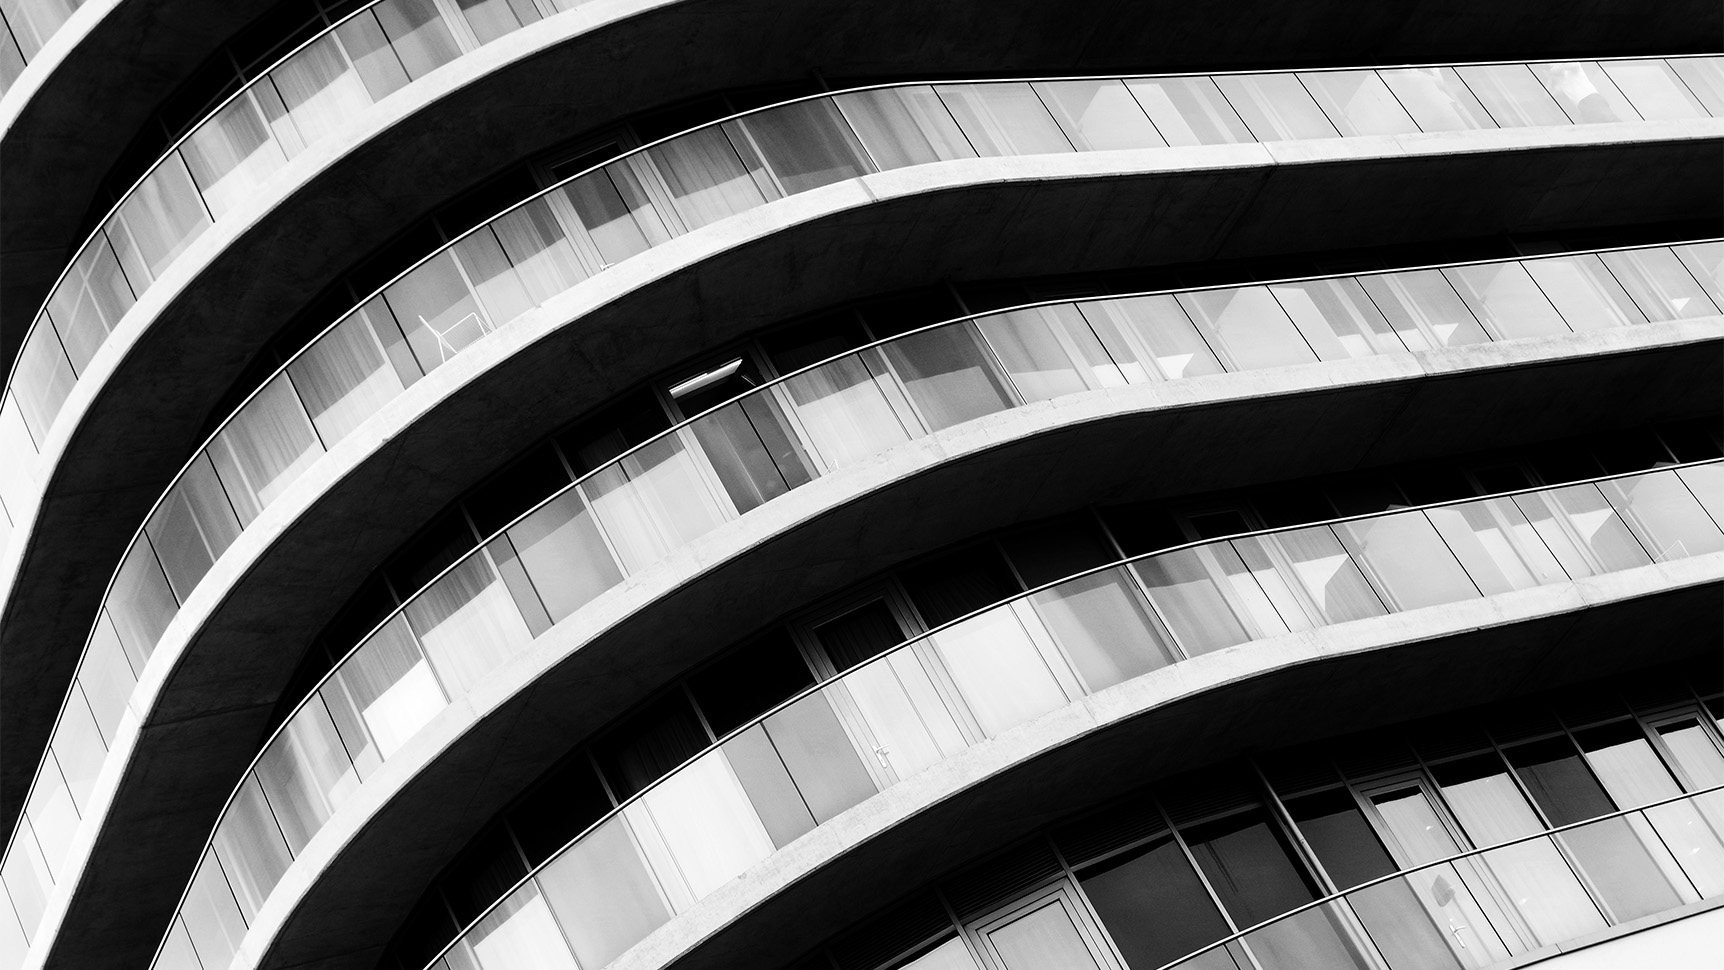
There’s an abundance of dedicated black-and-white conversion software applications that provide sophisticated options for quality colourless images. However, while shooting in colour and stripping it away later has become standard practice, it can cause problems.
Conversion is not a quick method of making a dull image worth keeping, as can be the tempting frame of mind to adopt. Shooting your image with the initial intent to produce a mono shot allows you to consider tone, detail and compositional balance before the exposure is made.
Once you have decided how you want the final image to look, using the scene in front of you as a reference, you can select contrast, sharpness and tone from a range of file-customisation options in your camera’s image style menu, while seeing an immediate preview.
Sometimes a slight adjustment to exposure or composition can improve your tonal range, parameters which cannot be easily altered at the computer.
Modern cameras often have toning filters or film simulation modes, which can be added to create unique photographs. Applying effects in the camera saves time at the processing stage, and can output print-ready images that don’t suffer from the mis-application of processing or variations in tone, induced by inconsistent colour balance between computer screens.
1. Choose Raw + JPEG image format
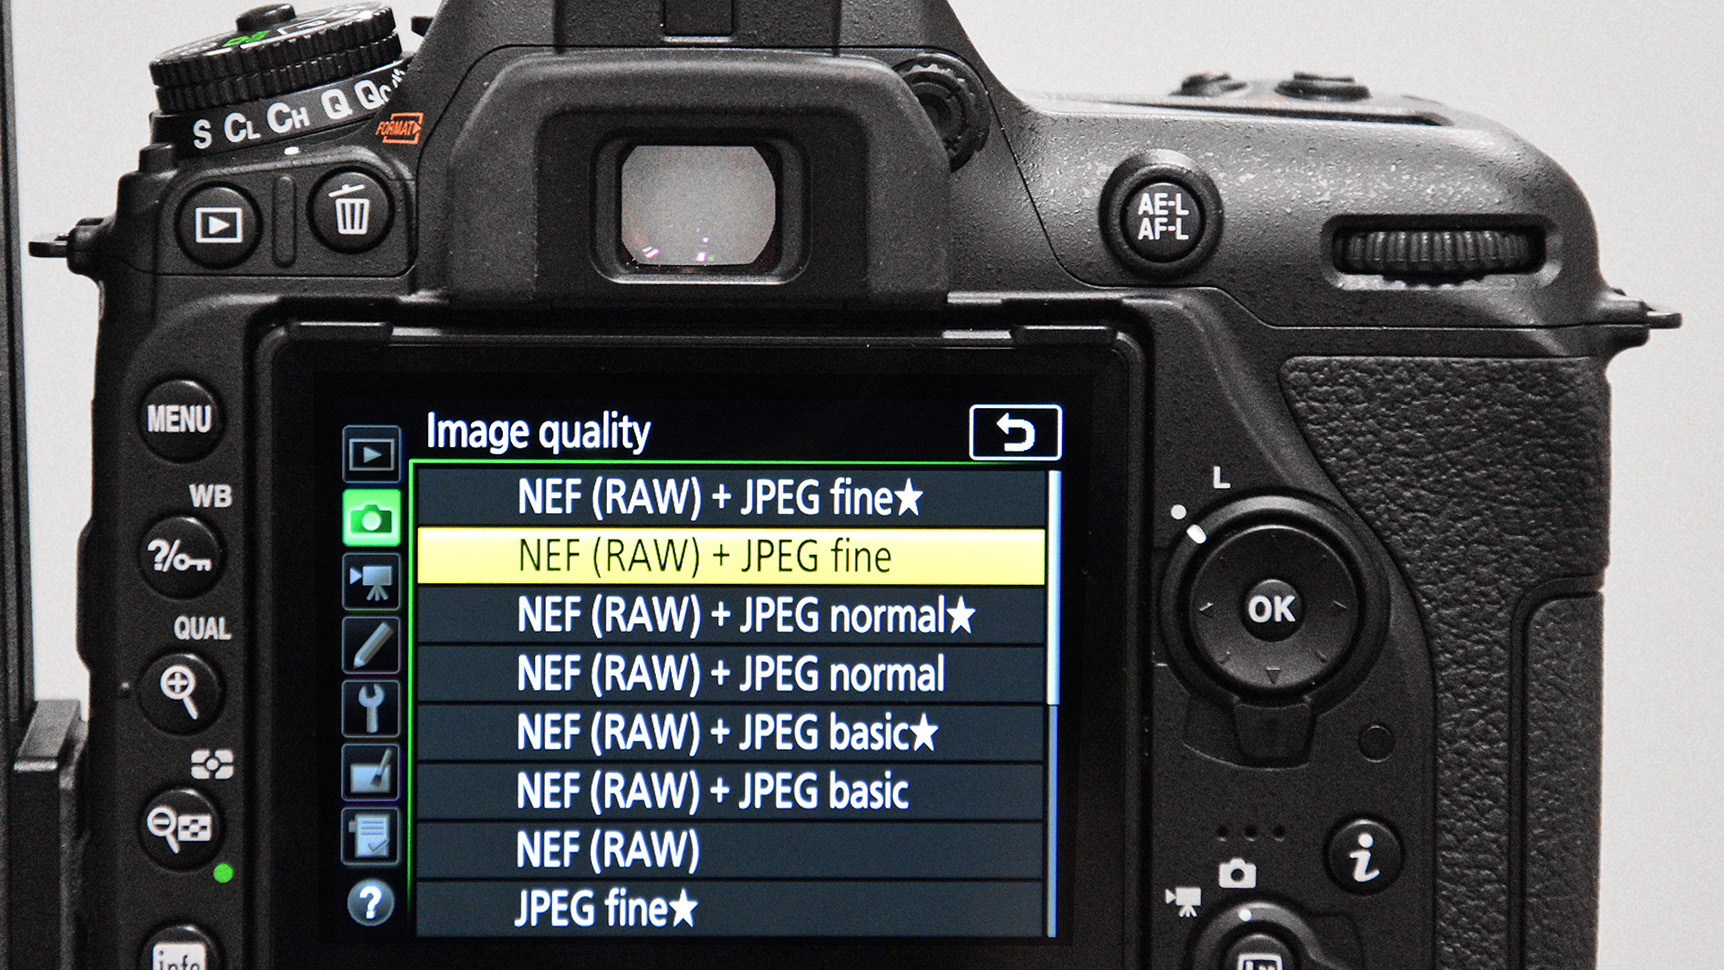
When shooting RAW files, picture styles are not applied. Shoot a JPEG to get the benefits of a preview of the final image, but also keep a RAW version in case you want to tailor the file differently in the future.
2. Select Monochrome picture style
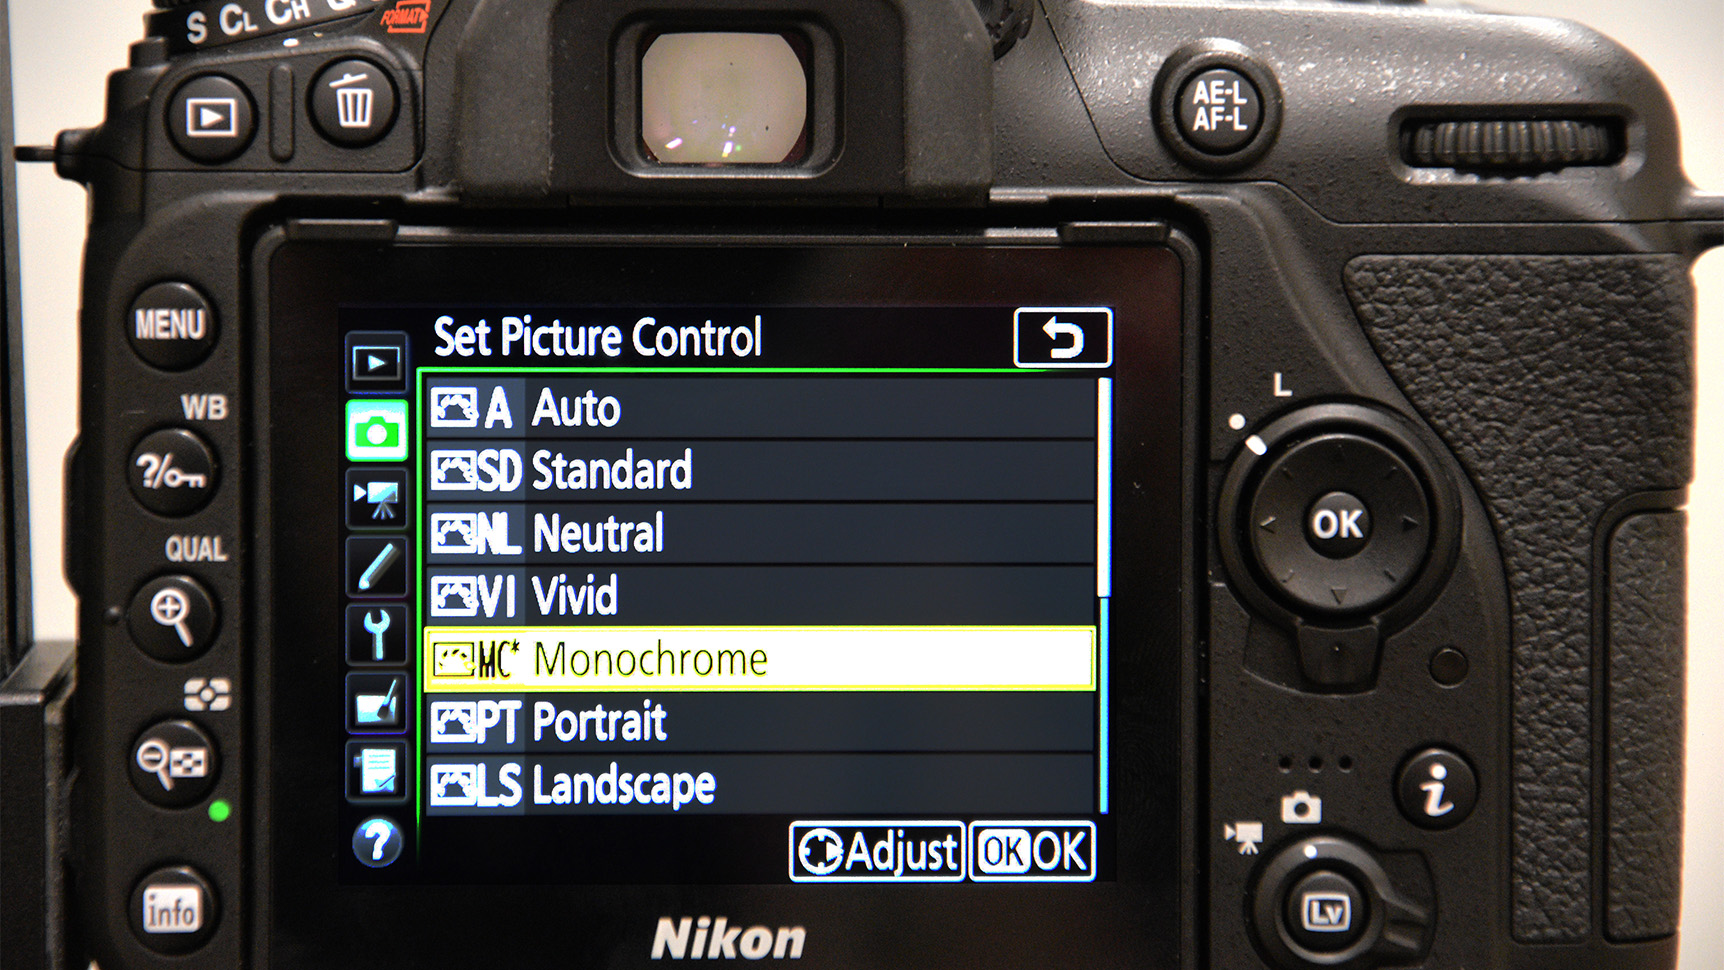
Enter your camera’s menu and select the Monochrome picture style from the list of available options. Toggling this preset will mean it is applied to JPEG files on capture and a black and white image will be displayed.
3. Adjust composition
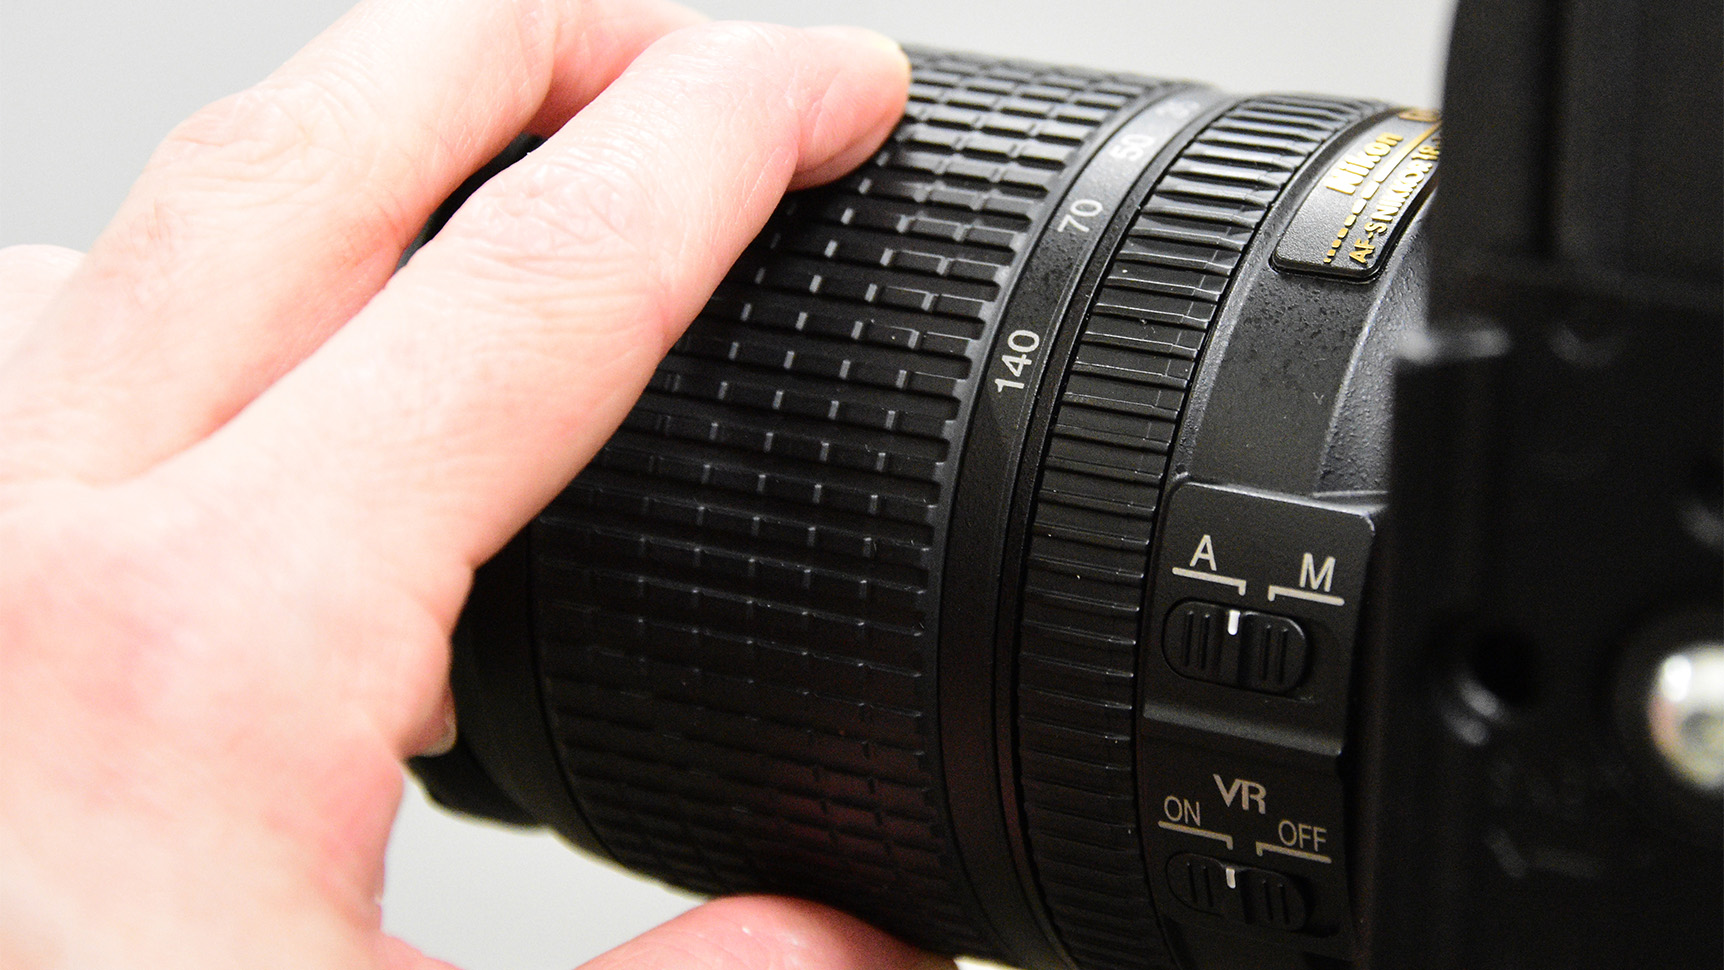
Frame your shot, composing with the final monochrome image in mind. Vary focal length to isolate detail and texture rather than colour and tone, excluding areas that appear flat in the review image.
4. Customise brightness and contrast
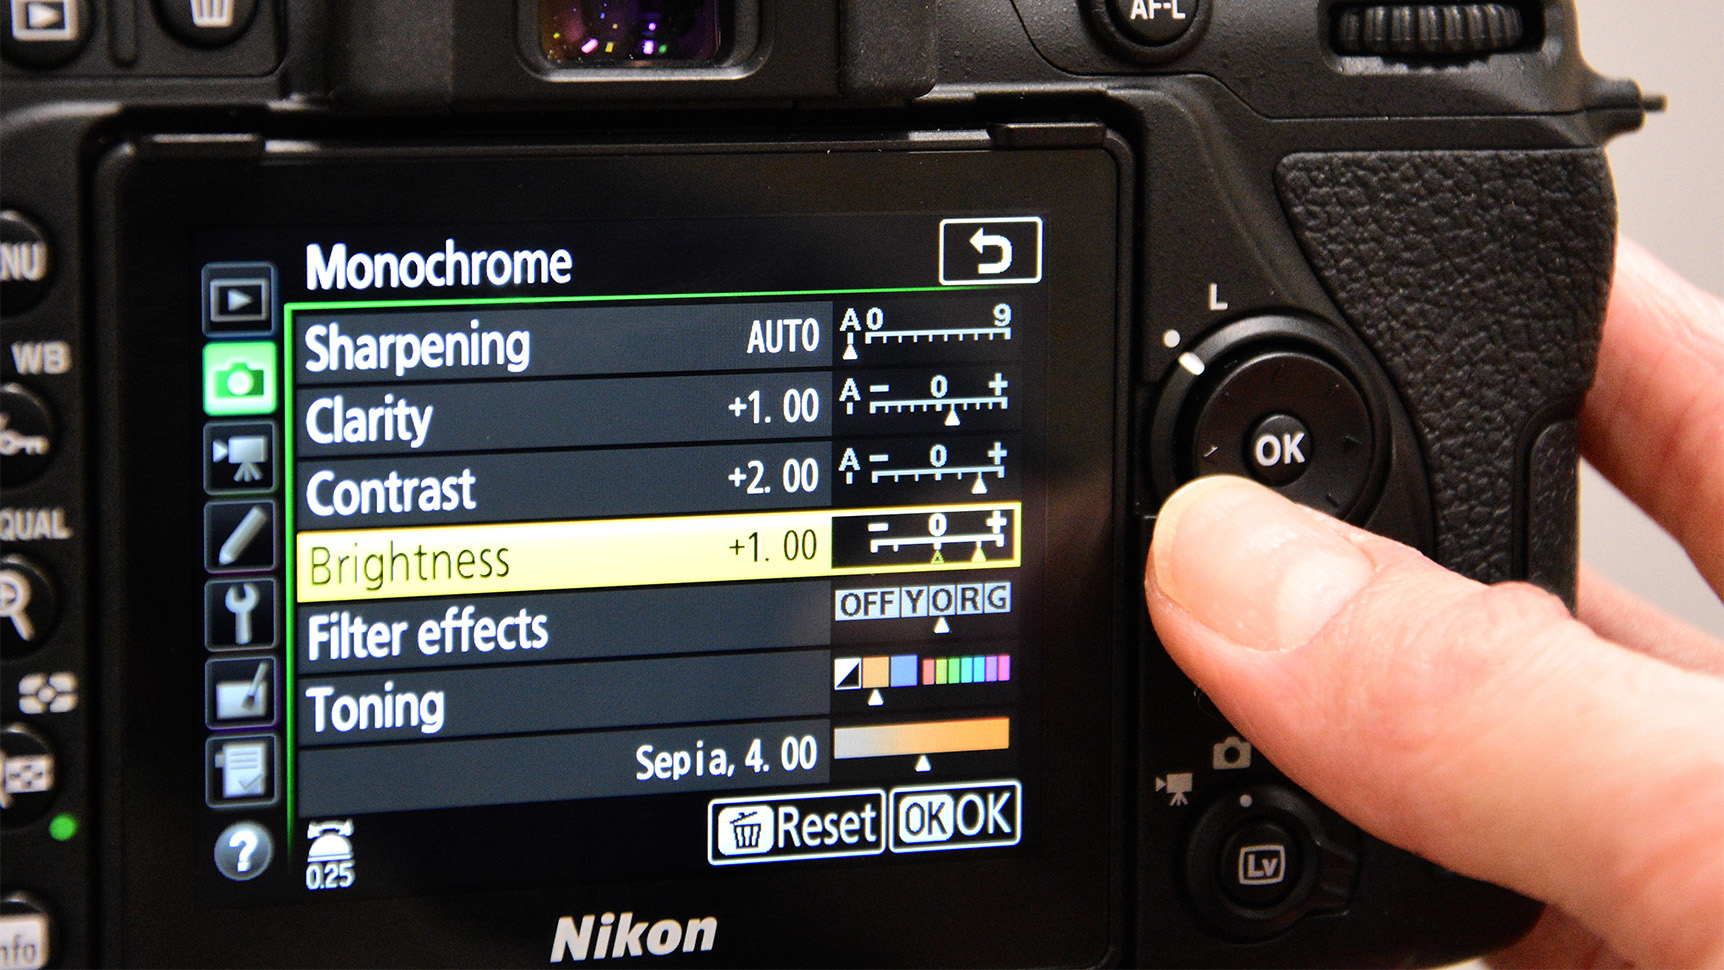
Once you have settled on a general exposure, tailor the styling of the image using the picture style editing menu. Alter detail and highlight/shadow balance using the sliders provided, and take a test shot.
5. Consider filter effects
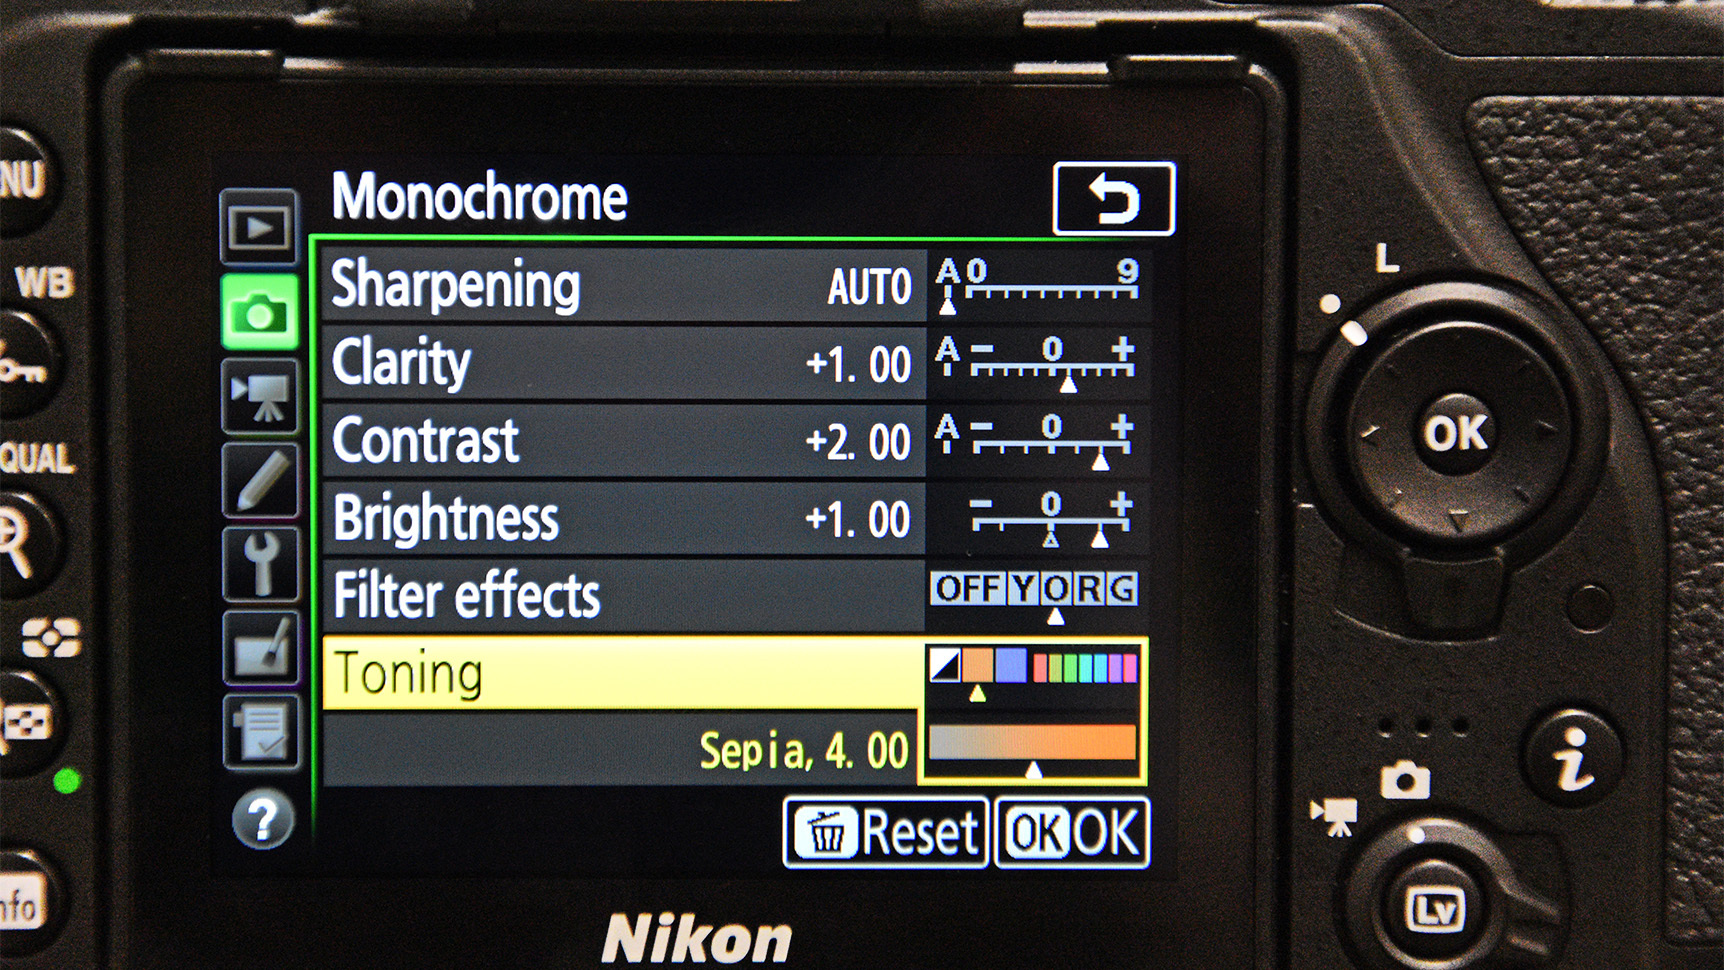
Depending on your camera model, choose from a variety of filter effects and toning options. You may have to revisit brightness and contrast to compensate for tonal shifts created by the filter effects.
6. Shoot, review and adjust
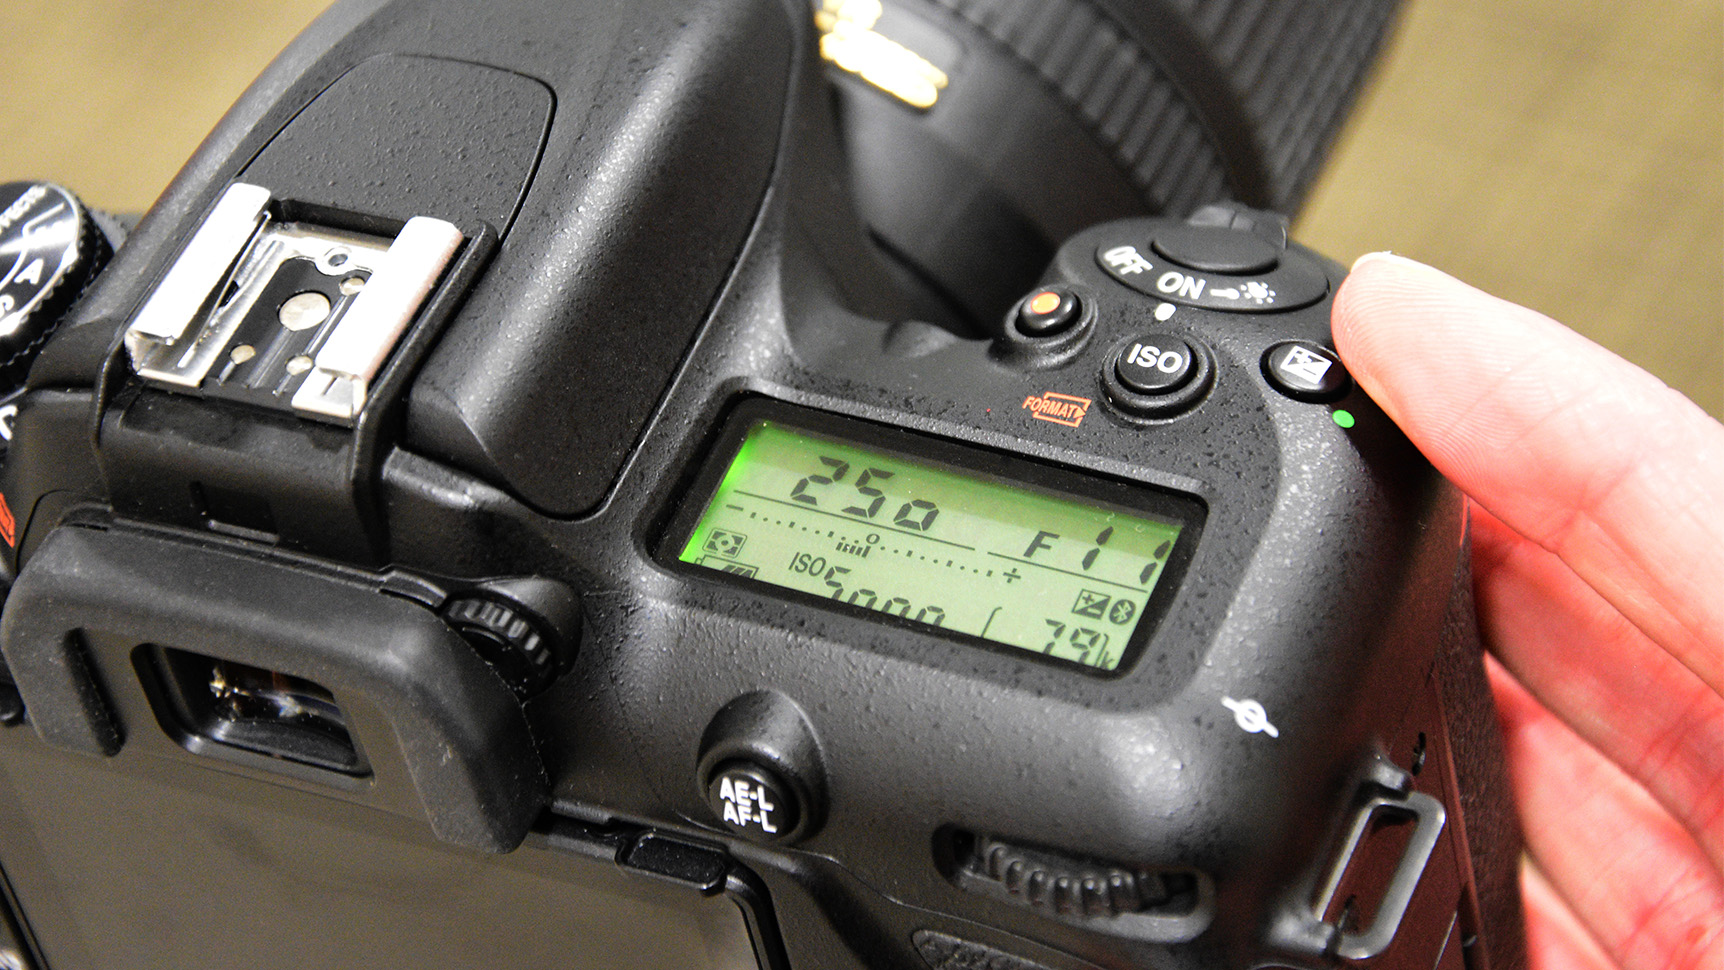
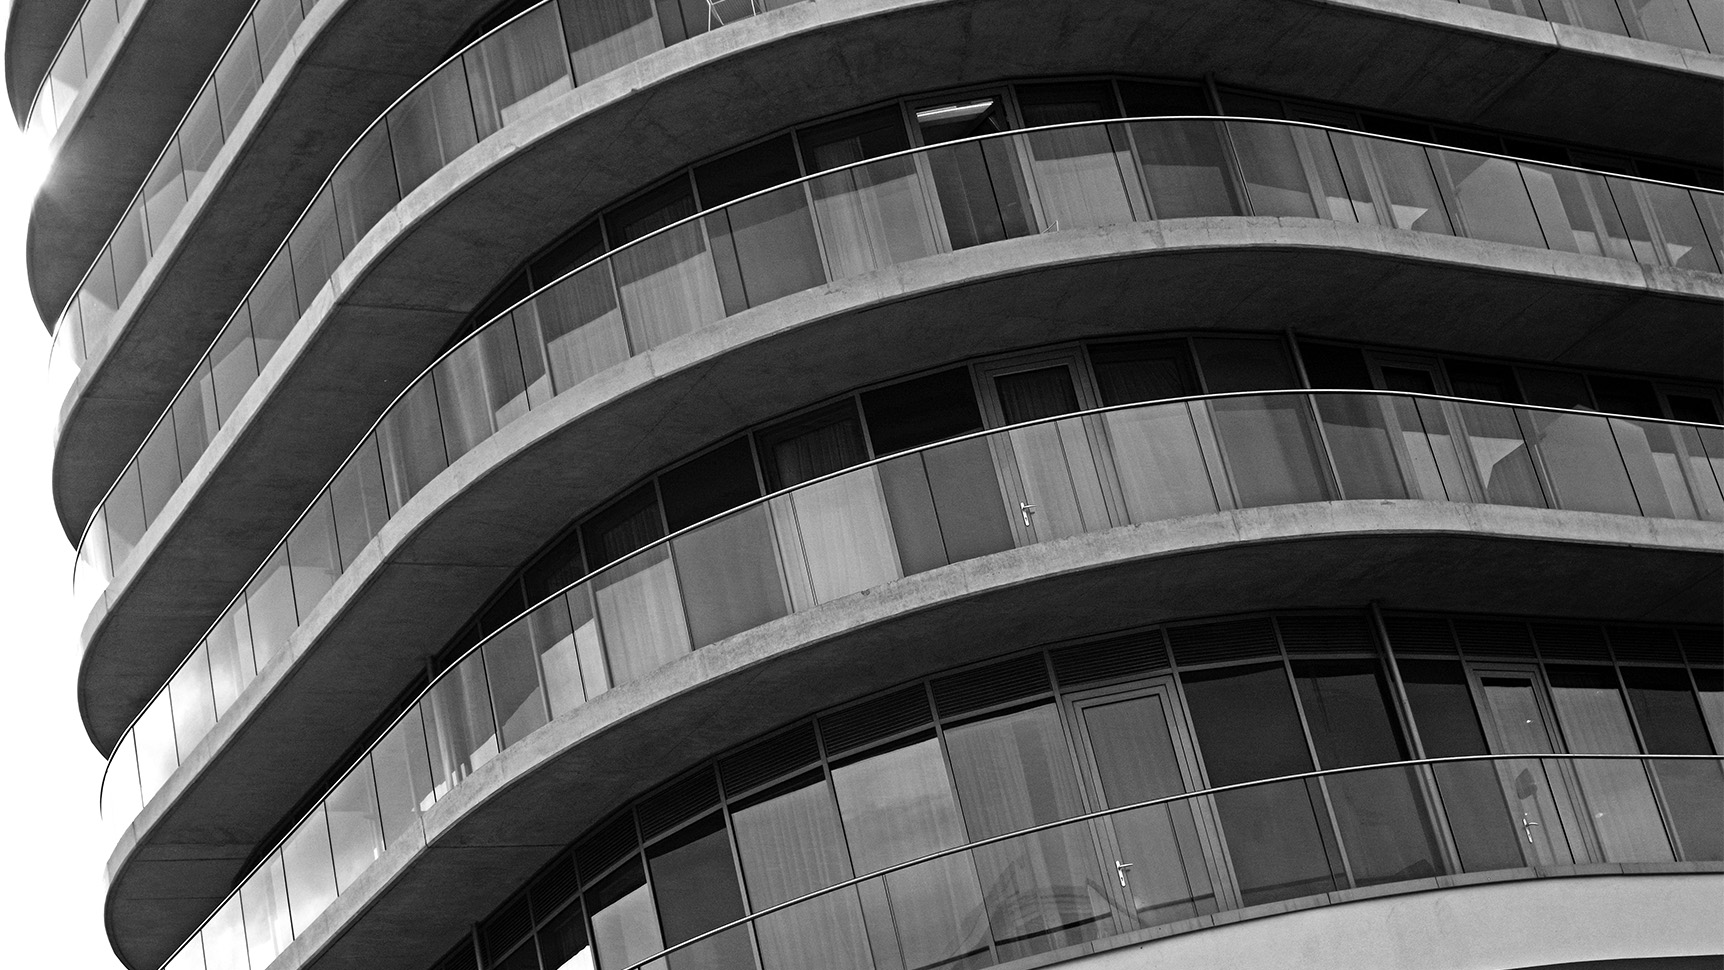
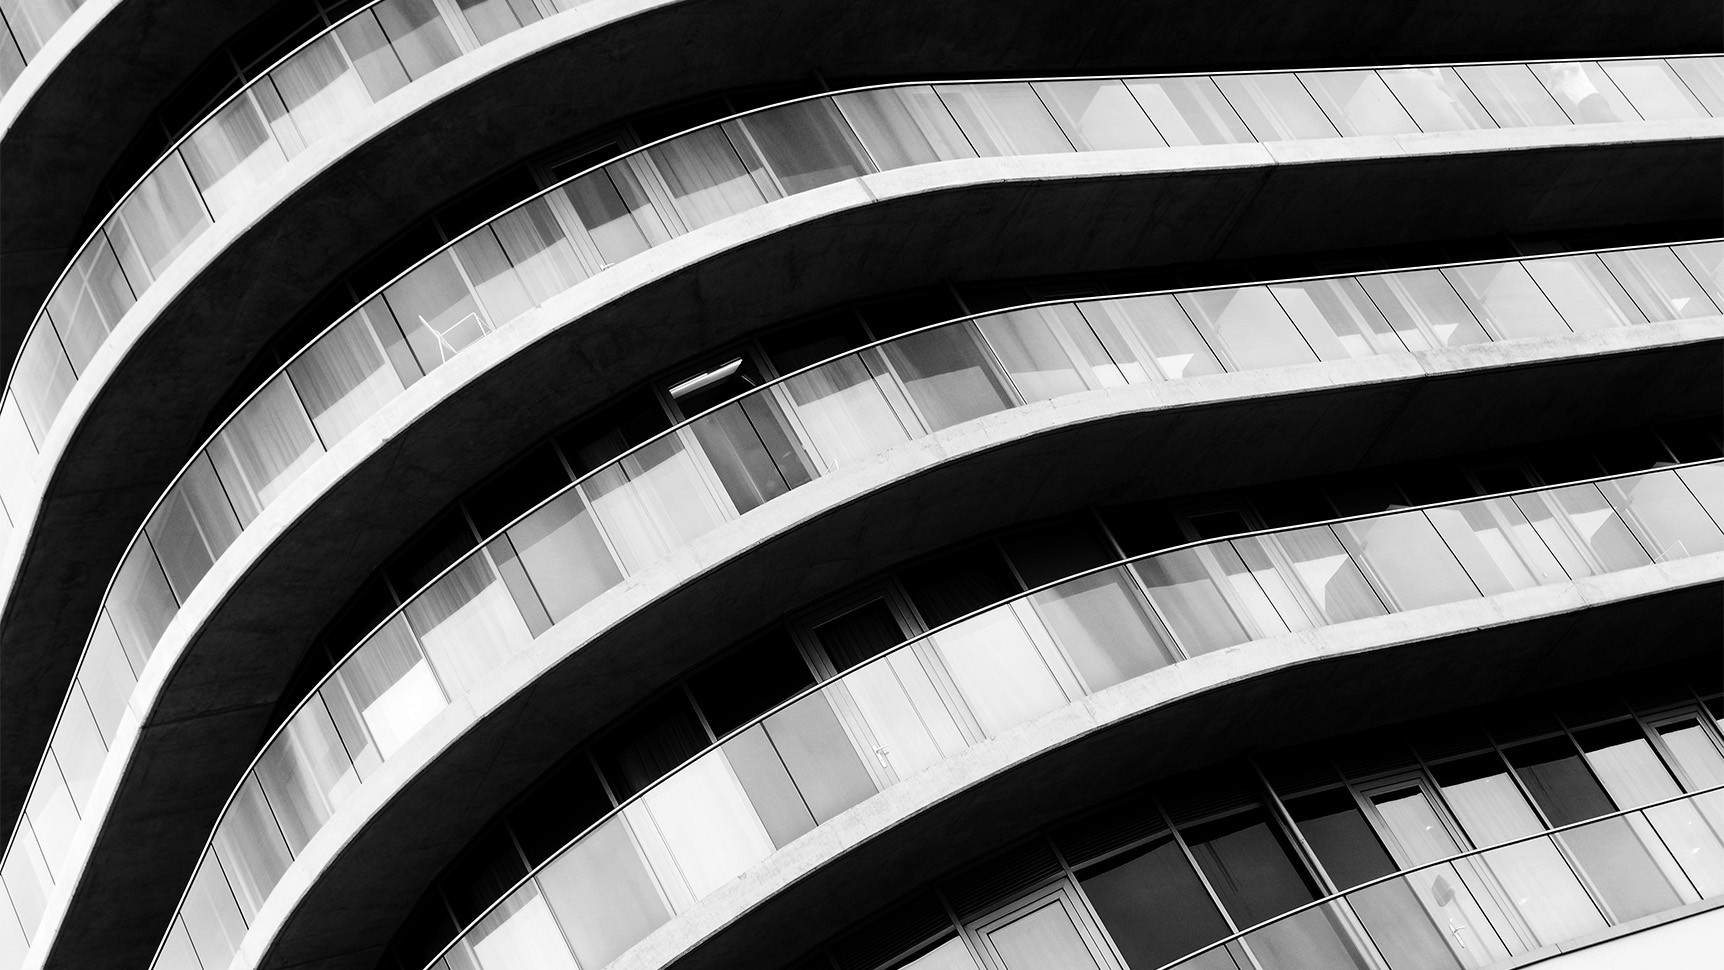
Shoot your image, review the instant monochrome photo and make informed alterations to exposure and framing. Try under or overexposing slightly for varying atmosphere, experimenting with high and low-key looks.
Read more: How to add tints for extra impact
Competition: £30,000 of prizes in Digital Camera Photographer of the Year
Get the Digital Camera World Newsletter
The best camera deals, reviews, product advice, and unmissable photography news, direct to your inbox!
Digital Photographer is the ultimate monthly photography magazine for enthusiasts and pros in today’s digital marketplace.
Every issue readers are treated to interviews with leading expert photographers, cutting-edge imagery, practical shooting advice and the very latest high-end digital news and equipment reviews. The team includes seasoned journalists and passionate photographers such as the Editor Peter Fenech, who are well positioned to bring you authoritative reviews and tutorials on cameras, lenses, lighting, gimbals and more.
Whether you’re a part-time amateur or a full-time pro, Digital Photographer aims to challenge, motivate and inspire you to take your best shot and get the most out of your kit, whether you’re a hobbyist or a seasoned shooter.
