How to use a crystal ball for photography
Claire Gillo shows you how to shoot landscape scenes through a crystal ball for a different approach on the genre
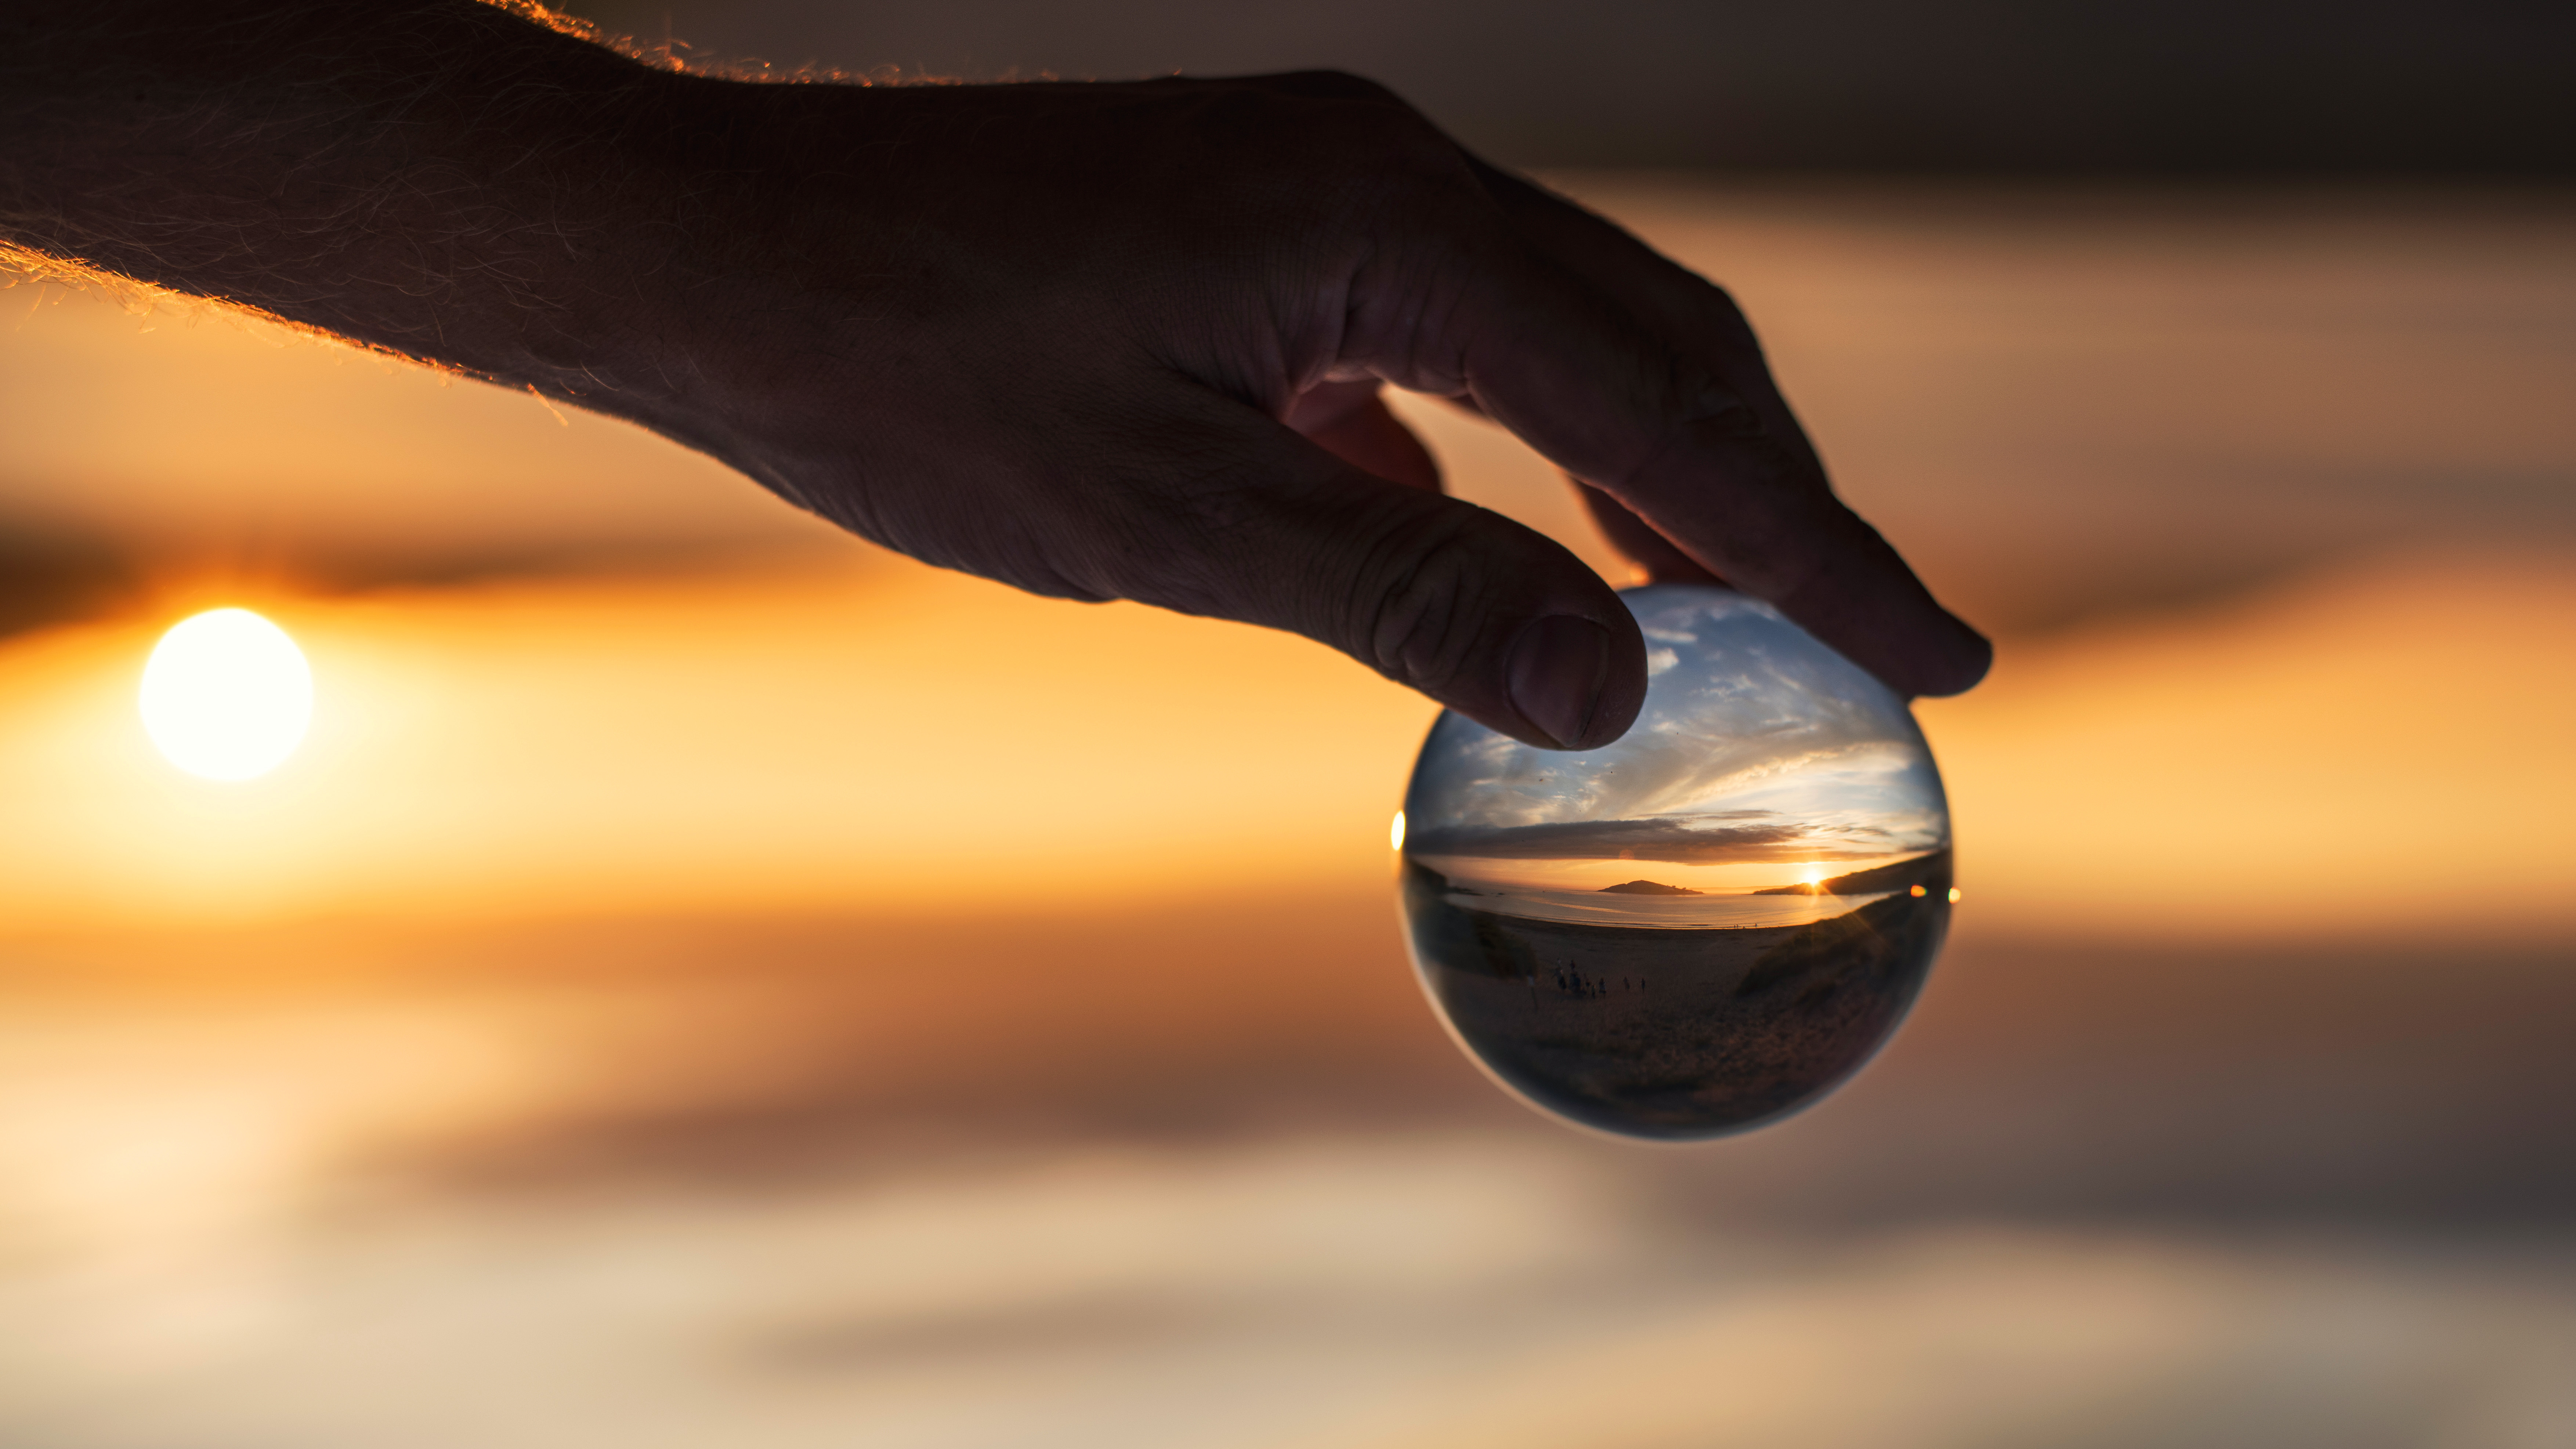
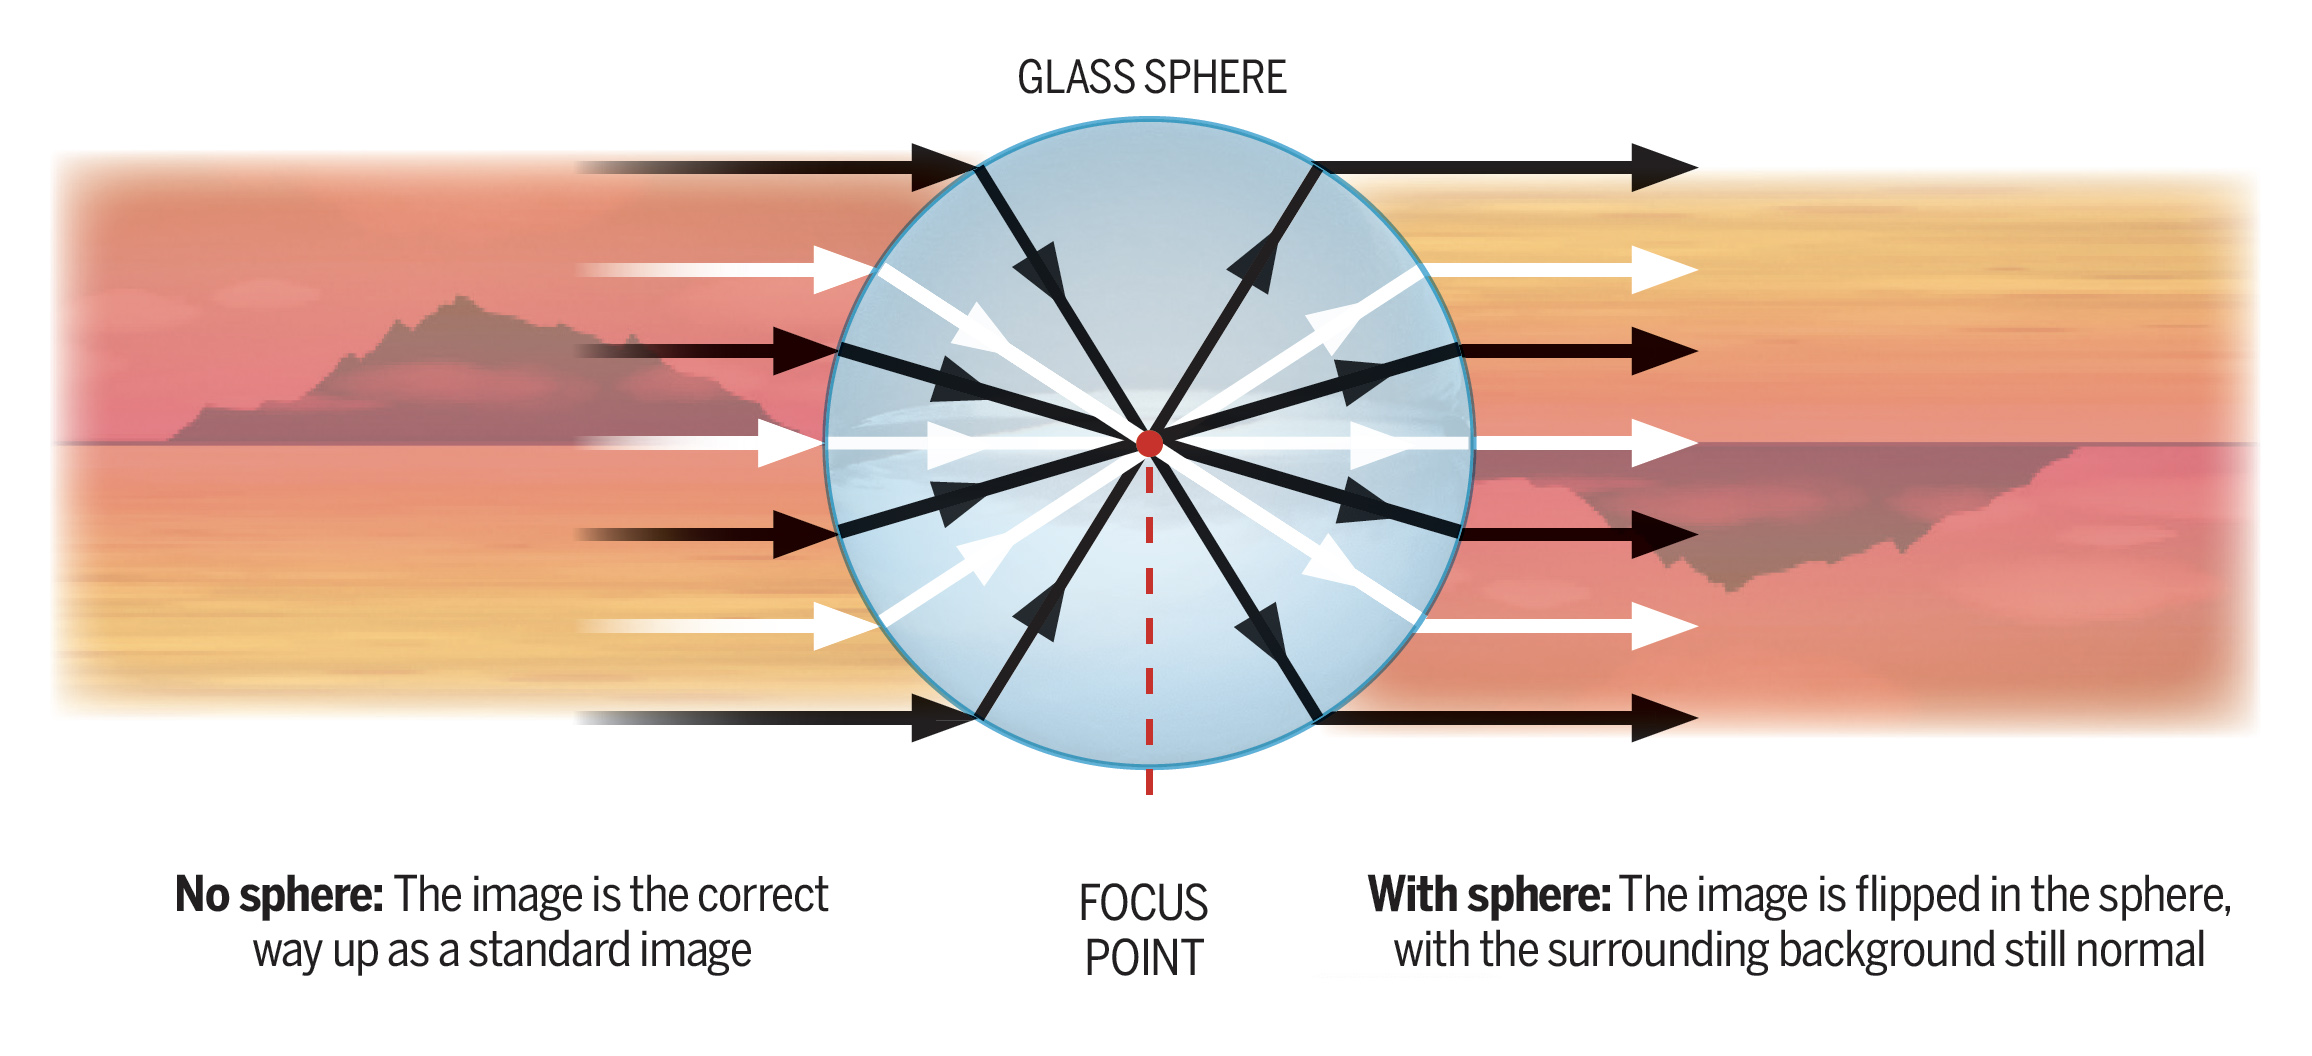
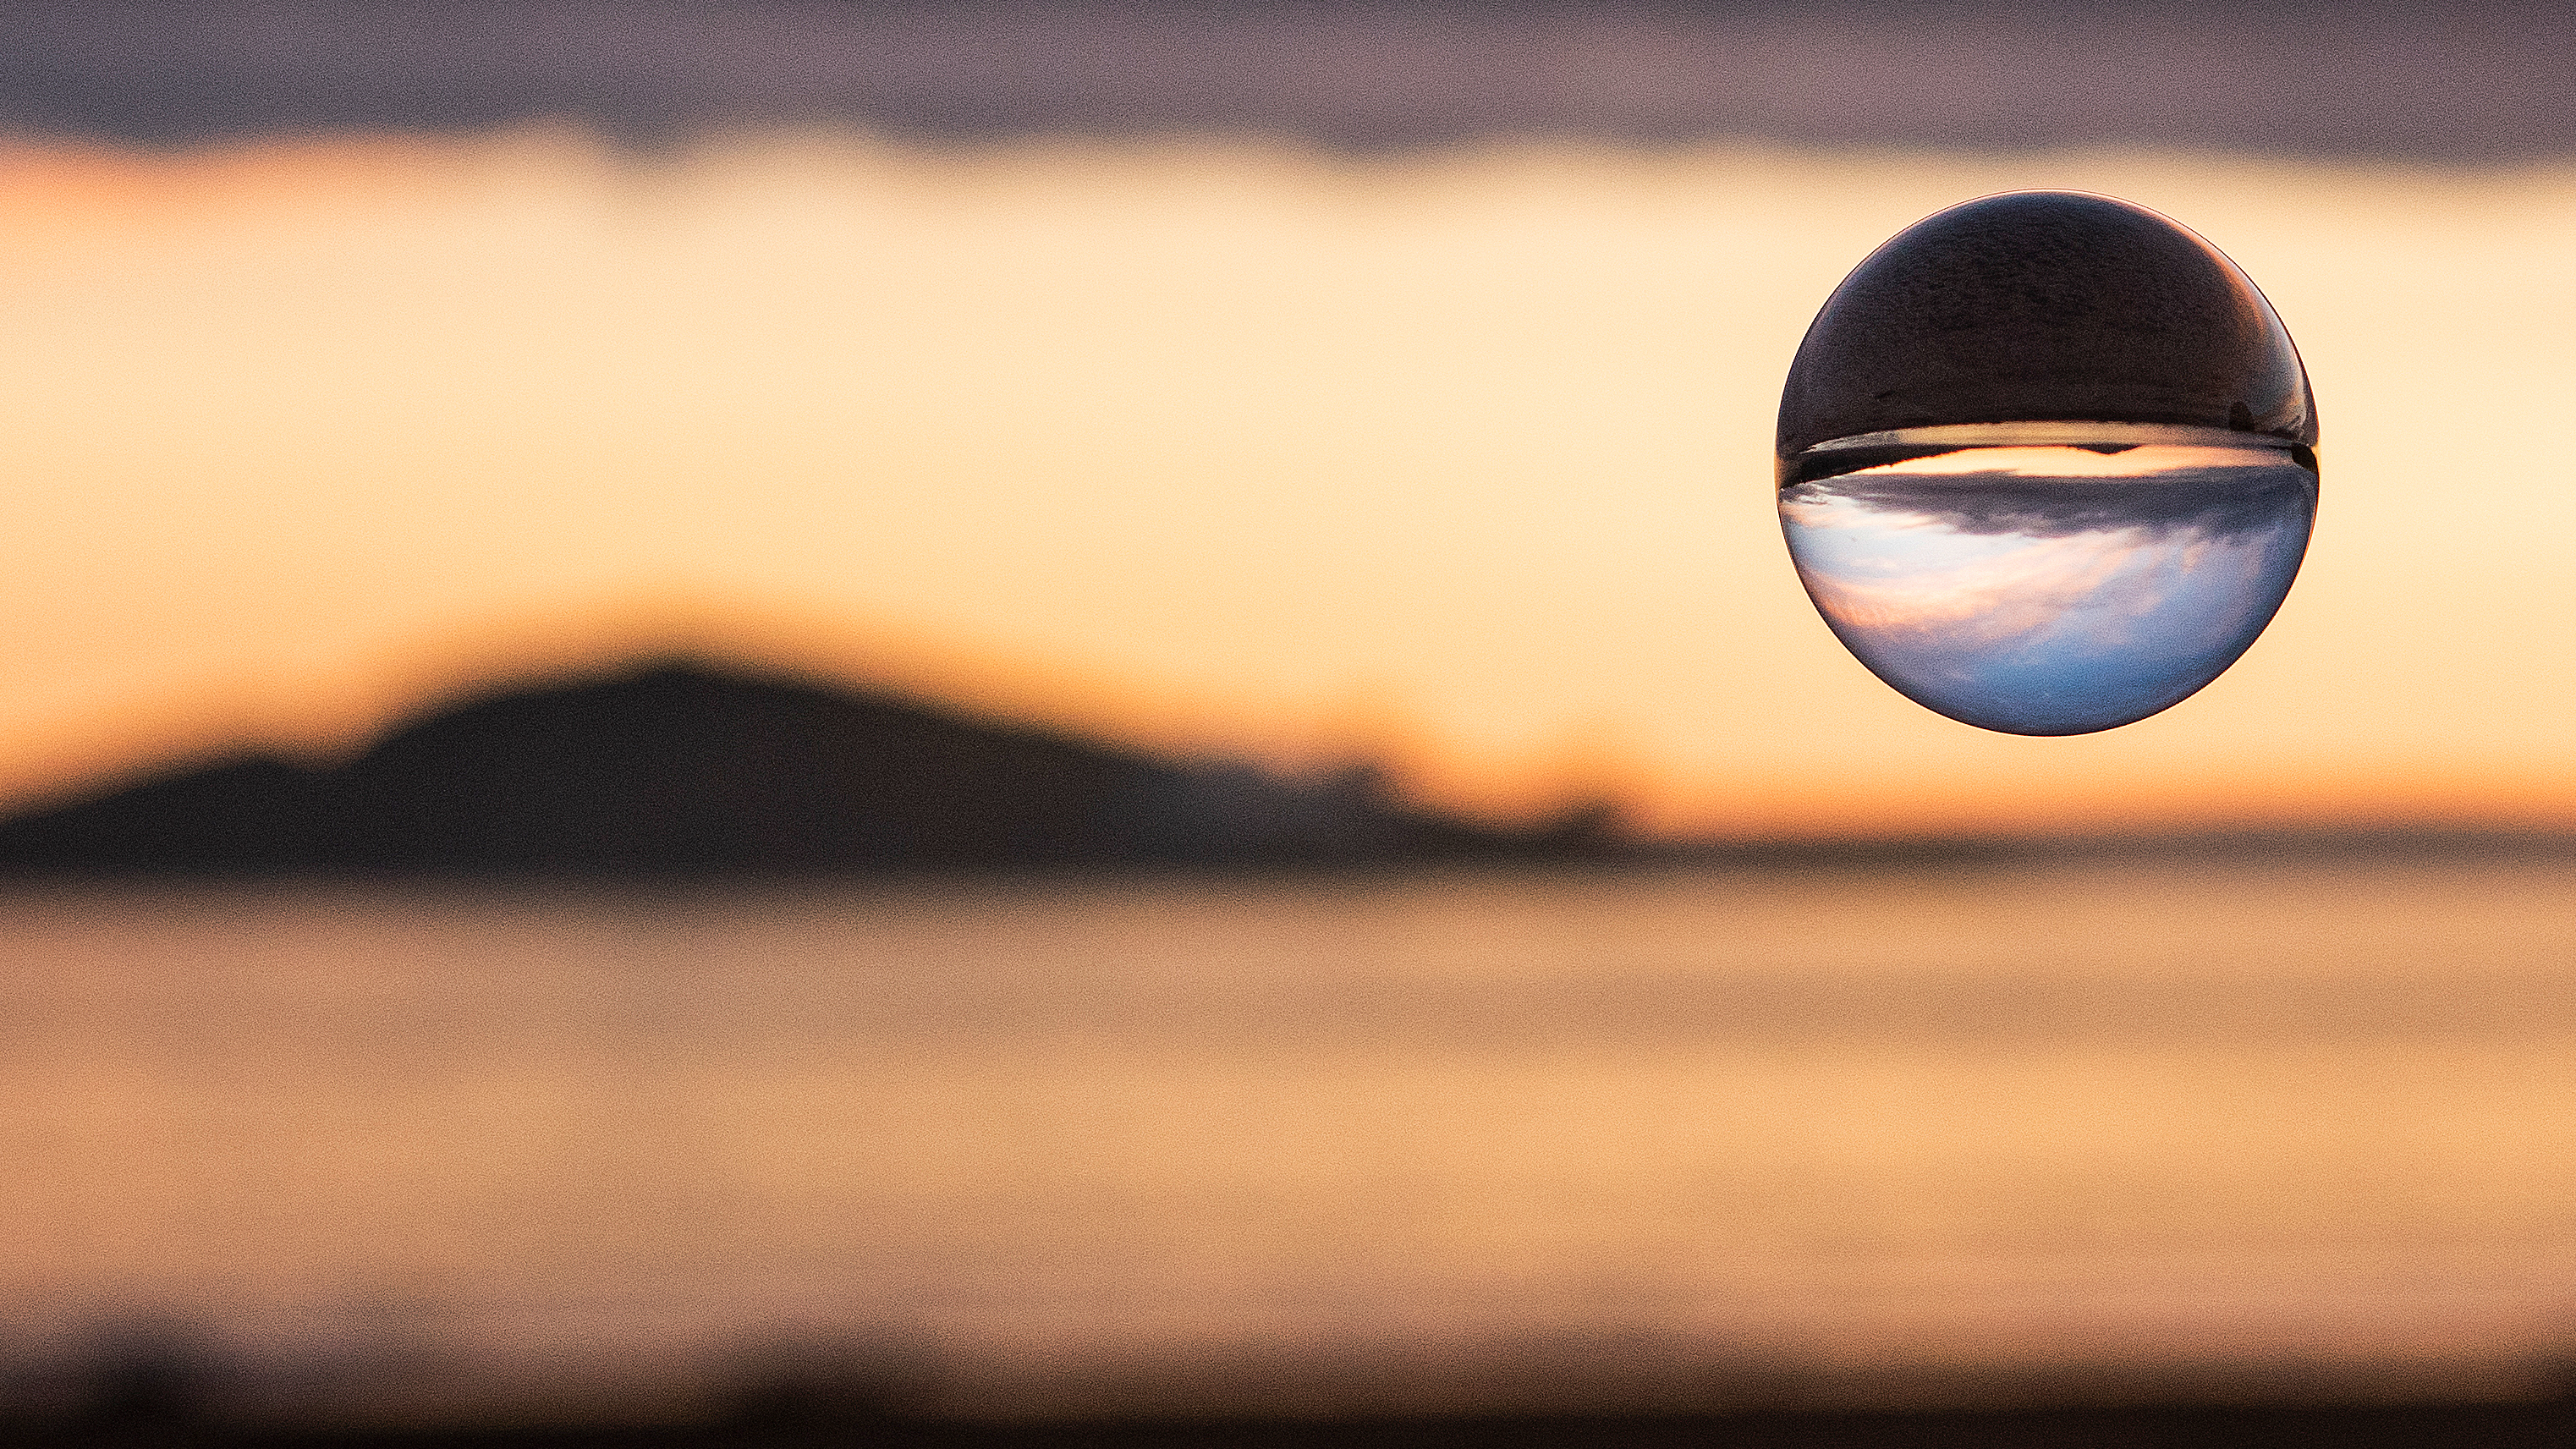
There’s something very satisfying about holding a crystal ball in your hand… The subject is projected upside-down through the glass ball, and inside you have an encapsulated scene.
For our shoot, we used a Pro-sized Lensball. There are cheaper alternatives, but we found the quality of the Lensball to be excellent.
Once you’ve got your ball in your hands, you’re ready to head out. For selecting a good location, watch out for unwanted reflections. If you shoot during the day, you’ll most likely want to pick a shady spot. It can look effective to play around with a lens flare technique, which is a technical flaw – so if you want to avoid this, stay out of the sun! It’s also vital to take a cloth with you and wipe away any fingerprints, which would ruin the final result.
You can play around with how and where you place your ball. Try balancing it on rocks, sand, earth, in your hands: there are many different possibilities.
During editing, we flipped the scene round 180 degrees so the scene in the ball is the correct way up.
1: The location
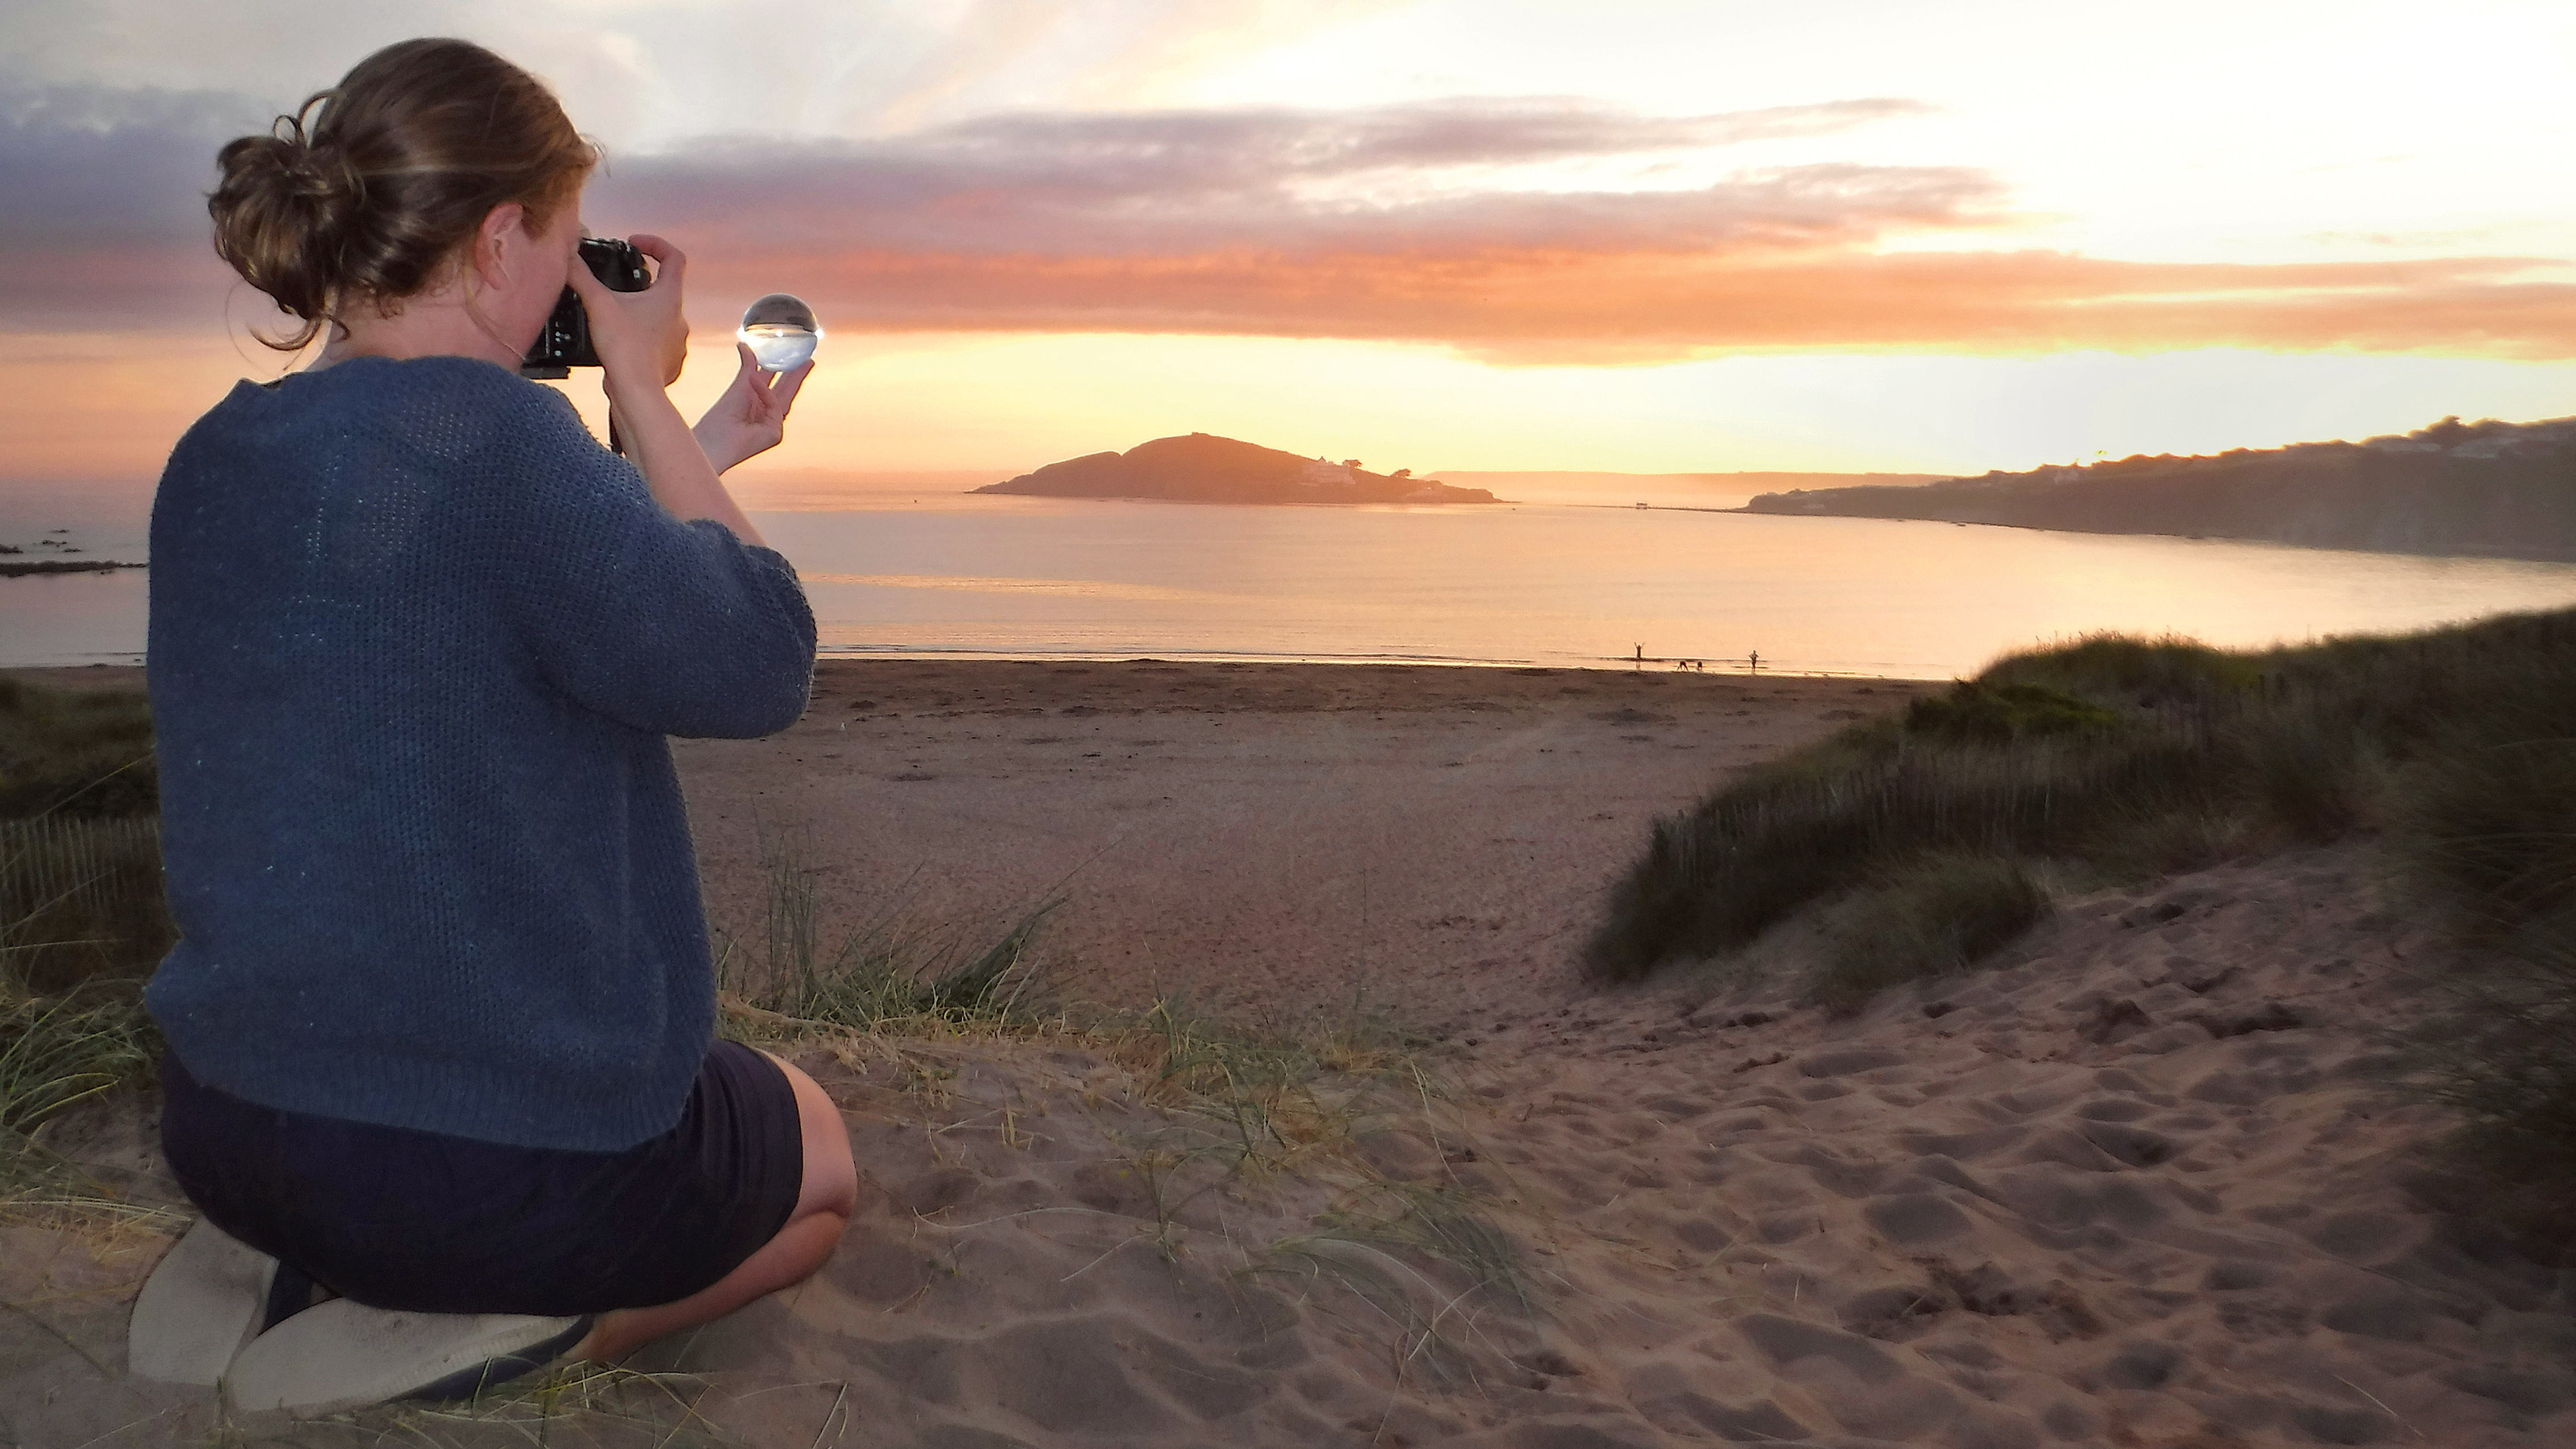
Pick a stunning setting with a strong focal point to achieve the best results . We shot from Bantham Beach in Devon, so we had the iconic Burgh Island for our main focal point. We also headed down just before sunset and did our photoshoot during the golden hour to ensure that the colors in the sky would be warm and appealing in the final shot.
2: Lens choice
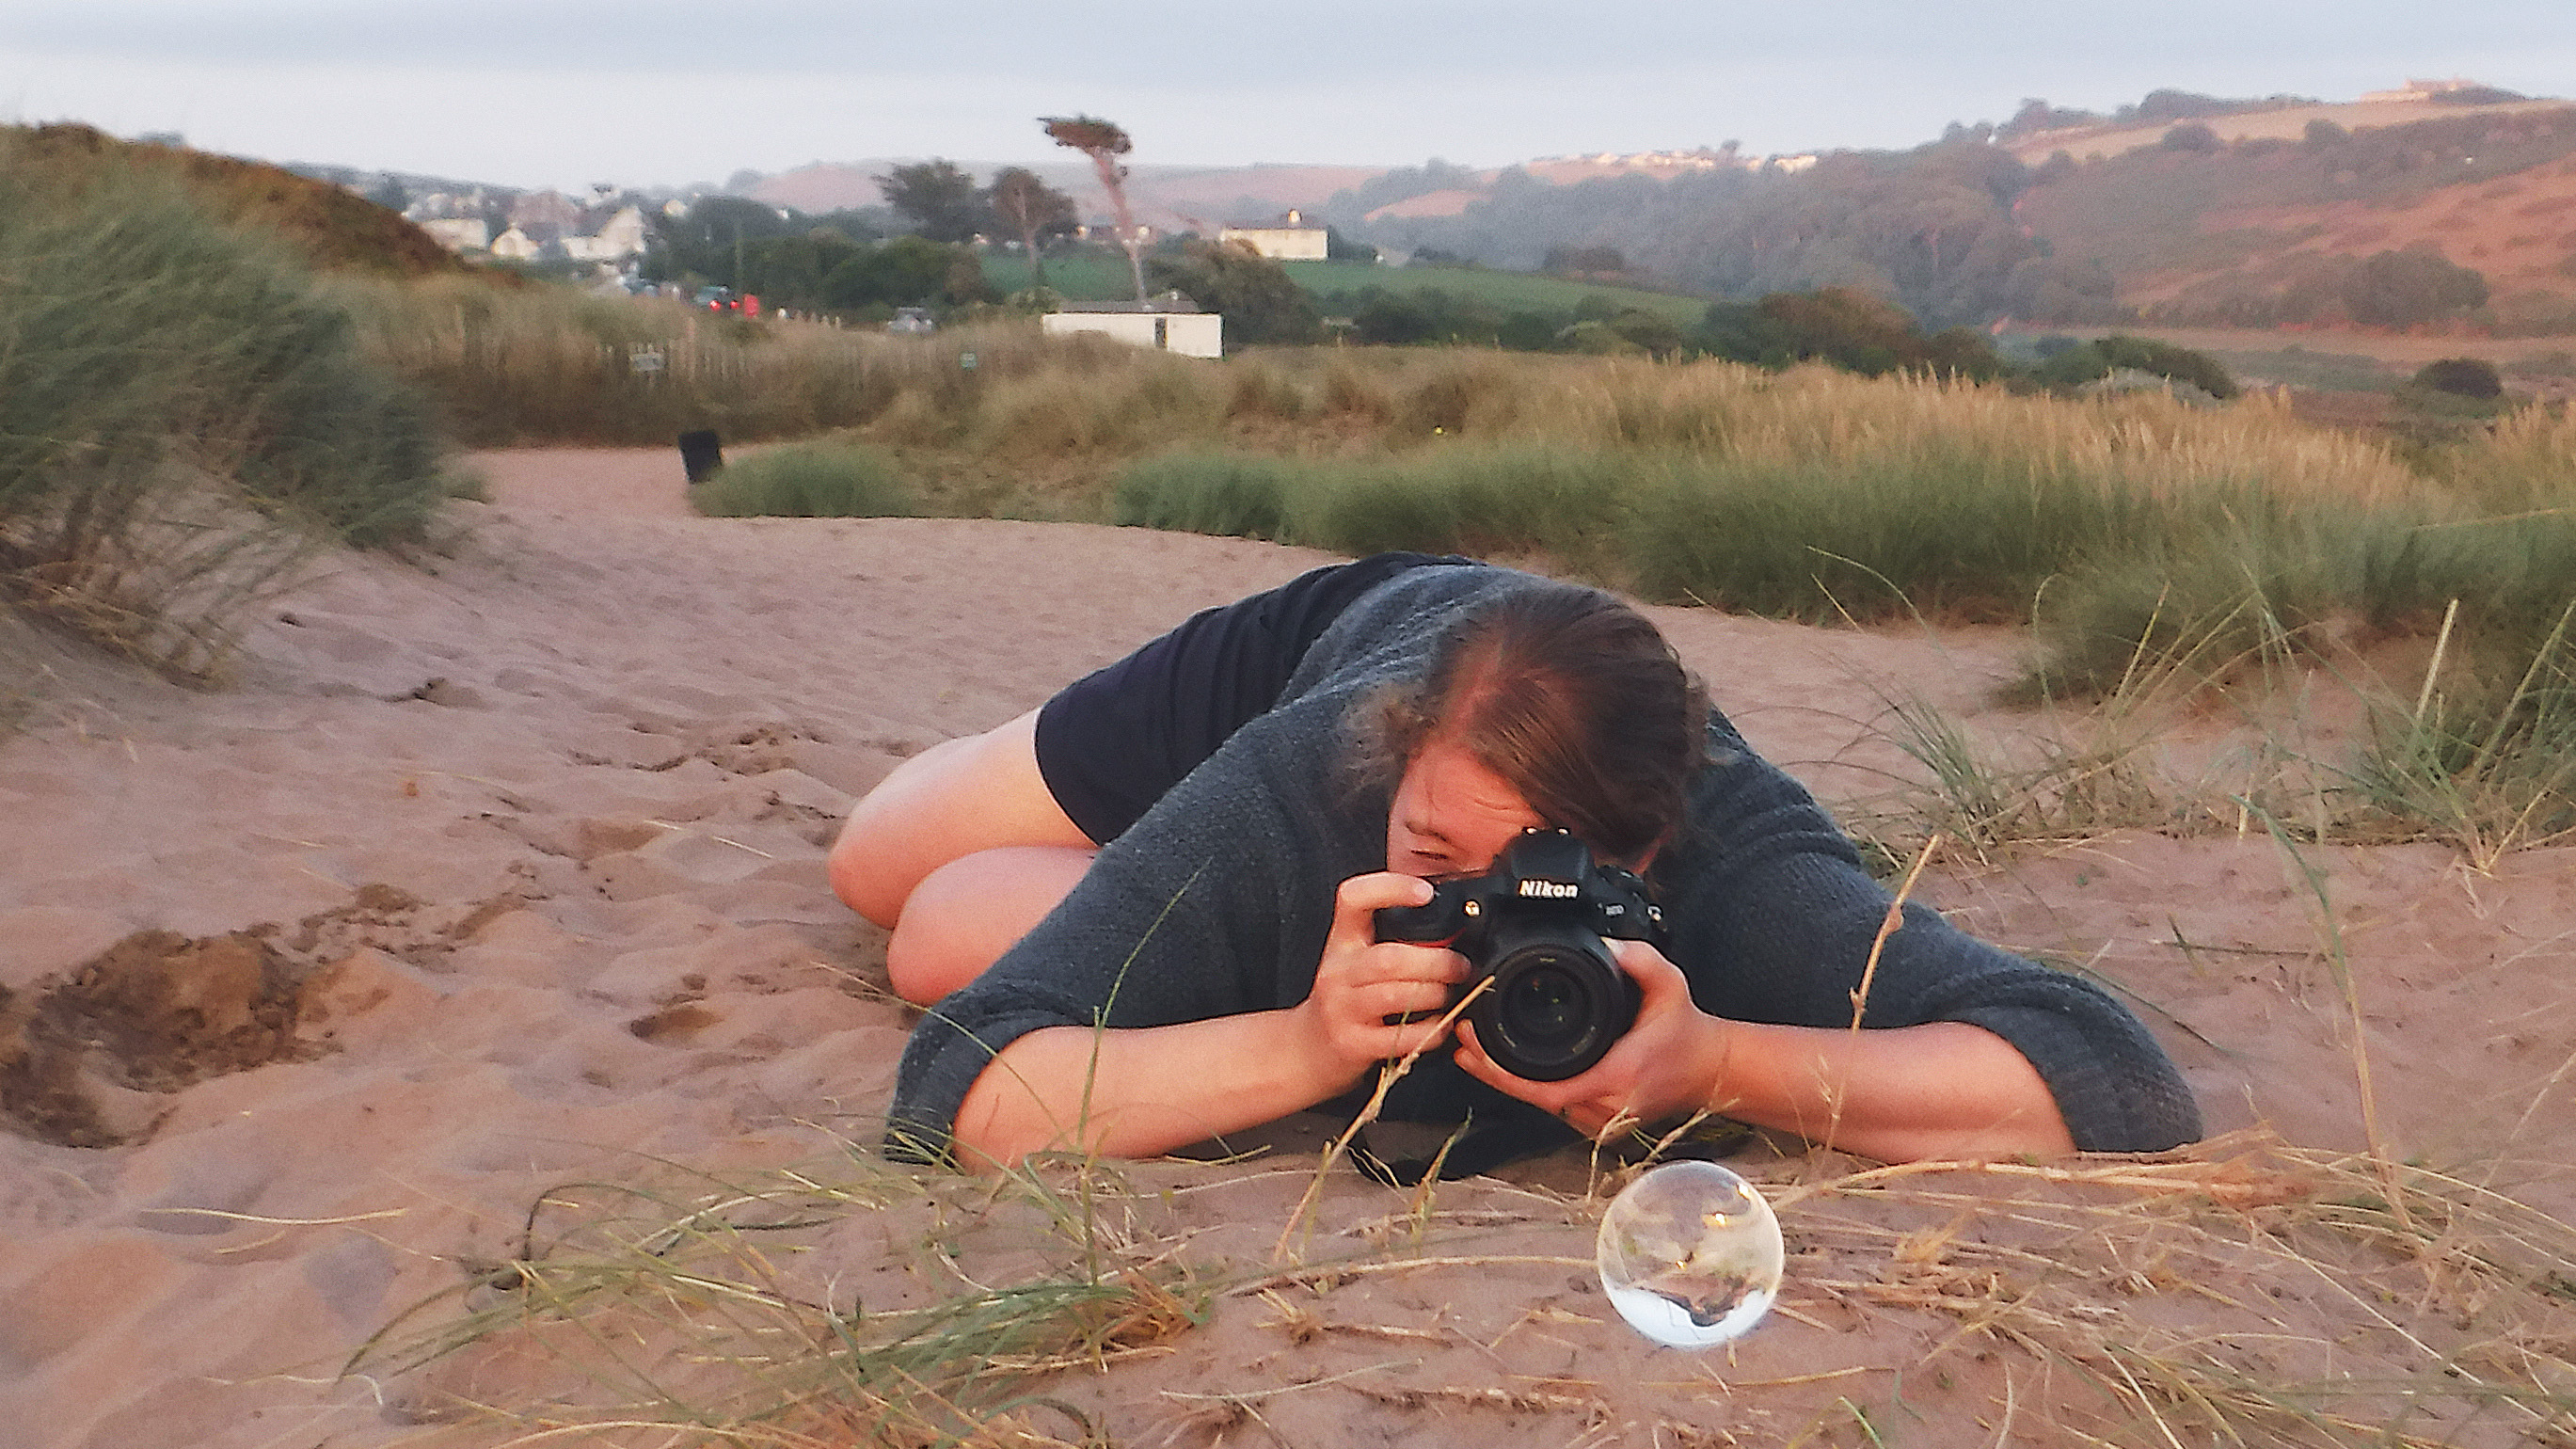
We opted to use a 50mm f/1.8 lens. Prime or telephoto lenses with a longer focal length (50mm or above) are best for this subject, as they compress the elements in the scene. Prime lenses are also much faster and can be opened to wider apertures to give you control over depth of field.
The best camera deals, reviews, product advice, and unmissable photography news, direct to your inbox!
See the best 50mm lenses for your camera
3: Camera settings
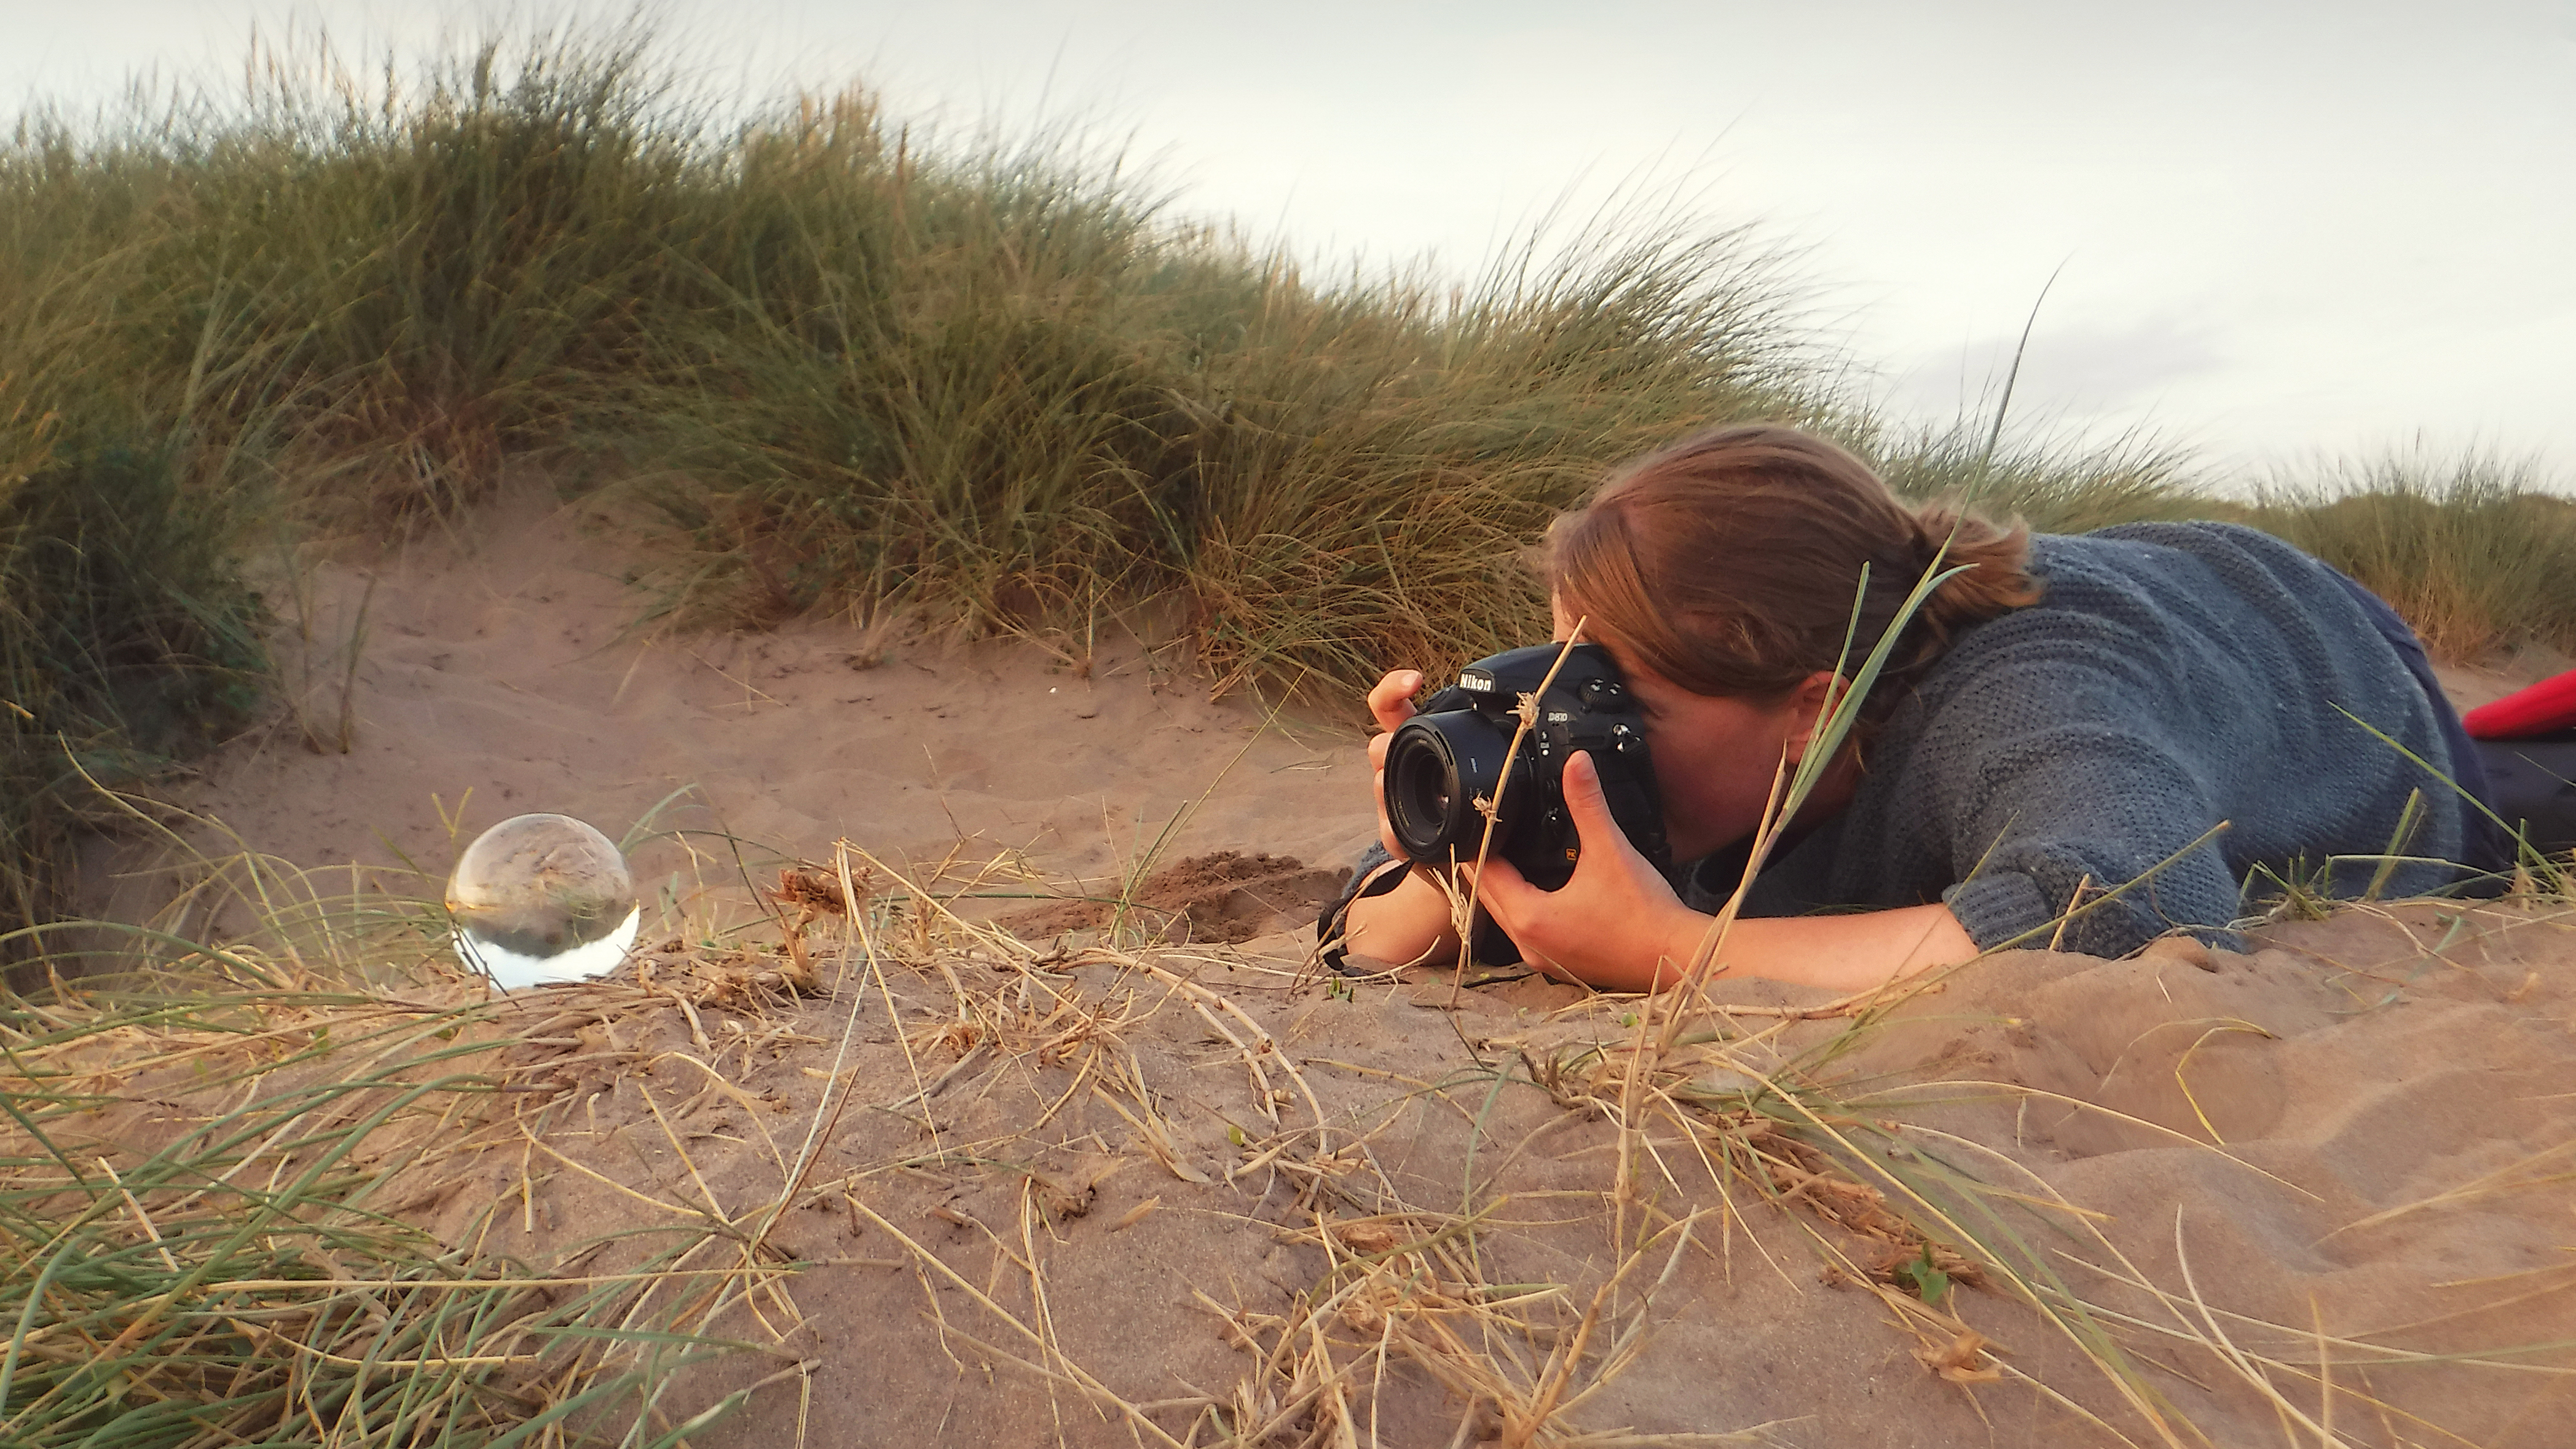
We put our camera into its Aperture Priority mode and opened the aperture to f/2.8. This ensured the background blurred nicely while keeping the scene in the ball sharp. As we were shooting at such a wide aperture setting, we kept the ISO at 100: we could still-hold the camera by hand, eliminating the need for a tripod.
4: Why is the scene upside-down?
A glass ball is a convex structure. In simple terms, the ball’s shape makes the light change direction when it travels through the ball – a process known as refraction – and is then projected out the other side upside-down. The glass in your camera lens is also convex, so exactly the same thing happens and the glass turns the image upside-down. But in your camera you either have an optical viewfinder, which means your camera uses mirrors to project your image the right way up, or an electronic viewfinder does it electronically.
5: Throw the ball in the air
You’ll need some assistance with this, and it’s good to make sure your on-hand help can throw accurately! Get your assistant to hold the ball still in the air and pre-focus where you want it to end up. Set your camera to shoot in burst mode; as they release the ball, fire a succession of shots. It’s a trial-and-error approach – but when you get the shot, it’s worth it!
Claire is a professional photographer and writer, and lives by the the sea with her two young children, husband and cat in the southwest of the UK.
After graduating from The Bournemouth Arts Institute with a first-class degree in photography, Claire worked for a number of years in the publishing industry, including as Technique Editor for Digital Camera magazine.
She loves anything and everything to do with photography, from creating magazine articles to photographing ballerinas on the beach and newborn babies (but not at the same time). She mainly shoots with digital DSLRs, but does dust off her beloved Hasselblad medium-format film camera once in a while…
