How to use a reversing ring and flash for great macro shots
Lighting extreme close-up images can be difficult. Read our simple guide to adding sparkle to reversed-lens macro shots using flash
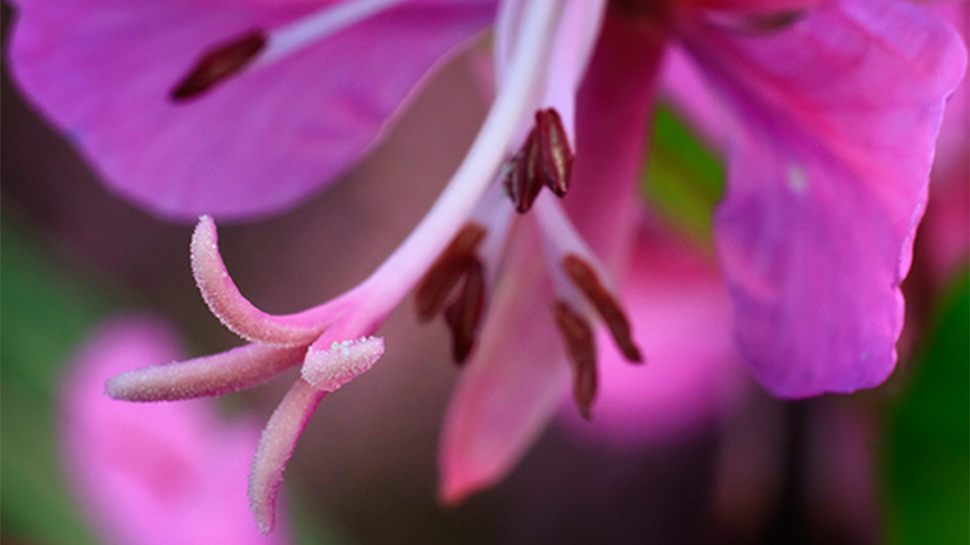
Reversed-lens macro photography is a fantastic way to explore the extreme close-up world, without the expense of investing in dedicated macro optic.
A reversing ring is a simple device that allows an inverted lens to be mounted on a DSLR, making use of the filter thread on the front of the optic. When a lens with a wide-angle or standard focal length is used in this way, very close focusing distances become possible, transforming it into a powerful tool for macro photography.
• More photography tips and tutorials
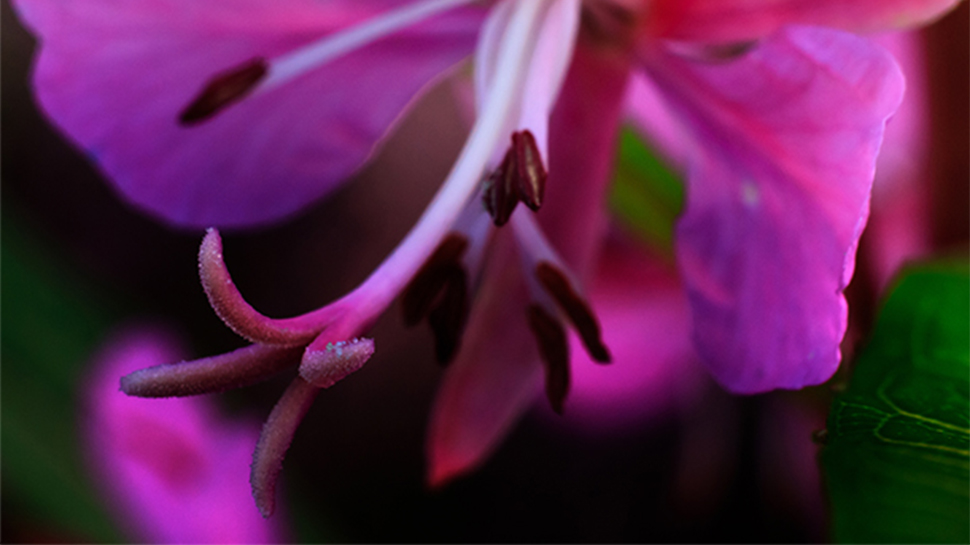
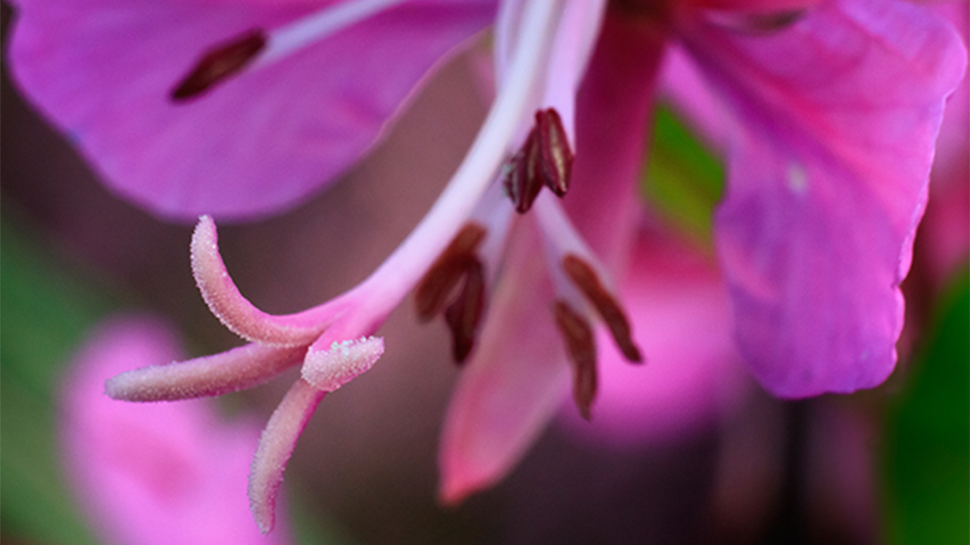
The mission: To capture reversed-lens macro shots using flash
Time needed: 30 mins
Skill level: Intermediate
Kit needed: DSLR/mirrorless camera, wide-angle or standard lens (ideally with an aperture ring), reversing ring, flashgun, tripod, reflector or white card (optional)
However the close working distance between the lens and subject creates several challenges, especially when it comes to lighting your shot with flash. The lens itself produces a shadow, which prevents even flash coverage and can add a tell-tale dark gradient along the bottom of the frame.
Luckily there are methods of circumventing these issues. By controlling how the light from your flash hits the subject, it's possible to generate soft, even lighting, regardless of how close your camera is to what you are shooting. Here's how to do it in six easy steps.
Step 1: Mount your lens with a reversing ring
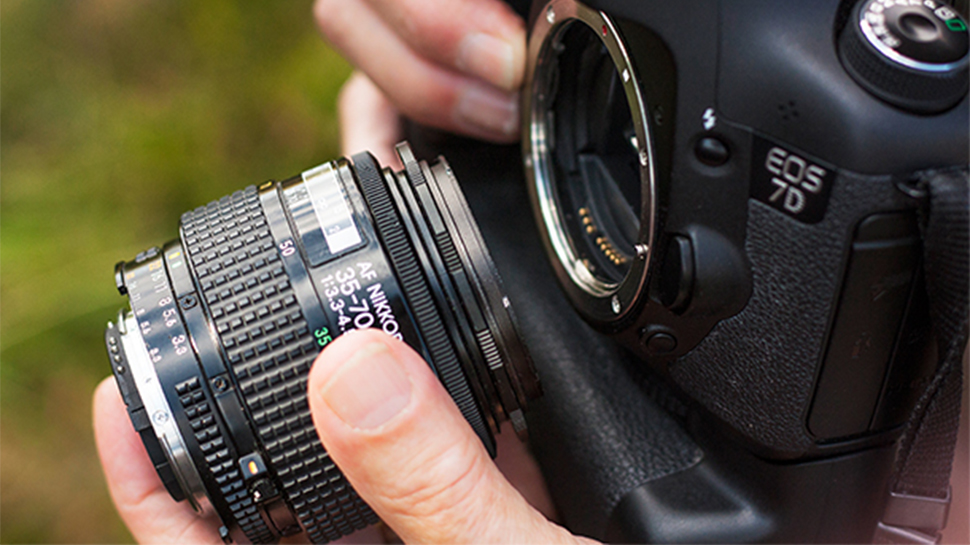
First, mount your lens to your camera using the reversing ring and your lens's filter thread. If you attach your reversing ring to the lens first, rather than trying to mount the optic onto a ring attached to the camera, it'll reduce the risk of damaging the lens or filter thread.
Step 2: Focus and calculate your exposure
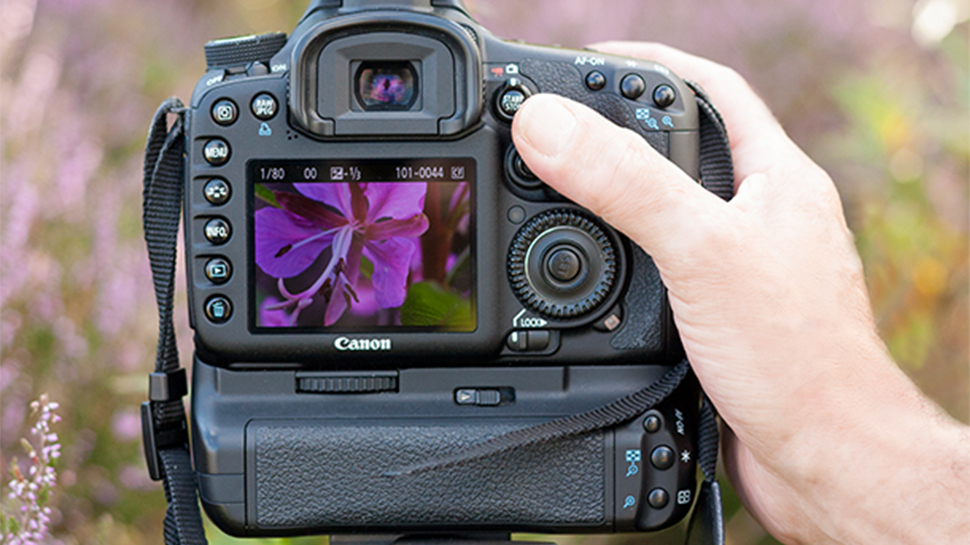
Since your lens is reversed, you lose all automatic focusing and exposure. Focus manually, turning on live view first if you're using a DSLR, and switch to the Manual or Shutter priority mode to control exposure.
Step 3 Adjust your aperture
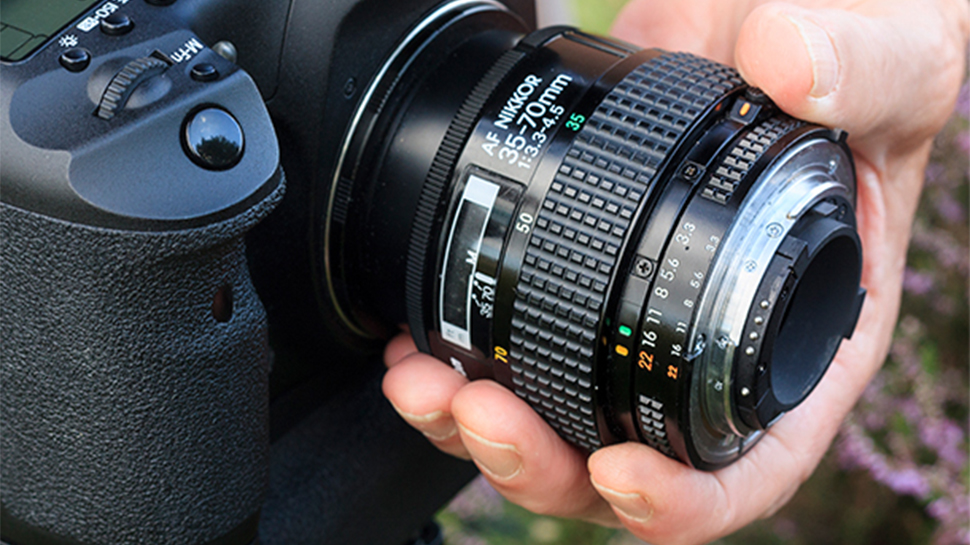
You also lose electronic aperture control when reversing a lens, so a lens with a physical aperture ring recommended. Stop down and re-adjust your shutter speed or ISO if required for an accurate exposure on screen.
Step 4: Create even lighting (on-camera flash)
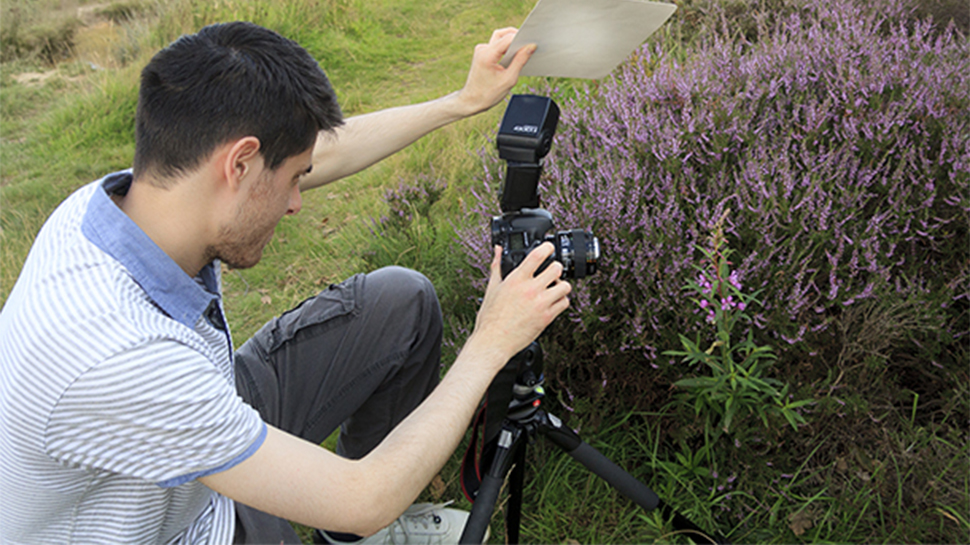
If your flash is mounted on your camera, you can produce an off-camera effect by bouncing the light off a reflector or even a piece of white card. Hold this above your subject and at an angle while aiming your flash upwards.
Step 5: Create even lighting (off-camera flash)
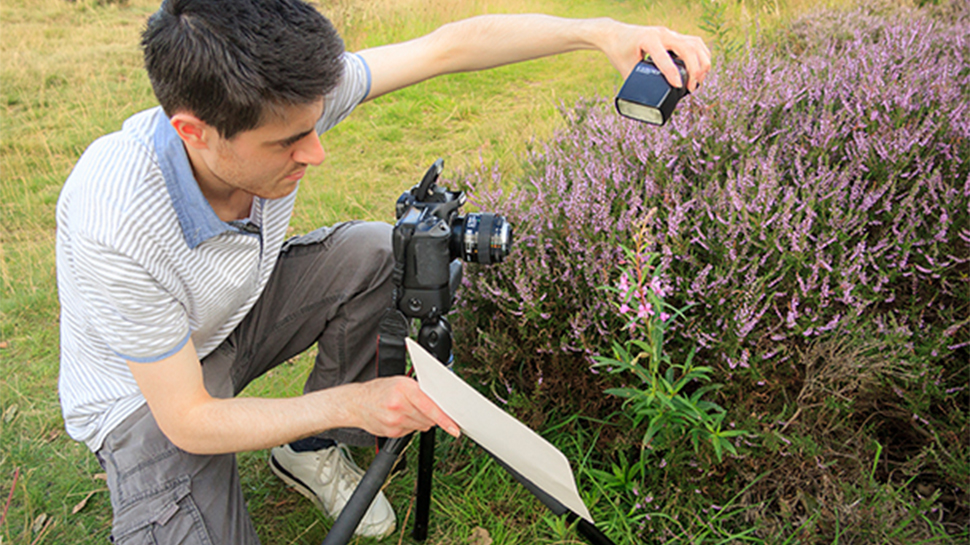
For a wirelessly triggered flash, hold the light above your subject, aiming down from roughly where the sun would be. Hold a reflector or white card beneath the subject to light the bottom of the frame.
Step 6: Adjust your power
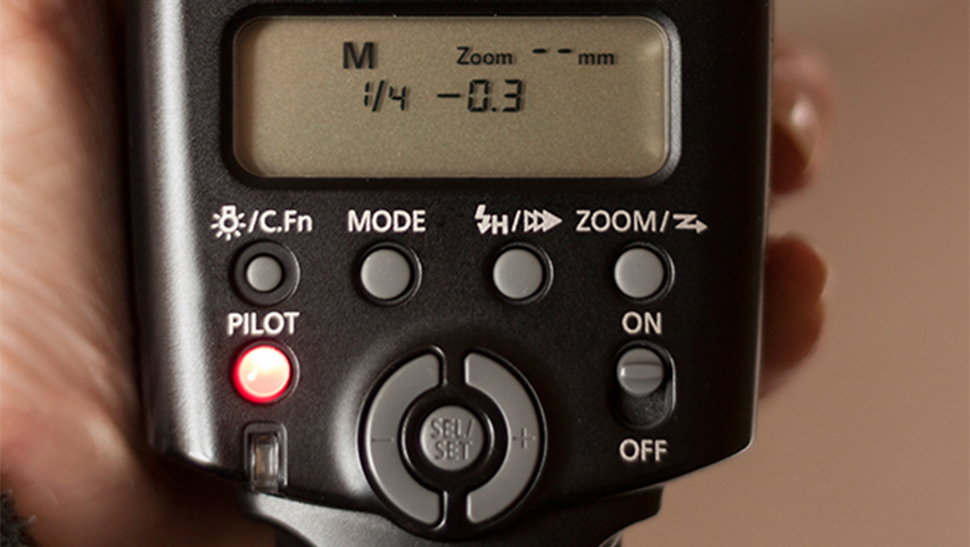
Balance your lighting by reducing your flash output (try starting at ½ power) and adjusting the distance between your reflector and subject. Use a larger or smaller reflector for softer or harder lighting respectively.
Read more:
Get the Digital Camera World Newsletter
The best camera deals, reviews, product advice, and unmissable photography news, direct to your inbox!
Digital Photographer is the ultimate monthly photography magazine for enthusiasts and pros in today’s digital marketplace.
Every issue readers are treated to interviews with leading expert photographers, cutting-edge imagery, practical shooting advice and the very latest high-end digital news and equipment reviews. The team includes seasoned journalists and passionate photographers such as the Editor Peter Fenech, who are well positioned to bring you authoritative reviews and tutorials on cameras, lenses, lighting, gimbals and more.
Whether you’re a part-time amateur or a full-time pro, Digital Photographer aims to challenge, motivate and inspire you to take your best shot and get the most out of your kit, whether you’re a hobbyist or a seasoned shooter.
