How to use a virtual camera to create pleasing screen grabs in computer games
Alistair Campbell tries a virtual camera to practise photography from his sofa
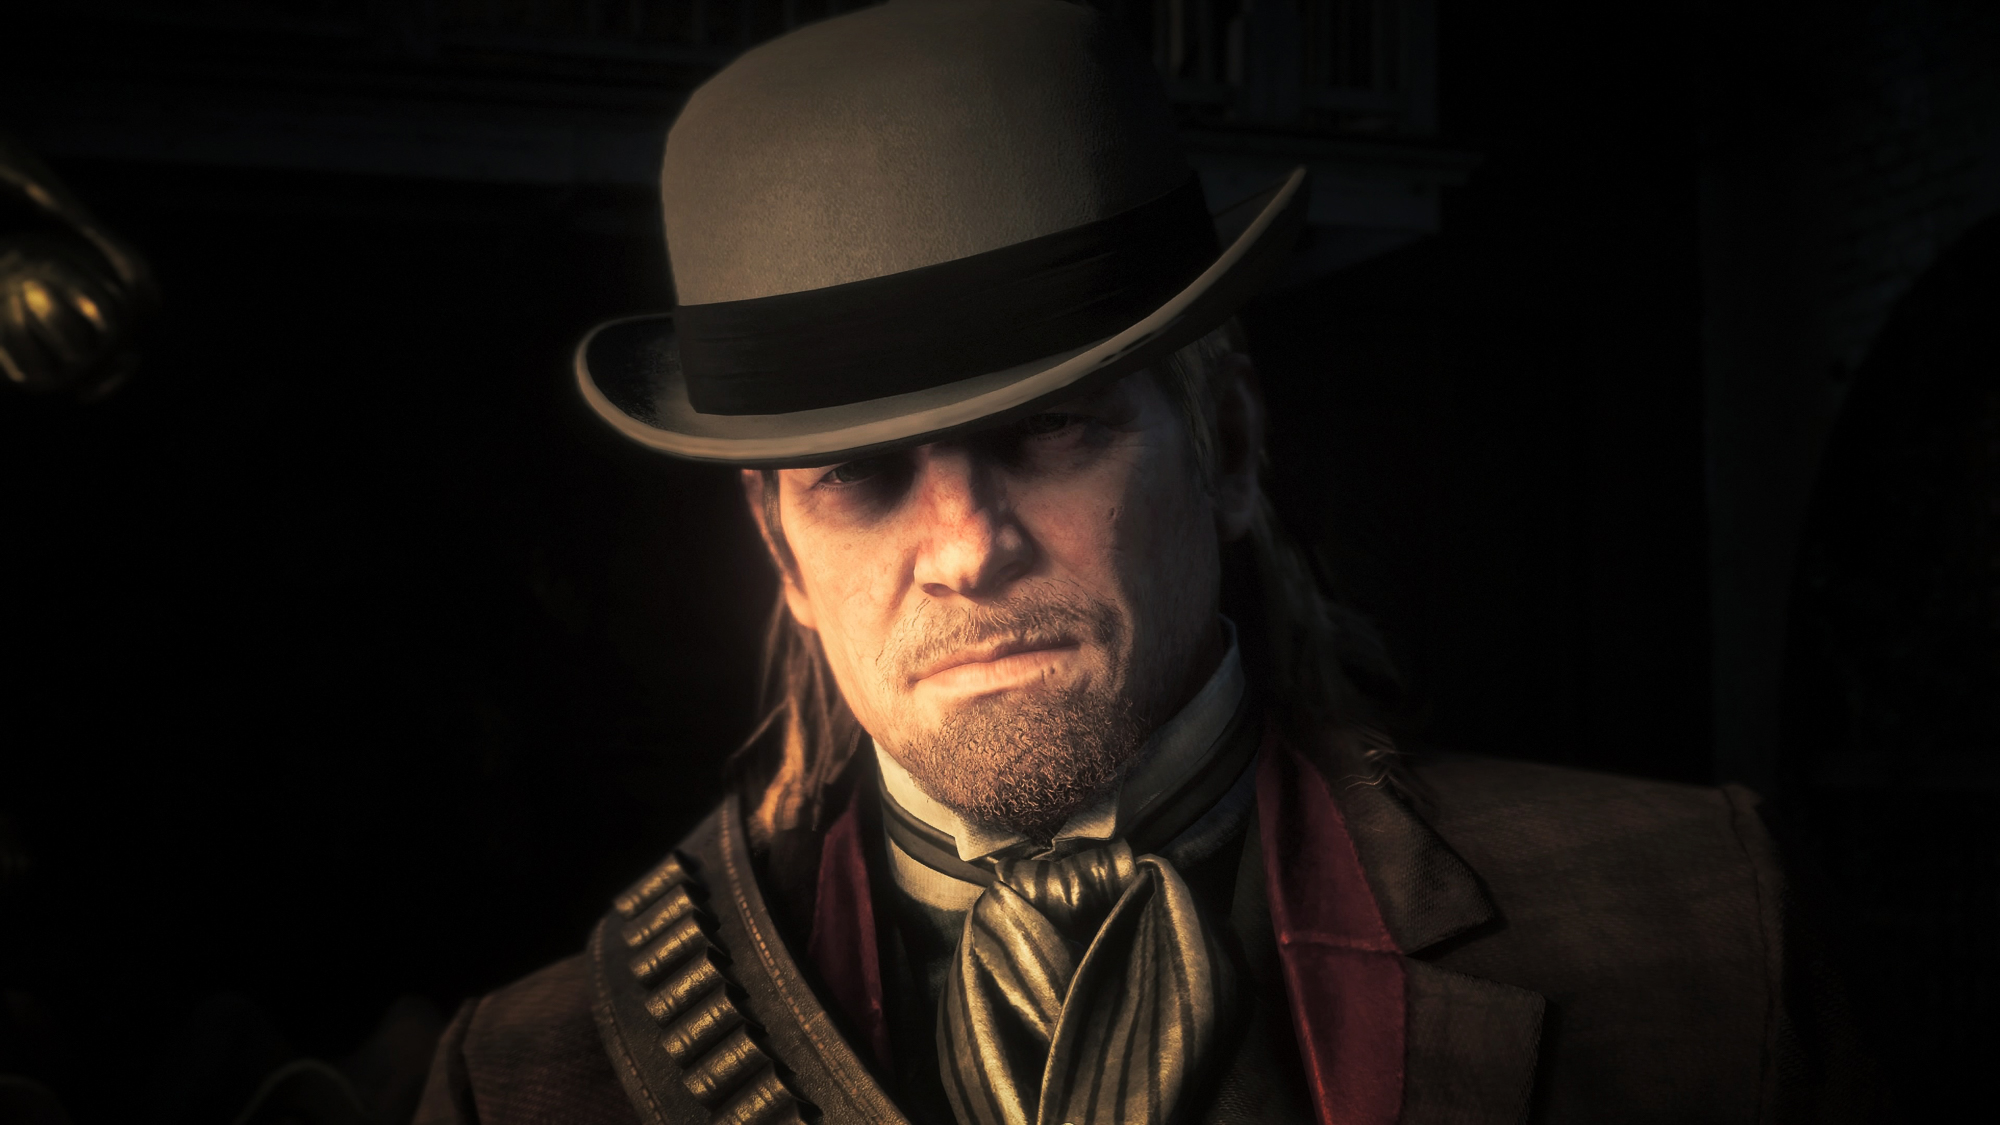
Virtual photography has gained in popularity since the lockdowns when people found ways to fill the void left by empty streets and locked studios.
Photography modes in computer games are more complex than ever, with some offering the ability to control ISO, shutter speeds and aperture, but the fundamentals remain the same, including lighting, composition, focus and timing.
• A new virtual photography category has been added to Flickr as popularity grows
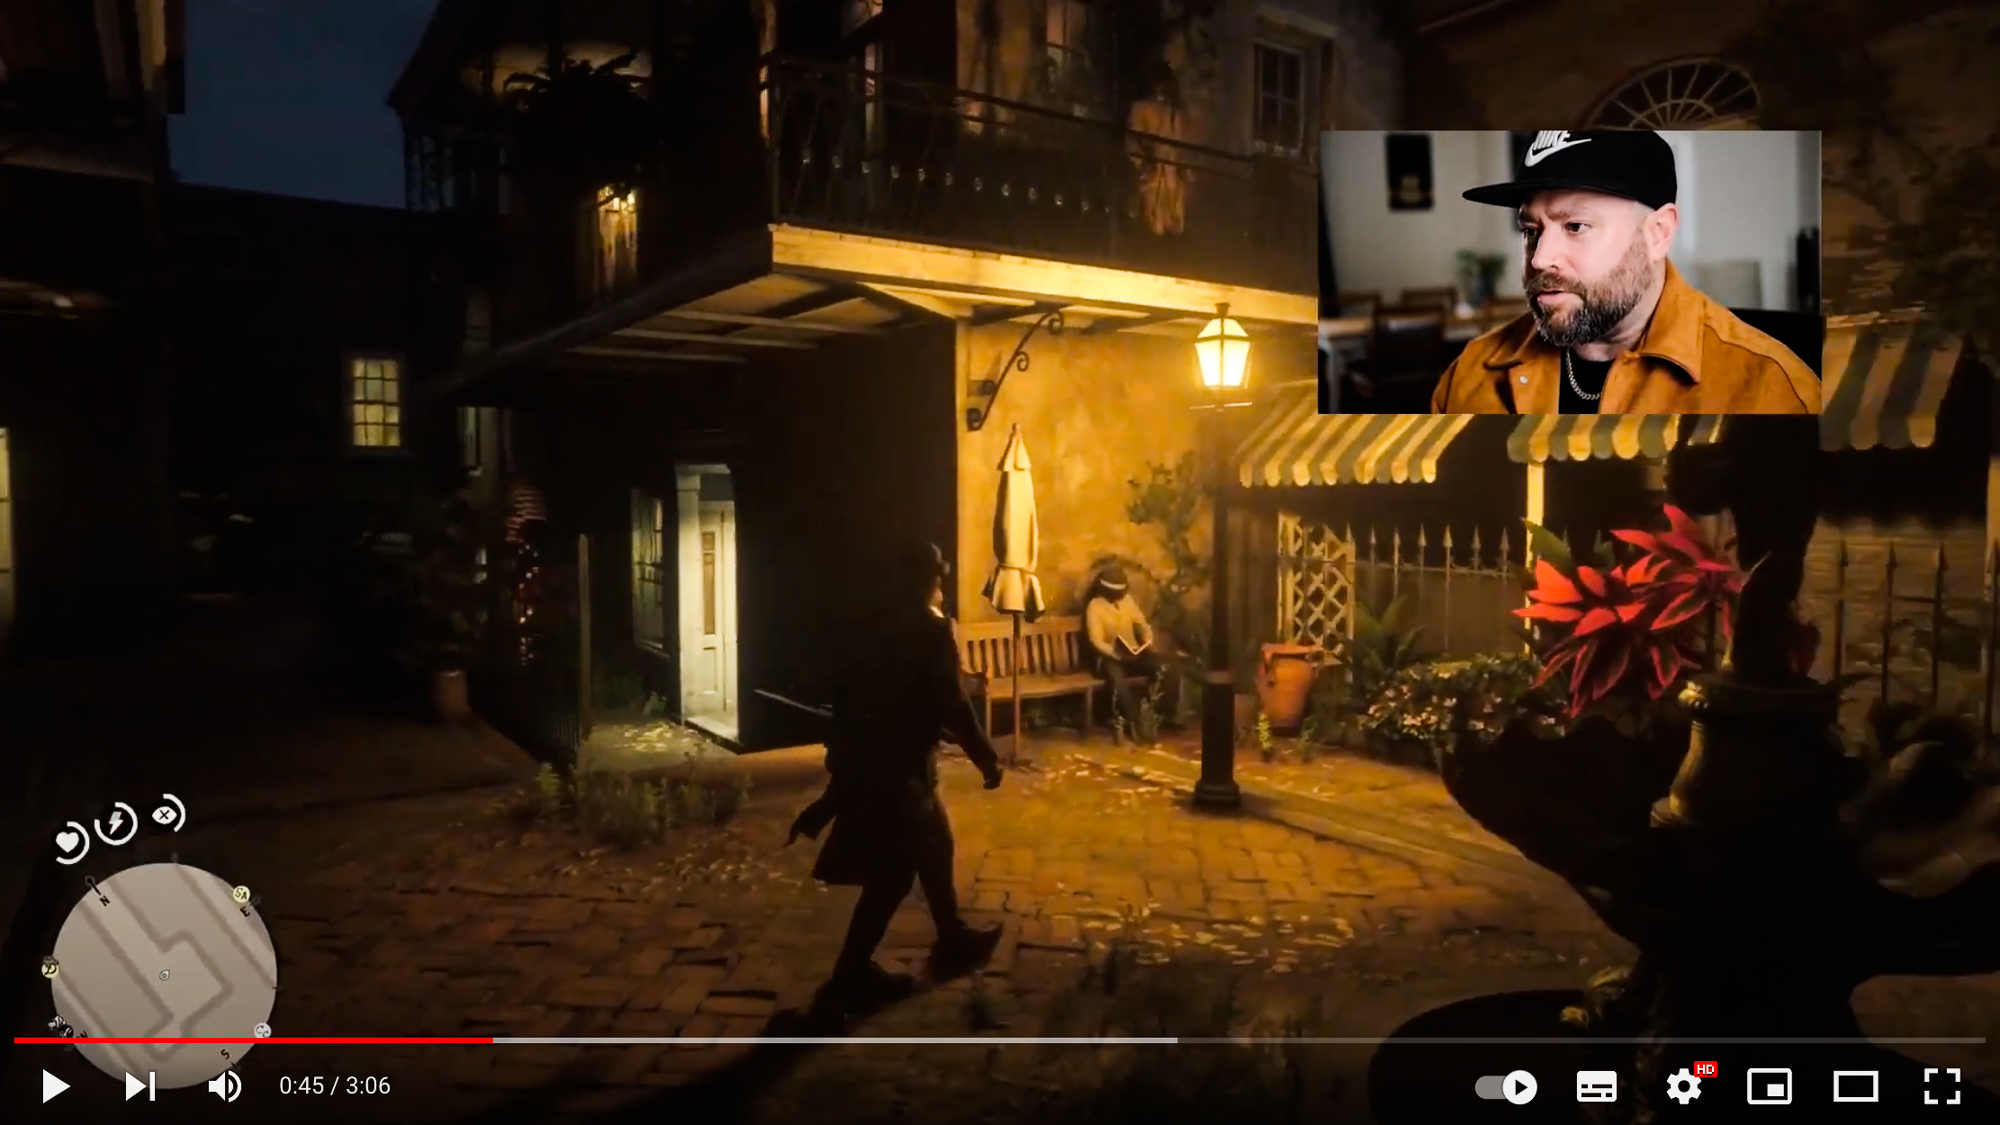
For me, the act of pressing a trigger and creating an image is addictive – it doesn’t matter whether it’s physical or digital. So today, I’m heading to the fictional Wild West town of St Denis, the capital of the Red Dead Redemption 2 virtual world to capture a nighttime portrait by candlelight. You can check out the video at the end of this article for a more in-depth look at shooting virtual photos as I walk you through the process in real time.
Entering photo mode
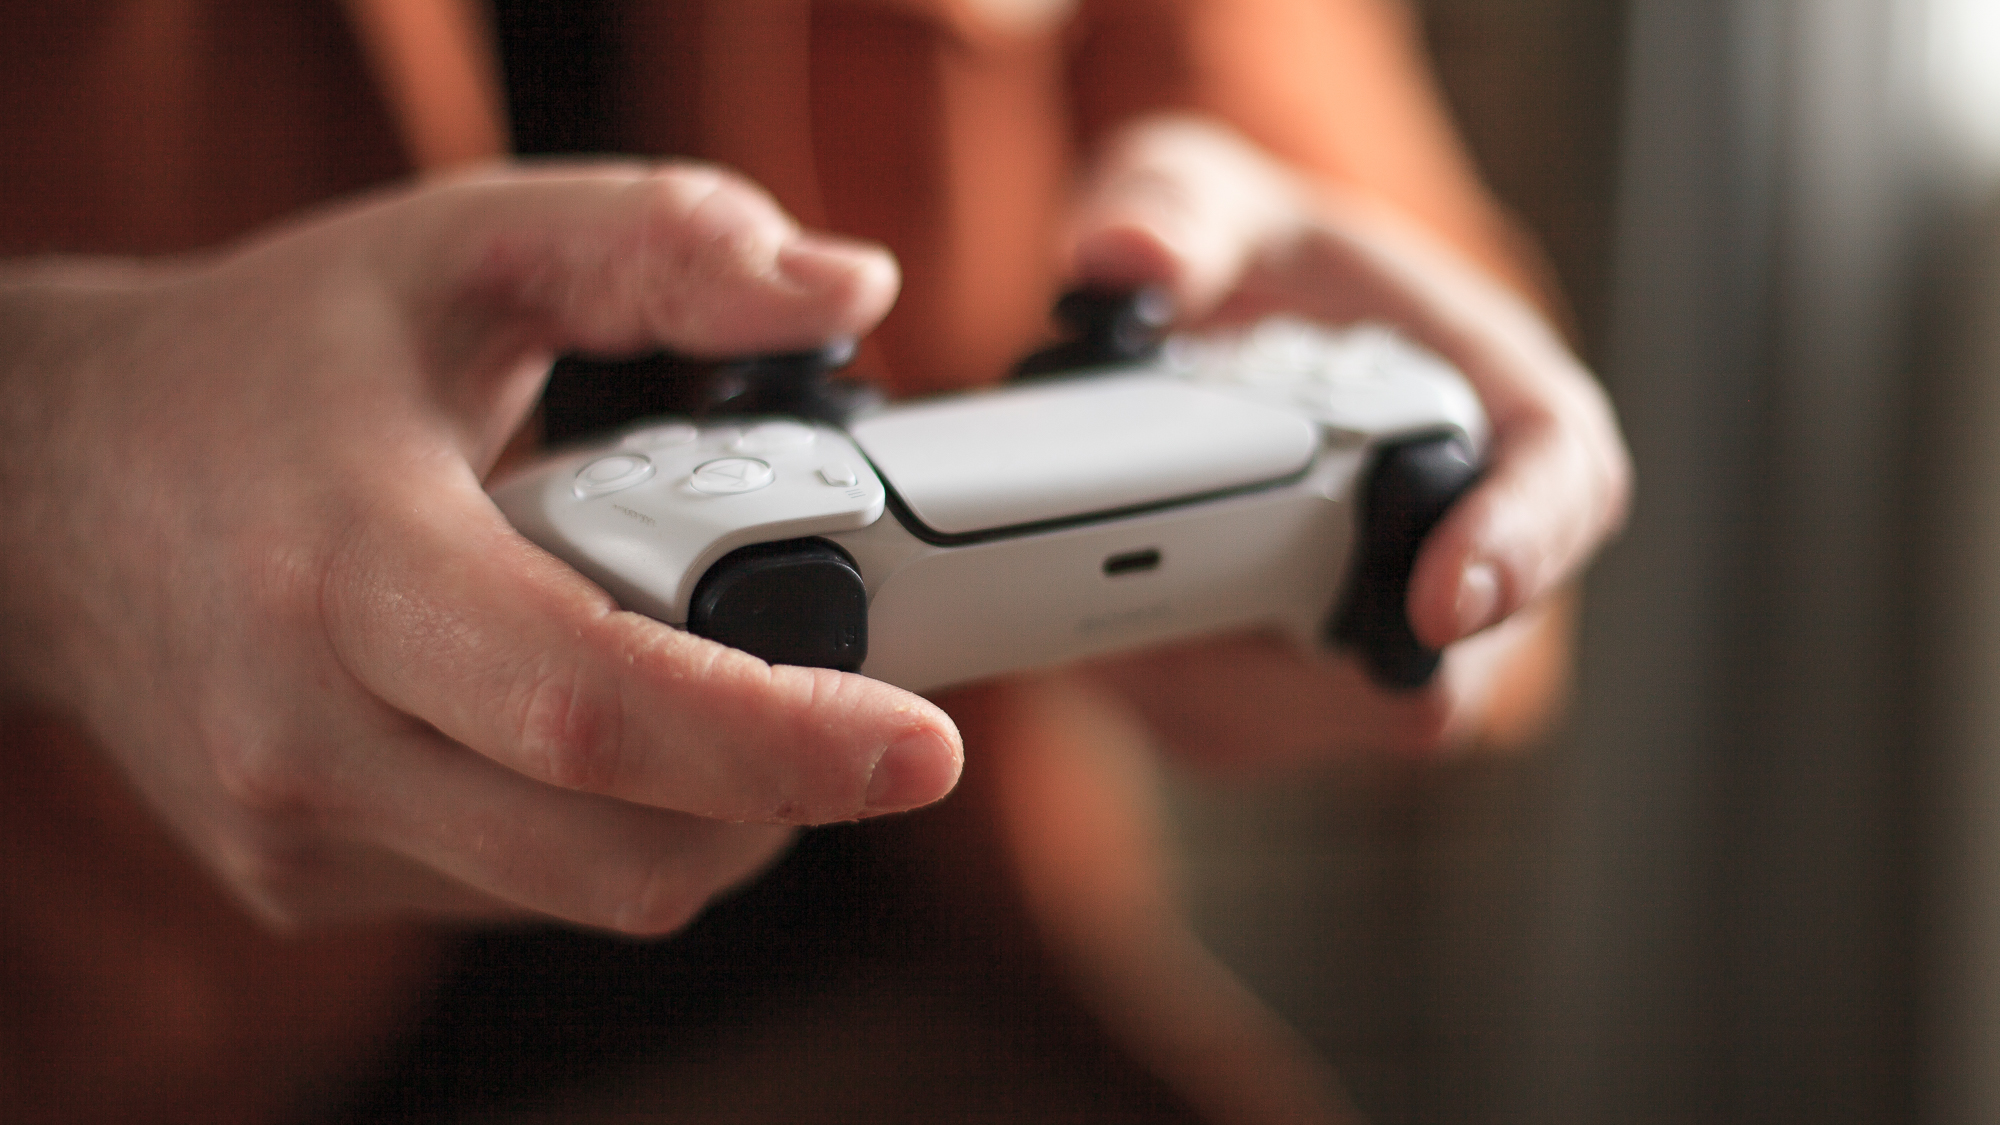
Press the pause button and then the touchpad to enter photo mode. From here, you can increase or decrease basic settings, such as brightness, contrast and depth of field. You can also try the built-in filters for a more creative look.
Frame up your shot
Once in photo mode, you can use the analogue sticks to frame up your composition in much the same way as you would move your own body and arms in real life to show off your subject in the best light. Use a bold, up-front framing for strong portraits.
Watch the video!
Today I'm spending some time in St Denis, but the principles used are the same for most virtual photography. You can check out the video above for a simple introduction to creating your own in-game images.
The best camera deals, reviews, product advice, and unmissable photography news, direct to your inbox!
Check out why we think that You should swap your camera for a joypad with virtual photography, be sure to check out the Best gaming cameras, and the 14 best photography video games
Alistair is the Features Editor of Digital Camera magazine, and has worked as a professional photographer and video producer.
