How to use Adobe Lightroom Mobile
You don't need a computer to use Lightroom. Here's what you can do with the app and how to get started.
Adobe Lightroom Mobile has been out for a while now, but it’s only been in the last few months where the app has begun to shine.
When it first came out I wasn’t very impressed. The app felt stripped down and I could only edit JPEGs, and there were a lot of other apps out there that could fulfil my needs better for mobile editing. But I can tell you now that the app has come along way since then and has improved tenfold.
It wasn’t until I met a client on one of my workshops that my opinion of the app completely changed. She was only editing her images using an iPad Pro with Lightroom Mobile, and I was blown away by the quality of the interface, the amount of editing possibilities, and the fact she was editing a Raw image she’d taken only 30 minutes earlier.
In this article I will take you through how to get the most out of this wonderful app, as well as how I use it with my editing workflow.
• Read more: 32 Lightroom tutorials
Before you get started...
First things first: to get the most out of this app you will need an Adobe CC account and you’ll need this to sign into the app. The app is free but is limited if you are not subscribed to Adobe.
I currently have the Photography package, which has a monthly fee. Make sure you have the latest version of Lightroom and also check that you are signed into it. Once you’ve downloaded the app for either your iOS or Android device you will be asked to sign in with your Adobe account.
How to upload and sync images
There are multiple ways in which you can send images to your device and if set up properly it can all work very well.
Uploading your shots directly to your smartphone or tablet is a great way to quickly edit your images on the go. The first way is by using a card reader that works with your device; Apple sells an adaptor that allows you import images from an SD card quickly and effortlessly.
Once you have imported your images you can then select which ones you would like to save to the device and then you’ll be able to access them in Lightroom Mobile.
You can also upload images to your device via Wi-Fi if your camera or SD card supports this option, which is pretty handy as it requires no cables or adaptors. The way in which you access the images varies from camera to camera so check the manual to make sure you’re doing it right.
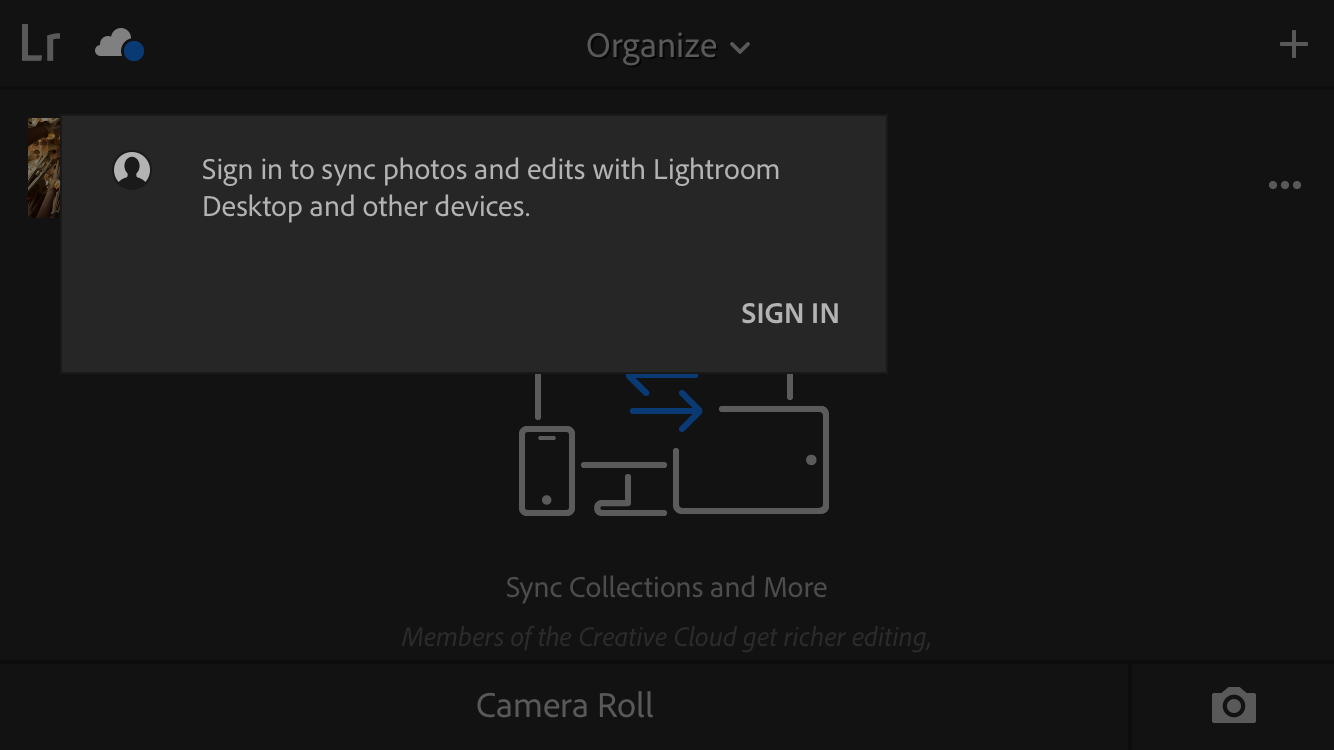
One great thing you can do with Lightroom is sync photos from your desktop catalog to your smartphone, and impressively, that includes Raw files. It won’t be the original Raw file put a Smart Preview of it which is a smaller file that is easier to send over but the editing possibilities are the same.
To sync your catalog to your device you will need to first sign in which can be found at the top left by clicking the small triangle. Next click Sign In and sign in using your Adobe account details.
Now that you’re signed in you can begin to sync Collections to be sent to your device, as you cannot sync your entire catalog. To do this you will need to create a new Collection, and in the New Collection panel make sure to check Sync with Lightroom Mobile – and that’s it. If you want to remove a collection from syncing then click the sync icon next to the collection name and click Stop Syncing.

The cameras on our smartphones are getting better everyday and now that some phones can capture Raw files the editing capabilities of the images are getting higher and higher. You can snap away like usual and then import the images into Lightroom mobile or you can capture an image by using the app itself which is what I like to do. The Professional setting is great for controlling the exposure, white balance and ISO.
How to add a new collection
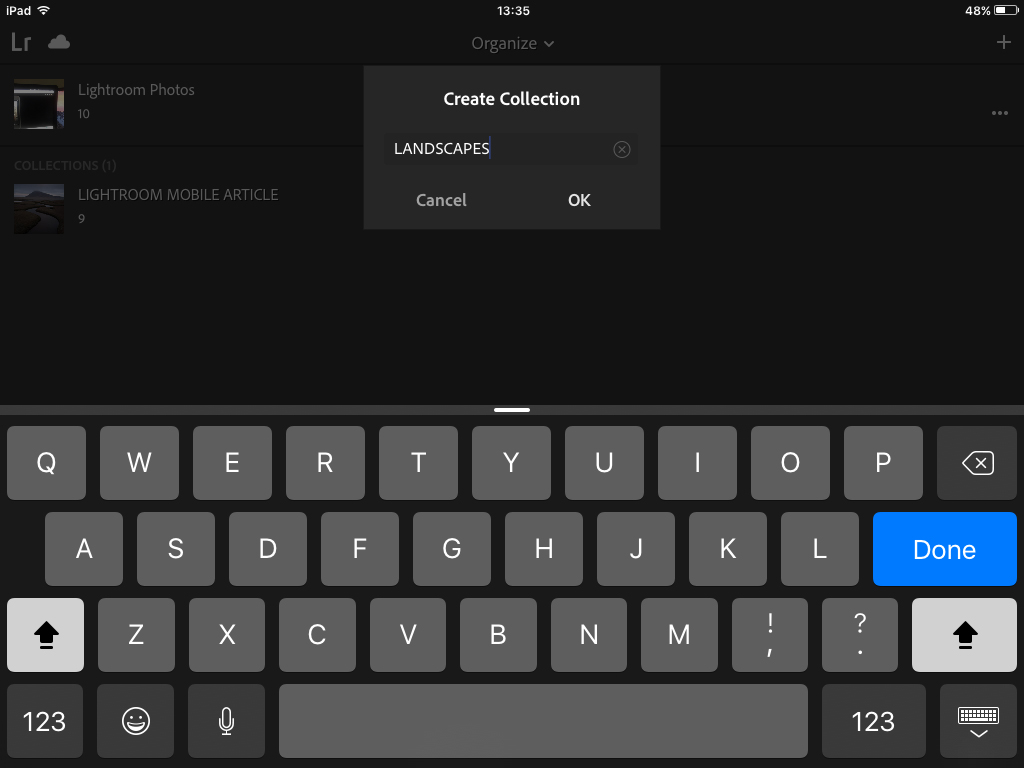
So you’ve uploaded your images to your device and now want to add them to Lightroom Mobile. Open the app and tap the + icon at the top right of the page, give it a name and click OK. To add photos to the collection, click onto it and at the bottom you’ll see Add Photos. As you have already synced your accounts together, the new collection will be automatically added to your catalog on the desktop version.
Read more: How to use Lightroom’s Spot Removal tool
Editing modules
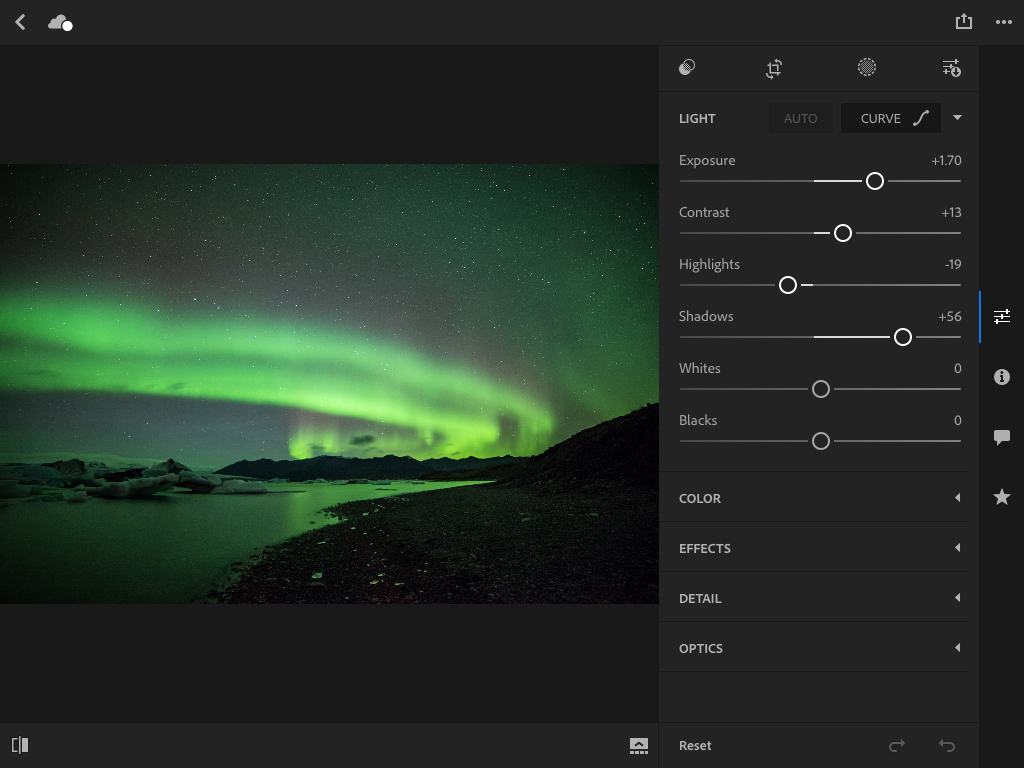
One of the best features of Lightroom Mobile is the editing workflow, as the interface is clean and very easy to navigate.
If you’ve been using Lightroom as your main editing software, then you’ll find this app very easy to use. When you first open up the editing section – which is done by clicking on the photo you’d like to edit – you’ll see five tabs on the right-hand-side, or the bottom depending on what device you are using. These all work in the same way as the tabs you’ll find on the desktop version.
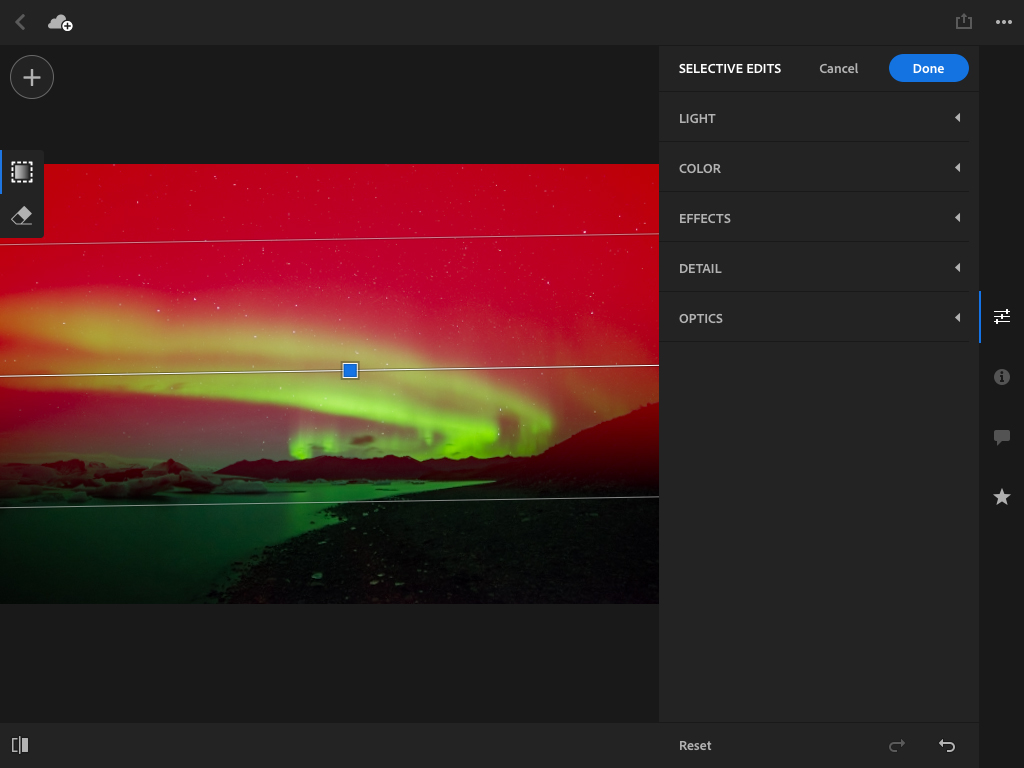
The one thing that was great to see on the mobile version is the selective editing tools; Brush, Radial and Gradient Filters. These tools are invaluable for editing and are just as precise as the ones found in the desktop version. Also, when you get back onto the computer and see the editing you have done those brushes you’ve applied will be in the exact same place.
Exporting images
Exporting images is very easy to do, and I like the fact that when exporting to your camera roll you can either save it at the full resolution of the file or as a smaller JPEG that’s better for sharing on social media.
Great added features
Zebra Patterns
If you work in the film industry, there’s a good chance you’ve heard of this feature. Zebra patterns show on your screen what areas are overexposing, and having this feature on your phone is very handy.
HDR
Unfortunately, this feature is only available with Raw-shooting smartphones, but if you do have the iPhone 7 or a later model, this is a great add-on for getting images with a higher dynamic range.
Presets
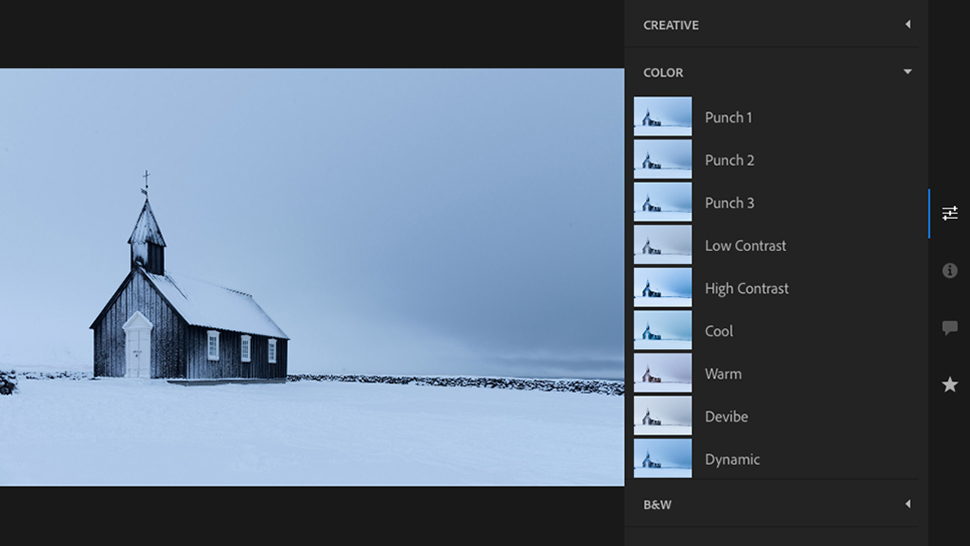
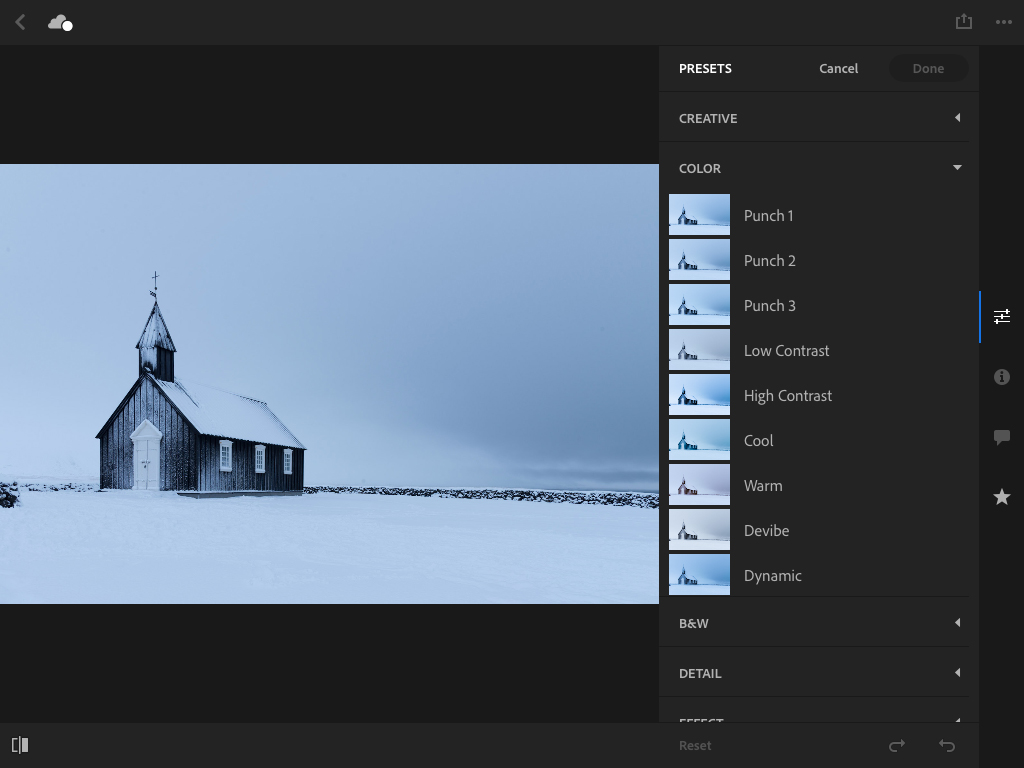
Presets (below) are great for doing a quick edit and Lightroom Mobile has quite a few different looks you can add to your shots. In all honesty, I hardly ever use these as I am so used to editing my images without using presets.
Offline Editing
If you want to work with your images that have been synced from your Lightroom collections while offline, you can tap the three dots on any collection and then tap Enable Offline Editing. This will then download the images to your phone or tablet. Once your device gets back online the app will automatically sync all the changes you have made to the catalog.
Sync Over Wi-Fi Only
As you can probably imagine, constantly syncing images back and forth to your desktop catalog will use up a lot of your mobile data, so if you’re worried about this, I would recommend you tap the LR icon at the top-left-hand corner of the app and select Sync Only Over WiFi
Ratings & Flags
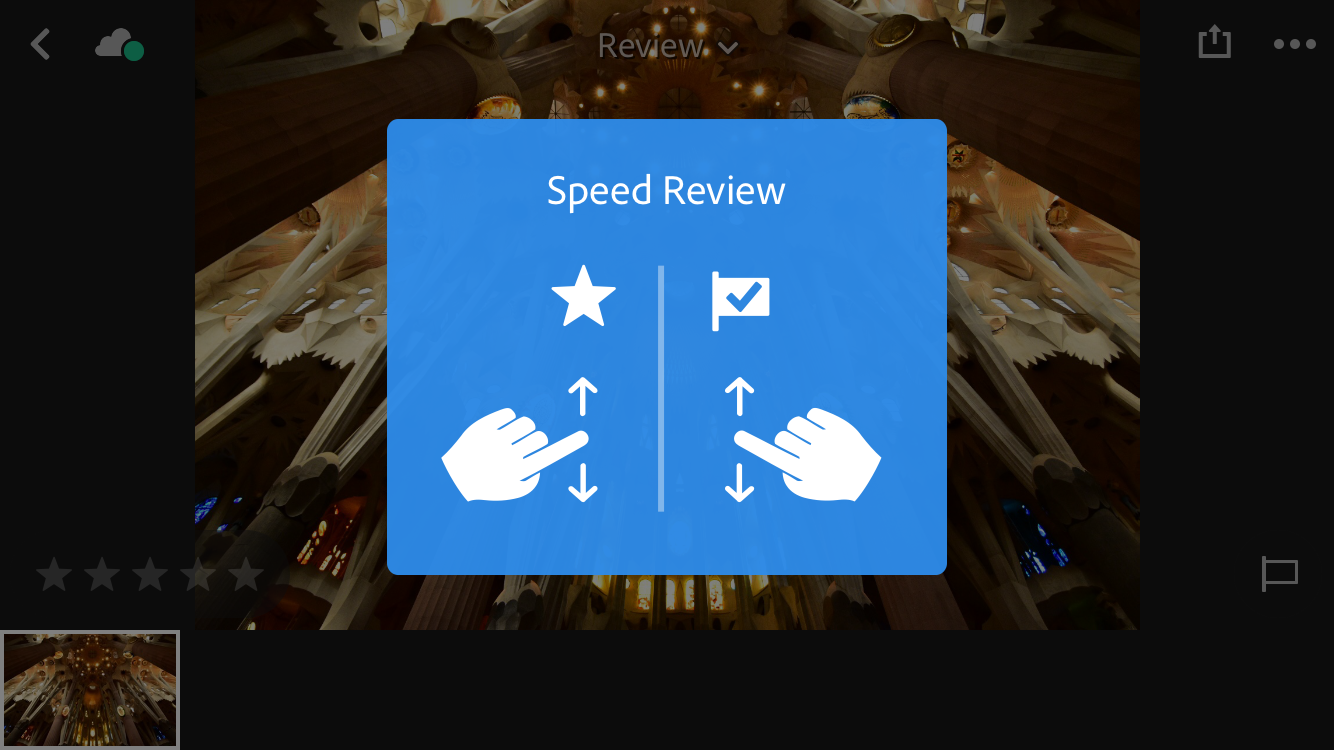
One thing you can do that's pretty handy is rate your images and give them flags. I love doing this as I find rating images a quick and easy way to find certain images quickly.

Web Access
Did you know you can also access your Lightroom Mobile collections online? Just go to www.lightroom.adobe.com. I use this when I want to access images on my laptop when I’m away from my main computer.
Conclusion
I’ve used many editing apps over the years and none have come close to what Lightroom Mobile offers.
The amount of flexibility you have is amazing and really doesn’t feel that much different than the desktop version. Being able to create collections on my main catalog that instantly send to my iPhone or iPad so I can edit them on the go is something that no other app out there can do.
I also use Lightroom Mobile as a way to showcase my work to clients by creating collections of different subjects I can quickly show somebody examples of that subject. So I hope this article has been of some help to you and gives you enough reasons to check this app out.
Read more: Adobe Lightroom for complete beginners
Get the Digital Camera World Newsletter
The best camera deals, reviews, product advice, and unmissable photography news, direct to your inbox!
