
To get to grips with built-in and external intervalometers, and learn how and when to use them
Time: One hour
Skill level: Intermediate
Kit needed: D-SLR, Tripod, Intervalometer (if not featured on your camera)
When you’re creating images like the moon composite on page 56, you could sit there with your camera and a stopwatch and take a sequence of images one at a time. Likewise you could do it over several hours to get the shots needed to create a star trail image, or hundreds of times in succession to get the shots required for a timelapse video. Or, of course, you could buy an intervalometer and let that take care of triggering the shutter at precisely the right moment.
An intervalometer is basically an advanced remote shutter release that automatically triggers the shutter, usually at timed intervals. We’re using a Hama Timer Remote Release in our walkthrough, but most have similar features. Intervalometers work like any other cable release, but feature more advanced functions, from the standard drive modes (Single shot, Continuous shooting, Bulb and Timer) to more advanced settings (long exposures and interval shooting). These can be used together for things like star trails and moonstacks.
An external intervalometer is not essential for taking timed shots, though. All of camera’s recent D-SLRs feature a built-in interval timer (see far right) and an in-camera timelapse mode. Having said that, a dedicated intervalometer tends to boast more features and options, such as the long-exposure function used to capture the image above. Here’s how they work...
STEP BY STEP: Be on time, everytime
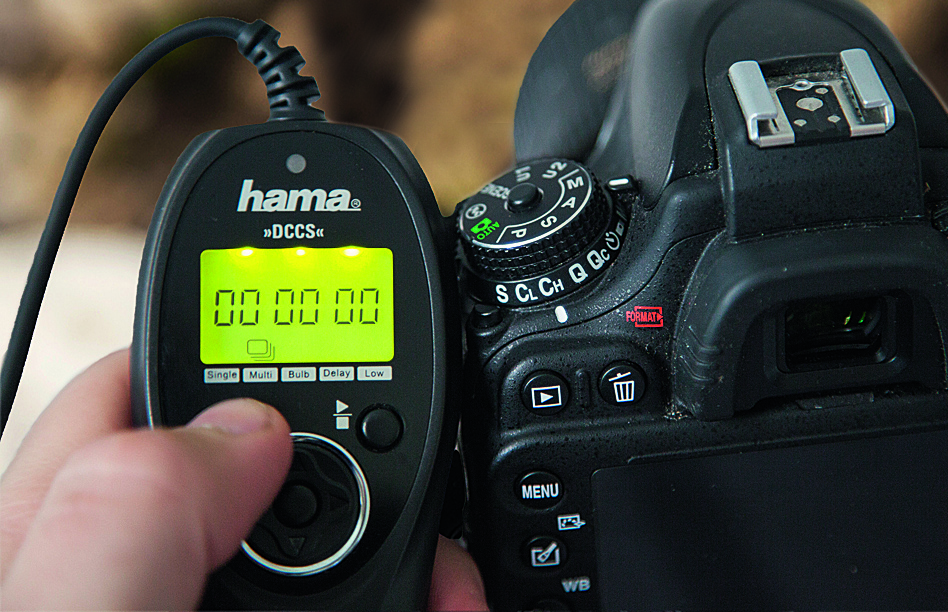
Be sure you get the right cable to connect your intervalometer and camera, as different bodies use different cable connections.
1 GO FOR A DRIVE
The first thing you’ll notice with the intervalometer functions is that they are similar to your camera’s drive modes. There’s Single shot, Continuous shooting, Timer and Bulb available on the Hama. Select a mode and you can then use the remote as a standard cable release.
2 WAIT A BIT
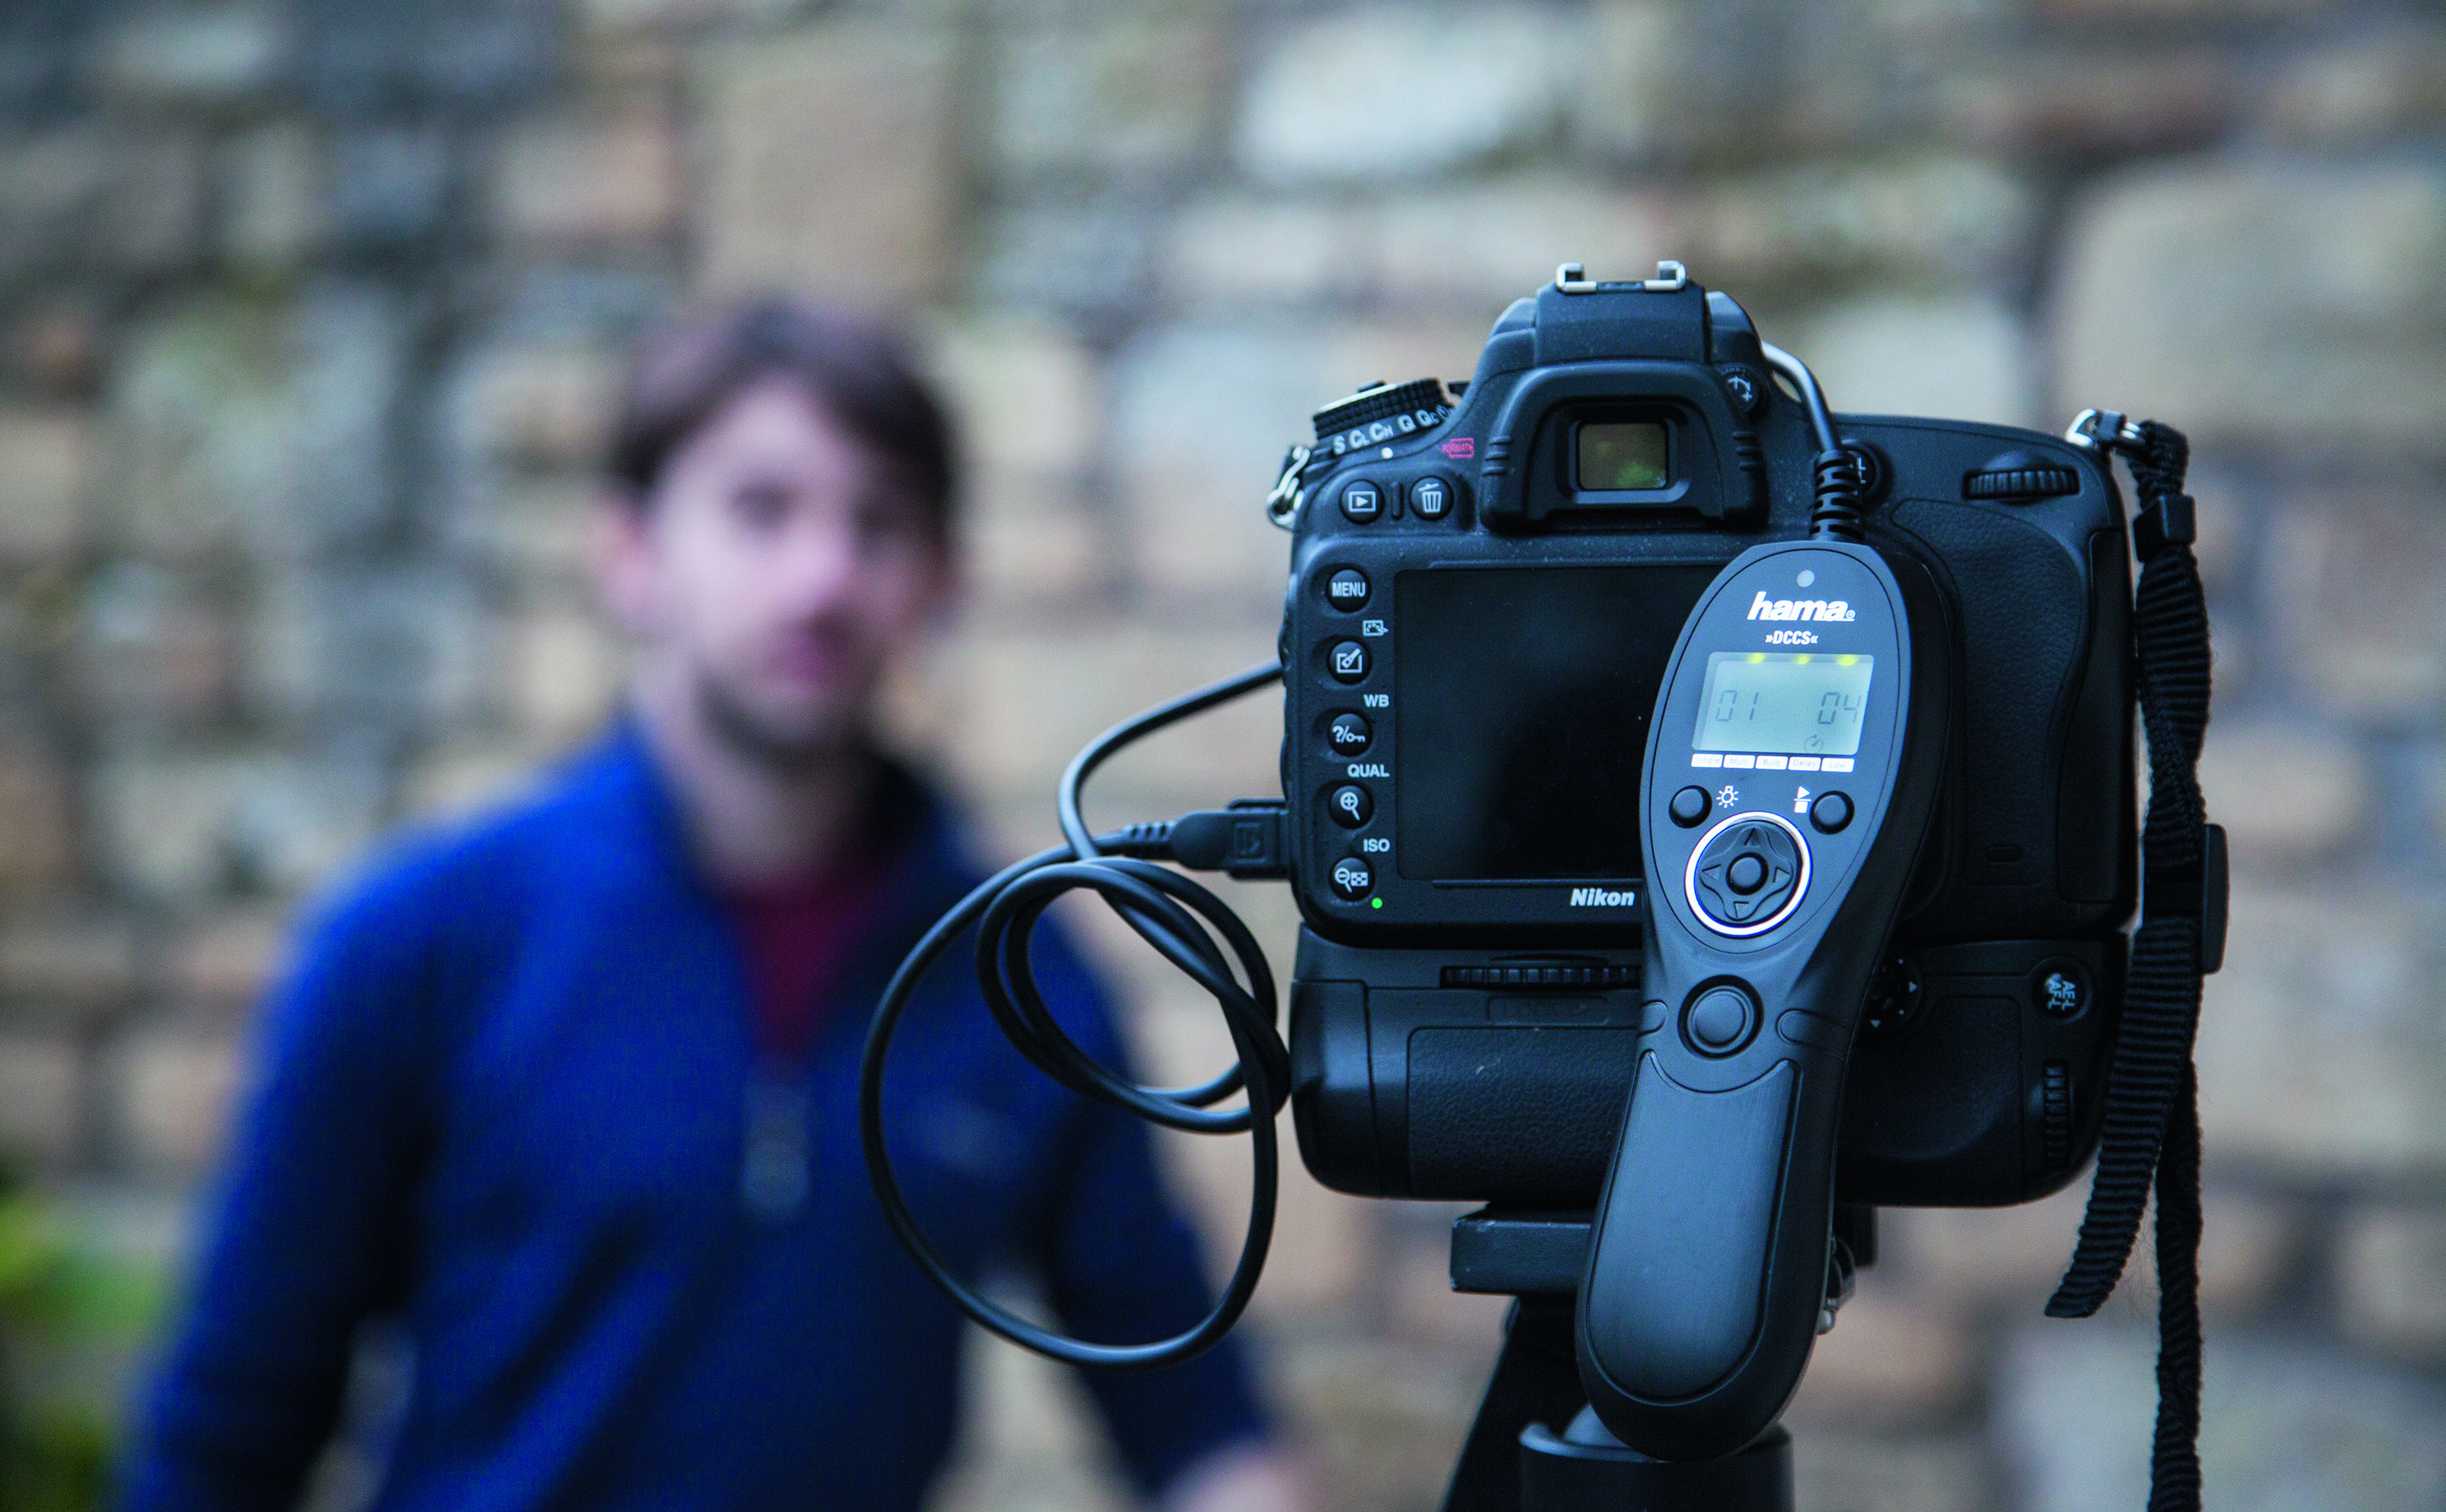
The Hama’s self-timer works in the same way as your camera’s built-in function (see right), but you can set the timer to wait up to 59 seconds before shooting, rather than the usual 10. You select the timer with the centre button, then move the arrow keys up and down.
3 DO DELAY
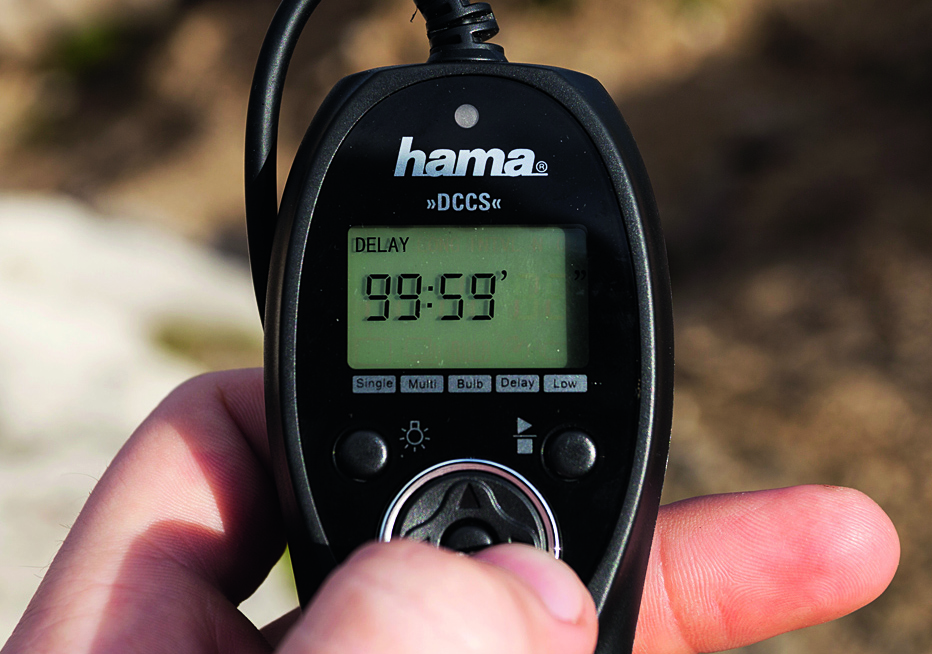
The Hama displays the settings that can all be used together for a manual shooting sequence along the top of the screen. Yours should have similar settings. First is the Delay option, which works identically to the timer. This can be left blank if you like.
Some D-SLRs have a simple, built-in interval timer which can carry out some of the tasks you’d use an intervalometer for. In the Shooting menu, select Interval timer shooting. Use the arrows to move right, and set the interval time using the up and down arrows. Move to the right again to set the number of images to shoot.
4 GO LONG
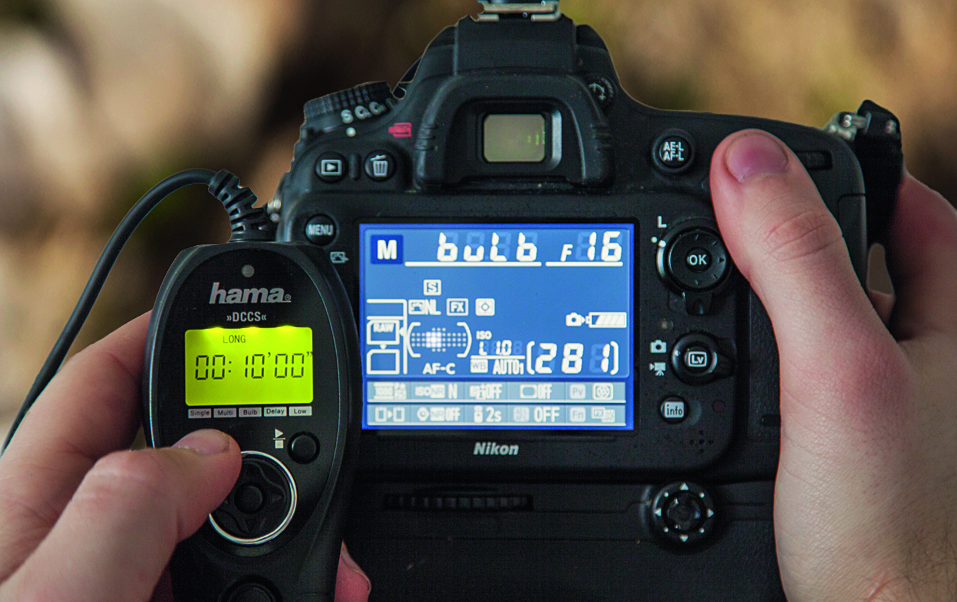
You can also set the length of exposure (in our case, using the ‘Long’ function). Your camera must be set to Bulb mode for this to work – in shutter-priority or manual mode, scroll the shutter speed all the way down to Bulb. Set the length of exposure you want; we chose 50 secs.

5 MIND THE GAP
The interval shooting function enables you to set how long you’d like the camera to wait before shooting each image in your sequence. On the Hama, ‘Intvl’ allows us to set any value up to 100 hours, using the same controls as the previous settings. We opted for five minutes.
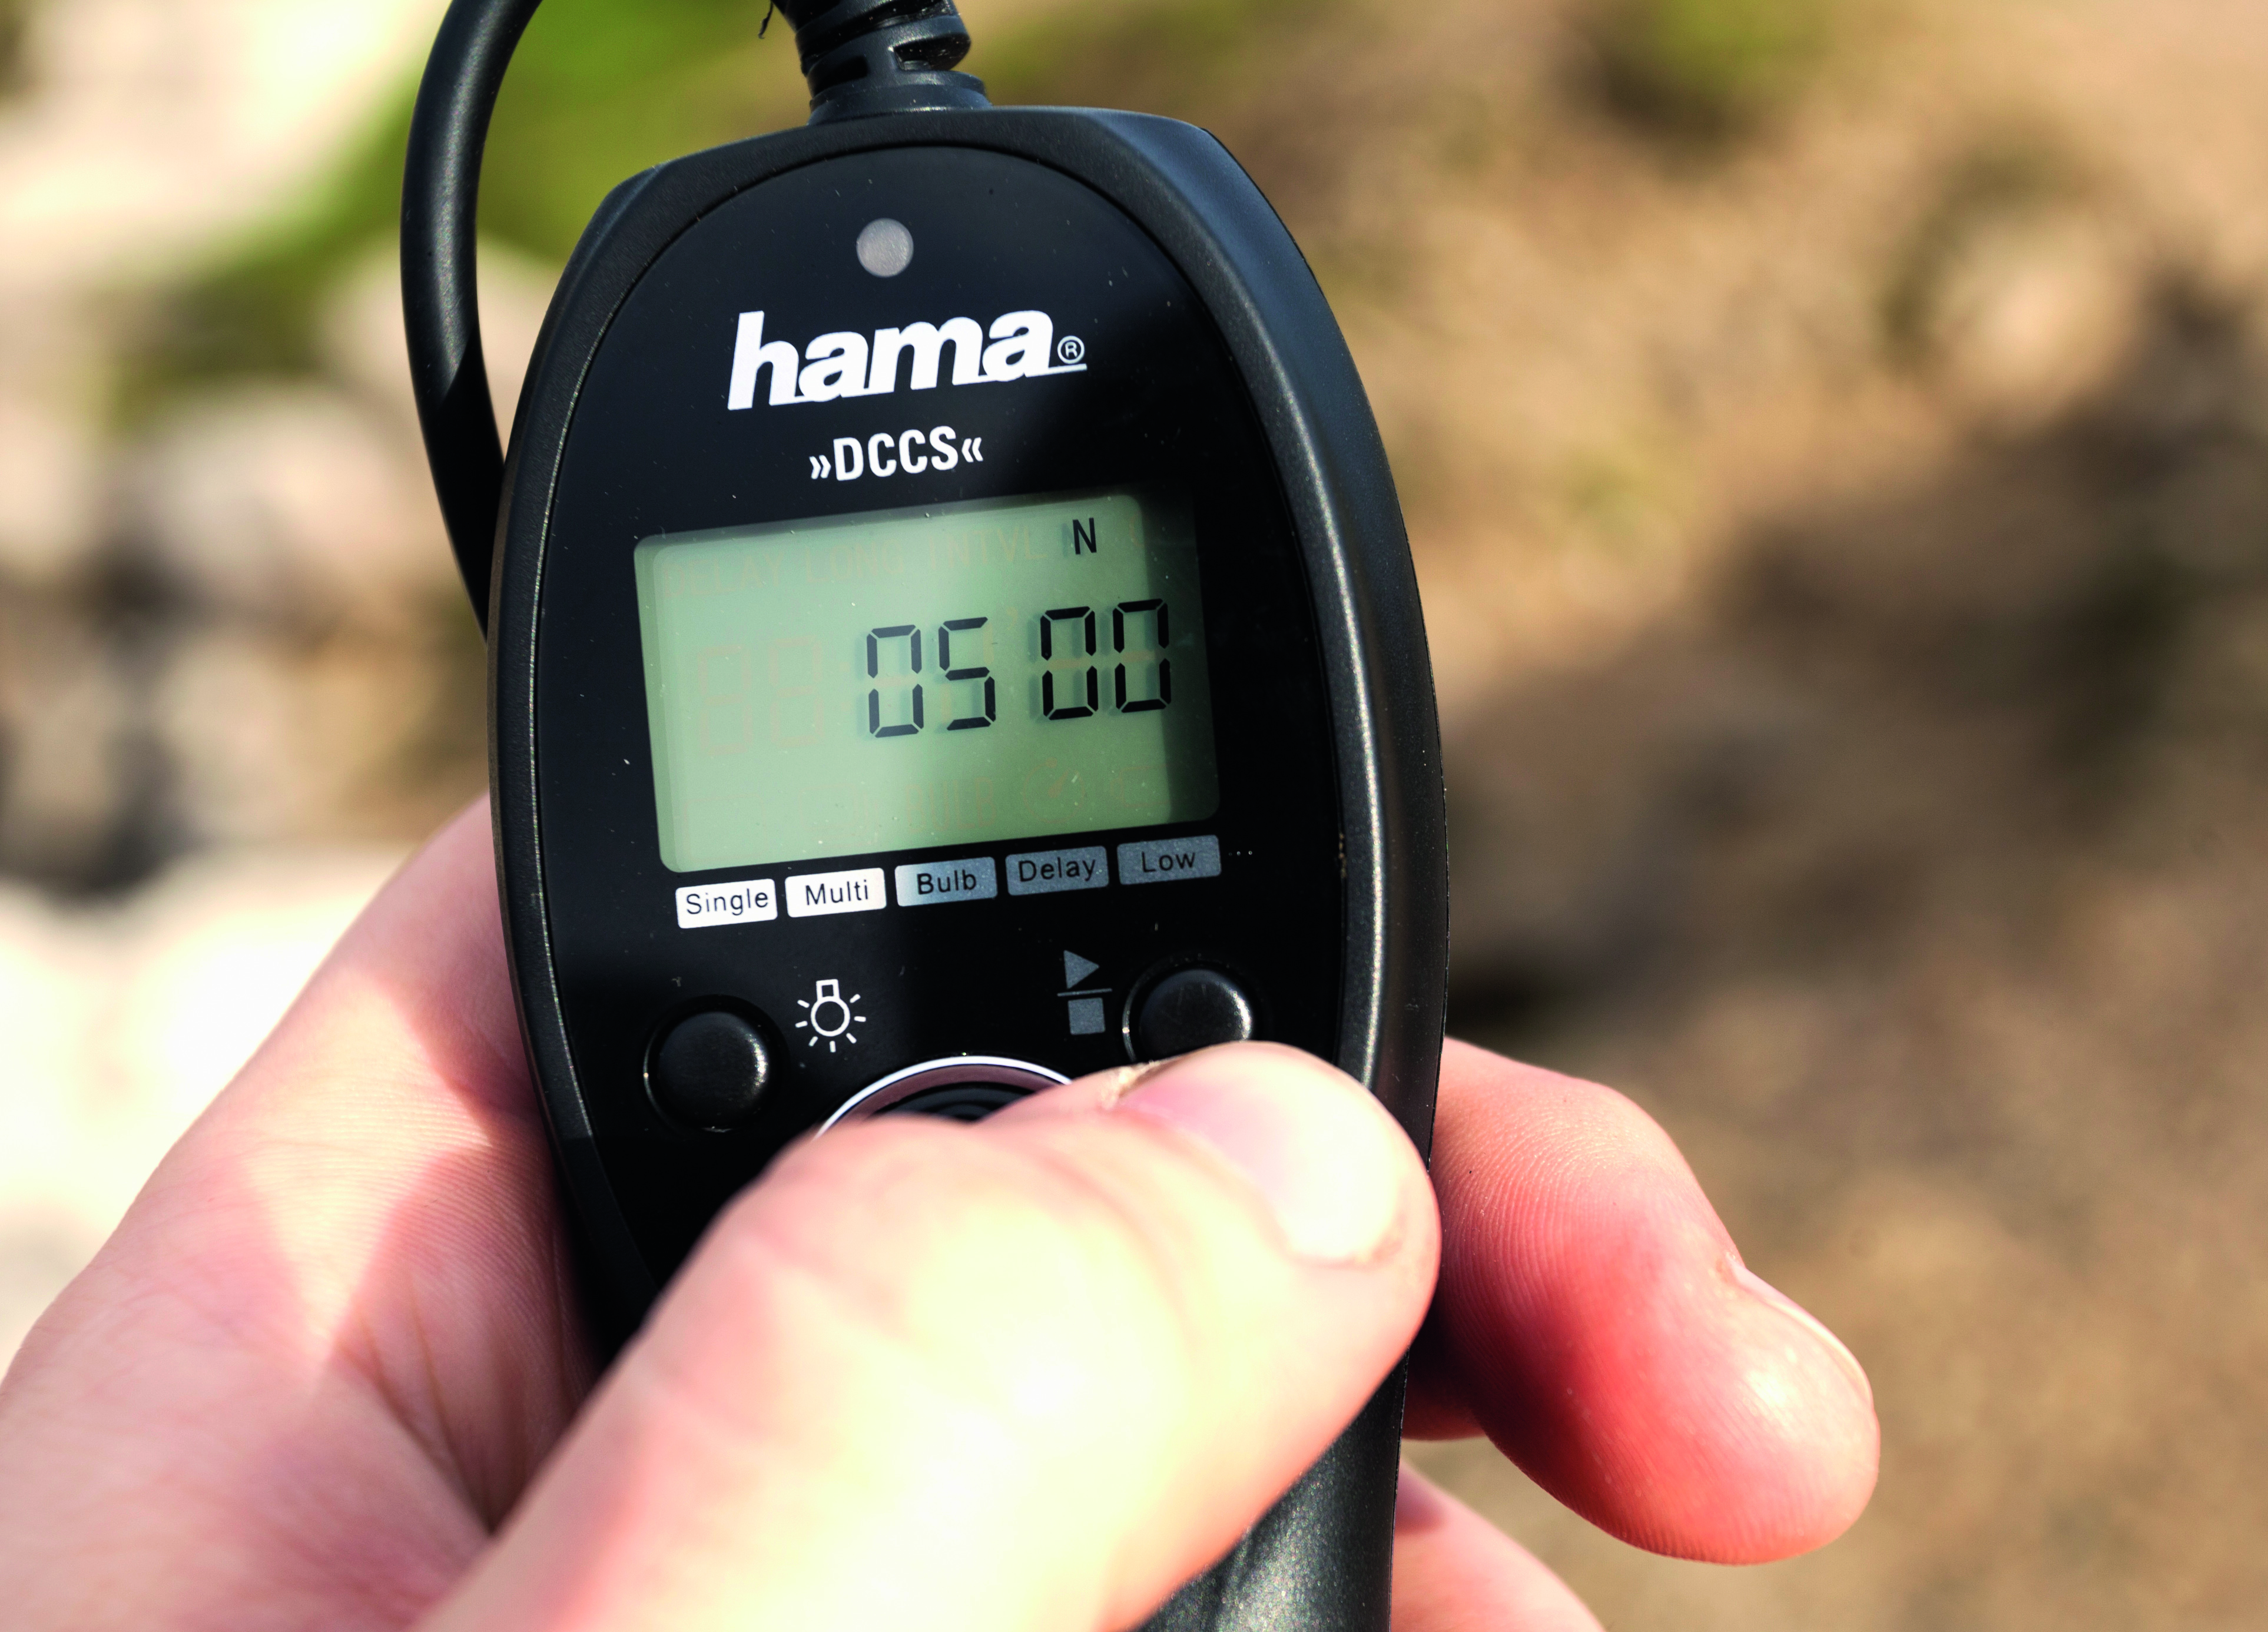
6 PICK A NUMBER
Finally, tell your camera how many photos to take . With the Hama, ‘N’ can be set anywhere up to 10,000, but in our case, 500 was plenty. After that, press the shutter release (most intervalometers have a large shutter button) and the remote will work through the sequence.
Get the Digital Camera World Newsletter
The best camera deals, reviews, product advice, and unmissable photography news, direct to your inbox!
