How to use an ND graduated filter for stunning landscape photography
Great skies often come with exposure problems, but a graduated filter can make all the difference
Watch the video: how to use an ND grad filter
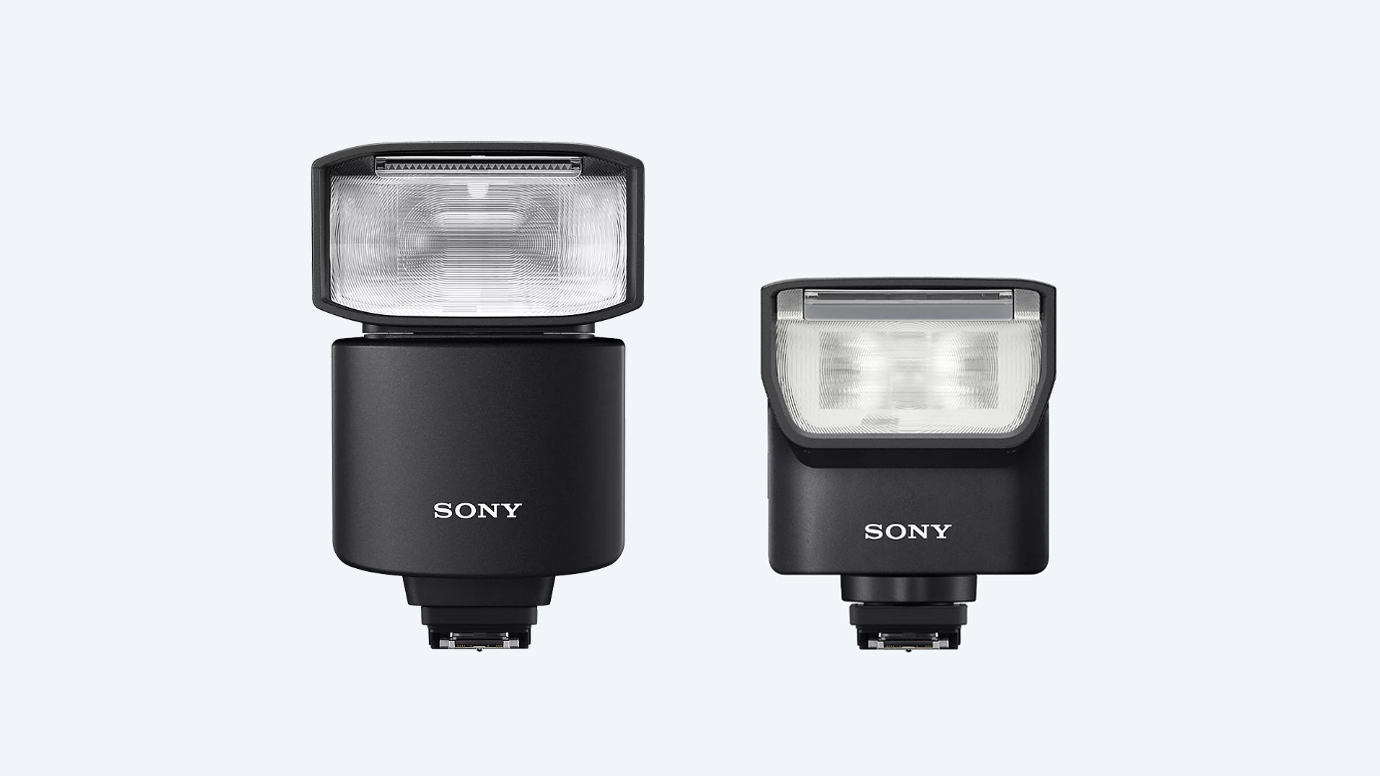
1) Graduated filters
Take a look at our best graduated filters buying guide to see our latest recommendations.
2) A tripod
Not essential, but very useful when you've found your shooting location as it leaves you with both hands free for swapping and adjusting filters. These are the best tripods right now.
Do you struggle to get your skies to come out properly when you’re shooting landscapes? Finding the right vista can be the difference between a mediocre image and a masterpiece, but first you might have to overcome a serious, very common issue with the lighting.
• 10 things you need to know about camera filters!
• More photography tips: how to take pictures of anything
• Landscape photography tips and techniques
All too often, the sky is much brighter than the ground and you can’t find an exposure that makes them both come out well. Either the sky is fine but the landscape is underexposed, or you increase the exposure so that the landscape looks good, but then the sky becomes overexposed and burnt out.
The answer is a graduated filter. These simple bits of kit are clear at the bottom but darker at the top. This reduces the brightness of the sky but leaves the landscape unaltered. It’s not a sudden transition; in the middle is a ‘graduated’ area, where the darkening effect gradually reduces, hence the name graduated filter.
If you want to create the finished effect entirely in-camera, consider a selection of neutral density (ND) and colored filters for creating blue-sky and sunset effects. However, if you just want to get the brightness of the sky under control and do the rest in Photoshop, a small selection of ND grads is all you need.
These come in different strengths. An ND2 filter reduces the brightness of the sky by 2x (one stop, or 1EV). An ND4 filter reduces the brightness by 4x, or two stops, while an ND8 filter reduces it by 8x, or three stops. Filter strength is sometimes quoted as a decimal, where a 0.3 ND offers a one-stop reduction, 0.6 is two stops and 0.9 is three stops.
Used properly, graduated filters can make a huge difference to your photographs. In fact, you’ll seldom see a professional landscape photographer without them!
01 Choose your grad
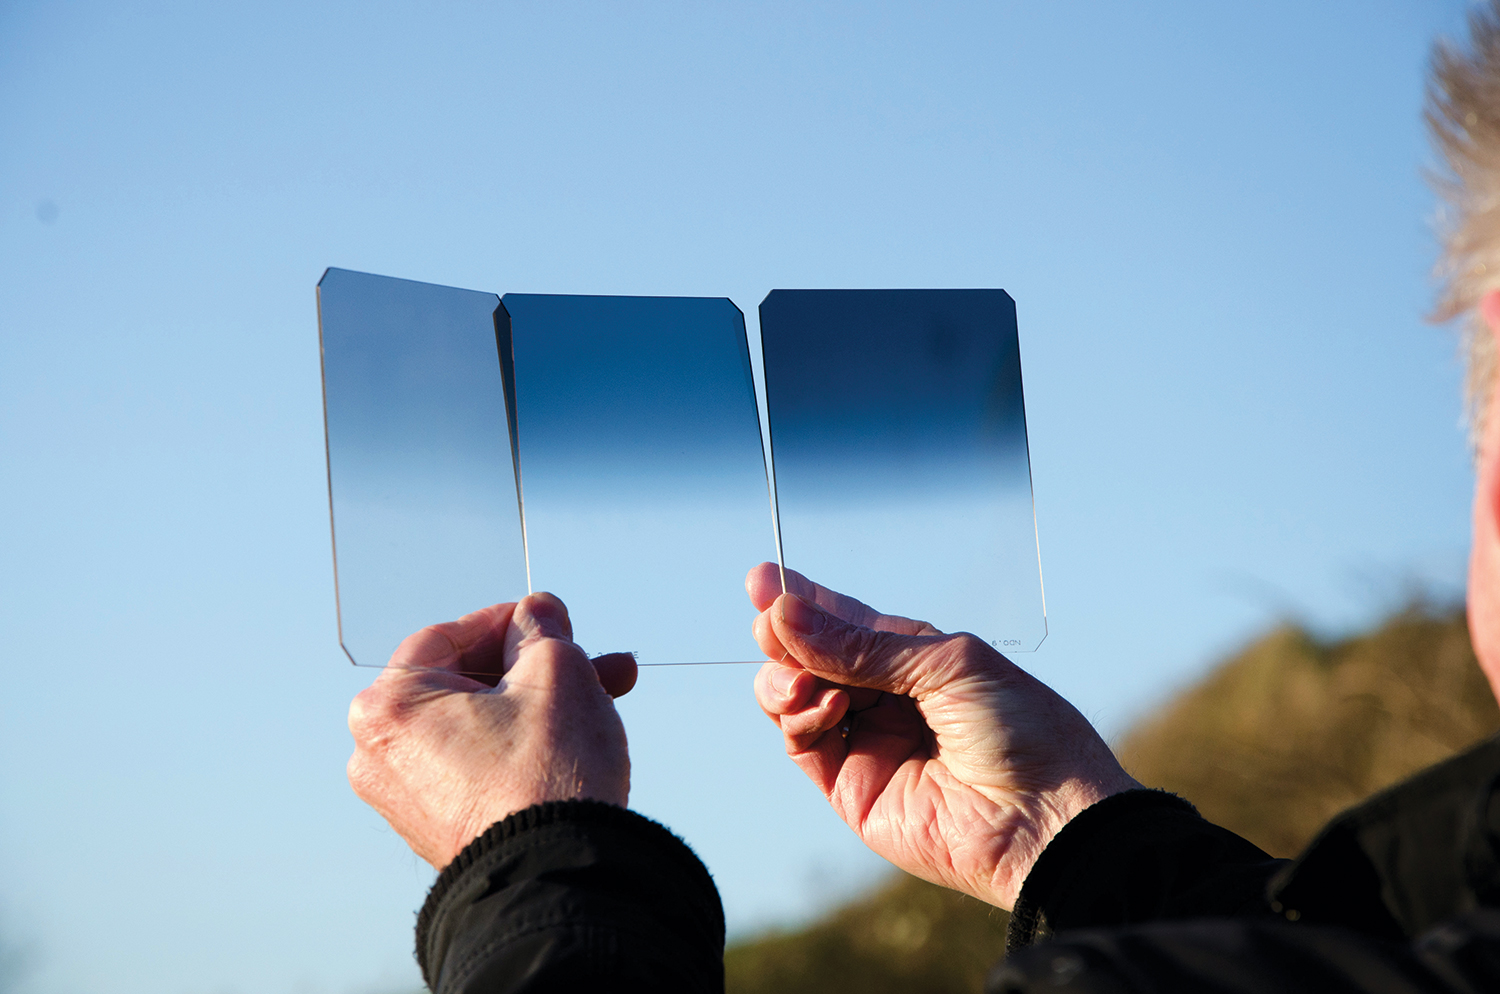
Experience will soon tell you what strength of filter you need. For this scene, a 4x (0.6 ND) filter should be about right. Be careful not to overdo it! What looks good on the LCD display can often seem completely overdone when you check the photo on a computer.
02 Rotate and straighten
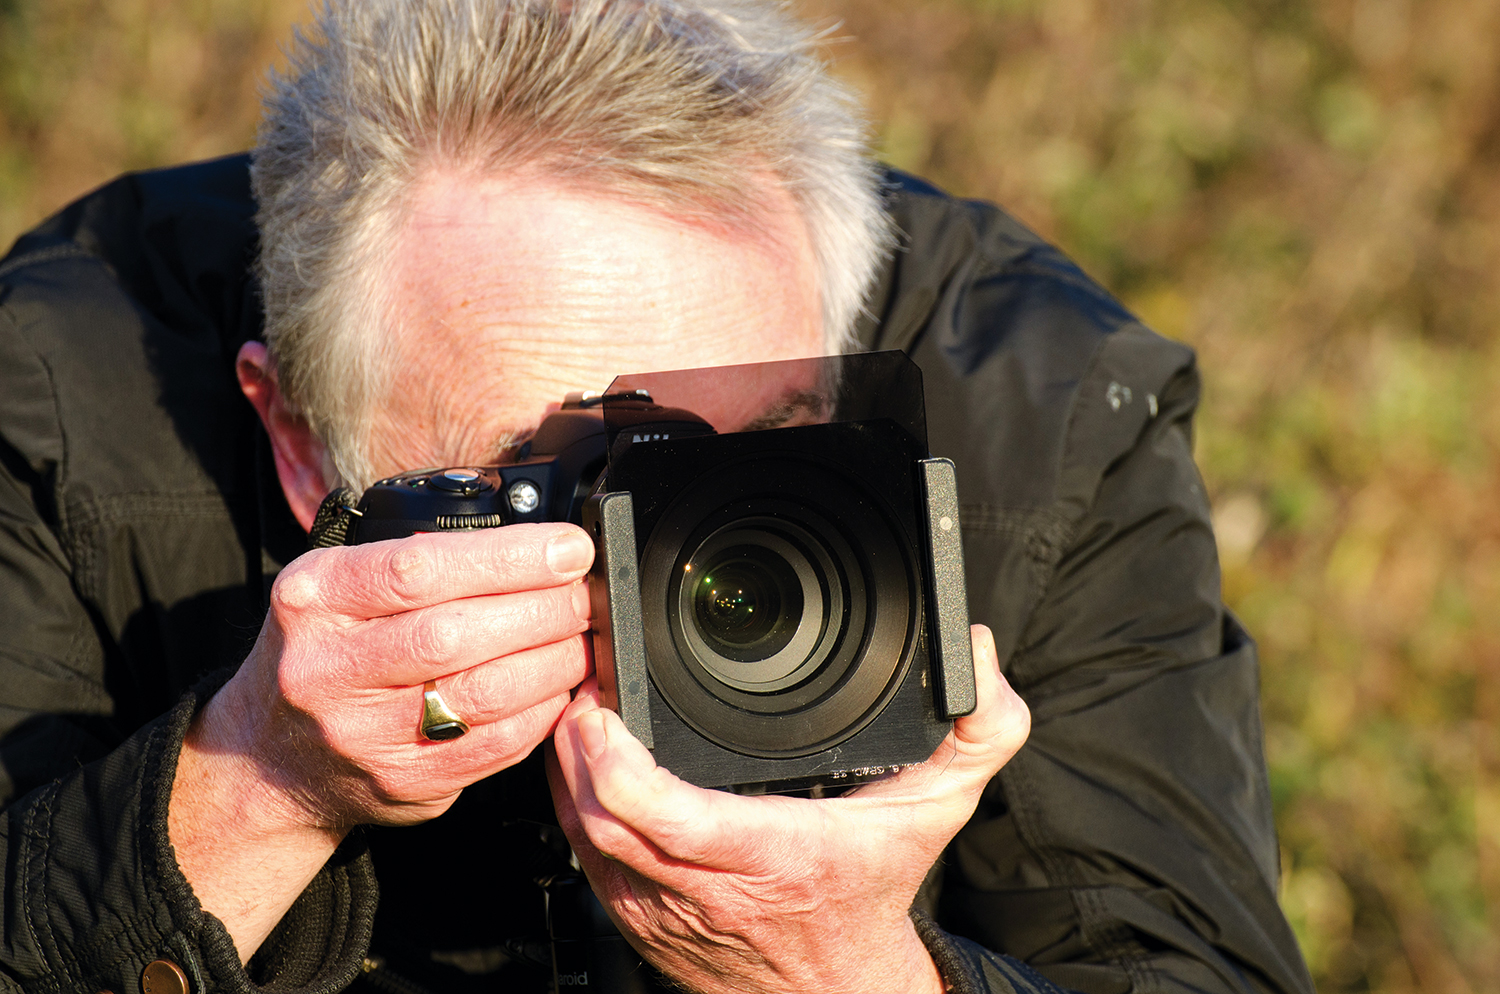
When you’ve chosen the filter, slide it into the holder and then rotate the holder so that the grad is parallel with the horizon. Sometimes you can vary this to suit jagged or sloping horizons, but beware – skies that ‘graduate’ at an angle will look unnatural.
03 Adjust the height
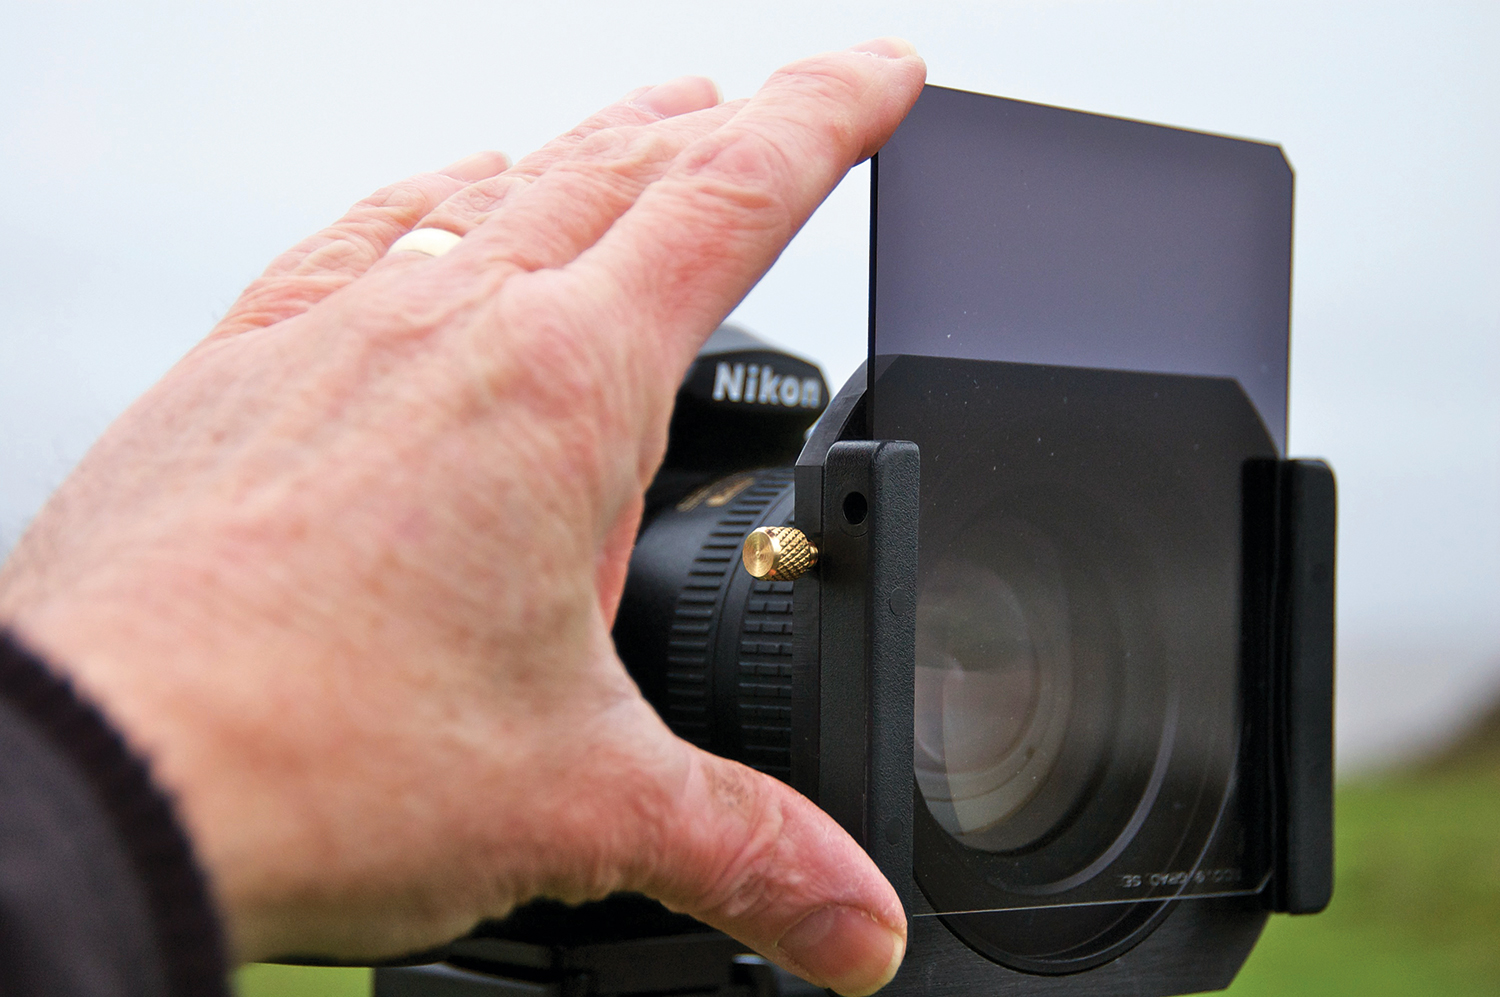
Now move the holder up and down, choosing the position that looks right to you. Having the filter just above the horizon works well because a visible gradation in the sky looks natural, while a darkening effect that starts right on the line of the horizon can look rather odd.
04 Check the exposure
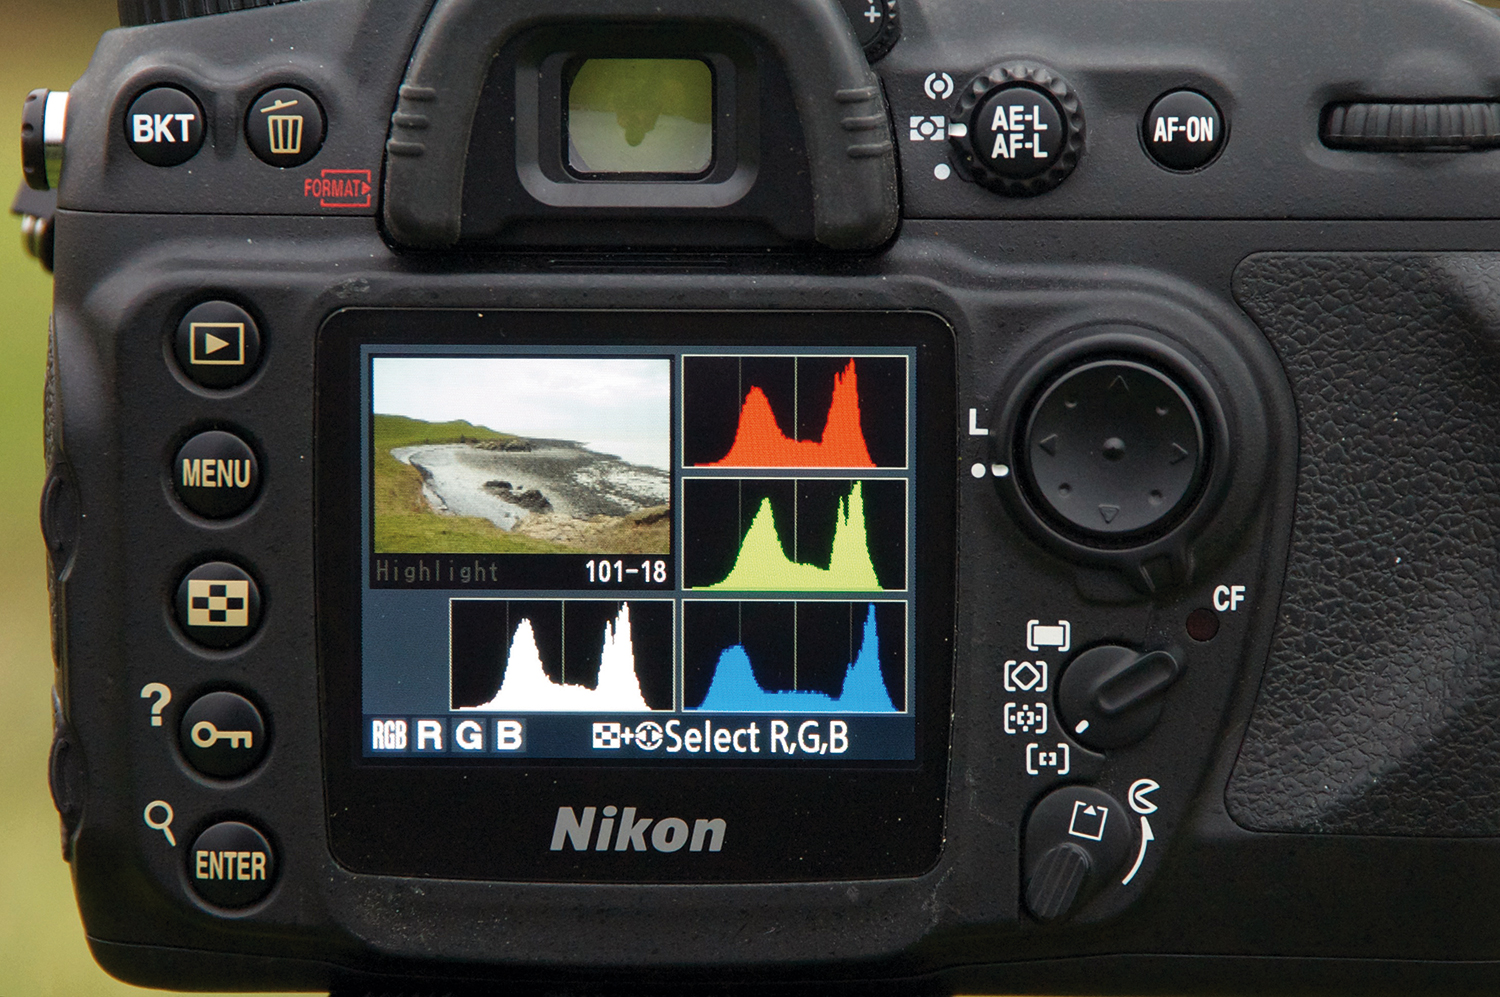
You can shoot using the exposure recommended by the camera with the filter in place, but you might get better results by metering from the foreground, before adding the filter. Either way, check the histogram on your camera and adjust the exposure if necessary.
More videos:
147 photography techniques, tips and tricks for taking pictures of anything
Northern Lights photography: tips and techniques for stunning images
Depth of field and hyperfocal distance in landscape photography explained
Sunset photography: tips and settings for perfect pictures
Get the Digital Camera World Newsletter
The best camera deals, reviews, product advice, and unmissable photography news, direct to your inbox!

Rod is an independent photography journalist and editor, and a long-standing Digital Camera World contributor, having previously worked as DCW's Group Reviews editor. Before that he has been technique editor on N-Photo, Head of Testing for the photography division and Camera Channel editor on TechRadar, as well as contributing to many other publications. He has been writing about photography technique, photo editing and digital cameras since they first appeared, and before that began his career writing about film photography. He has used and reviewed practically every interchangeable lens camera launched in the past 20 years, from entry-level DSLRs to medium format cameras, together with lenses, tripods, gimbals, light meters, camera bags and more. Rod has his own camera gear blog at fotovolo.com but also writes about photo-editing applications and techniques at lifeafterphotoshop.com
