To light the splash from a drum
Time: Two hours
Skill level: Advanced
Kit needed: DSLR, two or three flashguns, two light stands
Missed the earlier parts of this feature?
- How to use flash: Part 1
- How to use flash: Part 2
- How to use flash: Part 3
- How to use flash: Part 4
- How to use flash: Part 5
- How to use flash: Part 6
- How to use flash: Part 7
- How to use flash: Part 8
- How to use flash: Part 9
Freezing action is all about using a fast shutter speed, right? Wrong.
You don’t need that 1/4000sec shutter speed to capture all of the detail in a scene. Just a pop of the flash will freeze any movement in your image, so long as you combine it with the sync speed of the flash.
Most flashguns have a flash duration of 1/30,000sec at 1/256 power to 1/980sec at full-power output, so the action is frozen faster than the shutter speed itself.
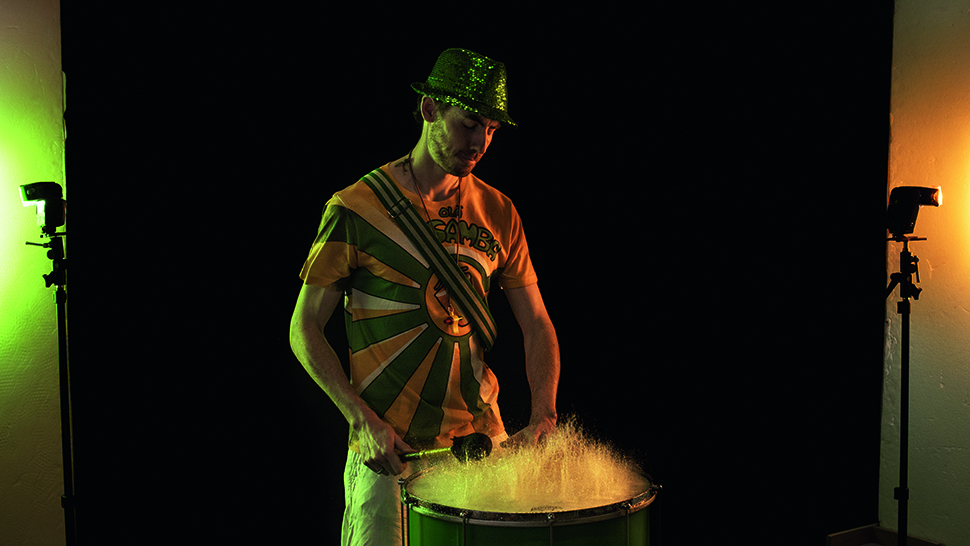
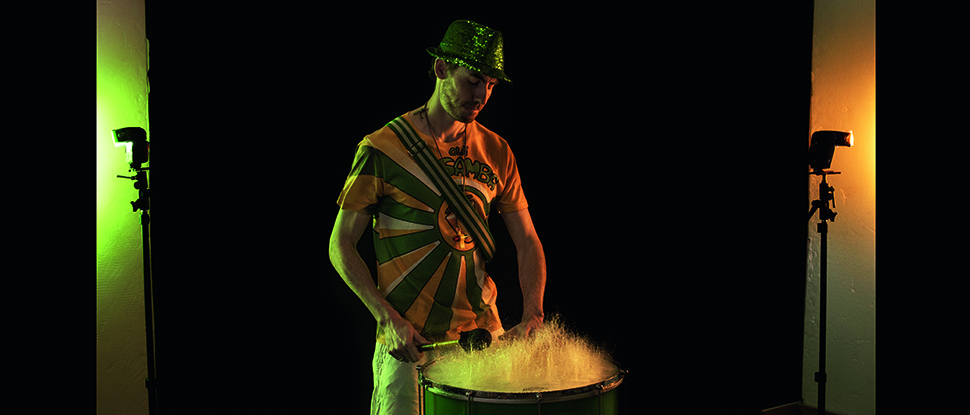
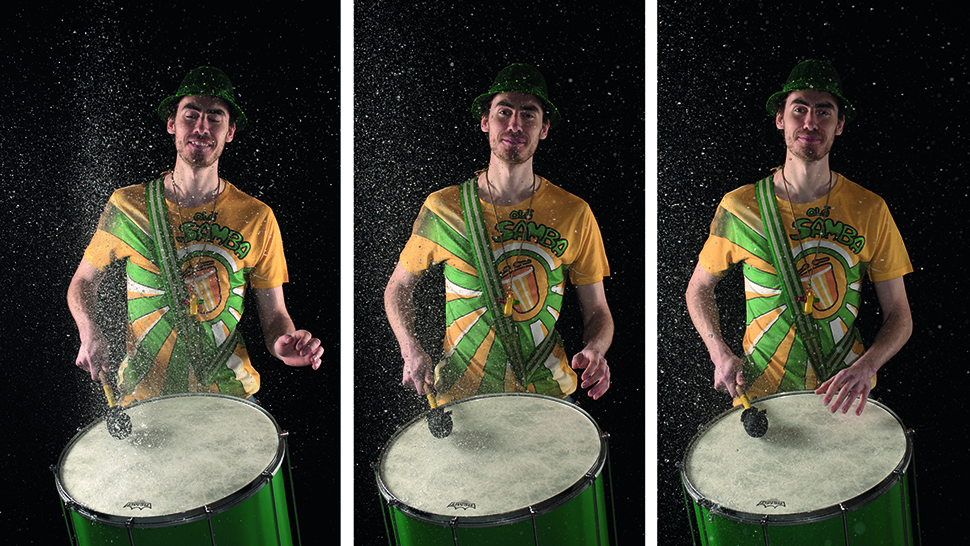
You can use flashguns to get dynamic action shots that convey a sense of movement. With our samba drummer here placed centre stage, flashguns at the sides highlight the water splashes coming off the drum, giving the portrait a carnival feel. A front-on light also illuminates the drummer, who’s in front of a plain, dark backdrop.
Using this many off-camera flashguns may seem daunting, but we’ll take it one step at a time to make sure you’re confident that each light is perfectly positioned and balanced.
Step by step: Enjoy a drum lesson
1. Bounce the lights
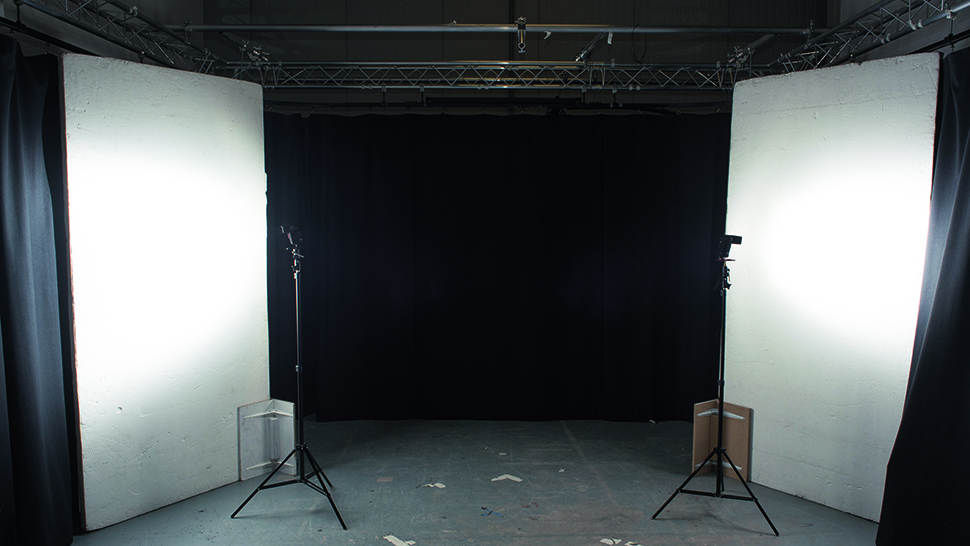
Put two flashguns on two light stands either side of your subject, with big white boards or walls behind those to bounce light back. Turn on one at a time and start at 1/8 power. Keeping the power low means the recycling time is quicker, which in turn means you can capture shots faster.
2. Get flashguns under control
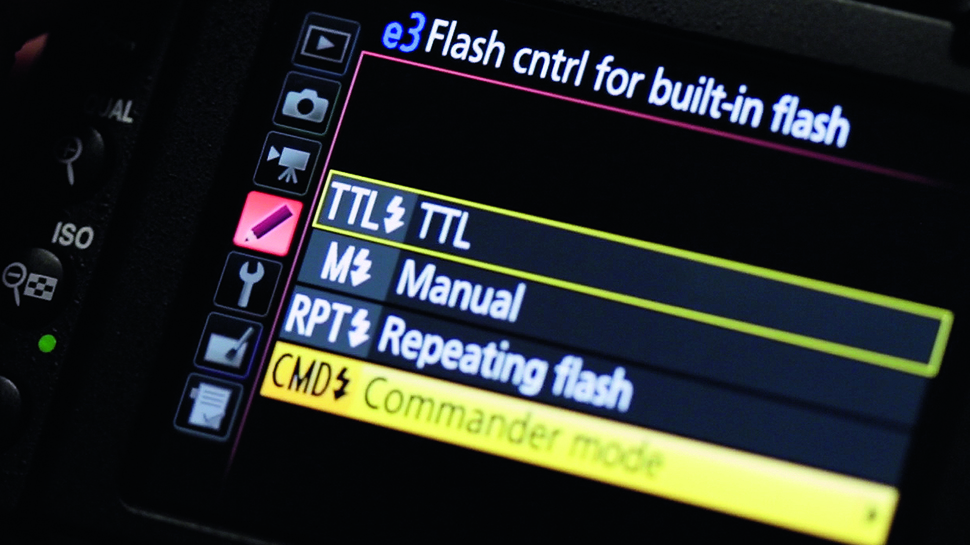
We want to make sure we get all the flash units firing at the same time. Use the camera’s built-in flash control option to sync your flash units together. Now set your flashgun to remote or slave mode.
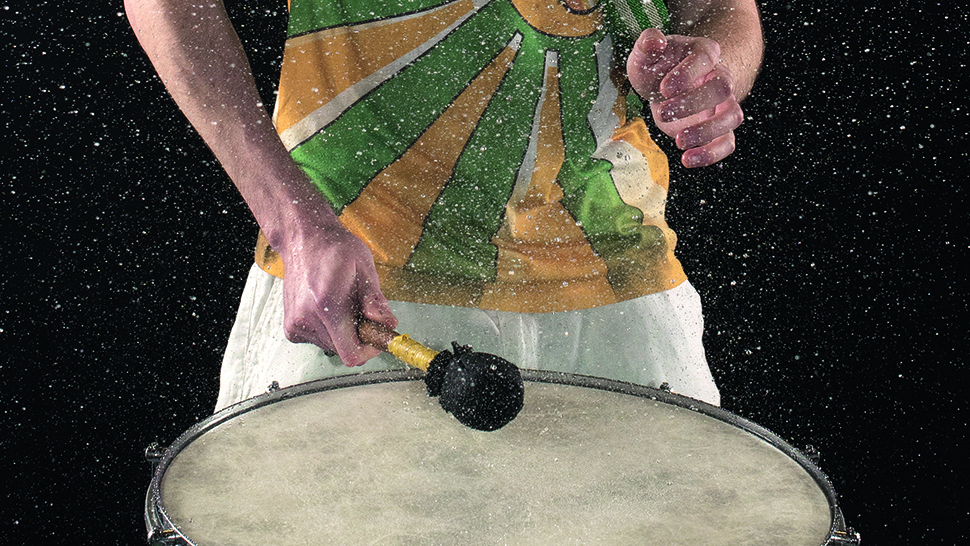
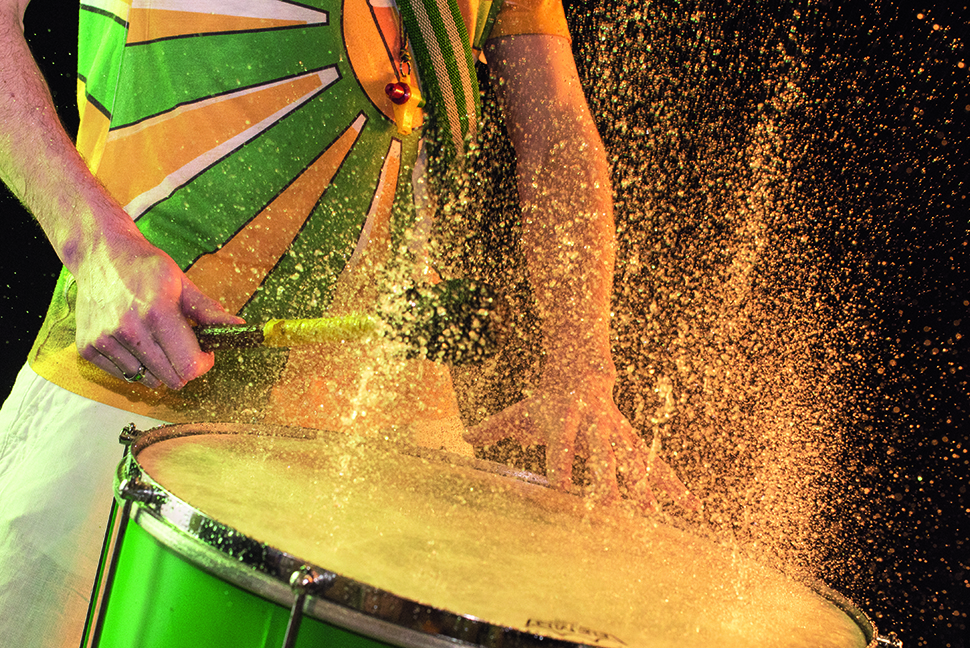
Your drummer may use a beater, a stick or just their hands to beat the drum. Lean in close to get the detail of water splashing through their fingers. If you can add a tilt into the shot to make it more dynamic, even better.
3. Soak your subject
Pour lots of water over the skin, then have your drummer bash the living daylights out of the drum. You’ll see water splashing up everywhere, so take some practice shots in manual mode at a 1/200sec shutter speed and an f/8 aperture, and sensitivity set to ISO 500, to see where the splashes end up.
Obviously, make sure to keep enough distance so that you or your gear don't end up being splashed with water! Make sure to keep an eye on where all of your slave flashes are to help keep them protected.
4. Fill from the front
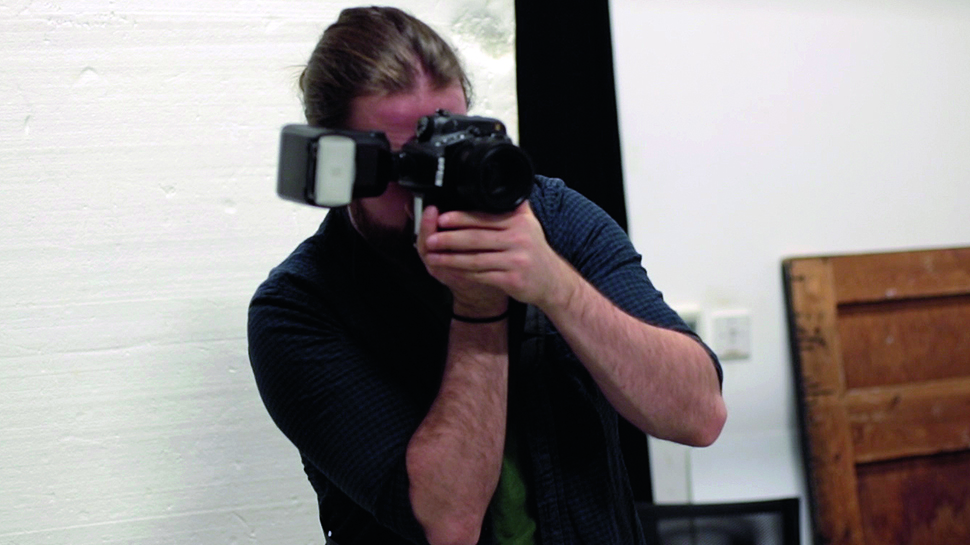
Use the pop-up flash to not only trigger your slave flashguns but also to fill in the light from the front, which rids you of any shadows coming across the model’s face. If you want to add another flash for that extra boost, mount another on your hotshoe.
5. Add a coloured gel
Coloured gels lift the standard white flash light and make the image more interesting. We put a colour temperature orange gel on one flashgun and a green on the other to accentuate the fantastic samba colours in our drummer’s costume and drum.
Bring spare batteries for your flashguns. We ran through quite a few during our shoot so you may want to pick up fresh ones from the shops or invest in rechargeable batteries.
6. Pick a well-timed shot
Shoot in continuous burst mode to enable yourself to capture a few shots in a row. You can then pick from your favourite shots later on, once you have a chance to look them over properly on your computer. We found that the most exciting shots came when the drummer had just struck the skin.
With thanks to: Our drummer, David Walter, at Olá Samba
Get the Digital Camera World Newsletter
The best camera deals, reviews, product advice, and unmissable photography news, direct to your inbox!
N-Photo: The Nikon Magazine is a monthly publication that's entirely dedicated to Nikon users. As a 100% independent magazine, you can be assured of unbiased opinion from a trustworthy team of devoted photography experts including editor Adam Waring and Deputy Editor Mike Harris.
Aimed at all users, from camera newcomers to working pros, every issue is packed with practical, Nikon-specific advice for taking better photos, in-depth reviews of Nikon-compatible gear, and inspiring projects and exciting video lessons for mastering camera, lens and Photoshop techniques.
Written by Nikon users for Nikon users, N-Photo is your one-stop shop for everything to do with cameras, lenses, tripods, bags, tips, tricks and techniques to get the most out of your photography.

