How to use the beauty of backlighting in portrait photos
Get out in the soft spring sun and conquer the basics of backlit portraits with these top tips, says Alistair Campbell
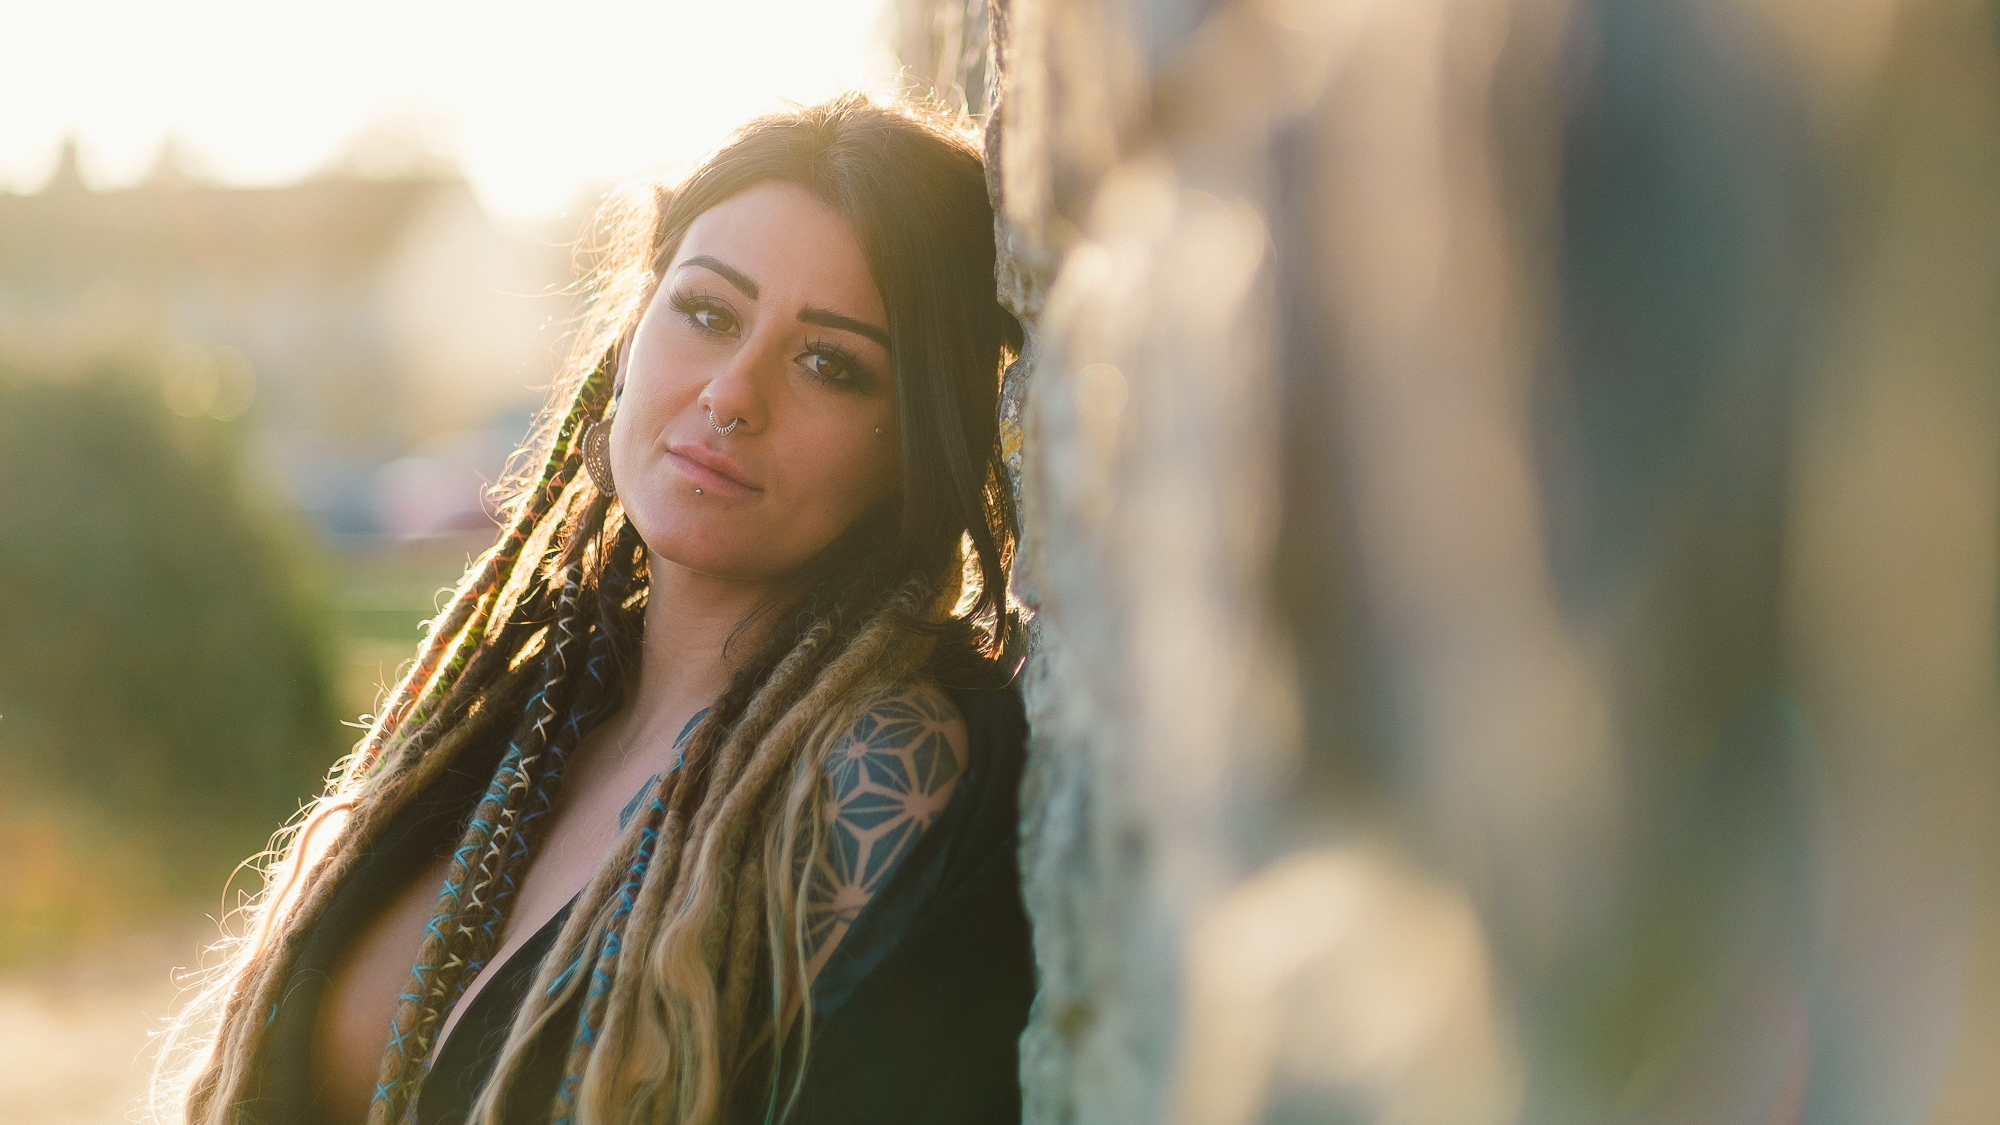
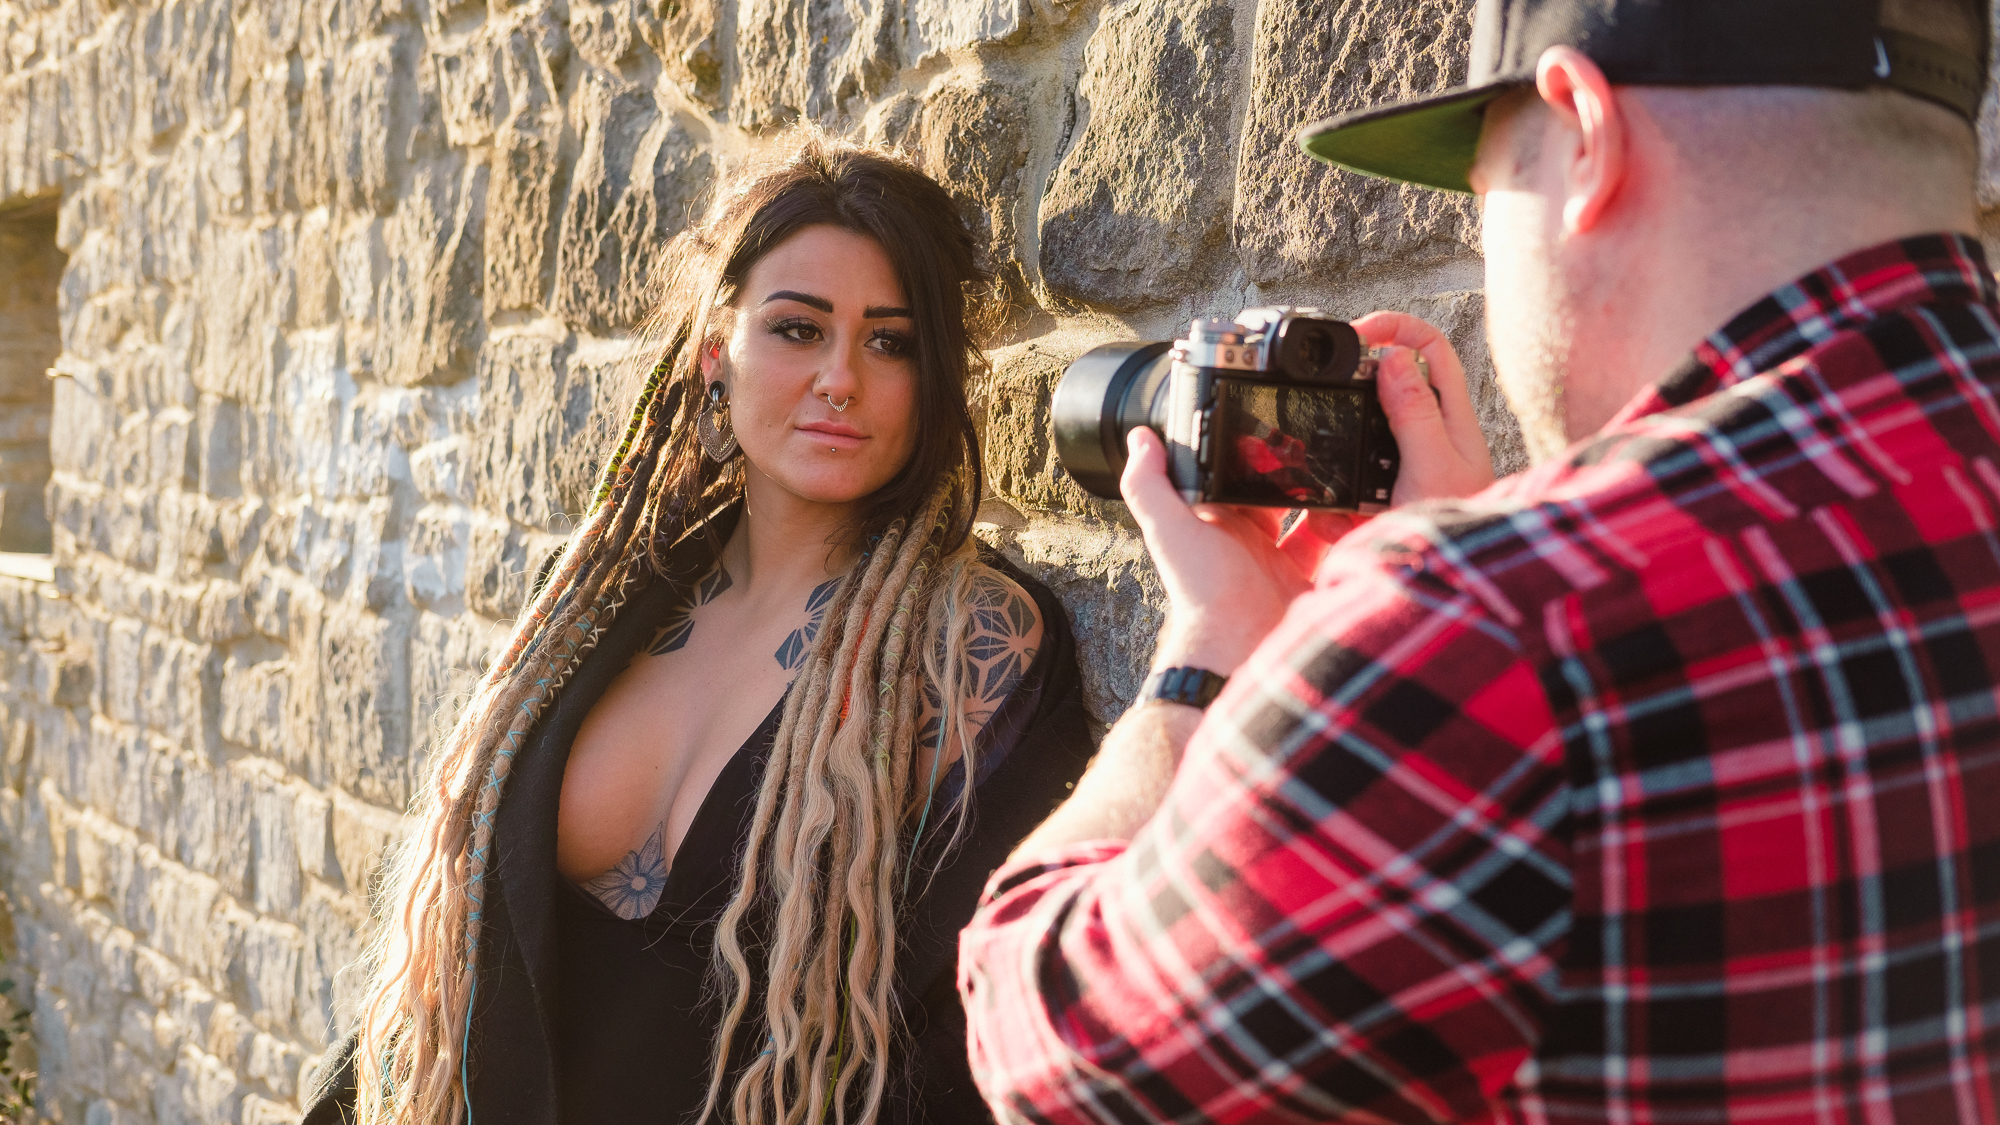
Having an understanding and control over your lighting is essential for all photographic genres, particularly when shooting portraits. Traditionally, you’ll want to get a good exposure on your subject’s face no matter what the environment is. Today, I’m out with model Ellie to tackle some slightly challenging backlighting.
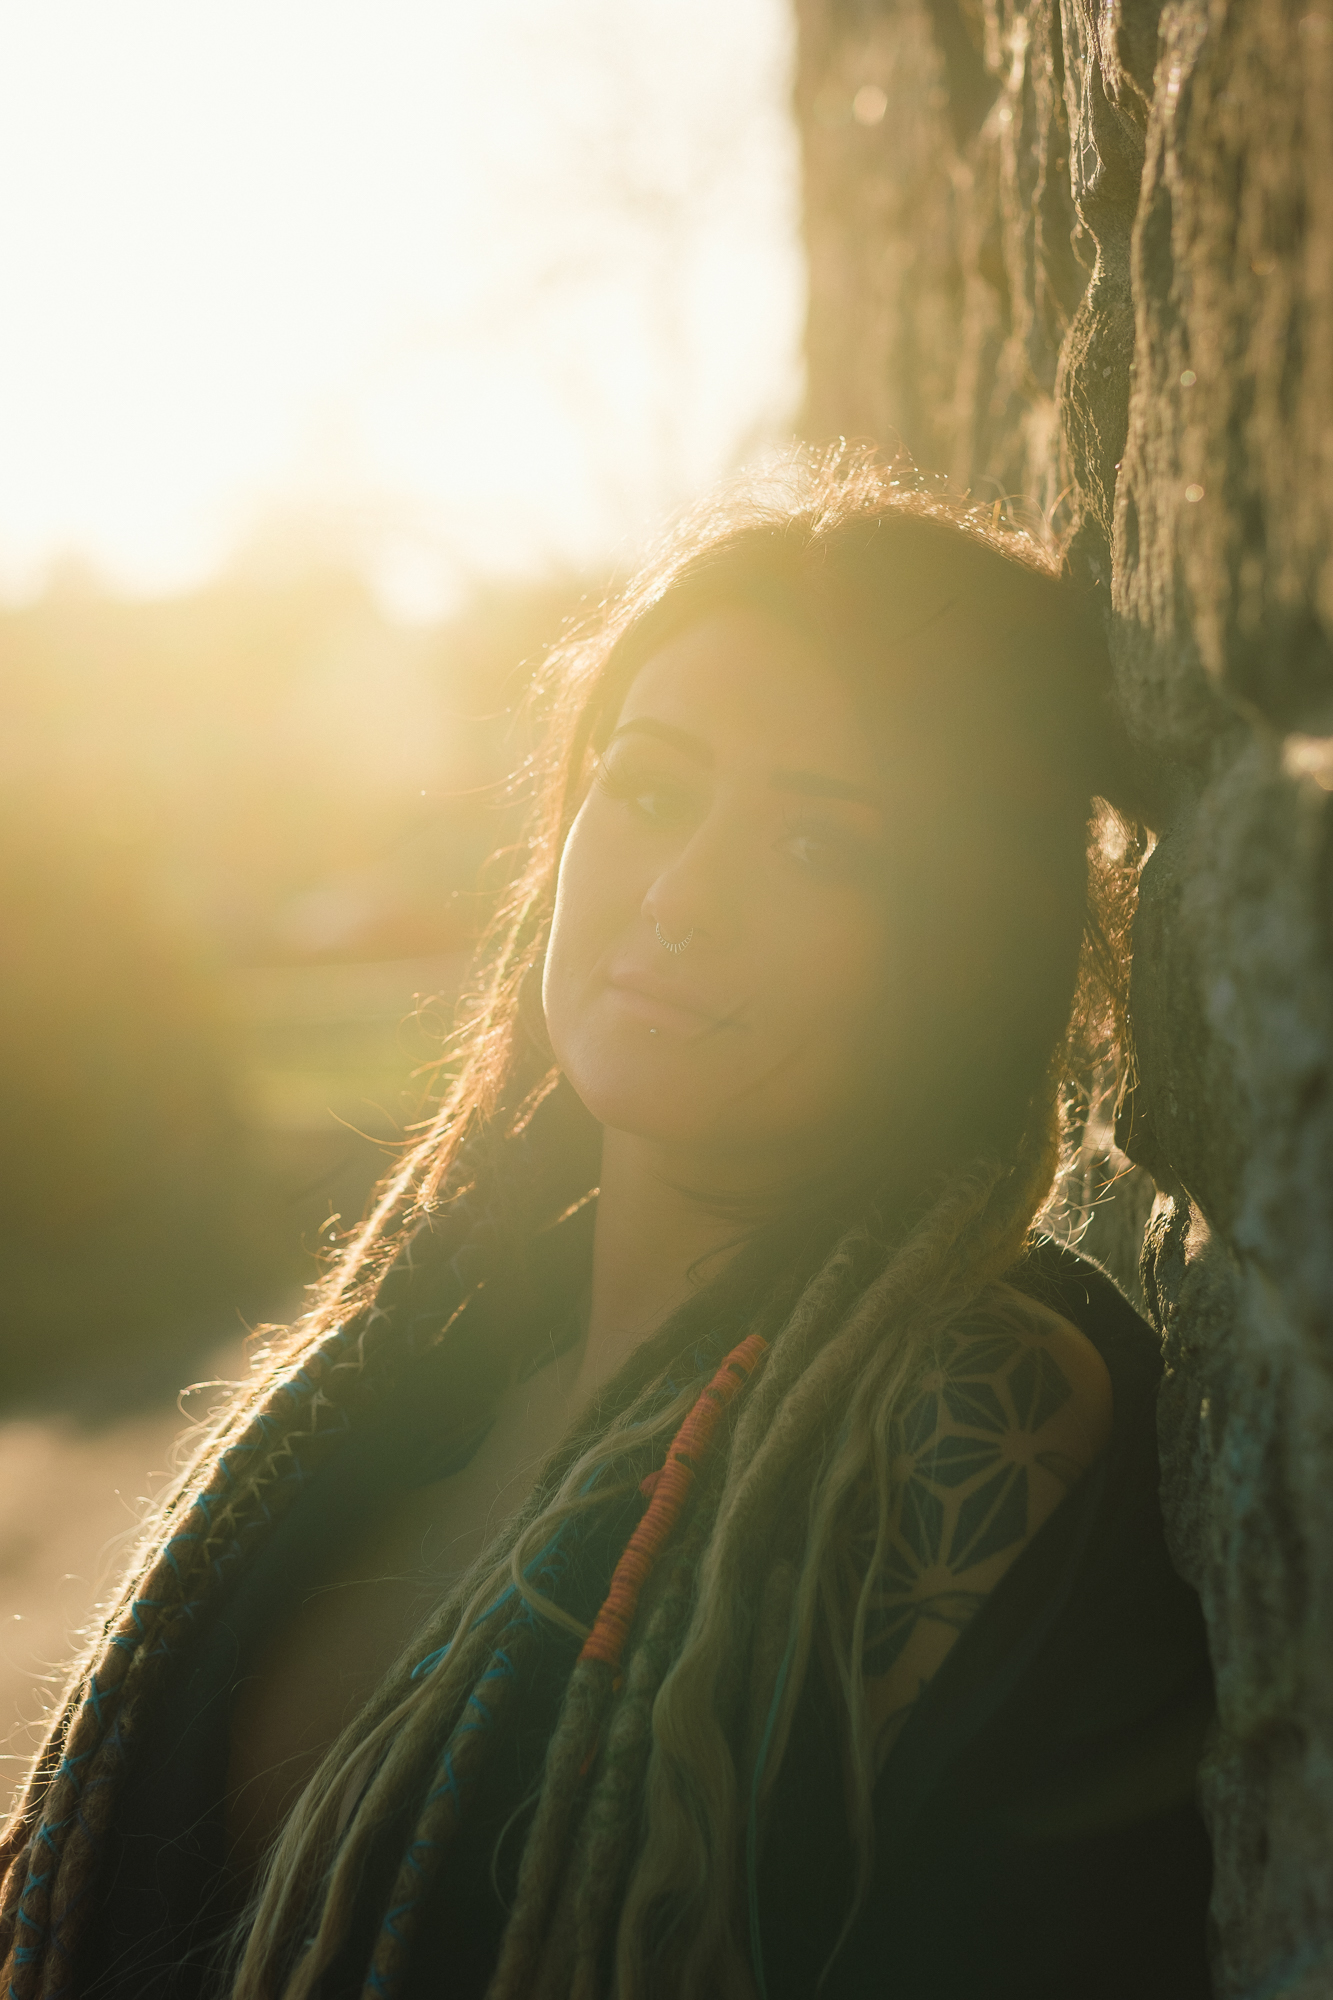
Being able to understand where light is falling and how it will affect your subject is a huge learning curve for all photographers. Backlight, as the name suggests, is when the main light source is emanating from behind your subject, which when under control can make for a beautiful glowing, warm and creamy image.
Natural light vs flash – which is better?
1: Setting up to shoot in backlit environments
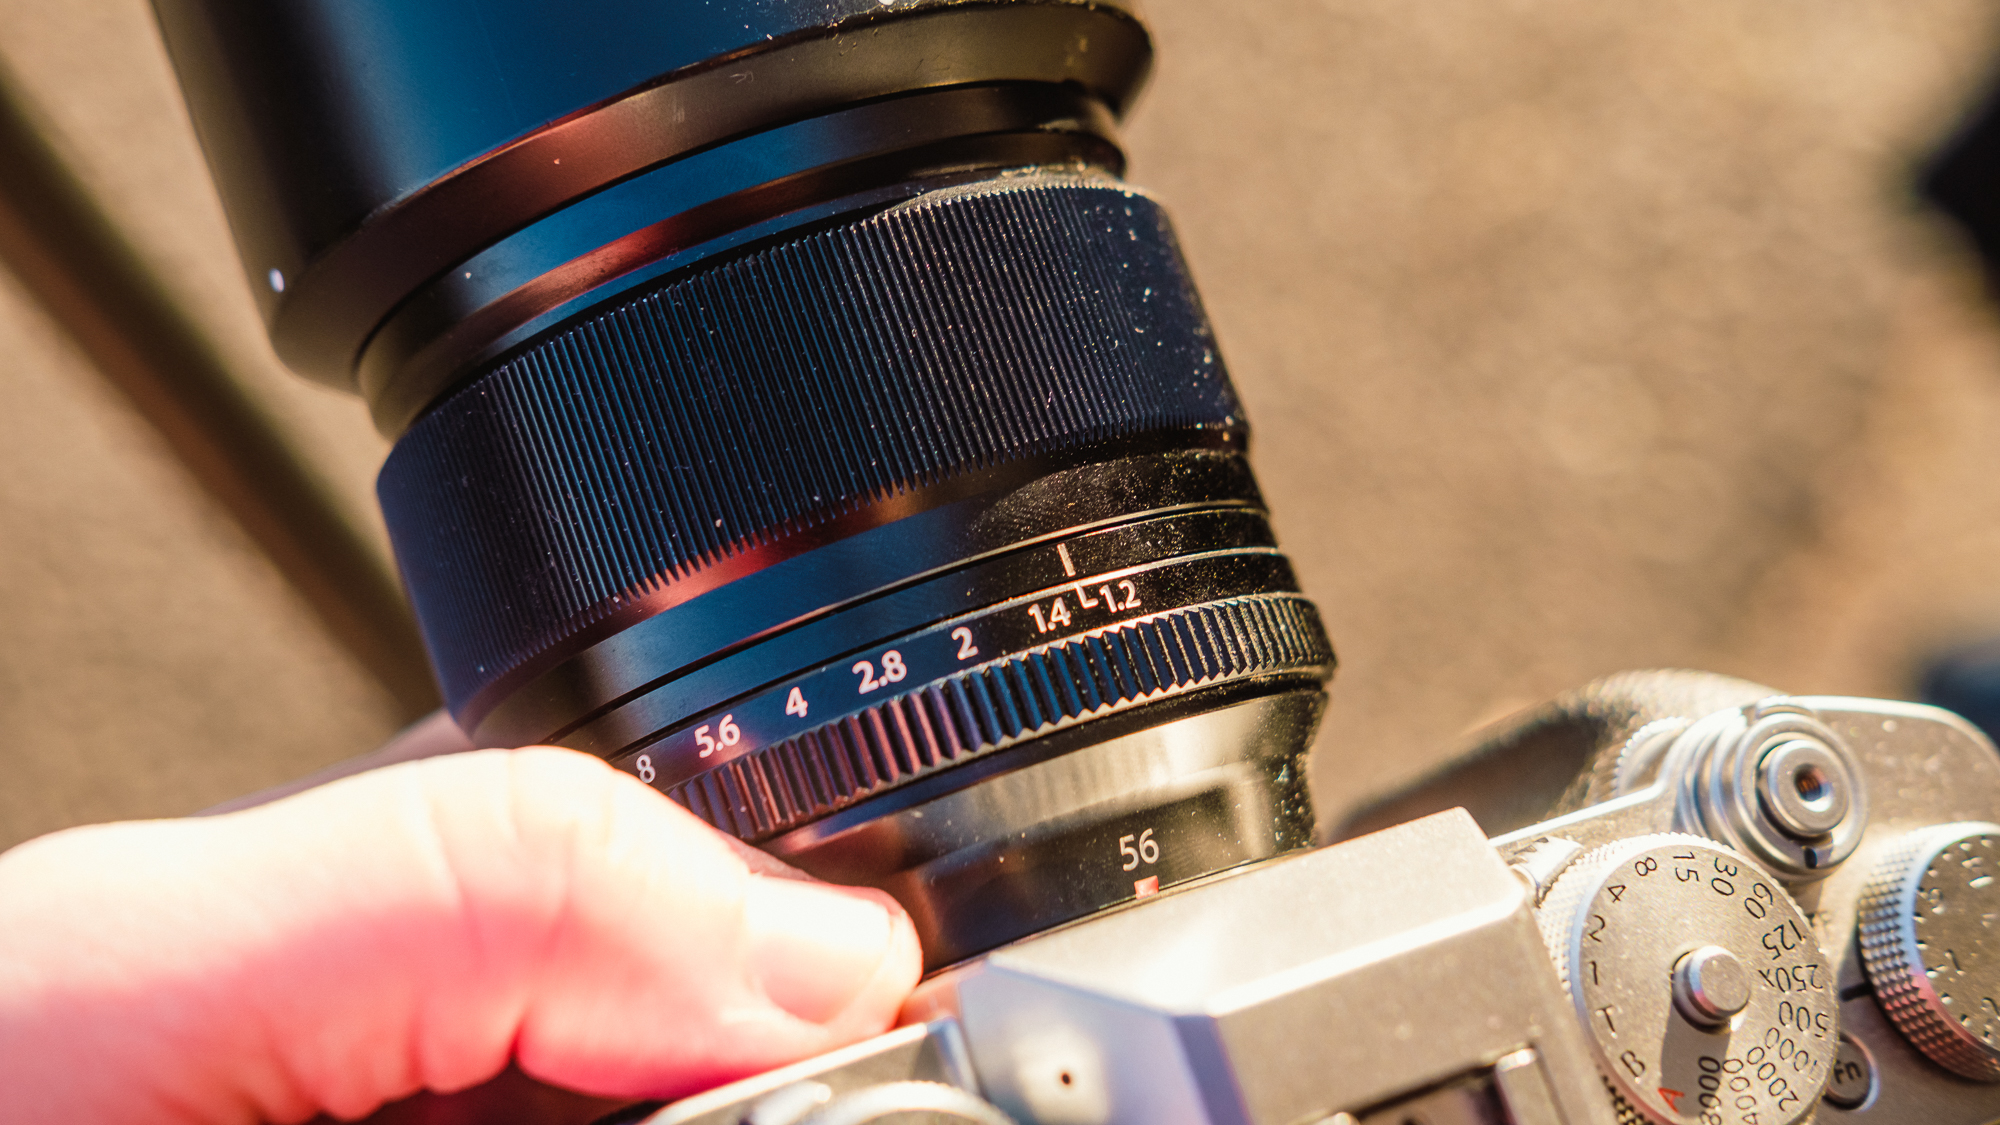
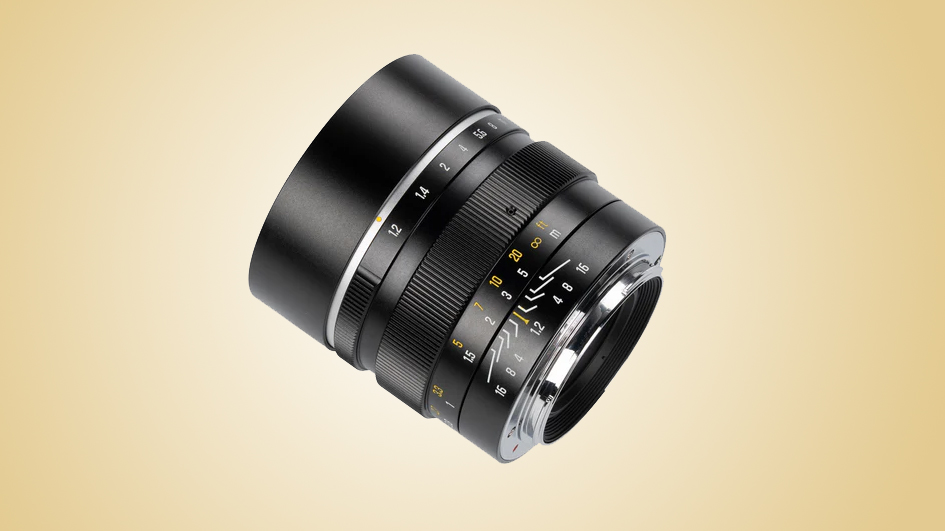
For me, natural light is at the very core of creative portrait photography. It is always available, offers the most natural mood and comes in various qualities, temperatures and directions. Once you learn how to work with natural light rather than against it, you will feel confident to shoot portraits all year round. Here, I’m using a Fujifilm X-T3 and Fujifilm XF 56mm f/1.2 R, my go-to setup for taking sharp portraits anywhere.
2: Select spot metering
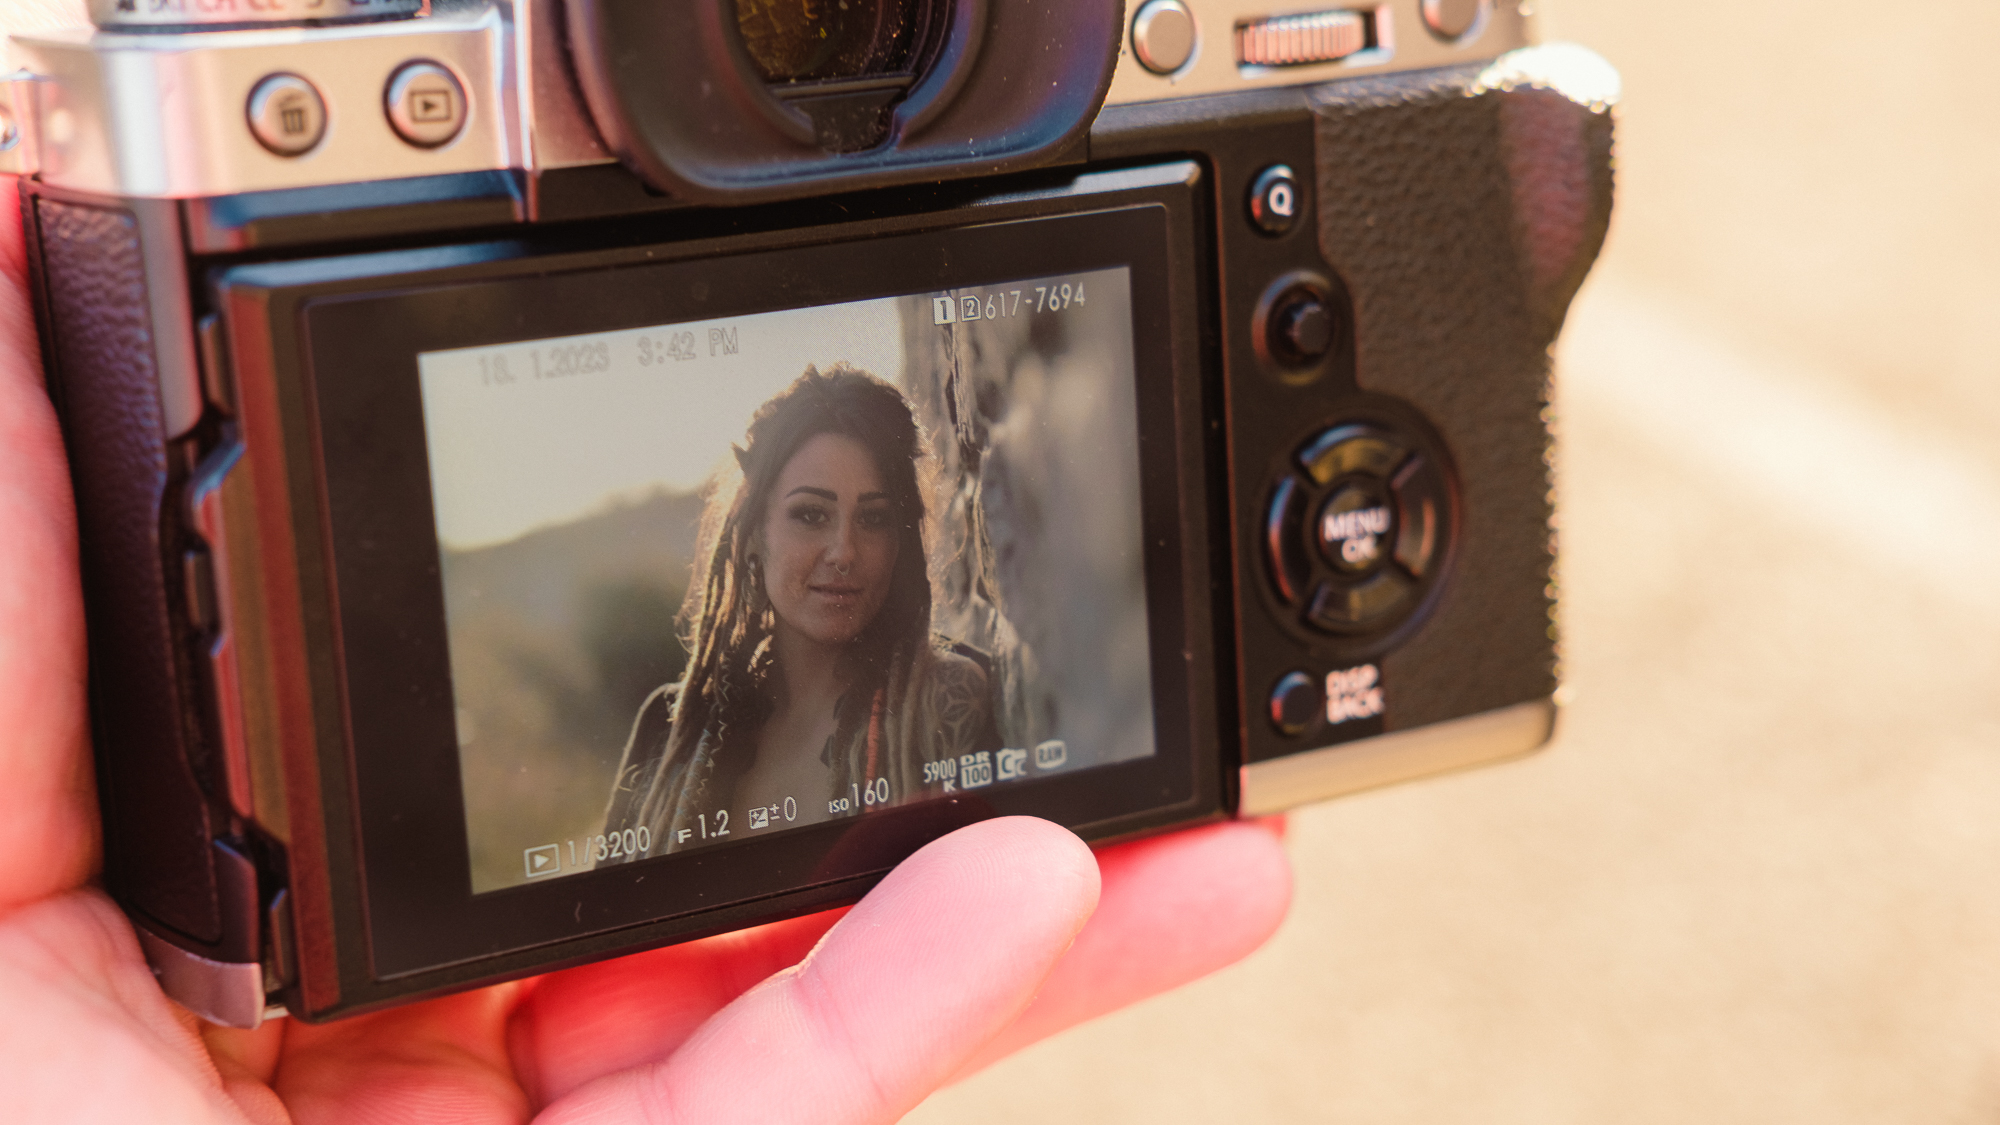
Using spot metering tells the camera to meter from a small area of the frame (between 1-5%, typically) and determine the optimal exposure for it, ignoring the rest of the scene. Spot is often preferred to other metering modes that provide a reading from the centre or the entire frame, which during backlight photography will often underexpose your subject.
Photography cheat sheet: What is metering?
3: Use a shallow aperture
Lenses come with different maximum apertures, but for the majority of my portrait photography, and not only with backlight shooting, I’ll also open up the aperture to its widest setting. Here, my Fujifilm 56mm has a very wide f/1.2 aperture; this will create a pleasing defocused background that will draw attention to the more important part of the frame – Ellie, the main subject of our shoot.
The best camera deals, reviews, product advice, and unmissable photography news, direct to your inbox!
4: Change your position
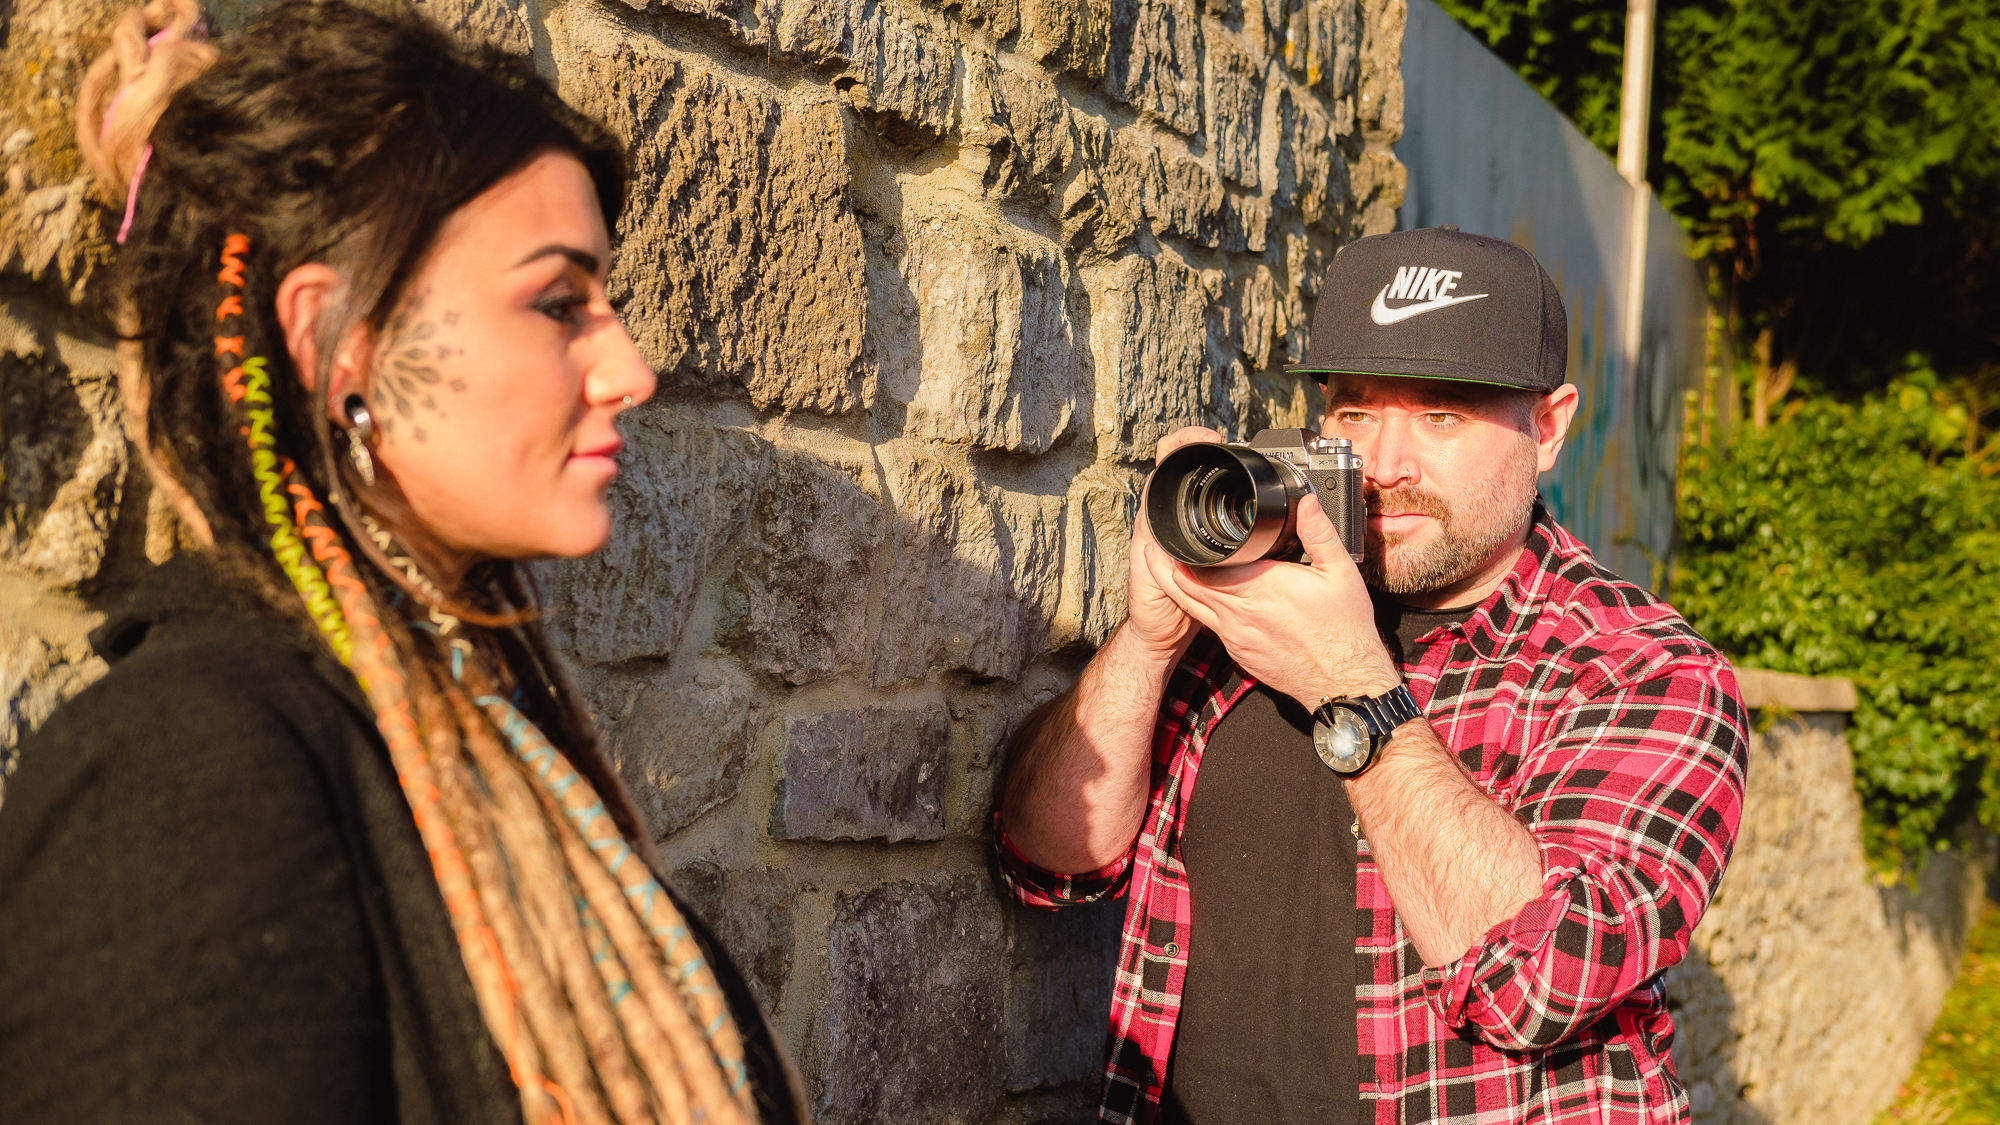
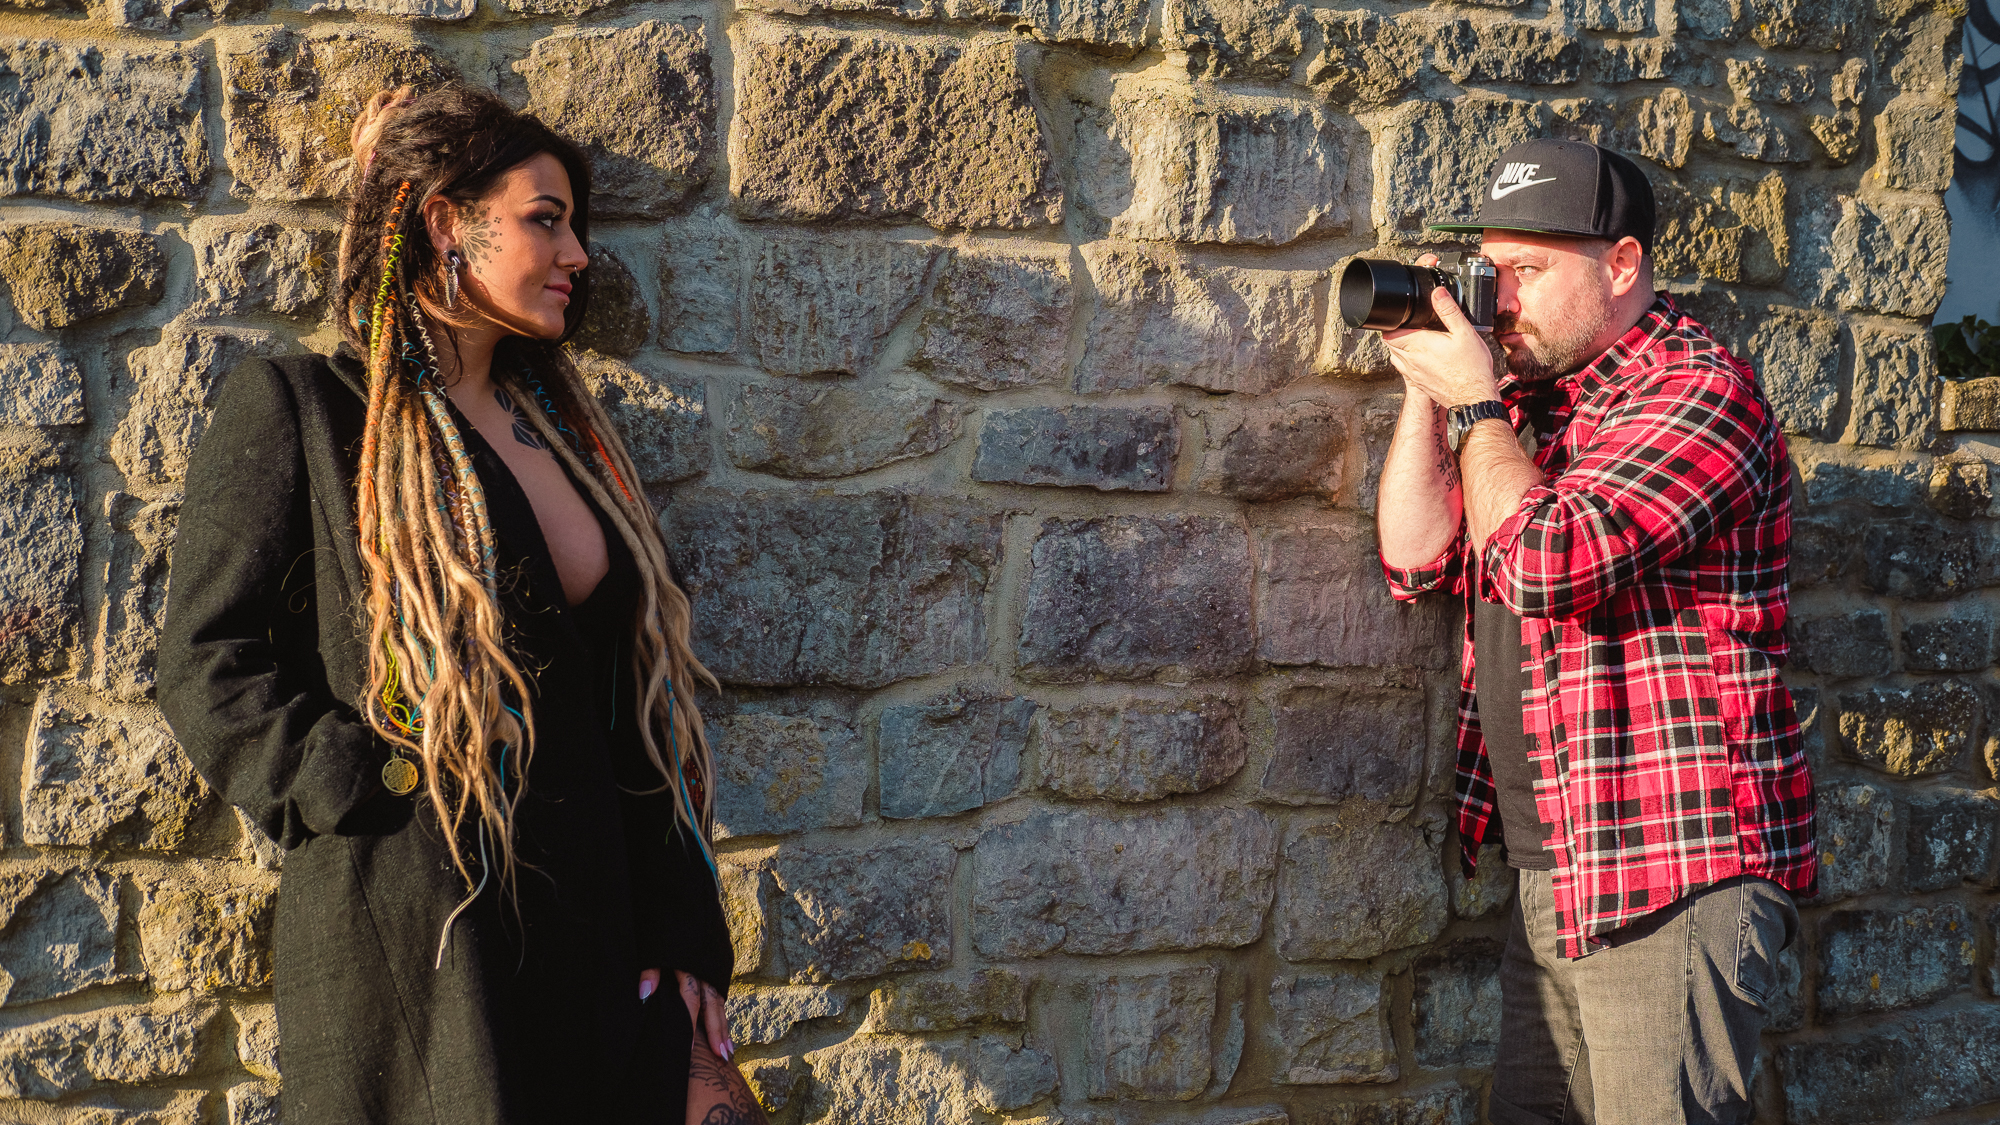
Moving around will allow you to work out not only the best and most flattering lighting angles for your subject but more importantly to see how much light is entering your camera and falling on your subject’s face. As small adjustments to your shooting position can often lead to quite dramatic changes, get loose and experiment with angles.
There is no hard and fast rule for when to try backlit portrait photography. When executed properly, it can provide compelling and captivating results. Your subject may find it difficult to keep their eyes open when looking into strong direct light, so well-judged use of backlighting could provide a more pleasurable experience for them and ultimately a more flattering facial expression, which is the key
part of shooting portraits. When shooting backlit subjects, some of the highlights will be sacrificed, but that’s not necessarily a problem.
5: Top kit: lens hood
Usually (but not always) supplied with a lens, the hood attaches to the end of the lens barrel. Its main purpose is to prevent unwanted light flares from entering the lens. When the light falling on the lens is strong, though, you might need to use your hand and the lens hood to provide a sufficient shaded area.
Check out 8 portrait photography mistakes (and how to avoid them), be sure to look at the best lenses for portrait photography
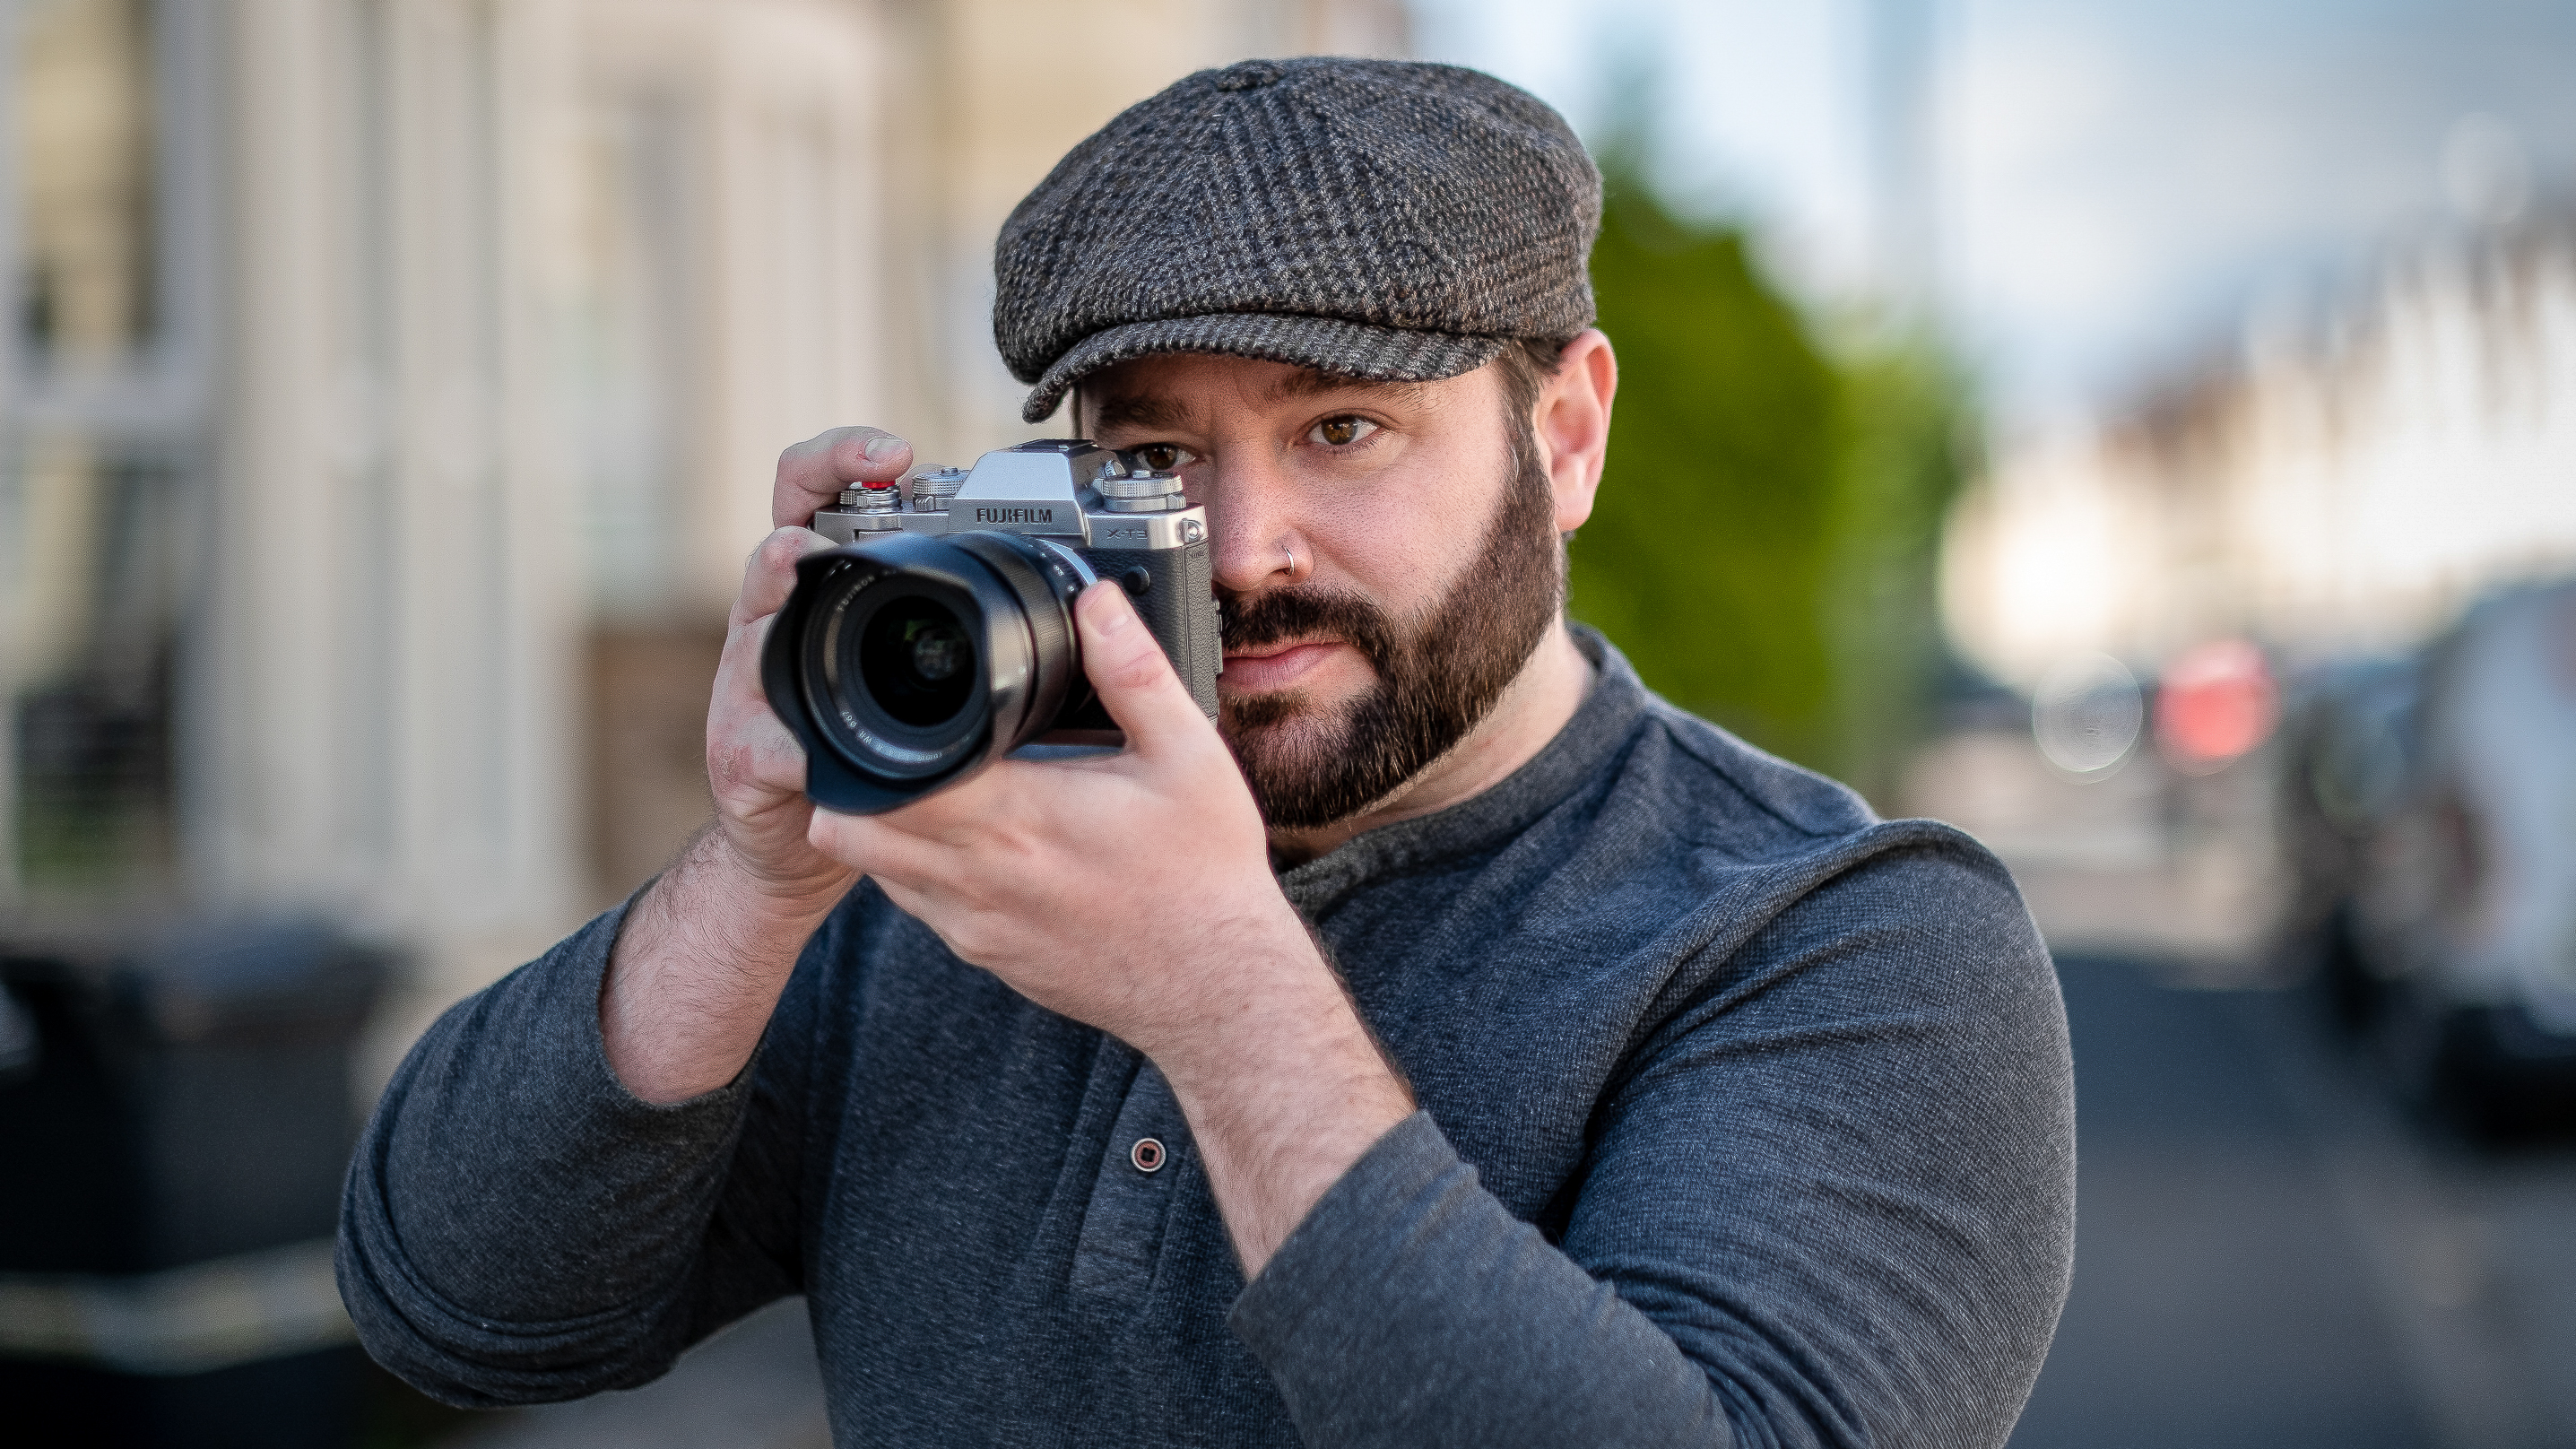
Alistair is the Features Editor of Digital Camera magazine, and has worked as a professional photographer and video producer.
