How to use the Nikon DF-M1 dot sight for bird photography
The Nikon DF-M1 dot sight is a specialist piece of kit that’s designed to help you sight and track erratic subjects
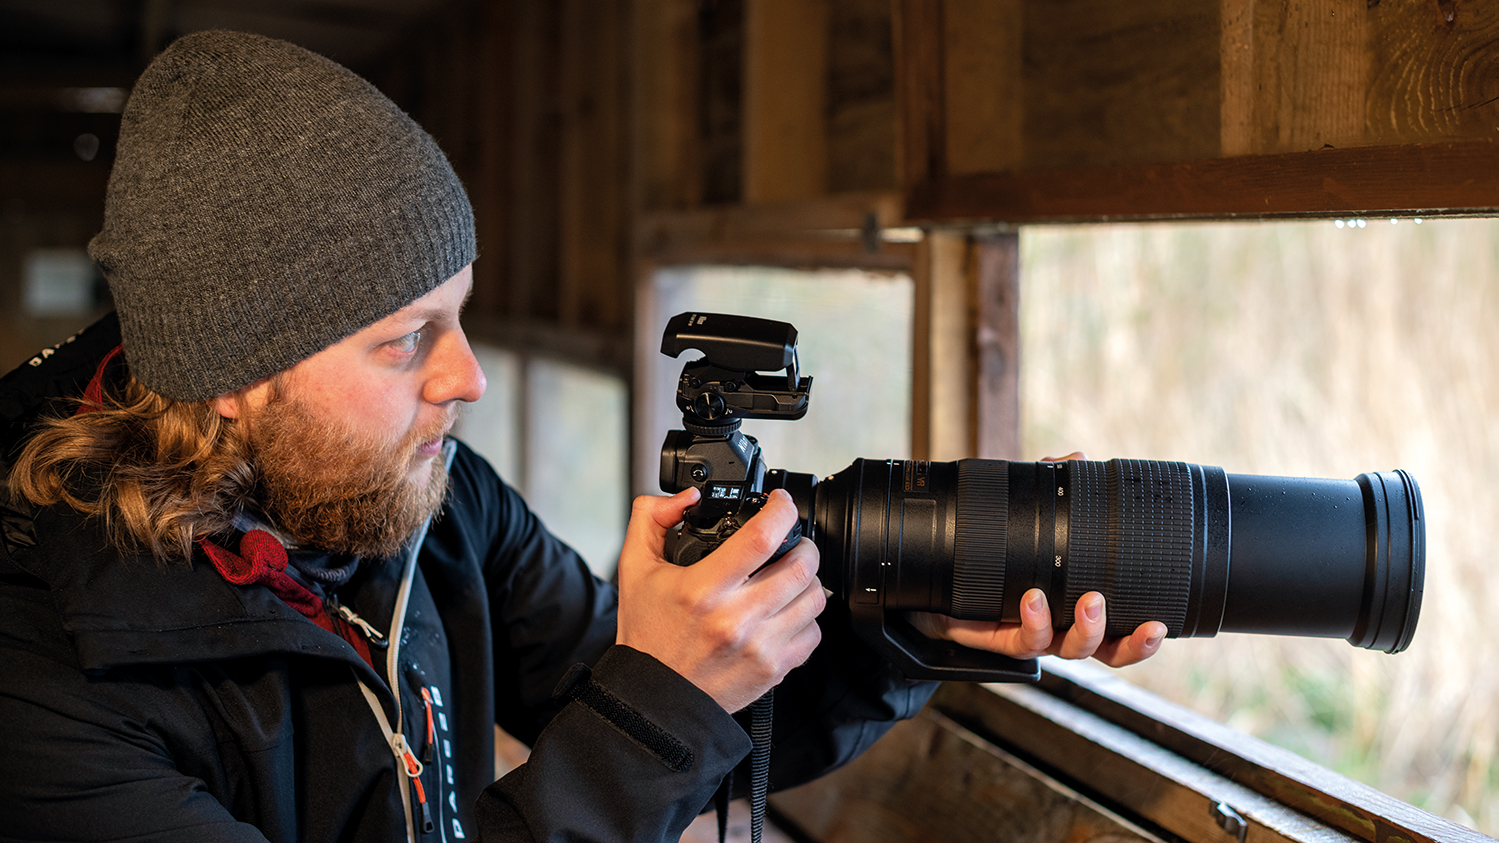
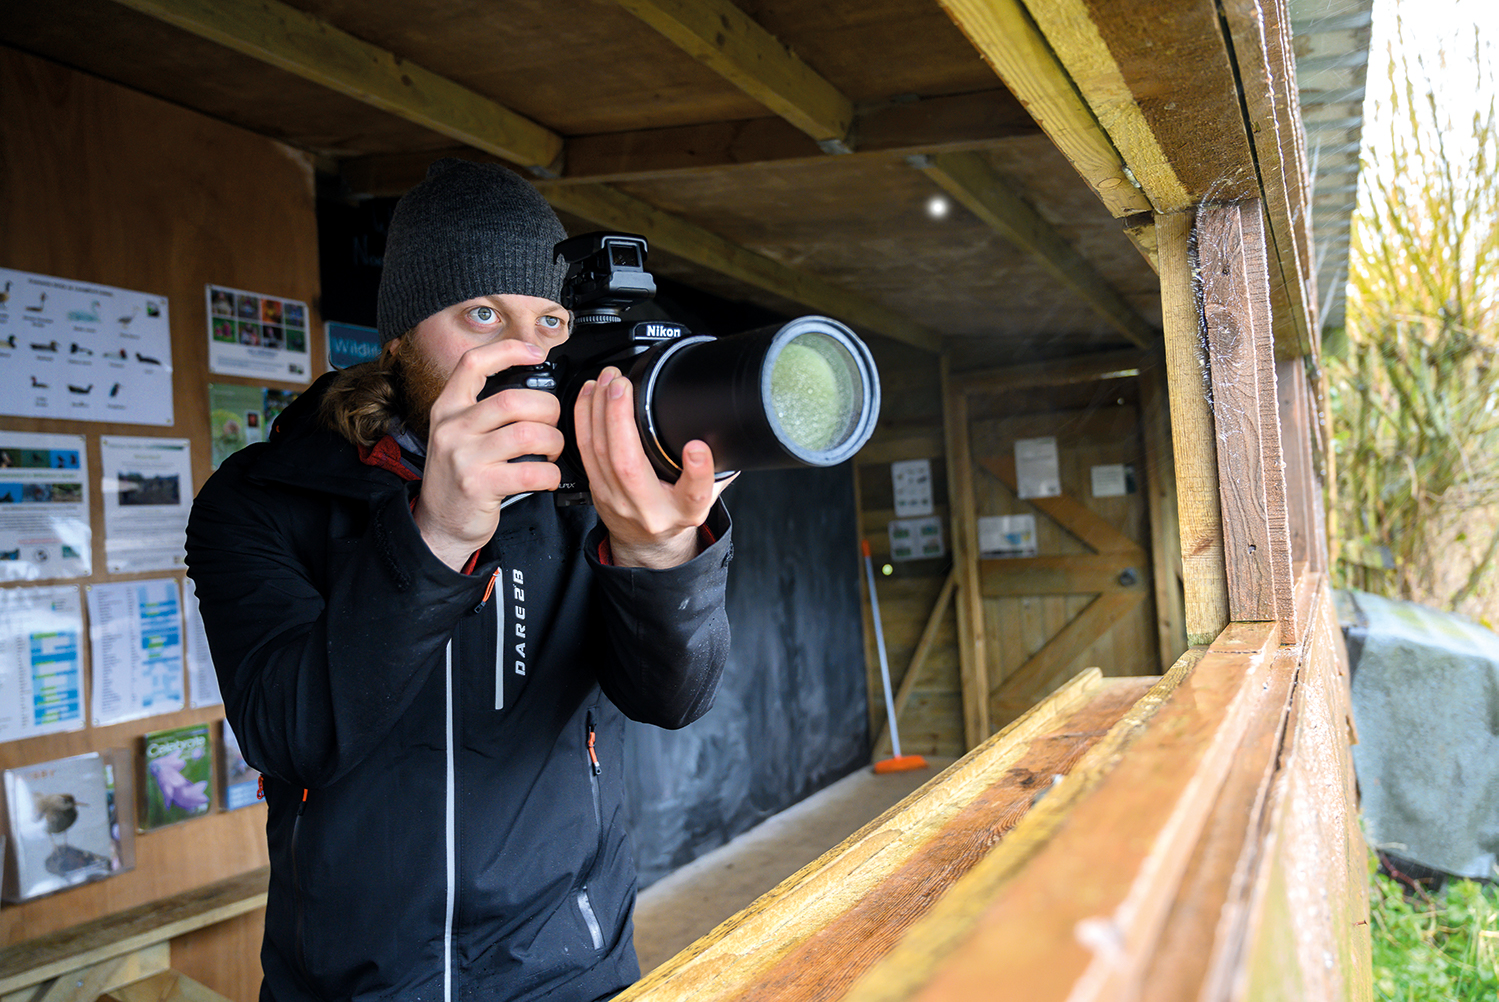
The longer your lens, the harder it is to sight and keep up with your subject. Small movements become exaggerated at higher magnifications and this can make photographing erratic subjects, such as birds, even more challenging. You can see the bird in the distance - but finding it through the viewfinder quickly is hard, unless you have a dot sight to help you line up your lens
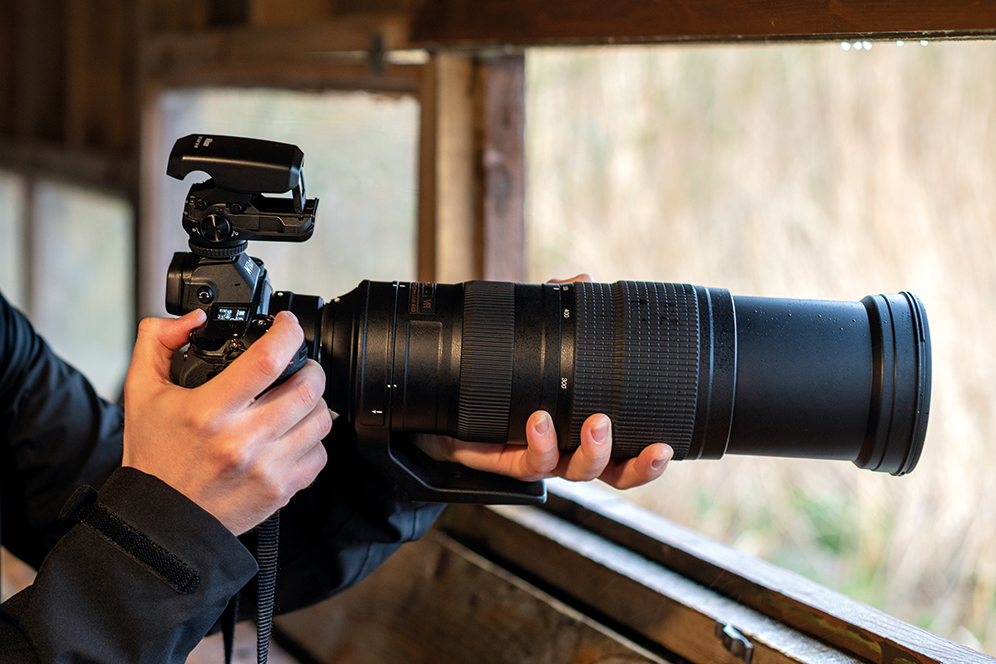
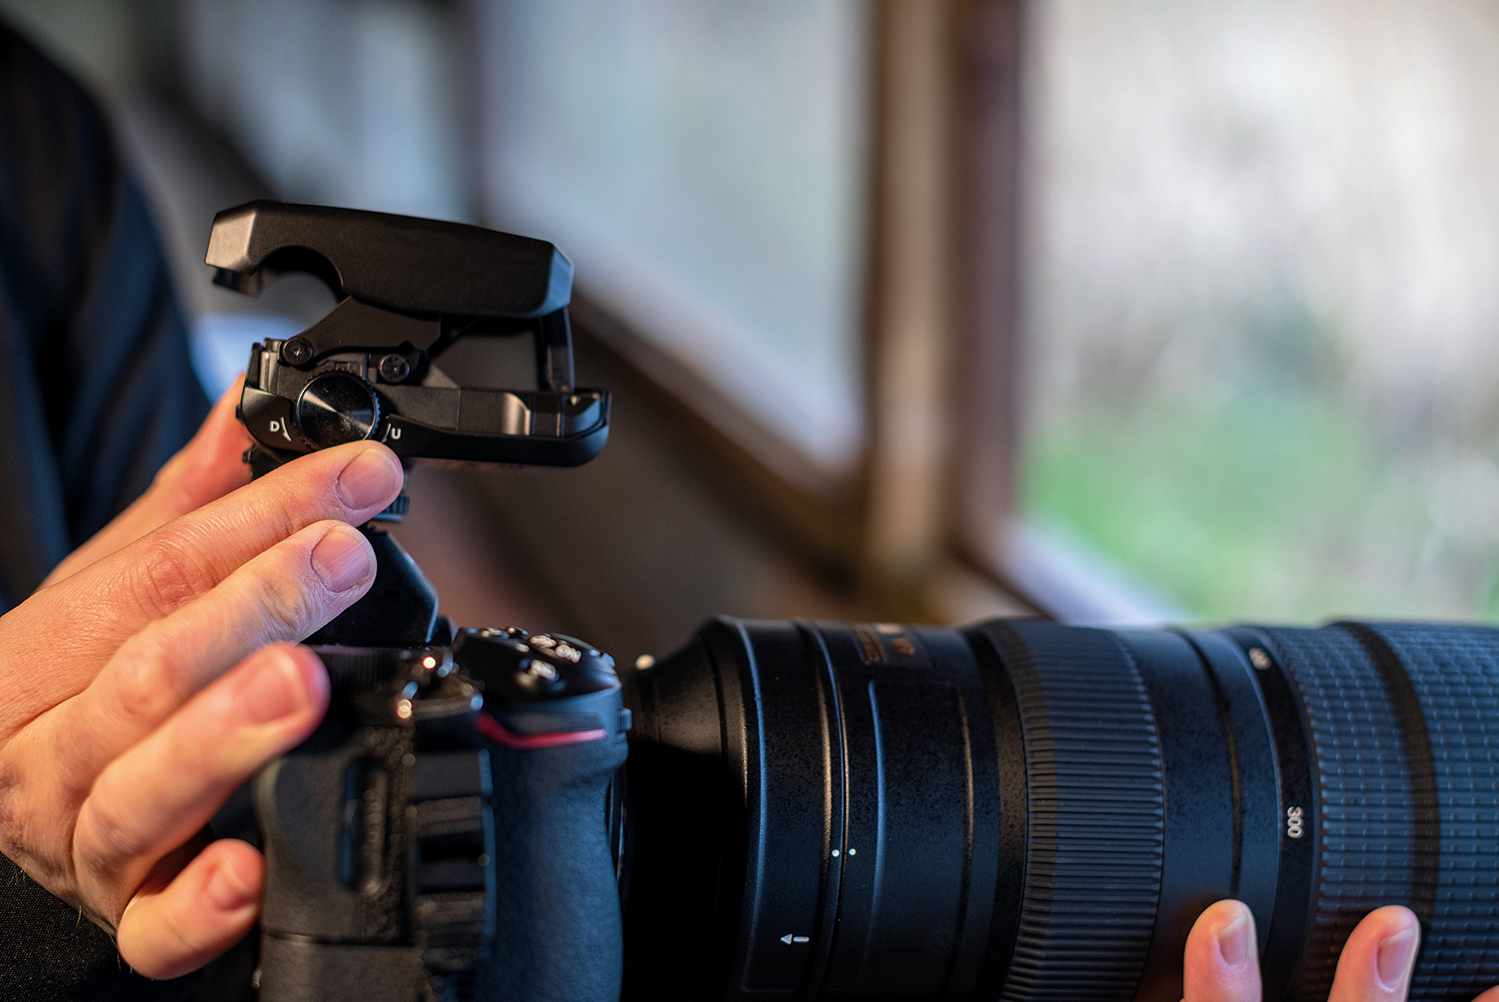
Nikon's DF-M1 dot sight is built to help improve your accuracy, and although this super-specialist attachment won’t appeal to everyone, it’s worth looking into if you spend most of your time searching for (or losing) faraway subjects. It is particularly useful with bridge cameras with supertelephoto zoom settings – or for use with long telephoto lenses on DSLRs or mirrrorless cameras. The pop-up dot sight slots into the hotshoe of a camera, weighs very little and folds down when not in use.
Video: How to use a Nikon dot sight
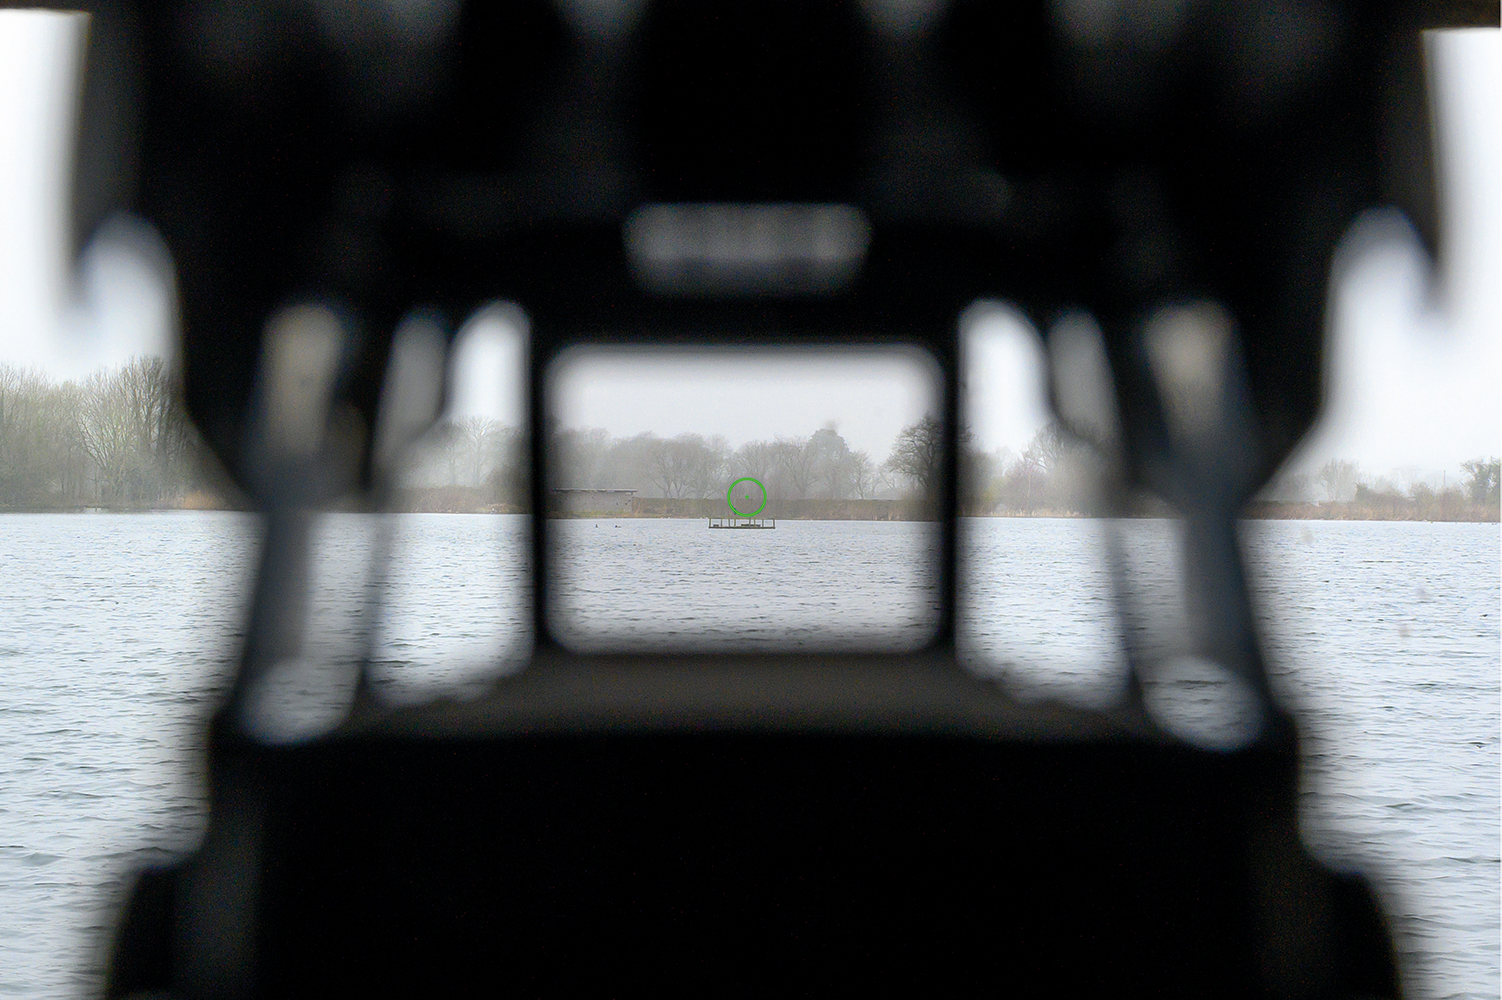
In practice, the sight allows you to pinpoint the center of your frame, without narrowing your vision through the viewfinder. This makes it much easier to find and track fast-moving or erratic subjects without losing them.
We used the DF-M1 with both the Nikon Cooolpix P1000’s eye-watering 125x optical zoom and a Nikon Z7, with the Nikon AF-S 200-500mm f/5.6E ED VR.
For the DF-M1 to function properly you need to calibrate the position of the reticle, so it matches the framing of your viewfinder/rear LCD screen perfectly. Thankfully, our tutorial will help you get bang on target!
• Looking for photoshoot ideas?
The best camera deals, reviews, product advice, and unmissable photography news, direct to your inbox!
How to use a dot sight
1. I’ve got the power
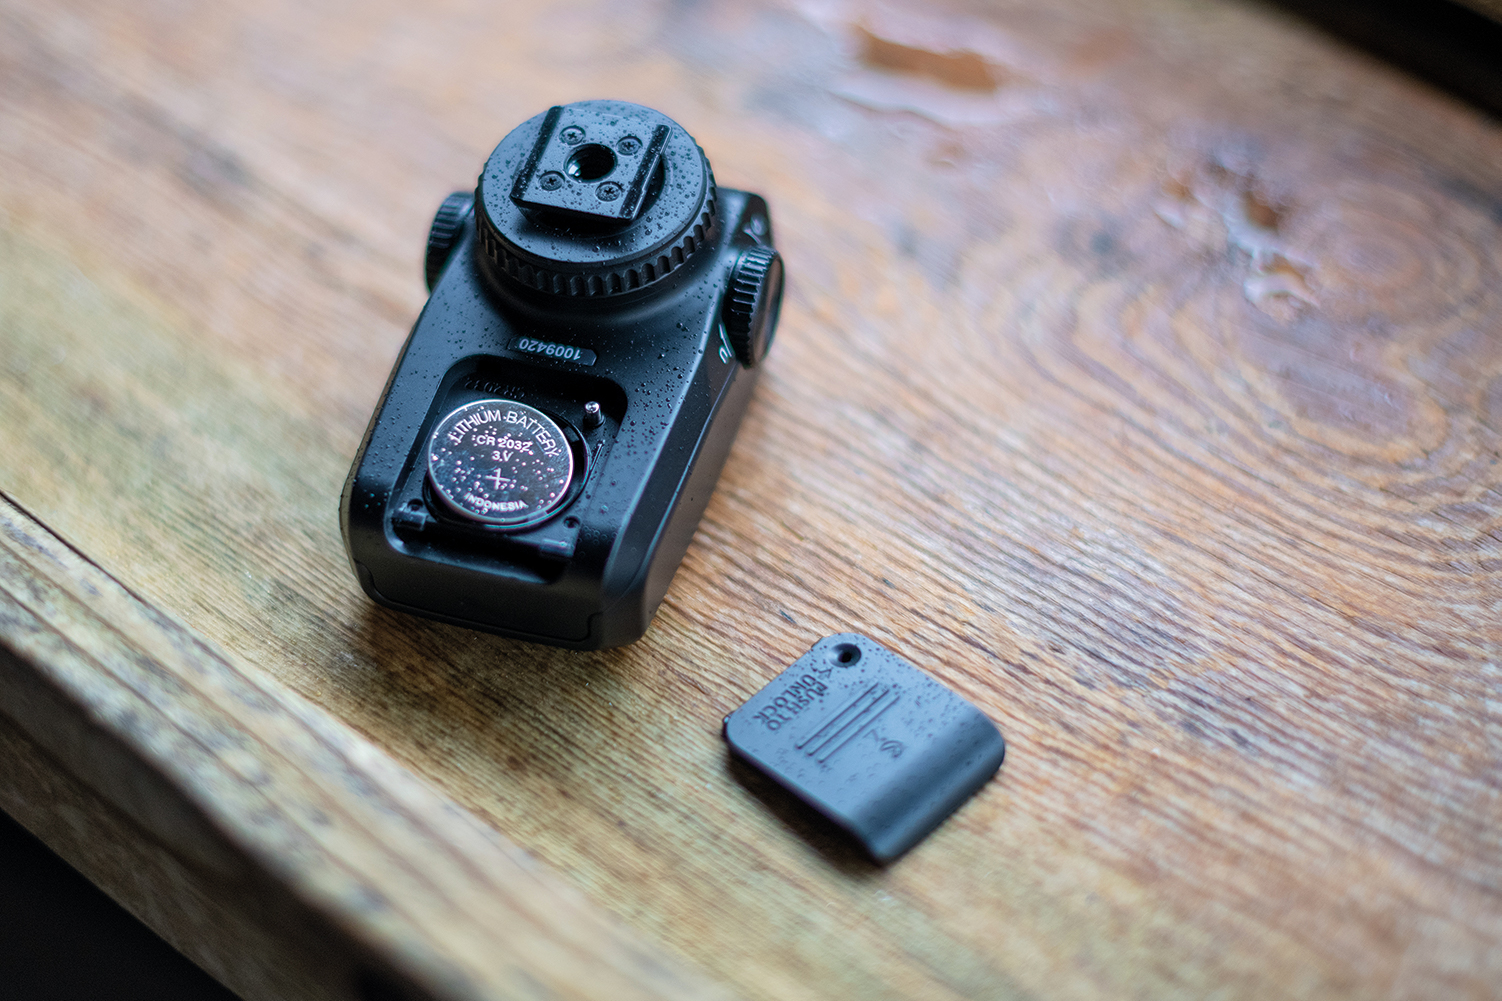
The DF-M1 uses a CR2032 battery (found loose in the box). A thin implement is needed to push down the lock pin and access the battery slot. Power is used when the sight pops up. If left inactive for four hours, or by holding the colour selection or brightness buttons, it’ll switch off.
2. If the shoe fits
The dot sight mounts on top of a camera’s hotshoe and screws into place. It’s officially designed for use with the P1000 and P950 bridge cameras. However, we tested it on our D800 and Z 7, and it worked fine. It also comes with a small branded pouch, so you can stow it safely in your bag when not in use.
3. Custom settings
You can customize the DF-M1 to suit your preferences. A color-selection button allows you to choose between a green or red reticle; brightness buttons let you change the intensity of the dot and a small clickable lever allows you to cycle through three different reticle designs.
4. In your sights
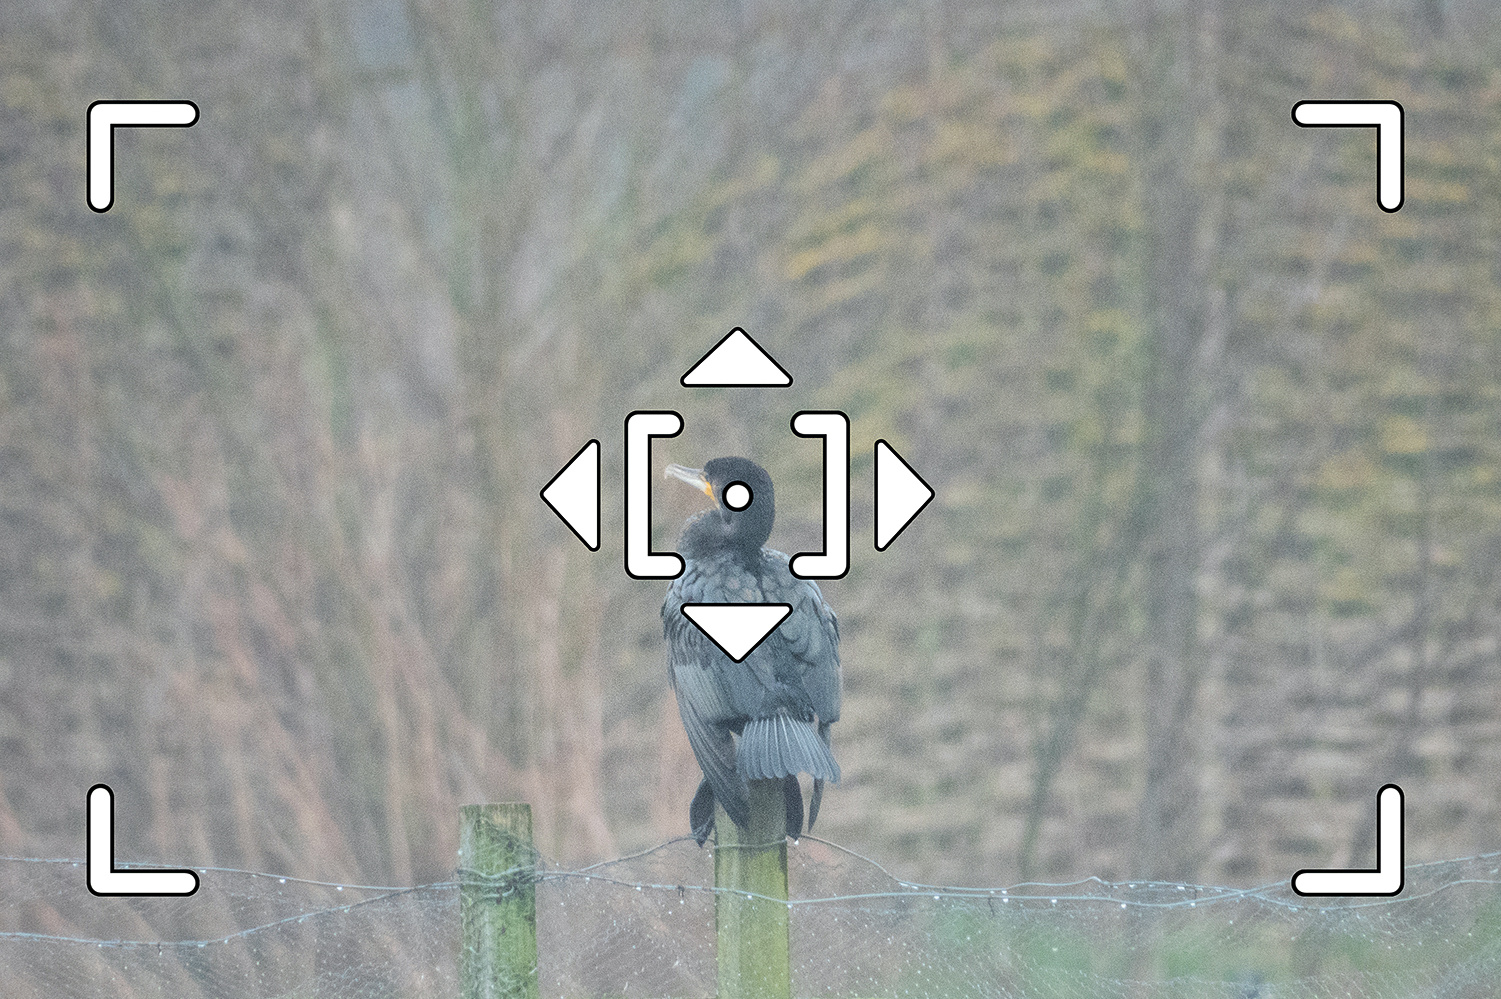
To calibrate the dot sight you first need to place your camera on a tripod. Then find and sight an object (ideally something that’s roughly the same distance as your subject) and centre it in the frame. We found it helpful to use a single AF point as a guide to ensure the frame is centered perfectly.
5. Reticle readjustments
Look directly through the sight and turn the two dials either side of the device to place the reticle precisely over your object. Rotate the right dial clockwise to move the reticle up and anticlockwise to move it down. Turn the left dial clockwise to move the reticle left and anticlockwise to move it right.
Plenty of scope
6. How you use the DF-M1 will depend on personal preference. We used it alongside the rear LCD of our P1000. By holding the camera at arm’s length we could see both the dot sight and screen. It’s also useful for simply sighting a faraway subject; the dot sight gets you in the vicinity before switching over to the much more traditional viewfinder.
Read more
The best binoculars: binoculars for wildlife, nature and astronomy
The best 100-400mm lenses: which is the best zoom for you?
The best lenses for bird photography
The best monopod: the perfect support for telephotos and low light

Mike studied photography at college, honing his Adobe Photoshop skills and learning to work in the studio and darkroom. After a few years writing for various publications, he headed to the ‘Big Smoke’ to work on Wex Photo Video’s award-winning content team, before transitioning back to print as Technique Editor (later Deputy Editor) on N-Photo: The Nikon Magazine.
With bylines in Digital Camera, PhotoPlus: The Canon Magazine, Practical Photography, Digital Photographer, iMore, and TechRadar, he’s a fountain of photography and consumer tech knowledge, making him a top tutor for techniques on cameras, lenses, tripods, filters, and more. His expertise extends to everything from portraits and landscapes to abstracts and architecture to wildlife and, yes, fast things going around race tracks...
