I create dramatic backgrounds by combining them with true black pixels
Jignesh Chavda offers some insight into combining mesmerizing dramatic backdrops with true black pixels
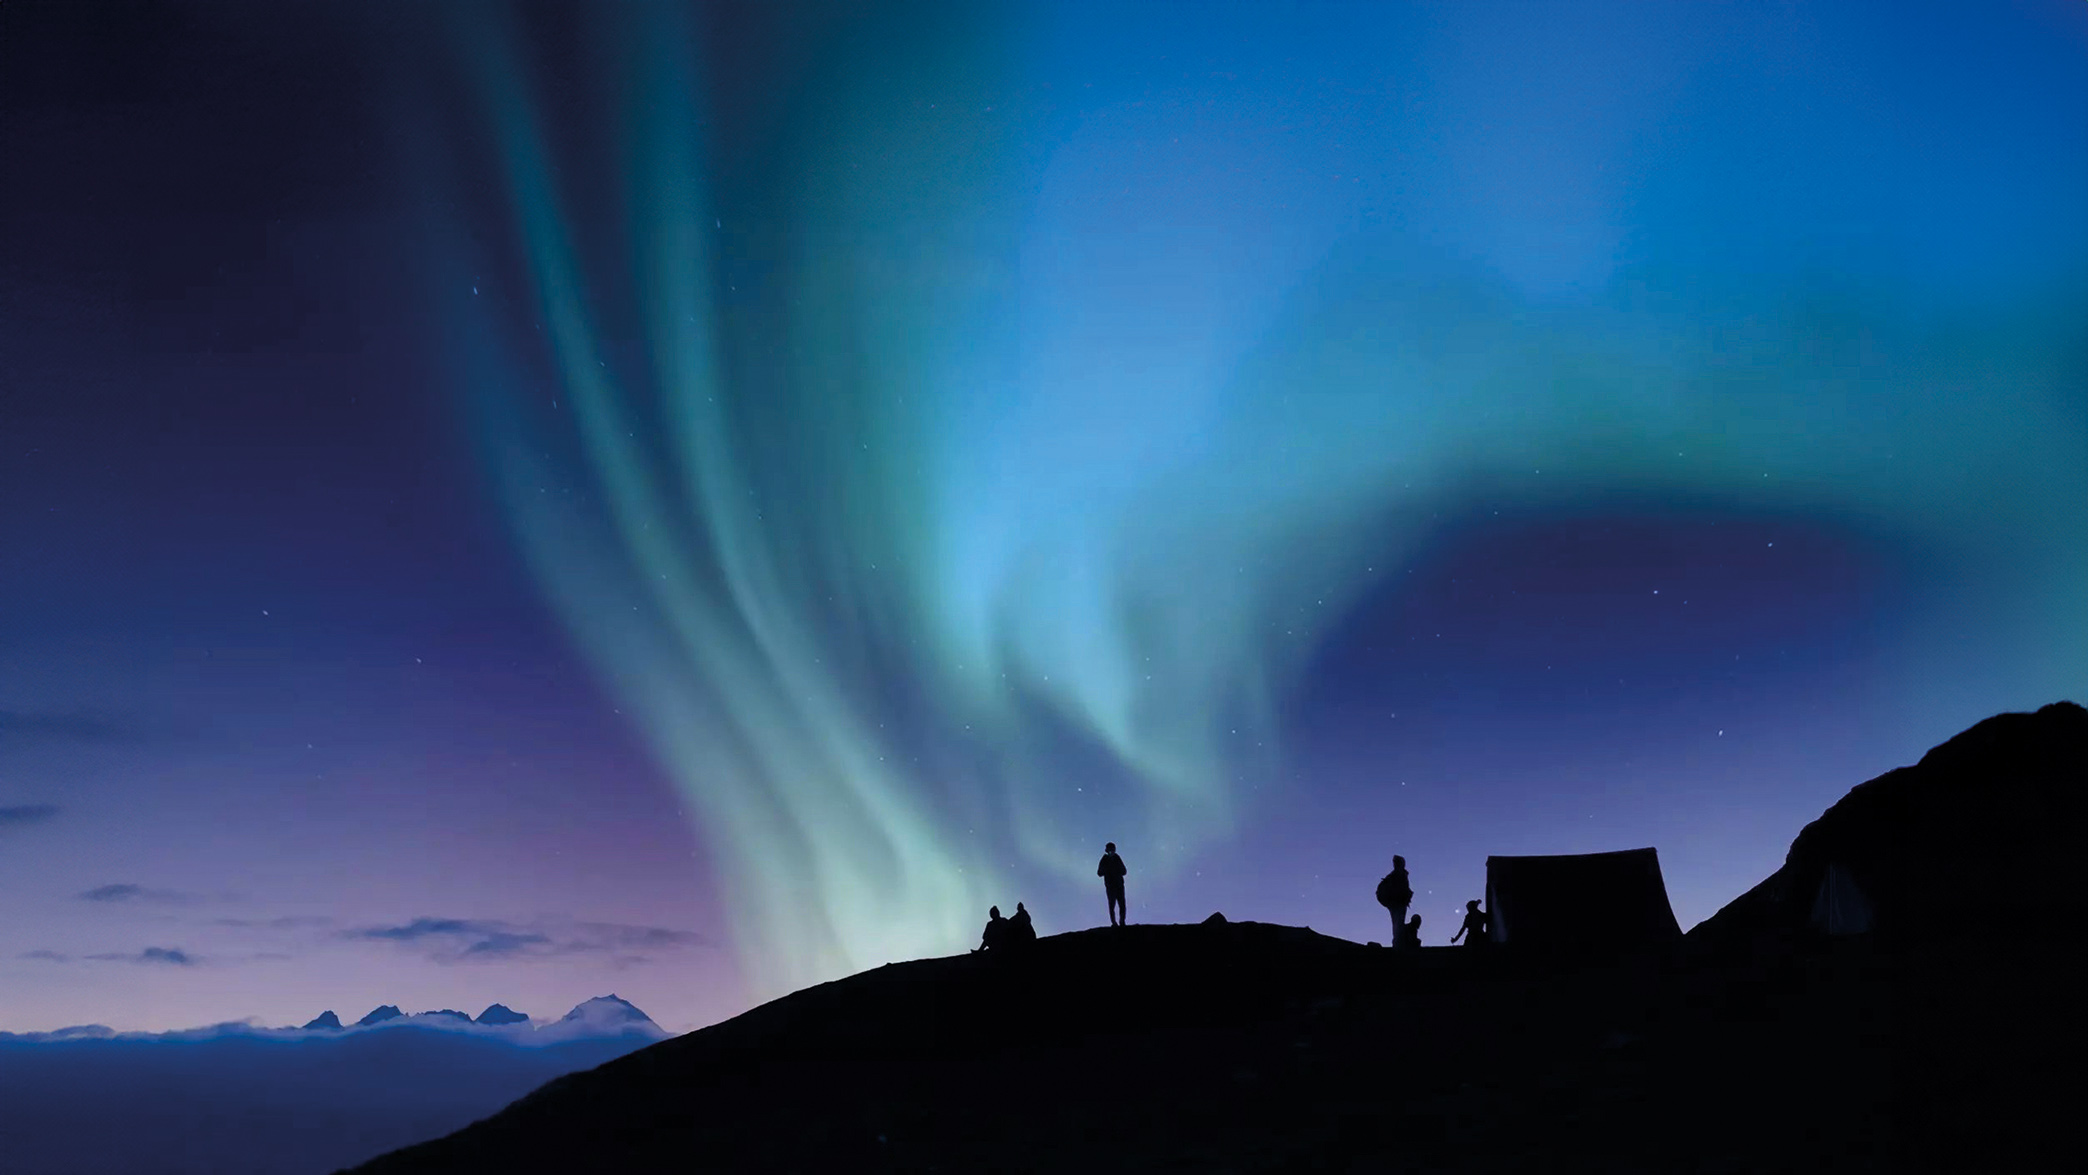
I’ve always been a sucker for a dramatic sky – I love calm sunrises, vibrant sunsets, mid-day blue skies and stormy clouds all the same. Beautiful skies feed my soul and add life to my photographs. An interesting background gives you the opportunity to create some outstanding memorable frames. I’m sharing my top tips for photographing dramatic skies, including how to get the exposure right in camera. The latter is a challenge as the sky often requires a different exposure than the foreground to underline its dramatic impact.
To boost the dramatic effect of skies, a polarizer filter, such as the Marumi DHG Super Circular PL, comes in handy. At certain angles, this filter will intensify the visual impression of the sky by darkening it and saturating the other colors in the frame. Next to this, it helps to reduce unwanted glare from shiny surfaces.
One solution here is to transform the foreground scenery into a silhouette using ‘true black pixels’. Creating silhouettes is an art form, creating a different perspective and bringing in high-contrast elements that enhance the dramatic impact of the sky in the background. When framing colorful skies, I combine the subject’s silhouette – often creatively, but it depends on the scene.
Another approach is to aim for a more balanced exposure so that the foreground subject still contains details instead of true black pixels. For this, I sometimes use my Pro DMC ND Filter, which acts like sunglasses for my lens, but only for scenes where sunlight is intense. For example, in the mountains, the sunset lights are bright so, when shooting, close your aperture to f/8 to maximize your depth of field to keep both foreground and background in focus. In addition, most DSLR cameras have a function called automatic exposure bracketing, which allows you to take three different exposures of the same photo with one click of the shutter.
Based in Ahmedabad, India, Jignesh Chavda is a self-taught street, travel and nature photographer and curator by profession. Jignesh was a finalist in the Environmental Photographer of the Year competition and his work has been published on many platforms, including India Photo Art, Better Photography, Shutter and Digital Photographer amongst many others.
Embrace tonality
Discover how enhancing the dynamic range in an image can elevate the dramatic impact of your work
"HDR stands for High Dynamic Range, which is a technique that supports you in bringing more detail in both bright and dark areas of an image. HDR photos can be displayed on devices with over 1,000 nits of brightness," says Jignesh. An HDR image is a result of multiple photographs, all exposed in different ranges and merged either in post-processing or in-camera.
When you are capturing multiple HDR frame sequences so that you can merge them in post-processing, it is easy to lose track of the specific series of images you are trying to take. For a better overview of the series when starting, hold your hand in front of the lens and snap an image so that you can see where your next merge sequence will start.
"The more contrast between the exposures, the ‘higher’ the HDR will look," he explains." By bringing different exposures together, you make the most of every pixel so that the images more closely resemble what the human eye can perceive." Here, creating an HDR image at the editing stage gives you more control. For most cameras, the in-camera HDR function is designed to extend dynamic range via exposure bracketing and is often just available to shoot as a jpeg.
Following this approach creates more realistic-looking scenery. As Jignesh’s work focuses mainly on travel, street, and documentary photography, carrying a tripod around can often be an inconvenience. Therefore, he often shoots multiple frames handheld at different exposures. However, there are plenty of factors that need to be considered when shooting to enable as smooth a merging process as possible
Shooting steps
1. Seek support
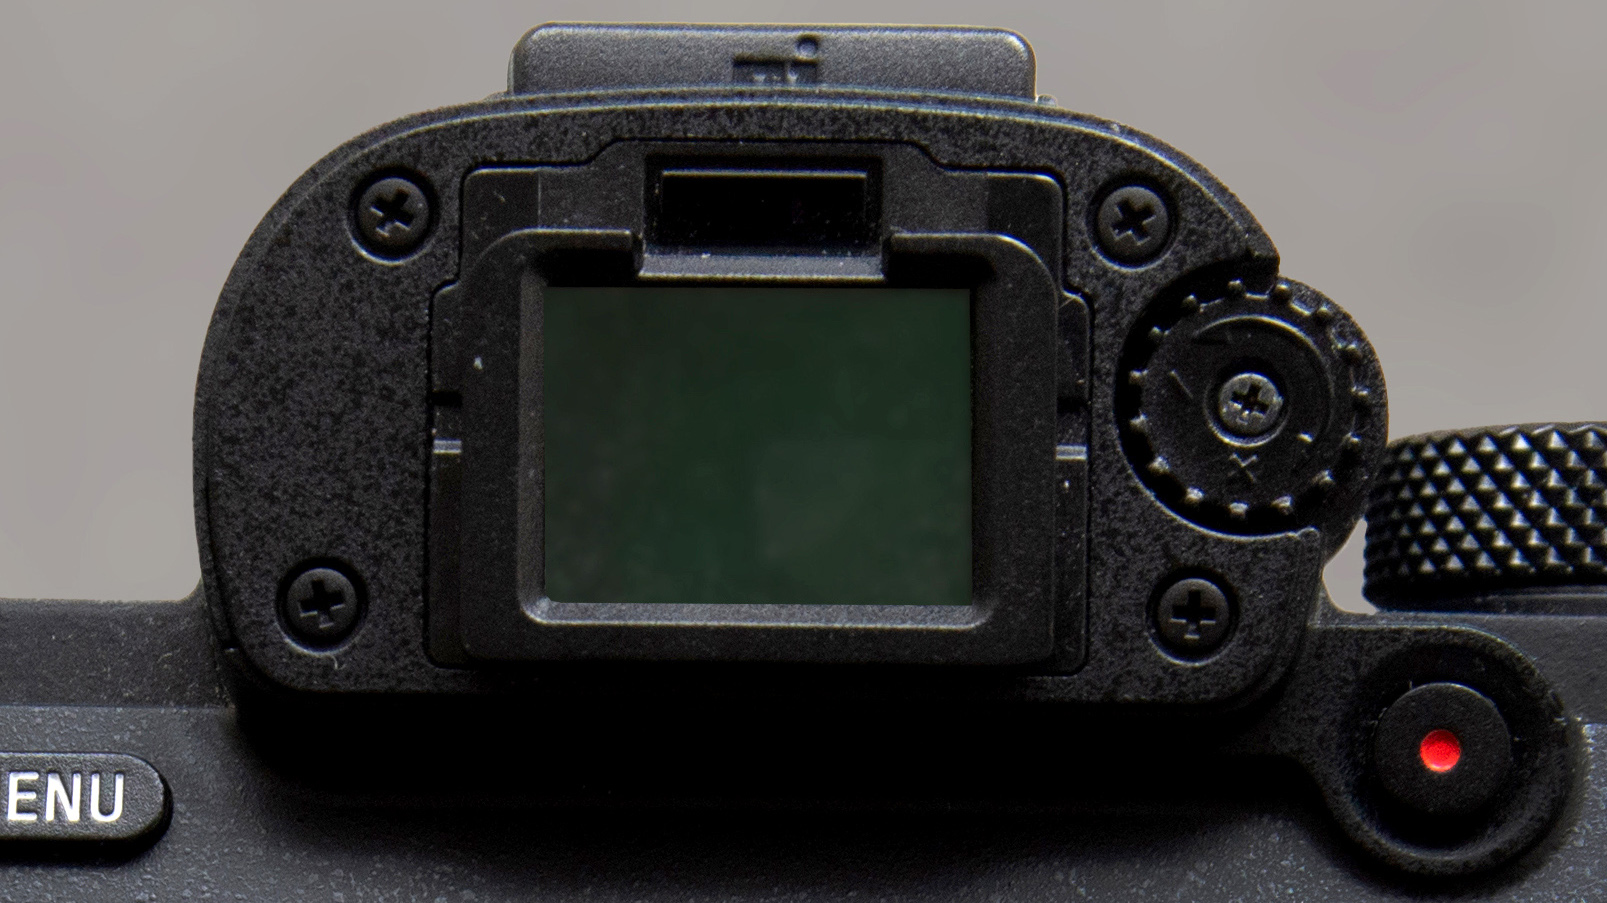
"When shooting handheld, I shoot through the viewfinder. This way, I get support from my face to get sharp results," says Jignesh. In general, have a look in the scene for ways to get extra support. A wall or a stable surface that you can lean against or place the camera on is best.
2. Activate settings
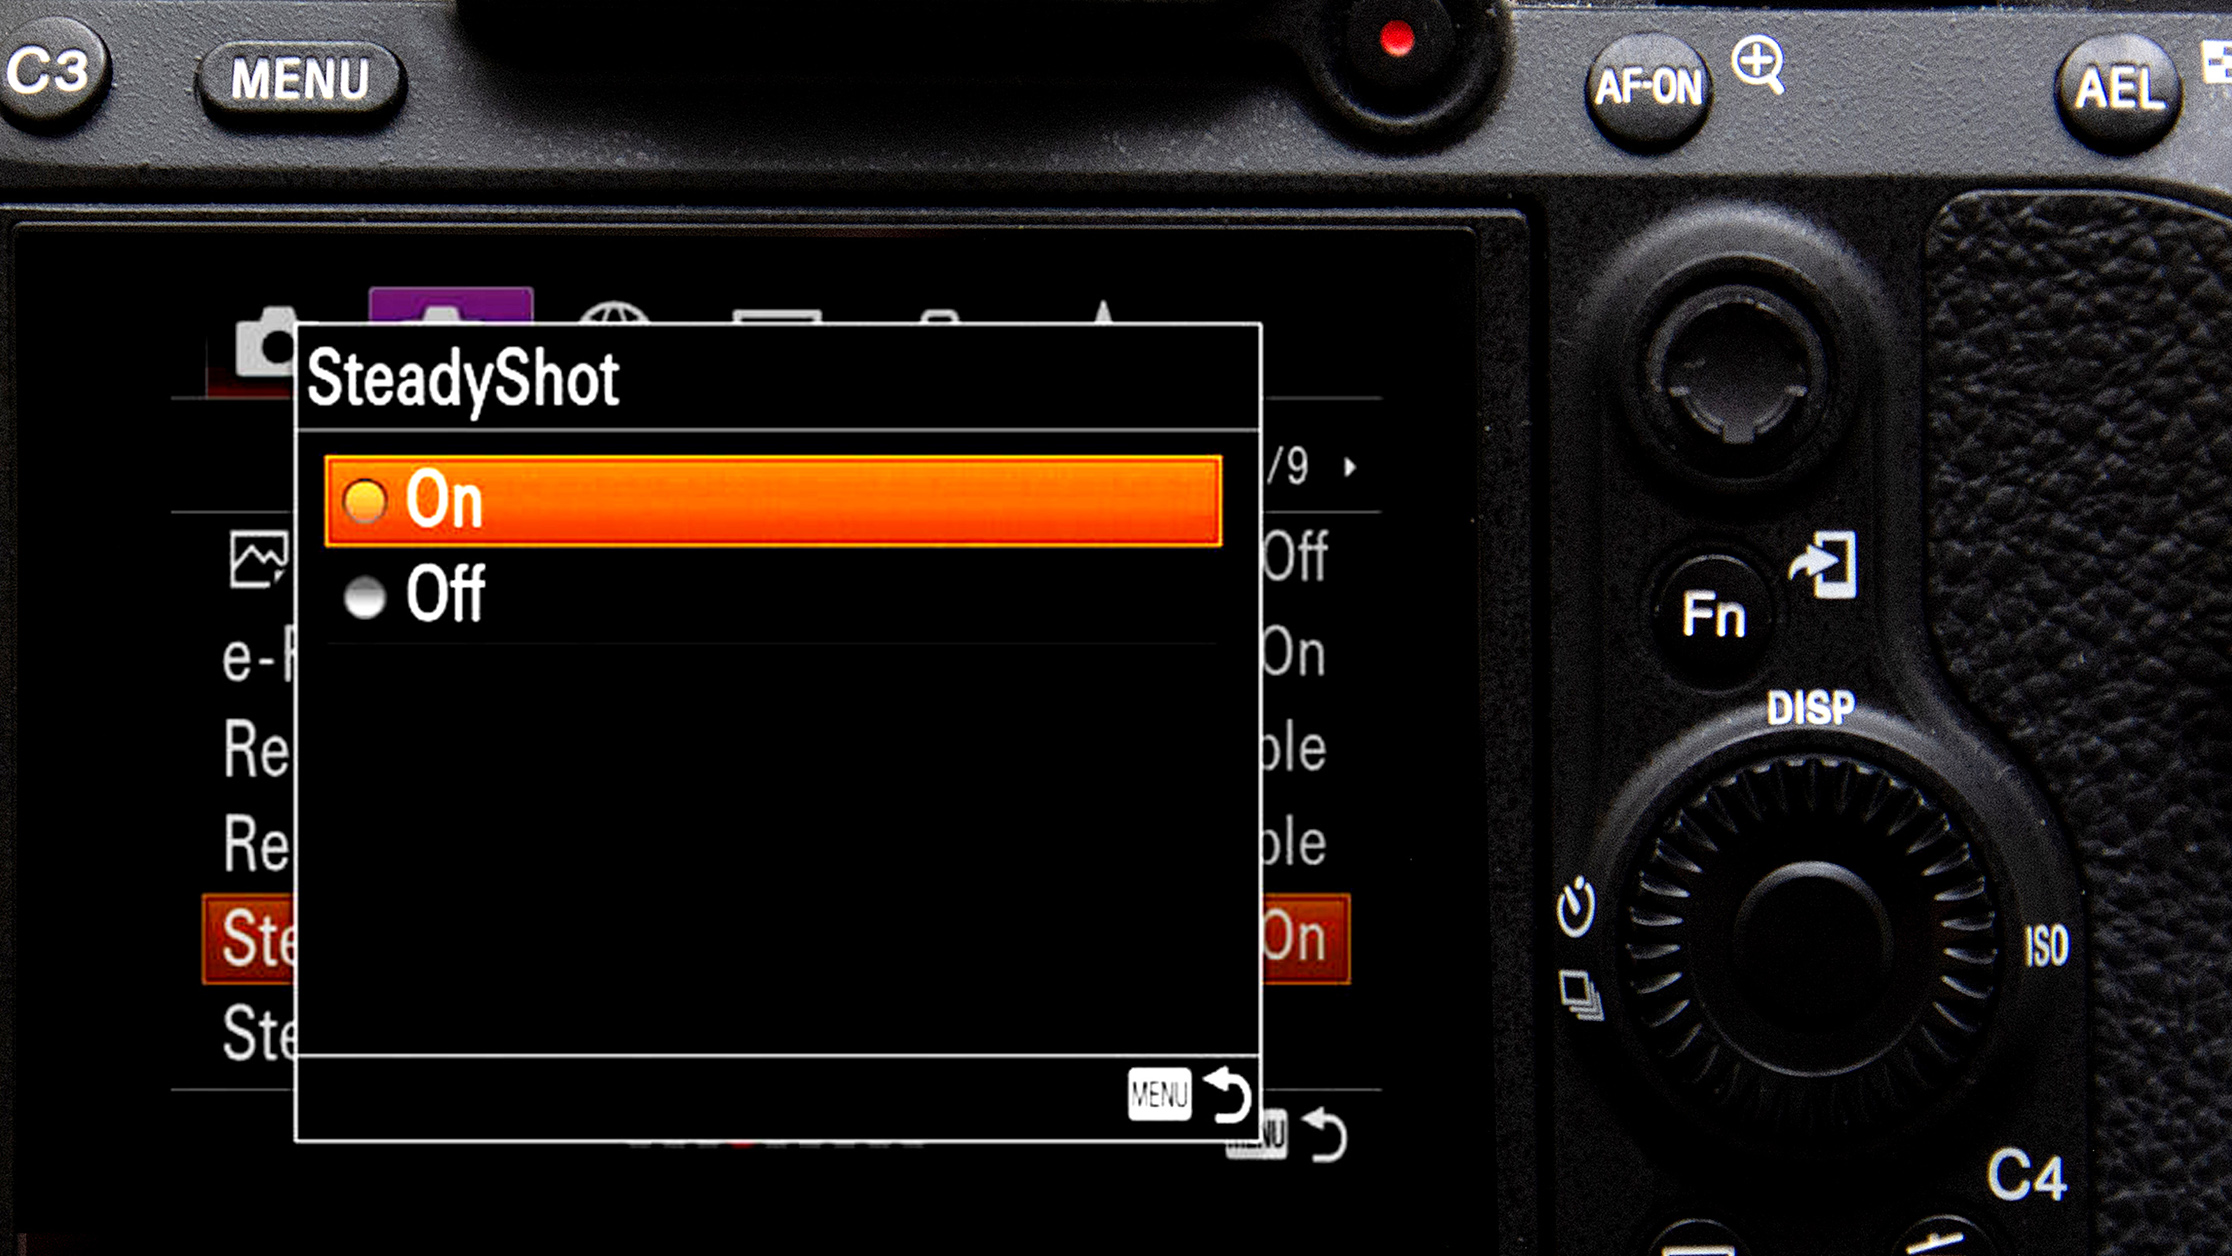
Next, shoot in manual mode. If you want to merge the files in post-processing, select the RAW file option. When creating an in-camera HDR, select the jpeg option. Now activate the Image Stabilisation feature in-camera and on your lens to balance out movements.
3. Set the values
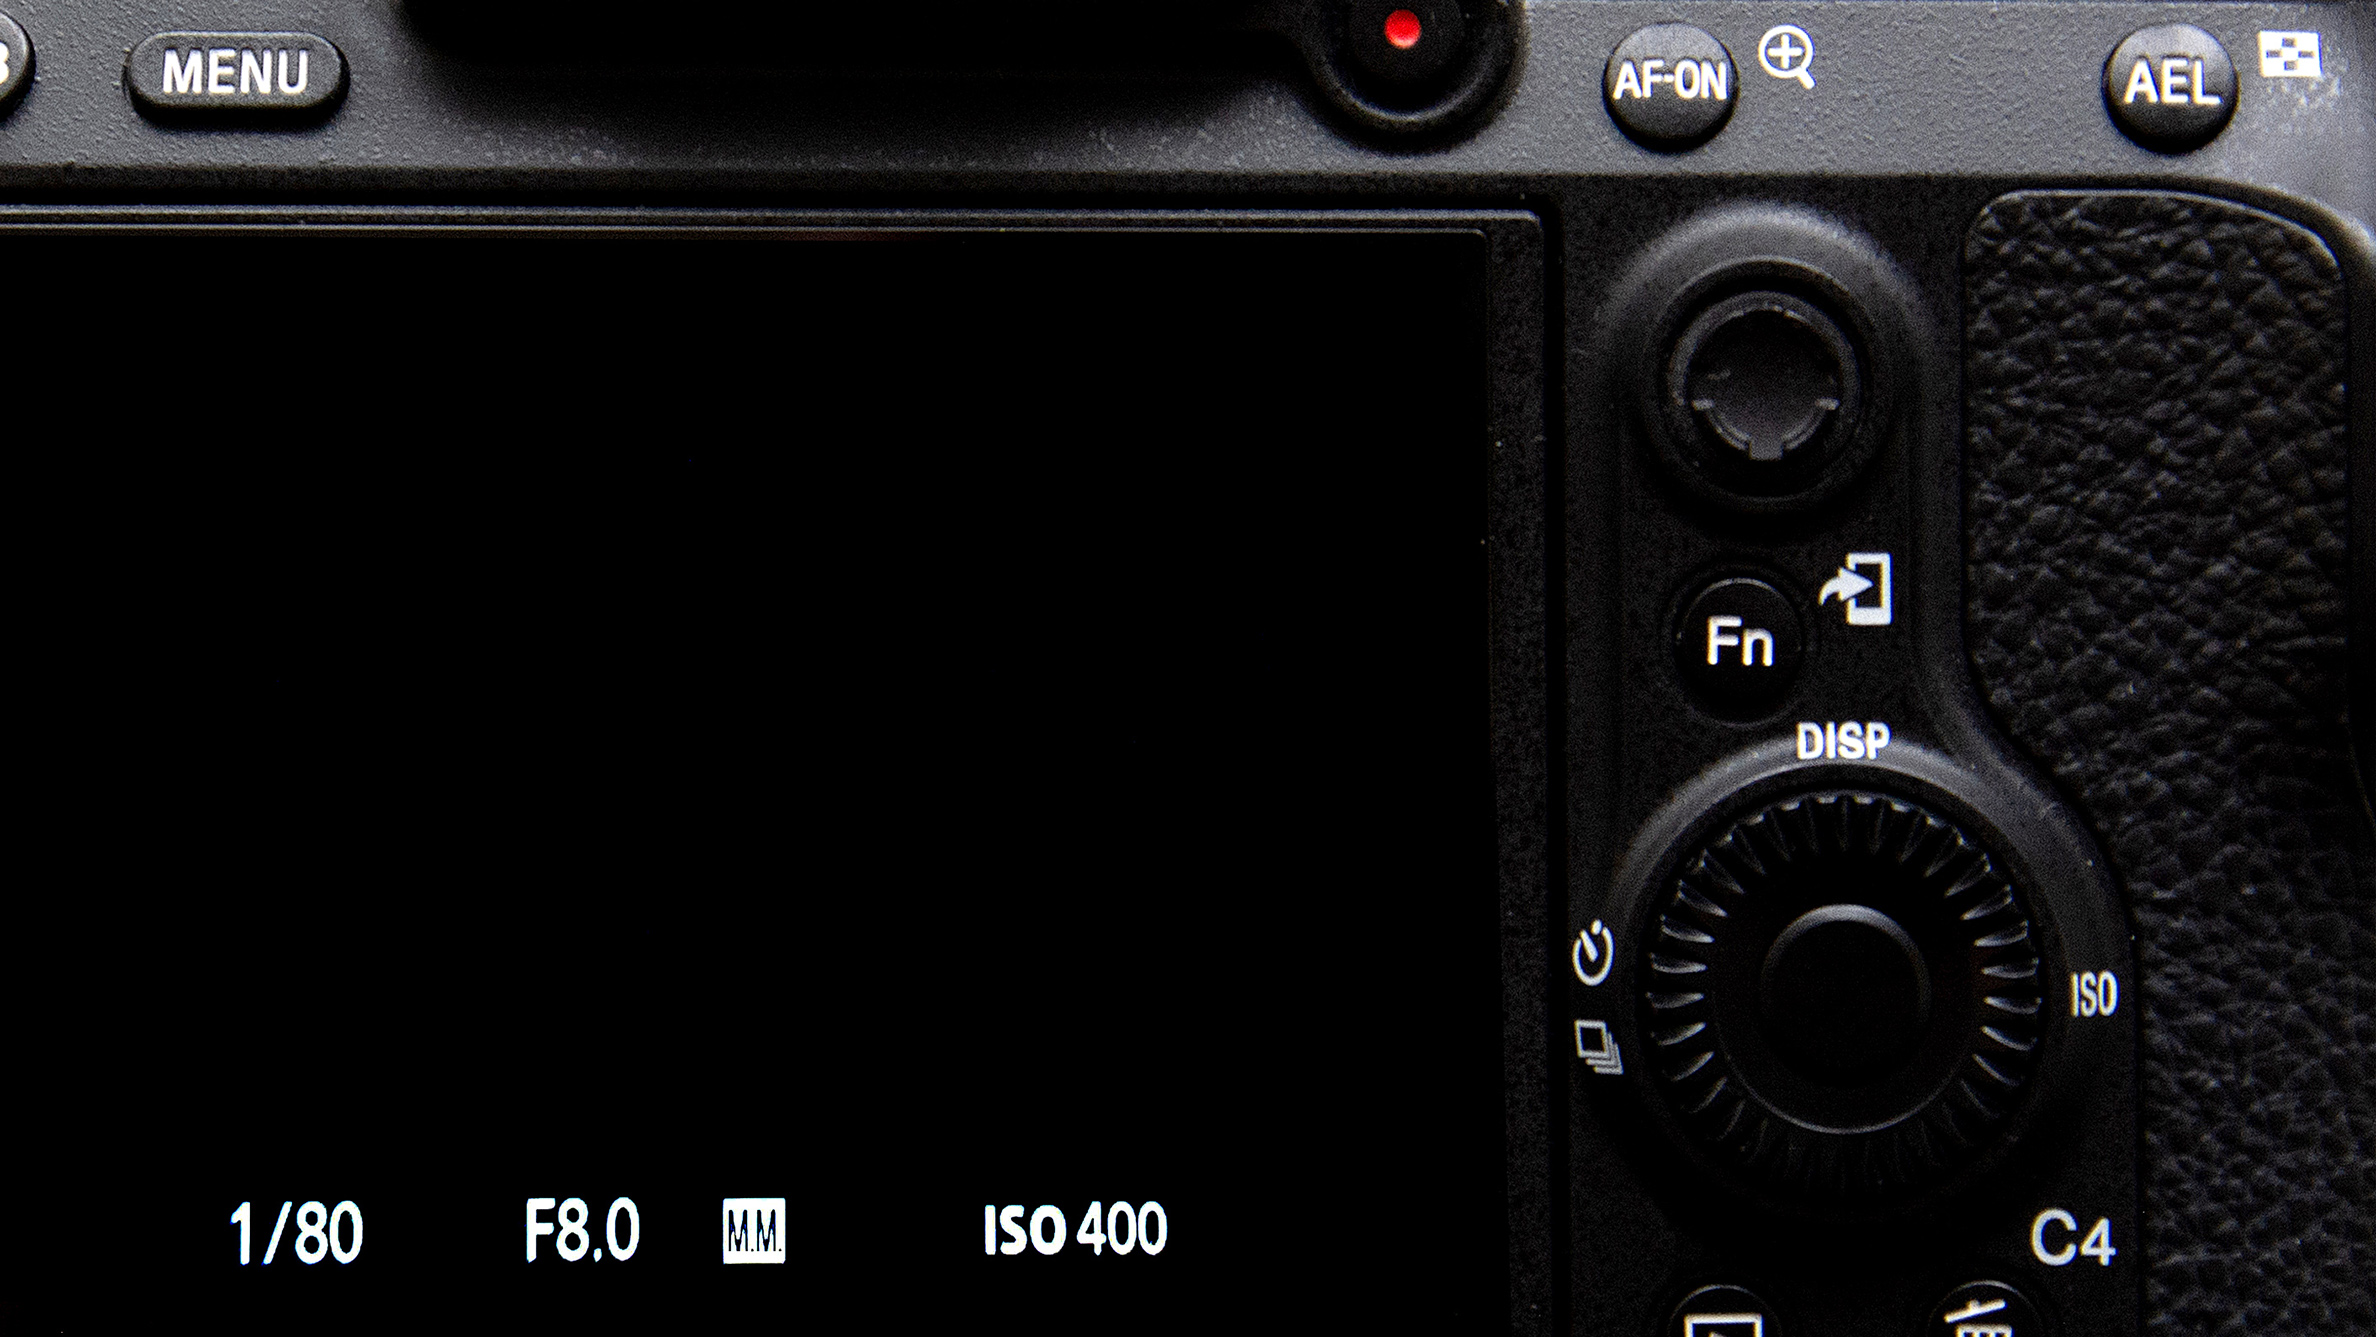
Use faster shutter speeds, such as 1/80sec, to minimize the risk of small movements between recorded image sequences. Then, select a moderate aperture to prevent a shallow DOF and ISO to achieve a relatively balanced exposure, ensuring that both the brighter and darker image elements are displayed well.
4. Shoot the scene
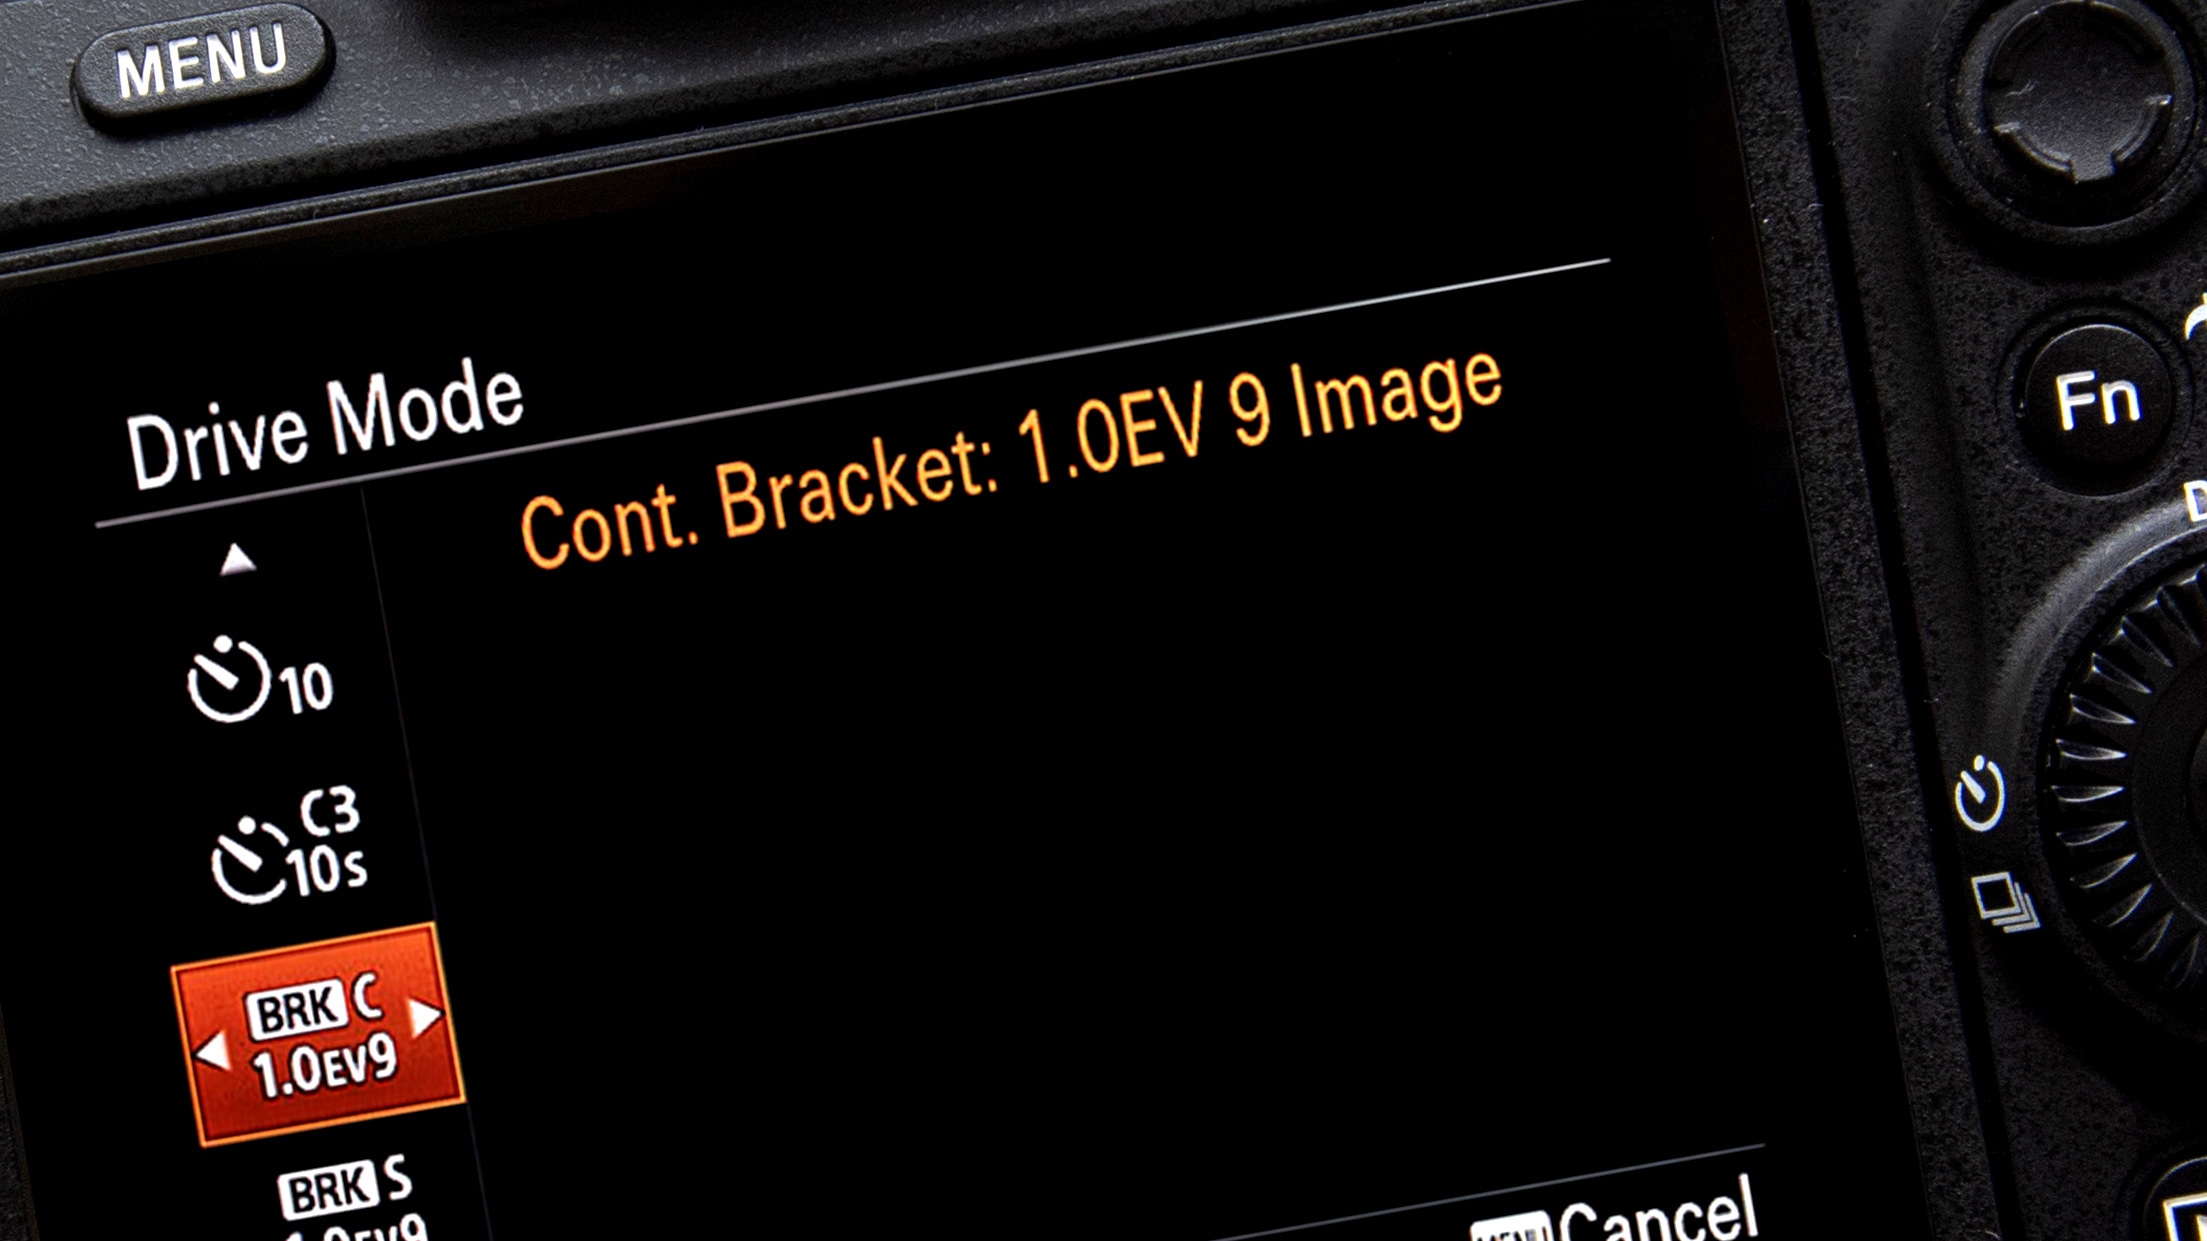
For an HDR merge in post, record the scene multiple times using different exposure settings so that some scene elements are underexposed while others are slightly overexposed. When creating an in-camera HDR, select the auto exposure bracketing function and set your preferred number of stops and shots.
This article originally appeared in Digital Photographer, a monthly magazine, and the kitbag essential for pros, enthusiasts, and amateurs alike!
Inside, you'll find practical guides, shooting tips, and techniques from working photographers, plus all the latest industry news.
Get the Digital Camera World Newsletter
The best camera deals, reviews, product advice, and unmissable photography news, direct to your inbox!

Kim is the Staff Writer on Digital Camera World, and formerly Technique Editor at Digital Photographer, focusing on the art and science of photography. With a Master’s degree in Photography and Media, she is driven to educate through an analytical approach, visually and technically. With her guides and tutorials, Kim seeks to uncover new facets of this time-honoured medium and foster a deeper understanding of its profound role in culture. Kim highlights topics that resonate with modern society, including women in photography and critical issues such as environmental conservation. She also discusses and reviews camera gear, giving you an overview to find the best fit for your photography journey.
