I like to describe my style of photography as ‘magpie meets mad scientist'
Jack B Coll creates striking portraits in the studio using everyday shiny objects
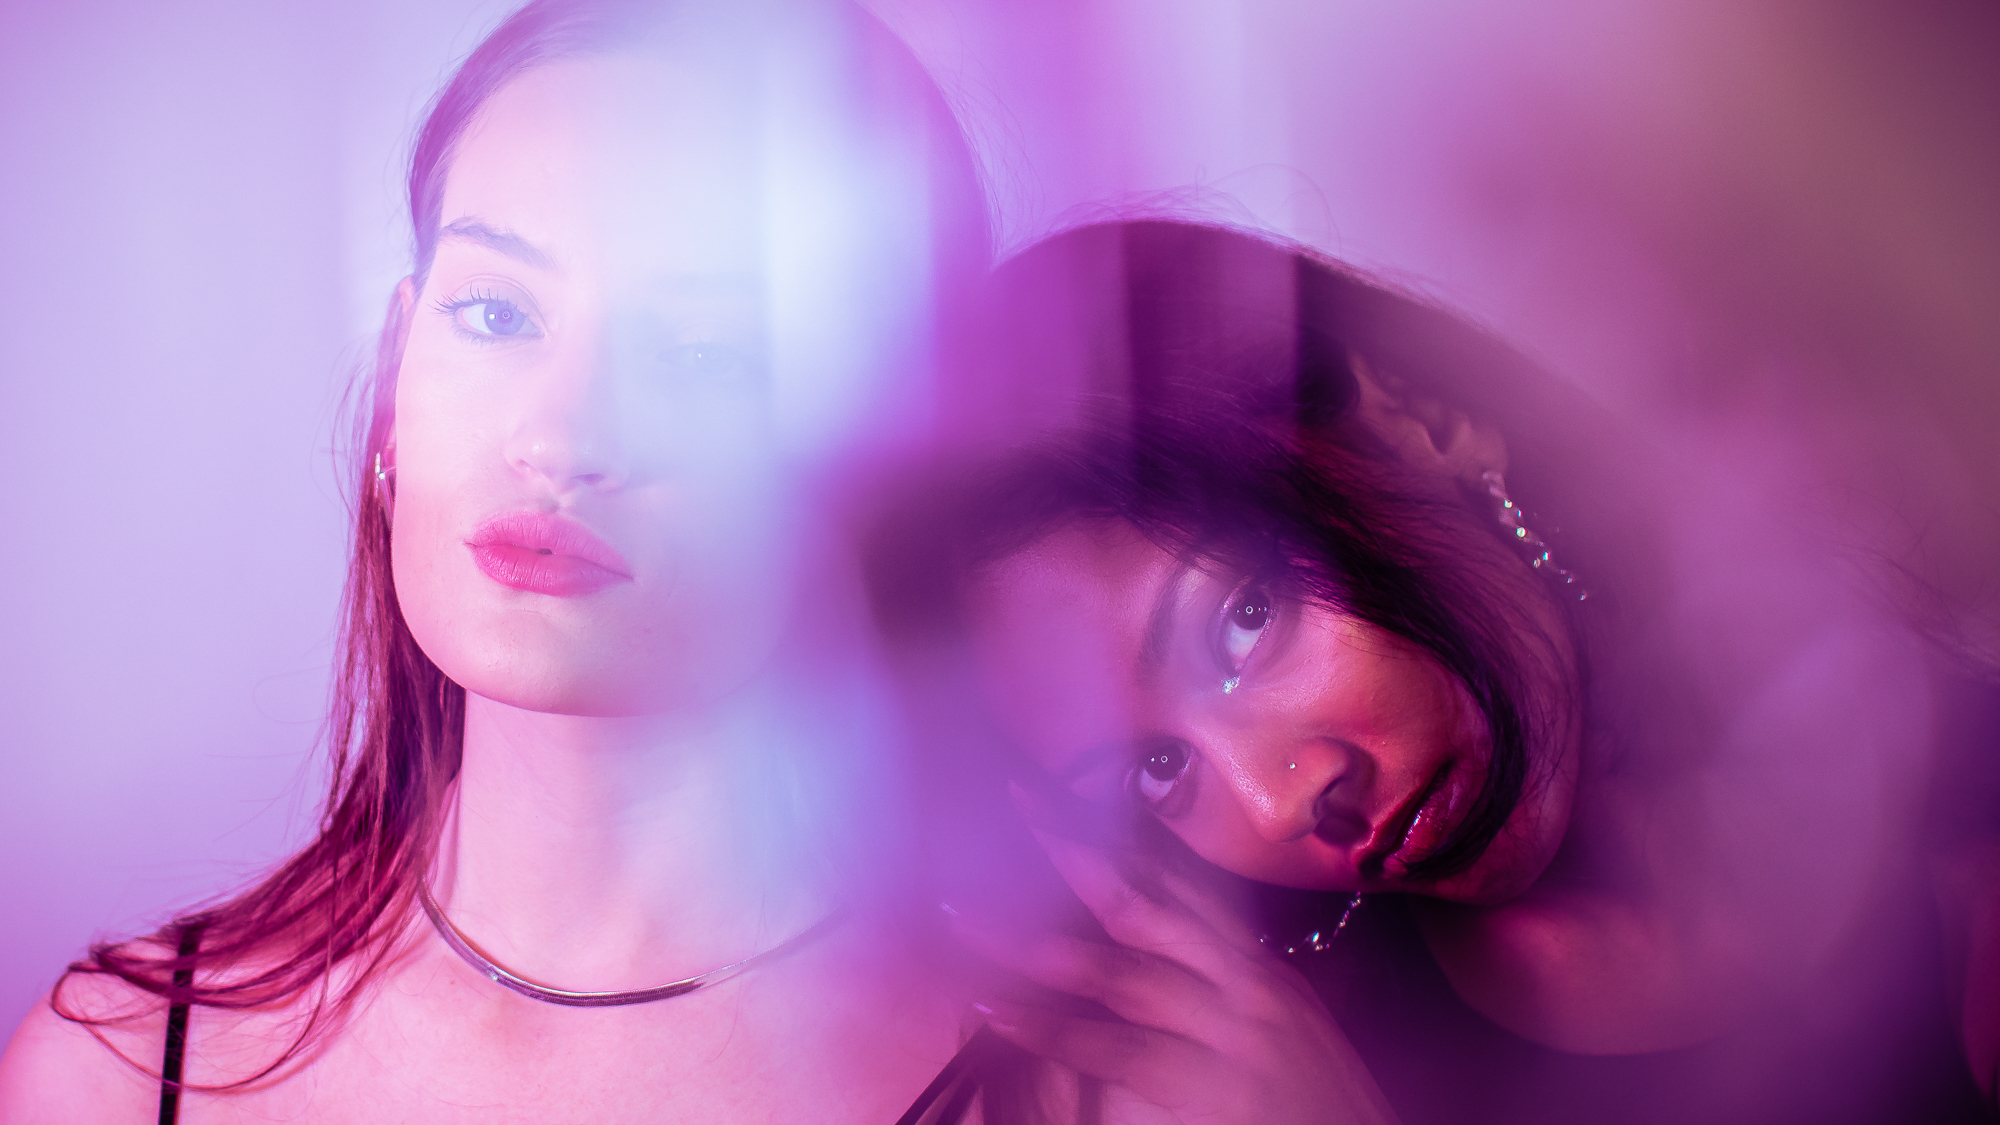
I like to describe my style of photography as ‘magpie meets mad scientist’. I find shiny objects and through trial and error work out how to use them to create eye-catching in-camera effects.
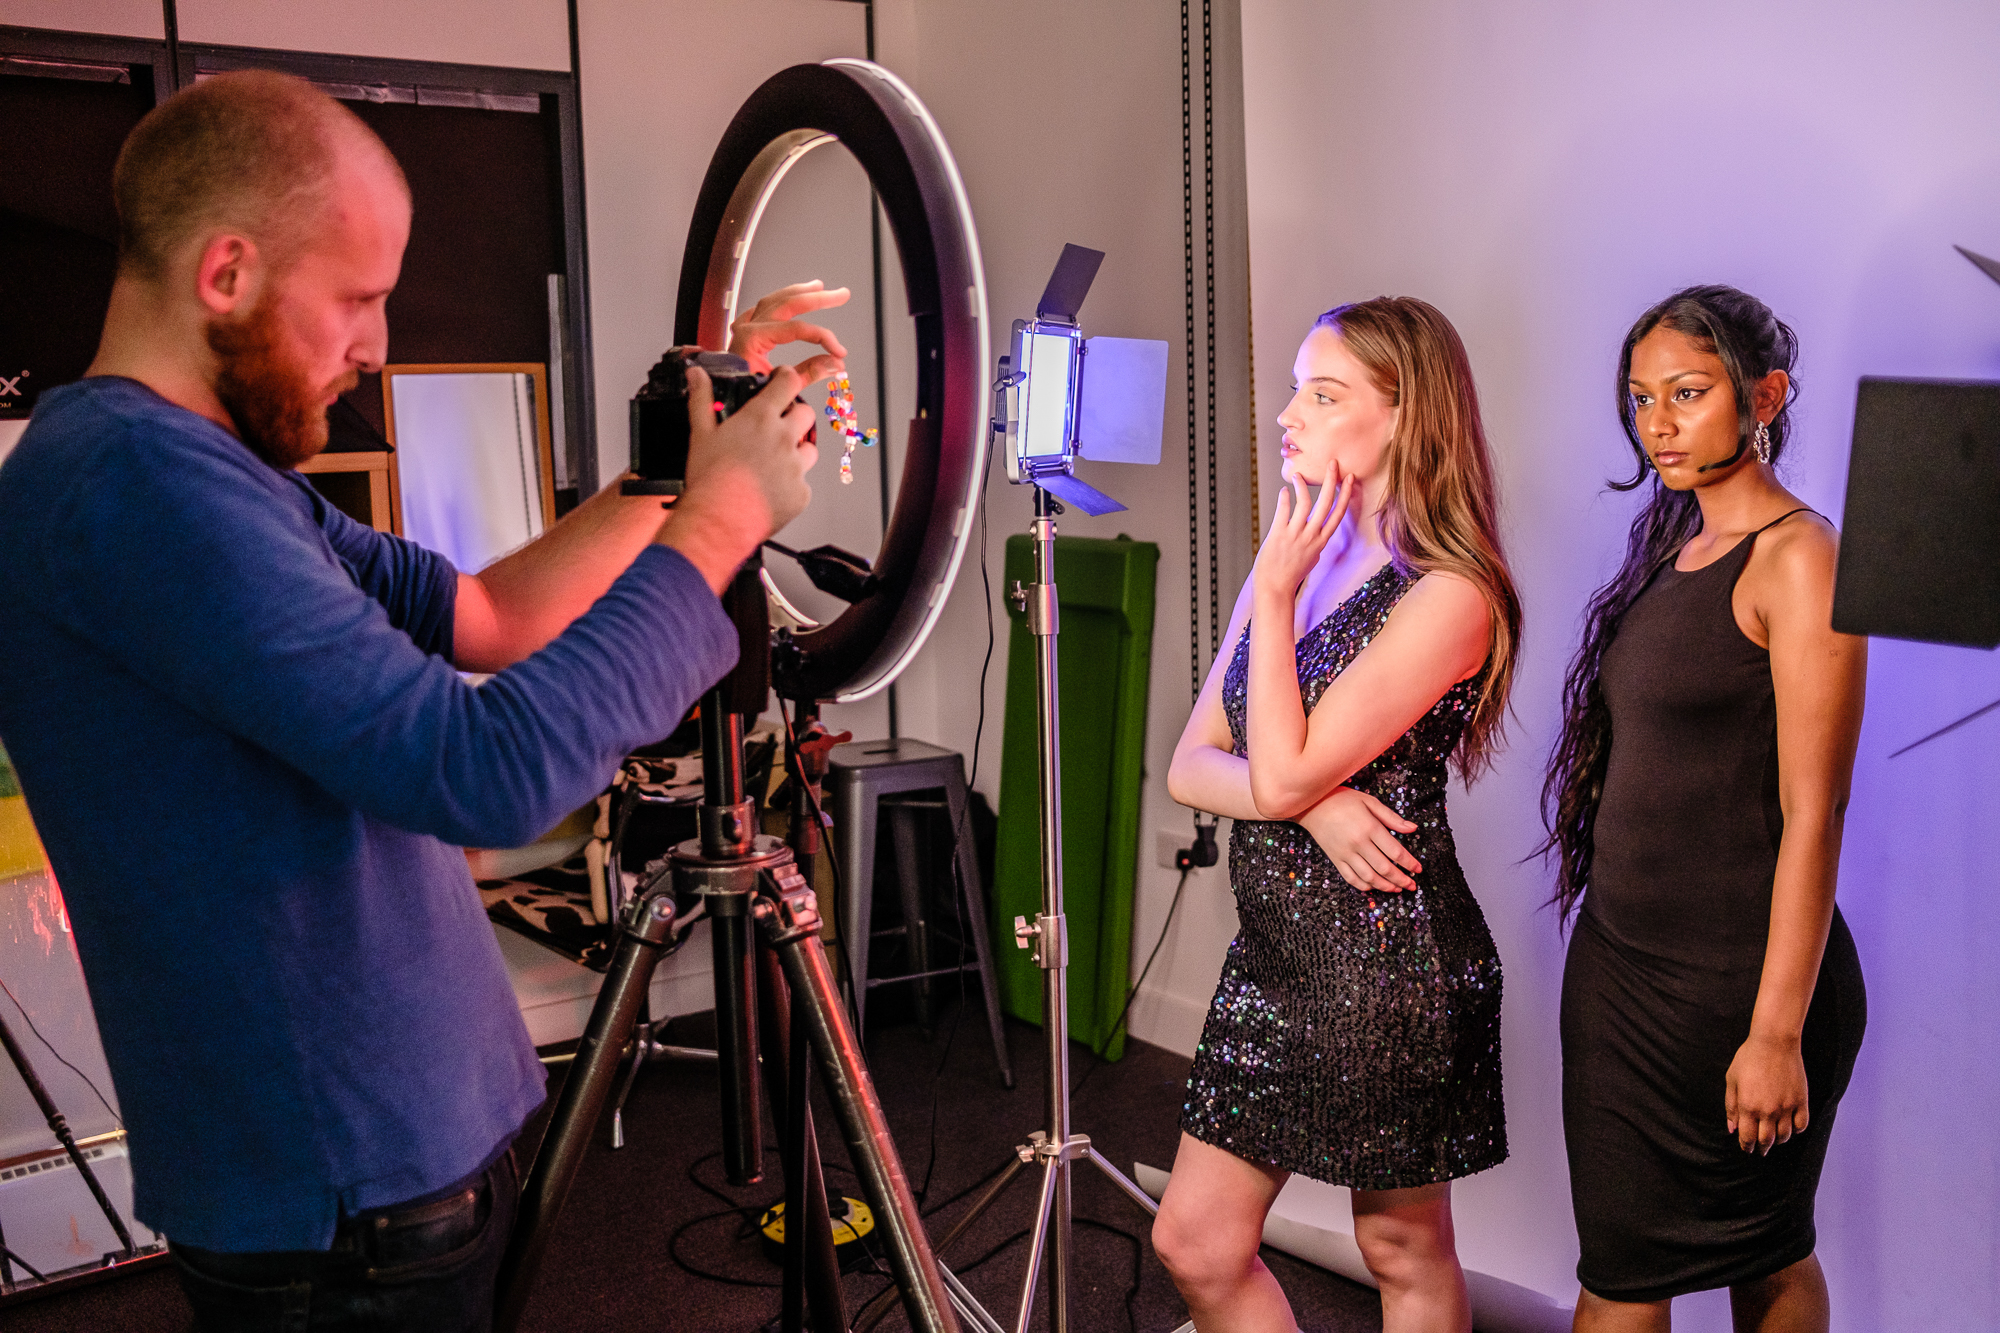
I spent a lot of time during lockdown playing with this kind of thing, getting the hang of how different shapes and colors reflect and refract light, and using them to take creative (yet slightly quirky) self-portraits. Since that time, I’ve worked with lots of other faces, most recently in a new studio space that I rent with some other photographers. We share the equipment, which has allowed me
to experiment with different lighting setups. Here, I’m using a ring light and some LED panels, where I have more control over the power and colour.
5 studio portrait tips: How to get the best out of a studio photography session
Today’s shiny objects are various beads I picked up in an arts and craft shop and strung with wire – total cost under a tenner. Like a lot of photographers, I have some kit-head tendencies, and this DIY approach fights back against the urge to buy new equipment. Sourcing or making it is usually cheaper, easier than you think, and ultimately more satisfying.
Jack's advice for getting creative in the studio
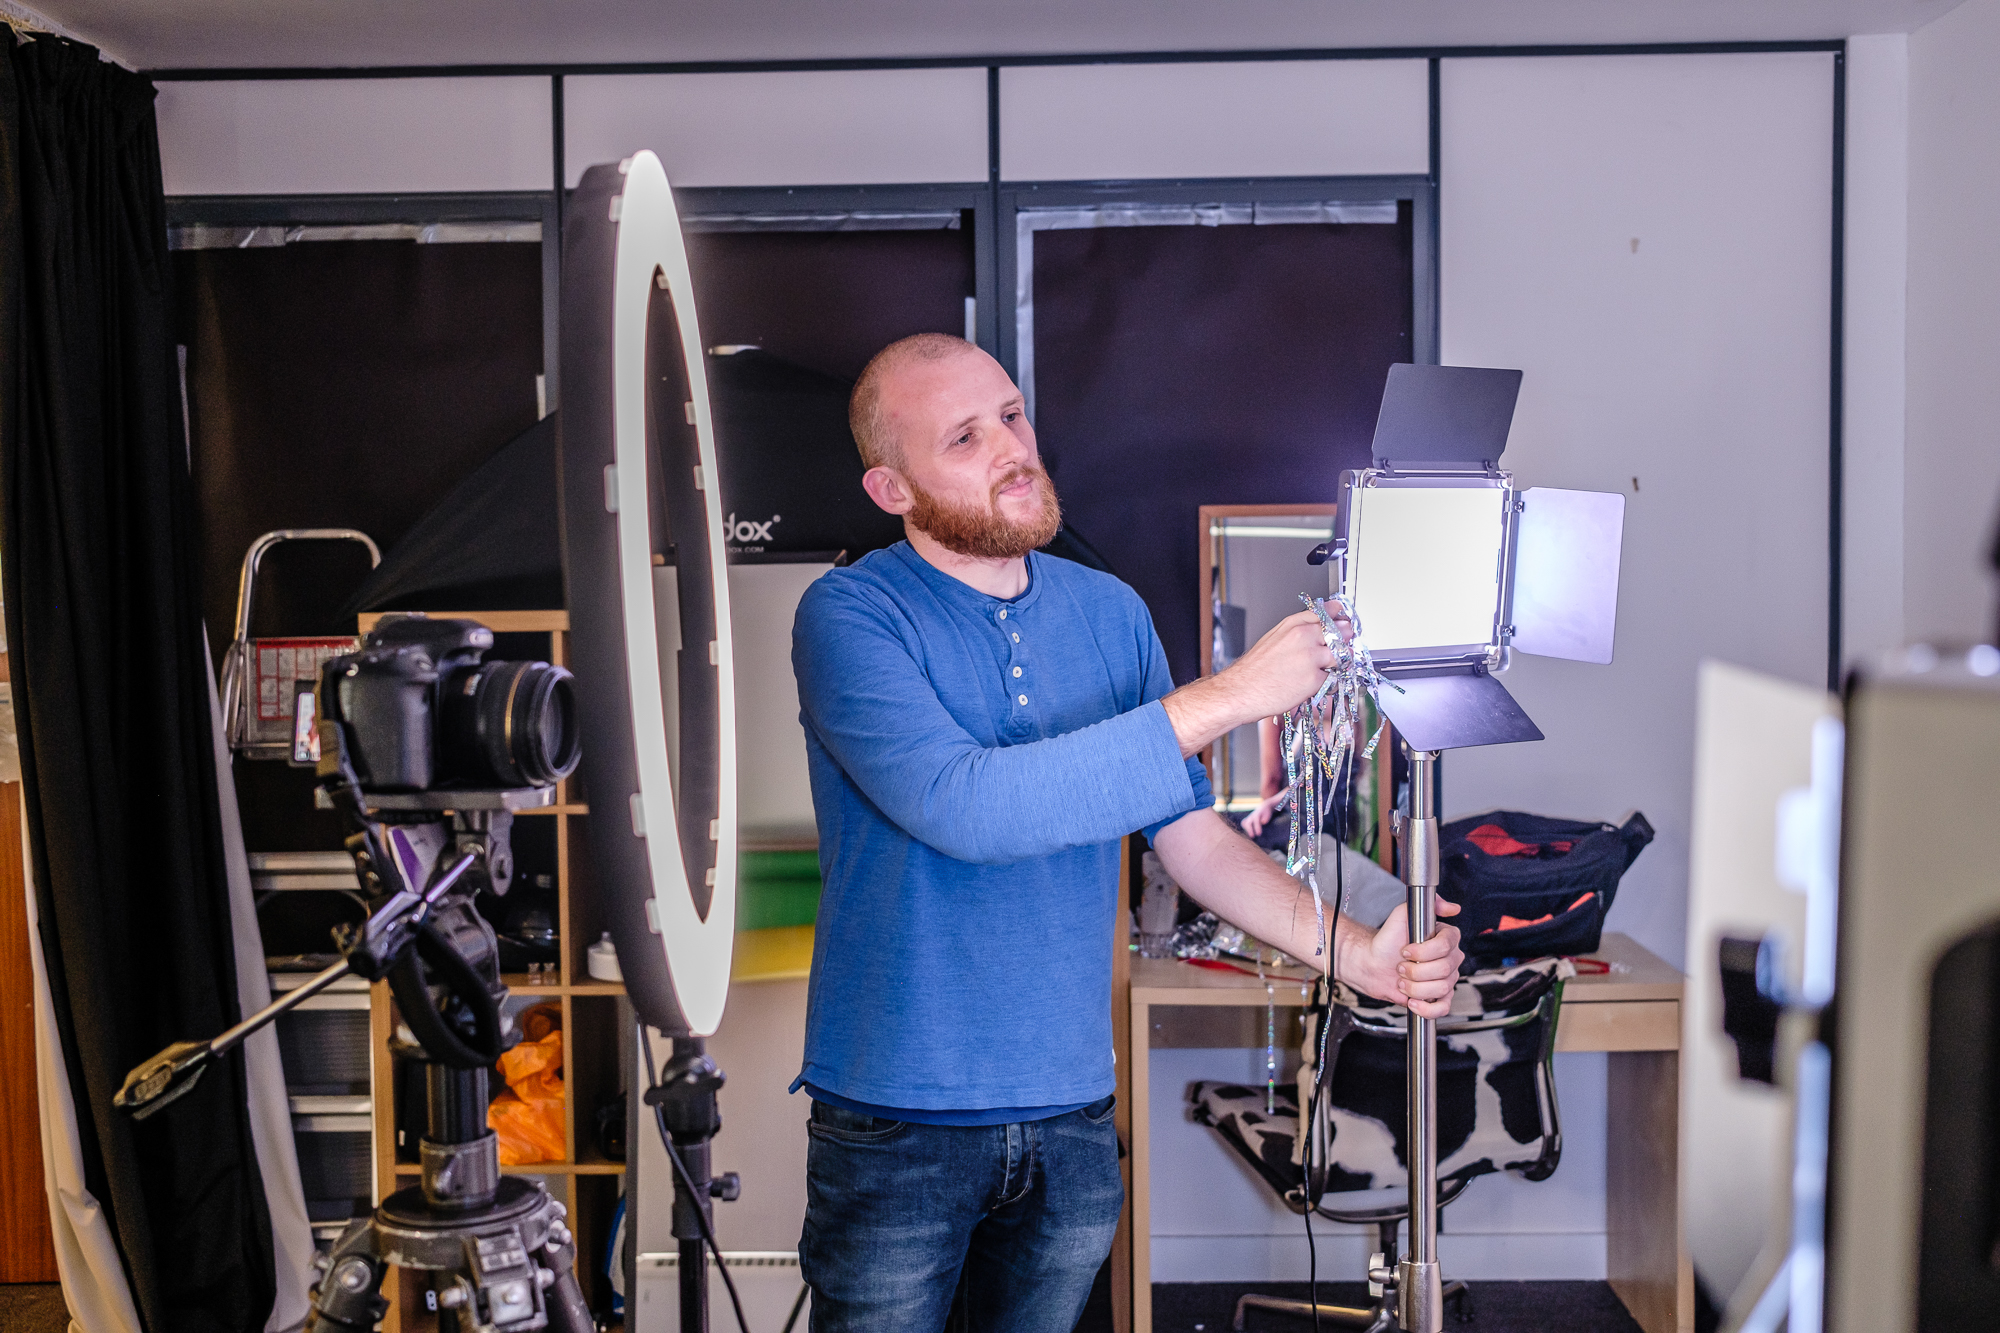
1: Set up your lights
Here I’m using two Neewer RGB660 Pro LED panels and a ring light. The ring light gives me a soft key light, then I’m free to experiment with the LED panels. I tend to play around with the video modes, such as police lights, which will flash red and blue, meaning I never know what I might capture. For me, this is a far more interesting process than choosing a color, where you know exactly what you’re going to get before you’ve even pressed the shutter.
The best LED light sticks and light wands for photography in 2023
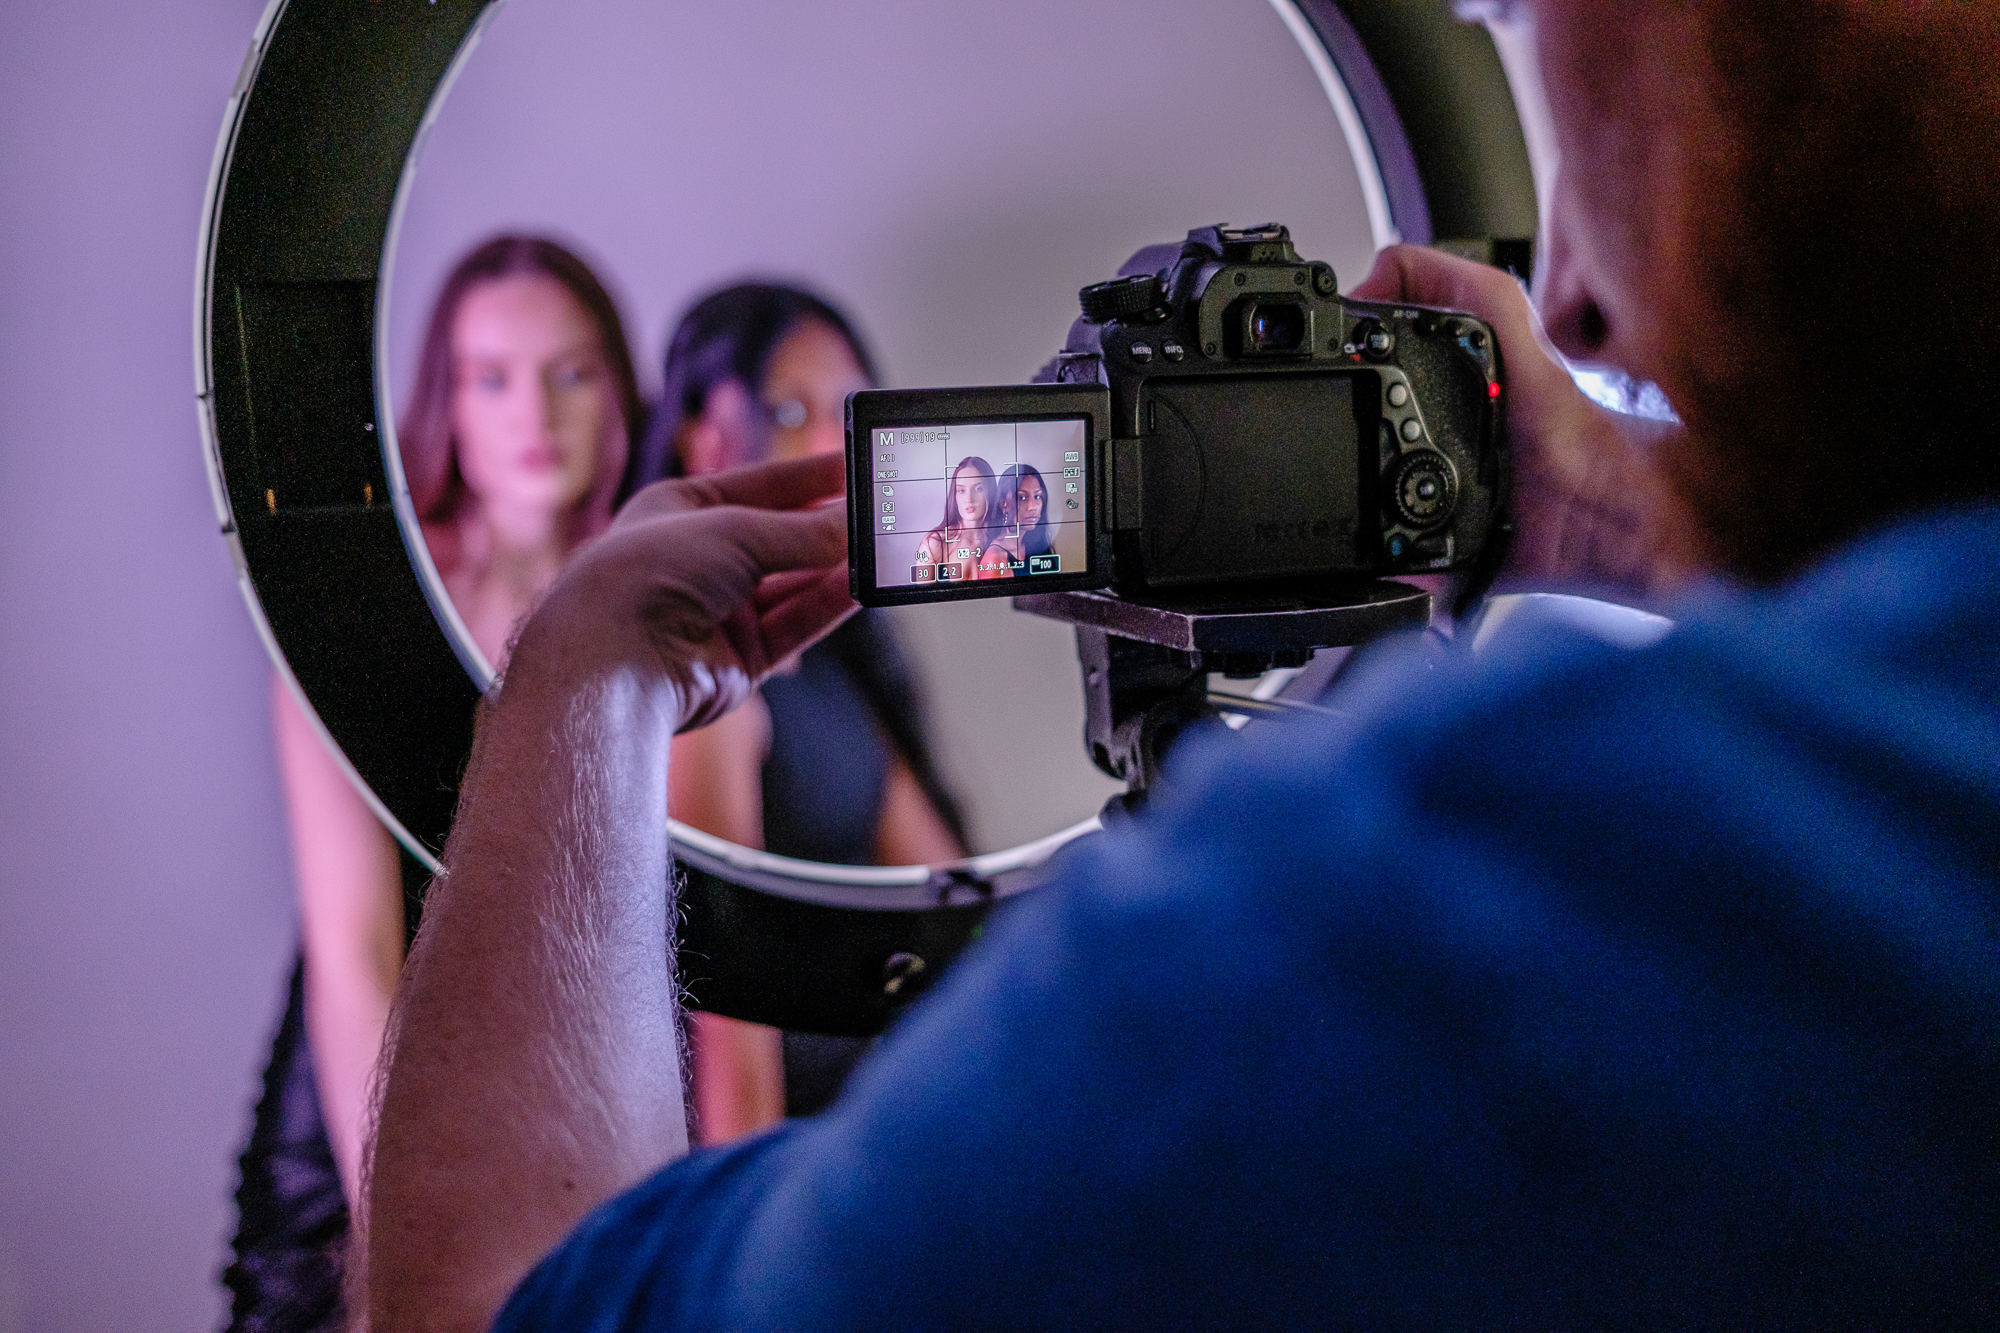
2: Try this shooting setup
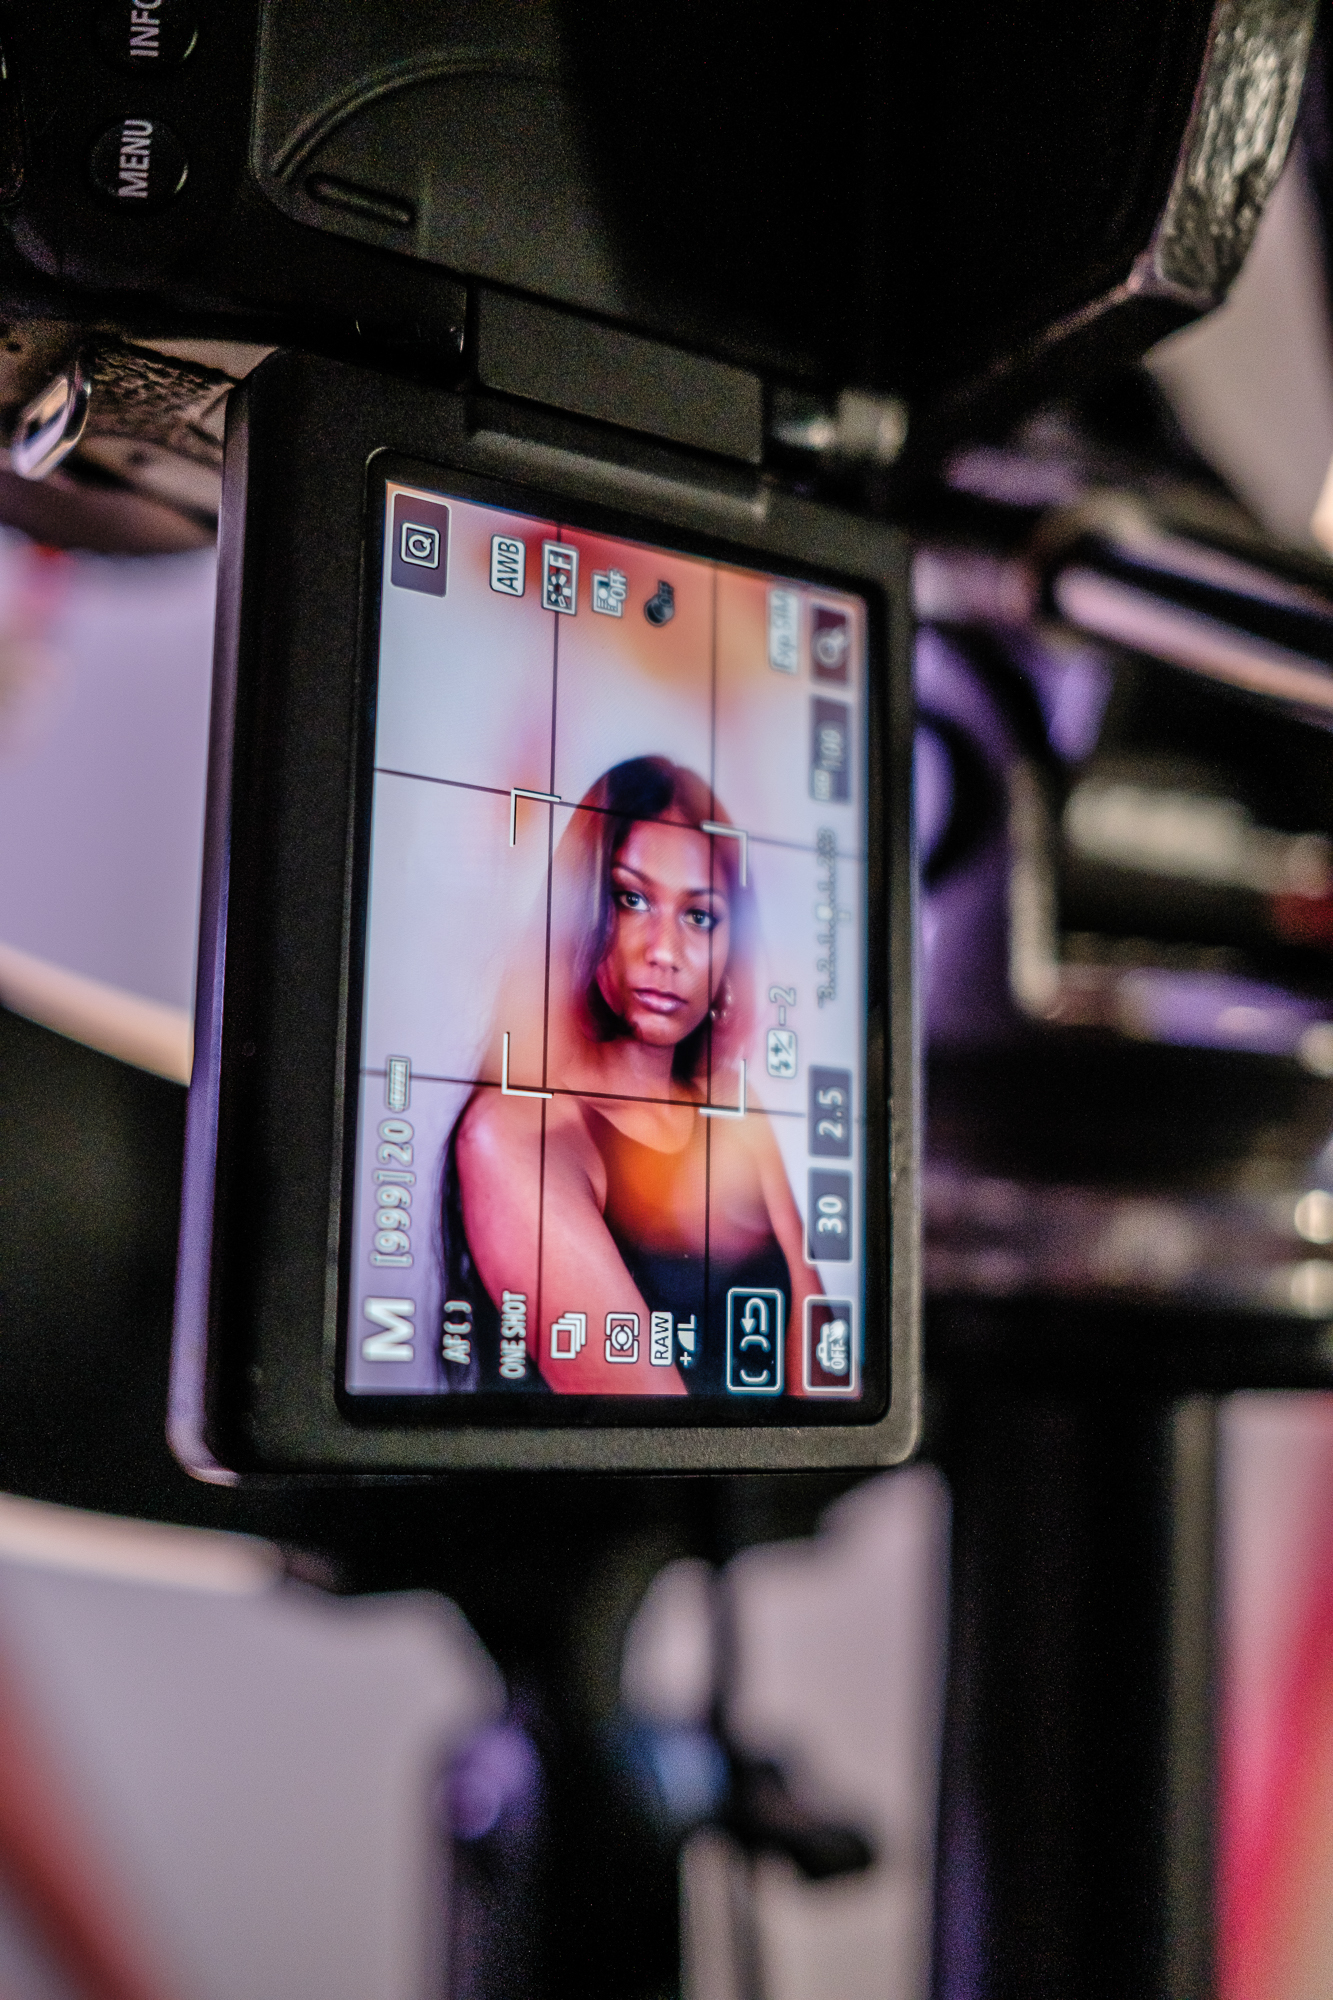
I shoot with a Canon EOS 80D and a Sigma 30mm f/1.4 EX DC HSM. This focal length is perfect for portraits, leaving a little room around the subject for placing artifacts such as beads. The 80D has an articulating screen that allows me to swivel round so I can see the shot from various positions. Sometimes I can be closer to the model when dangling beads, so I’ve found it really useful to switch to Live View and use that.
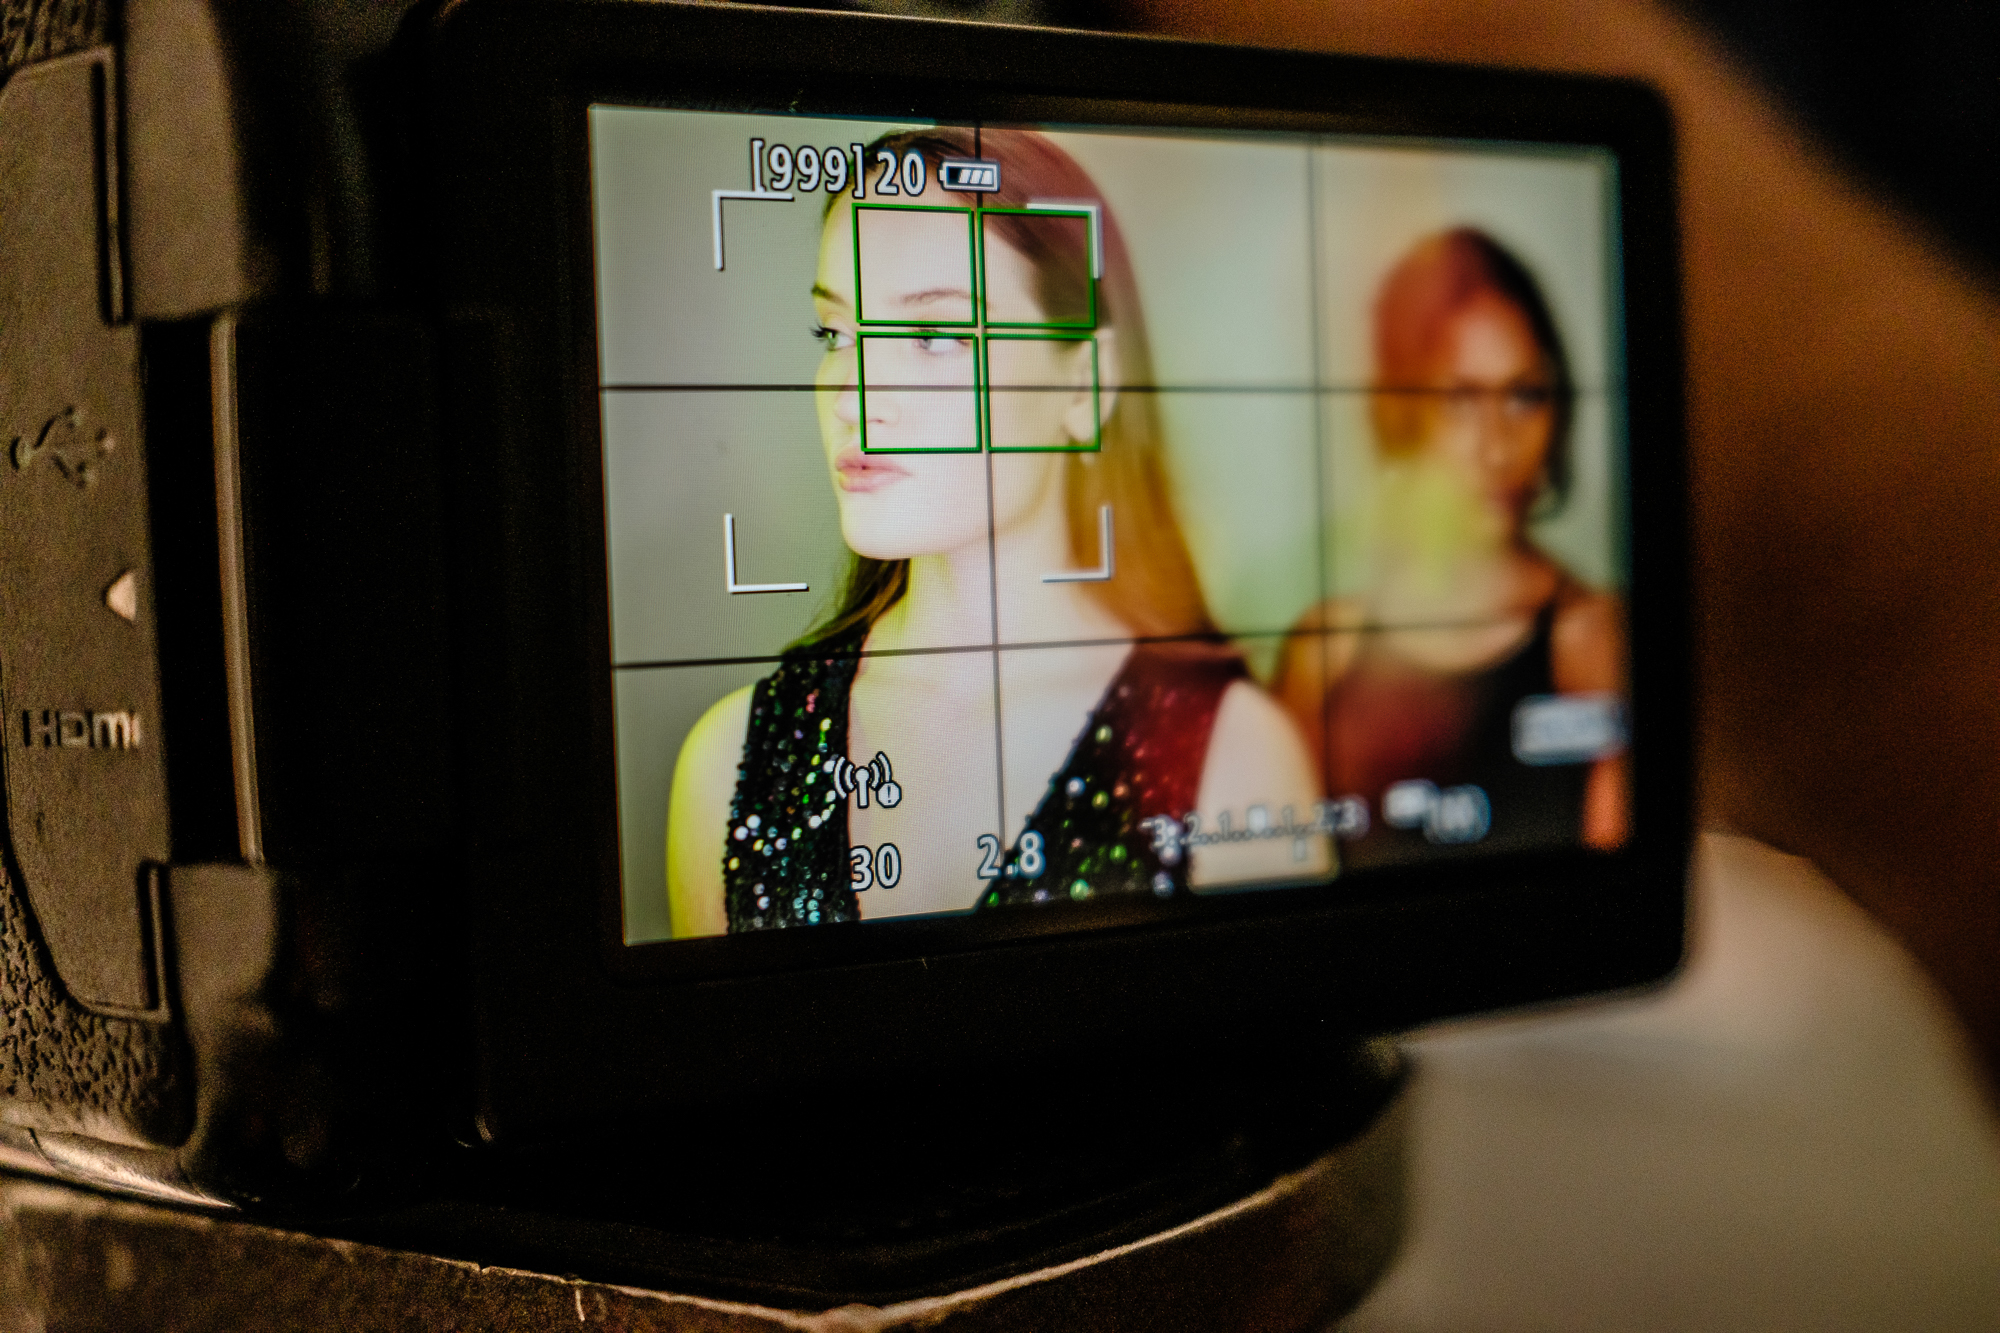
3: Focusing your subjects
I always use eye autofocus when photographing people. It’s 100% reliable, especially
if they are not moving too much and there’s a decent amount of light. On many modern cameras, you can choose Left Eye, Right Eye or Auto from the menu in advance, which leaves you free to pay more attention to composition and working
with your subjects on their mood and expressions.
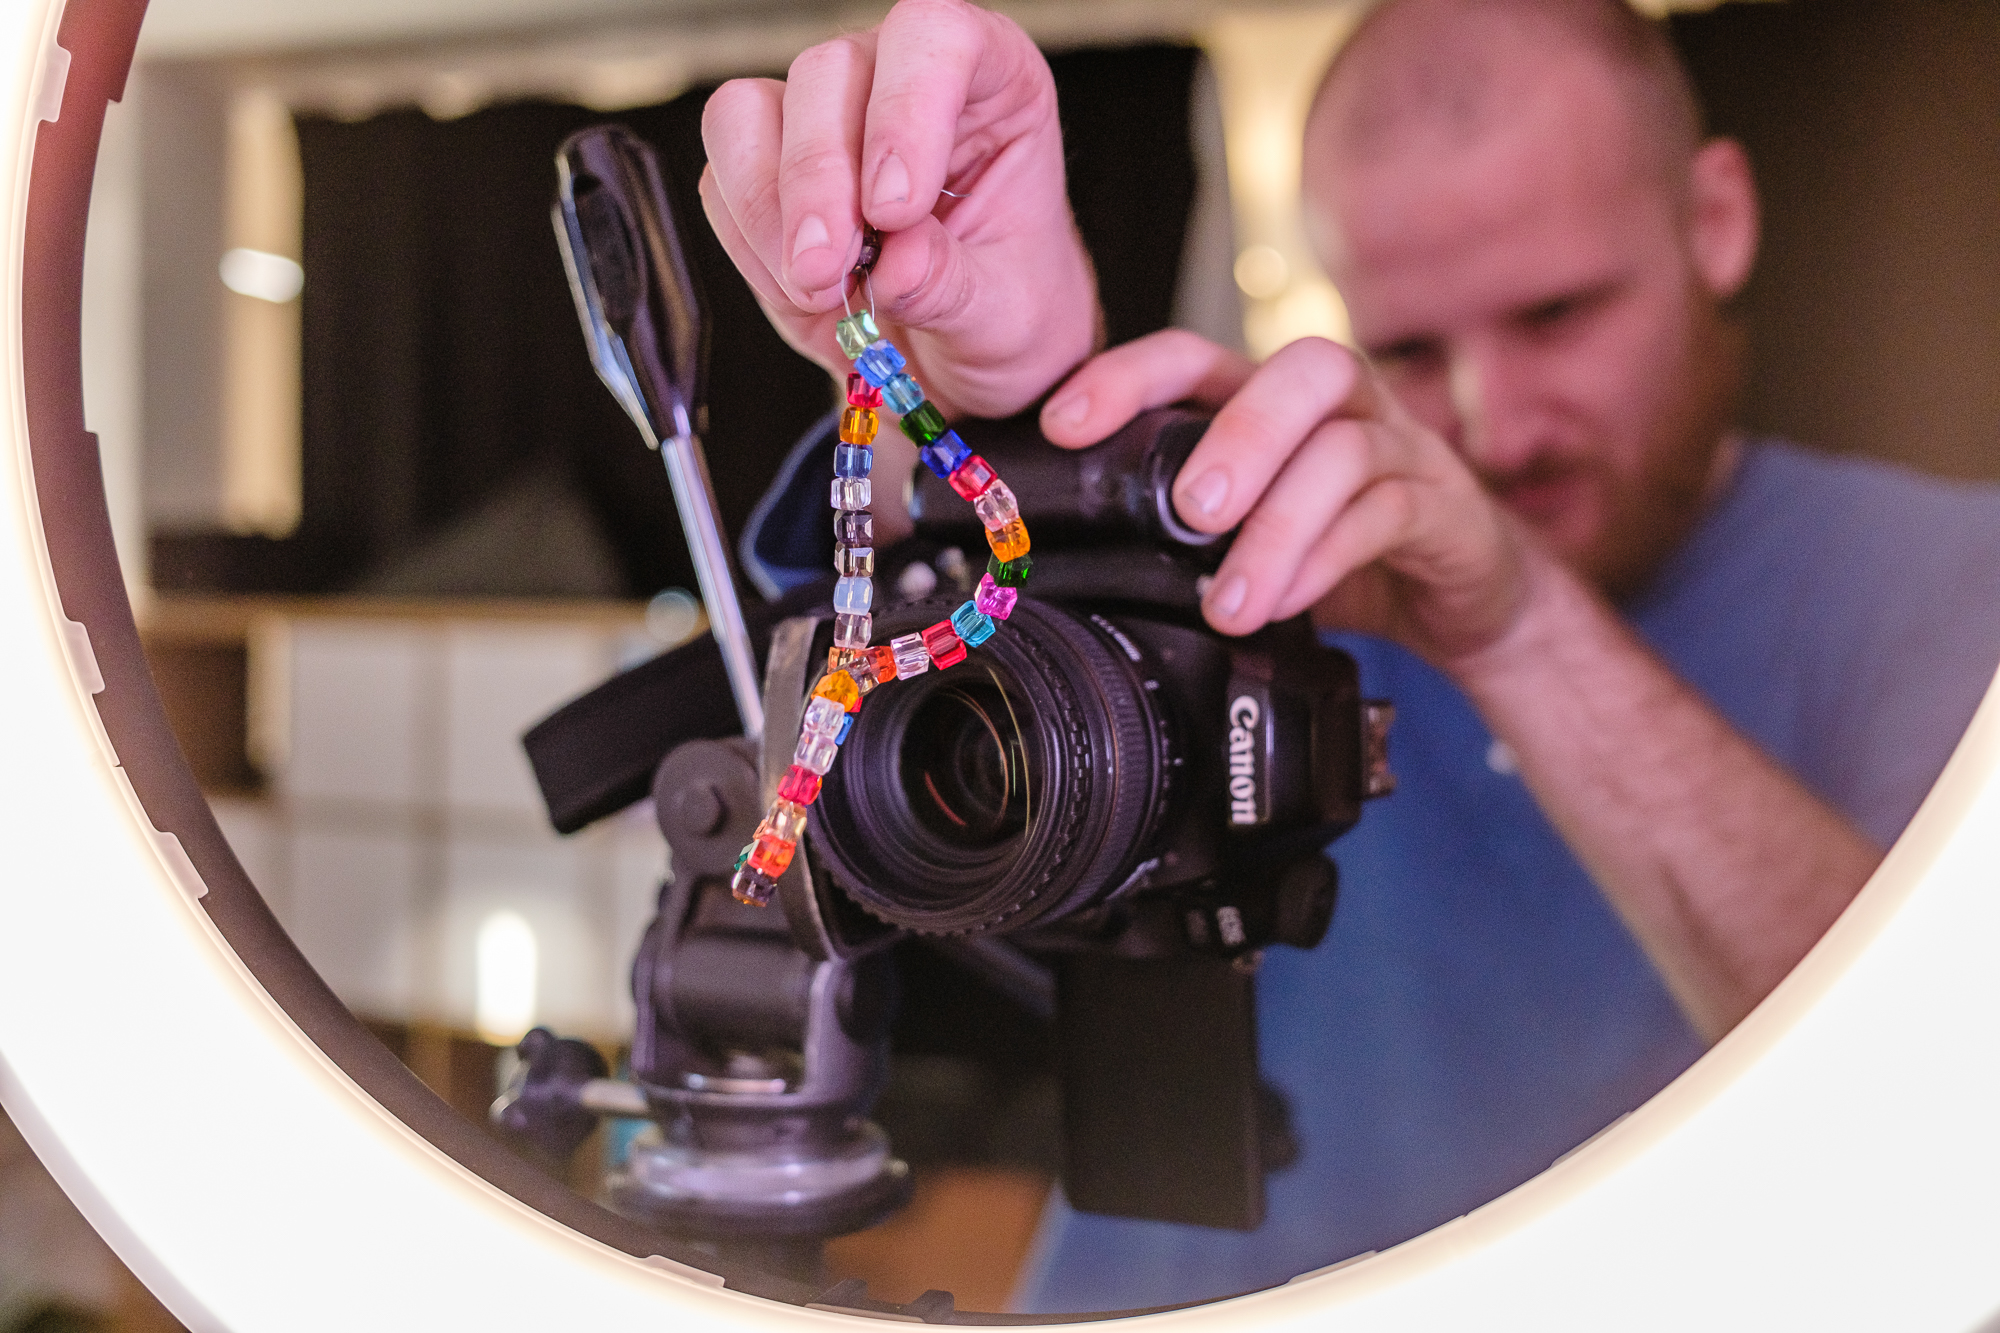
4: Use objects creatively
I originally picked up these beads and secured them together with a wire. Ideally, what I’m looking for is something reasonably translucent and colourful. The trick is to stay quite close to the lens, leaving the object out of focus, and then experimenting with various shapes while the light reflects around the image. Again, for varying results play around with this as much as possible.
5. Take your shots
I’ll mix up my shutter speeds, in certain scenarios going from 1/25 sec to 1/100 sec, and will use a shallow aperture of anywhere between f/1.4 and f/2.8. I’ll always keep my ISO low, at around 100, and will then adjust the brightness of the lighting to get the correct exposure. Shooting at speeds of 1/30 sec will let in a lot of light, so you will need to compensate elsewhere. For some motion blur, I may even move the artifacts near the lens as I shoot.
Check out Sigma 30mm f/1.4 DC HSM Art review, be sure to look at the best lenses for portrait photography, and the best softbox lighting kits
Get the Digital Camera World Newsletter
The best camera deals, reviews, product advice, and unmissable photography news, direct to your inbox!
Alistair is the Features Editor of Digital Camera magazine, and has worked as a professional photographer and video producer.
