10 fantastic iPhone XS and iPhone XS Max camera tips and tricks
Get the most out of the superb iPhone XS and iPhone XS Max camera.
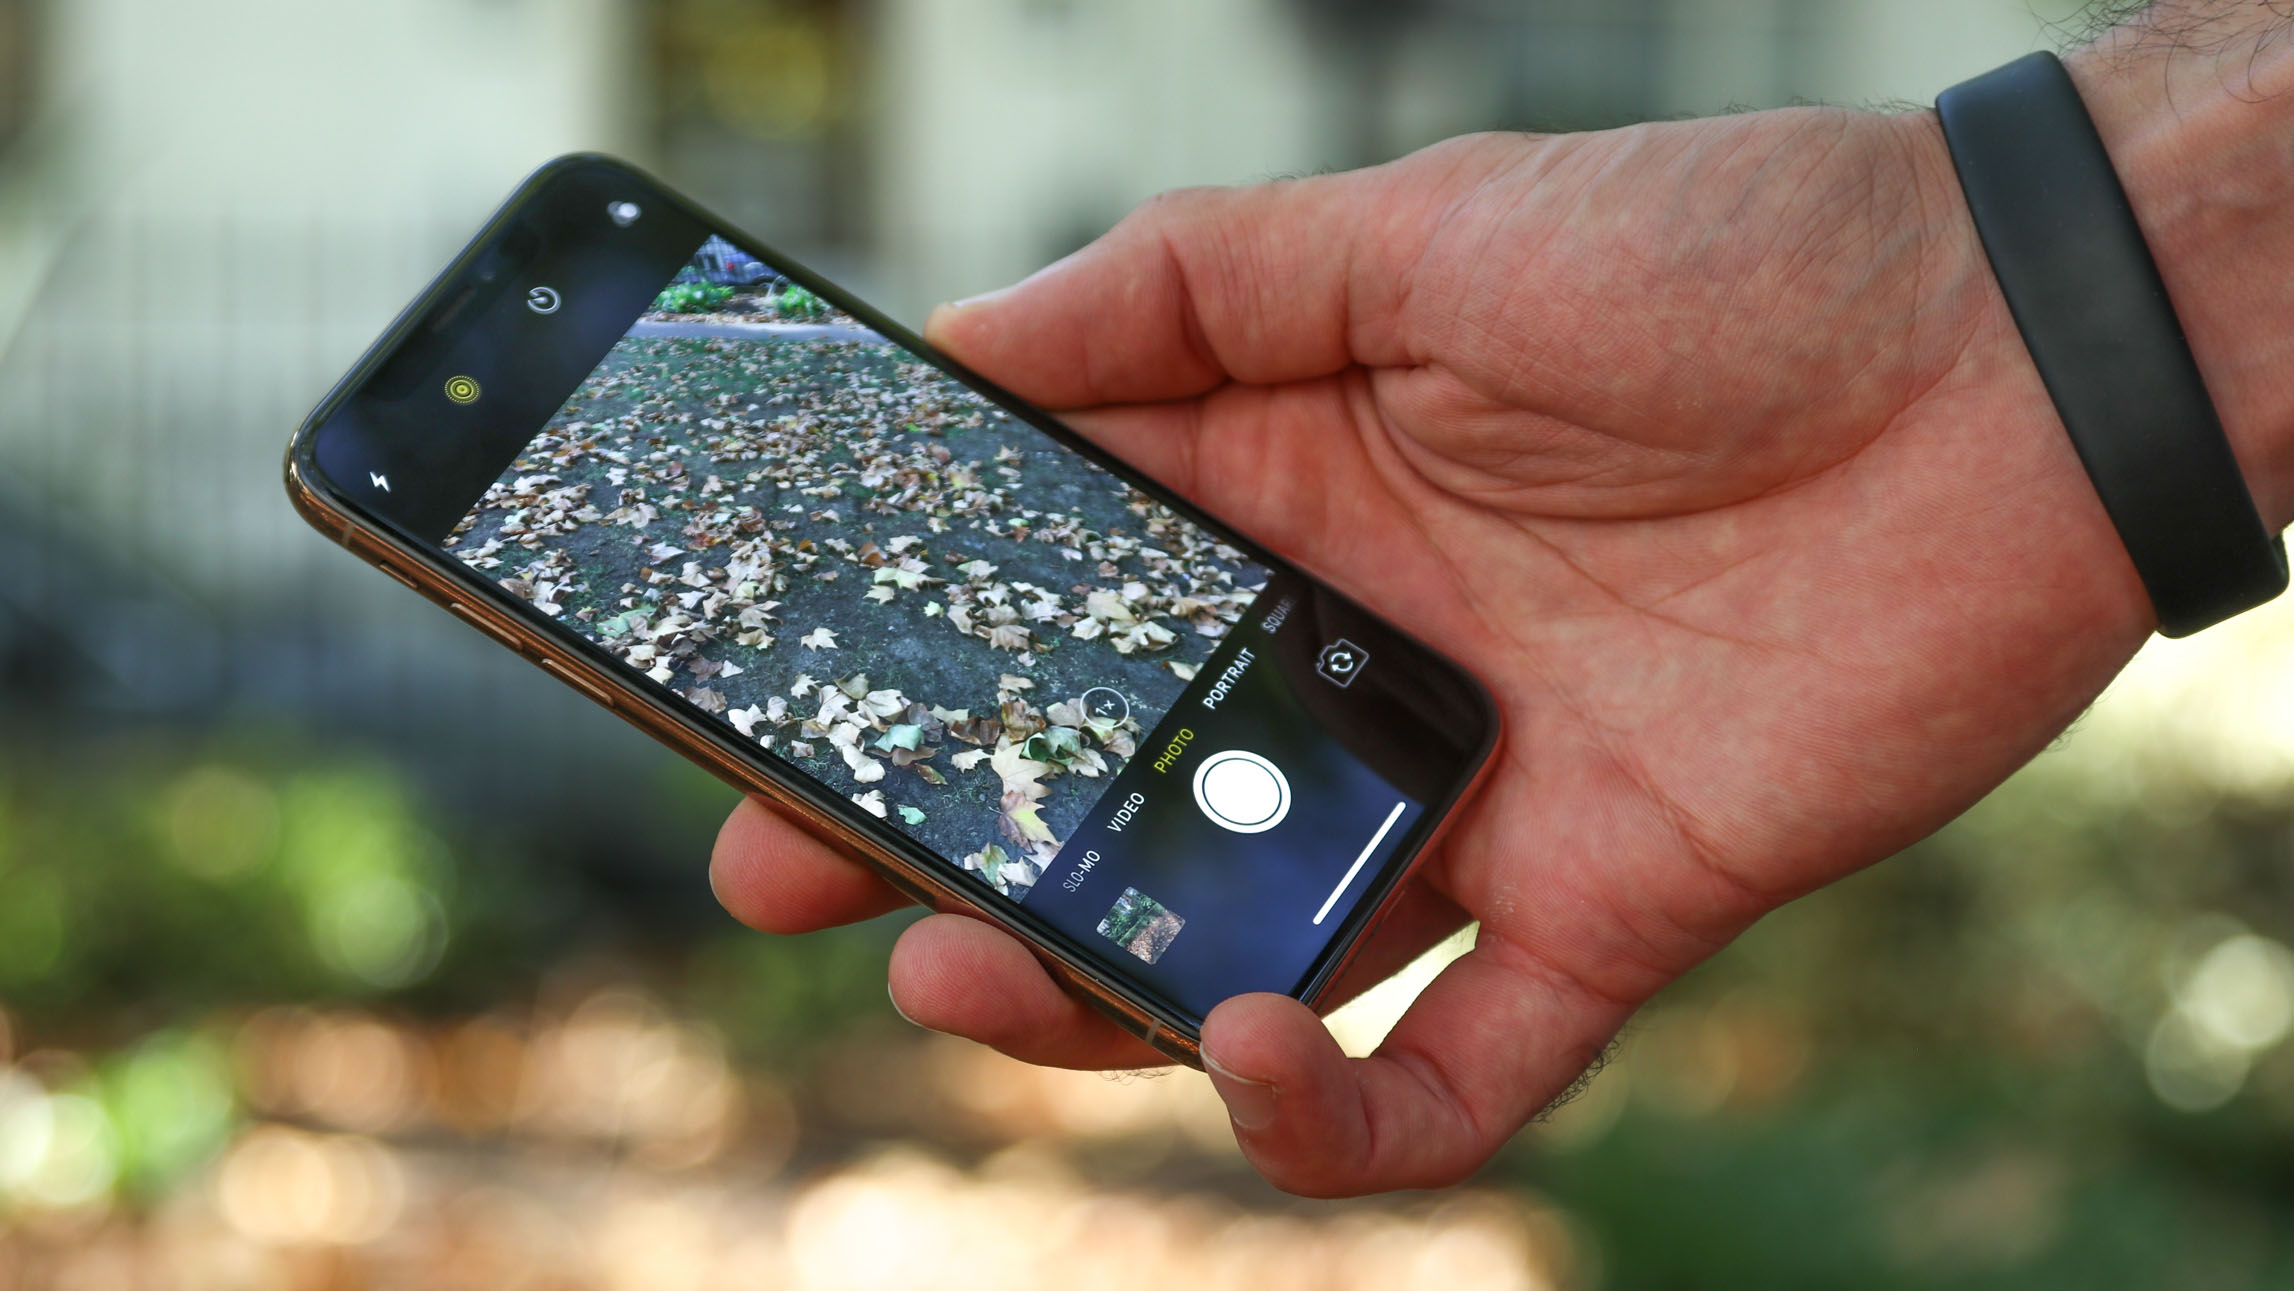
Although the iPhone XS camera hasn’t seen a major overhaul when compared to 2017’s iPhone X, there are still a few key improvements.
If you’re coming from one of Apple’s older models, a little refresher of some of the camera’s key shooting capabilities won’t go amiss, either.
Both the iPhone XS and the iPhone XS Max have a dual 12 megapixel camera set up, offering a wide-angle and a telephoto lens. Using the iPhone XS is incredibly simple, with a pretty basic native camera app.
However, there are still some ways to push it to give you exactly what you want. Here are some key mobile photography tips and tricks for making the most of it.
- These are the best camera phones around right now
1. Adjust for ambient conditions
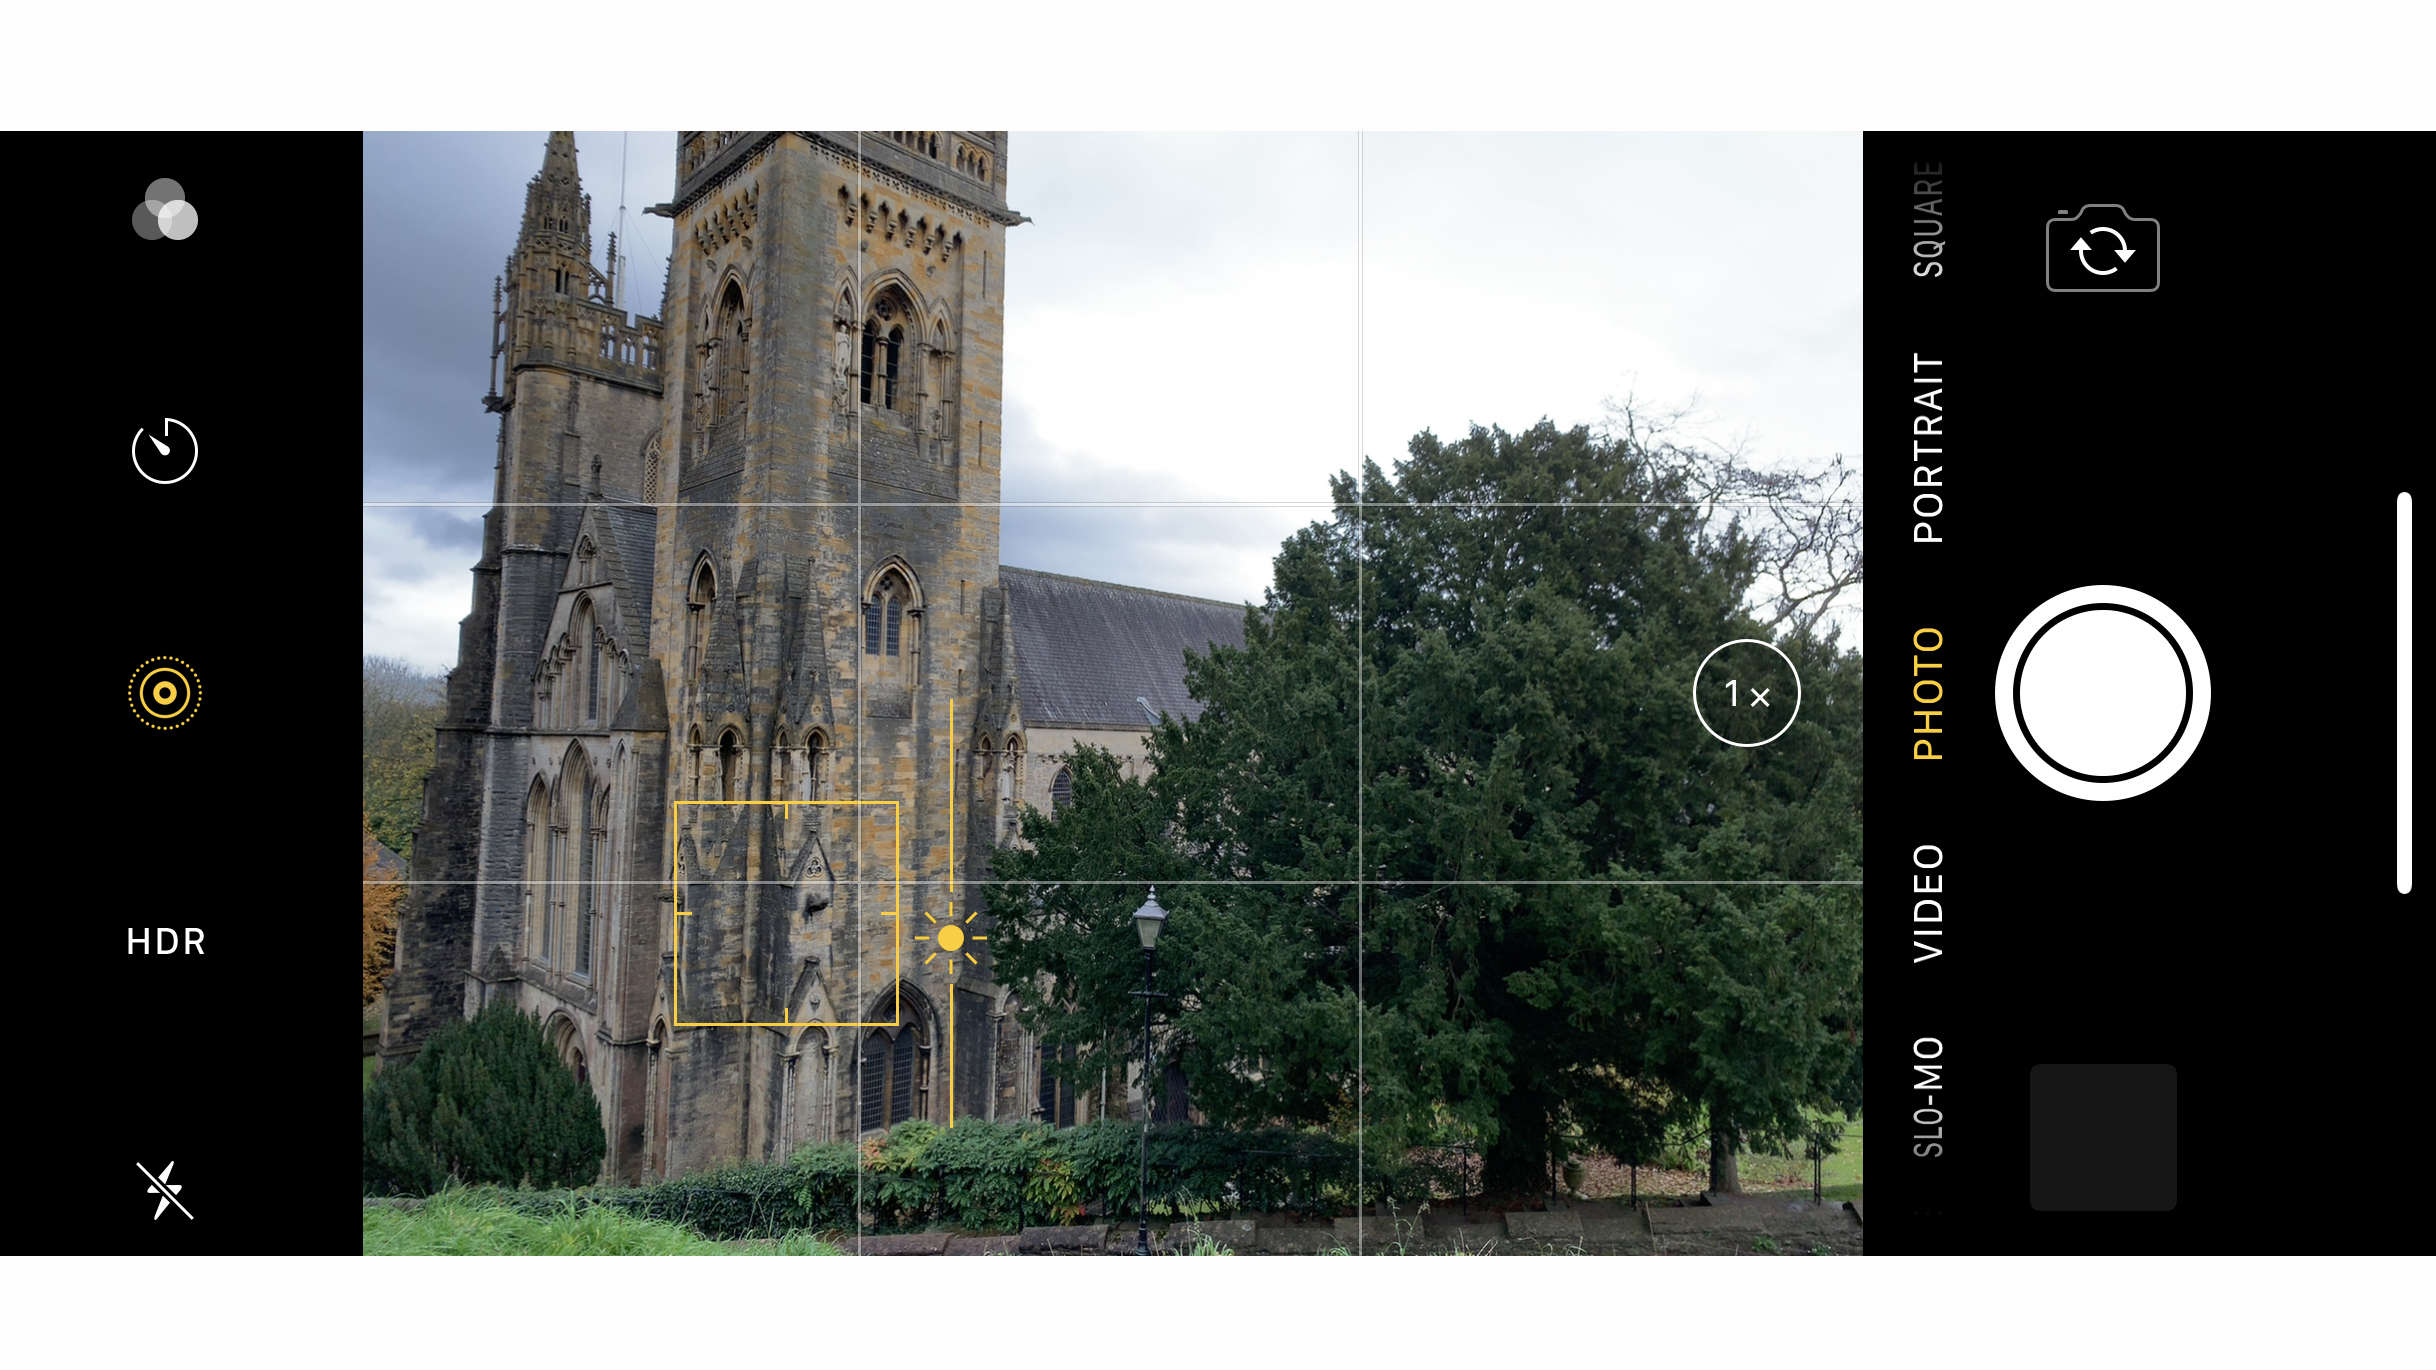
The iPhone XS’s native camera app doesn’t give you a whole lot of control when it comes to settings, but you can give exposure compensation a little tweak.
First you’ll need to tap the point on the screen where you see your subject – you should see a small sun icon appear next to the focus box. Now you can slide your finger up and down the screen to darken or lighten the exposure, depending on the shooting conditions.
2. Activate AF/AE Lock
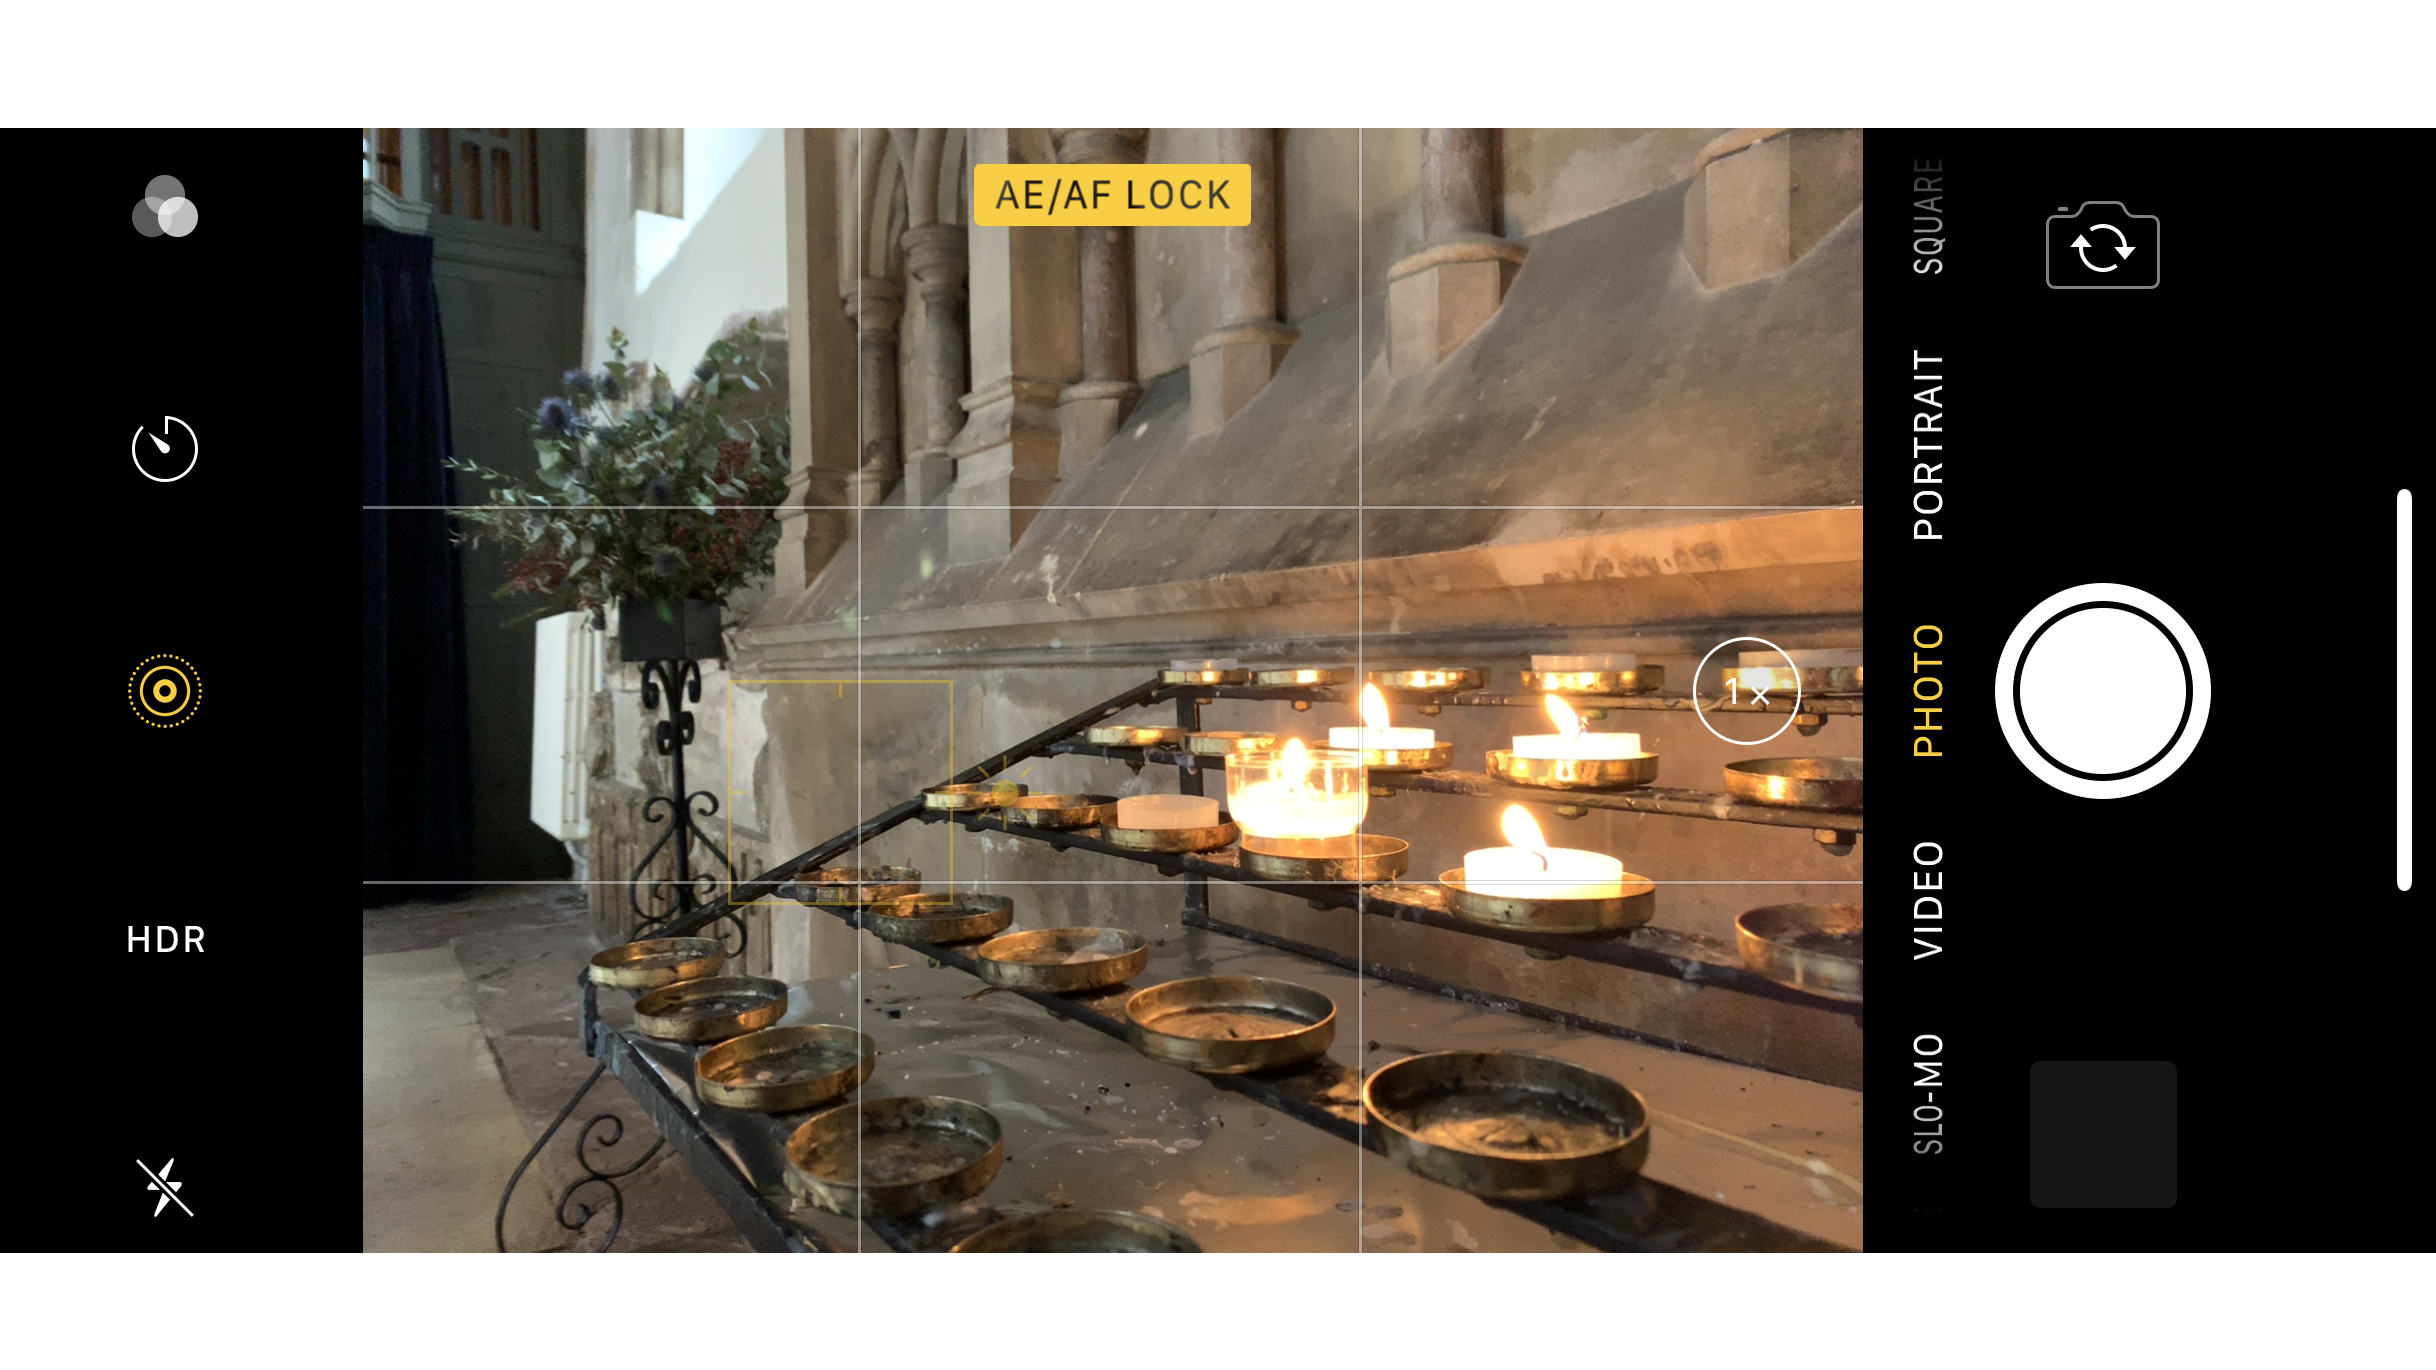

Setting an AF/AE Lock is useful when the light in a shot is mixed, and you have areas of high contrast. Locking focus and exposure to one area of the scene, while still being able to move the phone around for a different composition can be incredibly useful.
To do it, simply tap and hold on the screen where you want the focus and exposure to be held. You should see a small box appear with “AE/AF Lock” – now even if you recompose your shot, the focus and exposure will be locked to that point.
3. Take advantage of Portrait Mode

Despite its name, the iPhone XS’s Portrait Mode isn’t just something that you should reserve for your human subjects. Use it to create shallow depth of field effects for all manner of things, from pets, to flowers, to bottles of beer.
It works best when the subject is against a relatively unfussy backdrop, so give the phone a fighting chance of producing a convincing blurred background by keeping the background as clean as possible.
4. Experiment with Lighting effects
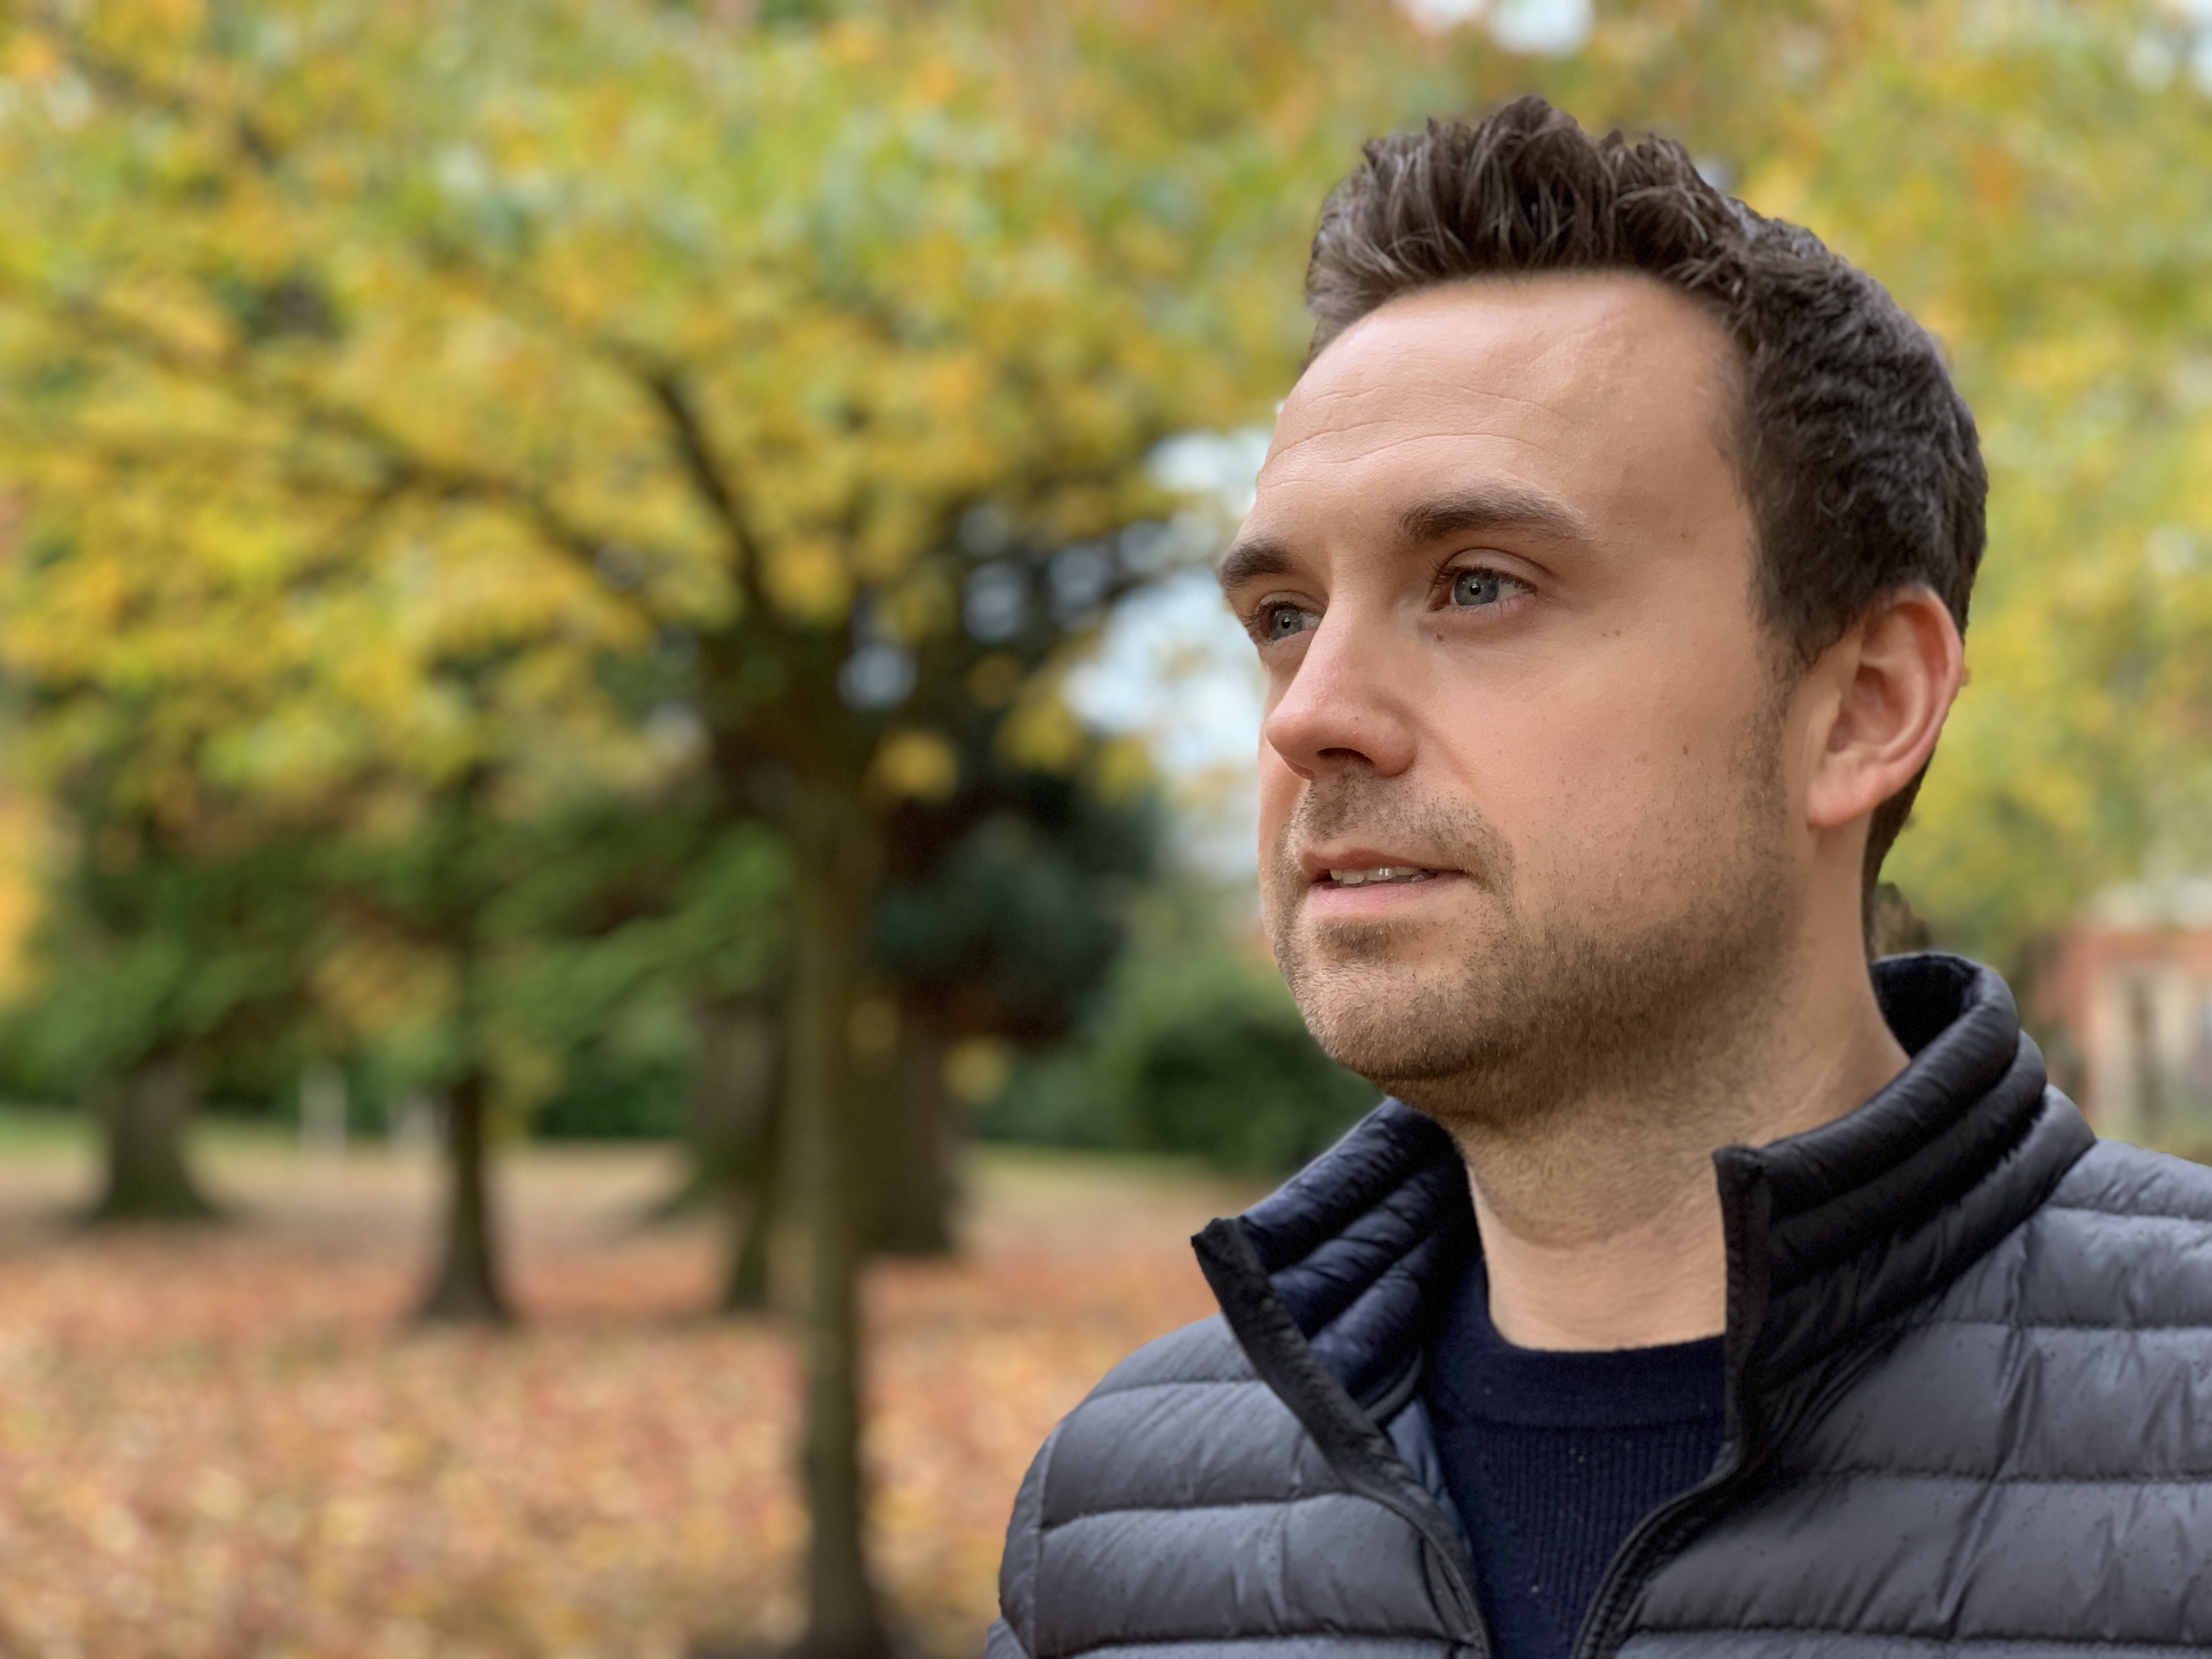
There are a number of different Lighting effects which are worth trying out. The default option is Natural Light, which works well in well-lit areas, while Studio Light adds a good amount of brightness to the face, making it a good option for slightly darker conditions.
Contour Light is a good option for creating a dramatic effect, also working best when the light is good. Stage Light and Stage Light Mono are a little bit gimmicky, but none-the-less can be quite fun.
5. Post shot magic
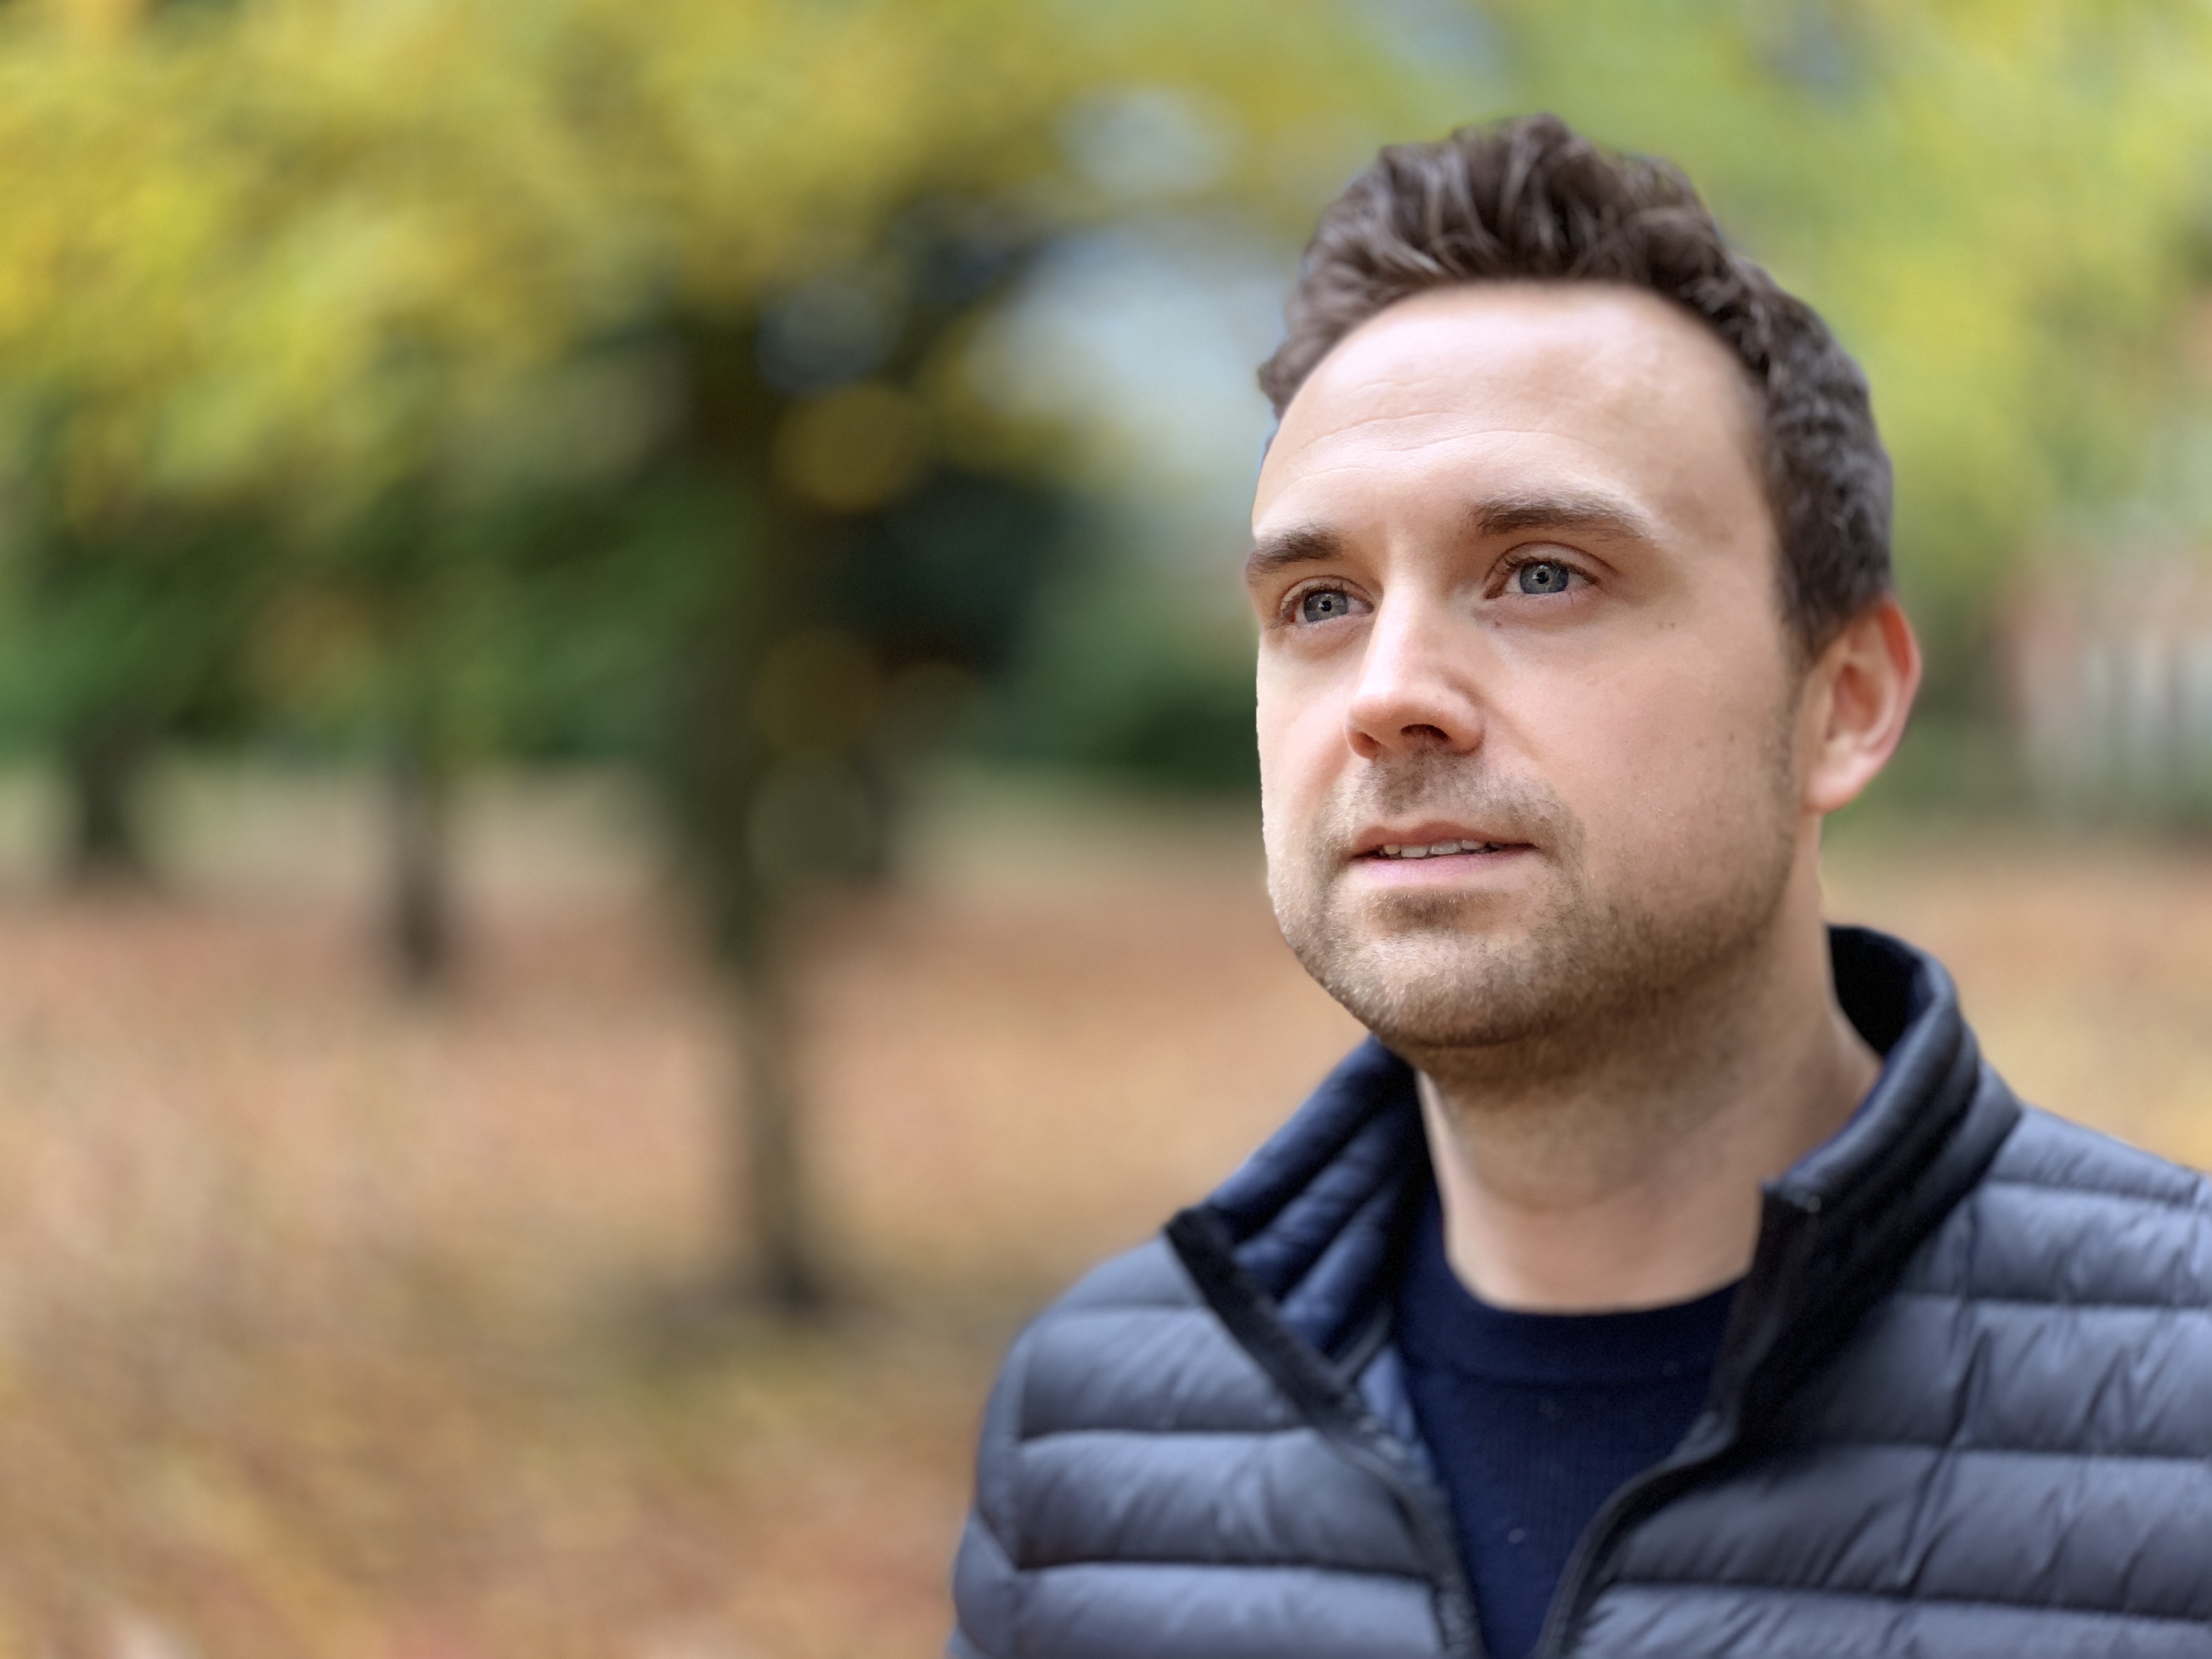
One of the great things about Lighting effects is that you can switch them off, or switch between the different ones, after you’ve taken the shot – good news if it doesn’t come out exactly how you’d expect.
The same is true for the amount of blur in shallow depth-of-field shots, which can be increased or reduced depending on what works best. This effect, called Depth Control, is a brand new feature for the iPhone XS.
To take advantage of this, look at your photo in playback and tap Edit. Use the Depth Slider to move between the look of f/1.4 (for maximum blur), up to f/16 (for barely any blur at all).
6. Capture split-second moments

When shooting unpredictable subjects – such as kids or pets – using Burst mode can really help to make sure you get that split second shot with your iPhone XS, especially now that it promises zero shutter lag.
It’s very easy to use – simply hold down the virtual button in the native app, or hold down the physical volume keys on the side of the phone. A counter appears on screen showing how many shots you’ve taken in quick succession, and, when you view the images in playback they’ll all be conveniently grouped together for you to choose the best moment from.
7. HDR Smarts


By default, the iPhone XS will shoot with “Smart HDR” enabled. While this is a great way to ensure balanced shots in the majority of situations, sometimes being able to switch it off can be beneficial.
In the main Settings menu, head to the Camera submenu – next switch the Smart HDR toggle off. Now, when you head back to the camera app, you’ll see that HDR appears at the top of the screen as an option to tap on and off. You can also select “Keep Normal Photo”, which means that two versions of your shots will be saved for you to choose between – one with HDR applied, and one without.
8. Self-timer for low-light shooting

The iPhone XS is pretty good when shooting in dim conditions, but you can give it a helping hand.
Using the self-timer mode can come in handy – tap the timer icon at the top of the screen and select between 3 and 10 seconds. 3 seconds is pretty good if you’re shooting handheld as it gives you time to steady yourself before the shot is taken, while 10 seconds is useful if you can prop the phone against something, or you have a phone tripod.
9. Moody Monos

Taking shots in mono mode.

Taking shots in mono noir.
With the iPhone XS, you have a few different black and white options. You could of course shoot in colour and use a third-party app to convert your shots to monochrome.
Alternatively, choose one of the mono filters found within the native app. You’ve got standard Mono, but also Noir and Silvertone, for different looks. As with some of the other iPhone XS options, you can change the Filter after you’ve taken the shot if you don’t like it – even going back to colour if you prefer.
10. Choose the best format
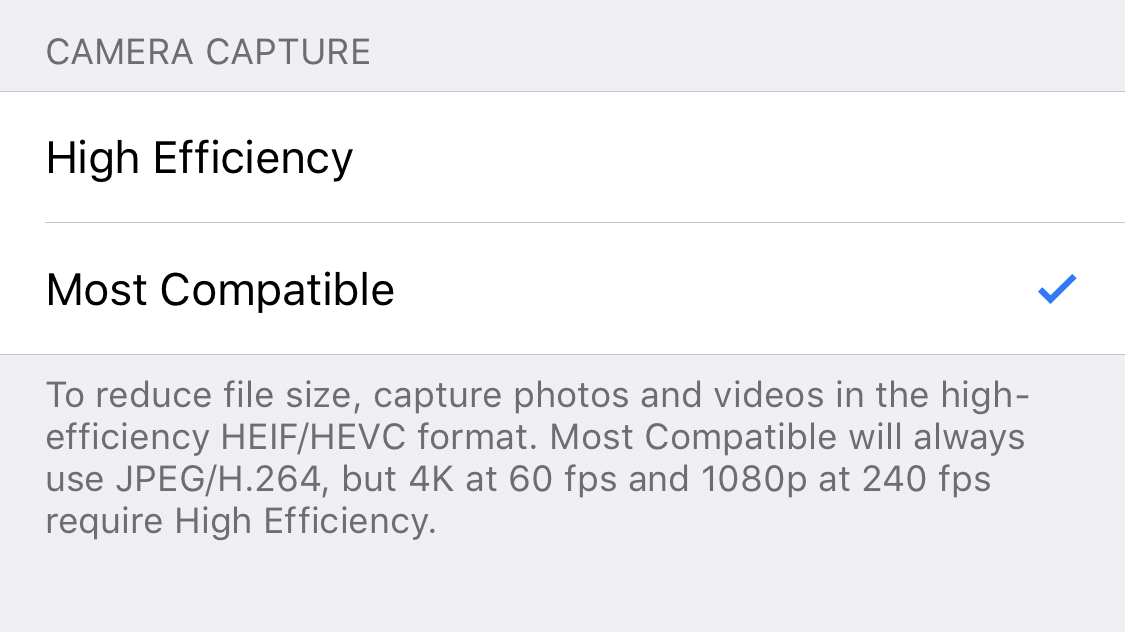
If you delve into the iPhone XS settings menu, you may notice an option called “Formats”. By default, you’ll see that the phone captures your shots in “High Efficiency” (HEIF) format – that shouldn’t be a problem if you’re mainly keeping your photos on your phone, and will save you space on the device.
However, if you’re intending to send your photos anywhere, switching to “Most Compatible” (which will be JPEG for images) ensures that nobody (or no other device) will ever have any issues opening the file.
• 10 tips for Instagram success with your photography
• The best add-on lenses for iPhone and Android phones
• Best selfie sticks for your smartphone
• The best iPhone tripods
• The best gimbals for your iPhone, GoPro and camera
• The best phone cases to protect your camera phone
Get the Digital Camera World Newsletter
The best camera deals, reviews, product advice, and unmissable photography news, direct to your inbox!
Amy Davies has been writing about photography since 2009, and used to be a colleague on Digital Camera magazine and Techradar.com. She now works as a freelance journalist writing for nclude Amateur Photographer, Stuff, Wired, T3, Digital Photographer, Digital Camera World, TechRadar, Trusted Reviews, ePhotozine and Photography Blog. She has an undergraduate degree in journalism and a postgraduate diploma in magazine journalism, both from Cardiff Journalism School.

