A tripod is essential when taking landscape photos, allowing you to take your time to fine-tune your composition, as well as enabling long exposures that blur moving elements while simultaneously keeping the static parts pin-sharp. But the head attached to the tripod is often overlooked.
Many budget tripods come with a pan-and-tilt head, so you may be familiar with the basic two-axis control and long panning handle that makes it easy to create a smooth panning motion.
However, these budget models are often made for video and are not ideal for photography. You can tell they’re geared to videography if the legs are braced together – on a photographic tripod, you want these to be unbound, with the ability to change the leg angles freely, so you can get lower to the ground if needed for your shot.
These are the best pan and tilt tripod heads if you need to get yourself a new one.
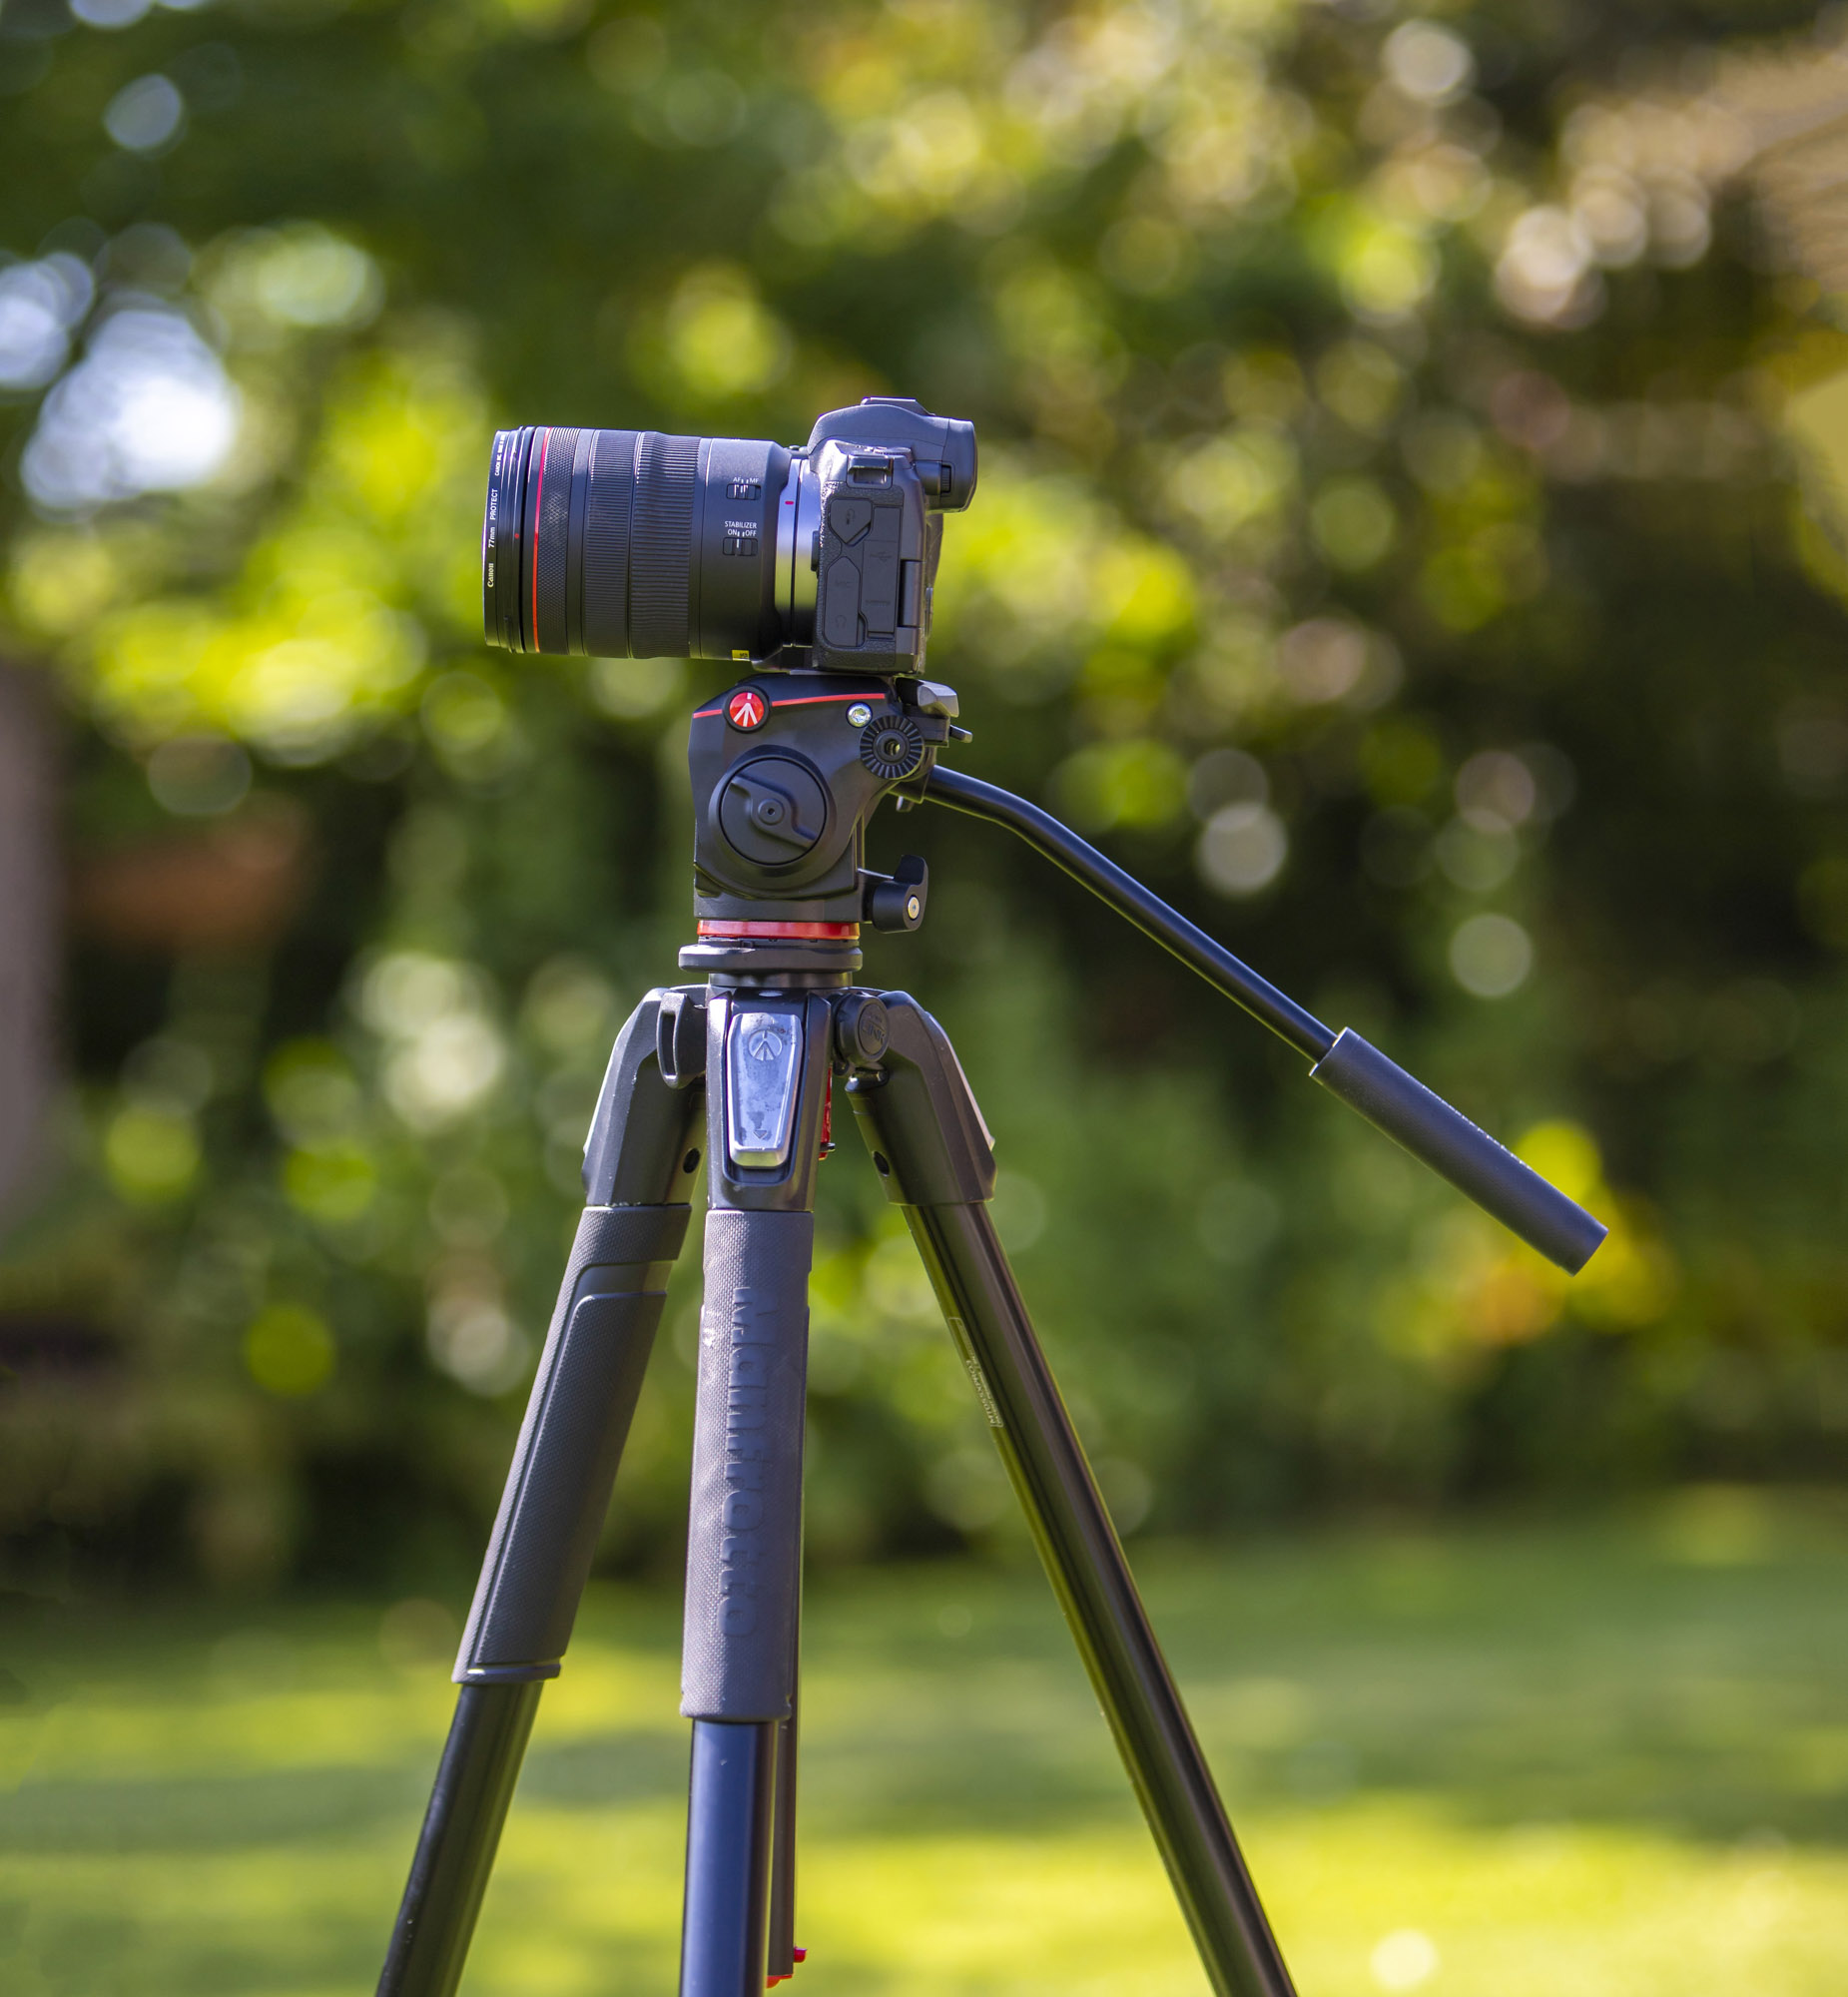
Professional tripods, starting at around £100, usually have the option to switch the head, from say a three-way to a ball head, pan-and-tilt or even a more specialized head, such as a panoramic or gimbal head.
In this project, we’re looking at pan-and-tilt heads, which while ideal for smooth video work also have fantastic potential for still images, because a slow shutter speed enables you to capture an abstract rush of colour when panning vertically up and down or horizontally from side to side.
A dedicated panoramic head also gives you much smoother results than if you try to pan handheld. Here’s how to give it a go…
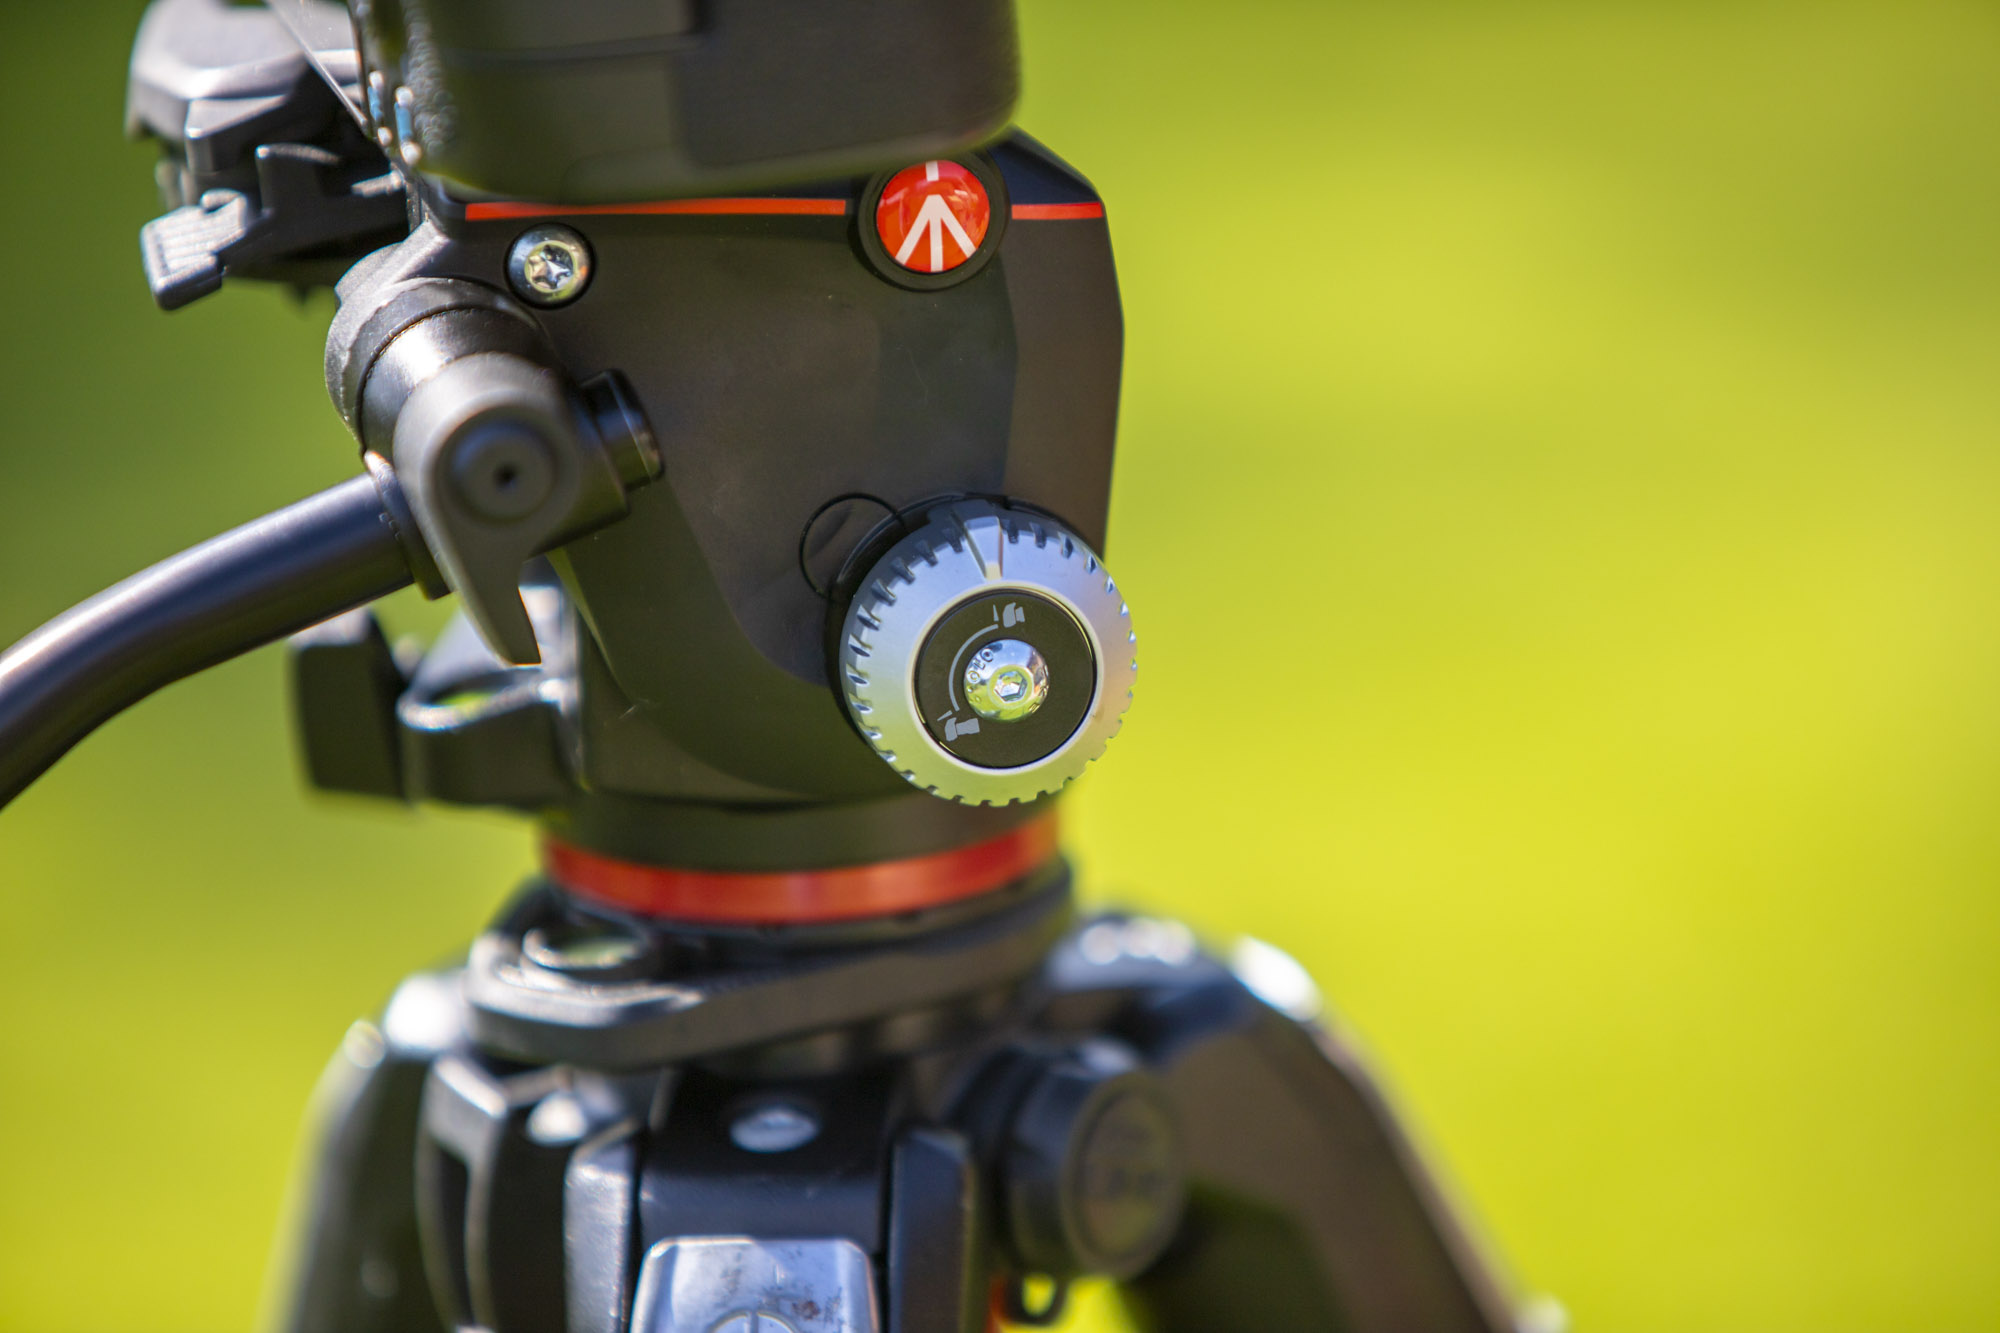
1. Get set up
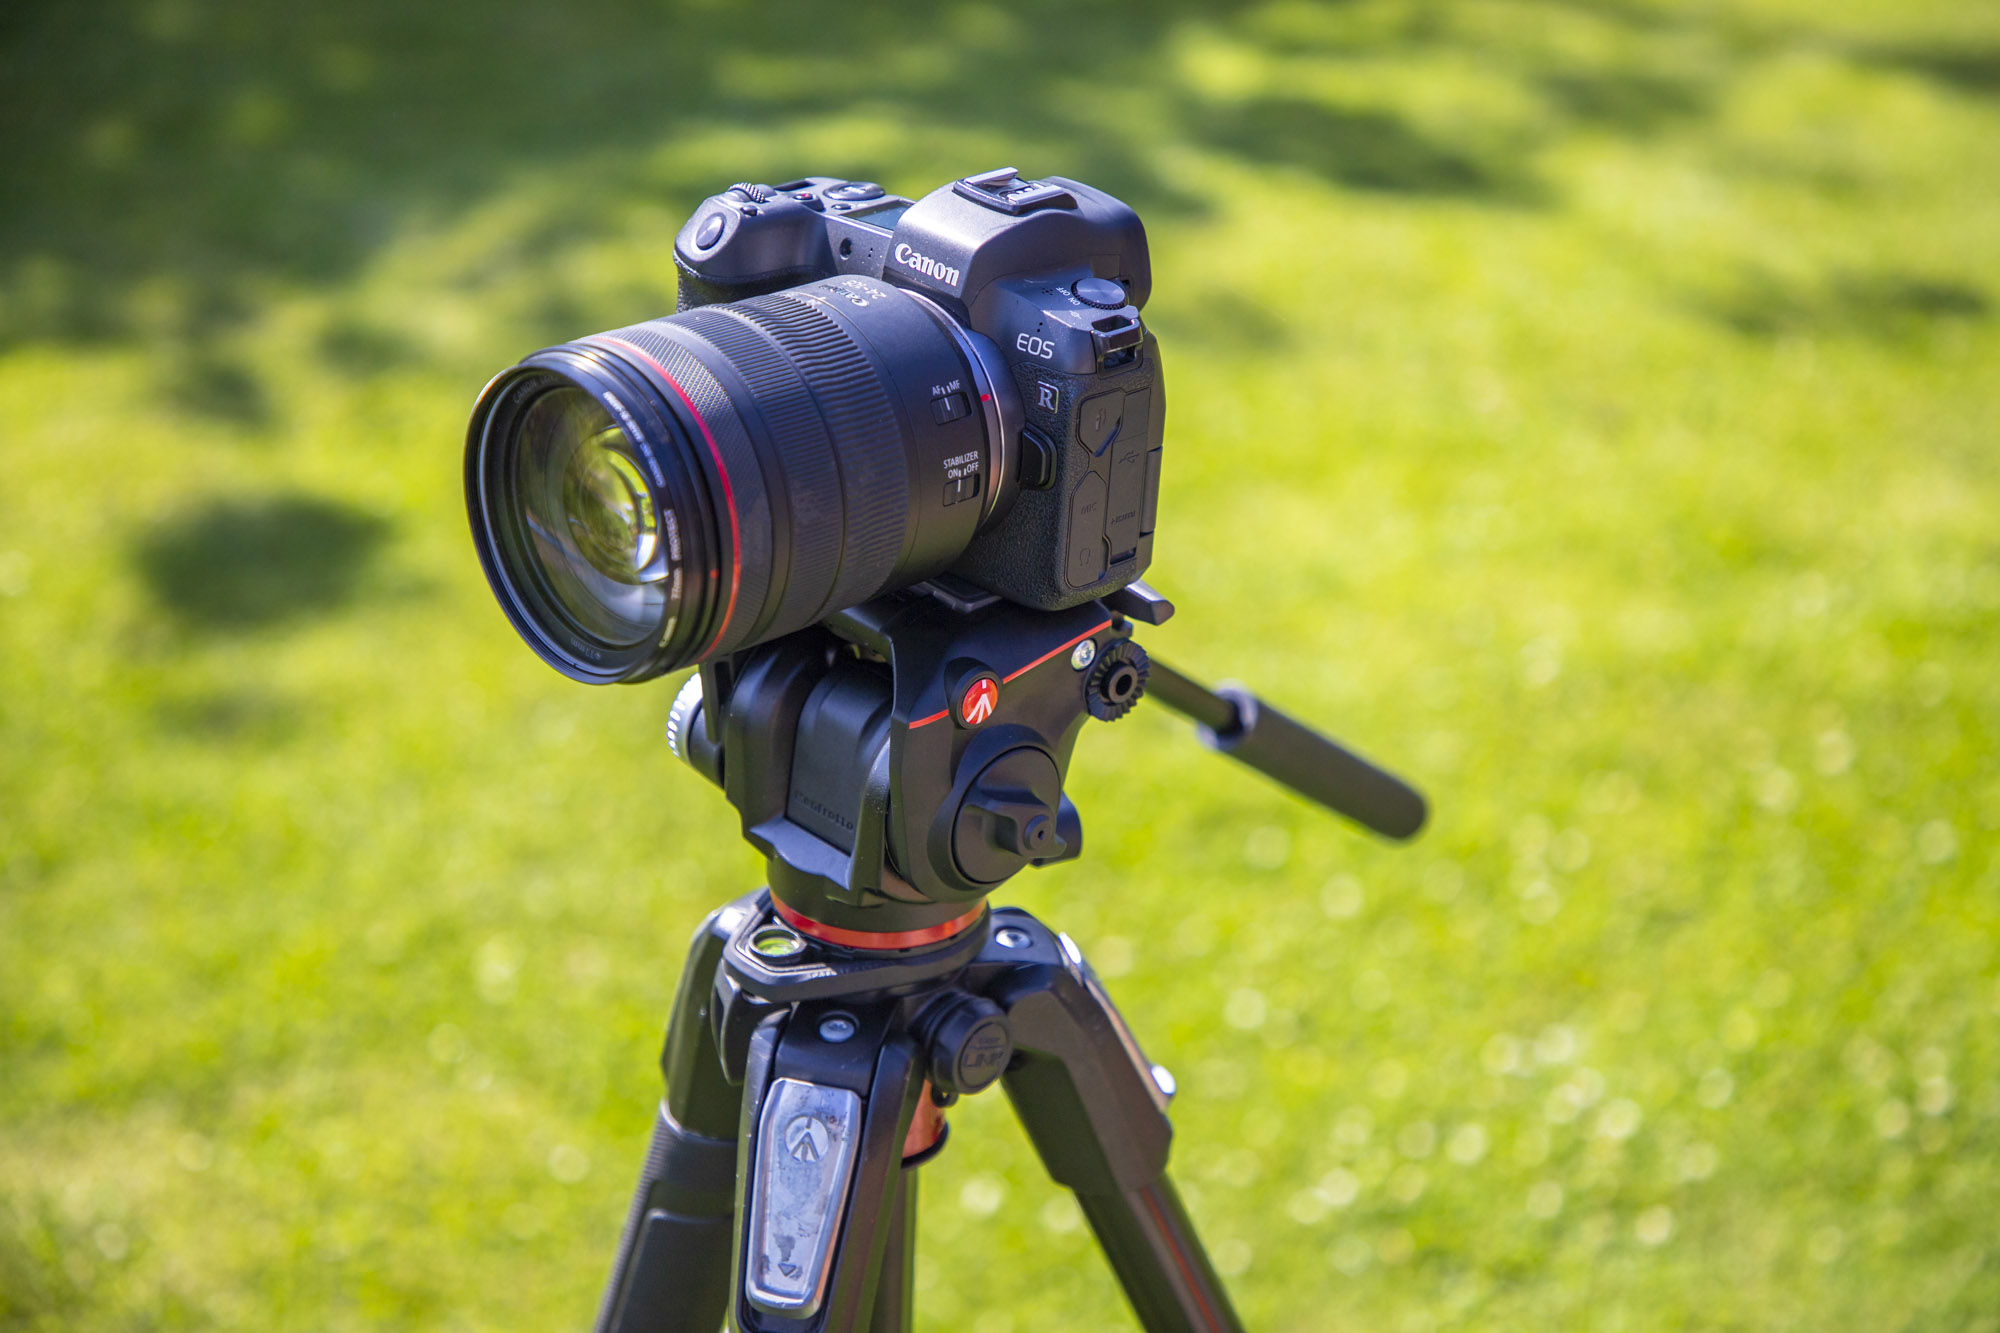
To get started, you need to attach your pan-and-tilt head if it’s not already on your tripod. If the head on your tripod comes off, it should rotate off, although some brands require you to loosen grub screws on the underside before you can spin it free. With the old head off, it’s time to screw on the pan-and-tilt head.
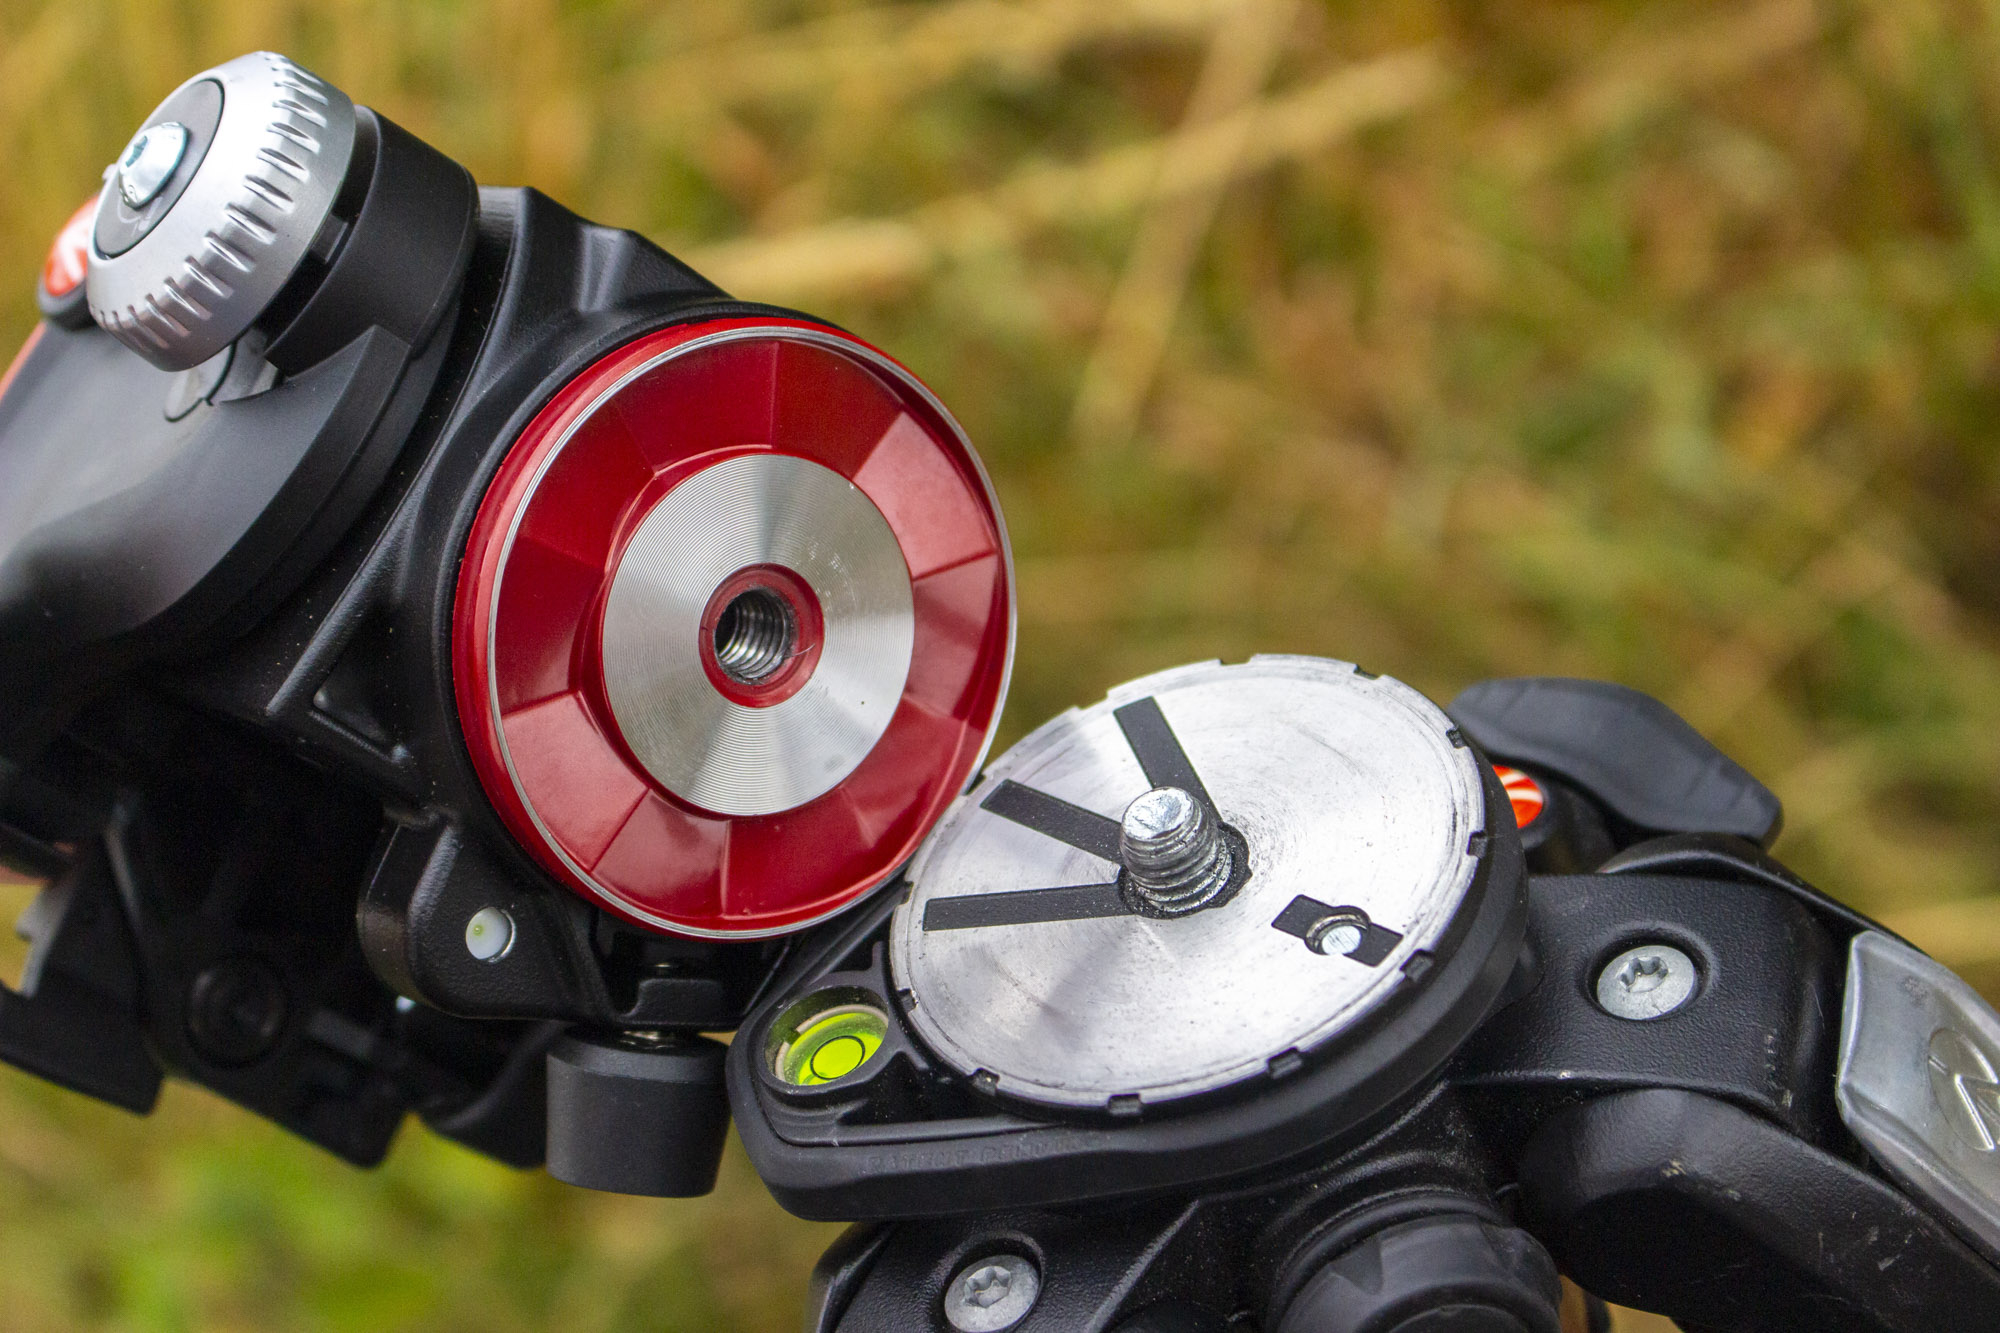
Make sure it fits the correct mount on your tripod, such as 1/4-inch or 3/8-inch, though some heads with a 3/8-inch mount come with a 1/4-inch step-down adapter, so work on both types. Now attach your camera on the pan-and-tilt head with your quick release plate; if you’re using a long telephoto lens with a tripod collar, mount it to this instead to spread the weight evenly.
2. Slow the shutter speed
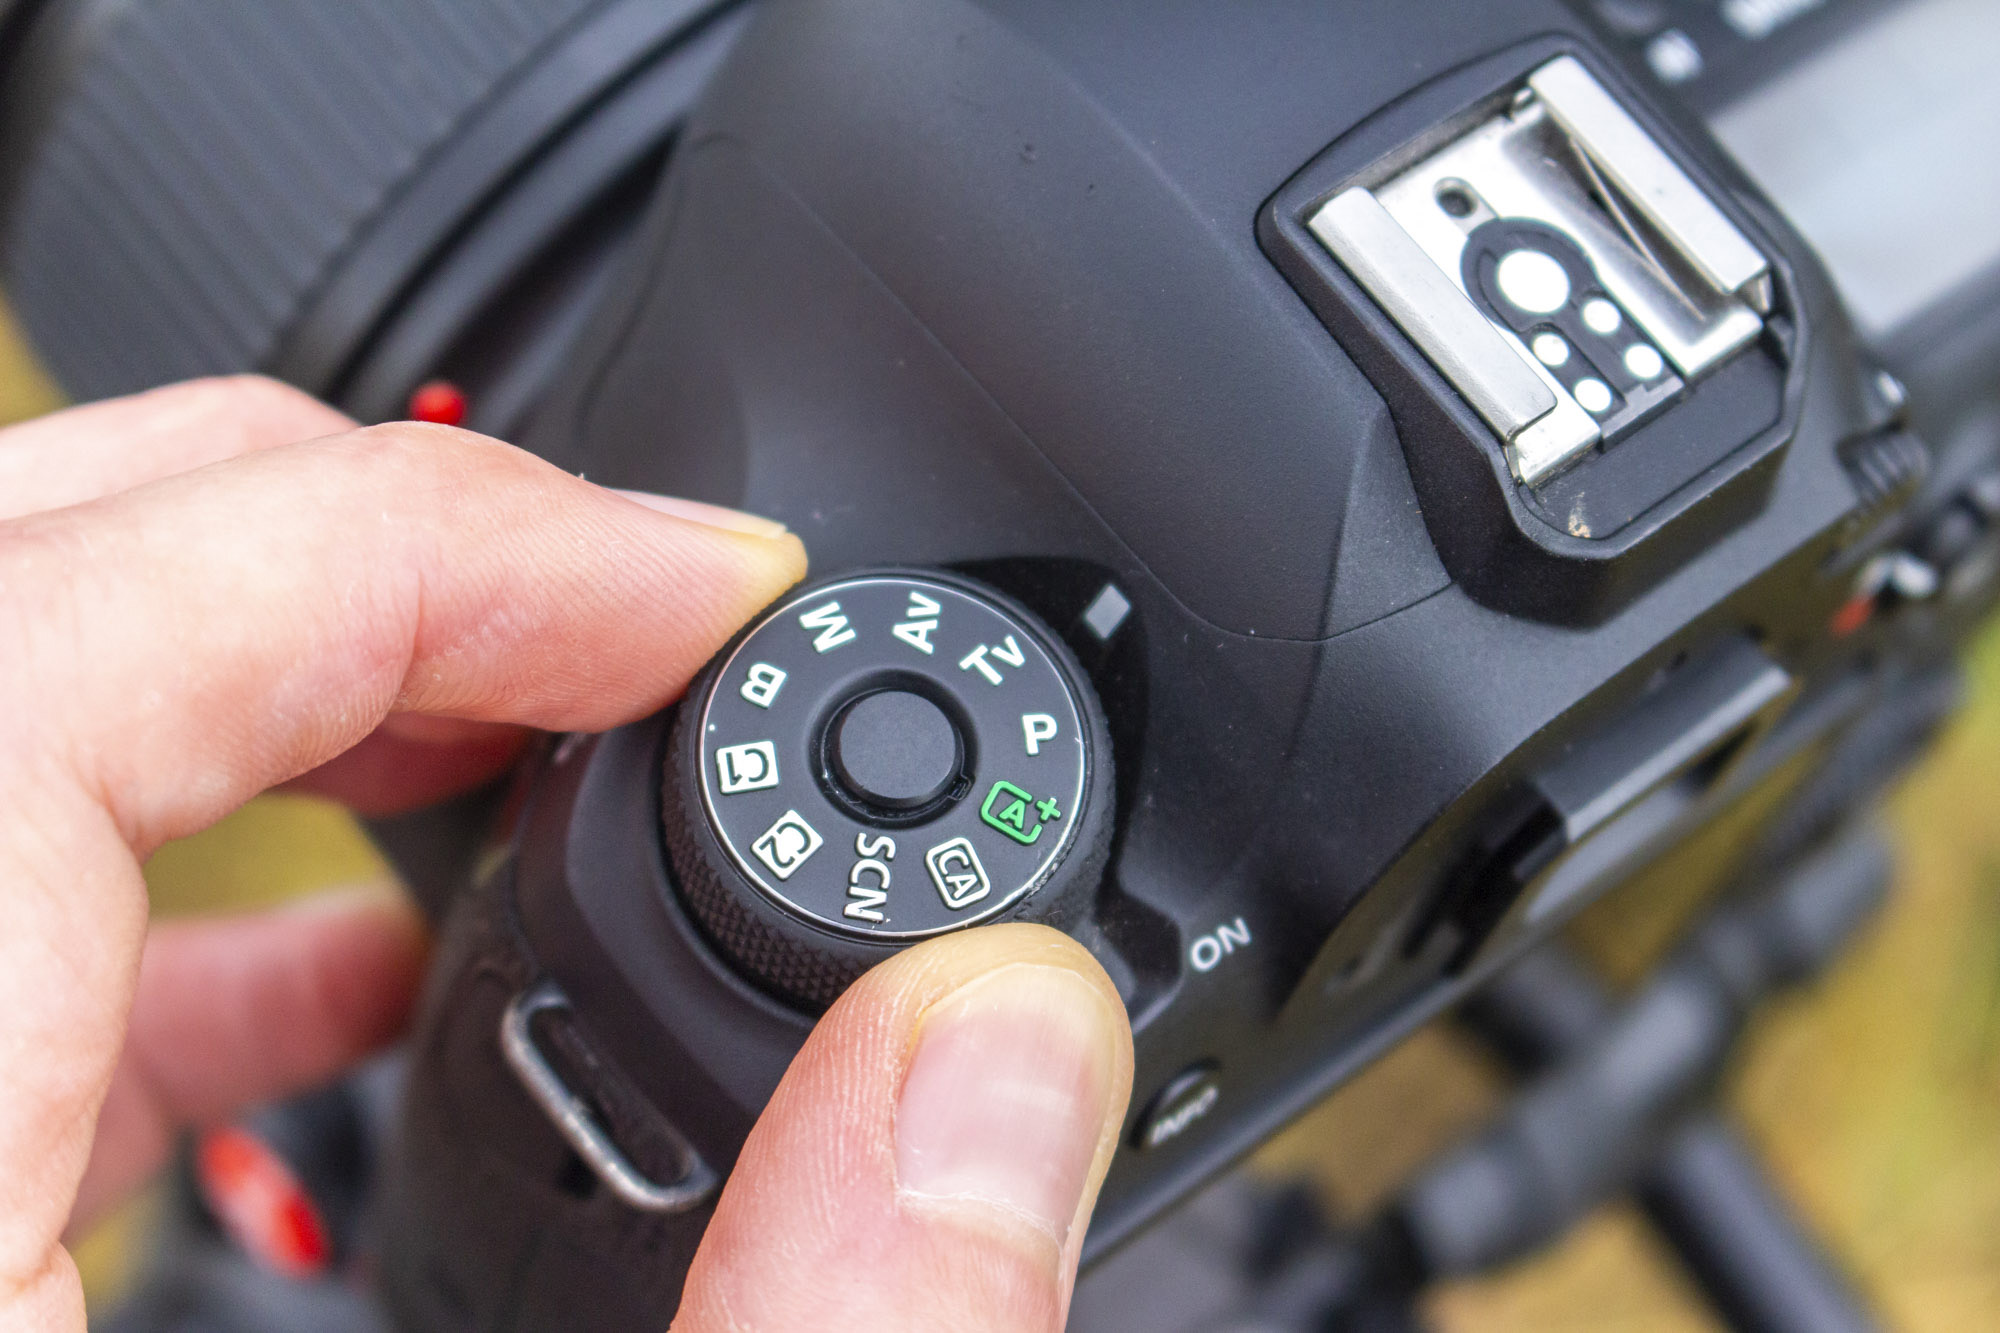
Go into your camera's Shutter Priority mode, Tv on the mode dial, which stands for Time Value. Now you can dial in the shutter speed that you’d like to use and the camera works out the aperture value needed to create a correct exposure. Be wary of slowing down the shutter speed too much, though, as then your exposure will start to blink on the LCD screen, which means the aperture can’t close down any further and your image will be overexposed.
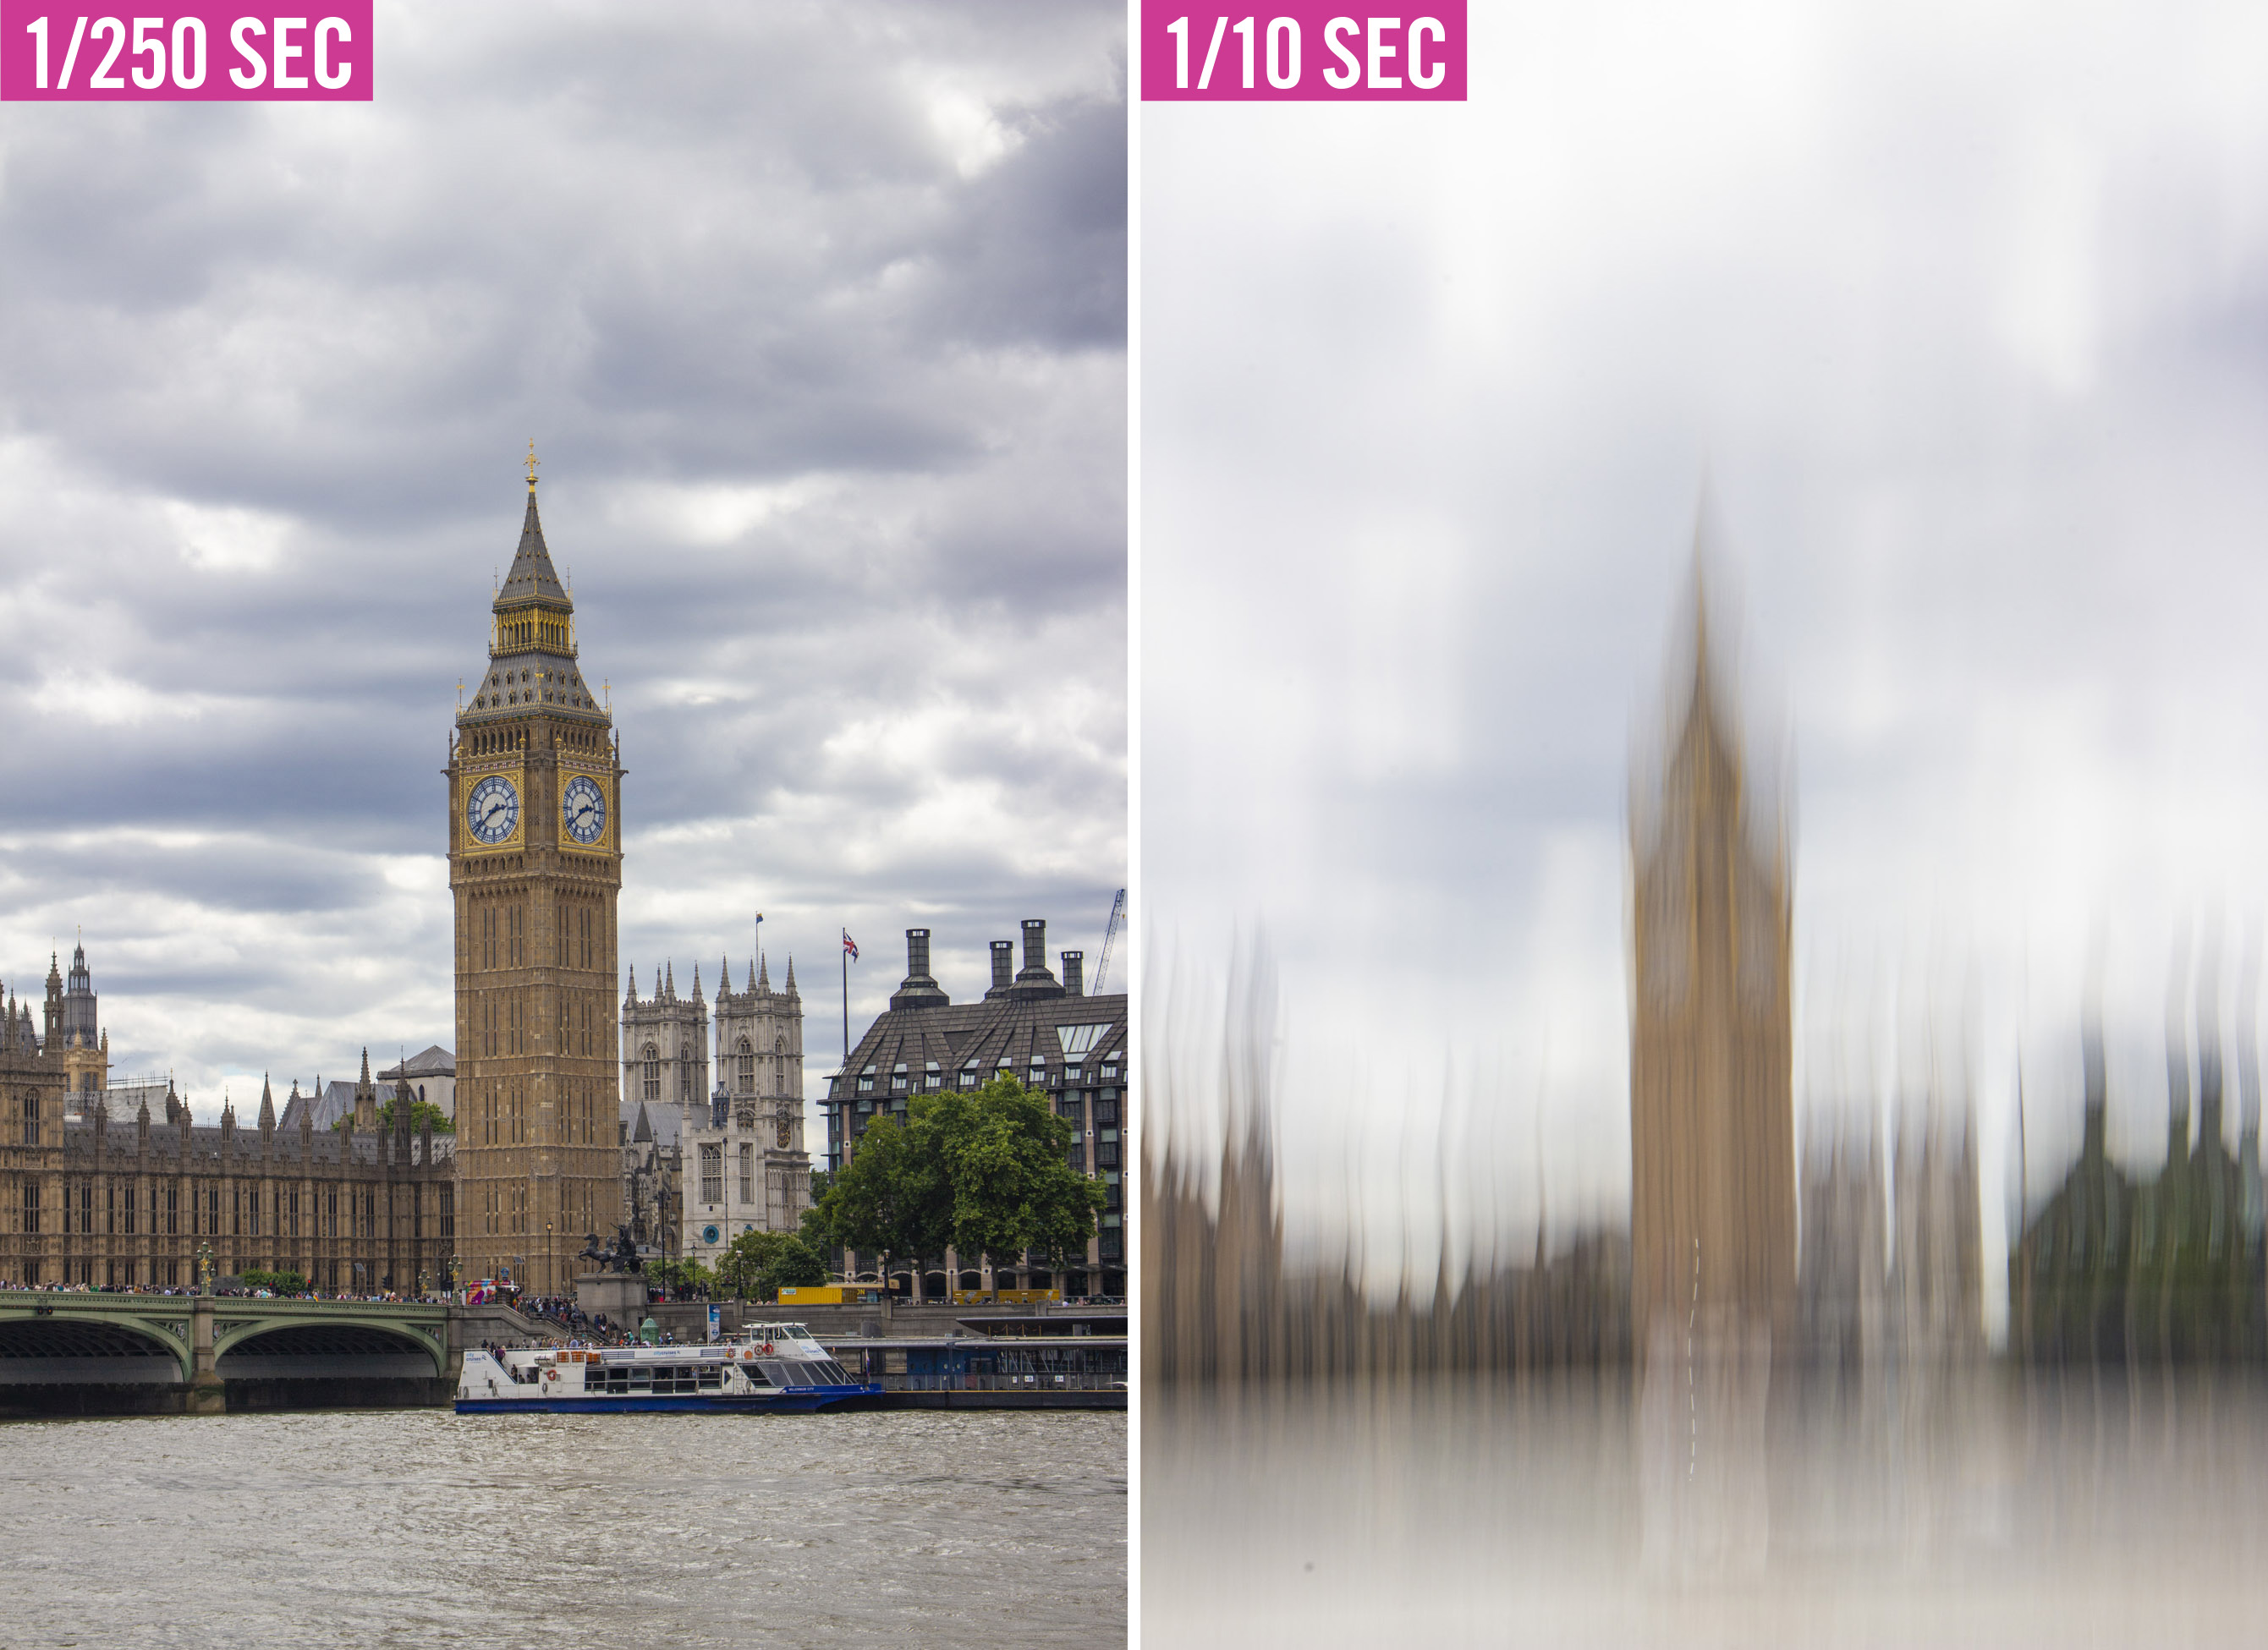
You can also try lowering the ISO or using an ND filter if you still need a slower shutter speed. With a slower shutter speed, you can tilt your pan-and-tilt head vertically in a smooth motion to turn tree trunks or tall buildings into wonderfully vibrant abstract photos.
3. Extend the panning handle
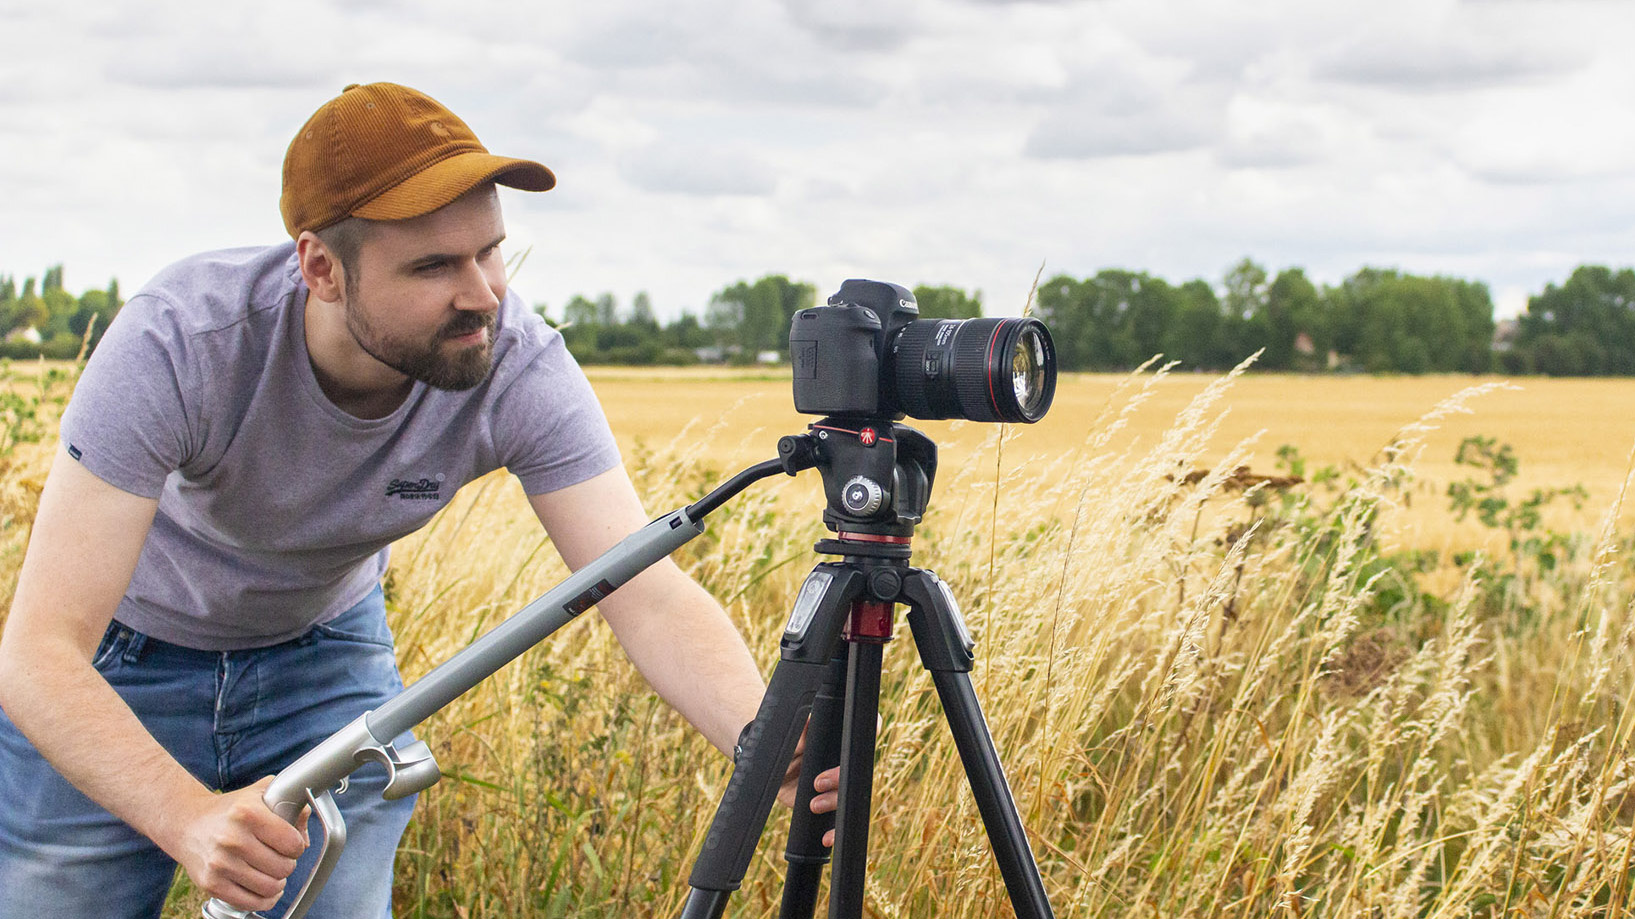
A long pan handle allows extra leverage, so you can achieve a smoother panning motion from left to right or up and down.
If you have a short panning handle or just need a longer one, get a metal or plastic pipe, or long cardboard tube, and place this snuggly over your panning handle to make it longer to achieve those smoother pans. We used an old handle attachment from a broken vacuum cleaner that worked brilliantly! Slipping it over the existing pan handle provided extra leverage. To capture motion when vertically panning tall trees, be sure to lock off your tripod’s horizontal axis, so that it only moves vertically up and down for smoother long exposure abstracts.
4. Pan fast action
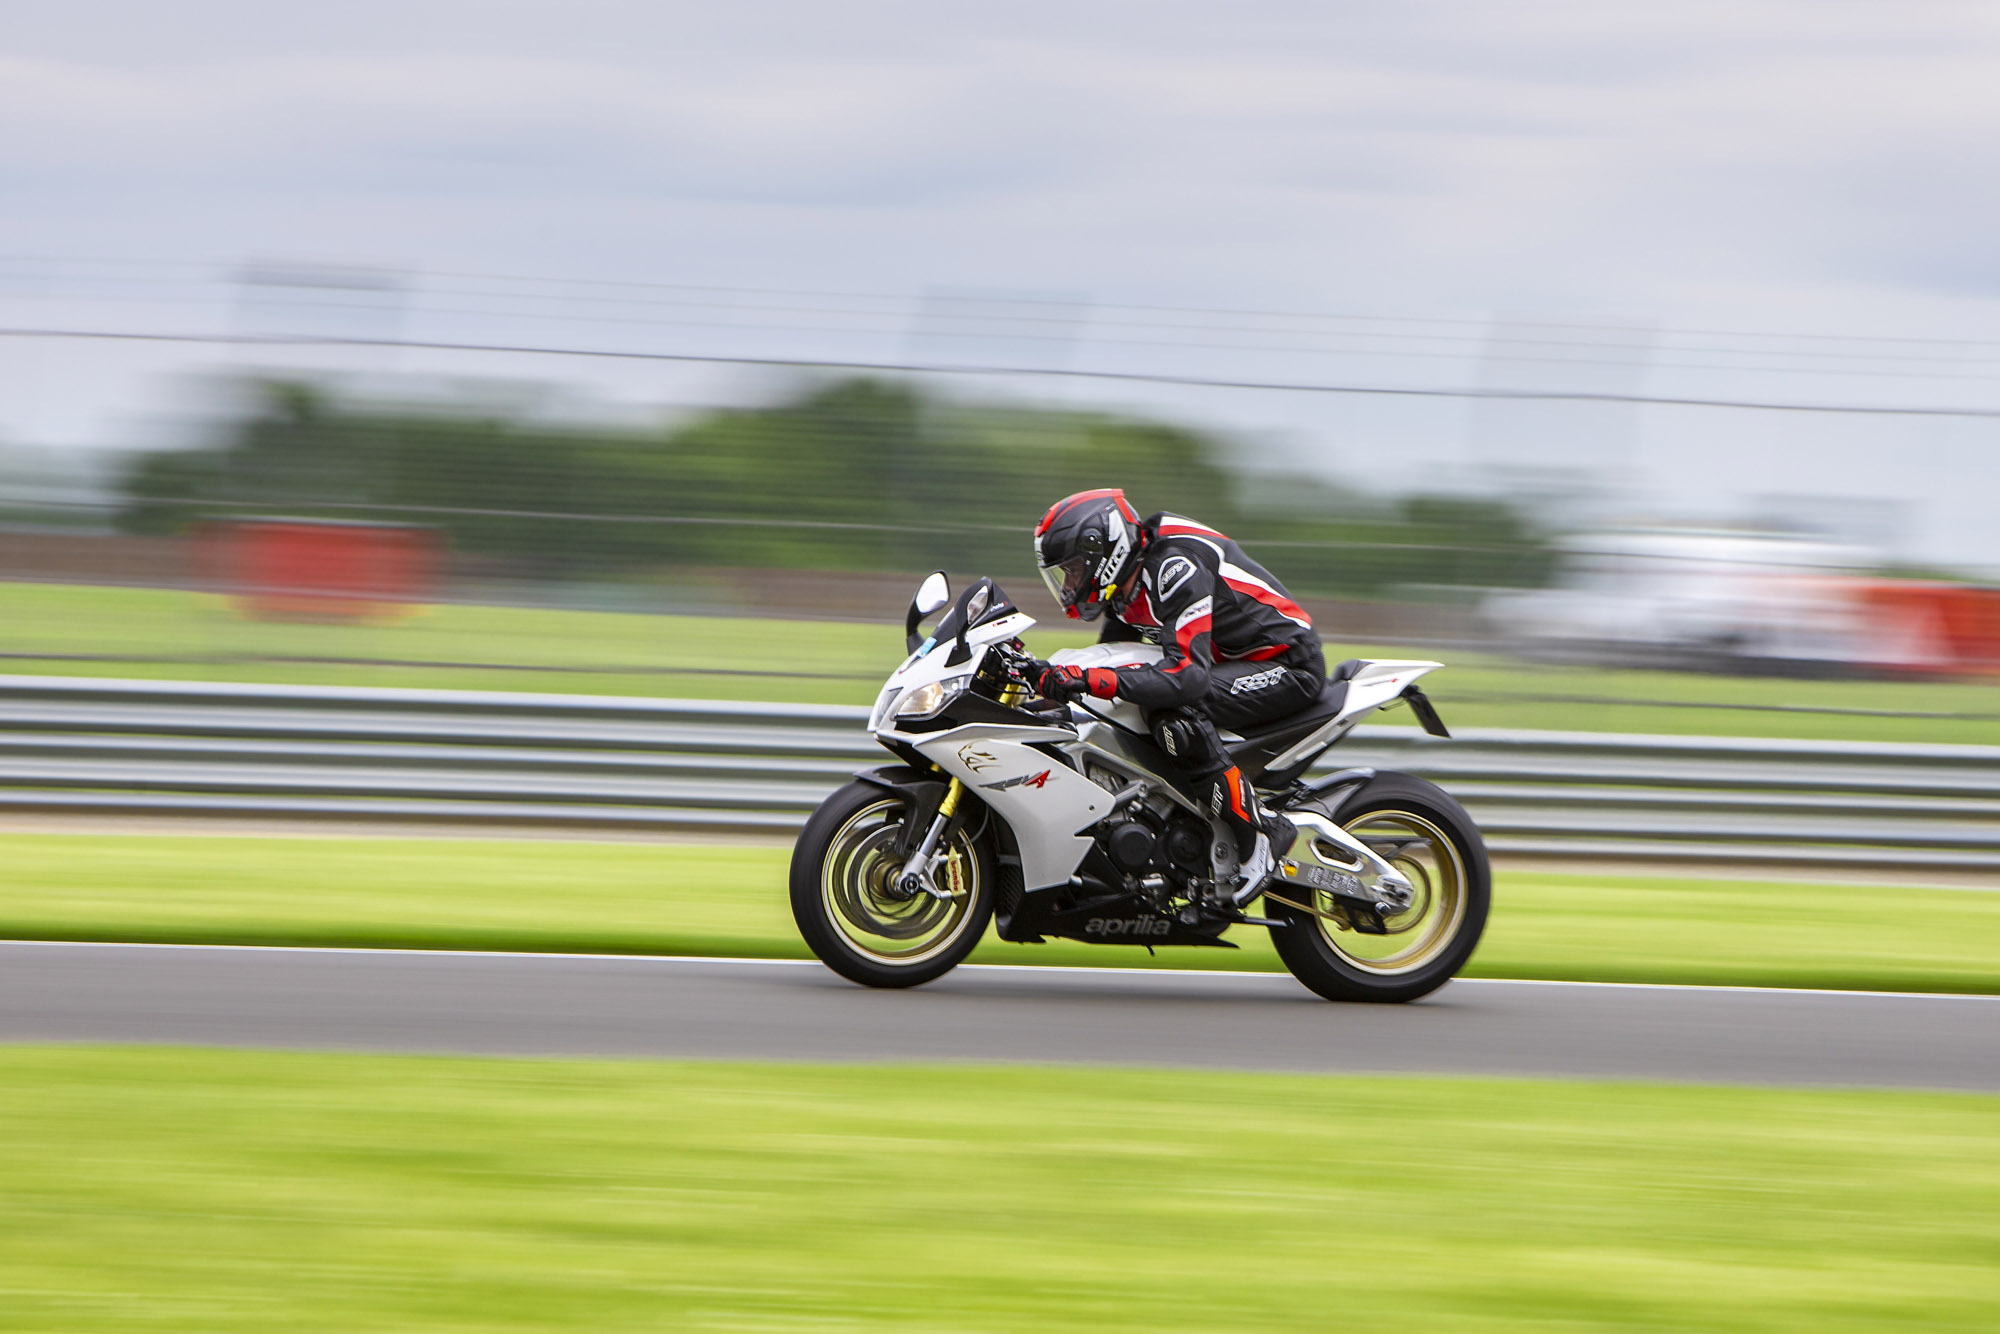
A pan-and-tilt tripod head is ideal for tracking fast-moving subjects, such as wildlife, sports or other vehicles (though a gimbal head may be better for bigger lenses). The long pan handle enables you to smoothly track your subject with your right hand – fine for video if you’ve already pressed the start record button, but is problematic for taking stills, because your hand is some distance from the shutter.
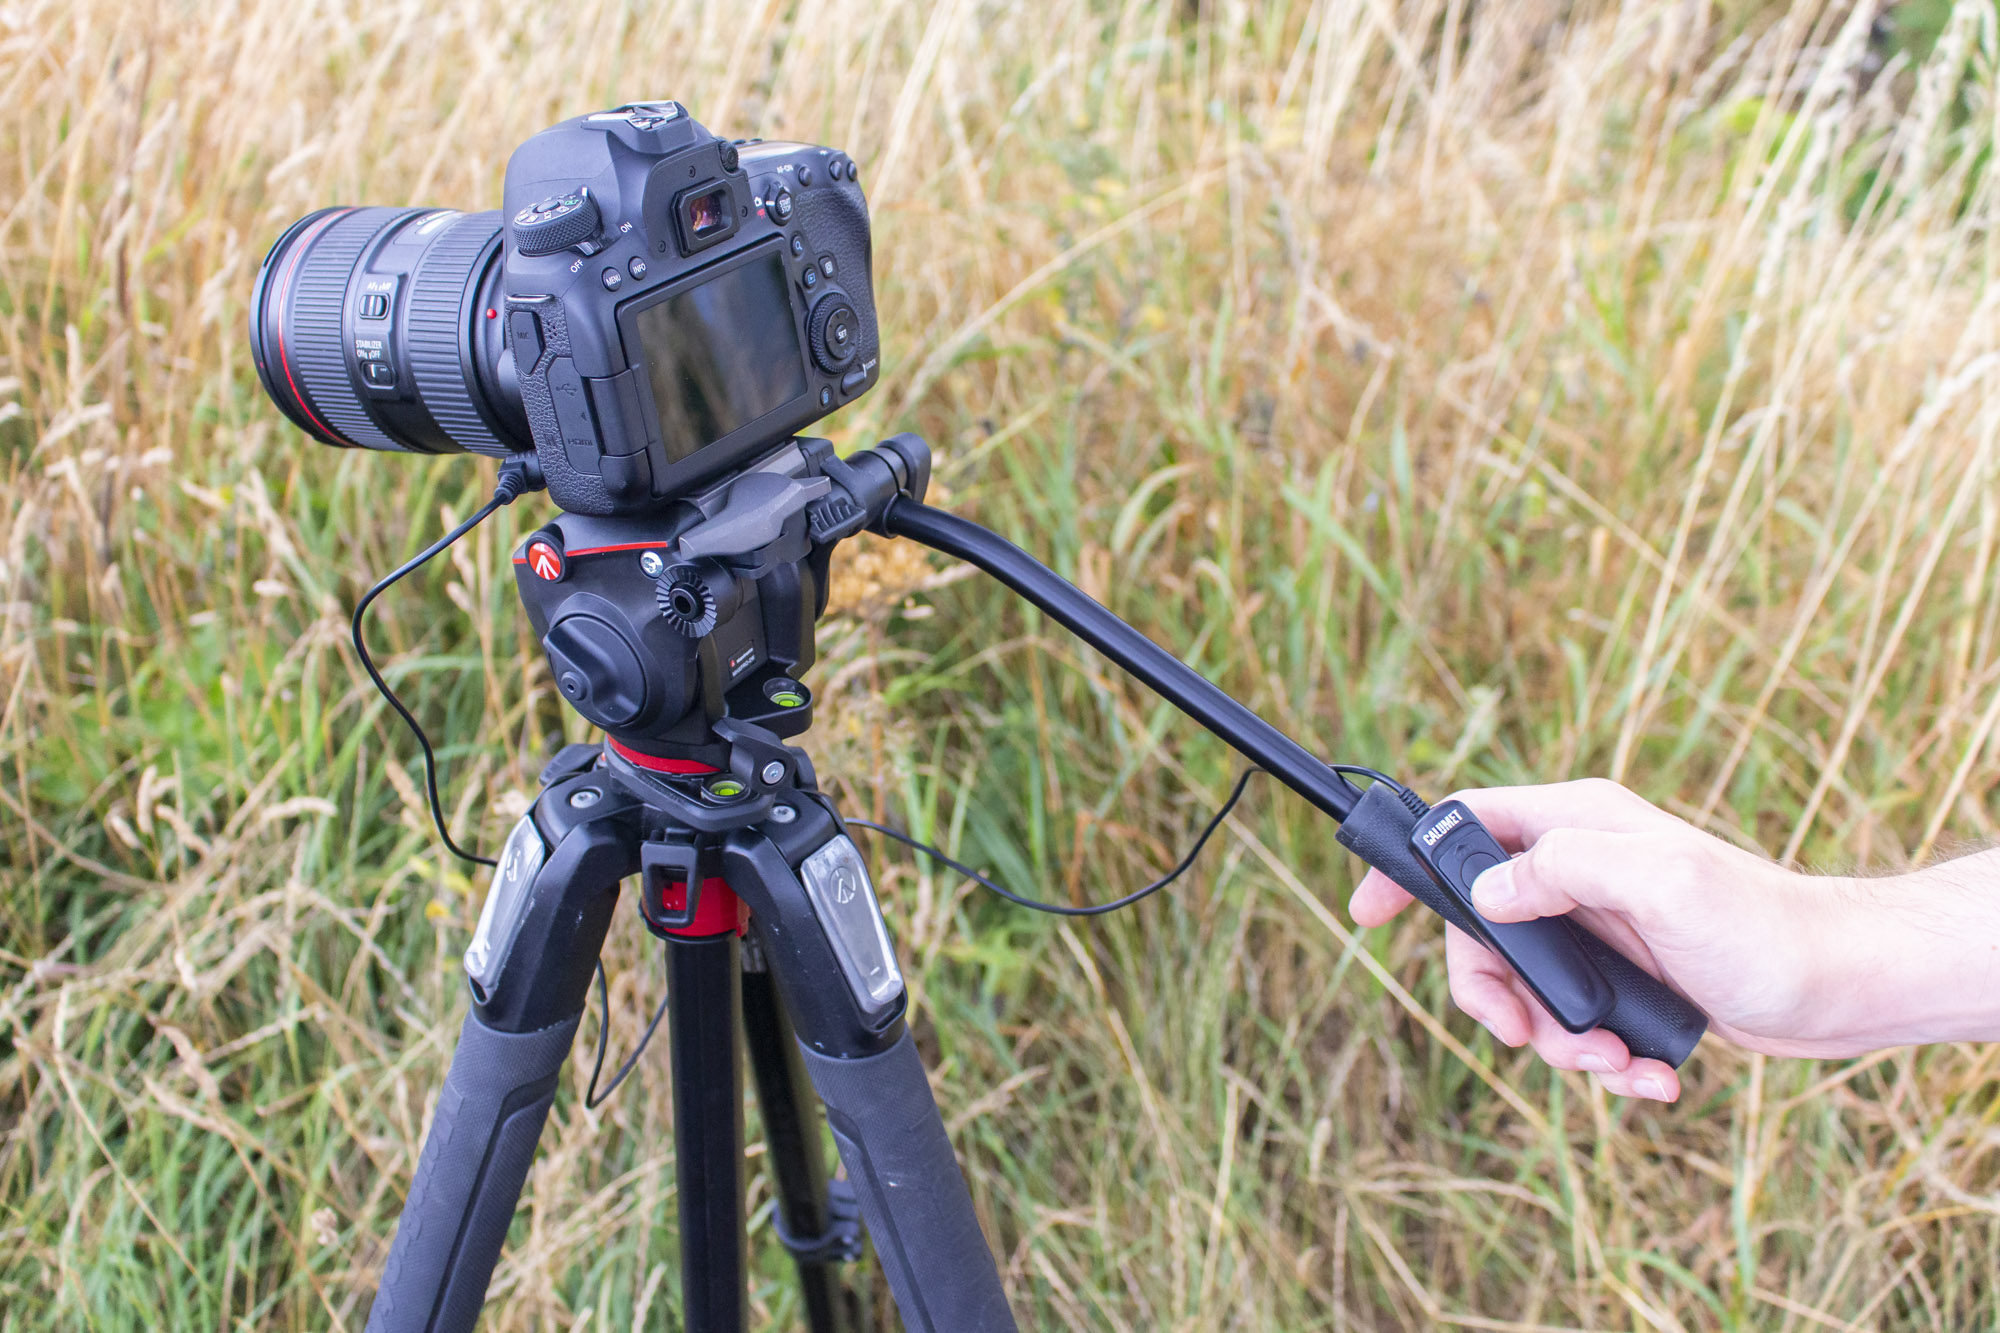
One solution is to get a wired shutter release and run the cable along the handle, so you can hold it in the same hand as your panning handle. This can be set up so that half-pressing the shutter release activates autofocus, while a full press of the button takes the shot, or if held down in burst mode it takes a series of shots.
PhotoPlus: The Canon Magazine is the world's only monthly newsstand title that's 100% devoted to Canon, so you can be sure the magazine is completely relevant to your system.
These are the best cameras for portraits and the best portrait photography tips. You might also like the best photo editing software and the best photo-editing laptops.
Get the Digital Camera World Newsletter
The best camera deals, reviews, product advice, and unmissable photography news, direct to your inbox!

Deputy Editor on PhotoPlus: The Canon Magazine, Dan also brings his technical wizardry and editing skills to Digital Camera World. He has been writing about all aspects of photography for over 10 years, having previously served as technical writer and technical editor for Practical Photography magazine, as well as Photoshop editor on Digital Photo.
Dan is an Adobe-certified Photoshop guru, making him officially a beast at post-processing – so he’s the perfect person to share tips and tricks both in-camera and in post. Able to shoot all genres, Dan provides news, techniques and tutorials on everything from portraits and landscapes to macro and wildlife, helping photographers get the most out of their cameras, lenses, filters, lighting, tripods, and, of course, editing software.

